
Authentic Russian Honey Cake (Medovik): Made Easy for Beginners

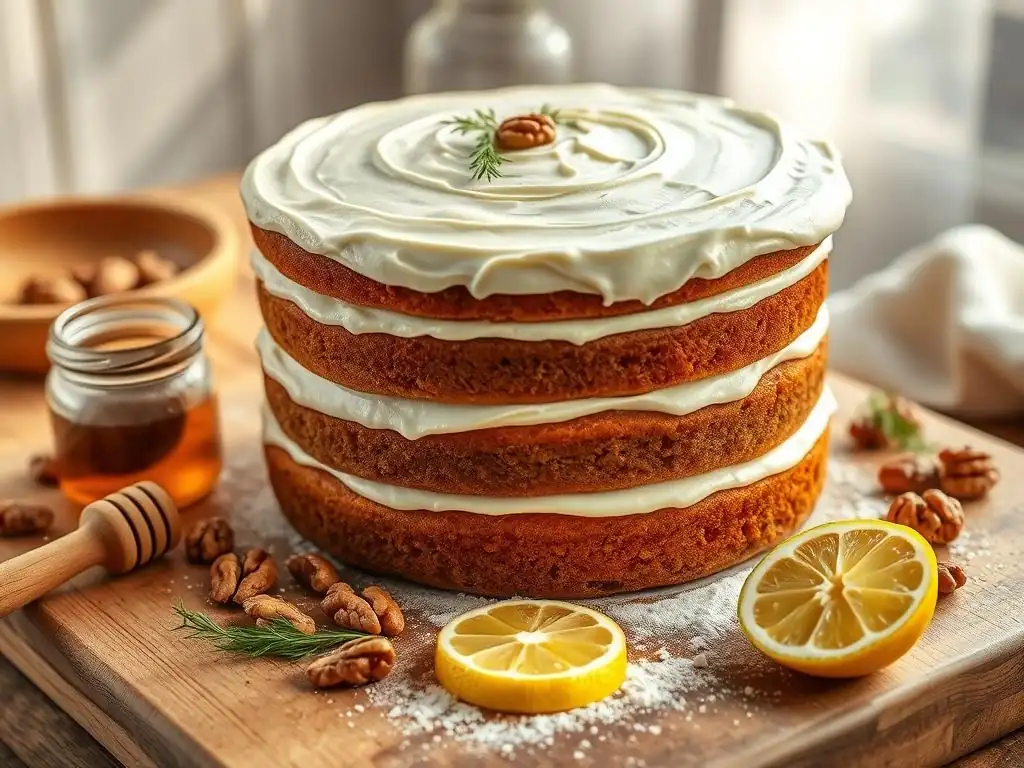
Welcome to BakeWithEase, your friendly guide to the sweet world of baking! Ever dreamt of creating a stunning, multi-layered masterpiece? Dive in and discover our secrets to crafting an Easy Authentic Russian Honey Cake (Medovik), even if you're just starting your baking journey. Prepare to be amazed at how simple it is to bring this iconic, culturally rich dessert to life – let's bake!
- Easy Authentic Russian Honey Cake (Medovik) for Beginners | BakeWithEase
- Discover the Delight of Easy Authentic Russian Honey Cake (Medovik)
- Understanding Russian Honey Cake: An Eastern European Baking Gem
- Ingredients for Your Beginner-Friendly Medovik
- Step-by-Step Guide to Baking an Easy Authentic Russian Honey Cake
- Tips and Tricks for the Perfect Medovik, Made Easy
- Variations and Customizations for Your Russian Honey Cake
- Storing and Serving Your Easy Authentic Russian Honey Cake
- Troubleshooting Your Easy Authentic Russian Honey Cake
- The Sweet Reward: Enjoying Your Homemade Medovik
-
Frequently Asked Questions
- What makes this Russian Honey Cake recipe "easy"?
- Can I substitute any ingredients in this Easy Authentic Russian Honey Cake recipe?
- How long does it take to make this Easy Authentic Russian Honey Cake?
- What's the best way to store leftover Russian Honey Cake?
- Why is the chilling process so important for this Easy Authentic Russian Honey Cake?
- Final Reflection: The Sweetness of Tradition, the Simplicity of Creation
- Unlock Your Inner Pastry Chef: Bake Your Own Medovik!
Easy Authentic Russian Honey Cake (Medovik) for Beginners | BakeWithEase
Discover the Delight of Easy Authentic Russian Honey Cake (Medovik)
Dive into the world of Eastern European baking with one of its most beloved treasures: the authentic Russian honey cake, known as Medovik. This cake is famous for its numerous delicate, honey-infused layers and luscious, creamy frosting. While traditional recipes can seem daunting, especially for novice bakers, our focus at BakeWithEase is always on making complex bakes approachable. That's why we've crafted an easy authentic Russian honey cake recipe specifically tailored for beginners.
Imagine serving a slice of this stunning cake, its distinct layers visible, its aroma hinting at sweet honey and rich cream. Achieving this doesn't require years of baking experience. Our simplified approach breaks down each step, ensuring that even if this is your first time tackling a layered cake, you can create a beautiful and delicious Medovik that tastes just like the authentic version. This recipe proves that baking an easy Medovik is well within reach for anyone with a passion to try.
What Makes This Medovik Recipe Perfect for Beginners?
This specific easy authentic Russian honey cake recipe simplifies several traditional techniques, making it far more accessible. One key difference lies in the dough handling. Instead of rolling out incredibly thin layers that can easily break, this method uses a slightly more forgiving dough consistency and provides clear guidance on achievable thickness, often around 2mm per layer, which is easier for beginners to manage. We also focus on minimizing the number of layers slightly compared to hyper-traditional versions (aiming for perhaps 8-10 instead of 15-20), without sacrificing the characteristic layered structure.
Furthermore, the frosting preparation is streamlined. While traditional Medovik often uses a sour cream-based frosting that can curdle or separate if not handled correctly, our recipe utilizes a stabilized cream cheese or condensed milk variation that is much more robust and forgiving. This ensures a smooth, spreadable frosting that holds its shape and absorbs beautifully into the cake layers, creating that signature moist texture of an easy authentic Russian honey cake. Clear timings for chilling, typically 4-6 hours or preferably overnight, are also emphasized as a crucial, non-negotiable step for success, unlike some recipes that might rush this part.
Understanding Russian Honey Cake: An Eastern European Baking Gem
The authentic Russian honey cake, or Medovik, holds a special place in the hearts of many across Russia and Eastern Europe. It's more than just a dessert; it's often associated with celebrations, family gatherings, and a sense of nostalgic comfort. Its unique structure, consisting of many thin, soft layers bound together by a creamy frosting, sets it apart from typical Western cakes. The key flavor profile comes from the honey, which caramelizes slightly during baking, giving the layers a rich, deep sweetness.
What makes Medovik truly shine is the transformation that happens during the chilling period. The dry, crisp baked layers absorb moisture from the generous amount of frosting, softening and melding together to create a wonderfully moist and tender cake. This absorption process is critical and can take several hours, often requiring refrigeration overnight. Understanding this process is key to appreciating why patience is a baker's best friend when making an easy authentic Russian honey cake. It's this magical transformation that turns simple ingredients into a truly extraordinary dessert.
The History and Tradition of Medovik
The history of Medovik is often traced back to the 19th century, specifically to the kitchen of Emperor Alexander I. Legend has it that his wife, Empress Elizabeth Alexeievna, disliked honey, and any dish containing it was strictly forbidden. However, a new young confectioner in the imperial kitchen was unaware of this prohibition and prepared a new cake using honey and sour cream. To everyone's surprise, the Empress was utterly charmed by the cake's aroma and delicate flavor and immediately fell in love with it.
This initial creation evolved over time, particularly during the Soviet era when ingredients like sour cream or condensed milk became more widely available, leading to the variations we often see today. Medovik became a staple in homes across the Soviet Union and remains incredibly popular in modern Russia and neighboring countries.
While the number of layers and the specific frosting can vary by region or family tradition – some versions boast over 20 layers, while others stick to a simpler 8-10 – the core elements of honeyed layers and a creamy filling remain constant, making it a timeless authentic Russian honey cake.
Why This Recipe Emphasizes Ease and Simplicity
Our goal with this easy authentic Russian honey cake recipe is to demystify a bake that many beginners might find intimidating. Traditional methods often involve precise temperature control for heating the honey mixture, rolling dough paper-thin, and managing sticky dough – steps that can lead to frustration for those new to baking. We've adapted these techniques to be more forgiving. For example, instead of a temperamental water bath heating method, we might use a direct but gentle heat approach combined with clear visual cues to indicate when the honey mixture is ready, reducing the risk of scorching.
Furthermore, we provide detailed guidance on handling the dough after chilling, suggesting techniques like rolling between two sheets of parchment paper, which prevents sticking and makes transferring the delicate layers much easier. This eliminates the common beginner challenge of dough tearing. By focusing on these simplified methods and providing step-by-step instructions with clear visuals (if this were a visual guide), we ensure that anyone following this easy Medovik recipe can achieve fantastic results without needing advanced baking skills or specialized equipment.
Ingredients for Your Beginner-Friendly Medovik
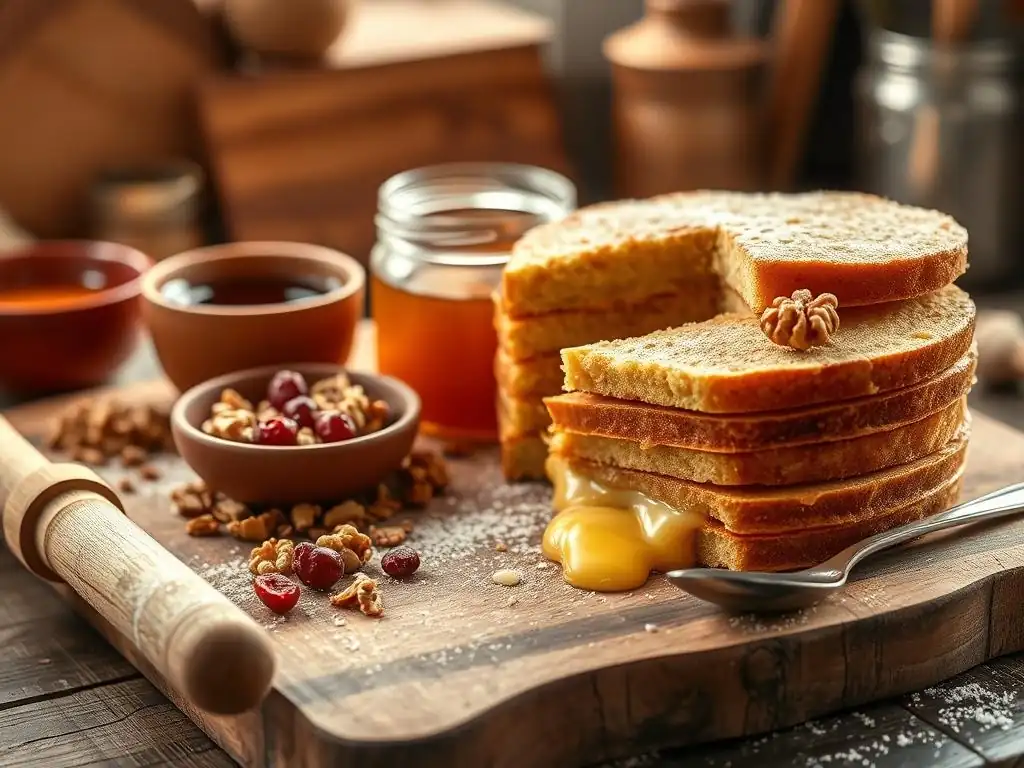
Gathering your ingredients is the first exciting step in making your easy authentic Russian honey cake. For the cake layers, you'll need standard pantry staples, with honey being the star. Opt for a good quality, flavorful honey, as its taste will be prominent in the final cake. Unsalted butter, granulated sugar, eggs, all-purpose flour, and baking soda are also essential. The baking soda reacts with the honey when heated, helping the layers rise slightly and creating tiny air pockets that contribute to the cake's final tenderness.
For the luscious cream cheese frosting, you'll need full-fat cream cheese, which provides richness and stability. Sweetened condensed milk is another key component, adding sweetness and a smooth, pourable consistency that helps it soak into the cake layers effectively.
Some variations might call for sour cream, but for a beginner-friendly version, cream cheese and condensed milk are much easier to work with and less prone to separation. Ensure all your cold ingredients, particularly the cream cheese, are at room temperature before you begin mixing the frosting; this usually takes about 30-60 minutes out of the refrigerator and is crucial for a smooth, lump-free frosting.
Key Ingredients for the Honey Cake Layers
Let's break down the core components for those signature honey-infused layers of your easy authentic Russian honey cake. You'll typically need approximately 100-150 grams of unsalted butter, heated gently with about 150-200 grams of granulated sugar and 100-150 grams of honey. The quality of the honey significantly impacts the flavor; a wildflower or buckwheat honey will impart a stronger, more complex taste than a mild clover honey. Two large eggs are usually incorporated into this warm mixture, requiring careful whisking to prevent scrambling.
The dry ingredients consist primarily of all-purpose flour, roughly 400-500 grams, and a crucial 10-15 grams of baking soda. When the baking soda meets the warm, slightly acidic honey mixture, it creates a chemical reaction that causes the dough to foam and expand. This gives the layers their characteristic texture and rise. It's important not to overmix the flour once added, as this can develop gluten and result in tough layers, which is the opposite of the tender texture desired in an authentic Russian honey cake.
Essential Ingredients for the Cream Cheese Frosting
The frosting is the other half of the equation for a perfect easy authentic Russian honey cake. For a reliable, beginner-friendly cream cheese frosting, you'll typically need about 400-500 grams of full-fat cream cheese, softened to room temperature. Using full-fat cream cheese is vital for a rich flavor and stable texture; low-fat versions often contain more water and can lead to a runny frosting.
You will also need approximately 300-400 grams of sweetened condensed milk. This provides the primary sweetness and contributes significantly to the frosting's ability to soak into the cake layers, creating the moist, tender consistency Medovik is known for. Vanilla extract, about 5-10 ml, adds a pleasant aromatic note that complements the honey flavor. Ensure both the cream cheese and condensed milk are at a similar, slightly cool room temperature before combining them to prevent lumps and ensure a smooth, cohesive frosting that's easy to spread onto your easy Medovik layers.
Step-by-Step Guide to Baking an Easy Authentic Russian Honey Cake
Baking your own easy authentic Russian honey cake is a rewarding process, and following these steps will guide you to success. The key is patience, especially during the chilling phases. We'll start by preparing the dough, then move on to baking the layers, making the frosting, and finally assembling this delightful Eastern European gem. Remember, even experienced bakers have off days, so don't be discouraged if your first attempt isn't perfect – the taste will still be incredible!
- [ ] Gather all ingredients and equipment.
- [ ] Prepare the honey mixture for the dough.
- [ ] Incorporate eggs and dry ingredients.
- [ ] Chill the dough thoroughly.
- [ ] Roll and bake the cake layers.
- [ ] Make the cream cheese frosting.
- [ ] Assemble the cake, layering with frosting.
- [ ] Chill the assembled cake for several hours or overnight.
- [ ] Decorate (optional) and serve.
Preparing the Honey Cake Dough: A Simple Method
To start your easy authentic Russian honey cake dough, combine the butter, sugar, and honey in a heatproof bowl set over a saucepan of simmering water (a double boiler setup) or gently heat them directly in a saucepan over low heat, stirring constantly. Heat the mixture until the sugar dissolves and the mixture is smooth and warm, but not boiling. This typically takes about 5-8 minutes. Remove the bowl from the heat.
Carefully whisk in the eggs one at a time, ensuring they are fully incorporated before adding the next. Whisk vigorously to prevent the eggs from cooking. Then, stir in the baking soda; the mixture should foam up significantly, indicating the reaction is occurring. This foaming is a good sign that your dough will have the right texture.
Gradually add the flour, mixing with a wooden spoon or spatula until a soft, slightly sticky dough forms. Don't overmix. Transfer the dough to a clean surface, divide it into equal portions (e.g., 8-10 portions for 8-10 layers), flatten each portion into a disc, wrap tightly in plastic wrap, and chill in the refrigerator for at least 1-2 hours, or until firm enough to roll. This chilling step is crucial for handling the dough easily when making an easy Medovik.
Baking the Honey Cake Layers: Tips for Even Baking
Once your dough for the easy authentic Russian honey cake layers is thoroughly chilled, it's time to roll and bake. Preheat your oven to a moderate temperature, typically around 180°C (350°F). Take one dough portion from the refrigerator at a time, keeping the rest chilled. Roll the dough out very thinly, ideally between two sheets of parchment paper to prevent sticking.
Aim for a thickness of about 1.5-2 mm. Use a round cake pan or plate (e.g., 20-23 cm diameter) as a guide to cut out a perfect circle from the rolled dough. Prick the dough circle all over with a fork to prevent large bubbles from forming during baking.
Carefully transfer the parchment paper with the dough circle onto a baking sheet. Bake each layer for a relatively short time, usually 5-7 minutes, until it is golden brown and firm. They bake quickly due to their thinness! While one layer bakes, roll out the next.
Gather the scraps left over from cutting the circles; you'll bake these too, as they will be crushed and used for decorating the cake. Once baked, let the layers cool completely on a wire rack. They will be crisp when hot but will soften later after absorbing the frosting. This process of rolling, cutting, and baking layer by layer is key to achieving the distinct structure of an authentic Russian honey cake.
Making the Cream Cheese Frosting: Smooth and Delicious
Creating the creamy frosting for your easy authentic Russian honey cake is straightforward. Ensure your full-fat cream cheese is softened to room temperature – this is critical for a smooth consistency. In a large bowl, beat the softened cream cheese with an electric mixer (or whisk vigorously by hand) until it is completely smooth and free of lumps, which usually takes about 2-3 minutes on medium speed.
Gradually add the sweetened condensed milk to the cream cheese, mixing on low speed until just combined. Do not overmix, as this can cause the frosting to become too runny. Stir in the vanilla extract. The resulting frosting should be thick, smooth, and pourable, or easily spreadable. This consistency is perfect for allowing the frosting to soak into the baked honey cake layers over time. Taste and adjust sweetness if desired, though the condensed milk provides ample sweetness for most palates aiming for an easy Medovik.
Assembling the Medovik: Layering for Perfection
Assembling your easy authentic Russian honey cake is the final step before the all-important chilling period. Place your first cooled honey cake layer on your serving plate or cake stand. Spread a generous amount of the cream cheese frosting evenly over the layer, going almost to the edges. You will use roughly 2-3 tablespoons of frosting per layer, depending on the size of your layers and the total number you have.
Carefully place the next cake layer on top of the frosting, gently pressing down to ensure it adheres and is level. Repeat the process of layering cake and frosting with the remaining layers. Use the remaining frosting to cover the top and sides of the entire cake, creating a smooth, even coating.
Don't worry if it's not perfectly smooth at this stage; the final decoration will cover imperfections. Once fully assembled and frosted, take the baked cake scraps you saved earlier, crush them into fine crumbs (a food processor or rolling pin works well), and press these crumbs onto the sides and top of the cake. This crumb coating is characteristic of an authentic Russian honey cake.
Tips and Tricks for the Perfect Medovik, Made Easy

Even with an easy authentic Russian honey cake recipe, a few tips can elevate your results from good to spectacular. Pay close attention to the dough consistency after adding the flour; it should be soft but manageable, not overly sticky or stiff. If it seems too sticky after adding the recommended flour amount, you can add a tablespoon or two more, but avoid adding too much, which will result in tough layers. Also, ensure your oven temperature is accurate, perhaps using an oven thermometer, as thin layers can burn quickly if the temperature is too high.
Another crucial tip is patience during the chilling phase. While it's tempting to cut into your easy Medovik right away, the magic happens in the refrigerator. The cake needs at least 4-6 hours, but ideally overnight (12-24 hours), for the frosting to fully absorb into the layers. This transformation is what gives Medovik its signature moist, tender texture. Cutting too early will result in dry, crisp layers instead of the soft, melded cake you're aiming for. Trust the process and let it chill!
Achieving the Ideal Honey Cake Texture
The signature texture of an authentic Russian honey cake is soft, moist, and slightly chewy, with the layers almost melting together. This texture is primarily achieved through the absorption of the cream cheese frosting into the thin, crisp baked layers during the long chilling period. The initial crispness of the baked layers is necessary; they are not meant to be soft straight out of the oven. Their thinness, typically 1.5-2 mm, allows for efficient absorption.
To ensure optimal texture, don't skimp on the frosting. Apply a generous layer between each cake layer and coat the entire cake liberally. The moisture content of the frosting, particularly from the condensed milk, is what hydrates the cake. Furthermore, ensure the chilling environment is cold enough, typically 2-4°C (35-40°F), to allow the frosting to set while the moisture migration occurs gradually. Proper chilling for the recommended time, often 12 hours, is non-negotiable for transforming those crisp rounds into the tender layers characteristic of a perfect easy authentic Russian honey cake.
Preventing Common Medovik Baking Mistakes
Even when making an easy authentic Russian honey cake, common pitfalls can occur. One frequent issue is dough that is too stiff or too sticky. If the dough is too stiff after adding flour, it will be difficult to roll thinly, resulting in thicker, potentially drier layers. If it's too sticky, it will be hard to handle and transfer. Ensure you measure your flour accurately, preferably by weight (e.g., using a kitchen scale), as volume measurements can be inconsistent. Adding flour gradually helps you stop when the dough reaches the right soft consistency.
Another common mistake is overbaking the layers. Because they are so thin, they can go from perfectly golden to burnt very quickly, often in under a minute if left unattended. Keep a close eye on them while they are in the oven, checking after just 4-5 minutes. They should be uniformly golden brown, not dark brown.
Lastly, rushing the chilling process is a major error. Cutting the cake before it has had sufficient time to soften will result in a disappointing, hard texture. Plan ahead and allow at least 6 hours, but ideally overnight, for your easy Medovik to properly develop its texture.
Variations and Customizations for Your Russian Honey Cake
While our easy authentic Russian honey cake recipe provides a fantastic base, feel free to get creative with variations once you've mastered the basic technique. The beauty of baking is the ability to personalize! While the classic cream cheese or sour cream frosting is traditional, you can experiment with others. Similarly, you can subtly alter the flavor profile of the cake layers themselves beyond just the honey.
Consider adding spices to the dough for a different dimension. A pinch of cinnamon, nutmeg, or ground cloves can complement the honey beautifully, particularly during autumn or winter months. You could also experiment with different types of honey to see how they affect the final flavor; a strong, dark honey will result in a more pronounced honey taste than a light, floral one. These simple tweaks allow you to put your own spin on this traditional authentic Russian honey cake.
Different Frosting Options for Medovik
While our easy authentic Russian honey cake recipe features a beginner-friendly cream cheese and condensed milk frosting, other traditional and modern variations exist. A classic frosting often uses sour cream, sometimes mixed with sugar or sweetened condensed milk. This provides a tangy contrast to the sweet honey layers. If you try a sour cream frosting, ensure you use full-fat sour cream (at least 20%) and drain it through cheesecloth for a few hours to remove excess moisture, which will result in a thicker, more stable frosting less likely to make the cake soggy.
Another popular variation uses a cooked frosting based on milk, sugar, and butter, thickened with flour or cornstarch, similar to a diplomat cream or pastry cream. This cooked frosting offers a different texture and richness. Some modern interpretations might even use a dulce de leche frosting, which pairs exceptionally well with the caramelized honey flavor. When choosing a frosting for your easy Medovik, consider its consistency – it needs to be spreadable enough to layer easily but also have enough body to stand up between the layers and soak in effectively over time.
Adding Flavors to Your Medovik Layers
Beyond the essential honey flavor, you can introduce subtle nuances to the cake layers of your easy authentic Russian honey cake. Spices are a wonderful addition. Incorporating 1-2 teaspoons of ground cinnamon, 1/2 teaspoon of ground cloves, or a pinch of nutmeg into the dry flour mixture before adding it to the wet ingredients can add warmth and complexity. These spices are traditionally paired with honey in many baked goods and enhance the overall aroma and taste.
For a citrusy note, consider adding the zest of one orange or lemon to the honey mixture while it's warming. The citrus oils will infuse into the dough, providing a bright counterpoint to the sweetness of the honey. Be mindful not to add too much zest, as it can become bitter. While not strictly traditional, a splash of vanilla extract (beyond what's in the frosting) or even a hint of almond extract can also contribute pleasant background notes to your easy Medovik layers.
Storing and Serving Your Easy Authentic Russian Honey Cake
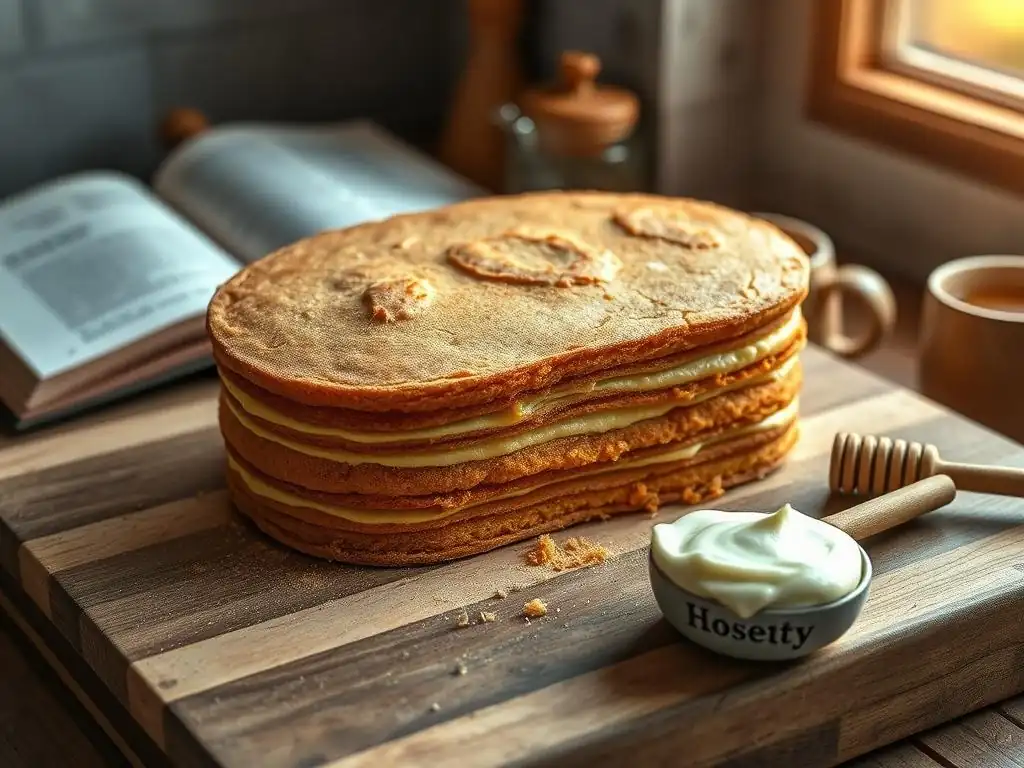
Once your easy authentic Russian honey cake has undergone its essential chilling transformation, you'll want to store it properly to maintain its delicious texture and flavor. Medovik keeps very well due to its high moisture content and the preservative properties of honey. After the initial chilling period (at least 6-12 hours), cover the cake loosely with plastic wrap or place it in an airtight cake carrier.
Store the cake in the refrigerator. It will continue to meld and improve in flavor for the first day or two. Medovik can typically be stored in the refrigerator for up to 3-5 days. For longer storage, individual slices or the entire cake can be wrapped tightly in plastic wrap, then aluminum foil, and frozen for up to 2-3 months. Thaw frozen Medovik slowly in the refrigerator overnight before serving to preserve its texture.
How to Store Medovik for Maximum Freshness
To ensure your easy authentic Russian honey cake remains wonderfully moist and flavorful, proper storage is key. After the crucial overnight chilling period, the cake should always be stored in the refrigerator. This is because the frosting, particularly if it contains cream cheese or sour cream, requires refrigeration for food safety. Furthermore, the cool temperature helps the cake maintain its structure and prevents the frosting from becoming too soft.
Wrap the cake tightly to prevent it from drying out or absorbing odors from other foods in the refrigerator. Using plastic wrap directly on the cut surfaces of slices and then wrapping the entire remaining cake is a good strategy. Alternatively, a cake dome or airtight container works well for a whole cake. Stored correctly in the refrigerator, your authentic Russian honey cake will remain delicious for several days, often tasting even better on the second or third day as the flavors continue to meld.
Serving Suggestions and Presentation Ideas
Serving your homemade easy authentic Russian honey cake is the culmination of your baking efforts! For the best texture, it's ideal to serve Medovik chilled directly from the refrigerator. Use a sharp knife dipped in hot water and wiped clean between slices for clean cuts, showing off those beautiful layers. The cake is rich and sweet, so small slices are often sufficient.
Garnish can be simple, relying on the traditional crumb coating. For a more elegant touch, you could dust the top lightly with powdered sugar, arrange fresh berries (like raspberries or strawberries) around the base, or add a dollop of whipped cream alongside each slice. A sprig of mint or a drizzle of honey can also enhance the presentation. Serve your easy Medovik with a cup of tea or coffee for a delightful treat that showcases your newfound skill in Eastern European baking.
Troubleshooting Your Easy Authentic Russian Honey Cake
Even with an easy authentic Russian honey cake recipe, baking can sometimes present challenges. Don't be discouraged if something doesn't go exactly as planned on your first try. Troubleshooting common issues can help you identify what went wrong and improve for your next baking adventure. Most problems relate to the dough consistency, the baking of the layers, or the final texture after chilling.
If your dough is too hard to roll after chilling, it might have been chilled for too long or didn't have enough butter/liquid. Let it sit at room temperature for a few minutes to soften slightly before rolling. If your layers baked up unevenly, ensure your oven is preheated properly and your baking sheet is not warped. Using parchment paper helps with even heat distribution. Remember, baking is a learning process, and each attempt brings you closer to mastering this delicious authentic Russian honey cake.
Addressing Common Baking Challenges
One common challenge when making an easy authentic Russian honey cake is layers that crack or break when handling. This often happens if the layers are rolled too thinly or if they haven too much flour, making them brittle. Aim for a thickness of about 1.5-2 mm, which provides some flexibility. Rolling between parchment paper significantly reduces breakage risk during transfer. If a layer does crack, don't panic! The frosting and chilling process will help glue it back together, and the crumb coating will hide imperfections on the outside.
Another issue can be a frosting that is too runny or too stiff. If your cream cheese frosting is too runny, it might be due to overmixing, using low-fat cream cheese, or not chilling the finished cake long enough. Adding a tablespoon of powdered sugar or a bit more softened cream cheese can sometimes help thicken it slightly before assembly.
If it's too stiff, your cream cheese might not have been soft enough, or you might have overmixed. A splash of milk or cream (1/2 teaspoon at a time) can help loosen it, but add very sparingly. Getting the frosting consistency right is important for achieving the moist texture of your easy Medovik.
The Sweet Reward: Enjoying Your Homemade Medovik
After patiently baking, layering, and chilling, the moment finally arrives to enjoy your homemade easy authentic Russian honey cake. This is where all your efforts pay off! The subtle sweetness of the honey, the tender, moist layers that yield easily to the fork, and the rich, creamy frosting create a harmonious blend of flavors and textures that is truly unique. Taking that first bite of a perfectly chilled slice is incredibly satisfying.
Share your creation with family and friends. Medovik is a cake meant to be enjoyed in good company. Explain the process, the history, and how you tackled making this easy Medovik yourself. The visible layers are always a conversation starter. Celebrating your baking success makes the reward even sweeter, proving that mastering an authentic Russian honey cake is achievable for any beginner baker.
Savoring the Flavors of Authentic Russian Honey Cake
The flavor profile of an authentic Russian honey cake is distinct and comforting. The primary taste comes from the caramelized honey in the baked layers. As the honey is heated with the butter and sugar, it undergoes chemical changes that deepen its flavor, giving it notes of caramel and toffee. This isn't just a sweet cake; it has a complex, slightly earthy sweetness from the honey.
This rich, honeyed flavor is beautifully balanced by the creamy, slightly tangy frosting. Whether you use a cream cheese or sour cream base, the cool, dairy-rich frosting provides a wonderful contrast to the cake layers. As the frosting soaks in, it carries its flavor throughout the cake, ensuring every bite is moist and flavorful. The texture becomes incredibly tender, almost melt-in-your-mouth, making it a truly delightful experience to savor each layer of your easy authentic Russian honey cake.
We love seeing what our community creates! If you've made this easy authentic Russian honey cake using our recipe, we encourage you to share your experience. Did you find the steps easy to follow? What did you think of the flavor and texture? Your feedback helps us improve and inspire other beginner bakers to try new things.
Baking is a journey, and making an easy Medovik is a significant and rewarding step, especially into the world of regional baking. Celebrate your achievement – you've successfully baked a classic authentic Russian honey cake! Keep exploring new recipes and techniques with BakeWithEase, and don't hesitate to tackle your next baking challenge. Happy baking!
Frequently Asked Questions
What makes this Russian Honey Cake recipe "easy"?
This recipe simplifies the traditional Medovik by using readily available ingredients and step-by-step instructions specifically designed for beginner bakers. We focus on achievable techniques without sacrificing authentic flavor.
Can I substitute any ingredients in this Easy Authentic Russian Honey Cake recipe?
While substituting ingredients is possible, it may affect the texture and flavor of the final cake. We recommend sticking to the recipe for the best results, especially when first learning. Honey is essential and cannot be substituted.
How long does it take to make this Easy Authentic Russian Honey Cake?
The total time, including preparation, baking, and chilling, is approximately 3-4 hours. The chilling time is crucial for the cake layers to soften and the flavors to meld together properly.
What's the best way to store leftover Russian Honey Cake?
Store leftover cake in an airtight container in the refrigerator for up to 3-4 days. The cake actually tastes better after a day or two as the flavors continue to develop.
Why is the chilling process so important for this Easy Authentic Russian Honey Cake?
Chilling allows the honey-infused cream to fully saturate the cake layers, resulting in a moist and flavorful cake. It's a critical step for achieving the authentic Medovik texture.
Final Reflection: The Sweetness of Tradition, the Simplicity of Creation
The enduring appeal of the Medovik lies not just in its rich, honeyed flavor, but in its ability to bridge generations and cultures. This seemingly simple cake, perfected over centuries, offers a delicious gateway to understanding Russian culinary heritage, proving that authentic doesn't have to mean complicated.
Making this cake, with its layers of delicate honey-soaked sponge and creamy frosting, felt like more than just baking; it was a connection to a history rich in tradition and family. The process itself, while detailed, was surprisingly manageable, dispelling the myth that authentic recipes are inaccessible to the average home baker. The best things in life are simple,
a phrase often repeated in my family, resonated deeply as I savored the final product. This recipe, I believe, embodies that sentiment perfectly.
Now, it's your turn. Don't be intimidated by the seemingly complex steps; embrace the opportunity to create something beautiful and delicious. Try your hand at this authentic Russian honey cake. Let the aroma of honey and spices fill your kitchen, and share the joy of this culinary journey with your loved ones. The experience, like the cake itself, is a treasure to be savored and remembered.
Unlock Your Inner Pastry Chef: Bake Your Own Medovik!
Thanks for joining us on this delicious journey into the world of Russian honey cake! We hope you now feel confident tackling this seemingly complex treat. Ready to take your baking skills to the next level?
- Bake your own Medovik: This recipe is your starting point – try it out and see the magic unfold in your kitchen! Don’t be afraid to experiment with your own twists.
- Share your baking triumph: Post a picture of your Medovik on social media and tag us – we’d love to see your creation!
- Explore other recipes on BakeWithEase.com: Discover a treasure trove of easy-to-follow baking recipes perfect for all skill levels.
Ready to embark on your Medovik adventure? What delicious variation will you try first?