
Dense Cake Disaster? How to Bake a Light and Airy Cake

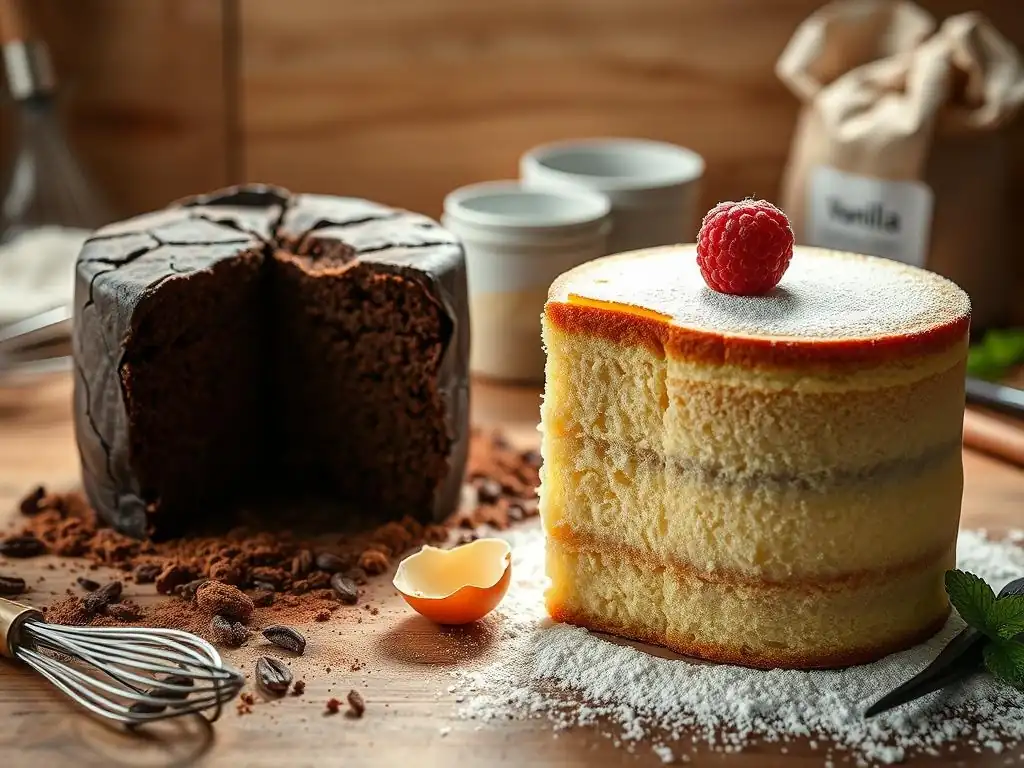
Welcome to BakeWithEase, your haven for conquering all things baking! Ever dreamt of effortlessly creating a light and airy cake that practically floats off the plate? Imagine the delighted faces as your masterpiece melts in their mouths. We're here to help you leave behind those dense cake disasters and unlock the secrets to baking perfection. Intrigued? Let's dive in and discover the techniques that will transform your cakes forever!
- Baking a Light and Airy Victoria Sponge Cake
- Introduction: Achieving a Perfect Victoria Sponge
- Understanding Why Cakes Can Be Dense
- Key Ingredients for a Light Victoria Sponge
- Mastering Baking Techniques for a Light Victoria Sponge
- Troubleshooting Common Cake Issues
- Victoria Sponge Cake Recipe: A Detailed Guide
- Tips and Tricks for Consistent Results
- Perfecting Texture: Further Exploration
- Conclusion: Enjoy Your Perfectly Light Victoria Sponge!
-
Frequently Asked Questions
- How do I prevent my cake from being dense and heavy?
- What role does creaming butter and sugar play in achieving a light cake?
- What types of flour are best for making light and airy cakes?
- Can overmixing the cake batter cause a dense cake?
- What are some common leavening agents used in light and airy cake recipes?
- Final Reflection: The Sweet Science of a Perfect Rise
- Unleash Your Inner Baker: Bake the Perfect Cake Today!
Baking a Light and Airy Victoria Sponge Cake
Introduction: Achieving a Perfect Victoria Sponge
The Victoria Sponge is a true classic of British baking, beloved for its simple elegance and delightful texture. At its best, it features two tender sponges that are wonderfully light and airy, sandwiched together with jam and cream. However, many home bakers encounter the frustration of a cake that turns out heavy, dense, or even tough instead of achieving that coveted delicate crumb.
Achieving that perfect light and airy texture isn't just about following a recipe; it's understanding the science behind the ingredients and techniques. This guide will walk you through the common pitfalls that lead to dense cakes and provide you with the knowledge and steps needed to consistently bake a Victoria Sponge that rises beautifully and melts in your mouth, ensuring your "light and airy cake recipe" attempts are successful.
Understanding Why Cakes Can Be Dense
Density in a cake can be the result of several factors, often working in combination. It's a common baking problem, and understanding the 'why' is the first step to fixing it. While various issues can contribute, two primary culprits are improper gluten development and a failure to incorporate or retain enough air in the batter.
Identifying the specific cause of a dense cake requires a bit of detective work, looking at everything from your ingredients to your mixing method and even your oven. Once you can pinpoint the issue, you can adjust your technique or recipe to ensure your next baking project results in a beautifully light texture.
Gluten Development and its Impact
Gluten is a protein structure that forms when two proteins, glutenin and gliadin, found in wheat flour, are hydrated and agitated (like during mixing). This network provides structure to baked goods. In bread making, robust gluten development is desired for chewiness, but in cakes, too much gluten results in a tough, dense texture. Cake flour, for instance, typically contains a lower protein percentage, often between 6% and 8%, compared to all-purpose flour which might range from 10% to 12%. This lower protein content naturally limits gluten formation.
Overmixing is a major contributor to excessive gluten development in cake batters. Once the wet and dry ingredients are combined, continued mixing causes the gluten proteins to link together more strongly. Imagine a delicate spiderweb (light gluten) becoming a thick rope (overdeveloped gluten). This rope structure prevents the cake from expanding properly during baking, trapping air bubbles and leading to a heavy, rubbery texture. Therefore, minimizing mixing once flour is added is critical for a light and airy cake recipe.
Common Causes of Density in Cakes
Beyond overdeveloped gluten, several other factors frequently lead to dense cakes. One common issue is inaccurate measurement of ingredients, particularly flour and leavening agents. Too much flour adds excess structure and weight, while too little baking powder or soda won't produce enough gas to lift the batter. For example, simply scooping flour directly from the bag with a measuring cup can pack it down, resulting in up to 25% more flour than intended by weight, drastically altering the desired light consistency.
Another frequent cause is using ingredients at the wrong temperature. Cold butter and eggs don't emulsify properly and won't incorporate air effectively during the creaming stage. Similarly, an oven that is too cool or fluctuates significantly will prevent the cake from rising quickly and setting correctly, leading to a collapsed or dense center. Even minor issues like opening the oven door too early can disrupt the delicate structure as it bakes.
Key Ingredients for a Light Victoria Sponge
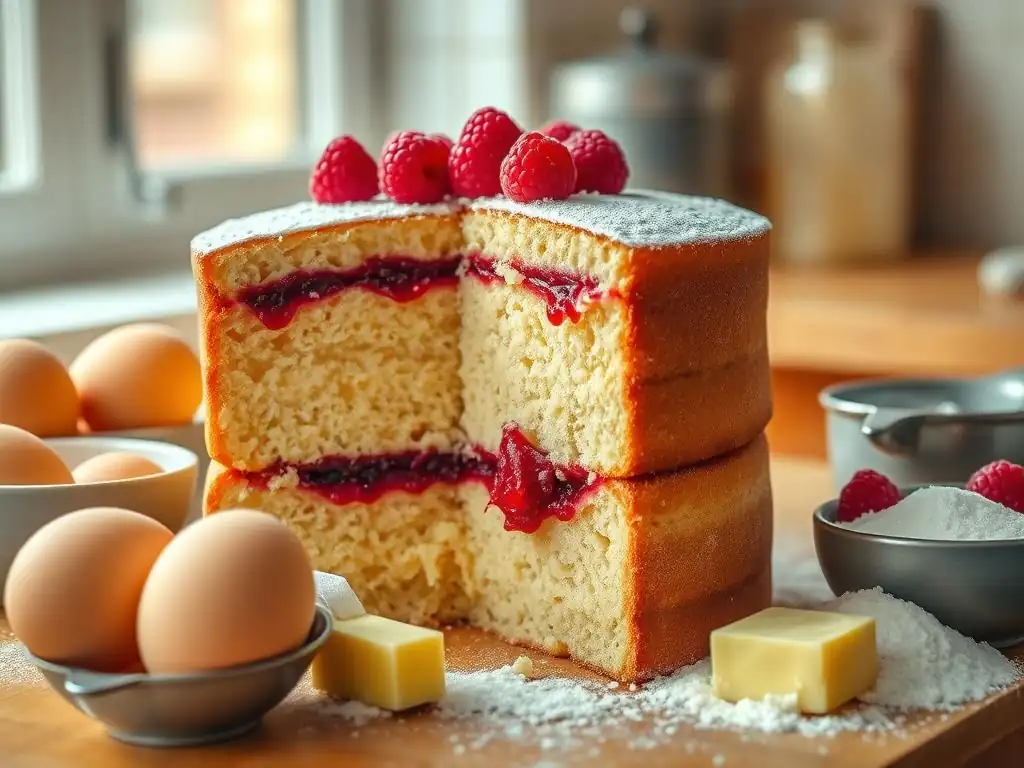
The ingredients you choose and how you prepare them are foundational to achieving a light and airy cake. Each component plays a specific role in creating the desired structure and texture. Using the right type and quality of ingredients, and ensuring they are at the correct temperature, is just as important as the mixing method itself.
Think of your ingredients as building blocks. Using the wrong type or quantity of a block means the final structure won't be as strong, tall, or light as intended. For a classic Victoria Sponge, a few key ingredients are particularly critical for achieving that signature delicate crumb.
Cake Flour: The Ideal Choice
Cake flour is highly recommended for a light and airy Victoria Sponge cake recipe due to its low protein content, typically ranging from 6% to 8%. This lower protein level means less gluten will develop when the flour is mixed with liquid, resulting in a more tender crumb compared to using all-purpose flour. The fine milling of cake flour also contributes to a softer texture.
Using cake flour helps minimize the risk of developing tough gluten strands, even with minimal mixing after adding the dry ingredients. This allows the leavening agents to work more effectively, creating tiny air pockets that contribute to the cake's lightness. While you can substitute all-purpose flour (often requiring a slightly different ratio or technique), cake flour provides the most reliable path to that delicate, melt-in-your-mouth texture.
Caster Sugar: For Delicate Sweetness and Texture
Caster sugar, also known as superfine sugar, is the preferred sugar for a Victoria Sponge. Its fine crystals dissolve more quickly and evenly into the butter during the creaming process compared to granulated sugar. This rapid dissolution helps create a smooth, airy mixture with the butter, which is crucial for incorporating air into the batter from the start.
Beyond aiding in aeration during creaming, caster sugar contributes to a finer, more delicate crumb structure in the finished cake. The uniform distribution of sugar crystals helps prevent tunneling and ensures even browning. While granulated sugar can be used, it may result in a slightly coarser texture and can sometimes leave a gritty mouthfeel if not creamed thoroughly.
Softened Butter: Essential for Creaming
Softened butter is absolutely critical for the creaming method, which is fundamental to a light Victoria Sponge. Butter is an emulsion of fat, water, and milk solids. When softened to a pliable consistency (around 65-70°F or 18-21°C), it can trap air bubbles as it's beaten with sugar. These tiny air pockets expand during baking, contributing significantly to the cake's rise and airy texture.
Butter that is too cold will not cream properly; it will be difficult to beat, and sugar crystals won't be able to cut into it to create air pockets effectively. Butter that is too warm or melted will result in a greasy mixture that cannot hold air. The ideal consistency is soft enough to easily indent with your finger but still firm enough to hold its shape. This state allows the butter to incorporate maximum air, a key factor in any light and airy cake recipe.
Baking Powder: The Primary Leavening Agent
Baking powder is the main chemical leavening agent in a classic Victoria Sponge. It's a complete leavener, containing both an acid and a base, which react when moistened and heated to produce carbon dioxide gas. This gas creates bubbles within the batter, causing the cake to rise and expand, creating that desirable light and airy texture. Most baking powders are double-acting, meaning they produce a small amount of gas when mixed with liquid and a second, more significant release when heated in the oven.
Using the correct amount of fresh baking powder is vital. Too little and the cake won't rise properly, resulting in a dense texture. Too much can cause the cake to rise too quickly and then collapse, or leave an unpleasant chemical taste. A typical ratio for a standard Victoria Sponge might be around 1.5 to 2 teaspoons per cup of flour, but always follow the specific recipe's guidance and ensure your baking powder hasn't expired (you can test freshness by adding a teaspoon to hot water – it should bubble vigorously).
Free-Range Eggs: Binding and Aerating
Eggs play multiple crucial roles in a cake, acting as binders, emulsifiers, and leavening agents. In a Victoria Sponge, using free-range eggs often means you're starting with high-quality ingredients, but more importantly, ensuring they are at room temperature (around 70°F or 21°C) is key for aeration. Room temperature eggs emulsify more easily with the creamed butter and sugar mixture, creating a stable base that can hold the incorporated air.
When beaten, egg proteins stretch and form a network that traps air. This trapped air, combined with the gas from the baking powder, contributes significantly to the cake's rise and open crumb structure. The proteins also coagulate (set) during baking, providing structure and stability to the cake. Using eggs that are too cold can cause the batter to curdle when added to the creamed mixture, negatively impacting the texture and volume.
Mastering Baking Techniques for a Light Victoria Sponge
Beyond selecting the right ingredients, the techniques you employ in the kitchen are paramount to achieving a light and airy cake. Even with the best ingredients, improper mixing, baking, or cooling can lead to a disappointing result. Precision and gentleness are often key when aiming for a delicate crumb.
Each step in the baking process, from preparing your pan to cooling the finished cake, contributes to the final texture. Mastering these techniques will give you confidence in your ability to produce consistently light and delicious cakes, making any "light and airy cake recipe" a success.
The Creaming Method: Achieving a Light and Fluffy Batter
The creaming method is fundamental to incorporating air into a Victoria Sponge batter and is a cornerstone of any light and airy cake recipe. It involves beating softened butter and sugar together until the mixture becomes pale, light, and fluffy. As the sugar crystals are agitated against the fat molecules of the butter, they create tiny air pockets within the mixture.
This process typically takes several minutes, often 5-10 minutes or even longer with an electric mixer, depending on the speed and temperature of the ingredients. The mixture should increase noticeably in volume and change from a dense yellow to a pale, almost white color. This trapped air provides the initial lift for the cake, supplementing the leavening action of baking powder, and is essential for a light texture.
Gentle Folding: Preventing Overmixing
Once the dry ingredients (flour and baking powder) are added to the wet ingredients, the goal shifts from incorporating air to gently combining everything without developing excess gluten or deflating the batter. This is where the technique of folding becomes crucial. Folding involves using a spatula to cut down through the center of the batter, scrape along the bottom of the bowl, and bring the mixture from the bottom up and over the top.
This gentle action incorporates the dry ingredients just until no streaks of flour are visible. Overmixing at this stage will develop gluten, leading to a tough cake, and can also deflate the air bubbles you worked so hard to create during creaming. Aim for minimal stirs – often just 10-15 folds are sufficient – stopping as soon as the flour is incorporated. A truly light and airy cake recipe relies on this gentle touch.
Consistent Oven Temperature: Ensuring Even Baking
A consistent oven temperature is vital for a cake to rise properly and bake through evenly. If the oven is too cool, the cake will rise slowly, potentially drying out before it's fully set, or it might collapse because the structure hasn't solidified. If the oven is too hot, the crust might set too quickly, preventing further rise, or the cake might burn on the outside while remaining raw in the center. Most Victoria Sponge recipes call for a moderate temperature, often around 350°F (175°C).
Using an oven thermometer is highly recommended, as oven thermostats can be inaccurate by as much as 50°F (10°C) or more. Preheat your oven fully before putting the cake in, typically for 20-30 minutes after the light indicates it's ready, to ensure the temperature is stable. Avoid opening the oven door unnecessarily during baking, especially in the first two-thirds of the baking time, as this can cause a sudden drop in temperature and lead to a sinking cake.
Pan Preparation: Preventing Sticking
Proper pan preparation is essential not just for easy removal but also for the cake's structure. A cake that sticks to the pan can tear or break when removed, compromising its appearance and potentially its texture. For a Victoria Sponge, lining the bottom of the cake tins with parchment paper is a standard practice.
Greasing and flouring the sides of the tin (or using a baking spray containing flour) provides a non-stick surface. However, some bakers argue that greasing the sides too much can prevent the cake batter from climbing the sides as it rises, potentially leading to a slightly flatter cake. A common approach for a light and airy cake recipe is to grease and flour the bottom and just lightly grease the sides, or solely rely on parchment paper on the bottom.
Troubleshooting Common Cake Issues
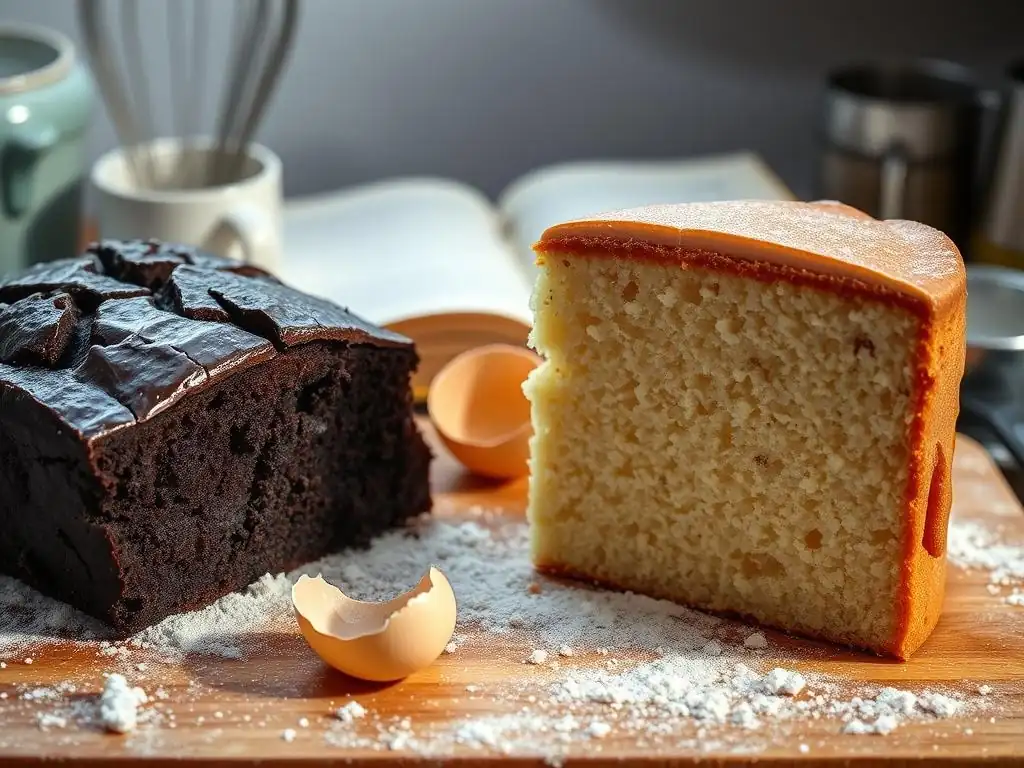
Even experienced bakers encounter problems occasionally. A dense cake, a sunken center, or a dry texture are common frustrations. Knowing how to identify the cause and apply the right fix is part of mastering the art of baking. These issues are often interconnected and stem from the fundamental principles of ingredients, mixing, and baking temperature.
Addressing these problems requires a systematic approach, reviewing each step of your process against the ideal techniques for a light and airy cake recipe. Don't be discouraged by setbacks; each "oops" moment is a valuable learning opportunity that helps you refine your skills.
Identifying and Addressing Dense Cake
As discussed earlier, a dense cake is typically heavy for its size and has a tight, compact crumb. This can be identified by the cake not rising as much as expected and feeling heavy when lifted. The primary culprits are often overmixing the batter after adding flour, inaccurate measurement (especially too much flour or too little leavening), or using ingredients at the wrong temperature.
To address a dense cake issue, first check your recipe against standard ratios and ensure your measurements are accurate, preferably using a kitchen scale. Review your mixing technique – are you folding gently once the flour is added, or are you using an electric mixer too long? Ensure your butter and eggs are at room temperature before you start. Finally, verify your oven temperature with an independent thermometer and make sure it's fully preheated. Adjusting these factors will significantly improve your chances of a light crumb.
Preventing and Correcting Sinking Cakes
A cake that sinks in the middle after baking is another common issue, often resulting in a dense layer at the bottom of the crater. Common causes include underbaking (the center hasn't set), opening the oven door too early (a sudden temperature drop), too much leavening (causes the cake to rise too fast and collapse), or too much liquid in the batter.
To prevent sinking, ensure you bake the cake for the full recommended time or until a skewer inserted into the center comes out clean. Avoid opening the oven door before the cake is mostly set (typically after 20-25 minutes for a Victoria Sponge). Double-check your leavening agent measurements and ensure they haven't expired. While correcting a sunken cake isn't possible after it's baked, understanding the cause allows you to prevent it in future attempts at your light and airy cake recipe.
Maintaining Moisture in Your Cake
A dry cake, while not always dense, is also undesirable. It lacks the tender, moist quality expected from a good Victoria Sponge. Dryness is most often caused by overbaking, which evaporates too much moisture, or by using too much flour or too little fat/liquid in the recipe.
To maintain moisture, pay close attention to baking time and test for doneness accurately (see the skewer test below). Consider using a kitchen scale for flour measurement to avoid adding excess. Ensure your fat (butter) and liquid (eggs, milk if used) ratios are correct according to a reliable light and airy cake recipe. Proper cooling is also important; cool the cake in the tin for a short period before transferring to a wire rack to prevent condensation from making the bottom soggy while still allowing residual heat to finish the bake gently.
Victoria Sponge Cake Recipe: A Detailed Guide
Here is a classic method for a light and airy Victoria Sponge cake recipe, designed to minimize common pitfalls and maximize your chances of success. This recipe uses the creaming method, which is ideal for achieving a tender, open crumb. Remember to have all ingredients at room temperature before you begin.
This guide breaks down the process step-by-step, highlighting the key techniques discussed earlier that contribute to a light and airy texture. Pay close attention to mixing times and oven temperature for the best results.
Ingredients List for Victoria Sponge Cake
For two 8-inch (20cm) sponge layers:
- 200g softened unsalted butter
- 200g caster sugar
- 4 large free-range eggs, at room temperature
- 200g cake flour (or all-purpose flour sifted with 2 tsp cornstarch per 140g flour)
- 2 tsp baking powder
- A pinch of salt (optional)
- 1-2 tbsp milk (if needed for consistency), at room temperature
For filling:
- Good quality strawberry or raspberry jam
- Whipped double cream or buttercream frosting
Step 1: Preparing Ingredients and Equipment
Preheat your oven to 350°F (175°C). Lightly grease two 8-inch (20cm) round cake tins and line the bottoms with parchment paper. You can lightly grease the sides too, or leave them ungreased to help the cake climb. Ensure all your ingredients, especially the butter and eggs, are at room temperature. This is crucial for successful creaming and emulsification, vital steps for a light and airy cake recipe.
Weigh all your dry ingredients using a kitchen scale for accuracy. Sift the cake flour (or your flour mixture), baking powder, and salt (if using) together into a bowl. Having everything measured, sifted, and ready before you start mixing prevents delays and ensures the batter isn't waiting around.
Step 2: Creaming Butter and Sugar
In a large mixing bowl, beat the softened butter with an electric mixer (or a wooden spoon and some elbow grease) until it is smooth and creamy. Gradually add the caster sugar, a spoonful at a time, while continuing to beat. Once all the sugar is added, beat the mixture on medium-high speed for 5-8 minutes (longer if by hand).
The mixture should become very pale in color, significantly increased in volume, and light and fluffy in texture. This is the creaming process, where air is incorporated into the butter and sugar matrix. Scrape down the sides of the bowl occasionally to ensure even mixing. This step is non-negotiable for a light and airy cake.
Step 3: Incorporating Eggs Gradually
Crack the eggs into a separate small bowl and whisk them lightly. With the mixer on low speed, gradually add the beaten eggs to the creamed butter and sugar mixture, a little at a time. Add about a quarter of the eggs, beat until just combined, then add the next batch. If the mixture looks like it's starting to curdle (separate), add a tablespoon of the sifted flour mixture.
Continue adding the eggs gradually, beating minimally after each addition until just combined. Once all the eggs are incorporated, beat for about 30 seconds more until the mixture is smooth and emulsified. Avoid overbeating at this stage, as you want to maintain the air incorporated during creaming.
Step 4: Gently Folding in Flour and Baking Powder
Add half of the sifted dry ingredients (flour, baking powder, salt) to the wet mixture. Using a large metal spoon or rubber spatula, gently fold the flour into the batter. Use a cutting and folding motion: cut down through the center, scoop under, and bring the mixture up and over. Rotate the bowl as you go.
Add the remaining dry ingredients and continue to fold gently until just combined and no dry streaks of flour are visible. Do not overmix! Overmixing develops gluten, leading to a tough cake. If the batter seems very stiff, you can gently fold in 1-2 tablespoons of room temperature milk. The goal is a smooth, dropping consistency. This step is crucial for maintaining the lightness achieved earlier.
Step 5: Baking to a Golden Brown
Divide the batter evenly between the two prepared cake tins. Gently smooth the tops with the back of a spoon or spatula. Place the tins in the center of the preheated oven. Bake for 20-25 minutes, or until the cakes are golden brown, have risen well, and spring back lightly when gently pressed in the center.
Do not open the oven door during the first 15-20 minutes of baking. Baking time can vary slightly depending on your oven. The cakes should shrink slightly away from the sides of the tin when done.
Step 6: Cooling, Filling, and Serving
Once baked, remove the cakes from the oven and let them cool in their tins on a wire rack for about 5-10 minutes. This allows the cakes to set slightly before handling. Running a knife gently around the edge of the tin can help loosen them.
Carefully turn the cakes out onto the wire rack to cool completely. Ensure the cakes are fully cooled before filling, otherwise, the jam and cream will melt. Once cool, spread one cake layer with jam and the other with whipped cream or buttercream. Sandwich the layers together. Dust the top with a little caster sugar or powdered sugar if desired. Slice and enjoy your perfectly light and airy Victoria Sponge!
Tips and Tricks for Consistent Results
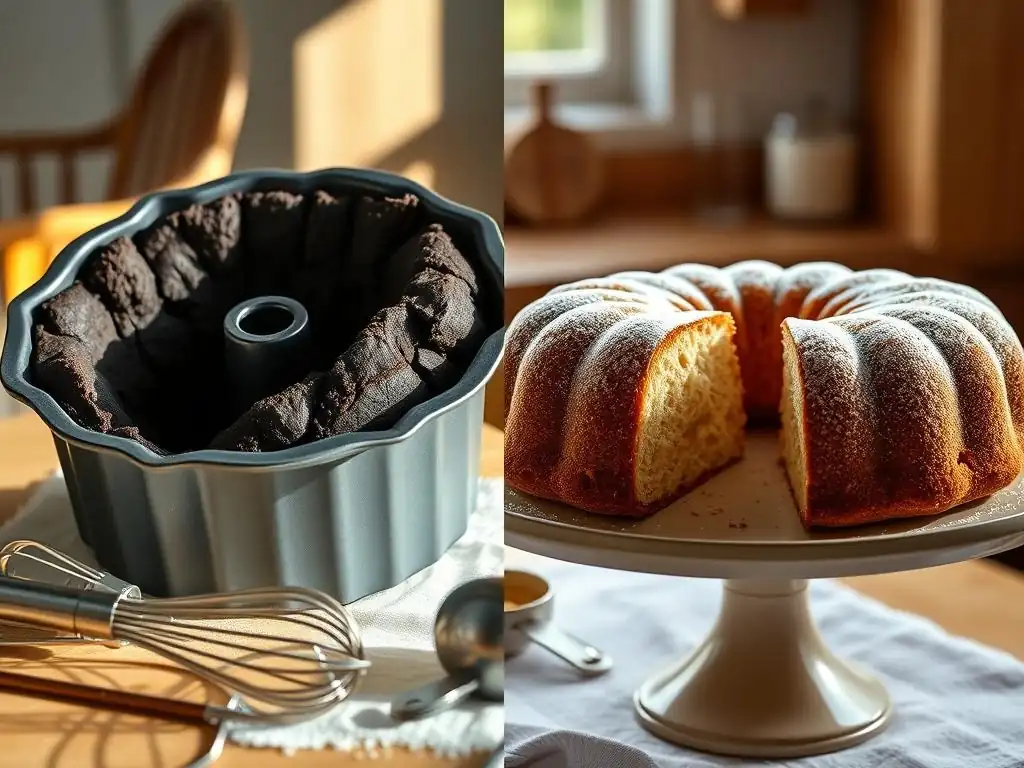
Achieving a consistently light and airy cake comes down to attention to detail and understanding the nuances of the baking process. Even small variations in technique or ingredient handling can impact the final outcome. Here are some extra tips to help you succeed every time with your light and airy cake recipe.
Building consistent baking habits will not only improve your Victoria Sponge but will also translate to success with other cake recipes. Practice makes perfect, and paying attention to these details will make a significant difference.
Accurate Ingredient Measurement
Using a kitchen scale to weigh your ingredients, especially flour, is the most accurate way to ensure consistent results. Volume measurements (using cups) can vary significantly depending on how ingredients are scooped or packed. For example, a cup of flour can weigh anywhere from 120g to 160g depending on how it's measured.
Weighing ingredients removes this variability, ensuring you are using the exact amounts specified in the recipe. This precision is particularly important for the flour-to-leavening ratio and the overall balance of wet and dry ingredients, which directly impacts the cake's structure and lightness. Investing in an inexpensive digital scale is one of the best things a baker can do for consistency.
Avoiding Overmixing and Overbaking
We've touched on this, but it bears repeating: overmixing and overbaking are two of the most common reasons for a less-than-perfect cake. Overmixing develops tough gluten strands, while overbaking dries out the cake and can make it dense or crumbly.
During mixing, stop as soon as the dry ingredients are just incorporated – a few small lumps are better than a smooth, overmixed batter. For baking, trust your oven thermometer and the signs of doneness (golden brown, springs back, shrinks from sides, skewer test). It's better to pull the cake a minute or two early and let residual heat finish the job than to leave it in too long.
Testing for Doneness: The Skewer Test
The skewer test is a reliable way to check if your cake is fully baked through, especially in the center where it's thickest. Towards the end of the recommended baking time, gently insert a thin wooden skewer or toothpick into the very center of the cake.
If the skewer comes out clean, with no wet batter attached, the cake is done. If it comes out with wet batter or moist crumbs, the cake needs more time. Remember to test in the center, as the edges will bake and set faster. This simple test prevents underbaking (which causes sinking) and overbaking (which causes dryness).
Adapting Recipes for Different Ovens
Ovens vary significantly in temperature accuracy and how they distribute heat. As mentioned, an oven thermometer is crucial for knowing the true temperature. If your oven consistently runs hot or cool, you may need to adjust the thermostat accordingly. For example, if your oven is 25°F (5°C) hotter than the setting, set it 25°F lower than the recipe specifies.
Altitude can also affect baking, particularly the leavening process and moisture evaporation. At higher altitudes, cakes tend to rise faster and dry out more quickly. Recipes sometimes need adjustments like slightly reducing baking powder, increasing liquid, or increasing oven temperature slightly for a shorter baking time. Be aware of your specific baking environment and how it might affect your light and airy cake recipe results.
Perfecting Texture: Further Exploration
Once you've mastered the basic techniques for a light and airy Victoria Sponge, you might want to explore how subtle variations can further refine the texture. Understanding the role of different components allows you to experiment thoughtfully and tailor recipes to your preferences.
Experimentation, armed with knowledge, is how bakers truly perfect their craft. These areas offer opportunities to understand how minor ingredient changes can impact the final crumb structure of your light and airy cake recipe.
Exploring Different Flour Types for Subtle Variations
While cake flour is standard for its low protein, exploring other options can offer subtle texture shifts. Using a high-quality, finely milled pastry flour (typically 8-9% protein) can also yield a very tender cake, sometimes with slightly more structure than cake flour. Some recipes for very delicate cakes even suggest substituting a small portion of the flour (perhaps 10-15%) with cornstarch or rice flour, which contain no gluten and can contribute to a softer, more powdery crumb.
However, be cautious with substitutions, as they can alter the liquid absorption and overall structure. A classic Victoria Sponge relies on the specific properties of cake flour or a well-balanced all-purpose flour blend to achieve its characteristic lightness without being too fragile. Understanding the protein content is key when considering alternatives.
The Impact of Liquid Ratios on Texture
The amount of liquid in a cake batter significantly impacts gluten development and moisture. Too little liquid results in a dry, crumbly batter that can lead to a dense cake, as there isn't enough moisture to properly hydrate the flour and activate the leavening efficiently. Too much liquid can make the batter too slack, potentially leading to a cake that collapses or has a heavy, wet texture.
The liquid in a Victoria Sponge comes primarily from the eggs and potentially a small amount of milk. The ratio of wet to dry ingredients is crucial for creating a batter with the correct consistency – one that drops easily from a spoon but isn't watery. Getting this balance right ensures proper gluten hydration without overdevelopment and provides enough moisture for a tender crumb, essential for a light and airy cake recipe.
Conclusion: Enjoy Your Perfectly Light Victoria Sponge!
Baking a light and airy Victoria Sponge is a rewarding experience. While it may seem simple, achieving that perfect delicate crumb requires attention to detail in both ingredients and technique. By understanding the importance of factors like using softened butter and room temperature eggs, mastering the creaming and folding methods, and ensuring accurate measurements and oven temperature, you can significantly improve your results.
Don't be discouraged by early attempts that might not be perfect. Each cake you bake is a learning opportunity. With practice and by applying the tips and techniques outlined here, you'll be well on your way to consistently baking beautiful, light, and airy Victoria Sponge cakes that are a joy to share and eat. Happy baking!
Frequently Asked Questions
How do I prevent my cake from being dense and heavy?
Preventing a dense cake involves several factors. Pay close attention to proper measuring of ingredients, avoiding overmixing the batter, and ensuring your leavening agents are fresh and active.
What role does creaming butter and sugar play in achieving a light cake?
Creaming butter and sugar properly is crucial. It incorporates air into the mixture, which helps create a light and airy texture in the baked cake. Aim for a pale and fluffy consistency.
What types of flour are best for making light and airy cakes?
Cake flour or pastry flour are usually best. They contain less gluten than all-purpose flour, resulting in a more tender and delicate crumb, contributing to a lighter texture.
Can overmixing the cake batter cause a dense cake?
Yes, absolutely. Overmixing develops the gluten in the flour, which leads to a tougher and denser cake. Mix until just combined to avoid this issue.
What are some common leavening agents used in light and airy cake recipes?
Common leavening agents include baking powder and baking soda. These ingredients create carbon dioxide bubbles, which help the cake rise and achieve a light and airy texture.
Final Reflection: The Sweet Science of a Perfect Rise
The pursuit of the perfect light and airy cake transcends mere baking; it's a testament to the power of precision and understanding. A seemingly simple dessert, the light and airy cake demands a delicate balance of ingredients, technique, and patience. This article explored the common pitfalls that lead to dense, disappointing results, offering solutions rooted in scientific understanding of baking chemistry. But more than just a recipe fix, mastering this skill unlocks a deeper appreciation for the artistry involved in transforming simple ingredients into something truly delightful.
The journey from dense disaster to airy delight is a microcosm of life itself – requiring careful attention to detail and a willingness to learn from mistakes. The subtle nuances of ingredient ratios, the precise timing of mixing, and the gentle handling of the batter all contribute to the final outcome. This process mirrors many aspects of life where careful planning and execution are crucial for success. As Julia Child wisely said, Always remember that you're not cooking for a critic, you're cooking for yourself and your friends.
This sentiment perfectly captures the joy and personal satisfaction derived from baking, and particularly from achieving that elusive lightness in a cake.
Now, consider your own baking journey. What have you learned from your successes and failures? Perhaps this article has provided you with a new perspective, a fresh technique, or simply the confidence to experiment further. I encourage you to embrace the challenge, to experiment with different recipes and techniques, and to savor the sweet rewards of your efforts. The next time you bake, remember the science, but also remember the joy – the joy of creating something beautiful and delicious, something that brings happiness to yourself and those you share it with. The perfect light and airy cake awaits.
Unleash Your Inner Baker: Bake the Perfect Cake Today!
Thanks for joining us on this delicious journey into lighter-than-air cakes! We hope you now feel confident tackling even the most challenging recipes. Ready to put your newfound skills to the test?
- Bake your dream cake! Use what you've learned to create a light and fluffy masterpiece. Experiment with different flavors and frostings – you'll be amazed at the results!
- Share your baking triumphs (and even your flour mishaps!) We'd love to see your creations! Tag us on social media and inspire others.
- Challenge yourself with a new, more advanced cake recipe. Don't be afraid to push your baking boundaries – the possibilities are endless!
What unexpected ingredient will you add to your next cake to elevate its flavor profile? Let's hear your ideas!