
The Best Way to Test if Your Yeast is Truly Active

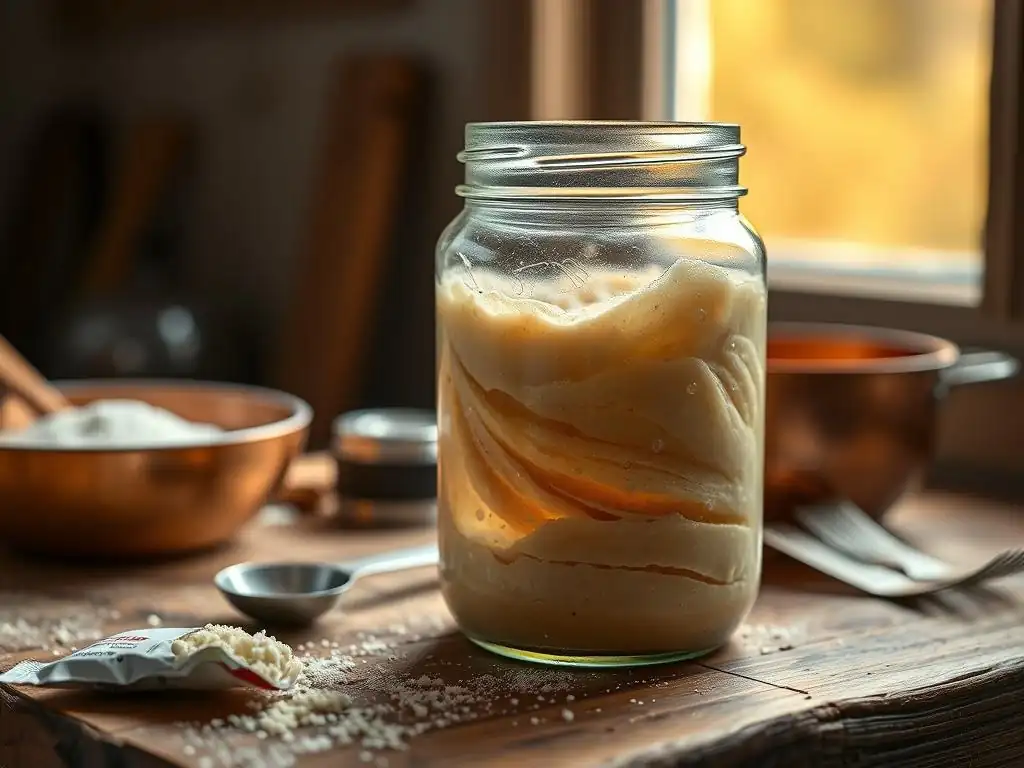
Welcome to BakeWithEase, your trusted companion in the delightful world of baking! Are you ready to unlock the secrets to consistently perfect baked goods? Before you even think about flour or sugar, ensuring your yeast is active is paramount. This article delves into the crucial skill of how to test active yeast, a simple yet often overlooked step that can make or break your next culinary masterpiece. Discover the foolproof method that separates baking success from potential disappointment, and never waste ingredients on inactive yeast again! Let the baking begin!
- The Best Way to Test if Your Yeast is Truly Active: BakeWithEase Guide
- Why is Yeast Activity Important for Baking?
- How to Test Active Yeast: The Ultimate Guide for Bakers
- Step-by-Step: Testing Your Yeast for Baking Success
- Troubleshooting Your Yeast Test: Common Issues and Solutions
- Using Active Yeast for Perfect Baking Results
- Alternative Methods for Checking Yeast Viability
- Recognizing the Signs of Good Yeast Activity in Dough
- Frequently Asked Questions About Yeast and Baking
- Conclusion: Ensuring Baking Success Starts with Active Yeast
-
Frequently Asked Questions
- How does BakeWithEase recommend testing yeast for activity?
- Why is testing yeast activity important before baking?
- What temperature should the water be for testing yeast activity according to BakeWithEase?
- What happens if the yeast doesn't foam after the recommended time?
- Can I use this yeast activity test for all types of yeast?
- Final Reflection: The Humble Yeast, A Rising Force in Our Kitchens
- Unleash Your Inner Baker: Get Baking with Active Yeast!
The Best Way to Test if Your Yeast is Truly Active: BakeWithEase Guide
Welcome to BakeWithEase! We know that successful baking, especially bread baking, hinges on one crucial ingredient: yeast. This tiny microorganism is responsible for the magical rise that transforms simple dough into airy, delicious loaves. But what happens when your yeast isn't quite up to the task? Learning how to test active yeast is a fundamental skill that can save you time, ingredients, and baking heartbreak.
This guide will walk you through the simplest and most effective method to verify your yeast's vitality before you commit it to your precious ingredients. Whether you're using active dry yeast, instant yeast, or even fresh yeast, ensuring it's alive and kicking is the first step towards a perfectly risen bake.
Why is Yeast Activity Important for Baking?
Yeast is the engine of fermentation in baking. It consumes sugars in your dough and produces carbon dioxide gas and alcohol. The gas gets trapped within the gluten structure of the dough, causing it to expand and rise. This process is vital for developing the texture, flavor, and aroma that we love in baked goods like bread, rolls, and certain pastries. Without active yeast, your dough simply won't rise, resulting in a dense, heavy, and often unappetizing product.
Understanding yeast activity is key to mastering baking timing and achieving consistent results. Different types of yeast behave slightly differently, but all require the right conditions – moisture, warmth, and food (sugar) – to become active and start their work. Knowing how to test active yeast gives you confidence in your ingredients and control over the baking process.
Understanding Yeast's Role in Baking Success
Yeast performs a biological process called fermentation, a cornerstone of traditional baking. During this process, enzymes within the yeast break down complex carbohydrates into simpler sugars, which the yeast then consumes. The byproducts are carbon dioxide gas and ethanol. The carbon dioxide is what creates the bubbles within the dough, causing it to expand, a process known as leavening. The ethanol contributes to the flavor development and evaporates during baking.
Beyond leavening, yeast fermentation also contributes significantly to the complex flavors and aromas that make freshly baked bread so appealing. The longer fermentation process allows for the development of organic acids and other compounds that add depth and character to the final product. A vigorous, healthy yeast population ensures efficient fermentation, leading to a well-risen loaf with excellent texture and a rich, nuanced flavor profile.
Consequences of Using Inactive Yeast
Using yeast that is inactive or dead is one of the most common reasons for baking failures, particularly when baking bread. The most immediate and obvious consequence is a lack of rise, often resulting in a dough that remains dense and heavy even after proofing. This leads to a baked item that is flat, compact, and has a brick-like texture rather than a light, airy crumb.
Furthermore, inactive yeast means wasted ingredients. Imagine mixing flour, water, salt, and possibly other costly additions like eggs, butter, or seeds, only for the dough to sit stubbornly without expanding. This not only ruins the batch but can also be incredibly frustrating for the baker. Learning how to test active yeast before mixing your dough is a simple preventative step that saves ingredients, time, and avoids that sinking feeling of a failed bake.
How to Test Active Yeast: The Ultimate Guide for Bakers
Knowing how to test active yeast is a fundamental skill for any baker, particularly those venturing into the world of yeasted doughs. While yeast straight from a fresh, unopened package is usually reliable, yeast that has been stored for a while, is close to its expiration date, or has been exposed to air or improper temperatures can lose its potency. The simple sugar test is the most reliable and widely used method to check if your yeast is ready to work its magic.
This test is quick, easy, and requires only a few basic kitchen staples you likely already have on hand. It provides a clear visual indicator of your yeast's health within minutes. By incorporating this step into your baking routine, you can confidently proceed with your recipe, knowing that your leavening agent is viable and effective.
The Simple Sugar Test for Yeast Activity
The sugar test, often called "proofing" the yeast, relies on providing the yeast with its ideal conditions: warm liquid (water or milk) and food (sugar). When active yeast is introduced to warm liquid, it rehydrates. Adding sugar provides an immediate, easily accessible food source. If the yeast is alive, it will quickly begin to consume the sugar and produce carbon dioxide gas.
This gas production is visible as a foamy layer that forms on the surface of the liquid. The amount and speed of the foaming indicate the yeast's vitality. A healthy, active batch of yeast will produce a significant, bubbly foam within 5-10 minutes, often doubling or tripling in volume on the surface. If little to no foam appears after this time, it's a strong sign that your yeast is inactive and should not be used for baking.
What You'll Need to Perform the Yeast Activity Test
Performing the sugar test to check how to test active yeast requires minimal supplies. You'll need:
- Warm Water: Approximately 1/2 cup (about 120 ml). The temperature is crucial – too hot will kill the yeast, too cold won't activate it. Aim for a temperature between 105°F and 115°F (40°C to 46°C). This feels comfortably warm, not hot, to the touch.
- Granulated Sugar: About 1 teaspoon (5 grams). This provides the immediate food source for the yeast.
- Yeast: One packet of active dry yeast (about 2 1/4 teaspoons or 7 grams) or the equivalent amount of yeast specified in your recipe. If using instant yeast, the test is slightly different as it doesn't technically need to be proofed, but this test still works to confirm viability.
- A Small Bowl or Measuring Cup: A clear glass container is best so you can easily observe the foaming action.
Gathering these items takes mere moments but provides invaluable insight into the readiness of your yeast for baking. It's a small investment of time for a significant return in baking success.
Step-by-Step: Testing Your Yeast for Baking Success
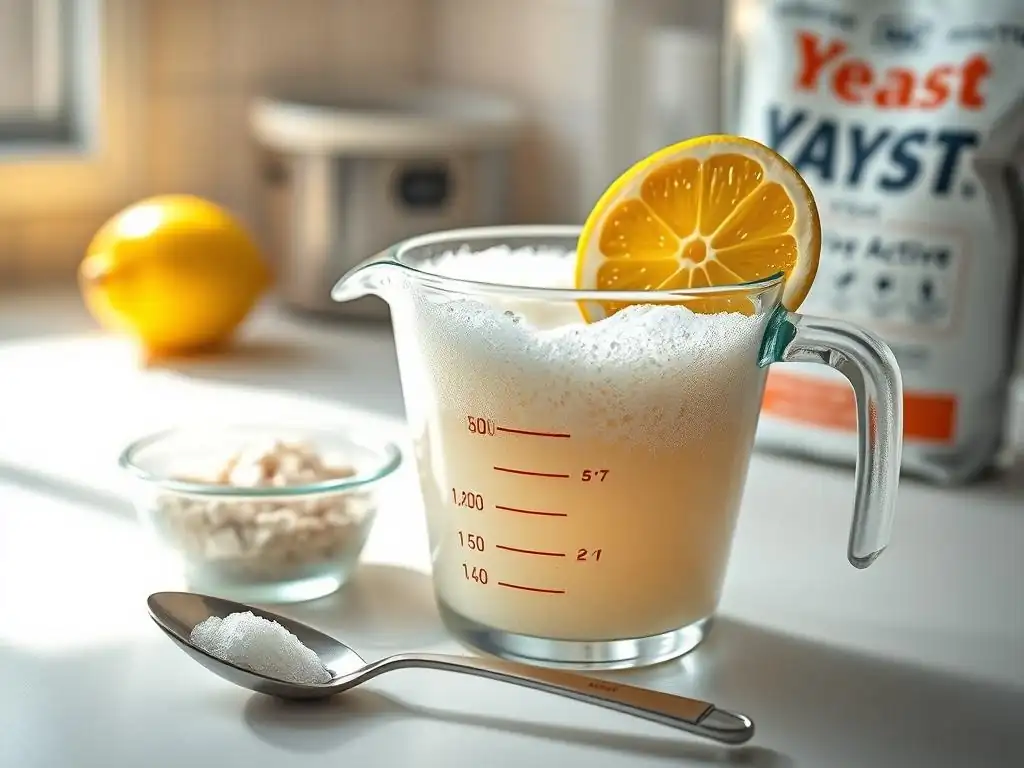
Ready to learn exactly how to test active yeast using the simple sugar method? This process is straightforward and takes only a few minutes. Follow these steps carefully to ensure you get an accurate reading on your yeast's viability. It's a habit worth building into your baking routine, especially if you're using yeast from an older package.
By completing these steps, you'll gain confidence in your yeast before you even start mixing your main dough ingredients. This preemptive check is a hallmark of successful bakers, preventing frustration and wasted resources down the line.
Step 1: Gathering Your Ingredients and Equipment
Before you begin the test, lay out everything you'll need. Have your warm water measured out, ensuring it's within the target temperature range of 105°F to 115°F (40°C to 46°C). Using a thermometer is the most accurate way to check this, but if you don't have one, run tap water until it feels warm but not hot – slightly warmer than body temperature is a good approximation. Have your teaspoon of sugar ready, and measure out the yeast. A standard packet contains about 2 1/4 teaspoons, which is a common amount for many recipes.
Ensure your bowl or measuring cup is clean. Any residue, especially from soap, can potentially inhibit yeast activity. A clear glass cup or bowl allows you to easily see the reaction happening on the surface and sides. Having everything prepped makes the process smooth and quick, allowing you to focus on the observation phase.
Step 2: Mixing the Yeast, Sugar, and Water
Now, combine your ingredients. Pour the warm water into your clean bowl or measuring cup. Stir in the teaspoon of sugar until it dissolves. The sugar provides the food source that will fuel the yeast's initial burst of activity.
Next, gently sprinkle the yeast over the surface of the sugary water. Do not stir it in vigorously at this stage, especially if using active dry yeast. Allowing it to sit on the surface for a minute or two helps the granules rehydrate gradually. If you are using instant yeast, you can stir it in gently. Once the yeast is added, set the mixture aside in a warm, draft-free spot. A common mistake when learning how to test active yeast is placing the mixture in a cold location, which can slow down or prevent activation.
Step 3: Observing the Yeast Activation Process
This is the waiting and watching step. After mixing, leave the bowl undisturbed. Within 5 to 10 minutes, you should start to see activity on the surface of the liquid. If your yeast is active and healthy, a layer of foam will begin to form on top. This foam is evidence of the carbon dioxide gas being produced as the yeast consumes the sugar.
Observe the amount and speed of the foaming. A vigorous, bubbly reaction that creates a noticeable layer of foam, perhaps even doubling the volume at the surface within 10 minutes, indicates very healthy yeast. If you see just a few scattered bubbles or a thin, weak layer of foam, the yeast may be less active but still potentially usable, though it might result in a slower or less significant rise.
Step 4: Interpreting the Results: Is Your Yeast Active?
After 10 minutes, evaluate what you see.
- Significant Foam: If there is a thick, bubbly layer of foam covering the surface, your yeast is active and ready to use! Proceed with your baking recipe with confidence.
- Minimal or No Foam: If there is little to no foam, just cloudy water, or maybe a few tiny bubbles, your yeast is likely inactive or dead.
- Check your water temperature – was it too hot or too cold?
- Was the yeast past its expiration date?
- Did you use enough sugar?
- If you're confident you followed the steps correctly and still got no foam, the yeast is not viable and will not leaven your dough.
Do not use yeast that fails this test. It will not provide the necessary rise for your baked goods. It's better to discard the inactive yeast and start with a fresh packet than to waste all your other ingredients on a dough that won't rise. Knowing how to test active yeast and interpret the results is a vital step in preventing baking disappointments.
[ ] Confirm water temperature was correct (105-115°F)
[ ] Check yeast expiration date
[ ] Note the amount of foam after 10 minutes
[ ] Determine if yeast is active based on results
Troubleshooting Your Yeast Test: Common Issues and Solutions
Sometimes, even when trying to figure out how to test active yeast, things don't go exactly as planned. You might perform the sugar test and not see the expected foamy reaction. Don't worry, this doesn't necessarily mean you did something wrong, but it does require a bit of troubleshooting to understand why your yeast isn't activating. Identifying the issue is the first step to fixing it or knowing when to get a new batch of yeast.
Understanding the common pitfalls in the yeast activation process can help you perform the test correctly and interpret the results accurately in the future. It's all part of the learning process in mastering yeast-based baking.
My Yeast Isn't Foaming: What Could Be Wrong?
If you've performed the sugar test and your yeast isn't foaming after 10 minutes, several factors could be the culprit. The most common issue is incorrect water temperature. Water that is too hot (above 120°F or 49°C) can kill the yeast organisms, while water that is too cold (below 100°F or 38°C) will significantly slow down or prevent activation. Ensure you are using water within the ideal 105-115°F range.
Another frequent reason is using inactive yeast. This could be due to the yeast being past its expiration date, improper storage (exposure to heat, moisture, or air), or simply a bad batch. If you suspect the yeast itself is the issue, try the test again with a fresh packet from a different source or lot number. Also, ensure you used enough sugar; it's the immediate food source the yeast needs to start fermenting quickly for the test.
Understanding Expired Yeast and Its Impact
Yeast is a living organism, and like all living things, it has a lifespan. Over time, yeast cells die, and the population of active cells diminishes. The expiration date on the package is a good indicator of when the manufacturer expects the yeast to remain fully potent if stored correctly. Using yeast past its expiration date, especially if it's several months or years beyond that date, significantly increases the likelihood that a large percentage of the yeast cells are no longer viable.
Expired yeast will either fail to activate at all or will show only weak, minimal foaming during the sugar test. Even if it shows a slight reaction, using expired yeast in a recipe will likely result in a poor or incomplete rise because there aren't enough active cells to produce the required carbon dioxide gas. While some very slightly expired yeast might still work, performing the how to test active yeast method is the only reliable way to know for sure. It's generally best practice to use yeast before its expiration date for optimal results.
Ensuring Accurate Results: Avoiding Common Mistakes
To get the most accurate results when testing yeast activity, avoid these common mistakes. First, be precise with your water temperature. Guessing can lead to water that is too hot or too cold. Use a thermometer if possible, or err on the side of slightly cooler rather than too hot if guessing. Second, use the correct proportions of water, sugar, and yeast as outlined in the test steps – typically 1/2 cup water, 1 tsp sugar, and 1 packet (or 2 1/4 tsp) yeast.
Third, ensure your container is clean and free of soap residue, which can hinder yeast activity. Fourth, give it enough time, but not too long. While 10 minutes is usually sufficient for a clear result, waiting significantly longer (like 30 minutes) might show some activity even from weak yeast, giving a false sense of confidence. Conversely, stopping the test after only 2-3 minutes is too short a time to see full activation. Stick to the 5-10 minute window for interpretation.
Using Active Yeast for Perfect Baking Results
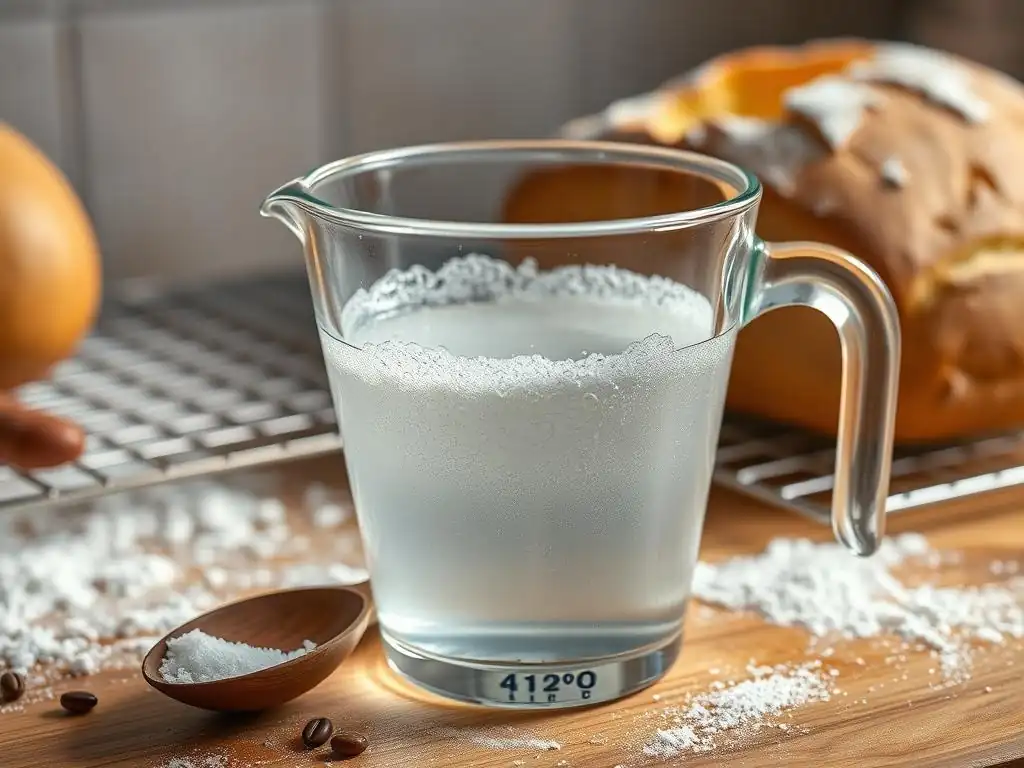
Once you've successfully performed the how to test active yeast method and confirmed that your yeast is bubbling with life, you're ready to incorporate it into your baking. Using active yeast is the foundation for achieving that desired light, airy texture and robust flavor in your bread and other yeasted goods. Knowing your yeast is potent gives you a significant head start towards a successful bake.
Integrating this active yeast into your recipe correctly is the next step. The method of incorporation can sometimes vary slightly depending on the recipe and the type of yeast used (active dry vs. instant), but the principle remains the same: get the yeast into the dough so it can start fermenting the sugars present in the flour and other ingredients.
Incorporating Active Yeast into Your Recipes
For active dry yeast that you've just proofed using the sugar test, the foamy mixture is now your activated yeast. You will typically add this entire mixture (yeast, water, and sugar from the test) directly to your dry ingredients or wet ingredients as specified by your recipe.
Remember to account for the liquid used in the proofing step as part of the total liquid required in your recipe. For example, if your recipe calls for 1.5 cups of water and you used 0.5 cups to proof the yeast, you'll only add the remaining 1 cup of water to the dough mixture.
If you are using instant yeast and performed the test simply to confirm its viability, you can add the foamy mixture to your dough as described above, adjusting the recipe's liquid content. Alternatively, since instant yeast doesn't require proofing before mixing, you could simply discard the tested portion and measure out fresh instant yeast from the same package to mix directly with your dry ingredients, assuming the test confirmed the batch is good.
Adjusting Recipes Based on Yeast Activity Levels
While the sugar test is primarily a pass/fail check (active or inactive), you might observe varying degrees of activity – some yeast might foam incredibly vigorously, while others show a more moderate reaction. If your yeast shows only moderate foaming but is clearly active, you might consider slightly increasing the fermentation time (the rising time) in your recipe to allow the less vigorous yeast population more time to leaven the dough.
Conversely, if you see an exceptionally rapid and strong reaction during the test, your yeast is highly potent. This might mean your dough rises slightly faster than the recipe indicates. Be attentive to the dough's volume during the rising steps rather than strictly adhering to time cues. Dough is ready for the next step (like shaping or baking) when it has roughly doubled in size, regardless of whether that took 45 minutes or 75 minutes. Learning how to test active yeast helps you anticipate these variations.
Tips for Storing Yeast Properly to Maintain Activity
Proper storage is key to ensuring your yeast remains active and potent for as long as possible, ideally until its expiration date. Both active dry yeast and instant yeast should be stored in an airtight container to protect them from moisture and air. Exposure to moisture can prematurely activate the yeast, while exposure to air degrades its quality over time.
For optimal longevity, store yeast in a cool, dry place. The refrigerator is an excellent option for packets or jars you use relatively frequently, as the cool temperature slows down the rate at which the yeast cells die. For longer-term storage, the freezer is even better. Yeast can remain viable for several months, even past its printed expiration date, when stored properly in the freezer. Simply let the yeast come closer to room temperature for about 10-15 minutes before using it or performing the how to test active yeast check.
Alternative Methods for Checking Yeast Viability
While the sugar test is the most reliable and recommended method for determining how to test active yeast, especially for active dry yeast, there are a couple of other less formal ways people sometimes assess yeast viability. These methods might not be as precise as the sugar test but can offer a quick, albeit less definitive, indication.
It's important to remember that these alternative methods should not replace the sugar test if you have any doubts about your yeast's freshness or plan to embark on a critical bake. They are more supplemental checks or methods for different yeast types.
The "Pinch Test" for a Quick Assessment
Some experienced bakers might use a very informal "pinch test" for fresh yeast (also known as cake yeast or compressed yeast). Fresh yeast should be moist, crumbly, and have a distinct, pleasant yeasty aroma. If it appears dry, hard, discolored (greyish or brown spots), or smells unpleasant (sour or moldy), it is likely inactive or spoiled.
For dry yeasts, a similar "smell test" can sometimes offer a clue. Fresh, active dry or instant yeast should have a faint, slightly bready or nutty aroma. If it smells stale, musty, or rancid, its activity may be compromised. However, smell alone is not a definitive indicator of viability. The only true way how to test active yeast effectively is through the sugar test, which demonstrates actual metabolic activity.
Using a Hydrometer to Measure Yeast Fermentation
In professional settings or for serious homebrewers and bakers interested in precise control, a hydrometer can be used to measure the specific gravity of a liquid before and after fermentation. While not a direct test of yeast activity in the sense of seeing foam, it measures the result of yeast activity – the consumption of sugars.
You would mix yeast with a sugary solution and measure the initial specific gravity. After a set time, you measure the specific gravity again. A drop in specific gravity indicates that the yeast has consumed sugars and produced alcohol and CO2, proving it is active. This method is far more involved and requires specialized equipment compared to the simple sugar test, making it impractical for most home bakers simply wanting to know how to test active yeast for their next loaf.
Recognizing the Signs of Good Yeast Activity in Dough
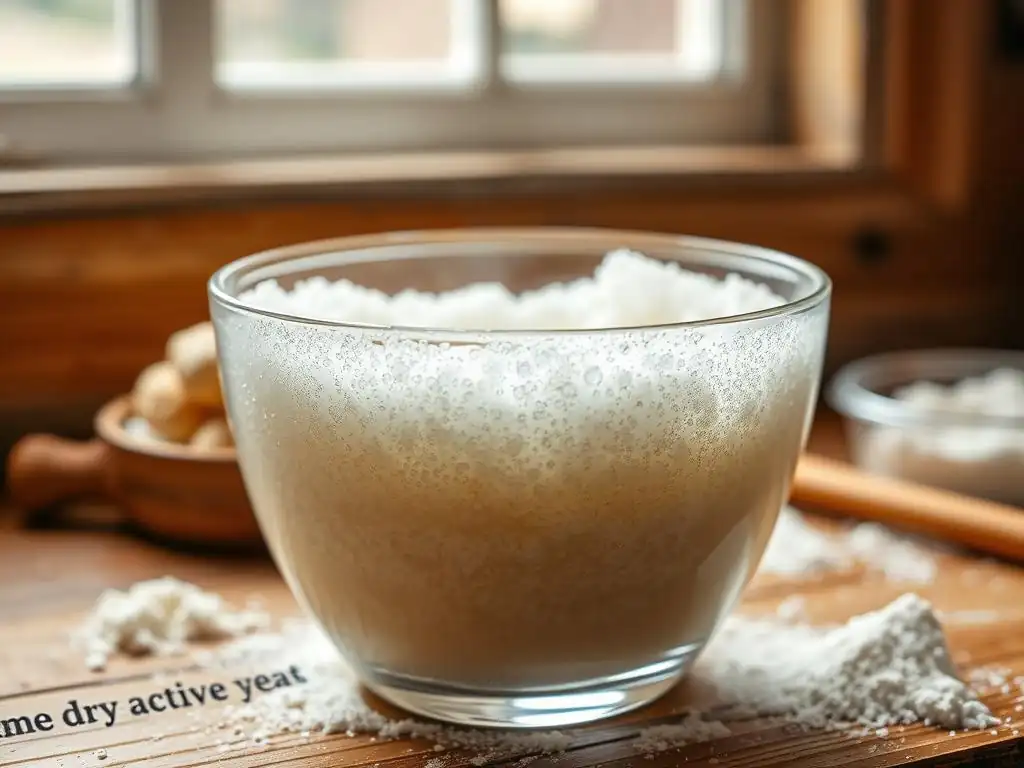
Beyond performing the initial sugar test, you can also observe your dough for signs that the yeast is working correctly during the fermentation and proofing stages. These visual and textural cues are strong indicators that your active yeast is successfully leavening the dough and developing flavor. Learning to recognize these signs is a crucial part of developing your baking intuition.
Monitoring your dough's progress throughout the rising stages allows you to make adjustments as needed, such as extending the rise time if the yeast seems sluggish or punching down sooner if it's rising very quickly. This responsiveness is key to achieving consistent baking results.
Visual Cues: Dough Rising and Bubbling
The most obvious sign of good yeast activity in dough is its increase in volume. As the yeast produces CO2 gas, the dough expands. During the first rise (bulk fermentation), the dough should visibly grow, often doubling or even tripling in size depending on the recipe and temperature. You might also see bubbles forming on the surface of the dough or just beneath it.
After shaping, during the final rise (proofing), the dough pieces should become noticeably larger and puffier. Gently poking the dough can also reveal its state: if it springs back immediately, it needs more time; if it holds the indentation or springs back very slowly, it's likely properly proofed and ready to bake.
A dough that shows little to no volume increase after the expected rising time, despite having active yeast initially, might indicate issues with temperature, dough development (like insufficient kneading), or other recipe factors, but a failed rise most often points back to inactive yeast if the initial test wasn't done or failed.
Understanding Dough Texture and Smell
As yeast ferments, it affects the dough's texture and develops characteristic aromas. A well-fermented dough will often feel lighter and more airy compared to its initial state. It should feel elastic yet extensible, holding its shape somewhat but also capable of being stretched. If the dough feels dense and heavy even after the expected rise time, it's a sign that leavening hasn't occurred properly.
Furthermore, active yeast fermentation produces a pleasant, slightly alcoholic, and bready aroma. As the fermentation progresses, more complex, sometimes tangy, notes can develop, particularly in longer or slower fermentations (like sourdough, though that involves wild yeast and bacteria). A dough that smells purely like flour and water, or worse, has an off, unpleasant smell, may indicate inactive yeast or spoilage. A healthy, active yeast population contributes positively to both the texture and the delicious smell of baking bread.
Frequently Asked Questions About Yeast and Baking
Even with a clear understanding of how to test active yeast, bakers often have questions about yeast types, usage, and storage. Here are some common queries we hear at BakeWithEase, along with simple answers to help you navigate the world of yeasted baking.
Addressing these common questions helps demystify yeast and empowers you to make informed choices in your baking, leading to greater success and enjoyment.
What Type of Yeast is Best for Baking?
The "best" type of yeast depends largely on the recipe and your preference. The two most common types for home baking are Active Dry Yeast and Instant Yeast.
- Active Dry Yeast: Requires proofing in warm water before adding to other ingredients (this is the type most commonly tested using the sugar method described above). It's robust and reliable.
- Instant Yeast: Can be mixed directly with dry ingredients without prior proofing. It's slightly more potent and faster-acting than active dry yeast.
Some recipes specifically call for one type over the other, but often they can be used interchangeably (though you might need to adjust quantities or rising times slightly). Fresh yeast is less common for home bakers due to its shorter shelf life but is favored by some for its flavor.
Can I Use Expired Yeast?
While yeast stored perfectly in the freezer might remain viable past its expiration date, yeast that is significantly past its date, especially if stored improperly, is very likely inactive. Using expired yeast that fails the how to test active yeast check will result in a failed bake.
It is generally not recommended to use expired yeast without testing it first. If it passes the sugar test with flying colors, you might get away with using it, but for best results and to avoid disappointment, it's always safest to use yeast that is within its date or has been stored correctly and proven active by testing.
How Does Temperature Affect Yeast Activity?
Temperature is one of the most critical factors influencing yeast activity.
- Warm Temperatures (100-115°F / 38-46°C): Ideal for activating yeast (as in the sugar test) and promoting rapid fermentation.
- Room Temperature (70-80°F / 21-27°C): Good for standard rising times in many recipes. Fermentation is active but not excessively fast.
- Cool Temperatures (40-50°F / 4-10°C): Significantly slows down yeast activity. This is used for long, slow rises (retarding) in the refrigerator, which can develop more complex flavors.
- Hot Temperatures (above 120°F / 49°C): Can damage or kill yeast cells.
- Freezing Temperatures (32°F / 0°C and below): Makes yeast dormant, preserving its viability for long-term storage.
Controlling temperature throughout the baking process, from activating the yeast to rising the dough, is essential for managing fermentation speed and achieving the desired results.
Conclusion: Ensuring Baking Success Starts with Active Yeast
Mastering the art of baking, particularly with yeast, involves understanding the key players and ensuring they are ready for action. Learning how to test active yeast is a simple, yet profoundly impactful skill that every baker should have in their toolkit. This quick sugar test provides the confidence you need to start your recipe knowing your leavening agent is viable and potent.
By taking just a few minutes to perform this simple check, you can avoid the frustration and wasted ingredients that come with using inactive yeast. A successful rise is the foundation of wonderful bread, rolls, and other yeasted treats. So, the next time you pull out that packet of yeast, remember to give it the test – your baking success depends on it! Happy baking from all of us at BakeWithEase!
Frequently Asked Questions
How does BakeWithEase recommend testing yeast for activity?
BakeWithEase recommends the proofing method, where you mix yeast with warm water and sugar. If it foams up within 5-10 minutes, it's active. This confirms the viability of the yeast.
Why is testing yeast activity important before baking?
Testing yeast activity is crucial to ensure your baked goods rise properly. Using inactive yeast can result in dense, flat, and undesirable final products. It saves you time and wasted ingredients.
What temperature should the water be for testing yeast activity according to BakeWithEase?
The water should be warm, ideally between 105-115°F (40-46°C). This temperature range provides the optimal environment for the yeast to become active without killing it.
What happens if the yeast doesn't foam after the recommended time?
If the yeast doesn't foam after 5-10 minutes, it's likely inactive and should be discarded. Using it will likely lead to baking failures. Buy new yeast for your recipe.
Can I use this yeast activity test for all types of yeast?
Yes, this simple test works for active dry yeast, instant yeast, and fresh yeast. However, the activation time may vary slightly depending on the type and age of the yeast.
Final Reflection: The Humble Yeast, A Rising Force in Our Kitchens
The ability to reliably test yeast activity is not just a baking nicety; it's the cornerstone of successful bread making, ensuring consistent results and minimizing frustration. A simple test can transform a potentially disappointing bake into a culinary triumph, proving that even the smallest ingredient can have a significant impact on the final product.
The seemingly insignificant act of checking yeast viability speaks volumes about our relationship with food and the process of creation. It's a connection to a long history of baking, a tradition passed down through generations. The simple act of observing the yeast's reaction – the telltale bubbles, the frothy rise – is a powerful reminder of the living organisms at work, transforming simple flour and water into something nourishing and delicious. Bread is the staff of life,
a simple phrase, yet it encapsulates the profound importance of this humble ingredient and the process of its creation.
So, the next time you reach for that packet of yeast, take a moment. Don't just assume it's active; test it. Embrace the simple science, the satisfying proof of life, and the potential for a perfectly risen loaf. Remember the power of observation, the joy of a successful bake, and the enduring connection between simple ingredients and the magic they create. Let this knowledge empower you to confidently tackle any baking challenge, knowing you have the tools to ensure success from the very first step.
Unleash Your Inner Baker: Get Baking with Active Yeast!
Thanks for taking the time to learn about yeast activation! You've now got the knowledge to ensure every bake is a success. Ready to put your new skills to the test?
- Bake a loaf of your favorite bread today! Use your newfound knowledge to ensure perfectly risen dough.
- Share your baking triumphs (or challenges!) on social media using #BakeWithEaseActiveYeast. Let's connect and learn from each other!
- Consider experimenting with different types of yeast – perhaps try a sourdough starter next time!
What delicious creation will you bake first, now that you're a yeast-activation expert?