
Decoding Yeast: Active Dry vs. Instant vs. Fresh for Perfect Rise

Welcome to BakeWithEase, your secret ingredient for baking success! Ever wondered if you're using the right yeast for your recipe? Unlock the secrets to perfect rise and consistent results with our Active Dry Yeast Conversion Chart, your ultimate guide to navigating the world of yeast. Dive in to decode the differences between active dry, instant, and fresh yeast, and ensure your next bake is a masterpiece. Curious to know how much active dry yeast equals a teaspoon of instant? Read on to find out!
- BakeWithEase: Understanding Yeast for Baking Success
- Active Dry Yeast, Instant Yeast, and Fresh Yeast: An Overview
- Active Dry Yeast: Characteristics and Usage
- Instant Yeast: The Quick and Easy Option
- Fresh Yeast (Cake Yeast): The Traditional Choice
- Yeast Conversion Chart: Your Go-To Guide for Baking
- Choosing the Right Yeast for Your Recipe
- Tips for Perfect Yeast Activation and Proofing
- Storing Yeast Properly to Extend its Shelf Life
- Yeast Conversion Example: Pizza Dough
- Conclusion: Mastering Yeast for Exceptional Baking
- Frequently Asked Questions
- Final Reflection: The Humble Yeast: A Baker's Best Friend and a Science Lesson
- Unlock Your Baking Potential: Mastering Yeast Types!
BakeWithEase: Understanding Yeast for Baking Success
Baking is a delightful blend of art and science, and few ingredients are as foundational to its magic as yeast. This microscopic fungus is responsible for the airy texture and rich flavor in everything from rustic sourdough loaves to fluffy cinnamon rolls. At BakeWithEase, we believe that demystifying ingredients is the first step to mastering your craft, and understanding yeast is absolutely crucial for achieving that perfect rise every time.
This article dives deep into the world of yeast, comparing the three most common types: active dry, instant, and fresh. We'll explore how each one works, how to use them effectively, and, importantly, how to convert between them using an active dry yeast conversion chart and other ratios. Whether you're a beginner baker or looking to refine your techniques, gaining confidence with yeast will elevate your baking game considerably.
Mastering Leavening Agents: A Guide to Yeast
Leavening agents are the heroes of baked goods, creating the lift and texture we all love. While baking soda and baking powder rely on chemical reactions, yeast is a living organism that produces carbon dioxide gas through fermentation. This gas gets trapped within the dough's gluten structure, causing it to expand – a process known as proofing. The type of yeast you choose, how you handle it, and the conditions you provide all significantly impact the final result.
Understanding the nuances between active dry, instant, and fresh yeast is key to following recipes accurately and troubleshooting when things don't go as planned. Each type has its own characteristics regarding hydration needs, activation time, and shelf life. Knowing these differences allows you to make informed decisions, substitute effectively when necessary (referencing an active dry yeast conversion chart helps immensely here), and ensure your dough rises beautifully, leading to delicious and successful bakes.
Active Dry Yeast, Instant Yeast, and Fresh Yeast: An Overview
Before we delve into the specifics of each yeast type, it's helpful to get a general understanding of what yeast is and why it plays such a vital role in the baking process. Recognizing the distinct properties of active dry, instant, and fresh yeast is the first step towards choosing the right one for your recipe and handling it correctly.
This overview will provide a foundational knowledge base, setting the stage for a more detailed exploration of each type. We'll touch upon the basic function of yeast and highlight the key differences that distinguish active dry, instant, and fresh varieties from one another, giving you a clearer picture of their unique roles in leavening.
What is Yeast and Why is it Important in Baking?
Yeast is a single-celled microorganism belonging to the fungus family. Specifically, the type commonly used in baking is Saccharomyces cerevisiae. When provided with food (sugars and starches in the dough), moisture, and a suitable temperature, yeast consumes these nutrients through fermentation. A primary byproduct of this metabolic process is carbon dioxide gas (CO₂).
The CO₂ gas produced by the yeast gets trapped within the elastic network formed by gluten proteins in the dough. As the yeast continues to ferment and produce gas, the dough expands and rises. This leavening action creates the light, airy texture characteristic of breads and many other baked goods. Beyond leavening, yeast fermentation also contributes significantly to the flavor profile of baked goods, producing various aromatic compounds that develop during proofing and baking. Without yeast, most breads would be flat, dense, and lack the complex flavors we associate with fermented doughs.
Understanding Yeast Types: A Baker's Essential Knowledge
While all baking yeast is Saccharomyces cerevisiae, the different forms (active dry, instant, and fresh) are processed differently, affecting their activity level, storage requirements, and how they are used in recipes. Active dry yeast consists of dormant yeast cells encased in a thick cell wall, requiring rehydration (blooming) before use. This protective layer gives it a longer shelf life compared to fresh yeast.
Instant yeast, also known as rapid-rise or quick-rise yeast, is processed into smaller granules and has a more porous cell wall. This allows it to be added directly to dry ingredients without prior hydration, as it activates quickly upon contact with the liquid in the dough. Fresh yeast, or cake yeast, is a moist block of active yeast cells.
It is highly perishable and requires refrigeration but is prized by some bakers for its subtle flavor and consistent activity when fresh. Knowing these distinctions is crucial for successful baking and understanding how to use an active dry yeast conversion chart when substituting.
Active Dry Yeast: Characteristics and Usage
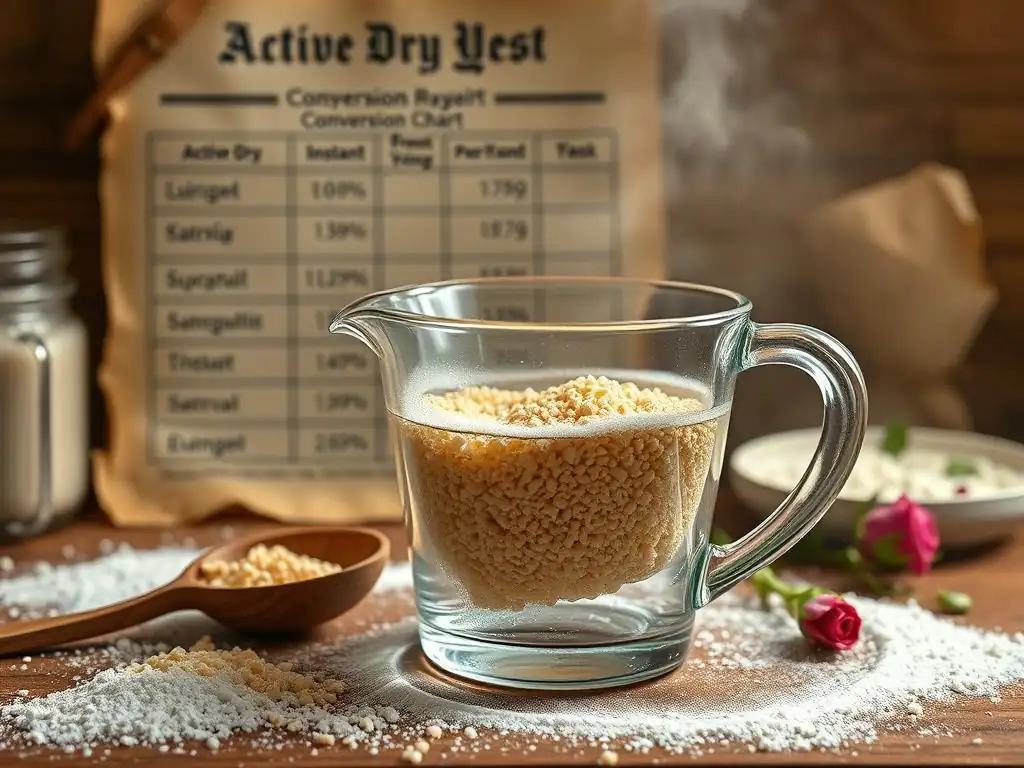
Active dry yeast is perhaps the most common type found in home kitchens. It typically comes in small packets or jars and has a granular texture. Its popularity stems from its relatively long shelf life and ease of use once properly activated.
Understanding how active dry yeast works, the necessary steps for activating it, and common issues you might encounter will help you use it successfully in your baking endeavors. This section will guide you through the process, ensuring your active dry yeast contributes to a beautiful rise.
How Active Dry Yeast Works: A Step-by-Step Guide
Active dry yeast contains dormant yeast cells that are dehydrated. To become active and begin fermenting, these cells need to be rehydrated in warm liquid. This process is called "blooming." The warm liquid (typically water or milk, usually between 105°F and 115°F, or 40°C and 46°C) wakes up the dormant cells and provides the necessary moisture for them to become metabolically active.
Once bloomed, the yeast is mixed with a small amount of sugar or flour. The yeast begins to feed on these simple carbohydrates, producing carbon dioxide gas. You'll see this as a foamy or frothy layer on the surface of the liquid, usually within 5 to 10 minutes. This foam is a clear indicator that the yeast is alive and active, ready to be added to the rest of your dough ingredients. If no foam appears, your yeast may be dead or the liquid wasn't at the correct temperature.
Activating Active Dry Yeast: The Blooming Process Explained
The blooming process for active dry yeast is simple but essential. First, measure the warm liquid specified in your recipe (remembering the 105-115°F or 40-46°C temperature range is ideal – too hot will kill the yeast, too cold won't activate it). Pour the liquid into a bowl or measuring cup. Sprinkle the active dry yeast over the surface of the liquid.
Next, add a pinch of sugar or about a teaspoon of flour to the liquid. This provides a food source to help jumpstart the yeast activity. Gently stir or let it sit for 5 to 10 minutes. You should see a foamy, bubbly layer form on the surface. This foam indicates that the yeast is active and ready to be used in your recipe. If after 10-15 minutes there is little to no activity, the yeast is likely dead and you should discard it and start with fresh yeast.
Troubleshooting Active Dry Yeast: Common Problems and Solutions
One of the most common issues with active dry yeast is failure to activate. This can happen for several reasons. The most frequent culprit is using liquid that is too hot or too cold. Water over 130°F (54°C) can kill yeast instantly, while water below 100°F (38°C) may not activate it effectively, leading to a slow or non-existent rise. Always use a thermometer if you're unsure of the temperature.
Another problem can be expired yeast. Yeast is a living organism, and its potency decreases over time, especially if not stored properly. Check the expiration date on the package. If it's past its prime, it's best to buy a new packet. If your yeast is stored in an airtight container in the refrigerator or freezer, it will last longer than at room temperature. If your bloomed yeast doesn't foam, discard the mixture and try again with fresh yeast.
Instant Yeast: The Quick and Easy Option
Instant yeast revolutionized home baking by simplifying the process. Unlike active dry yeast, it doesn't require a separate blooming step. This convenience makes it a favorite for many busy bakers and is often specified in recipes designed for a quicker rise.
Understanding the advantages of instant yeast and how to incorporate it directly into your recipes will save you time and effort. We'll also look at a direct comparison with active dry yeast to highlight their key differences and help you decide which might be better suited for various baking projects.
Benefits of Instant Yeast: Convenience and Speed
The primary benefit of instant yeast is its convenience. Because the granules are smaller and more porous, the yeast activates much faster upon contact with moisture. This means you can skip the blooming step required for active dry yeast. You simply add it directly to your dry ingredients (like flour and salt) before incorporating the liquids.
Instant yeast also tends to provide a more vigorous and rapid rise compared to active dry yeast, often reducing the overall proofing time needed for doughs. This makes it ideal for recipes like quick breads, rolls, or pizza dough when you're looking for a faster turnaround without sacrificing texture or flavor. Its reliability and ease of use make it an excellent choice for both novice and experienced bakers seeking efficiency.
Using Instant Yeast: Direct Addition to Dry Ingredients
Using instant yeast is straightforward. Simply measure the required amount of instant yeast and add it directly to your bowl containing the dry ingredients, such as flour, sugar, and salt. It's often recommended to keep the yeast separate from the salt initially, as high concentrations of salt can sometimes inhibit yeast activity, although this is less of a concern with instant yeast than with active dry.
After adding the yeast to the dry ingredients, give them a quick whisk or stir to distribute the yeast evenly. Then, proceed with adding your wet ingredients according to the recipe instructions. The yeast will begin to activate as soon as it comes into contact with the liquid in the dough, initiating the fermentation and rising process without any waiting period for blooming. This direct-mix method streamlines your workflow significantly.
Instant Yeast vs. Active Dry Yeast: A Direct Comparison
While both instant and active dry yeast are the same species of fungus, their processing leads to key differences in usage and performance.
| Feature | Active Dry Yeast | Instant Yeast |
|---|---|---|
| Activation | Requires blooming in warm liquid (105-115°F) | Can be added directly to dry ingredients |
| Rise Speed | Slower, more gradual rise | Faster, more vigorous rise |
| Granule Size | Larger granules | Smaller, more porous granules |
| Shelf Life | Good, especially when stored cold | Good, often slightly longer than ADY |
| Usage | Often preferred for longer, slower rises | Ideal for quicker recipes |
| Conversion | See an active dry yeast conversion chart | See an active dry yeast conversion chart |
Generally, you can substitute instant yeast for active dry yeast (and vice versa) by adjusting the quantity. A common rule of thumb for substitution is to use about 25% less instant yeast when substituting for active dry yeast, or about 25% more active dry yeast when substituting for instant. For precise conversions, using an active dry yeast conversion chart is highly recommended.
Fresh Yeast (Cake Yeast): The Traditional Choice
Fresh yeast, also known as compressed or cake yeast, is the oldest form of commercial baking yeast. It comes as a moist, crumbly block and is often preferred by professional bakers and those seeking a more traditional approach.
Working with fresh yeast requires a slightly different technique and attention to storage due to its perishable nature. This section will cover the best practices for handling and storing fresh yeast and provide guidance on converting it to other yeast types, including how it relates to an active dry yeast conversion chart.
Working with Fresh Yeast: Tips and Techniques
Fresh yeast has a soft, crumbly texture and a distinct yeasty aroma. Unlike active dry yeast, it does not require blooming in the same way, but it should be dissolved in a small amount of warm liquid (around 80-90°F or 27-32°C is sufficient, as it's already active) before being added to other ingredients. Crumble the required amount of fresh yeast into the warm liquid and stir gently until it is mostly dissolved.
Some bakers prefer fresh yeast for its subtle flavor contribution and consistent activity when it is truly fresh. It integrates smoothly into doughs once dissolved. Because it is a moist block of live cells, it is highly perishable and must be stored correctly and used relatively quickly after purchase to ensure optimal performance. Always check that the fresh yeast looks creamy white or beige and smells pleasantly yeasty, not sour or off.
Storing Fresh Yeast: Maintaining Freshness and Potency
Fresh yeast is highly perishable due to its high moisture content and active state. It must be stored in the refrigerator, ideally in its original wrapping (which is usually permeable to allow the yeast to breathe slightly) or in an airtight container to prevent it from drying out while still allowing minimal air exchange.
Its shelf life is significantly shorter than that of dry yeasts, typically only 1-2 weeks, even when refrigerated. You can tell if fresh yeast is still good if it crumbles easily and has a pleasant smell. If it's hard, dry, discolored, or has a strong, unpleasant odor, it is likely past its prime and should be discarded. For longer storage, fresh yeast can be frozen for up to 3-4 months, but it may lose some potency, requiring a slight increase in the amount used.
Converting Fresh Yeast to Active Dry Yeast: Precise Conversion Guide
When a recipe calls for fresh yeast but you only have active dry yeast (or vice versa), you'll need to convert the amount. A standard ratio for converting fresh yeast to active dry yeast is that you need about 40% (or 0.4 times) the weight or volume of active dry yeast compared to fresh yeast.
For example, if a recipe calls for 25 grams of fresh yeast, you would need approximately 25 g * 0.4 = 10 grams of active dry yeast. Or, if it calls for 1 ounce of fresh yeast, you'd need about 0.4 ounces of active dry yeast. This conversion is a crucial part of any comprehensive active dry yeast conversion chart and helps ensure that you use the correct amount of leavening for your dough to rise properly. Remember that active dry yeast requires blooming, while fresh yeast just needs to be dissolved.
Yeast Conversion Chart: Your Go-To Guide for Baking
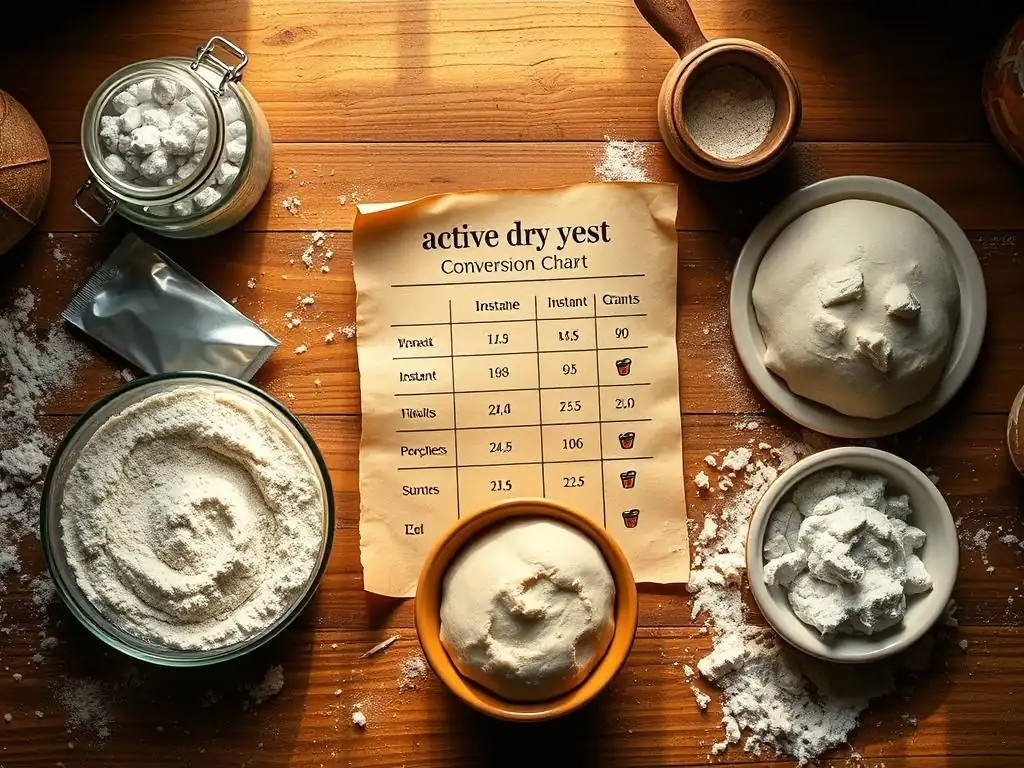
Navigating recipes that specify a different type of yeast than you have on hand can be tricky. This is where an accurate active dry yeast conversion chart becomes an invaluable tool. Having a reliable guide allows you to confidently substitute yeast types while maintaining the correct leavening power for your dough.
This section provides key conversion ratios and demonstrates how to use them effectively for different types of doughs, such as bread and sweeter doughs. Mastering these conversions ensures consistent results, regardless of the yeast type specified in the original recipe.
Using the Yeast Conversion Chart for Different Recipes
An active dry yeast conversion chart is essential for flexibility in baking. The conversion ratios are generally consistent regardless of the recipe type (bread, rolls, pizza dough, etc. ), but the method of incorporating the yeast might change slightly depending on whether you're using active dry (bloom first) or instant/fresh (add directly or dissolve).
When using a conversion chart, always pay attention to whether the recipe specifies yeast by weight or volume. Weight measurements (grams or ounces) are generally more accurate for yeast than volume measurements (teaspoons or tablespoons), as the density of yeast granules can vary slightly. If converting from volume, pack the active dry yeast loosely into the measuring spoon as you would flour, don't compact it.
Converting Between Yeast Types: Accurate Measurements for Perfect Results
Here are the standard conversion ratios to help you substitute yeast types accurately. These ratios are the core of any useful active dry yeast conversion chart:
- Fresh Yeast to Active Dry Yeast: Use 0.4 times the amount of fresh yeast (by weight or volume) when substituting with active dry yeast.
- Example: 10g Fresh Yeast = 4g Active Dry Yeast
- Example: 1 oz Fresh Yeast = 0.4 oz Active Dry Yeast
- Example: 1 tbsp Fresh Yeast = 0.4 tbsp Active Dry Yeast
- Active Dry Yeast to Fresh Yeast: Use 2.5 times the amount of active dry yeast (by weight or volume) when substituting with fresh yeast.
- Example: 10g Active Dry Yeast = 25g Fresh Yeast
- Example: 1 oz Active Dry Yeast = 2.5 oz Fresh Yeast
- Example: 1 tbsp Active Dry Yeast = 2.5 tbsp Fresh Yeast
- Instant Yeast to Active Dry Yeast: Use 1.25 times the amount of instant yeast (by weight or volume) when substituting with active dry yeast.
- Example: 10g Instant Yeast = 12.5g Active Dry Yeast
- Example: 1 oz Instant Yeast = 1.25 oz Active Dry Yeast
- Example: 1 tsp Instant Yeast = 1.25 tsp Active Dry Yeast
- Active Dry Yeast to Instant Yeast: Use 0.8 times (or 80%) the amount of active dry yeast (by weight or volume) when substituting with instant yeast.
- Example: 10g Active Dry Yeast = 8g Instant Yeast
- Example: 1 oz Active Dry Yeast = 0.8 oz Instant Yeast
- Example: 1 tsp Active Dry Yeast = 0.8 tsp Instant Yeast
- Fresh Yeast to Instant Yeast: Use 0.33 times (or 1/3) the amount of fresh yeast (by weight or volume) when substituting with instant yeast.
- Example: 30g Fresh Yeast = 10g Instant Yeast
- Example: 3 oz Fresh Yeast = 1 oz Instant Yeast
- Example: 3 tsp Fresh Yeast = 1 tsp Instant Yeast
- Instant Yeast to Fresh Yeast: Use 3 times the amount of instant yeast (by weight or volume) when substituting with fresh yeast.
- Example: 10g Instant Yeast = 30g Fresh Yeast
- Example: 1 oz Instant Yeast = 3 oz Fresh Yeast
- Example: 1 tsp Instant Yeast = 3 tsp Fresh Yeast
These ratios form the basis of a reliable active dry yeast conversion chart.
Yeast Conversion Chart for Bread Recipes
Most standard bread recipes call for a specific amount of yeast, often based on the weight of the flour. A common ratio for lean bread doughs (flour, water, yeast, salt) is about 1% active dry yeast relative to the flour weight for a moderate rise speed. So, for 500g of flour, you might use 5g of active dry yeast.
Using the conversion ratios:
- If the recipe calls for 5g Active Dry Yeast:
- You would use approximately 5g * 0.8 = 4g Instant Yeast.
- You would use approximately 5g * 2.5 = 12.5g Fresh Yeast.
This demonstrates how an active dry yeast conversion chart applies directly to typical bread formulas. Always remember to adjust the incorporation method based on the yeast type you are using.
Yeast Conversion Chart for Sweet Doughs
Sweet doughs, like brioche, cinnamon rolls, or challah, often contain higher amounts of sugar and fat, which can sometimes slow down yeast activity. Recipes for these doughs might call for a slightly higher percentage of yeast compared to lean bread doughs to ensure a good rise.
If a sweet dough recipe calls for, say, 7g of active dry yeast for 500g of flour (a slightly higher percentage than a lean dough):
- Using the conversion chart:
- You would use approximately 7g * 0.8 = 5.6g Instant Yeast.
- You would use approximately 7g * 2.5 = 17.5g Fresh Yeast.
An active dry yeast conversion chart is just as applicable here, allowing you to bake your favorite sweet treats with confidence, no matter which yeast type you have on hand.
Choosing the Right Yeast for Your Recipe
Deciding which type of yeast to use isn't just about what's available; it can also influence the final characteristics of your baked good. Different yeasts can affect the flavor, texture, and the time it takes for your dough to rise.
Considering these factors helps you make an informed choice. Sometimes, substitution is necessary, and knowing when and how to do it correctly (with the help of an active dry yeast conversion chart) is a valuable baking skill. Ultimately, mastering yeast leads to more consistent and successful baking results.
Factors to Consider When Selecting Yeast: Flavor, Texture, and Rise Time
The choice of yeast can subtly impact the flavor of your finished product. Some bakers feel that fresh yeast imparts a slightly more complex, nuanced flavor, particularly in long-fermented doughs. Active dry yeast is generally considered neutral in flavor, while instant yeast can sometimes impart a very faint yeasty flavor if used in excessively high quantities, though this is rarely noticeable in typical recipes.
Texture can also be influenced. Instant yeast tends to produce a rapid, sometimes aggressive rise, which can be great for speed but might result in a slightly different crumb structure than a slower rise achieved with active dry or fresh yeast over a longer period. The desired rise time is often the most practical factor: use instant yeast for quick recipes and active dry or fresh yeast for recipes that benefit from a longer, slower fermentation, which often develops more flavor.
Yeast Substitution: When and How to Substitute Yeast Types
You might need to substitute yeast types if a recipe calls for one type you don't have, or if you want to adjust the rise time of a recipe. For example, if a recipe calls for active dry yeast but you want a faster rise, you can substitute with instant yeast (using the active dry yeast conversion chart ratio of 0.8 parts instant for 1 part active dry).
When substituting, always use the correct conversion ratio from an active dry yeast conversion chart to ensure the leavening power is equivalent. Also, adjust your method: if substituting active dry for instant, remember to bloom the active dry yeast first. If substituting instant for active dry or fresh, you can typically add it directly to the dry ingredients. If substituting fresh for either dry type, dissolve it first.
Baking with Confidence: Mastering Yeast for Consistent Results
Confidence in baking comes from understanding your ingredients and how they behave. By learning the characteristics of active dry, instant, and fresh yeast, knowing how to activate and use each type, and becoming proficient with an active dry yeast conversion chart, you gain control over the leavening process.
This mastery allows you to adapt recipes, troubleshoot issues, and consistently achieve the desired rise, texture, and flavor in your baked goods. Don't be afraid to experiment slightly once you understand the basics. With practice, working with yeast will become second nature, leading to delicious and reliable results every time you bake.
Tips for Perfect Yeast Activation and Proofing
Beyond choosing the right yeast and converting correctly using an active dry yeast conversion chart, successful baking with yeast relies on providing the optimal conditions for the yeast to thrive and produce gas. This involves paying close attention to temperature, hydration, and the proofing environment.
Getting these details right is crucial for achieving a beautiful, airy crumb. We'll cover the ideal water temperature for yeast activity, common issues encountered during proofing, and how to create the perfect environment for your dough to rise effectively.
Water Temperature and Yeast Activity: Getting it Right
The temperature of the liquid you use to hydrate or dissolve yeast is critically important. For active dry yeast, the ideal range is typically 105°F to 115°F (40°C to 46°C). This warmth helps dissolve the protective coating and rehydrate the dormant cells without harming them.
For instant yeast, which is often added directly to dry ingredients, the temperature of the liquid added to the dough can be slightly cooler, often just warm tap water (around 90-100°F or 32-38°C) or even room temperature, though warmer liquid will speed things up. Fresh yeast, already active, dissolves best in lukewarm water (around 80-90°F or 27-32°C). Using a thermometer is highly recommended to avoid killing the yeast with excessively hot liquid (above 130°F or 54°C) or inhibiting it with cold liquid.
Troubleshooting Yeast Proofing Problems
Sometimes dough doesn't rise as expected. Several factors can cause this.
Dead Yeast: The most common reason. Ensure your yeast isn't expired and was activated/dissolved correctly (especially active dry yeast).Incorrect Water Temperature: As mentioned, water that's too hot or too cold will inhibit yeast activity.Too Much Salt: Salt inhibits yeast. If salt comes into direct contact with yeast for too long before mixing into the dough, or if the overall salt percentage is too high, it can slow or stop the rise.Too Much Sugar: While yeast feeds on sugar, excessively high concentrations (like in very rich doughs) can actually draw moisture out of the yeast cells via osmosis, slowing them down.Cold Environment: Yeast is most active in warm environments, typically 75-85°F (24-30°C). A cold room will result in a very slow or stalled rise.
If your dough hasn't risen after the expected time, check these factors. If the yeast was proven to be active before adding (for active dry), giving the dough more time in a warmer spot might help.
Ensuring Optimal Yeast Performance for Baking Success
To ensure your yeast performs optimally, start with fresh, properly stored yeast. Measure your ingredients accurately, especially the yeast and liquid temperature. Provide a warm, draft-free environment for proofing. Ideal proofing temperatures are typically between 75-85°F (24-30°C).
You can create a warm proofing environment by placing the covered dough in a slightly warm oven (turned off, perhaps preheated briefly to 100°F then turned off), or in a microwave (turned off) with a cup of hot water. Adequate moisture is also important; cover the dough loosely with plastic wrap or a damp towel to prevent a skin from forming, which can restrict the rise. Patience is key; allow the dough sufficient time to double in size, which can vary based on the recipe, yeast type, and temperature.
Storing Yeast Properly to Extend its Shelf Life
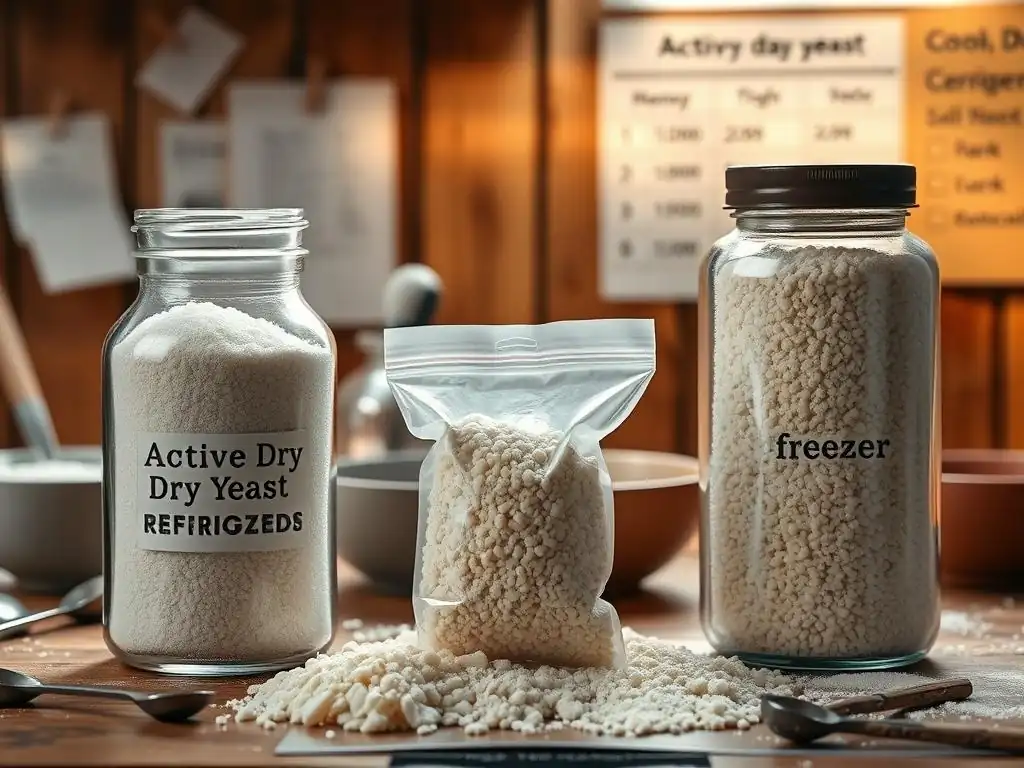
Proper storage is critical for maintaining the viability and potency of yeast. Yeast is a living organism, and exposure to air, moisture, and warmth will shorten its lifespan significantly. Knowing how to store each type correctly will ensure your yeast is ready to perform when you need it.
This section provides best practices for storing active dry, instant, and fresh yeast, helping you keep your leavening agents active and effective for as long as possible, ensuring that your reliance on an active dry yeast conversion chart always starts with potent yeast.
Best Practices for Storing Active Dry Yeast
Active dry yeast is relatively stable but benefits greatly from proper storage after the package is opened. Once opened, it should be stored in an airtight container. Exposure to air and moisture degrades the yeast quickly.
For optimal shelf life, store opened active dry yeast in the refrigerator or freezer. In the refrigerator, it can last for several months. In the freezer, its potency can be preserved for up to a year or even longer. Before using frozen yeast, let it come closer to room temperature for about 15-30 minutes before blooming it in warm water as usual. Always check the expiration date on the package, but proper cold storage can extend its viability beyond that date.
How to Store Instant Yeast for Maximum Potency
Instant yeast is slightly more stable than active dry yeast once opened, but it also benefits significantly from cold storage. After opening a packet or jar, transfer the remaining instant yeast to an airtight container.
Like active dry yeast, instant yeast should be stored in the refrigerator or freezer for maximum shelf life. In the refrigerator, it can remain potent for several months. In the freezer, it can last for a year or more. Because it's added directly to dry ingredients, you don't necessarily need to bring it to room temperature before using, although some bakers prefer to. Storing it cold ensures that when you refer to your active dry yeast conversion chart and measure out instant yeast, you're using active, viable yeast.
Maintaining Fresh Yeast Quality Through Proper Storage
Fresh yeast is the most perishable type and requires diligent storage. It must be kept refrigerated at all times. Store the block in its original packaging if possible, which is designed to allow minimal air exchange while preventing drying. If the packaging is damaged or you've used part of the block, wrap the remainder tightly in plastic wrap and place it in an airtight container in the refrigerator.
Fresh yeast is best used within 1-2 weeks of purchase, even with perfect refrigeration. Check its appearance and smell before use. For longer storage, fresh yeast can be frozen for up to 3-4 months. Wrap it tightly in plastic wrap and then place it in a freezer bag. When ready to use, thaw it in the refrigerator. Note that freezing can slightly damage the yeast cells, potentially requiring a slightly increased quantity when substituting, even when using an active dry yeast conversion chart.
Yeast Conversion Example: Pizza Dough
Let's walk through a practical example of how to use an active dry yeast conversion chart to adapt a recipe. Suppose you have a favorite pizza dough recipe that calls for active dry yeast, but you only have instant yeast on hand.
This step-by-step guide will illustrate the process, making it clear how to apply the conversion ratios and adjust your method for a successful pizza dough rise, resulting in a perfectly chewy crust.
Step-by-Step Guide: Converting Yeast Amounts in Pizza Dough Recipe
Imagine your go-to pizza dough recipe calls for 2 ¼ teaspoons of active dry yeast. You have instant yeast.
- Identify the original yeast type and amount: The recipe uses Active Dry Yeast,
2 ¼ tsp. - Identify the target yeast type: You want to use Instant Yeast.
- Consult the conversion ratio: From the active dry yeast conversion chart, the ratio for converting Active Dry to Instant is 0.8 times the amount.
- Calculate the new amount:
2 ¼ tspActive Dry Yeast =2.25 tsp* 0.8 =1.8 tspInstant Yeast. You would measure out approximately 1.8 teaspoons of instant yeast. (It's okay to round slightly, like to 1 ¾ tsp or a scant 2 tsp). - Adjust the method: The original recipe likely calls for blooming the active dry yeast in warm water first. Since you're using instant yeast, you can skip this step. Add the 1.8 tsp of instant yeast directly to your dry ingredients (flour, salt, etc.) and whisk to combine before adding the wet ingredients.
- Proceed with the recipe: Follow the rest of your pizza dough recipe instructions for mixing, kneading, and proofing, keeping in mind that dough made with instant yeast might rise slightly faster than with active dry.
This simple example shows how an active dry yeast conversion chart makes yeast substitution straightforward, allowing you to make your favorite recipes with whatever yeast you have available.
Conclusion: Mastering Yeast for Exceptional Baking
Navigating the world of yeast – from understanding the differences between active dry, instant, and fresh types to confidently converting between them using an active dry yeast conversion chart – is a fundamental step towards becoming a more skilled and versatile baker. Each yeast type offers unique advantages and performs best under specific conditions.
By paying attention to hydration temperatures, storage, and proofing environment, you empower yourself to achieve consistent, reliable results. Don't be intimidated by this living ingredient; treat it with care, understand its needs, and it will reward you with beautifully risen, flavorful baked goods.
BakeWithEase: Your Partner in Baking Perfection
At BakeWithEase, our goal is to equip you with the knowledge and skills to bake with confidence and joy. Understanding ingredients like yeast is central to this mission. We hope this deep dive into active dry, instant, and fresh yeast, including the practical application of an active dry yeast conversion chart, helps clarify the role of yeast in your baking.
Keep practicing, keep experimenting, and remember that every bake is an opportunity to learn and improve. Whether you're proofing your first loaf or perfecting a complex pastry, BakeWithEase is here to provide the tips, techniques, and understanding you need to achieve baking perfection in your own kitchen. Happy Baking!
Frequently Asked Questions
What is the difference between active dry yeast and instant yeast?
Active dry yeast needs to be proofed in warm water before use, while instant yeast can be added directly to dry ingredients. This difference is due to the manufacturing process and granule size.
Why is a yeast conversion chart important for baking?
A yeast conversion chart helps you accurately substitute different types of yeast in recipes. Using the wrong amount can affect the rise and texture of your baked goods.
How do I properly proof active dry yeast?
Dissolve the yeast in warm water (around 105-115°F) with a pinch of sugar. Look for bubbles or foam after 5-10 minutes, indicating the yeast is active.
What happens if my active dry yeast doesn't bubble when proofing?
If your yeast doesn't bubble, it's likely expired or inactive. You'll need to discard it and use fresh yeast for your recipe to work.
Can I use fresh yeast instead of active dry or instant yeast?
Yes, you can. Fresh yeast requires a different conversion ratio. Typically, you'll need more fresh yeast than active dry or instant yeast for the same recipe.
Final Reflection: The Humble Yeast: A Baker's Best Friend and a Science Lesson
The quest for the perfect rise is more than just a culinary pursuit; it's a testament to the power of understanding the subtle differences in yeast types. From the seemingly insignificant variations between active dry, instant, and fresh yeast, we've uncovered a world of scientific precision and baking artistry. Mastering yeast conversion is not just about following a chart; it's about unlocking the potential for consistently delicious results.
The journey through the world of yeast has been a fascinating exploration of both science and tradition. Understanding the nuances of each yeast type has profoundly impacted my own baking, transforming it from a sometimes-frustrating endeavor into a consistently rewarding experience. The secret to good baking is in the details, and yeast is one of the most important details.
This simple statement encapsulates the depth of knowledge required to truly master the art of baking, a knowledge that extends far beyond simply following a recipe. The impact of yeast extends beyond individual kitchens; it's a fundamental ingredient in countless cultures, a testament to its enduring importance in the culinary landscape.
Now, it's your turn. Take this knowledge and apply it to your next baking project. Don't be afraid to experiment, to push the boundaries of your understanding, and to embrace the occasional failure as a learning opportunity. The perfect rise awaits, not just in the precise measurements of a conversion chart, but in the careful observation, the patient waiting, and the joy of creating something delicious from simple ingredients. The journey of mastering yeast is a continuous one, and each loaf you bake is a step closer to perfection.
Unlock Your Baking Potential: Mastering Yeast Types!
Thanks for diving into the world of yeast with us! You've now got the knowledge to choose the perfect yeast for any baking adventure. Ready to put your newfound expertise to the test?
- Bake a masterpiece: Try a new recipe using your preferred yeast type – challenge yourself to create something amazing!
- Share your success (or even your struggles!): We'd love to see your baking creations. Share your experiences and photos on our social media channels!
- Explore further: Delve deeper into our extensive library of baking resources, finding more tips and recipes to elevate your skills.
What amazing bread or pastry will you craft with your newly acquired yeast knowledge? Let's discuss in the comments below!