
The Ultimate Guide to Thin Crust Pizza Dough

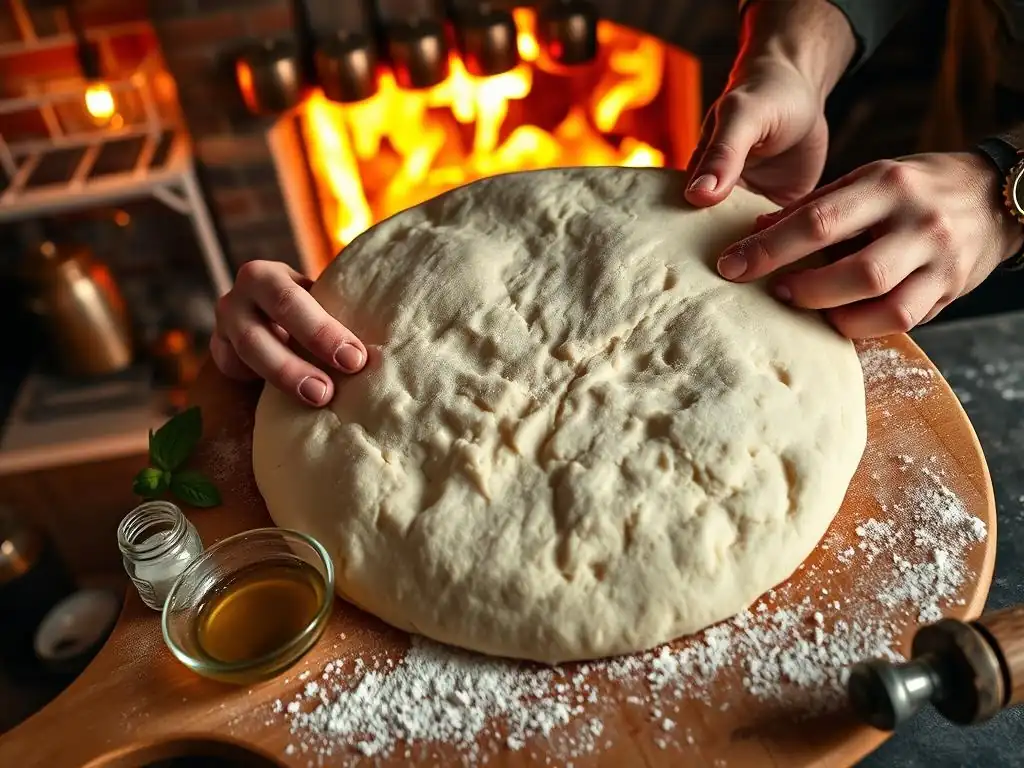
Welcome to BakeWithEase, where baking becomes a joy, not a chore! Ever dreamt of crafting that perfect, crispy pizza? We'll, dream no more! This page unveils our Ultimate Guide to Easy Thin Crust Pizza Dough, a recipe so simple, yet so delicious, it'll become your new weeknight staple. Discover the secrets to achieving that coveted thin, crispy crust that rivals your favorite pizzeria. Are you ready to unlock the pizza-making magic? Let's get started...
- Mastering Neapolitan Pizza Dough at Home
- Introduction to Authentic Neapolitan Pizza Dough
- Understanding Neapolitan Pizza Dough Ingredients
- Step-by-Step Guide to Making Neapolitan Pizza Dough
- Tips for Stretching Neapolitan Pizza Dough
- Baking Your Neapolitan Pizza: Achieving Leopard Spotting
- Troubleshooting Common Neapolitan Pizza Dough Problems
- Flavor Variations for Your Homemade Neapolitan Pizza
- Storing Your Homemade Neapolitan Pizza Dough
- Delicious Topping Ideas for Your Neapolitan Pizza
- Mastering the Art of Homemade Neapolitan Pizza: Conclusion
- Frequently Asked Questions
- Final Reflection: Mastering the Art of the Easy Thin Crust
- Unleash Your Inner Pizzaiolo!
Mastering Neapolitan Pizza Dough at Home
Introduction to Authentic Neapolitan Pizza Dough
Why Make Your Own Neapolitan Pizza Dough?
Creating your own Neapolitan pizza dough at home is a rewarding experience that elevates your pizza night from good to extraordinary. Unlike store-bought options or standard pizza crusts, authentic Neapolitan dough uses minimal ingredients but relies on specific techniques and fermentation times to develop complex flavors and a light, airy texture with that characteristic bubbly, slightly charred crust known as "leopard spotting." Mastering this dough allows you to achieve a truly authentic taste and texture that is the hallmark of real Neapolitan pizza, providing a foundation for an easy thin crust pizza dough that rivals your favorite pizzeria.
Beyond the superior taste and texture, making your own dough gives you complete control over the ingredients and process. You can ensure you're using high-quality flour, fresh yeast, and the right hydration level to achieve the perfect consistency. This control is crucial for consistently producing easy thin crust pizza dough that stretches beautifully and bakes into a perfect base for your toppings. It's an accessible project that, with a little practice, becomes surprisingly simple, opening up a world of delicious homemade pizza possibilities.
Achieve Pizzeria-Quality Neapolitan Pizza with This Recipe
This guide provides a comprehensive recipe and step-by-step instructions designed to help you replicate the magic of authentic Neapolitan pizza dough in your own kitchen. We'll walk you through selecting the right ingredients, understanding the fermentation process, and mastering the techniques needed to create a dough that's both pliable for stretching and robust enough to produce that signature airy crust. Following these steps will demystify the process, making it much easier than you might think to create easy thin crust pizza dough that yields pizzeria-quality results.
Achieving that perfect balance of a thin center and a puffy, airy edge requires attention to detail in every stage, from mixing to baking. We'll cover critical aspects like hydration, bulk fermentation, proofing, and oven temperature. By understanding the science behind these steps, you'll be equipped to troubleshoot common issues and consistently produce a fantastic easy thin crust pizza dough that is a joy to work with and even better to eat. Get ready to impress yourself and your guests with truly authentic homemade Neapolitan pizza.
Understanding Neapolitan Pizza Dough Ingredients
The Essential Ingredients for Authentic Neapolitan Dough
Authentic Neapolitan pizza dough adheres strictly to a simple list of ingredients: flour, water, yeast, and salt. No oil, no sugar, no other additions. This minimalist approach highlights the quality of each component and the importance of the fermentation process in developing flavor. The specific types of flour, water quality, yeast activity, and salt purity all play vital roles in the final texture and taste of your easy thin crust pizza dough. Using these four core ingredients correctly is the first step towards achieving authenticity.
The simplicity of the ingredient list means that the quality of each ingredient is paramount. Using filtered water, high-quality sea salt, and fresh, active yeast are important, but the most critical ingredient for authentic texture is the flour. The type of flour dramatically impacts gluten development and hydration absorption, directly affecting how easily the dough stretches and how it bakes. Getting these basics right lays the foundation for creating truly exceptional easy thin crust pizza dough.
00 Flour: The Cornerstone of Neapolitan Pizza
Type 00 flour is widely considered essential for authentic Neapolitan pizza dough. This finely milled Italian flour has a specific protein content (typically around 10-12.5%) and gluten quality that allows it to absorb less water than typical all-purpose flour while still developing a strong yet elastic gluten network. This results in a dough that is soft, pliable, and easy to stretch into a thin disc without tearing, which is key for easy thin crust pizza dough. The low ash content of 00 flour also contributes to a whiter crumb after baking.
While specific protein content can vary between brands, look for 00 flour labeled for pizza or bread making. Using 00 flour helps achieve the characteristic light, airy, and slightly chewy crust of Neapolitan pizza. Substituting with standard all-purpose flour will still yield pizza dough, but the texture will likely be different – potentially tougher or less extensible – making it harder to achieve the desired easy thin crust pizza dough and the classic airy crust.
Water: The Key to Hydration and Dough Texture
Water is not just a solvent in pizza dough; it's a critical ingredient that affects the dough's hydration level, texture, and the environment for yeast activity. The hydration level (the ratio of water to flour by weight) is typically between 55% and 62% for authentic Neapolitan dough, although some recipes push slightly higher. Using clean, cool water is generally recommended. Cool water helps control the fermentation rate, especially during longer bulk ferments, preventing the dough from over-proofing too quickly.
The amount of water directly impacts how sticky the dough is and how easy it is to stretch. Higher hydration leads to a softer, stickier dough that can be trickier for beginners but often results in a lighter, airier crust. Lower hydration is easier to handle but might result in a slightly denser crust. Experimenting within the 55-62% range is key to finding the hydration level that works best for you and helps you create easy thin crust pizza dough that is manageable yet yields a great result.
Yeast: Achieving the Perfect Rise and Flavor
Yeast is the leavening agent that makes the dough rise and contributes significantly to the flavor through fermentation. For authentic Neapolitan dough, fresh yeast (compressed yeast) or active dry yeast is typically preferred over instant yeast, though instant yeast can also be used successfully. Using a relatively small amount of yeast combined with a long, slow fermentation (either at room temperature or in the refrigerator) allows complex flavors to develop, which is crucial for a truly delicious easy thin crust pizza dough.
The quantity of yeast needed depends heavily on the fermentation time and temperature. For a long, cold fermentation (24-72 hours in the fridge), you'll use much less yeast than for a short room-temperature ferment (8-12 hours). For example, a recipe for 1 kg of flour might use just 0.5-1 gram of active dry yeast for a 24-hour cold ferment, whereas it might use 3-5 grams for an 8-hour room-temperature ferment. Understanding this relationship is key to controlling the rise and flavor development of your easy thin crust pizza dough.
Salt: Balancing Flavors and Gluten Development
Salt plays a dual role in pizza dough: it enhances the flavor of the crust and controls yeast activity. Without salt, the dough would taste bland, and the yeast would ferment too quickly, potentially leading to an over-proofed dough with poor structure. Salt slows down yeast fermentation and strengthens the gluten network, contributing to the dough's structure and elasticity, which are vital for stretching easy thin crust pizza dough without tears.
Using fine sea salt is often recommended as it dissolves easily and distributes evenly throughout the dough. Avoid iodized table salt, which can sometimes impart an off-flavor and can interfere with yeast activity. The typical salt percentage in Neapolitan dough is around 2.5-3% of the flour weight. This percentage provides sufficient flavor enhancement and gluten support for a balanced and well-structured easy thin crust pizza dough.
Step-by-Step Guide to Making Neapolitan Pizza Dough
Step 1: Dissolving Salt in Water
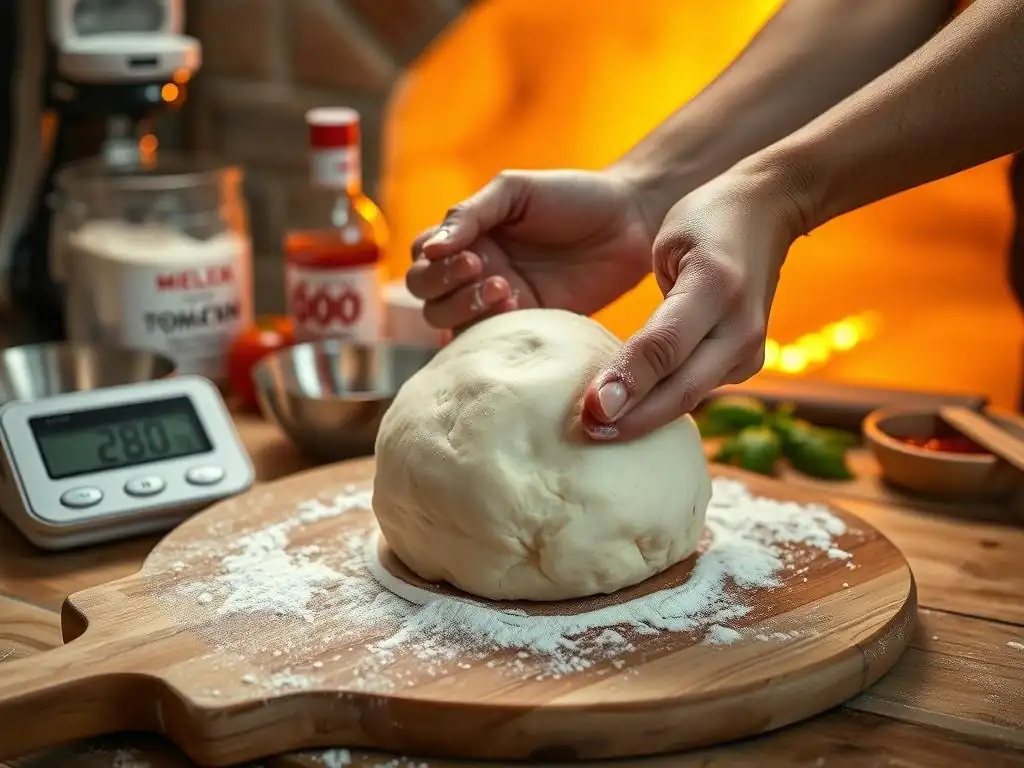
Begin by measuring out the precise amount of cool water required for your recipe's hydration level (e.g., 580g of water for 1kg of flour at 58% hydration). Add the measured salt to the water and stir until it is completely dissolved. This ensures even distribution of salt throughout the dough and prevents it from directly contacting the yeast initially, which can inhibit yeast activity. Use a whisk or spoon to speed up the dissolution process.
Ensuring the salt is fully dissolved is a small but important step. Undissolved salt crystals can potentially tear the delicate gluten strands during mixing or remain as pockets of intense saltiness in the final crust. Taking this minute or two to dissolve the salt in the water contributes to a more homogenous dough and ultimately a more consistently flavored easy thin crust pizza dough.
Step 2: Mixing Flour and Water (Autolyse)
In a large mixing bowl, combine the measured flour (e.g., 1kg of 00 flour) with the salt-water mixture. Mix them together by hand or with a stand mixer on a low speed until just combined and no dry flour remains. The mixture will look shaggy and uneven at this stage. Cover the bowl and let it rest for 20-30 minutes. This resting period is called autolyse (or autolysis).
The autolyse step allows the flour to fully hydrate and enzyme activity to begin breaking down starches into simple sugars, which the yeast will later feed on. More importantly, it allows the gluten proteins to start forming without the interference of salt or yeast, making the dough more extensible and easier to knead later. This simple rest significantly improves the dough's texture and workability, contributing to an easy thin crust pizza dough that stretches beautifully.
Step 3: Adding Yeast and Completing the Dough
After the autolyse rest, add the measured yeast (e.g., 0.5g active dry yeast) to the dough. If using fresh yeast, crumble it over the dough. If using active dry yeast, you can sprinkle it directly or proof it first in a tiny amount of warm water (taken from your total water quantity) if you are unsure of its freshness, though direct addition is common with modern yeasts and autolyse.
Now, knead the dough. You can do this by hand on a lightly floured surface or using a stand mixer with a dough hook. Knead for 10-15 minutes by hand, or 8-10 minutes in a mixer on medium-low speed, until the dough is smooth, elastic, and passes the windowpane test (you can stretch a small piece thin enough to see light through it without tearing). This kneading develops the gluten structure necessary for the dough to hold its shape and create an airy crust, resulting in a strong yet easy thin crust pizza dough.
Step 4: Bulk Fermentation: Developing Flavor and Structure
Transfer the kneaded dough to a clean, lightly oiled bowl. Cover the bowl tightly with plastic wrap or a lid to prevent a skin from forming. This stage is the bulk fermentation (or first rise). The duration and temperature of this fermentation are crucial for flavor development and dough structure. For authentic Neapolitan dough, a long fermentation is preferred.
A common method is a room-temperature fermentation for 8-12 hours (depending on yeast amount and room temperature, ideally around 68-72°F or 20-22°C) or a cold fermentation in the refrigerator for 24-72 hours. During this time, the yeast ferments the sugars, producing carbon dioxide (which makes the dough rise) and organic acids (which contribute to flavor and help tenderize the gluten). The longer, slower cold ferment develops more complex flavors and results in a more relaxed, easy thin crust pizza dough that is a joy to stretch.
Step 5: Dividing and Balling the Dough (Proofing)
After the bulk fermentation, gently turn the dough out onto a lightly floured surface. Avoid degassing it too much; preserve those precious bubbles! Divide the dough into individual portions, typically 200-250 grams each, which is the ideal size for a single Neapolitan pizza (about 10-12 inches in diameter).
Shape each portion into a tight ball. This is done by gently folding the edges underneath the dough repeatedly until you have a smooth, taut surface on top. You can then place the ball seam-side down on the counter and gently cup it with your hand, rotating it against the surface to create tension on the outside. Proper balling is essential for creating surface tension, which helps the dough rise upwards during baking and makes it easier to stretch into an easy thin crust pizza dough later.
Step 6: Second Fermentation: Achieving Optimal Texture
Place the dough balls in individual containers or on a tray covered with a lid or plastic wrap, leaving enough space between them for expansion. This stage is the second fermentation or proofing. The dough balls need to relax and rise again before stretching.
Proofing time and temperature will again depend on your schedule and desired outcome. If you did a long cold bulk ferment, the balls might proof at room temperature for 2-4 hours before use. If you did a shorter room-temperature bulk ferment, the balls might need 4-6 hours of proofing at room temperature. The dough balls should look visibly puffy and relaxed, but not overly gassy or about to collapse. Properly proofed dough is key to an easy thin crust pizza dough that stretches well and bakes with a beautiful, airy cornicione (edge).
Tips for Stretching Neapolitan Pizza Dough
Achieving a Thin and Even Crust Without Tearing
Stretching Neapolitan pizza dough requires a gentle touch and technique. The goal is to create a thin, even base while leaving a thicker rim (the cornicione) that will puff up dramatically in the oven. Start with a well-proofed dough ball at room temperature; cold dough is much harder to stretch. Lightly flour your work surface and the dough ball. Press down gently on the center of the dough ball with your fingertips, working outwards to flatten the disc while leaving the outer edge untouched.
Once you have a small disc with a defined rim, you can lift the dough and use gravity and your hands to stretch it. Support the dough with your knuckles or the backs of your hands, allowing the weight of the dough to stretch it downwards as you rotate it. Avoid pressing on the outer rim. If the dough resists stretching, let it rest for a few minutes covered; the gluten needs to relax. Patience is key to achieving an easy thin crust pizza dough that is uniformly thin in the center without tearing.
Preventing Dough from Sticking During Stretching
Sticking dough is a common frustration, but easily preventable with proper flouring. Use just enough flour on your work surface and hands to prevent sticking, but avoid using too much, as excess flour can burn in the oven and create a bitter taste on the crust. A light dusting of 00 flour or a mixture of 00 flour and fine semolina works well.
As you stretch, if you feel the dough starting to stick, lift it gently, add a tiny bit more flour underneath, and continue. Keep the dough moving slightly as you stretch to ensure it's not adhering to the surface. This attention to flouring makes the stretching process much smoother and contributes to an easy thin crust pizza dough experience.
Mastering the Slap Technique for Neapolitan Pizza
The "slap" technique, also known as schiaffo, is a traditional method used by pizzaiolos to quickly stretch dough while incorporating air. It involves holding the dough disc loosely with both hands, lifting it, and gently "slapping" it down on the surface while rotating it slightly. This motion helps to spread the dough outwards from the center while maintaining air in the rim.
While it takes practice, mastering the slap technique can significantly speed up the stretching process and helps create a very airy cornicione. It's not strictly necessary for easy thin crust pizza dough, but it's a satisfying technique to learn and can improve the texture of your crust. Start slowly and gently, focusing on the rotation and the outward stretch rather than a forceful slap.
Baking Your Neapolitan Pizza: Achieving Leopard Spotting
Oven Temperature and Baking Time for Neapolitan Pizza
Authentic Neapolitan pizza is baked at extremely high temperatures, traditionally in wood-fired ovens reaching 900°F (480°C) or higher. At these temperatures, a pizza cooks in just 60-90 seconds. Replicating this at home requires getting your oven as hot as possible. Most home ovens max out at 500-550°F (260-290°C). While this is lower than ideal, you can still achieve excellent results with the right technique.
Preheat your oven to its maximum temperature for at least 30-60 minutes with your pizza stone or steel inside. Baking time in a home oven at 500-550°F will typically be longer than in a wood-fired oven, ranging from 5-10 minutes depending on your specific oven and desired crust crispness. The goal is to cook the pizza quickly enough to get a puffy crust and melted toppings without drying out the base, utilizing your well-prepared easy thin crust pizza dough.
Using a Pizza Stone or Steel for Optimal Heat
A pizza stone or, preferably, a pizza steel is crucial for replicating the intense bottom heat of a professional pizza oven in a home setting. Place the stone or steel on the top rack of your oven during the entire preheating phase. The stone/steel absorbs and retains heat, providing a super hot surface that instantly transfers energy to the bottom of the pizza, resulting in a crispy base and helping to launch the oven spring needed for an airy cornicione.
A pizza steel heats up faster and retains heat better than a stone, making it slightly more effective for home Neapolitan pizza. Sliding your pizza directly onto this preheated surface is key to achieving a fast bake and the desired crust texture from your easy thin crust pizza dough.
The Importance of a Hot Oven for Leopard Spotting
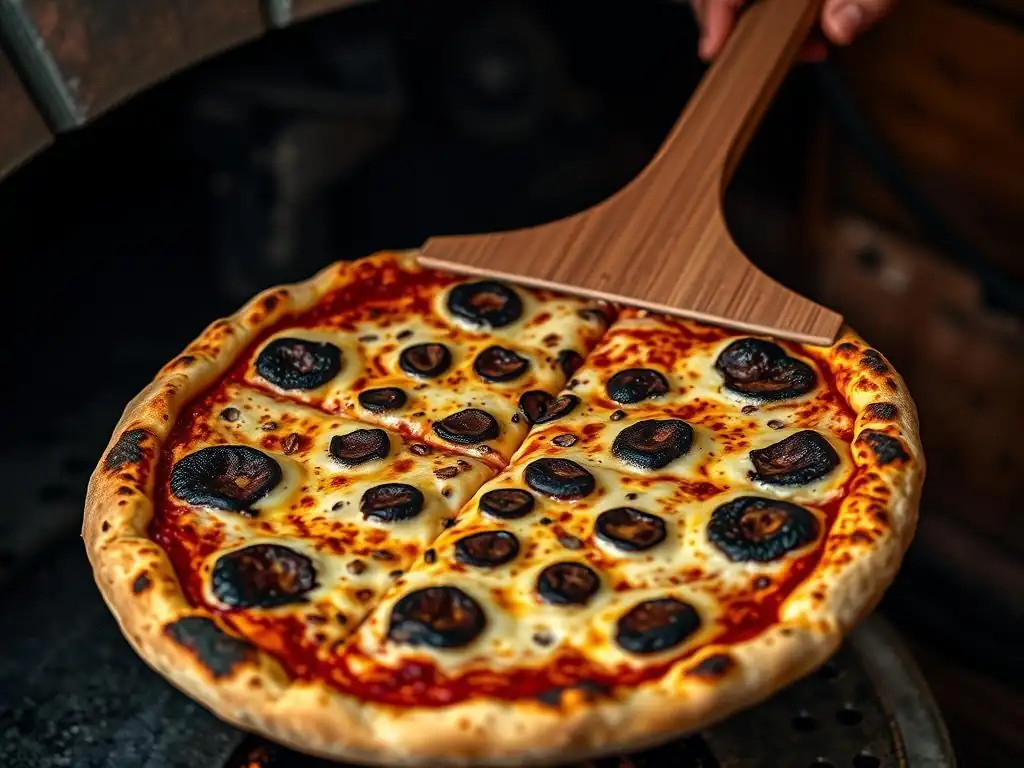
Leopard spotting – the desirable dark, charred bubbles on the crust – is a direct result of baking at high temperatures. The intense heat causes small pockets of air in the dough's surface to rapidly expand and char before the rest of the crust browns. This indicates a well-fermented dough and a properly hot oven.
While you may not get as dramatic spotting at 500°F as you would at 900°F, preheating your oven to its maximum and using a pizza stone or steel significantly increases your chances. Ensure your dough is properly proofed, as this creates the necessary air pockets. A hot oven is essential for transforming your stretched easy thin crust pizza dough into a beautiful, bubbly, and delicious pizza crust.
Troubleshooting Common Neapolitan Pizza Dough Problems
Dough is Too Sticky: Adjusting Hydration Levels
If your dough is excessively sticky and difficult to handle even after kneading, the hydration level might be too high for your flour or your comfort level. Different flours absorb water differently. While 00 flour is recommended, even brands of 00 flour can vary. A hydration of 62% might be easy thin crust pizza dough for one person or flour, and too sticky for another.
Try reducing the hydration slightly in your next batch, perhaps by 1-2%, to see if that improves handleability. Ensure you're weighing your ingredients accurately using a kitchen scale, as volume measurements for flour and water are notoriously inaccurate. Working with a slightly stickier dough is part of the process for authentic results, but finding a hydration you can manage is key to making easy thin crust pizza dough for you.
Dough is Too Tough: Over-Mixing and Gluten Development
If your dough feels tough, resists stretching, and snaps back excessively, it might be over-mixed or hasn't rested enough to relax the gluten. Over-kneading can make the gluten network too tight. Alternatively, if you didn't allow sufficient rest during the autolyse or proofing stages, the gluten hasn't had time to relax and become extensible.
Ensure you knead until the dough is smooth and elastic but stops there – don't keep kneading just because. More often, toughness comes from insufficient resting. Make sure your bulk fermentation and proofing times are adequate for the temperature and yeast amount. Allowing the dough balls to proof sufficiently after dividing is crucial for an easy thin crust pizza dough that stretches without fighting you.
Crust is Not Puffy Enough: Fermentation and Proofing Issues
A flat, dense crust often indicates issues with fermentation or proofing. The dough might not have fermented long enough, or the yeast wasn't active. Alternatively, you might have degassed the dough too much during shaping.
Check your yeast's expiration date. Ensure your fermentation and proofing times are appropriate for the temperature; if your kitchen is cool, fermentation will take longer. Be gentle when handling the dough after bulk fermentation and when shaping the balls to preserve the trapped gasses. Properly proofed dough balls are key to an airy, puffy crust from your easy thin crust pizza dough.
Dough is Tearing: Gluten development and resting time
If your dough tears easily when stretching, it likely means the gluten hasn't developed enough strength or hasn't had enough time to relax. Insufficient kneading can lead to a weak gluten network that can't hold up to stretching. Conversely, if the dough is too tight (see "Dough is Too Tough"), it will tear instead of stretching.
Ensure you knead until the dough passes the windowpane test. More importantly, allow sufficient bulk fermentation and, critically, proofing time for the dough balls. If the dough resists stretching or starts tearing, stop and let it rest, covered, for 10-15 minutes. This allows the gluten to relax, making it much easier to stretch your easy thin crust pizza dough without tears.
Flavor Variations for Your Homemade Neapolitan Pizza
Experimenting with Different Hydration Levels
While 55-62% is the classic range, experimenting with hydration can slightly alter the crust's texture and flavor. Higher hydration (e.g., 65%) will result in a stickier dough that's harder to handle but can produce a very light and open crumb structure with larger air pockets. Lower hydration (e.g., 55%) is easier to manage and might result in a slightly denser but still delicious crust.
Adjusting hydration is a great way to fine-tune your easy thin crust pizza dough to your preference and skill level. Start within the classic range and then try incremental adjustments in future batches to see how it affects the dough's feel and the final baked crust.
Using Different Types of Salt
While fine sea salt is standard, exploring other types of salt can subtly influence flavor. Using a high-quality, unrefined sea salt like Trapani or Cervia sea salt can add minerality that enhances the overall taste of the crust. Flaky sea salt is beautiful as a finishing touch sprinkled on the baked cornicione, but use fine salt within the dough itself for even distribution.
Ensure any salt you use is pure and non-iodized for the best results. The type of salt might not dramatically change the easy thin crust pizza dough itself, but it contributes to the nuanced flavor profile of the final baked pizza.
Exploring Different Fermentation Techniques
The fermentation process is where much of the flavor develops. While an 8-12 hour room-temperature ferment is common, a longer, colder fermentation (24-72 hours in the refrigerator) develops significantly more complex flavors. The cold slows down yeast activity, allowing enzymes more time to break down starches into sugars and proteins into amino acids, resulting in a richer, more nuanced taste.
Try splitting a batch of dough and fermenting half at room temperature and half in the fridge to compare the flavor difference. Cold fermentation also results in a more relaxed dough that can be easier to stretch, making it ideal for achieving easy thin crust pizza dough with enhanced flavor.
Storing Your Homemade Neapolitan Pizza Dough
Refrigerating Pizza Dough for Delayed Baking
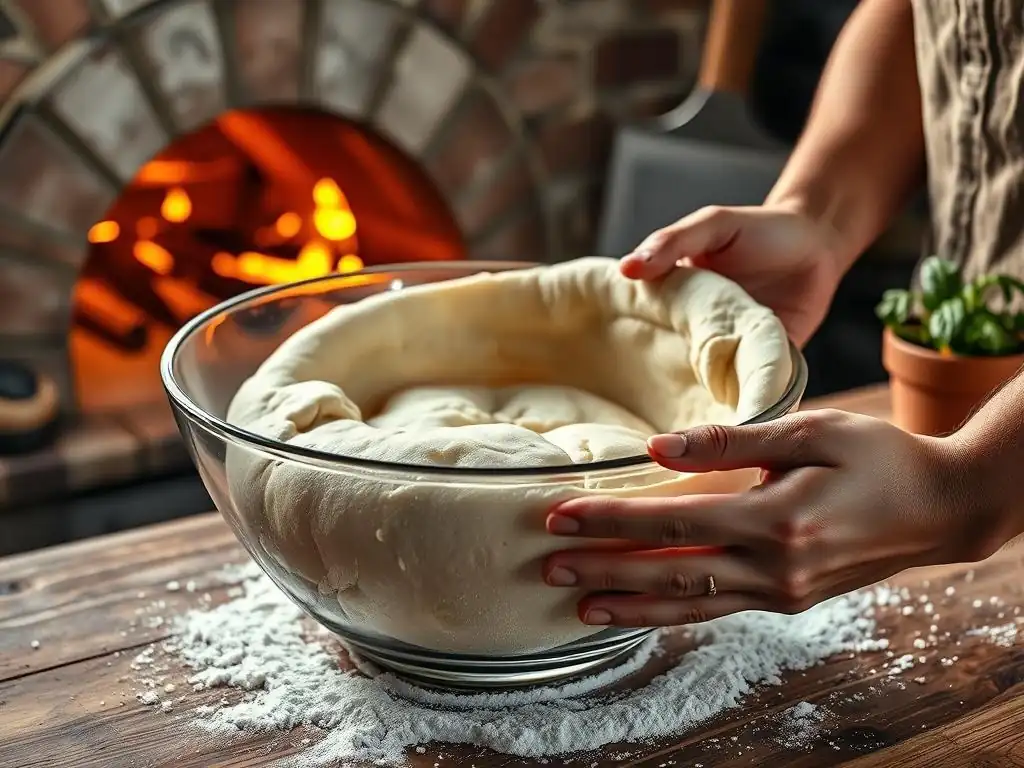
One of the great advantages of making your own dough is the ability to store it for later use. After the bulk fermentation and balling, you can place the dough balls in individual airtight containers or a proofing box and refrigerate them. This cold storage acts as a very slow second fermentation (cold proofing).
Dough stored in the refrigerator can typically be used for 2-4 days, and sometimes even up to 5 days, depending on the initial yeast amount and fridge temperature. The longer it's in the fridge, the more flavor develops. When you're ready to bake, take the dough balls out of the refrigerator 2-4 hours before you plan to stretch and bake, allowing them to come to room temperature and finish proofing. This flexibility makes having easy thin crust pizza dough on hand incredibly convenient.
Freezing Pizza Dough for Extended Storage
If you want to store dough for longer periods, freezing is an option, though it can slightly impact the dough's texture compared to fresh or refrigerated dough. After the bulk fermentation and balling, lightly oil each dough ball and place them on a baking sheet lined with parchment paper, ensuring they don't touch. Freeze until solid (a few hours).
Once frozen solid, transfer the dough balls to freezer-safe bags or containers, removing as much air as possible to prevent freezer burn. Properly wrapped, dough can be frozen for 1-3 months. Freezing is a great way to have easy thin crust pizza dough ready whenever a pizza craving strikes.
Tips for Thawing and Using Frozen Pizza Dough
To thaw frozen pizza dough, transfer the frozen balls to the refrigerator the day before you plan to use them. They will thaw slowly in the fridge. On baking day, take the thawed dough balls out of the refrigerator 2-4 hours before use to bring them to room temperature and allow them to relax and proof.
Alternatively, you can thaw dough balls at room temperature, which will take 3-5 hours depending on the ambient temperature. Ensure they are covered to prevent drying. Frozen and thawed dough might be slightly less elastic than fresh dough, but it should still stretch into a perfectly good easy thin crust pizza dough. Be extra gentle during stretching.
Delicious Topping Ideas for Your Neapolitan Pizza
Classic Neapolitan Topping Combinations (Margherita, Marinara)
Once you have your perfect easy thin crust pizza dough ready, keeping the toppings simple and high-quality is key to an authentic Neapolitan experience. The two most classic options are Margherita and Marinara. Pizza Margherita features San Marzano tomatoes (crushed), fresh mozzarella (like fior di latte or mozzarella di bufala), fresh basil leaves, and a drizzle of extra virgin olive oil.
Pizza Marinara is even simpler: San Marzano tomatoes, garlic, oregano, and extra virgin olive oil (no cheese!). These classic combinations allow the quality of the dough, sauce, and cheese (if using) to shine through. They demonstrate that you don't need a lot of toppings to make an incredibly flavorful pizza on a well-made easy thin crust pizza dough.
High-Quality Ingredients for an Authentic Experience
Using high-quality ingredients for your toppings makes a significant difference. For the sauce, seek out canned D.O.P. certified San Marzano tomatoes from Italy; their sweet, low-acid flavor is perfect for pizza. Crush them by hand for a rustic texture. Use fresh mozzarella, ideally fior di latte (cow's milk mozzarella) or mozzarella di bufala (buffalo mozzarella), torn rather than sliced.
Don't forget good quality extra virgin olive oil to drizzle over the finished pizza. Fresh basil should be added after baking or just before, as it wilts quickly in the intense heat. High-quality toppings complement your easy thin crust pizza dough and elevate the entire pizza.
Balancing Flavors and Avoiding Overloading the Pizza
The thin crust of Neapolitan pizza is not designed to hold a large quantity of heavy toppings. Overloading the pizza will make the center soggy and prevent the crust from puffing up properly. The beauty of Neapolitan pizza lies in its simplicity and the balance of flavors.
Aim for a light layer of sauce, judicious amounts of cheese and other toppings, and a drizzle of olive oil. For Margherita, about 80-100g of crushed tomatoes and 80-100g of torn mozzarella is usually sufficient for a 200-250g dough ball. This restraint ensures that your easy thin crust pizza dough can bake properly and support the toppings without becoming weighed down.
Mastering the Art of Homemade Neapolitan Pizza: Conclusion
Enjoying Your Authentic, Homemade Neapolitan Pizza
Congratulations! By following this guide, you've taken significant steps towards mastering the art of making authentic Neapolitan pizza dough at home. From understanding the critical role of each ingredient to navigating the fermentation process and perfecting your stretching and baking techniques, you've learned how to create easy thin crust pizza dough that forms the foundation for truly exceptional pizza. The result is a crust that is light, airy, flavorful, and provides the perfect vehicle for simple, high-quality toppings.
Gather your friends and family, fire up your oven, and enjoy the fruits of your labor. There's immense satisfaction in pulling a beautifully spotted, homemade Neapolitan pizza from the oven, knowing you created the perfect easy thin crust pizza dough from scratch.
Further Exploration: Resources for Neapolitan Pizza Making
The journey to mastering Neapolitan pizza is ongoing. Consider exploring resources from reputable pizza authorities or associations like the Associazione Verace Pizza Napoletana (AVPN) for even deeper insights into traditional techniques and standards. Experiment with slight variations in hydration, fermentation times, or even different brands of 00 flour to see how they affect your results.
Reading about the science of baking and gluten development can also enhance your understanding and help you troubleshoot. Continue practicing your stretching technique, as this is where confidence and speed develop. The more you practice making easy thin crust pizza dough, the better you'll become.
Don't be shy about sharing your homemade Neapolitan pizza successes! Snap photos of your beautifully spotted crusts and delicious creations. Connect with other home pizza makers online to share tips, ask questions, and celebrate your wins.
Making easy thin crust pizza dough is a skill that improves with practice, and sharing your journey can inspire others. Enjoy the process, savor the delicious results, and keep baking!
Frequently Asked Questions
What makes this thin crust pizza dough recipe "easy"?
This recipe focuses on simple ingredients and straightforward instructions, making it manageable even for beginner bakers. We avoid complex techniques and prioritize a quick and easy process.
Can I use all-purpose flour for this thin crust pizza dough?
Yes, all-purpose flour is perfectly suitable. However, for a crispier crust, you might consider using bread flour or a combination of the two.
How thin should I roll out the pizza dough?
Roll the dough out as thin as possible without creating holes. Aim for about 1/8 inch thickness. A thin and even layer is key for a crispy crust.
How long should I bake the thin crust pizza?
Baking time depends on your oven, but generally, bake at a high temperature (450-500°F) for about 8-12 minutes. Look for a golden brown crust and melted cheese.
What are some topping suggestions for this thin crust pizza?
Keep it simple! Classic combinations like tomato sauce, mozzarella, and basil work well. Avoid overloading the crust to maintain its thin and crispy texture.
Final Reflection: Mastering the Art of the Easy Thin Crust
The pursuit of the perfect thin crust pizza dough is more than just a culinary quest; it's a testament to the enduring power of simple pleasures. From humble beginnings in ancient kitchens to its modern-day ubiquity, pizza continues to unite us around a shared love of delicious, easily customizable food. This guide has explored various techniques and ingredients, aiming to demystify the process and empower you to create restaurant-quality pizza at home.
The journey of mastering thin crust dough is a deeply personal one. It's about the satisfaction of transforming simple ingredients into something extraordinary, the joy of sharing a homemade meal with loved ones, and the pride in creating something delicious from scratch. The best things in life are simple,
a sentiment perfectly encapsulates the magic of a perfectly crafted thin crust pizza. This seemingly straightforward recipe holds a surprising depth, reflecting our own desires for connection, creativity, and deliciousness.
Now, it's your turn. Don't be intimidated by the seemingly complex world of pizza dough. Experiment with the techniques outlined in this guide, adapt them to your own preferences, and most importantly, have fun! Embrace the imperfections, celebrate the successes, and savor the delicious rewards of your labor. The perfect thin crust pizza awaits – and the journey to create it is just as rewarding as the final bite.
Unleash Your Inner Pizzaiolo!
Thanks for taking the time to explore the world of thin crust pizza dough with us! We hope you now feel confident in creating delicious, crispy pies at home. Ready to take your pizza game to the next level?
- Master your dough: Try out the recipe from the article, and experiment with different flours and hydration levels to find your perfect crust. This is your chance to become a pizza-making pro!
- Share your creations: Post a picture of your masterpiece on social media and tag us – we’d love to see your results! Use #BakeWithEaseThinCrust.
- Dive deeper: Explore other recipes on our site for even more inspiration. Find your new favorite pizza topping combinations!
What unique ingredient will you add to your next thin-crust pizza masterpiece?