
Rescuing Dough That OverProofed: Can It Be Saved?

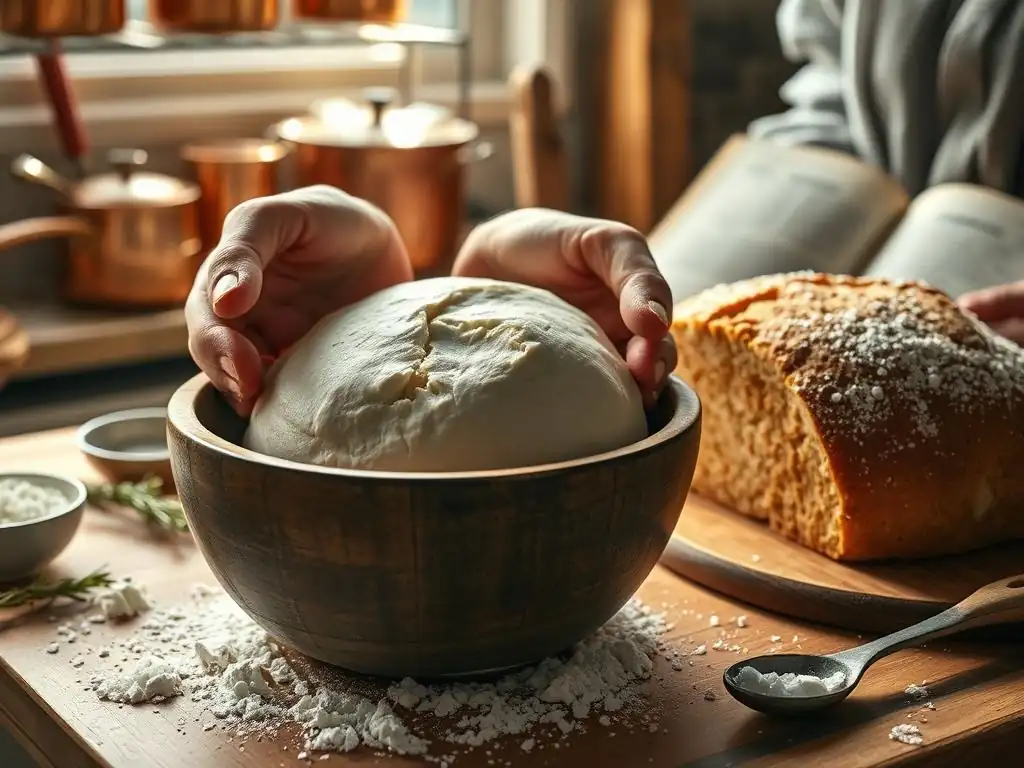
Welcome to BakeWithEase, where we believe everyone can create delicious baked goods! Ever wondered if you can bring overproofed dough back from the brink? It's a common baking woe, and the answer might surprise you. Dive in to discover our expert tips and a clever overproofed dough salvage recipe to help you rescue your baking projects and turn potential disasters into delightful successes. Let's get baking!
- Understanding Overproofing in Bread Baking
- Can You Save Overproofed Dough? Exploring Rescue Options
- Overproofed Dough Salvage Recipe: A Detailed Guide
- What to Do if Rescue Attempts Fail: Creative Uses for Overproofed Dough
- Preventing Overproofing: Tips for Successful Dough Proofing
- Troubleshooting Common Bread Problems: The BakeWithEase Approach
- Mastering the Art of Baking with BakeWithEase.com
-
Frequently Asked Questions
- How do I know if my dough is overproofed?
- Can I always salvage overproofed dough?
- What's the "Overproofed dough salvage recipe" mentioned in the article, and how does it work?
- Will the flavor of my baked goods be affected if I salvage overproofed dough?
- Are there specific types of dough that are harder to salvage when overproofed?
- Final Reflection: The Unexpected Resilience of Overproofed Dough
- Rediscover Your Dough: Give Your Overproofed Bread a Second Chance!
Understanding Overproofing in Bread Baking
What is Overproofing and How Does It Happen?
Overproofing occurs when bread dough has been allowed to rise for too long or at too warm a temperature. This excessive fermentation leads to the yeast consuming too much of the available sugars in the dough. As the yeast overworks, the gluten structure, which provides the dough's elasticity and ability to hold gas, becomes weakened and can begin to collapse. Imagine a balloon being overinflated – eventually, the material stretches too thin and loses its ability to hold air effectively.
The primary culprits behind overproofing are often time and temperature. Leaving dough to rise for, say, three hours at room temperature (around 70°F or 21°C) when the recipe called for 1-1.5 hours can easily lead to overproofing, especially if the room is warmer than anticipated.
A common scenario might involve a baker starting their dough in the evening and planning to bake in the morning, only for the dough to rise much faster overnight than expected due to an ambient temperature closer to 75°F (24°C). The yeast activity is significantly accelerated by just a few degrees, causing it to produce gas and expand the dough rapidly, ultimately leading to the overstretched gluten network.
Identifying Overproofed Dough: Key Signs and Symptoms
Recognizing overproofed dough is the first step towards potentially saving it. One of the most noticeable signs is the dough's appearance: it will often look significantly larger than doubled, sometimes even tripled in size, and may appear puffy and domed. The surface might look very bubbly, sometimes even showing small air pockets that have burst. The dough can also feel extremely soft, almost mushy, and lack the firm structure you'd expect from properly proofed dough.
Another critical indicator is how the dough responds to touch, often referred to as the "poke test." When you gently press your finger into properly proofed dough, the indentation should spring back slowly, leaving a slight indent. With overproofed dough, however, the indentation will likely remain completely or spring back only minimally and very slowly. The dough might also feel heavy and dense for its size, rather than light and airy. Furthermore, overproofed dough often has a strong, sometimes overly alcoholic or sour smell, which is a result of the excessive fermentation activity from the yeast.
Can You Save Overproofed Dough? Exploring Rescue Options
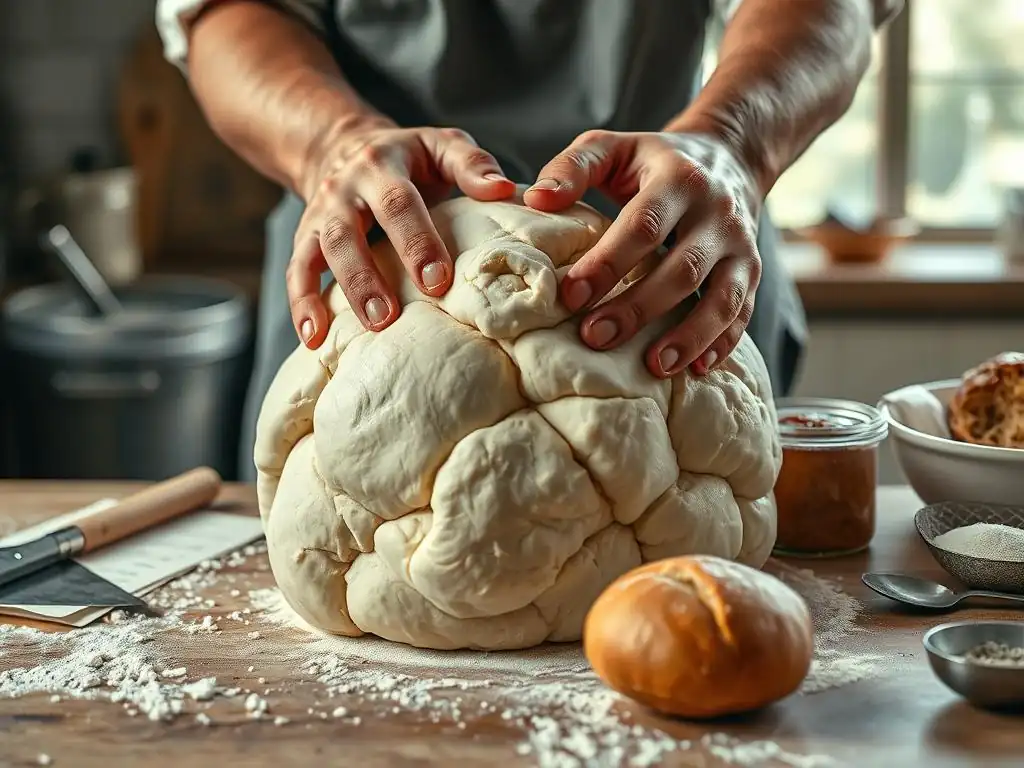
The "Gentle Touch" Method: Reshaping and Re-Proofing
The gentle touch method is a technique used when the dough is only slightly overproofed and its structure hasn't completely collapsed. This approach aims to gently deflate the dough just enough to redistribute the gas and allow for a shorter second rise, or "re-proofing," before baking. It's a delicate process that requires careful handling to avoid further stressing the already weakened gluten network.
When to Attempt Reshaping Overproofed Dough
You should consider attempting reshaping when your dough shows signs of overproofing but hasn't completely lost its structure. Look for dough that is significantly larger than intended but still has some tension when handled. If the poke test shows a very slow or minimal spring back, but not a complete collapse, this method might work. This technique is generally more successful with enriched doughs (containing ingredients like eggs, milk, or butter) or doughs with a stronger gluten development initially. It's less likely to work if the dough is extremely fragile, sticky, and tearing easily, indicating severe gluten degradation.
Step-by-Step Guide to Reshaping Overproofed Dough
Here's how to attempt the gentle touch method:
- Gently Deflate: Carefully turn the dough out onto a lightly floured surface. Using the palms of your hands or the sides of your fists, gently press down on the dough to release some of the excess gas. Do not punch it down forcefully. The goal is a partial, gentle deflation.
- Shape: Gently shape the dough into its desired form (loaf, rolls, etc.). Handle the dough as little as possible to preserve any remaining structure. Avoid excessive stretching or pulling.
- Place in Proofing Vessel: Carefully transfer the shaped dough to its final proofing basket, pan, or baking sheet.
- Short Re-Proof: Cover the dough loosely and let it rest for a significantly shorter time than the initial proof. This second rise should be brief, perhaps 15-30 minutes, just until the dough looks slightly puffy again. Watch it closely!
- Bake Immediately: Preheat your oven while the dough is re-proofing. Bake the dough as soon as it shows minimal signs of rising, before it has a chance to overproof again.
The "Punch Down and Re-Proof" Technique for Overproofed Dough
This technique is a more aggressive approach than the gentle touch method and is suitable for dough that is moderately overproofed but still has some resilience. Punching down the dough redistributes the yeast and sugars, expels excess gas, and allows the gluten strands to realign partially. While it can help rescue a moderately overproofed dough, it won't fix severely degraded gluten.
When Punching Down is the Right Choice
Opt for punching down when your dough is clearly overproofed (too large, slow or no spring back on the poke test, slightly alcoholic smell) but still holds together reasonably well and isn't completely liquid or tearing apart. This method is often more effective for lean doughs (flour, water, yeast, salt) that rely heavily on gluten development. If you've missed the ideal proofing window by, say, an hour or two at room temperature and the dough seems overly expanded but not totally slack, a punch down and shorter re-proof can sometimes salvage it.
How to Punch Down and Re-Proof Dough Properly
Follow these steps for the punch down and re-proof technique:
- Punch Down: Firmly, but not violently, punch the center of the dough. Fold the edges into the center a few times, turning the dough as you go. The goal is to deflate the dough completely and create a somewhat smooth surface again. This step redistributes the yeast and nutrients.
- Rest: Let the dough rest for 5-10 minutes on the counter, covered, to allow the gluten to relax slightly after the manipulation.
- Shape: Shape the dough into your desired form (loaf, rolls, etc. ).
- Short Re-Proof: Place the shaped dough in its proofing basket or pan, cover, and allow it to rise again. This second proof should be significantly shorter than the first – perhaps 30-60 minutes, depending on the recipe and temperature. Monitor it very closely, performing the poke test frequently.
- Bake: Bake the dough as soon as it shows signs of rising and passes a very gentle poke test (a slight, slow spring back).
The "Adding Fresh Dough" Solution for Overproofed Dough
Sometimes, the best way to save overproofed dough is to give it a boost of fresh, active gluten and yeast. This method involves combining the overproofed dough with a small amount of freshly mixed dough. The fresh dough provides new, strong gluten strands and active yeast cells that can help revitalize the weakened structure and restart the fermentation process more effectively.
Benefits of Combining Overproofed Dough with Fresh Dough
Adding fresh dough introduces a fresh supply of yeast and flour with strong gluten-forming proteins. The active yeast in the new dough will help lift the combined mixture, while the new gluten provides structure that the overproofed dough lacks. This technique can often rescue dough that is moderately to significantly overproofed, where reshaping or punching down alone might not be enough to achieve a decent rise and crumb structure in the final bake. It essentially gives the old dough a new lease on life by incorporating it into a younger, more vigorous dough mass.
Ratio and Method for Incorporating Fresh Dough
There's no single perfect ratio, as it depends on how overproofed your original dough is. However, a good starting point is to mix a fresh batch of dough that is roughly 25-50% the weight of your overproofed dough. For example, if you have 500g of overproofed dough, mix a fresh batch using ingredients scaled to make 125g to 250g of dough.
Here's the method:
- Mix Fresh Dough: Prepare a small batch of the same dough recipe, mixing it just until the ingredients are combined and a shaggy dough forms. Let it rest for 10-15 minutes.
- Combine: Add the overproofed dough to the bowl with the fresh dough.
- Knead/Mix: Gently knead or mix the two doughs together until they are fully combined and you have a relatively cohesive mass. This might take a few minutes.
- First Proof (Combined): Place the combined dough in a clean, lightly oiled bowl, cover, and let it undergo a full first proof as if it were a fresh batch of dough. Monitor it closely, as the overproofed portion might accelerate the rise slightly.
- Shape and Second Proof: Once the combined dough has roughly doubled, proceed with shaping and a regular second proof according to the original recipe.
Overproofed Dough Salvage Recipe: A Detailed Guide
If your dough is severely overproofed and the above methods seem insufficient, don't throw it away! You can often transform it into a different, delicious baked good. This section focuses on using overproofed dough in a modified recipe. This overproofed dough salvage recipe is designed to utilize the fermented flavor while bypassing the need for a strong gluten structure and significant oven spring required for a traditional loaf.
Ingredients Needed for the Salvage Recipe
This overproofed dough salvage recipe is less about precise measurements for the old dough and more about incorporating it with other ingredients to create something new. You will need:
- Your overproofed dough (any amount, let's say roughly 500g - 1kg)
- All-purpose flour (approximately 1/2 cup to 1 cup, or more as needed)
- A pinch of baking soda (about 1/4 teaspoon per 500g dough)
- Optional: A tablespoon or two of olive oil or melted butter for richness
- Optional: Salt to taste (if the original dough wasn't salty enough, start with 1/4 tsp)
- Optional additions depending on the final product (e.g., cheese, herbs, garlic for focaccia or pizza)
Step-by-Step Instructions for the Overproofed Dough Salvage Recipe
Here is a step-by-step guide for a versatile overproofed dough salvage recipe, suitable for making flatbreads, focaccia, or even thin pizza crusts:
- [ ] Assess the Dough: Turn the overproofed dough out onto a lightly floured surface. Notice its texture – it's likely very soft, possibly sticky, and lacks elasticity.
- [ ] Incorporate Flour and Baking Soda: Gently flatten the dough slightly. Sprinkle about half of the additional flour and the baking soda over the top. The baking soda provides a chemical leavening boost, as the yeast in the overproofed dough is likely exhausted.
- [ ] Gently Fold and Knead: Gently fold the dough over itself and begin to lightly knead, incorporating the added flour and baking soda. Add more flour, a tablespoon at a time, only if the dough is too sticky to handle. The goal is to make it workable, not to develop gluten.
- [ ] Add Fat (Optional): If using, gently knead in the olive oil or melted butter. This adds richness and helps with texture.
- [ ] Taste and Adjust Salt (Optional): Pinch off a tiny piece of dough, carefully taste it (raw dough isn't ideal, but a tiny bit is okay for salt check), and add a pinch more salt if needed.
- [ ] Rest Briefly: Cover the dough loosely and let it rest for 10-15 minutes. This helps the flour hydrate and the dough become slightly easier to handle.
- [ ] Shape: Gently shape the dough into a flatbread, focaccia, or pizza crust shape directly on a baking sheet lined with parchment paper or a well-oiled pizza pan. Avoid stretching too aggressively. Overproofed dough doesn't have much elasticity left.
- [ ] Add Toppings (Optional): For focaccia, dimple the surface and add olive oil, herbs, and salt. For pizza, add sauce, cheese, and toppings.
- [ ] Bake: Bake in a preheated oven (usually 400-450°F or 200-230°C, depending on the desired outcome) until golden brown and cooked through. Baking time will vary greatly depending on the thickness and type of bake, but expect 15-30 minutes.
Baking Tips for Dough That Has Been Salvaged
Baking dough that has been salvaged using an overproofed dough salvage recipe requires a slightly different approach than baking standard bread. Because the gluten structure is compromised and the yeast is less active, you won't get a significant oven spring. Focus instead on developing flavor and achieving a pleasant texture.
Here are a few tips:
- Higher Baking Temperature: Often, a slightly higher baking temperature can help achieve a decent crust and cook the dough quickly before it collapses further. Think 400°F (200°C) and up.
- Don't Expect Big Rise: Manage your expectations. Salvaged dough won't double in the oven like healthy dough. It will likely stay relatively flat, which is why it's ideal for flatbreads, focaccia, or thin crusts.
- Use a Baking Stone/Steel: If you have one, baking on a preheated baking stone or steel can provide a good heat boost from the bottom, helping the crust develop quickly and improving the overall texture.
- Monitor Closely: Watch the dough as it bakes, as the baking time might be shorter or longer than expected depending on the dough's thickness and hydration. Look for visual cues like golden-brown color and crisp edges.
- Embrace the Flavor: Overproofed dough often has a more complex, slightly tangy flavor due to the extended fermentation. This can be a wonderful characteristic in the final baked good, especially in items like focaccia or pizza crusts.
What to Do if Rescue Attempts Fail: Creative Uses for Overproofed Dough
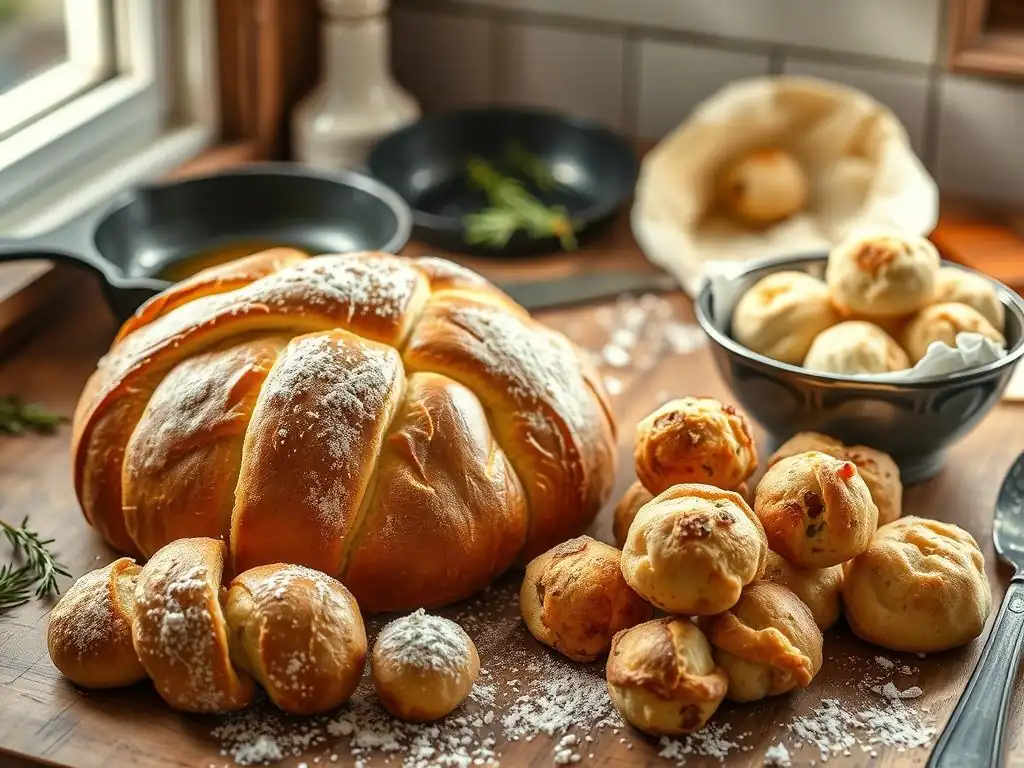
Even if reshaping or incorporating fresh dough doesn't yield a perfect loaf, or if your dough was too far gone for those methods, your overproofed dough isn't necessarily destined for the bin. Its fermented flavor and basic dough structure can be repurposed into other delicious items where a strong rise isn't critical. These creative uses turn a potential failure into a tasty success.
Overproofed Dough Pizza Crust Recipe
Overproofed dough makes an excellent base for a thin and flavorful pizza crust. The weakened gluten isn't a problem here, as you're not looking for a lofty loaf, but rather a flat surface for toppings. The slight tang from the extended fermentation can even enhance the pizza's flavor profile.
To make an overproofed dough pizza crust: Gently deflate the overproofed dough and fold it onto itself a few times. Let it rest for 10 minutes. On a lightly floured surface, gently stretch or roll the dough into a pizza shape of your desired thickness (thinner works best). Transfer to a pizza peel dusted with cornmeal or a baking sheet lined with parchment. Add your favorite pizza sauce, cheese, and toppings. Bake in a very hot oven (450-500°F or 230-260°C) for 8-15 minutes, or until the crust is golden and the cheese is bubbly.
Overproofed Dough Focaccia Recipe
Focaccia is another ideal candidate for using overproofed dough. Its rustic, often dimpled texture and reliance on olive oil rather than significant oven spring make it forgiving. The fermented notes in the dough contribute wonderfully to the characteristic focaccia flavor.
For an overproofed dough focaccia: Gently deflate the dough and place it in a well-oiled baking pan (a 9x13 inch pan works well for about 500g-750g of dough). Gently press and stretch the dough to fill the pan. Don't worry if it resists; let it rest for 10-15 minutes, then continue stretching.
Once the pan is filled, cover and let it rest for about 30-45 minutes. Dimple the surface deeply with your fingers, drizzle generously with good quality olive oil, sprinkle with flaky sea salt, and add toppings like rosemary, garlic, or cherry tomatoes. Bake at 400-425°F (200-220°C) for 20-30 minutes, until golden brown.
Overproofed Dough Croutons Recipe
If your dough is too far gone for even flatbreads – maybe it's extremely sticky and tearing – you can still salvage its flavor by turning it into croutons. This utilizes the fermented taste and prevents waste entirely.
To make croutons from overproofed dough: If the dough is scoopable, simply scoop irregular pieces onto a baking sheet. If it's somewhat shapeable, gently flatten it and cut it into cubes or tear into pieces. Drizzle generously with olive oil, sprinkle with salt, pepper, garlic powder, or other desired seasonings (like dried herbs). Bake at a low temperature, around 300-325°F (150-160°C), stirring occasionally, until the pieces are completely dry and crunchy. This can take anywhere from 30 minutes to over an hour, depending on the size of the pieces and the dough's moisture content.
Preventing Overproofing: Tips for Successful Dough Proofing
Prevention is always better than cure, especially in baking! Understanding how to control the proofing process can save you the headache of dealing with overproofed dough. Proofing is essentially a controlled fermentation, and managing its pace is key to a successful bake.
Controlling Temperature and Humidity for Optimal Proofing
Yeast activity is highly sensitive to temperature. The ideal temperature range for most bread doughs to proof is between 75-80°F (24-27°C). Temperatures significantly higher than this will accelerate yeast activity, leading to faster proofing and a higher risk of overproofing.
Conversely, cooler temperatures (like proofing in the refrigerator at 35-40°F or 2-4°C) dramatically slow down fermentation, allowing for longer, slower proofs that can develop deeper flavors without the risk of overproofing for many hours. Humidity also plays a role; a humid environment helps prevent the dough surface from drying out and forming a skin, which can restrict expansion. Proofing in a slightly warm, humid place (like a turned-off oven with a pan of hot water) can provide an optimal environment.
Understanding Proofing Times for Different Dough Types
Proofing times are not one-size-fits-all. They vary significantly based on the type of dough, the amount and type of yeast used, the hydration level, and the ambient temperature. Lean doughs with minimal sugar and fat often proof faster than enriched doughs. Doughs made with rapid-rise yeast will proof much quicker than those made with active dry yeast or natural sourdough starter.
A typical first proof at room temperature might range from 1 to 2.5 hours, but this is just a guideline. Always refer to your specific recipe's recommendations, but be prepared to adjust based on your environment. For instance, a dough that takes 2 hours to double at 70°F (21°C) might only take 1.5 hours at 75°F (24°C).
Using the Poke Test to Determine Readiness
The poke test is the most reliable way to determine if your dough is properly proofed, regardless of the time elapsed. To perform the poke test, flour your finger slightly and gently but firmly press it into the dough about half an inch deep.
- If the indentation springs back immediately and completely, the dough is underproofed.
- If the indentation springs back slowly and only partially, leaving a small indent, the dough is likely properly proofed and ready to bake.
- If the indentation remains completely or springs back very slowly and minimally, the dough is overproofed. This simple test gives you real-time feedback on your dough's readiness, helping you catch overproofing before it's too late.
Troubleshooting Common Bread Problems: The BakeWithEase Approach
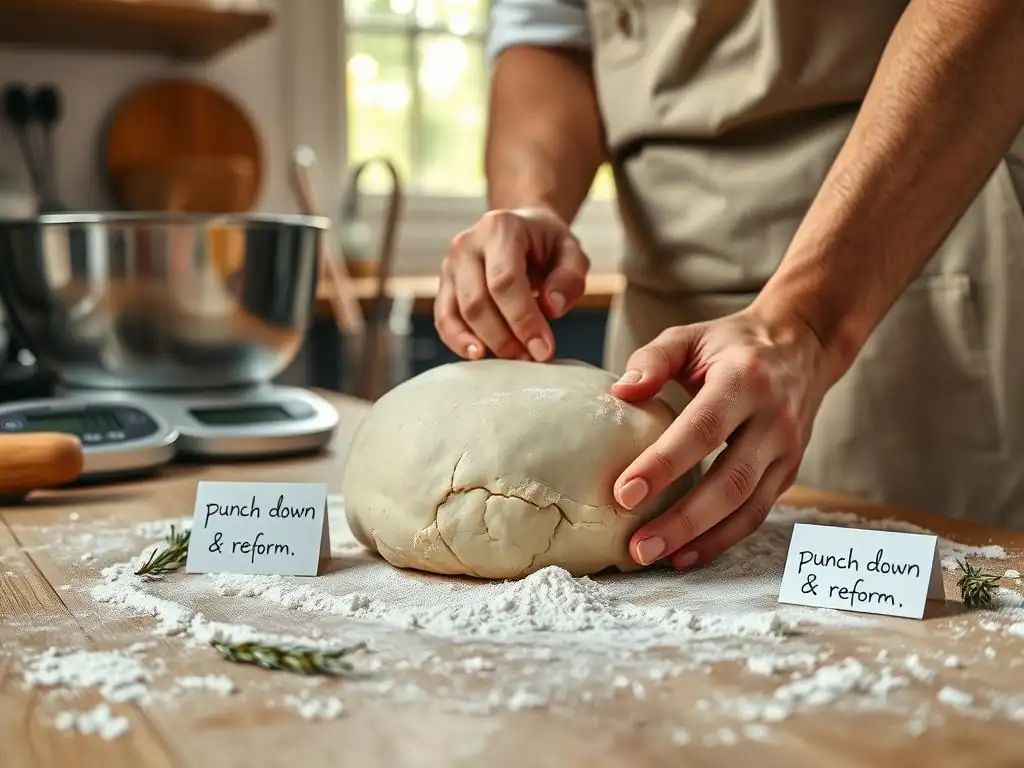
Dealing with challenges like overproofed dough is a natural part of the baking journey. At BakeWithEase.com, we believe that understanding why things happen in baking is just as important as knowing how to follow a recipe. Troubleshooting is a skill that develops with practice and knowledge.
More Baking Tips & Hacks for Perfect Bread Every Time
Beyond avoiding overproofing, mastering bread requires attention to detail at every stage. Ensure your yeast is active by proofing it in warm water with a pinch of sugar before adding it to the flour. Measure your ingredients accurately, preferably using a kitchen scale for flour and water, as volume measurements can be inconsistent. Develop the gluten properly through kneading or folding techniques – this is crucial for structure.
Control fermentation by adjusting proofing times based on temperature and using the poke test. Finally, ensure your oven is properly preheated to the correct temperature for optimal oven spring. Simple hacks like using a Dutch oven for baking can also dramatically improve crust development for many loaf types.
Common Baking Mistakes and How to Avoid Them
One of the most common mistakes is impatience – not letting the dough proof long enough, or conversely, letting it go too long and ending up with overproofed dough. Another error is inaccurate measuring, especially of flour, which can drastically alter the dough's hydration and handling properties. Forgetting to preheat the oven properly or baking at the wrong temperature can lead to poor rise and crust issues.
Using expired yeast is also a frequent culprit for dough that doesn't rise at all. By paying attention to details, trusting the process (and your poke test! ), and understanding the role of each ingredient and step, you can avoid many common pitfalls and improve your baking success rate.
Mastering the Art of Baking with BakeWithEase.com
Frequently Asked Questions
How do I know if my dough is overproofed?
Overproofed dough will often appear collapsed or deflated, have a sour, alcoholic smell, and may not hold its shape well. A finger poke test will leave a deep indentation that doesn't spring back.
Can I always salvage overproofed dough?
While not guaranteed, you can often salvage overproofed dough. The success depends on how severely overproofed it is. Mildly overproofed dough has a higher chance of being rescued.
What's the "Overproofed dough salvage recipe" mentioned in the article, and how does it work?
The BakeWithEase method typically involves punching down the dough, re-kneading it briefly, and allowing it to proof again for a shorter period. This helps redistribute the yeast.
Will the flavor of my baked goods be affected if I salvage overproofed dough?
Yes, salvaging overproofed dough can alter the flavor. It might result in a more sour or tangy taste due to the increased yeast activity. Adjusting the recipe may be necessary.
Are there specific types of dough that are harder to salvage when overproofed?
Delicate doughs, such as those with high sugar or fat content, can be more challenging to rescue when overproofed. The structure is more fragile and prone to collapsing.
Final Reflection: The Unexpected Resilience of Overproofed Dough
The seemingly irreversible damage of overproofed dough speaks to a larger truth about resilience and resourcefulness. We often face setbacks in life that feel catastrophic, moments where we believe our efforts are irrevocably ruined. But just as a seemingly hopeless batch of dough can sometimes be salvaged, so too can we find ways to adapt and overcome our own challenges.
The journey of rescuing overproofed dough is a microcosm of our own human experience; a testament to the power of adaptation and the importance of not giving up too easily. We learn to recognize the subtle signs of failure, to improvise, and to find creative solutions. This process, while sometimes frustrating, ultimately teaches us valuable lessons in patience and problem-solving. The greatest glory in living lies not in never falling, but in rising every time we fall.
This quote perfectly encapsulates the spirit of rescuing overproofed dough, and indeed, overcoming any obstacle life throws our way.
Now, consider your own "overproofed" moments – those times when a project seems doomed, a goal feels unattainable, or a dream appears to have crumbled. Remember the lessons learned from this article: assess the situation, adapt your approach, and don't be afraid to experiment. You might be surprised at what you can salvage, and the strength you discover within yourself in the process. Embrace the unexpected, and find the resilience within to rise above your own challenges.
Rediscover Your Dough: Give Your Overproofed Bread a Second Chance!
Thanks for taking the time to learn about rescuing overproofed dough! You now have the knowledge to tackle this common baking challenge head-on. Let's put that knowledge into action. Here's what you can do next:
- Try the recovery methods: Don't let that dough go to waste! Experiment with the techniques outlined in the article—you might be surprised at the results. Remember to pay close attention to the texture and adjust accordingly.
- Share your baking triumphs (and failures!): We'd love to hear about your experience. Share your rescued loaf photos and tips on our BakeWithEase community forum (Note: This would link to the forum on the actual website).
- Explore more advanced dough techniques: Want to avoid overproofing altogether? Dive deeper into our resources on proofing times and dough management for perfect results every time.
Ready to transform your overproofed dough into delicious bread? What's your biggest challenge when working with yeast dough?