
Mastering German Hefezopf (Sweet Braided Bread) Simply

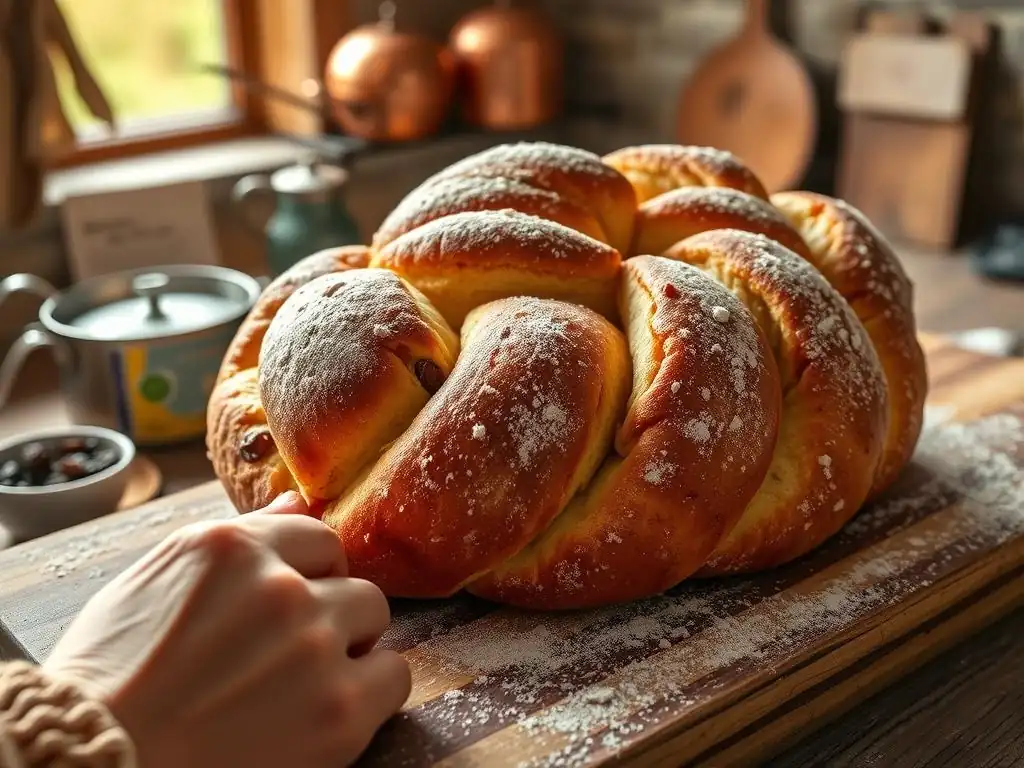
Welcome to BakeWithEase, your haven for unlocking the secrets of delightful baking! Ever dreamt of creating that picture-perfect, golden-brown Hefezopf? Our latest article dives into an easy German Hefezopf braiding recipe, demystifying this beautiful bread so you can impress your friends and family. Discover the simple steps and essential techniques to achieve bakery-worthy results right in your own kitchen. Ready to turn simple ingredients into a stunning, braided masterpiece? Let's bake!
- Mastering German Hefezopf (Sweet Braided Bread) Simply: An Easy Recipe from BakeWithEase
- Introduction to German Hefezopf: A Baking Delight
- The Ultimate Easy German Hefezopf Braiding Recipe
-
Step-by-Step Guide: Baking German Hefezopf with Ease
- Step 1: Preparing the Sweet Yeast Dough (Hefeteig)
- Step 2: The First Rise: Letting the Dough Work its Magic
- Step 3: Mastering the Art of Hefezopf Braiding: A Simple Technique
- Step 4: The Second Rise: Building Flavor and Texture
- Step 5: Baking Your German Hefezopf to Golden Perfection
- Step 6: Cooling and Enjoying Your Homemade Hefezopf
- Tips and Tricks for Baking the Best Hefezopf
- Storing and Freezing Your German Hefezopf
- Troubleshooting Your Hefezopf Baking
- Conclusion: Enjoy Baking Authentic German Hefezopf at Home
-
Frequently Asked Questions
- How easy is the German Hefezopf recipe on BakeWithEase.com for a beginner baker?
- What are the key ingredients I need to make a German Hefezopf according to BakeWithEase?
- Does BakeWithEase.com provide tips for successful Hefezopf braiding?
- Can I find alternative ingredient suggestions on BakeWithEase if I have dietary restrictions?
- What kind of baking advice beyond the recipe does BakeWithEase provide for perfecting my Hefezopf?
- Final Reflection: The Sweet Braid of Tradition and Innovation
- Unleash Your Inner Bäcker: Bake the Perfect Hefezopf!
Mastering German Hefezopf (Sweet Braided Bread) Simply: An Easy Recipe from BakeWithEase
Introduction to German Hefezopf: A Baking Delight
What is Hefezopf and Why Bake it?
Hefezopf, literally translating to "yeast braid" or "yeast plait," is a traditional German sweet bread made from a rich yeast dough (Hefeteig). It's a staple in many German-speaking households, often enjoyed on Sundays, holidays like Easter and Christmas, or simply as a delightful treat for breakfast or coffee time. Unlike savory breads, Hefezopf incorporates sugar, butter, and sometimes eggs, resulting in a soft, slightly sweet crumb and a beautiful golden crust. Its signature braided shape is not just for aesthetics; it contributes to the bread's texture by creating distinct sections that are easy to pull apart.
Baking Hefezopf at home offers a truly rewarding experience. The aroma filling your kitchen is reason enough, but the joy of sharing a warm, freshly baked loaf with family and friends is unparalleled. While it might look intricate, the process of making Hefezopf is quite straightforward, especially with an easy German Hefezopf braiding recipe. It's a fantastic way to practice working with yeast dough and braiding techniques, yielding a delicious result that feels both impressive and comforting. Plus, homemade Hefezopf simply tastes better than anything store-bought, offering a freshness and flavor that’s hard to beat.
BakeWithEase's Approach to Easy Hefezopf
At BakeWithEase, our goal is to demystify baking and make even seemingly complex recipes approachable for everyone. Our approach to this easy German Hefezopf braiding recipe focuses on clarity, simplicity, and minimizing potential pitfalls. We break down each step into manageable tasks, ensuring that even if you're new to working with yeast or braiding dough, you can achieve a successful and beautiful Hefezopf. We provide clear instructions for activating yeast, mixing and kneading the dough to the right consistency, and guiding you through a simple yet effective braiding method.
We understand that yeast baking can sometimes feel intimidating, perhaps due to past experiences with dough that didn't rise or bread that turned out dense. Our recipe is designed with built-in safeguards and helpful tips to ensure your Hefezopf rises beautifully and bakes into a soft, fluffy loaf. We emphasize understanding the why behind certain steps, like using warm milk or kneading properly, empowering you with the knowledge needed for consistent results. This easy German Hefezopf braiding recipe aims to boost your confidence in the kitchen and add a wonderful traditional bread to your baking repertoire.
The Ultimate Easy German Hefezopf Braiding Recipe
Key Ingredients for Perfect Hefezopf
Creating a delicious Hefezopf starts with quality ingredients. You'll need the foundational components of most yeast breads, but with additions that lend sweetness and richness. Expect to use all-purpose flour – around 500 grams is a standard amount for a medium-sized loaf, providing the structure. Fresh or active dry yeast is crucial for leavening; a typical 7-gram packet of active dry yeast is sufficient for 500g of flour, offering reliable lift. Granulated sugar, approximately 75 to 100 grams, sweetens the dough, while a pinch of salt, about 5-7 grams, balances the flavors and helps control yeast activity.
For the signature richness and soft texture, you'll incorporate milk, butter, and eggs. About 200-250 milliliters of warm milk (around 35-40°C or 95-105°F) is needed to hydrate the dough and activate the yeast. Unsalted butter, softened, roughly 50-75 grams, adds tenderness and flavor. One or two large eggs contribute to the richness, color, and structure. Optional additions like lemon zest (from one lemon) or vanilla extract (a teaspoon or two) can elevate the aroma and flavor profile of your homemade German sweet bread. Having these ingredients measured out before you begin makes the process smoother.
Essential Baking Tools for this Recipe
Having the right tools at hand can significantly simplify the process of baking your easy German Hefezopf. You don't need a professional setup, but a few basics are indispensable. You'll definitely need a large mixing bowl, big enough to comfortably hold and mix the dough, allowing space for it to double in size during the first rise. Measuring cups and spoons or, preferably, a kitchen scale, are essential for accurately weighing ingredients like flour and sugar, which is key for consistent results in baking.
For kneading, you can use your hands on a clean, lightly floured surface, or if you have one, a stand mixer fitted with a dough hook will save you time and effort. A clean tea towel or plastic wrap is needed to cover the dough during proofing to prevent it from drying out. You'll also need a baking sheet, lined with parchment paper for easy cleanup and to prevent sticking.
Finally, a wire cooling rack is necessary for cooling the baked Hefezopf, allowing air circulation to prevent the bottom crust from becoming soggy. These simple tools are all you need to embark on making this delicious German sweet bread.
Step-by-Step Guide: Baking German Hefezopf with Ease
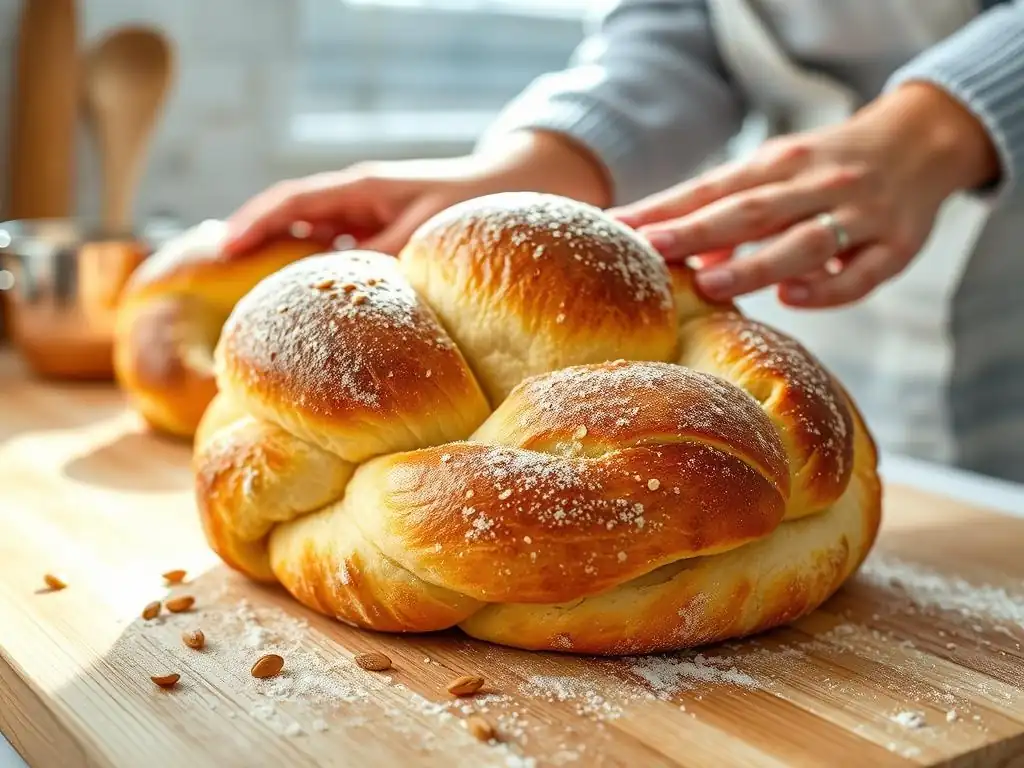
Step 1: Preparing the Sweet Yeast Dough (Hefeteig)
Activating the Yeast for a Fluffy Hefezopf
The first crucial step in creating a light and airy Hefezopf is properly activating your yeast. If you're using active dry yeast, you'll need to "proof" it first. In a small bowl, combine your yeast (e.g., 7 grams) with a pinch of sugar (about a teaspoon) and about 60-75 ml of the warm milk (around 35-40°C).
Stir gently and let it sit for 5-10 minutes. You'll know the yeast is active and ready when it becomes foamy and bubbly on the surface. This foaming indicates that the yeast organisms are alive and producing carbon dioxide, which will make your bread rise.
If you're using instant yeast, you can often skip this step and add it directly to your dry ingredients. However, even with instant yeast, mixing it with the warm milk and a little sugar first can give you confidence that it's active before committing to the whole batch of dough. Ensuring your yeast is vigorous is the foundation of a successful loaf, preventing the disappointment of a dough that refuses to rise. This simple check takes only a few minutes but is vital for achieving that signature fluffy Hefezopf texture.
Combining Wet and Dry Ingredients: Dough Perfection
Once your yeast is active (or if using instant yeast, ready to combine), it's time to bring everything together to form the dough. In your large mixing bowl, whisk together the flour, remaining sugar (approx. 75-100g), and salt (approx. 5-7g). Make a well in the center of the dry ingredients. Into this well, pour the activated yeast mixture, the remaining warm milk (approx. 125-175ml), the softened butter (approx. 50-75g), and the eggs (1-2). If using, add your lemon zest or vanilla extract now.
Using a wooden spoon or a stand mixer with a dough hook, begin mixing from the center, gradually incorporating the dry ingredients into the wet. Continue mixing until a shaggy dough forms and pulls away from the sides of the bowl. At this stage, the dough will likely be quite sticky, which is perfectly normal for a sweet yeast dough that contains butter and eggs. Resist the urge to add too much extra flour at this point, as this can result in a dry, dense Hefezopf later on.
Kneading the Dough: Achieving the Right Consistency
Kneading is essential for developing the gluten structure in the dough, which gives the Hefezopf its shape and chewy yet tender texture. Turn the shaggy dough out onto a lightly floured surface (or continue kneading in your stand mixer). Knead the dough for about 8-10 minutes by hand, or 6-8 minutes on medium speed in a stand mixer. The goal is to transform the sticky mass into a smooth, elastic, and pliable dough.
You can test if the dough is properly kneaded using the "windowpane test." Pinch off a small piece of dough and gently stretch it between your fingers. If it stretches thin enough to see light through it without tearing, the gluten is well-developed. If it tears easily, continue kneading for a few more minutes and test again. The dough should feel soft and slightly tacky but should not stick excessively to your hands or the bowl. Proper kneading is key to a light and airy easy German Hefezopf braiding recipe outcome.
Step 2: The First Rise: Letting the Dough Work its Magic
Creating the Ideal Environment for Proofing
The first rise, also known as bulk fermentation, is where the yeast gets to work, producing carbon dioxide that makes the dough expand and develop flavor. After kneading, shape the dough into a smooth ball and place it back into the lightly oiled mixing bowl. Turn the dough once to coat the surface with oil, which prevents it from drying out. Cover the bowl tightly with plastic wrap or a clean, damp tea towel.
For the best rise, find a warm, draft-free spot in your kitchen. An ideal temperature is around 25-30°C (75-85°F). You can create a warm environment by placing the bowl in a turned-off oven with the light on, or near a warm (but not hot) radiator. The dough should double in size within 1 to 1.5 hours, although this can vary depending on the temperature and the activity of your yeast. A successful first rise is crucial for a light and fluffy easy German Hefezopf braiding recipe result.
Step 3: Mastering the Art of Hefezopf Braiding: A Simple Technique
Dividing the Dough: Preparing for Braiding
Once your dough has doubled in size after the first rise, gently punch it down to release the air. Turn the dough out onto a lightly floured surface. Before you can braid, you need to divide the dough into equal portions. For a simple three-strand braid, divide the dough into three equal pieces. For a slightly more intricate but still easy four-strand braid, divide it into four equal pieces. A kitchen scale can be helpful here to ensure the pieces are truly equal in weight, which helps the braid bake evenly.
Once divided, roll each piece of dough into a long, even rope. Aim for ropes that are roughly the same length and thickness along their entire length. For a typical Hefezopf made with 500g of flour, each rope might be about 30-40 cm (12-16 inches) long. Keeping the ropes uniform in thickness is important for creating a visually appealing and evenly baked braid.
How to Braid Hefezopf: A Visual Guide (Described)
Let's describe how to create a simple and classic three-strand Hefezopf braid. Arrange your three dough ropes side-by-side. Pinch the tops of the three ropes firmly together at one end to secure them. Now, imagine the ropes are numbered 1, 2, and 3 from left to right.
- Take the right-most rope (number 3) and cross it over the middle rope (number 2). Rope 3 is now in the middle position.
- Take the left-most rope (number 1) and cross it over the new middle rope (which was previously number 3). Rope 1 is now in the middle position.
- Repeat this pattern: Right rope over the middle, then left rope over the middle. Continue this motion, keeping the tension relatively even, until you reach the end of the ropes.
Pinch the ends firmly together to seal the braid. Gently tuck the pinched ends underneath the loaf for a neat finish. This simple braiding technique is the core of an easy German Hefezopf braiding recipe and produces a beautiful result.
Troubleshooting Common Braiding Issues
Even with a simple technique, you might encounter minor issues when braiding your Hefezopf. One common problem is ropes that aren't uniform, leading to a lopsided braid. Ensure your ropes are rolled to similar lengths and thicknesses before starting. If the dough is sticky, lightly flour your hands and the surface, but avoid adding too much flour, which can dry out the bread.
Another issue can be uneven tension during braiding. Try to maintain a consistent pull and crossover motion. If the braid starts to look uneven, you can gently un-braid a section and re-do it. If the ropes shrink back while rolling, let them rest for 5-10 minutes before trying again; this allows the gluten to relax. Practice makes perfect, and even a slightly imperfect braid will still bake into a delicious homemade German sweet bread.
Step 4: The Second Rise: Building Flavor and Texture
Ensuring a Light and Airy Bread
After shaping your Hefezopf by braiding, it needs a second rise, also known as proofing. This final rise is crucial for achieving a light, airy crumb and a beautiful shape. Carefully transfer the braided loaf to your prepared baking sheet lined with parchment paper. Cover the loaf loosely with plastic wrap or a light tea towel, ensuring it doesn't touch the dough and inhibit its rise.
Place the baking sheet in a warm, draft-free spot again, similar to the first rise. The second rise typically takes less time than the first, often around 30-60 minutes, or until the loaf looks visibly puffy and has increased in size by about 50-75%. The dough should feel soft and slightly spring back when gently poked, but it shouldn't deflate. Don't let it over-proof, as this can lead to a collapsed loaf in the oven. This step is vital for that perfect easy German Hefezopf braiding recipe outcome.
Step 5: Baking Your German Hefezopf to Golden Perfection
Oven Temperature and Baking Time
Preheating your oven correctly is the first step towards achieving a perfectly baked Hefezopf. Preheat your oven to about 180°C (350°F) for a fan oven, or 190°C (375°F) for a conventional oven. Allow the oven to preheat fully for at least 15-20 minutes before placing the bread inside. This ensures the oven temperature is stable and accurate, providing consistent heat for even baking and a good rise.
Before baking, you can brush the top of the Hefezopf with an egg wash (one egg whisked with a tablespoon of milk or water) for a glossy, golden-brown crust. Sprinkle with pearl sugar or sliced almonds if desired. Carefully place the baking sheet in the preheated oven. The baking time for a standard-sized Hefezopf (made with 500g flour) is typically between 25 and 35 minutes. The bread is done when it is deeply golden brown on top and sounds hollow when tapped on the bottom. An internal temperature of around 90-95°C (195-205°F) also indicates it's fully baked.
Achieving a Beautiful Golden-Brown Crust
That gorgeous golden-brown crust is a hallmark of a well-baked Hefezopf. The egg wash applied before baking is key to achieving this shine and color. The sugar in the dough also contributes to browning through caramelization. If you notice the top browning too quickly during baking, you can loosely tent the loaf with aluminum foil for the remaining baking time.
Baking at the correct temperature for the appropriate duration ensures that the crust develops evenly while the inside bakes through without becoming dry. The heat causes the starches on the surface to gelatinize and sugars to caramelize, creating that desirable color and a slightly firm exterior that contrasts with the soft interior. Achieving this perfect crust is a satisfying part of mastering your easy German Hefezopf braiding recipe.
Step 6: Cooling and Enjoying Your Homemade Hefezopf
Glazing Options for Added Flavor
Once your Hefezopf is out of the oven, it's tempting to slice into it immediately, but allowing it to cool slightly improves its texture. While it's still warm, you have the option to add a simple glaze for extra sweetness and shine. A classic choice is a simple powdered sugar glaze: whisk together about 100 grams of powdered sugar with 1-2 tablespoons of milk or lemon juice until smooth and pourable. Drizzle this over the warm bread.
Alternatively, you can make a simple syrup glaze by heating equal parts sugar and water until the sugar dissolves. Brush this warm syrup over the Hefezopf as soon as it comes out of the oven for a subtle shine and moisture boost. Or, for a very simple finish, a light dusting of powdered sugar once cooled is also lovely. These glazes add an extra touch of sweetness that complements the rich bread.
Serving Suggestions for the Perfect Treat
Allow the Hefezopf to cool on a wire rack for at least 30-60 minutes before slicing. This allows the internal structure to set properly. Hefezopf is delicious served warm or at room temperature. It's traditionally enjoyed sliced and spread with butter, jam, or honey. Its slightly sweet nature also makes it wonderful on its own with a cup of coffee or tea.
For a truly decadent experience, try slicing it thickly and using it for French toast – the rich dough makes for an exceptional base. Leftover Hefezopf also makes fantastic bread pudding. Sharing this warm, fragrant loaf, whether for a special occasion or just a simple weekend breakfast, is the ultimate reward of baking this easy German Hefezopf braiding recipe.
Tips and Tricks for Baking the Best Hefezopf
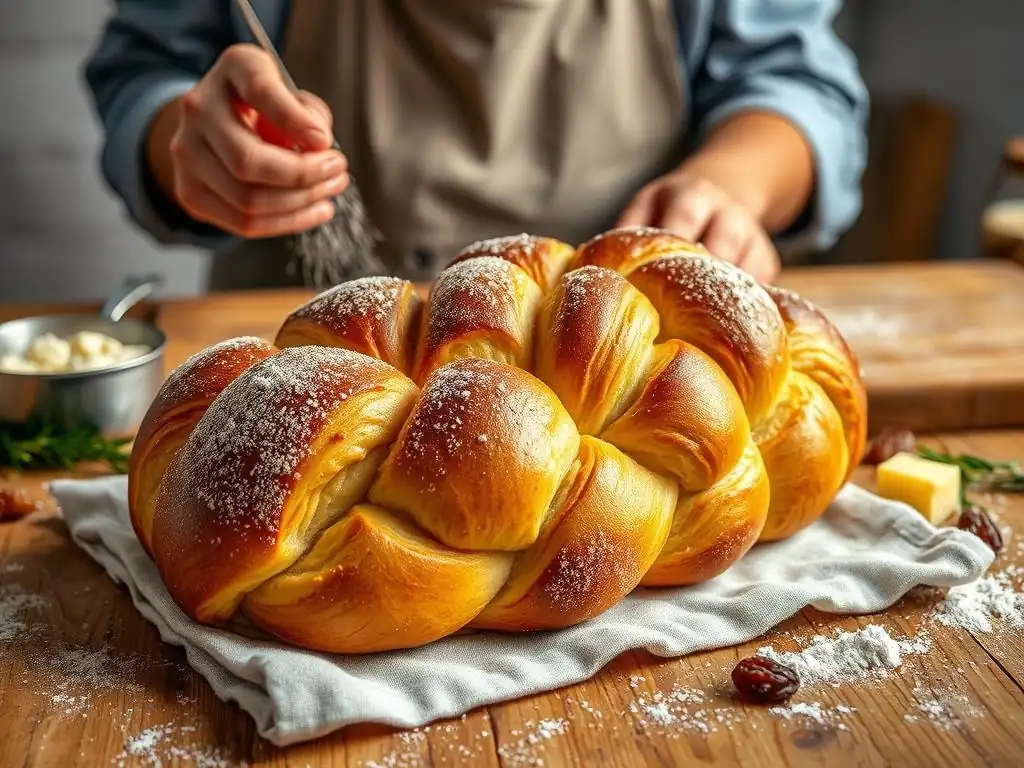
Achieving a Soft and Fluffy Texture
The key to a soft and fluffy Hefezopf lies in a few critical steps. Firstly, ensure your yeast is active and healthy; this provides the necessary lift. Secondly, don't skimp on kneading time. Developing the gluten properly allows the dough to stretch and trap the gases produced by the yeast, resulting in a light crumb. Aim for that smooth, elastic dough consistency.
Thirdly, allow sufficient time for both the first and second rises in a warm, draft-free environment. Proper proofing is essential for the dough to become airy before baking. Finally, avoid adding too much flour during mixing or kneading. A slightly tacky dough is better than a dry one, as excess flour can lead to a dense loaf. Using softened butter and room temperature eggs also helps create a tender dough.
Preventing a Dry Hefezopf
A dry Hefezopf can be disappointing, but it's easily preventable with attention to a few details. As mentioned, using too much flour is a primary culprit; stick to the recipe measurements and only use extra flour sparingly while kneading if absolutely necessary to prevent sticking. Ensure your liquid ingredients (milk, eggs) are at room temperature or slightly warm, as cold ingredients can hinder yeast activity and lead to a tougher dough.
Another common cause of dryness is overbaking. Keep an eye on the loaf during the final minutes of baking and use visual cues (golden color, hollow sound when tapped) and potentially an internal thermometer to ensure it's baked through but not left in the oven for too long. Baking at the correct temperature is also important; if the oven is too hot, the outside can brown and dry out before the inside is fully cooked.
Variations and Add-ins for Your Hefezopf Recipe
While the classic easy German Hefezopf braiding recipe is wonderful on its own, it's also a versatile base for delicious variations. You can incorporate dried fruits like raisins, currants, or chopped apricots directly into the dough during the final stages of kneading. About 100-150 grams of dried fruit works well for a 500g flour recipe.
For added flavor, mix in chopped nuts such as almonds or walnuts. Spices like ground cardamom, cinnamon, or a pinch of nutmeg can also be kneaded into the dough for a warm, aromatic twist. Before baking, brushing with egg wash and sprinkling with pearl sugar, sliced almonds, or even poppy seeds adds texture and visual appeal. Feel free to experiment and make this homemade German sweet bread your own!
Storing and Freezing Your German Hefezopf
Keeping Your Hefezopf Fresh
Freshly baked Hefezopf is best enjoyed the day it's made, ideally while still slightly warm. However, if you have leftovers, proper storage will help keep it soft and delicious for a few days. Once completely cooled, store the Hefezopf in an airtight container or a resealable plastic bag at room temperature. Avoid refrigerating yeast breads, as this can actually cause them to dry out faster and become stale.
Stored properly, your homemade German sweet bread should remain fresh for about 2-3 days. To refresh slightly stale slices, you can lightly toast them or warm them gently in a microwave or oven. The key is to protect the bread from air exposure, which causes it to dry out and harden.
Freezing for Future Enjoyment
Hefezopf freezes exceptionally well, making it a great candidate for baking ahead or preserving leftovers. Once the loaf is completely cooled, wrap it tightly in plastic wrap, then wrap it again in aluminum foil or place it in a freezer-safe bag. For best quality, freeze the entire loaf or large sections rather than individual slices.
Frozen Hefezopf can be stored for up to 2-3 months. To thaw, simply remove it from the freezer and let it sit at room temperature, still wrapped, for several hours until fully defrosted. For extra freshness, you can then warm the thawed loaf in a low oven (around 150°C or 300°F) for 10-15 minutes. This method allows you to enjoy your easy German Hefezopf braiding recipe creation long after baking.
Troubleshooting Your Hefezopf Baking
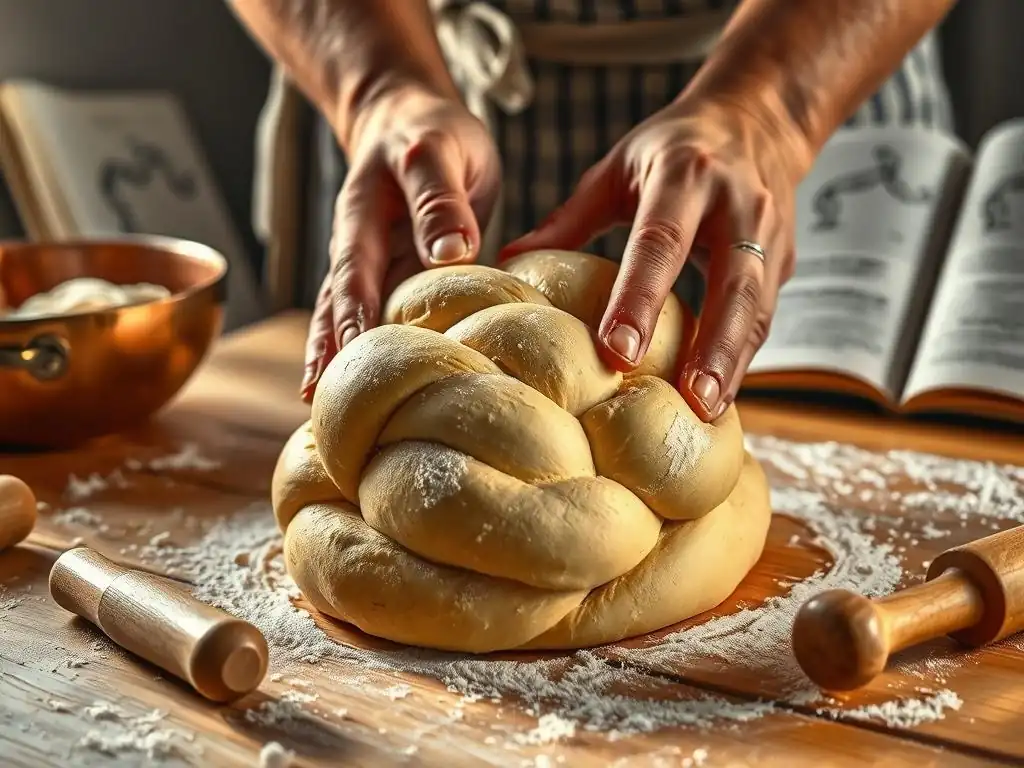
Common Hefezopf Baking Problems and Solutions
Even experienced bakers encounter issues sometimes. Understanding common problems with yeast dough and how to fix them can save your loaf. Here are some frequent challenges when making this easy German Hefezopf braiding recipe and how to address them. Don't be discouraged if your first attempt isn't perfect; baking is a learning process!
Dough Not Rising? Here's What to Do
If your Hefezopf dough isn't rising, the most probable cause is inactive or dead yeast. This could be due to using expired yeast, using liquid that is too hot (which kills the yeast), or a proofing environment that is too cold.
- Check Yeast Expiry: Always check the date on your yeast packet.
- Water Temperature: Ensure your milk (or water) is warm, not hot. The ideal temperature for activating active dry yeast is around 35-40°C (95-105°F). Water hotter than 55°C (130°F) will likely kill the yeast.
- Proofing Environment: Find a warmer spot. If your kitchen is cold, use the oven-with-light-on trick or place the bowl in a warm water bath (make sure the water isn't too hot and doesn't get into the dough). If the dough shows absolutely no activity after a reasonable time (e.g., 30-60 minutes), the yeast might be dead, and you may need to start over with fresh yeast.
Hefezopf Too Dry? Tips to Fix It
A dry Hefezopf is often a result of too much flour or overbaking.
- Flour Measurement: Use a kitchen scale for accuracy. If measuring by volume, spoon the flour into the cup and level it off, don't scoop directly from the bag, which can compact the flour. A sticky dough after initial mixing is better than a dry one.
- Kneading: Ensure you knead enough to develop gluten but not so much that you continuously add flour.
- Baking Time/Temperature: Monitor the bread closely during the last 10-15 minutes of baking. Bake until golden brown and cooked through (internal temp 90-95°C), but don't let it stay in the oven longer than necessary. Tent with foil if the crust is browning too fast.
- Storage: Store cooled bread properly in an airtight container at room temperature.
Uneven Baking? Addressing the Issue
Uneven baking can lead to parts of the loaf being undercooked while others are dry or burnt.
- Oven Hot Spots: Most ovens have hot spots. Rotate your baking sheet halfway through the baking time (e.g., after 15 minutes) to ensure even heat exposure.
- Braiding: Ensure your dough ropes are of uniform thickness before braiding. Uneven ropes will bake at different rates.
- Second Rise: Make sure the braided loaf has risen evenly before baking.
Conclusion: Enjoy Baking Authentic German Hefezopf at Home
Baking a traditional German Hefezopf, especially with an easy German Hefezopf braiding recipe like this one, is a rewarding and delicious endeavor. From activating the yeast to mastering the simple braid and achieving that perfect golden crust, each step brings you closer to a delightful homemade German sweet bread. We've covered the essential ingredients, tools, step-by-step instructions, and helpful tips to ensure your success.
Whether you're baking for a special occasion or simply to enjoy a comforting treat, the aroma and taste of a fresh Hefezopf are truly special. Don't be afraid to try the braiding technique – it's simpler than it looks, and even a rustic braid tastes fantastic! We hope this guide from BakeWithEase empowers you to create a beautiful and delicious Hefezopf that you'll be proud to share. Happy baking!
Frequently Asked Questions
How easy is the German Hefezopf recipe on BakeWithEase.com for a beginner baker?
The recipe is designed to be beginner-friendly, with step-by-step instructions and easily accessible ingredients. BakeWithEase aims to simplify the process.
What are the key ingredients I need to make a German Hefezopf according to BakeWithEase?
You will primarily need ingredients like flour, yeast, sugar, butter, milk, and eggs. The recipe on BakeWithEase specifies exact quantities and any optional additions.
Does BakeWithEase.com provide tips for successful Hefezopf braiding?
Yes, the website offers detailed braiding techniques and visual aids. This helps ensure your Hefezopf looks as good as it tastes, even on your first attempt.
Can I find alternative ingredient suggestions on BakeWithEase if I have dietary restrictions?
While the primary recipe uses traditional ingredients, BakeWithEase may offer suggestions for substitutions related to dietary needs, like dairy-free options.
What kind of baking advice beyond the recipe does BakeWithEase provide for perfecting my Hefezopf?
BakeWithEase offers advice on proving times, oven temperatures, and achieving the perfect golden-brown crust, crucial for a delicious Hefezopf.
Final Reflection: The Sweet Braid of Tradition and Innovation
Mastering the art of German Hefezopf isn't just about baking a delicious bread; it's about connecting with a rich culinary heritage while embracing the joy of creative expression in the kitchen. This seemingly simple recipe, optimized for ease and accessibility, opens a door to a world of tradition and personal satisfaction. The detailed steps and clear instructions aim to demystify this iconic bread, making it achievable for even the most novice bakers.
The enduring appeal of Hefezopf lies not only in its delightful taste but also in its symbolic representation of togetherness and celebration. It's a bread that has graced countless family gatherings and festive occasions for generations. The act of braiding itself becomes a meditative process, a quiet moment of focus amidst the hustle of daily life. Baking is at once child's play and adult joy. And love, of course.
– This sentiment perfectly captures the essence of the Hefezopf experience, transforming a simple recipe into a meaningful act of creation.
Now, I invite you to roll up your sleeves, gather your ingredients, and embark on your own Hefezopf journey. Don't be afraid to experiment, to adapt the recipe to your own preferences, and to share the delicious results with loved ones. The true mastery of Hefezopf lies not just in the perfect braid, but in the joy and connection it brings. Let the aroma of warm, sweet bread fill your home, and let the experience enrich your life, one delicious braid at a time.
Unleash Your Inner Bäcker: Bake the Perfect Hefezopf!
Thanks for joining us on this delicious journey into the world of German Hefezopf! We hope you gained valuable insights and inspiration to tackle this seemingly complex bread. Now it's time to put your new knowledge into action.
- Bake your own Hefezopf! Don't just read about it – experience the joy of creating this beautiful and flavorful bread. Try the recipe today and let the aroma fill your kitchen.
- Share your baking triumphs (or tales of adventure!) on social media. Tag us and inspire others to try their hand at this classic.
- Experiment with fillings and glazes! This recipe is a fantastic base for your own creative flourishes. What unique twist will you add?
Ready to transform your kitchen into a German bakery? What unexpected flavor combination will you try in your first Hefezopf?