
Secrets to Light & Fluffy German Yeast Dough (Hefeteig) Made Easy

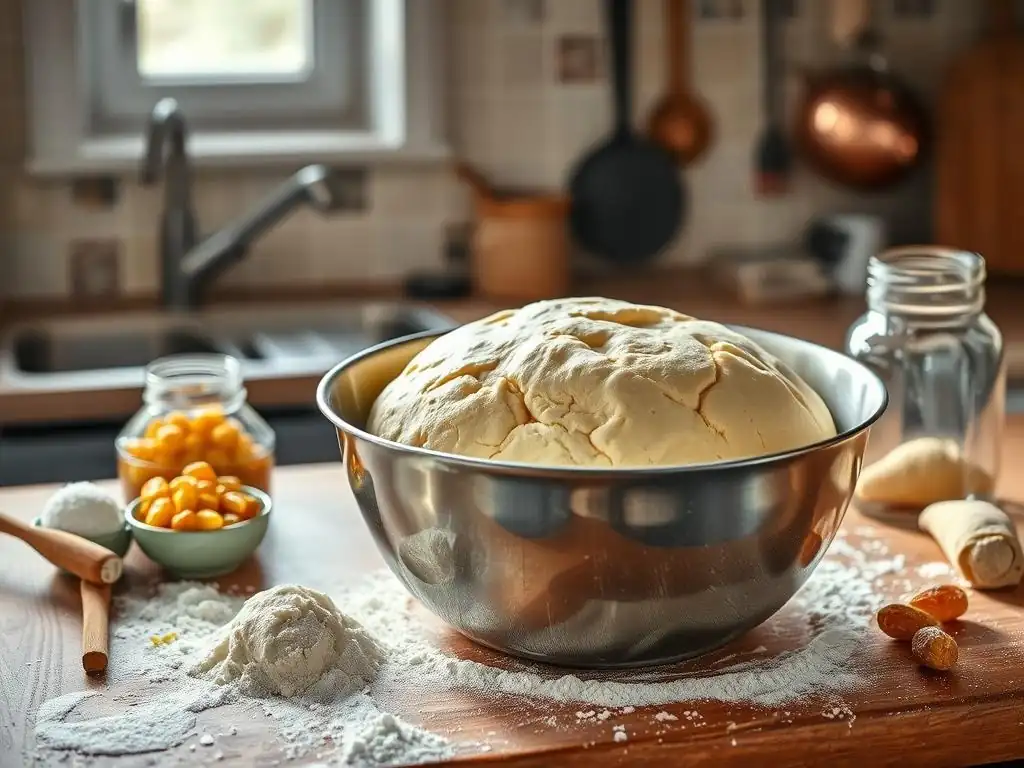
Welcome to BakeWithEase, your haven for baking mastery! Ever dreamt of effortlessly creating that perfect, light-as-air German treat? Then you're in the right place. Uncover the secrets to easy German yeast dough (Hefeteig) and embark on a delicious journey into the heart of regional baking. What if we told you that authentic German baking is simpler than you think? Read on to discover the foolproof method and unlock a world of possibilities!
- Secrets to Light & Fluffy German Yeast Dough (Hefeteig) Made Easy - BakeWithEase.com
- Introduction to Mastering German Yeast Dough (Hefeteig)
- Understanding the Key Ingredients for Perfect Hefeteig
-
Step-by-Step Guide to Making German Yeast Dough
- Step 1: Activating the Yeast for Hefeteig Success
- Step 2: Combining Dry Ingredients for the Base
- Step 3: Incorporating Wet Ingredients and Forming the Dough
- Step 4: Kneading the Dough: The Secret to Gluten Development
- Step 5: First Rise: Letting the Dough Double in Size
- Step 6: Shaping Your Hefeteig Creation
- Step 7: Second Rise: Achieving Maximum Fluffiness
- Step 8: Baking to Golden Perfection
- Tips & Tricks for Light and Fluffy Hefeteig Every Time
- Recipes to Showcase Your German Yeast Dough
- Storing and Freezing Your Homemade Hefeteig
- Conclusion: BakeWithEase and Enjoy Your German Yeast Dough
-
Frequently Asked Questions
- How is BakeWithEase's German yeast dough recipe different from other recipes?
- What makes German yeast dough (Hefeteig) "easy" on BakeWithEase?
- What are the key ingredients for achieving a light and fluffy German yeast dough, according to BakeWithEase?
- How does BakeWithEase help bakers troubleshoot common issues with German yeast dough?
- Can BakeWithEase's German yeast dough recipe be adapted for different variations, like sweet rolls or savory breads?
- Final Reflection: The Joy of Effortless German Baking
- Unleash Your Inner Bäcker: Bake the Perfect Hefeteig Today!
Secrets to Light & Fluffy German Yeast Dough (Hefeteig) Made Easy - BakeWithEase.com
Introduction to Mastering German Yeast Dough (Hefeteig)
Discover the Delight of Homemade Hefeteig with BakeWithEase
German Hefeteig, pronounced "HEF-uh-taig," is a cornerstone of German baking, known for its incredibly light and fluffy texture. It's a versatile dough used in everything from sweet braided breads to savory rolls and fruit-laden cakes. At BakeWithEase, we believe that mastering this dough should be a joyful and achievable process, not a daunting task. This guide is designed to demystify the art of making perfect Hefeteig, making it an easy German yeast dough for bakers of all levels.
Imagine pulling a warm, golden loaf or a tender sweet roll from your own oven – that's the reward of working with Hefeteig. While it involves yeast and rising times, the fundamental steps are straightforward. With a little patience and understanding of the ingredients, you'll find that creating a delicious, easy German yeast dough from scratch is well within your reach.
Why German Yeast Dough is a Baker's Dream
Hefeteig is truly a baker's dream due to its incredible adaptability. It can be the base for rich, sweet pastries, or a simple, hearty bread roll. Its neutral yet slightly sweet or savory profile allows it to pair beautifully with a wide range of fillings, toppings, and flavors. This versatility means that once you master the basic easy German yeast dough, you unlock countless recipe possibilities.
Culturally, Hefeteig plays a significant role in German tradition, frequently appearing on the "Kaffeetafel" (coffee table) laden with cakes and pastries. Think of the iconic Hefezopf (braided sweet bread), the simple yet perfect Butterkuchen (butter cake), or the delightful Streuselkuchen (crumb cake) – all relying on this single, adaptable dough. Learning to make this easy German yeast dough connects you to a rich baking heritage and expands your baking repertoire dramatically.
Understanding the Key Ingredients for Perfect Hefeteig
The Importance of Flour for German Yeast Dough
The type of flour you use is fundamental to the texture of your Hefeteig. In Germany, Type 405 wheat flour is common, which is similar to American all-purpose flour.
This flour has a moderate protein content, typically between 10-12%, which is ideal for developing enough gluten to give the dough structure and elasticity without making it overly tough. Using a flour with too low a protein content might result in a dough that doesn't hold its shape well, while a very high protein flour (like bread flour) could make the dough chewier, which isn't the desired light texture for most traditional Hefeteig uses.
Weighing your flour is generally more accurate than using volume measurements, as a cup of flour can vary significantly depending on how it's scooped and packed. Approximately 120-130 grams of all-purpose flour constitutes one cup. Ensure your flour is fresh, as old flour can affect the dough's performance and flavor. Sifting your flour before use can also help aerate it and prevent lumps, contributing to a smoother easy German yeast dough.
Yeast: Choosing the Right Type for Light & Fluffy Hefeteig
Yeast is the living organism responsible for making your Hefeteig light and fluffy by producing carbon dioxide. You typically have two main options: fresh yeast (compressed) or dry yeast (active dry or instant). Fresh yeast is often preferred by traditional German bakers for its consistent results and subtle flavor, typically sold in 42-gram cubes, enough for about 500 grams of flour.
Dry yeast is more widely available and has a longer shelf life. Active dry yeast usually comes in 7g or 8g packets (about 2.25 teaspoons) and needs to be activated in warm liquid before use. Instant dry yeast can often be mixed directly into the dry ingredients. One packet of active dry or instant yeast (approx. 7-8g) is roughly equivalent to about 25g of fresh yeast. Always check the expiry date on your yeast, as expired yeast will not activate, leading to a flat, dense dough instead of an easy German yeast dough.
Sugar's Role in Activating Yeast and Enhancing Flavor
Sugar serves a dual purpose in Hefeteig: it provides food for the yeast to help it become active and produce gas, and it contributes to the overall sweetness and tenderness of the final baked good. A small amount of sugar added to warm liquid with yeast acts as a quick energy boost for activation. For 500g of flour, you might use anywhere from 30g (about 2-3 tablespoons) for a slightly sweet dough up to 100g or more for a rich, sweet bread like Hefezopf.
It's important not to use an excessive amount of sugar, especially in the initial activation step, as high concentrations of sugar can actually draw moisture out of the yeast cells and inhibit their activity. Beyond feeding the yeast, sugar helps the crust brown nicely during baking and keeps the crumb soft and moist. It's a crucial component for a delicious and easy German yeast dough.
The Fat Factor: Butter for a Tender Hefeteig
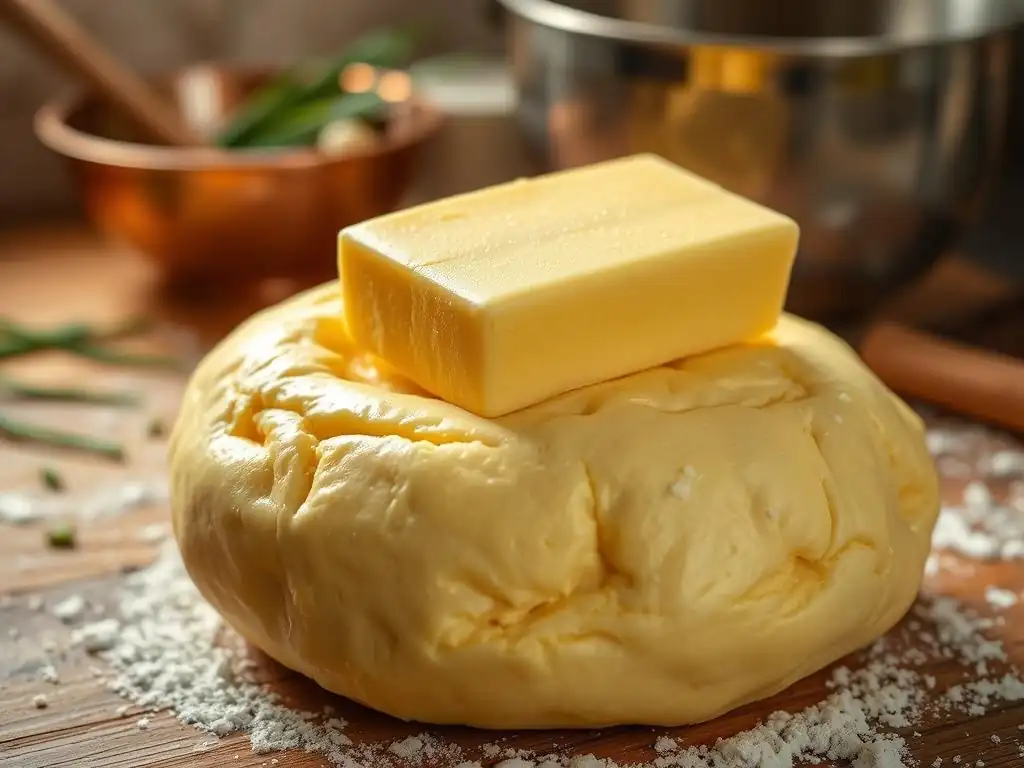
Fat, most commonly butter in German recipes, adds richness, tenderness, and moisture to Hefeteig. Butter coats the strands of gluten developed during kneading, shortening them slightly and resulting in a softer, more 'melt-in-your-mouth' texture rather than a chewy one. It also helps the baked goods stay fresh longer.
The amount of butter varies depending on the desired richness. A lean dough for simple rolls might use 50-70 grams of butter per 500g of flour, while a richer dough for sweet braided breads or cakes could contain 100-150 grams or even more. Using softened or melted and slightly cooled butter allows it to incorporate smoothly into the dough, contributing significantly to an easy German yeast dough that is both manageable to work with and wonderfully tender when baked.
Liquid: Milk for Optimal Dough Hydration
Milk is the most traditional liquid used in German Hefeteig, offering advantages over water. The fat and sugar naturally present in milk contribute to a softer crumb, a richer flavor, and better browning. Crucially, the milk needs to be warmed to the correct temperature to activate the yeast effectively – typically between 105°F and 115°F (40°C to 46°C). This temperature range is warm to the touch but not hot. Temperatures below this range will slow yeast activity, while temperatures above 130°F (54°C) can kill the yeast entirely.
The amount of liquid required can vary depending on the flour's absorption rate and humidity levels, but a common starting point is 250-300ml of milk per 500g of flour. It's often best to start with the lower amount and add a little more if the dough feels too dry during kneading. Proper hydration is key to developing gluten and achieving an easy German yeast dough that is smooth, elastic, and rises beautifully.
Step-by-Step Guide to Making German Yeast Dough
Step 1: Activating the Yeast for Hefeteig Success
The first step to a successful easy German yeast dough is ensuring your yeast is active and ready to work. If using active dry yeast, you'll need to "bloom" it. Measure your warm milk (around 105-115°F / 40-46°C) into a small bowl or measuring cup. Stir in a pinch of sugar, then sprinkle the active dry yeast over the top. Give it a gentle stir.
Let the mixture sit undisturbed for 5 to 10 minutes. You should see a foamy layer develop on the surface. This foam indicates that the yeast is alive and active. If no foam appears after 10-15 minutes, your yeast may be dead, and you'll need to start again with fresh yeast. If using fresh yeast or instant yeast, you can often skip this separate blooming step and mix it directly with your dry ingredients, but blooming fresh yeast in warm liquid first is still a reliable method.
Step 2: Combining Dry Ingredients for the Base
While your yeast is activating (if required), prepare your dry ingredients. In a large mixing bowl, whisk together the flour and salt. Salt is vital for enhancing the flavor of the dough and also helps regulate yeast activity, preventing it from rising too quickly. For 500g of flour, you'd typically use 1 to 2 teaspoons of fine salt.
If your recipe includes other dry flavorings like ground cardamom, lemon zest, or vanilla sugar, whisk them in at this stage as well. Sifting the flour is a good practice to ensure it's light and free of lumps, contributing to a smoother dough texture right from the start. Create a slight well in the center of your dry ingredients where the wet ingredients will be added.
Step 3: Incorporating Wet Ingredients and Forming the Dough
Once your yeast mixture is foamy (if blooming) or your milk is warmed, it's time to combine everything. Pour the yeast mixture (or warm milk if using instant/fresh yeast directly) into the well in the dry ingredients. Add any other wet ingredients called for in your recipe, such as melted and slightly cooled butter, eggs (if using), or vanilla extract.
Begin mixing the ingredients together. You can use a sturdy wooden spoon or a stand mixer fitted with a dough hook. Start incorporating the flour from the sides into the liquid center. Continue mixing until a shaggy, cohesive dough starts to form. It won't be smooth yet, but all the ingredients should be roughly combined. This initial mix brings together the components for your easy German yeast dough.
Step 4: Kneading the Dough: The Secret to Gluten Development
Kneading is a crucial step for developing the gluten network in the dough, which provides structure and elasticity. This gluten traps the gas produced by the yeast, allowing the dough to rise and achieve its light, airy texture. Turn the shaggy dough out onto a lightly floured surface for manual kneading, or keep it in the stand mixer bowl.
Knead the dough thoroughly. If kneading by hand, push the dough away with the heels of your hands, fold it over, and repeat, rotating the dough as you go. This process usually takes 8-10 minutes. In a stand mixer with a dough hook, knead on medium speed for 5-7 minutes. The dough is properly kneaded when it becomes smooth, elastic, and is no longer overly sticky, pulling away cleanly from the sides of the bowl. A well-kneaded dough is key to an easy German yeast dough that rises well and has a great texture.
Step 5: First Rise: Letting the Dough Double in Size
After kneading, the dough needs time to rest and rise. Lightly oil a large clean bowl with a neutral oil (like vegetable or canola oil). Place the dough in the bowl, turning it to coat all sides with a thin layer of oil. This prevents the dough from sticking to the bowl and drying out.
Cover the bowl tightly with plastic wrap or a damp tea towel. Place the covered bowl in a warm, draft-free location. An ideal temperature is between 75-80°F (24-27°C). Let the dough rise until it has roughly doubled in size. This typically takes 1 to 1.5 hours, but the exact time can vary depending on the room temperature and the activity of your yeast. This first rise is essential for developing both volume and flavor in your easy German yeast dough.
Step 6: Shaping Your Hefeteig Creation
Once the dough has doubled in size, it's time to "punch it down." Gently deflate the dough by pushing your fist into the center, then turn it out onto a lightly floured work surface. This step releases some of the gas and makes the dough easier to handle and shape.
Now, shape the dough according to the specific recipe you are using. This might involve dividing the dough into portions for rolls, rolling it into ropes for braiding a Hefezopf, flattening it into a rectangle for a Streuselkuchen base, or forming it into a loaf. Handle the dough gently to avoid knocking out too much of the air that has developed. Shaping is where your easy German yeast dough starts taking its final form.
Step 7: Second Rise: Achieving Maximum Fluffiness
After shaping, your dough needs another period of rising, often called proofing. Place the shaped dough items on baking sheets lined with parchment paper, spacing them appropriately to allow for expansion. Cover the shaped dough loosely with plastic wrap or a light, clean kitchen towel.
Let the dough rise again in a warm, draft-free place. This second rise is usually shorter than the first, typically lasting 30 to 45 minutes, or until the dough has become visibly puffy and almost doubled in size again. This stage is critical for achieving the light, airy texture characteristic of well-made Hefeteig. Be careful not to let the dough over-proof, as it can collapse during baking. A successful second rise means your easy German yeast dough is ready for the oven.
Step 8: Baking to Golden Perfection
The final step is baking your Hefeteig creations. Preheat your oven to the temperature specified in your recipe, which is commonly between 350°F and 375°F (175°C and 190°C). Before baking, you can brush the tops of the dough with an egg wash (one egg whisked with a tablespoon of milk or water) for a beautiful golden, shiny crust.
Bake for the duration indicated in your recipe. Baking time varies significantly depending on the size and type of pastry – small buns might bake in 15-20 minutes, while a large braided loaf could take 30-40 minutes or more. Your baked goods should be golden brown and sound hollow when tapped on the bottom. Let them cool slightly on a wire rack before enjoying your perfectly baked easy German yeast dough treats!
Tips & Tricks for Light and Fluffy Hefeteig Every Time
Temperature Control: The Key to Yeast Activity
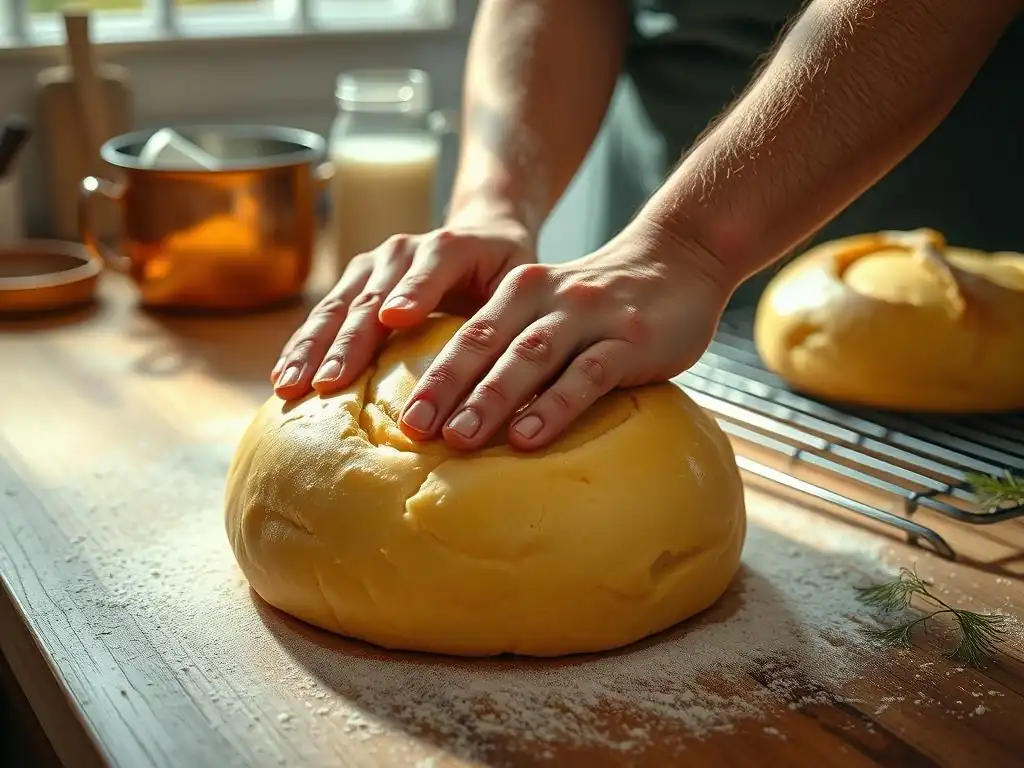
Maintaining the correct temperature is paramount for successful Hefeteig, as yeast is a living organism sensitive to heat and cold. As mentioned, liquids should be lukewarm, around 105-115°F (40-46°C), to encourage yeast activity. If the liquid is too cold (below 70°F / 21°C), the yeast will be sluggish, and the rise will be very slow. If it's too hot (above 130°F / 54°C), the yeast will die, and the dough won't rise at all.
The ideal temperature for rising is typically between 75-80°F (24-27°C). If your kitchen is cool, you can create a warmer environment. One common method is to slightly warm your oven to its lowest setting (around 150°F / 65°C), then turn it off and place the covered dough inside. Another trick is to place the dough bowl near a warm appliance or in a microwave (turned off) with a cup of hot water. Consistent, warm temperatures ensure a reliable rise for your easy German yeast dough.
Proofing Techniques for Consistent Results
Proper proofing ensures your Hefeteig reaches its full potential in terms of volume and texture. The most important aspect is creating a warm, draft-free environment and keeping the dough covered to prevent a dry skin from forming. A dry surface restricts the dough's ability to expand. Plastic wrap lightly oiled or sprayed with cooking spray is excellent for covering, as it prevents sticking as the dough rises.
Beyond simply covering, you can use specific techniques. A proofing box, if you have one, offers precise temperature and humidity control. Some modern ovens have a "proof" setting that maintains an ideal temperature. If using the warmed-oven method (turn oven on lowest setting, then off), placing a pan of hot water on the rack below the dough can add beneficial humidity. Consistent proofing leads to consistently light and fluffy results with your easy German yeast dough.
Troubleshooting Common Hefeteig Problems
Even with care, sometimes things don't go perfectly. One common problem is the dough not rising. This is most often due to inactive yeast (either dead or expired), liquid that was too hot or too cold, or the dough being placed in a cold environment. Ensure your yeast is fresh and activated correctly in the proper temperature liquid before mixing.
Another issue can be a tough or dense dough. This might happen if you used too much flour, didn't knead the dough sufficiently to develop gluten, or, less commonly, over-kneaded the dough (which is hard to do by hand but possible with a mixer). Ensure you measure ingredients accurately, knead until the dough passes the windowpane test, and include the specified amount of fat in the recipe. Understanding these potential pitfalls makes working with easy German yeast dough much smoother.
Achieving the Perfect Texture: Dough Consistency Matters
The feel of the dough is one of the best indicators of whether you're on the right track. After kneading, your Hefeteig should be smooth, elastic, and slightly tacky to the touch, but it should not stick excessively to your hands or the work surface. If you're using a stand mixer, the dough should pull away cleanly from the sides of the bowl while kneading.
The amount of flour needed can vary slightly based on factors like humidity, the type of flour used, and how accurately it was measured. If your dough feels too sticky after the initial mixing, add flour one tablespoon at a time during kneading until it reaches the desired consistency. If it feels too dry and stiff, add a teaspoon of milk or water. Trusting your senses and adjusting the dough consistency is a key part of making easy German yeast dough.
Flavor Variations for Your German Yeast Dough
While classic Hefeteig is delicious on its own, it serves as an excellent base for various flavor additions. For sweet applications, popular choices include adding the finely grated zest of one lemon or orange (about 1 teaspoon per 500g flour), 1 teaspoon of vanilla extract, or warm spices like ground cardamom (½ teaspoon), cinnamon, or a pinch of nutmeg. These should be added with the dry ingredients or the wet ingredients during the initial mixing step.
For savory variations, you would typically reduce or omit the sugar and add herbs like rosemary, thyme, or chives. Garlic powder, onion powder, or even grated cheese can also be incorporated into the dough for savory rolls or breads. Exploring these flavor variations keeps your easy German yeast dough baking exciting and allows you to tailor it to different meals or occasions.
Recipes to Showcase Your German Yeast Dough
Classic German Yeast Buns (Hefezopf) Recipe
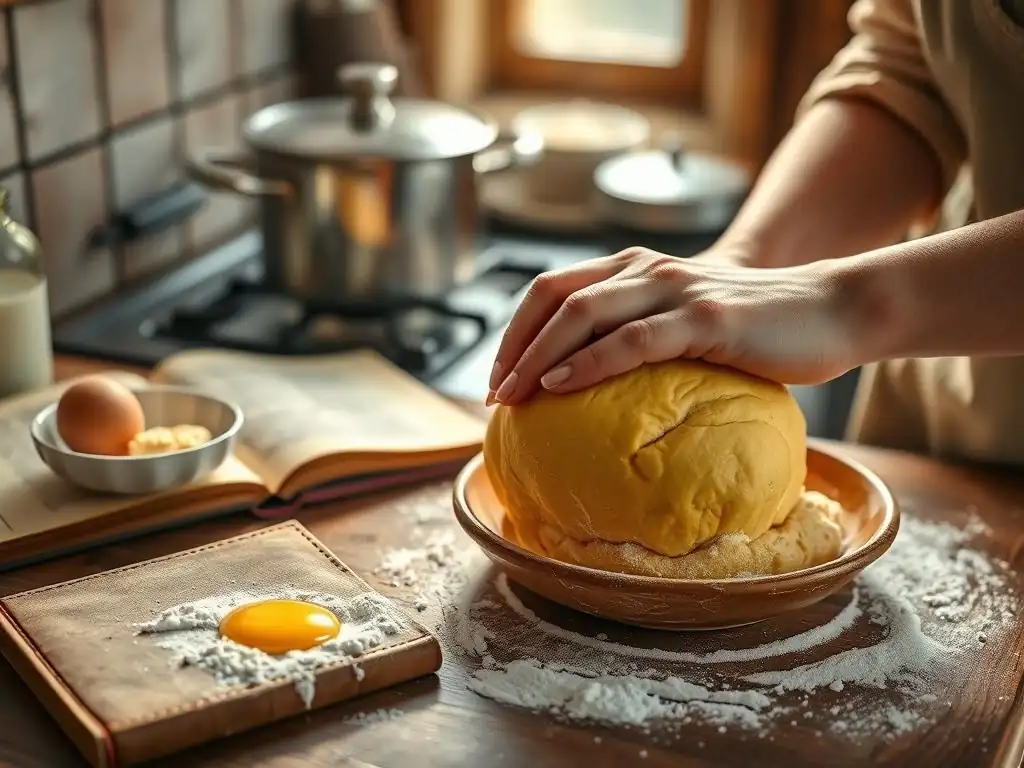
The Hefezopf, or German yeast braid, is perhaps the most iconic use of sweet Hefeteig. This recipe typically uses a richer dough base with more butter, sugar, and often eggs compared to a simple roll dough. The process involves making the easy German yeast dough, letting it complete its first rise, then dividing it into strands (usually three or four) and braiding them together beautifully.
After shaping, the Hefezopf gets a second rise, is often brushed with egg wash for a glossy finish, and sometimes sprinkled with Hagelzucker (pearl sugar) or slivered almonds before baking. The result is a large, tender, slightly sweet bread, perfect for breakfast or served with butter and jam during Kaffeetafel.
Sweet German Yeast Cake (Streuselkuchen) Recipe
Streuselkuchen, or crumb cake, is another beloved German classic that uses Hefeteig as its base. For this cake, the easy German yeast dough is typically rolled out into a relatively thin layer to fit a baking sheet or round cake pan. It's then topped with fruit, such as sliced apples, plums, cherries, or berries.
The signature element is the generous layer of Streusel, a crumb topping made from flour, sugar, and butter rubbed together. The fruit and Streusel are placed directly on the unbaked dough, and the cake is baked until golden. The soft yeast base, juicy fruit, and crumbly topping create a delightful contrast in textures.
Savory German Yeast Rolls (Baguettes)
Hefeteig isn't just for sweets! A leaner version, with less sugar and no eggs, is used to make a variety of savory German rolls, known collectively as Brötchen. These can range from simple round rolls to longer, baguette-like shapes. Making these starts with your basic easy German yeast dough principles, adjusting the ingredient ratios.
After the first rise, the dough is shaped into individual rolls or small baguettes, given a second rise, and then baked, often at a slightly higher temperature than sweet doughs to encourage a crisp crust. Sometimes the tops are scored with a sharp knife or sprinkled with seeds (like poppy or sesame) before baking. These savory rolls are perfect for sandwiches or served alongside meals.
Storing and Freezing Your Homemade Hefeteig
Best Practices for Storing Baked Hefeteig
Homemade Hefeteig baked goods are at their absolute best when enjoyed fresh, ideally within a few hours of baking. However, they can be stored to maintain freshness for a little longer. Once completely cooled, store breads and rolls in an airtight container or a bread box at room temperature. They will typically stay fresh and soft for 1-2 days.
For longer storage, freezing is an excellent option. Allow baked goods to cool completely. Wrap individual items or slices tightly in plastic wrap, then wrap again in aluminum foil or place them in a freezer-safe bag. Properly wrapped, baked Hefeteig can be frozen for up to 2-3 months. Thaw at room temperature or reheat gently in a low oven (around 300°F / 150°C) for a few minutes to restore some of that fresh-baked warmth.
Freezing Unbaked Dough for Future Use
One of the great conveniences of Hefeteig is that the unbaked dough can be frozen, allowing you to have easy German yeast dough ready whenever the baking mood strikes. After the first rise, gently punch down the dough. Shape it as desired – into a loaf, individual rolls, or even a flat disc for a cake base.
Wrap the shaped dough very tightly in plastic wrap, pressing out as much air as possible. Then, wrap it again securely in aluminum foil or place it in a freezer-safe bag. Freeze the dough for up to 4 weeks. To use, remove from the freezer and thaw overnight in the refrigerator, or for several hours at room temperature until pliable. Once thawed, let the dough complete its second rise (which might take a little longer than usual) before baking according to your recipe.
Conclusion: BakeWithEase and Enjoy Your German Yeast Dough
Embrace the Simplicity of German Baking
Making German yeast dough, or Hefeteig, might seem intimidating at first glance, but as you've seen, the process is built on simple, understandable steps. From activating the yeast to the final bake, each stage contributes to the light, fluffy texture that makes this dough so special. By following these guidelines and understanding the role of each ingredient, you can confidently create delicious, easy German yeast dough in your own kitchen.
Whether you dream of a warm Hefezopf, a comforting Streuselkuchen, or simple, perfect rolls, mastering this dough opens up a world of authentic German baking delights. We encourage you to try making your first batch of easy German yeast dough today. With a little practice, you'll find it becomes a rewarding and regular part of your baking routine. Enjoy the process and the wonderful results!
Frequently Asked Questions
How is BakeWithEase's German yeast dough recipe different from other recipes?
Our recipe focuses on simplicity and clarity, providing step-by-step instructions and readily available ingredients to guarantee a light and fluffy result every time. We also emphasize proper proofing techniques.
What makes German yeast dough (Hefeteig) "easy" on BakeWithEase?
We break down the process into manageable stages, offering tips for common pitfalls and providing visual cues to ensure success, even for beginner bakers.
What are the key ingredients for achieving a light and fluffy German yeast dough, according to BakeWithEase?
Besides flour, yeast, and liquid, the quality of the butter and the addition of a little sugar are crucial. Also, using room temperature ingredients is vital for proper yeast activation.
How does BakeWithEase help bakers troubleshoot common issues with German yeast dough?
We provide a dedicated troubleshooting section addressing common problems like dough not rising, being too sticky, or turning out dense. We also offer alternative solutions and explanations.
Can BakeWithEase's German yeast dough recipe be adapted for different variations, like sweet rolls or savory breads?
Absolutely! Our recipe provides a solid base that can be easily adapted by adding different fillings, toppings, or spices to create a wide variety of baked goods, both sweet and savory.
Final Reflection: The Joy of Effortless German Baking
Mastering the art of light and fluffy German yeast dough (Hefeteig) isn't about arcane secrets, but about understanding a few key principles. This accessible approach to traditional baking opens up a world of delicious possibilities, from classic pretzels to delectable sweet breads, making once-intimidating recipes achievable for everyone.
The enduring appeal of German baking lies in its comforting familiarity and the sheer joy of creating something beautiful and delicious from simple ingredients. The process itself, from the gentle kneading to the satisfying rise of the dough, is a meditative experience. Baking is at once child’s play and adult joy. And love, of course.
– This sentiment perfectly captures the essence of what I hope this article has conveyed: that baking Hefeteig can be both a rewarding challenge and a source of immense satisfaction.
Now, I invite you to roll up your sleeves and try your hand at making your own light and fluffy German yeast dough. Don't be afraid to experiment, to adjust the recipe to your own taste, and most importantly, to enjoy the process. The delicious aroma filling your kitchen and the pride you'll feel in creating something truly special will be their own reward. Let the secrets of easy German baking unlock a new chapter in your culinary journey.
Unleash Your Inner Bäcker: Bake the Perfect Hefeteig Today!
Thanks for taking the time to explore the secrets of light and fluffy German yeast dough! We hope you've gained the confidence to tackle this classic recipe. Now it's time to put your newfound knowledge into action.
- Start baking! Try making the Hefeteig recipe from the article – even a simple pretzel will build your skills. Remember those tips on kneading and proofing for perfect results!
- Share your baking journey: Post a picture of your creation on social media and tag #BakeWithEaseHefeteig. Let's see those delicious results!
- Explore other yeast dough recipes: Dive deeper into our collection of yeast-based treats on BakeWithEase.com – you might discover your new favorite bread!
So, what delicious treat will you create with your newfound Hefeteig expertise?