
Get Amazing Oven Spring on Your Whole Wheat Boule

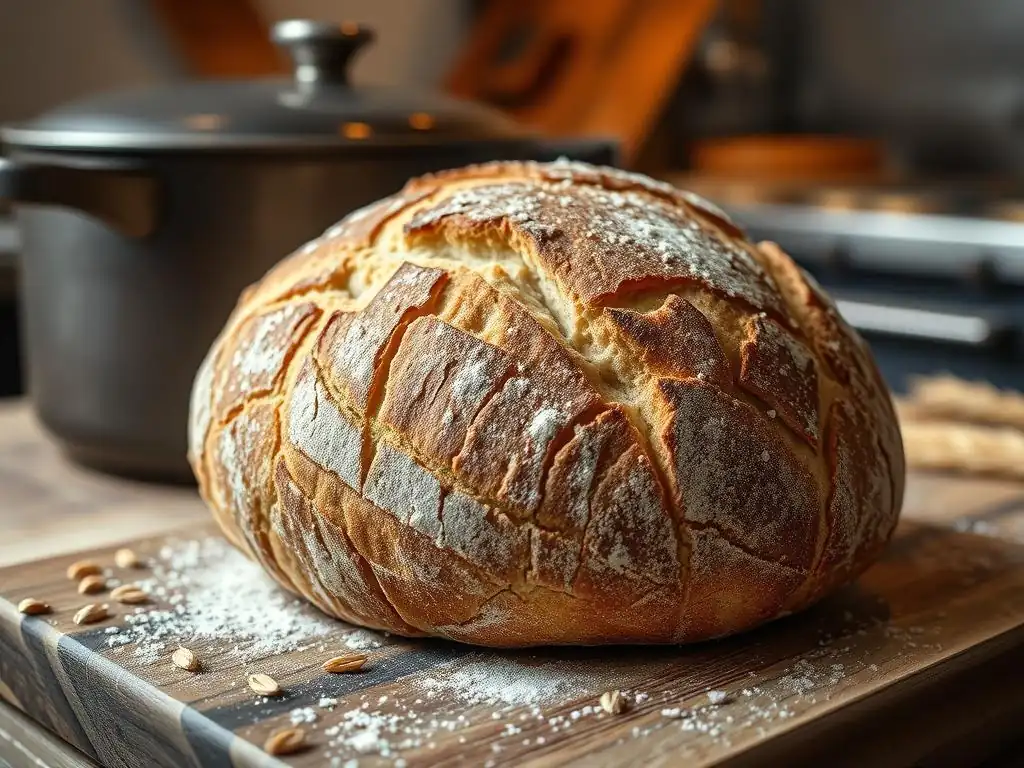
Welcome to BakeWithEase, your trusted guide to the delightful world of baking! Are you ready to unlock the secrets to a perfectly risen loaf? Discover how to achieve that elusive oven spring in your whole wheat boule, transforming your baking from good to amazing. Read on to learn the techniques and tips that will have you baking artisan-quality bread in no time!
- Get Amazing Oven Spring on Your Whole Wheat Boule: BakeWithEase Guide
- Understanding Oven Spring in Whole Wheat Bread
- Mastering Whole Wheat Boule Dough for Optimal Oven Spring
- Shaping Techniques for a High-Rising Whole Wheat Boule
- Baking Your Whole Wheat Boule for Maximum Oven Spring
- Tips and Tricks for Consistent Whole Wheat Boule Oven Spring
- Enjoying Your Perfectly Risen Whole Wheat Boule
-
Frequently Asked Questions
- How can I improve the oven spring of my whole wheat boule?
- What role does hydration play in whole wheat boule oven spring?
- Why is proper scoring important for whole wheat boule oven spring?
- What are some common mistakes that hinder oven spring in whole wheat boules?
- What is the ideal baking temperature for achieving optimal oven spring in a whole wheat boule?
- Final Reflection: The Quest for Perfect Whole Wheat Boule Oven Spring
- Unlock Your Best Whole Wheat Boule Yet!
Get Amazing Oven Spring on Your Whole Wheat Boule: BakeWithEase Guide
Understanding Oven Spring in Whole Wheat Bread
What is Oven Spring and Why Does It Matter for Whole Wheat Boule?
Oven spring, also known as "le fournil" in French, is the rapid expansion of dough that occurs during the initial phase of baking. It's the magical moment when your loaf dramatically increases in volume in the hot oven. This phenomenon is primarily driven by the production of carbon dioxide gas by yeast during fermentation and proofing, which gets trapped within the gluten network of the dough.
When the dough hits the high heat of the oven, the yeast activity increases rapidly (though temporarily) and the trapped gases expand significantly. Simultaneously, water in the dough turns to steam, further contributing to the internal pressure that pushes the dough outwards and upwards.
For a whole wheat boule, achieving good oven spring is particularly important because it directly impacts the final shape, volume, and texture of the bread. A loaf with robust oven spring will have a beautiful, rounded shape, a higher profile, and a more open crumb structure. Without adequate oven spring, a whole wheat boule can turn out flat, dense, and heavy.
Mastering the factors that contribute to this crucial expansion phase is key to baking truly satisfying whole wheat bread that isn't just nutritious but also visually appealing and texturally pleasing. Getting that impressive whole wheat boule oven spring is a hallmark of successful baking.
The Challenges of Achieving Oven Spring with Whole Wheat Flour
Working with 100% whole wheat flour presents unique challenges when aiming for significant oven spring compared to baking with refined white flour. The primary obstacle lies in the composition of whole wheat flour itself. Unlike white flour, whole wheat contains the bran and germ in addition to the endosperm.
These components, while packed with nutrients and flavor, interfere with gluten development. The sharp edges of bran particles can cut through the developing gluten strands, weakening the network that is essential for trapping gases. The germ contains fats and enzymes that can also negatively impact gluten structure and dough stability over time.
Consequently, whole wheat dough tends to be heavier and less elastic than white dough, making it harder to build a strong, extensible gluten network capable of supporting a large expansion. The bran and germ also absorb more water, requiring higher hydration, which can make the dough stickier and more challenging to handle and shape effectively. These inherent properties mean that achieving impressive whole wheat boule oven spring requires careful attention to hydration, gluten development techniques, fermentation timing, and baking methods to overcome the natural limitations posed by the flour's composition.
Key Factors Influencing Whole Wheat Boule Oven Spring
Several critical factors converge to determine the potential for oven spring in your whole wheat boule. The quality and type of whole wheat flour used play a foundational role; flours with higher protein content (like hard red spring wheat) generally offer better potential for gluten development, though the presence of bran will always be a factor.
Hydration level is another major influence; whole wheat absorbs more water, and sufficient hydration is needed for gluten development and dough extensibility, but too much can make the dough difficult to manage and hold its shape. A typical range for a whole wheat boule might be 75-85% hydration relative to the flour weight.
Beyond ingredients, the process itself is paramount. Proper gluten development through effective mixing and kneading is essential to build the structure needed to contain expanding gases. Fermentation timing, including both bulk fermentation and proofing, must be spot on; under-proofed dough has potential but a tighter structure, while over-proofed dough can collapse in the oven as the gluten network degrades.
Finally, the baking environment is crucial: a very hot oven provides the necessary heat shock, and the presence of steam keeps the crust pliable initially, allowing the dough maximum time to expand before the crust sets. Mastering these elements is key to maximizing whole wheat boule oven spring.
Mastering Whole Wheat Boule Dough for Optimal Oven Spring
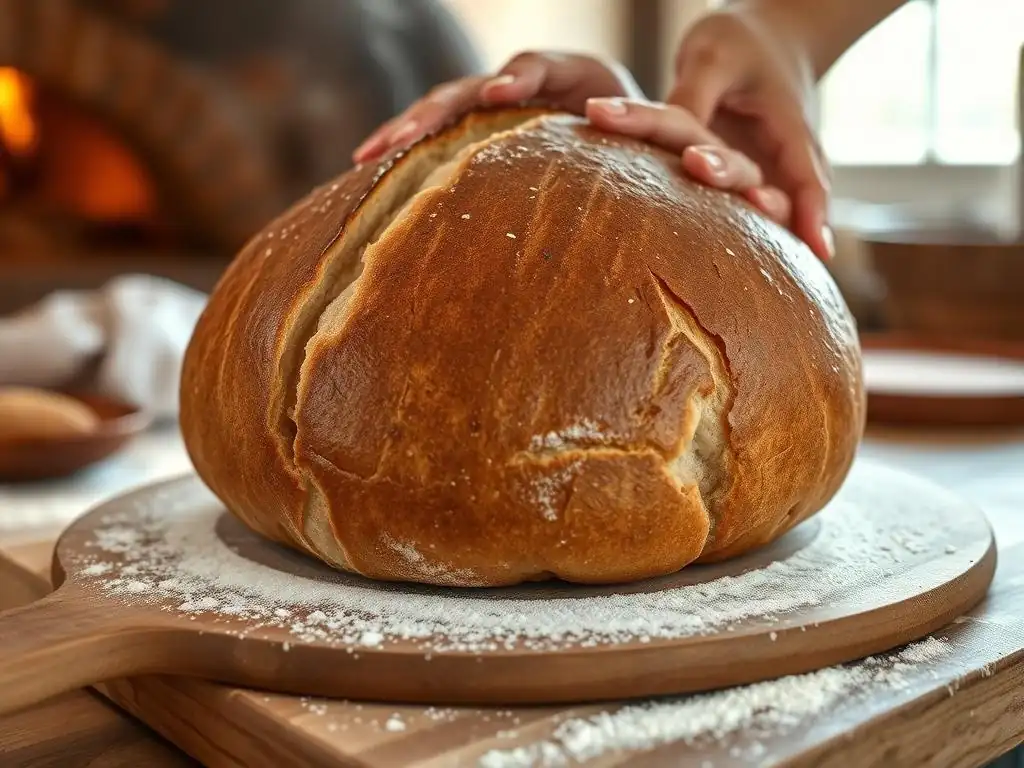
Choosing the Right Whole Wheat Flour for Maximum Rise
Selecting the appropriate whole wheat flour is the first step towards achieving excellent oven spring in your boule. Not all whole wheat flours are created equal, and their characteristics can significantly impact dough performance. Look for flours milled from hard wheat varieties, such as hard red winter or hard red spring wheat, as these typically have a higher protein content, often in the range of 13-15%. This higher protein level provides the potential for developing a stronger gluten network, which is crucial for trapping the gases responsible for oven spring.
The milling process also matters. Some "whole wheat" flours are simply refined white flour with bran and germ added back, which might not perform as well as flour milled from the intact grain.
Finely milled whole wheat flour can also be slightly easier to work with as the bran particles are smaller and potentially less disruptive to the gluten structure. While the bran and germ will always present a challenge compared to white flour, starting with a high-quality, high-protein whole wheat flour specifically intended for bread baking will give you the best possible foundation for building dough structure and achieving impressive whole wheat boule oven spring.
The Importance of Hydration in Whole Wheat Boule Dough
Hydration, the ratio of water to flour by weight, is a critical factor for whole wheat dough. Whole wheat flour absorbs significantly more water than white flour due to the presence of the bran and germ. Adequate hydration is necessary for the gluten-forming proteins to fully absorb water and develop into a strong, elastic network.
It also makes the dough more extensible, allowing it to expand more readily during fermentation and in the oven. For a whole wheat boule, hydration levels are typically higher than for a white flour loaf, often ranging from 75% to 85% or even higher, depending on the specific flour and desired crumb.
However, finding the right hydration level is a balance. While higher hydration promotes a more open crumb and potentially better oven spring, it also results in a stickier, more challenging dough to handle and shape effectively. A dough that is too wet may spread rather than rise upwards in the oven.
It's important to experiment and find a hydration level that your specific flour can handle and that you are comfortable working with. Starting around 78-80% is often a good baseline for a whole wheat boule and adjusting up or down in subsequent bakes based on your results and flour type can help you dial in the perfect hydration for maximizing your whole wheat boule oven spring.
Developing Gluten Strength in Whole Wheat Dough: Techniques for Success
Developing sufficient gluten strength is perhaps the most critical step in preparing whole wheat dough for optimal oven spring. Despite the challenges posed by bran and germ, it is possible to build a robust gluten network capable of trapping gases. This requires time, mechanical action (kneading), and sometimes specific techniques. Unlike white dough where gluten develops more easily, whole wheat often benefits from gentle, patient handling to allow the gluten strands to form and align without being excessively torn by the bran.
Several techniques can be employed to enhance gluten development in whole wheat dough. These include the autolyse method, various kneading techniques like stretch and folds, and allowing adequate rest periods during bulk fermentation. Combining these approaches helps build the necessary structure to support the dough's expansion during baking. Without proper gluten development, even a perfectly proofed and baked loaf will likely result in a dense crumb and poor whole wheat boule oven spring.
Autolyse for Improved Gluten Development
The autolyse technique is particularly beneficial for whole wheat dough. It involves mixing only the flour and water from your recipe and letting the mixture rest for a period before adding the salt and leavening (sourdough starter or commercial yeast). During this rest period, which can last anywhere from 20 minutes to an hour or even longer, the flour hydrates fully, and enzymatic activity begins to break down proteins, making the dough more extensible and easier to knead. More importantly, gluten development starts spontaneously during this time, even without kneading.
For whole wheat flour, autolysing helps the bran soften as it absorbs water, making it less disruptive to the gluten network during subsequent mixing. It also allows the gluten proteins to start linking up, requiring less intensive kneading later on to achieve the desired strength. A typical autolyse for whole wheat might involve mixing flour and water, letting it rest covered for 30-60 minutes, then adding the remaining ingredients and proceeding with kneading or stretch and folds. This simple step can significantly improve the dough's structure and contribute positively to your eventual whole wheat boule oven spring.
Effective Kneading Methods for Whole Wheat Dough
Once the salt and leavening are added after an autolyse (or mixed initially if skipping autolyse), the dough needs further development through kneading. Because whole wheat dough is often stickier and less elastic than white dough, aggressive kneading might not always be the best approach. Gentle, yet effective, methods are preferred. The stretch and fold technique is highly popular among sourdough and whole wheat bakers. This involves wetting your hands, gently stretching a portion of the dough upwards, and folding it back over itself towards the center. You rotate the bowl and repeat this motion around the dough.
Performing a series of these stretch and folds (typically 3-5 sets) spaced 20-30 minutes apart during the initial stages of bulk fermentation allows gluten to develop gradually and strengthen without tearing. Alternatively, a stand mixer with a dough hook can be used, but care must be taken not to over-mix, which can actually degrade the gluten structure, especially with the presence of bran.
Kneading until the dough passes the windowpane test (stretching a small piece thin enough to see light through it without tearing) is a good indicator of sufficient gluten development, though whole wheat dough might never be as translucent as white dough. Proper kneading builds the framework for capturing gases, directly impacting whole wheat boule oven spring.
Bulk Fermentation and its Impact on Oven Spring
Bulk fermentation, also known as the first rise, is a crucial phase where the dough develops flavor, strength, and gas production. This period begins after mixing/kneading and ends when the dough is divided and shaped. During bulk fermentation, the yeast consumes sugars and produces carbon dioxide gas, which expands the dough. The gluten network developed during kneading traps these gases, causing the dough to rise. This process also allows enzymes to continue breaking down starches and proteins, improving texture and flavor.
The duration of bulk fermentation depends heavily on the ambient temperature and the activity of your leavening agent (yeast or starter). It typically lasts several hours at room temperature. Signs of readiness include a significant increase in volume (often 50-75%), the appearance of bubbles on the surface, and a light, airy feel.
Under-fermenting means not enough gas has been produced or trapped, resulting in poor oven spring. Over-fermenting weakens the gluten structure as it stretches too thin, leading to a collapse in the oven. Getting the timing right is vital for setting the stage for excellent whole wheat boule oven spring.
Shaping Techniques for a High-Rising Whole Wheat Boule
Pre-Shaping: Setting the Stage for a Beautiful Boule
After bulk fermentation, the dough needs to be gently handled and prepared for its final shape. Pre-shaping is an intermediate step that helps organize the dough's structure and build initial tension before the final shaping. It involves gently turning the dough out of its container, dividing it if making multiple loaves, and then loosely shaping each piece into a round or rough boule shape. The goal here is not to create a tight shape, but rather to degas the dough slightly and create a more uniform mass.
Once pre-shaped, the dough is typically left to rest for a short period, usually 15-30 minutes, covered. This rest period is called the bench rest. It allows the gluten to relax after the disturbance of handling, making the dough more pliable and easier to work with during the final shaping step. Skipping pre-shaping can make final shaping more difficult, potentially leading to less surface tension and a loaf that spreads outwards rather than rising upwards during baking, negatively impacting your whole wheat boule oven spring.
Final Shaping: Creating Tension for Optimal Oven Spring
Final shaping is where you create the surface tension that will help your whole wheat boule hold its shape and rise upwards in the oven. For a boule, the goal is to create a tight skin around the exterior of the dough. This tight surface acts like a membrane that contains the expanding gases during oven spring, directing the expansion upwards. There are several methods for shaping a boule, but they all involve pulling the edges of the dough into the center and then using the surface tension you've created to round the dough against the work surface.
One common technique involves gently flattening the pre-shaped round, folding the top edge down to the center, folding the bottom edge up to overlap it, and then folding the sides in. Finally, you turn the dough over and use your hands to cup and rotate it against the surface, tucking the dough underneath itself to create a smooth, taut top surface.
Practicing this technique is key; too loose a shape will result in a flat loaf, while too tight a shape can restrict expansion. A well-shaped boule with good surface tension is poised for impressive whole wheat boule oven spring.
Proofing Your Whole Wheat Boule: Finding the Sweet Spot
Proofing, also known as the final rise, is the period after shaping and before baking. During proofing, the shaped dough continues to ferment and expand, producing more gas. This is the final opportunity for the dough to build volume before hitting the oven. Proofing can be done at room temperature or in the refrigerator (cold proofing). Room temperature proofing is faster (typically 1-3 hours), while cold proofing is much slower (8-24 hours or more) and develops more complex flavors. Whole wheat dough often benefits from the slower, more controlled rise of cold proofing, which also helps strengthen the dough.
Determining when proofing is complete is crucial for optimal oven spring. The dough should look visibly increased in size (though typically not doubled for whole wheat) and feel light and airy. A common test is the poke test: gently press the dough with a floured finger; if the indentation slowly springs back halfway, the dough is likely ready. If it springs back completely, it's under-proofed. If the indentation remains and the dough deflates, it's over-proofed and may collapse in the oven. Perfectly proofed dough has the maximum potential for whole wheat boule oven spring.
Baking Your Whole Wheat Boule for Maximum Oven Spring
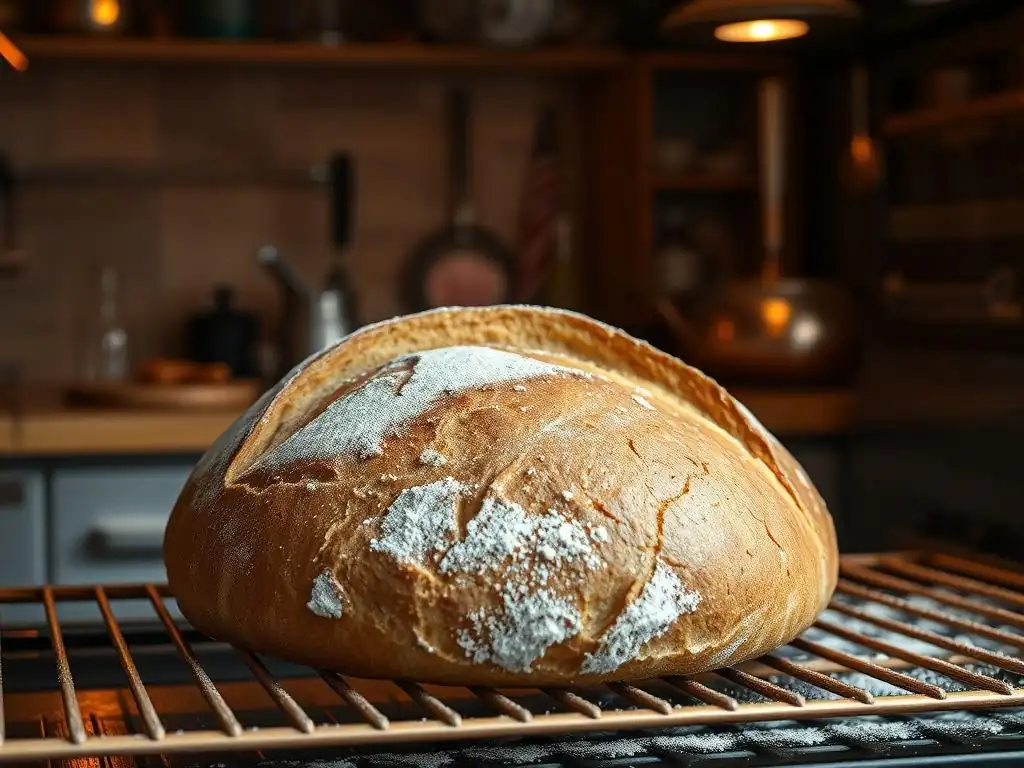
The Importance of a Hot Oven and Proper Steam
The baking environment is arguably the most critical factor directly affecting oven spring. For maximum expansion, your whole wheat boule needs to be placed into a very hot oven. High initial heat provides a thermal shock that dramatically increases the rate of gas expansion within the dough before the crust has a chance to set. Temperatures typically range from 450°F to 500°F (230°C to 260°C). Baking on a preheated baking stone or steel also helps transfer heat quickly to the base of the loaf, encouraging a strong initial push upwards.
Equally important is the presence of steam during the first 15-20 minutes of baking. Steam keeps the surface of the dough moist and elastic, preventing the crust from forming too early. If the crust sets too soon, it acts like a rigid cage, restricting the dough's ability to expand further.
Steam allows the dough to stretch and rise freely during the peak of oven spring. Methods for creating steam include placing a tray of hot water on the oven rack below the bread, or using a Dutch oven or covered baking vessel which traps the moisture released by the dough itself. Effective steam is essential for achieving impressive whole wheat boule oven spring.
Scoring Your Boule: Creating Channels for Expansion
Scoring, the act of cutting the surface of the dough with a sharp blade (lame) just before baking, serves a vital purpose in controlling oven spring. As the dough expands rapidly in the oven, it needs a path of least resistance to release the internal pressure. Without scoring, the crust will rupture unpredictably, often resulting in an uneven or aesthetically unappealing loaf. Scoring directs this expansion along the intentional cuts, allowing the dough to open up in a controlled manner.
For a boule, common scoring patterns include a single large cut across the top, a cross shape, or multiple parallel cuts. The depth and angle of the score matter. A deep, clean cut allows for maximum expansion. For a classic boule look with a prominent "ear" (a flap of crust that lifts up), the score is often made at a shallow angle (about 30 degrees) to the surface, using a very sharp blade. Scoring provides the necessary release valve for the built-up gases, enabling your whole wheat boule to achieve its full whole wheat boule oven spring potential.
Different Scoring Patterns for Whole Wheat Boule
The choice of scoring pattern for your whole wheat boule can influence both the aesthetic appeal and how the loaf expands. A simple and effective pattern for a boule is a single curved cut across the top. This allows the loaf to open significantly along the length of the cut, often resulting in a good ear if done correctly with a shallow angle.
Another common pattern is a cross shape, made with two perpendicular cuts. This encourages the loaf to open up in four sections. While visually pleasing, a cross might lead to slightly less upward lift compared to a single bold cut, depending on the dough's strength.
Other patterns include multiple parallel cuts or even decorative patterns. For whole wheat, which can be less extensible than white dough, simpler, deeper cuts are often more effective at ensuring good expansion. A single deep cut allows the maximum release of pressure in one primary direction. Experimenting with different patterns can be fun, but for maximizing whole wheat boule oven spring, ensure your cuts are decisive and deep enough to allow the dough to open freely.
Baking Time and Temperature for Perfect Crust and Rise
After the initial high-heat, steamy phase where oven spring occurs, the baking temperature is typically reduced to allow the interior of the loaf to cook through and the crust to develop color and crispness. A common approach is to bake at 450-500°F (230-260°C) with steam for the first 15-20 minutes, then reduce the temperature to around 400-425°F (200-220°C) and continue baking for another 20-30 minutes or until the internal temperature reaches 200-210°F (93-99°C).
The total baking time for a whole wheat boule will vary depending on its size and your specific oven, but a standard loaf might take 40-50 minutes. Baking until the internal temperature is correct ensures the crumb is fully cooked. Baking long enough also allows the crust to brown deeply, which contributes significantly to flavor and texture. A well-baked crust on a loaf with good whole wheat boule oven spring provides a satisfying contrast to the soft, open interior.
Troubleshooting Common Oven Spring Issues in Whole Wheat Boule
Even with careful technique, sometimes a whole wheat boule doesn't achieve the desired oven spring. Troubleshooting involves identifying what might have gone wrong in the process. Common issues include the loaf spreading outwards instead of rising upwards, or having a dense, tight crumb with minimal expansion.
- Boule Spreading Instead of Rising: This is often a sign of insufficient surface tension from shaping, or over-proofing. If the dough is over-proofed, the gluten structure has weakened and can't hold its shape against gravity or the expanding gases. Lack of heat or steam in the oven can also contribute by causing the crust to set too early before significant expansion occurs.
- Dense Crumb and Lack of Oven Spring: A dense crumb usually indicates that not enough gas was produced or trapped, or that the structure wasn't strong enough to support expansion. This could be due to under-kneading (insufficient gluten development), under-proofing (not enough fermentation time), using flour with low protein, or insufficient hydration.
Addressing these issues requires reviewing your process steps, from flour choice and hydration to kneading, fermentation timing, shaping, and baking. Small adjustments in each area can lead to significant improvements in your whole wheat boule oven spring.
Boule Spreading Instead of Rising
When a whole wheat boule spreads out flat in the oven instead of rising upwards, it's usually a clear sign that the dough lacked sufficient structural integrity or was too relaxed going into the oven. The most frequent culprits are inadequate shaping (not creating enough surface tension), or over-proofing. If the final proof goes on too long, the yeast consumes too many sugars, and the gluten network, already challenged by the bran, becomes weak and unable to support the dough's structure against its own weight. This leads to a loaf that collapses or spreads rather than pushing vertically.
Other contributing factors can include excessively high hydration for the specific flour or your skill level, making the dough too slack to hold a shape. Placing the dough into an oven that isn't hot enough, or baking without sufficient steam, can also cause the crust to set prematurely before the dough has had a chance to achieve its maximum expansion, forcing it to spread horizontally. To combat spreading and improve whole wheat boule oven spring, focus on developing strong surface tension during final shaping and ensuring your proofing time is accurate, using the poke test as a guide.
Dense Crumb and Lack of Oven Spring
A dense, tight crumb coupled with poor oven spring indicates that the dough did not expand adequately during fermentation or baking. This can stem from several issues earlier in the process. One common cause is insufficient gluten development; if the dough wasn't kneaded or folded enough, the gluten network isn't strong enough to trap the carbon dioxide gas produced by the yeast, resulting in a heavy, tight structure.
Another significant factor is under-proofing. If the dough doesn't ferment long enough during bulk fermentation or final proof, not enough gas is produced to inflate the dough significantly. Alternatively, if the yeast or starter isn't active, gas production will be minimal regardless of proofing time. Using a whole wheat flour with low protein content can also limit the potential for gluten development and thus expansion. Ensuring active leavening, proper kneading, and sufficient, but not excessive, proofing time are key steps to avoid a dense crumb and achieve better whole wheat boule oven spring.
Tips and Tricks for Consistent Whole Wheat Boule Oven Spring
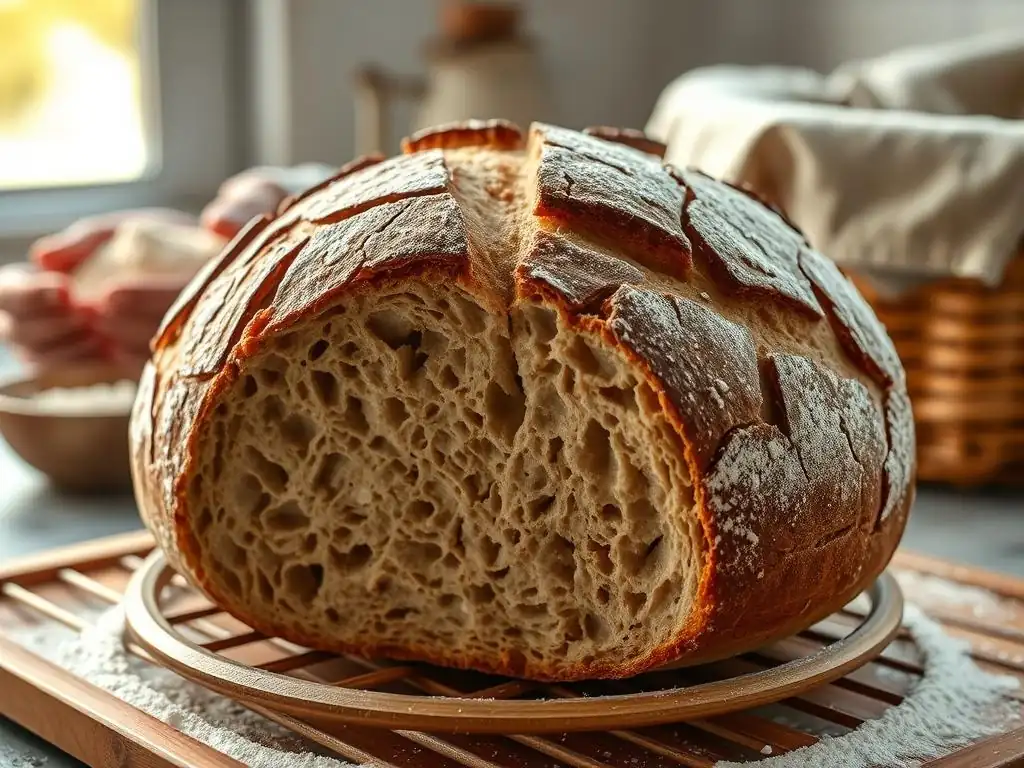
Using a Dutch Oven for Superior Results
One of the most effective ways to ensure fantastic whole wheat boule oven spring, especially in a home oven, is baking in a Dutch oven or other lidded oven-safe pot. Preheating the Dutch oven to a high temperature (like 450-500°F or 230-260°C) creates an intensely hot environment that provides the necessary thermal shock when the dough is placed inside. The lid traps the moisture released by the dough as it bakes, creating a steamy microclimate around the loaf.
This trapped steam keeps the crust soft and pliable during the critical first 15-20 minutes of baking, allowing the dough to expand freely. Once the initial spring has occurred, the lid is typically removed for the remainder of the baking time to allow the crust to brown and crisp up. Using a Dutch oven simplifies the process of creating steam and maintaining high heat, making it a go-to method for bakers seeking reliable and impressive whole wheat boule oven spring.
Adding Vital Wheat Gluten: A Helpful Boost
For bakers consistently struggling with achieving good volume and whole wheat boule oven spring due to the challenges of whole wheat flour, adding a small amount of vital wheat gluten can be a helpful solution. Vital wheat gluten is essentially concentrated wheat protein (gluten) that has been extracted from wheat flour. Adding just a small percentage of this powder to your whole wheat flour can significantly boost the overall protein content and strengthen the gluten network.
A typical addition might be 1-2% of the total flour weight. For instance, if your recipe uses 500 grams of whole wheat flour, you could add 5-10 grams of vital wheat gluten. Mix it thoroughly with the whole wheat flour before adding any liquids. This extra gluten helps create a more extensible and elastic dough capable of trapping more gas and supporting a larger rise. While not strictly necessary if your flour is high-protein and your technique is perfect, it can provide a noticeable improvement in volume and structure, leading to better whole wheat boule oven spring.
Adjusting Your Recipe for Different Whole Wheat Flours
It's important to recognize that not all whole wheat flours behave the same way. Differences in wheat variety, protein content, and milling methods can significantly impact how the flour absorbs water and develops gluten. A recipe that works perfectly with one brand of whole wheat flour might require adjustments when using another. Pay attention to the flour's protein percentage listed on the package; a higher percentage generally indicates better potential for structure.
When trying a new whole wheat flour, be prepared to adjust the hydration level. You might find a flour absorbs more or less water than the one you're used to. Start with the recipe's specified hydration but be prepared to add a little more water if the dough feels too stiff, or a little more flour if it's excessively sticky and slack.
Observing how the dough feels during mixing, kneading, and fermentation is key. Over time, you'll learn to recognize the signs of properly hydrated and developed dough for different flours, helping you achieve consistent whole wheat boule oven spring regardless of the specific whole wheat flour you use.
Enjoying Your Perfectly Risen Whole Wheat Boule
Frequently Asked Questions
How can I improve the oven spring of my whole wheat boule?
Achieving great oven spring relies on several factors. Primarily, ensure proper gluten development through thorough kneading and utilize a high hydration dough. Also, scoring the boule correctly is crucial for directing expansion.
What role does hydration play in whole wheat boule oven spring?
Higher hydration allows for more steam creation during baking, which is essential for oven spring. Whole wheat flour absorbs more water than white flour, so a higher hydration level is often necessary. Aim for around 75-80% hydration.
Why is proper scoring important for whole wheat boule oven spring?
Scoring creates a weak point in the crust, allowing the dough to expand predictably. A well-placed score allows the steam to escape in a controlled manner, maximizing oven spring and preventing cracking.
What are some common mistakes that hinder oven spring in whole wheat boules?
Over-proofing the dough is a common culprit. This can lead to a collapsed structure before baking. Also, insufficient kneading can result in weak gluten that can't support the expansion during baking.
What is the ideal baking temperature for achieving optimal oven spring in a whole wheat boule?
Starting with a high oven temperature (around 450-500°F) is key to maximizing oven spring. This initial burst of heat encourages rapid expansion before the crust sets. Then, you can reduce the temperature slightly for even baking.
Final Reflection: The Quest for Perfect Whole Wheat Boule Oven Spring
The pursuit of exceptional oven spring in whole wheat bread remains a crucial challenge for bakers everywhere, a testament to the complexities of working with this hearty flour. Achieving that dramatic rise, that beautiful dome, is more than just aesthetics; it's a sign of a perfectly developed gluten network and a testament to the baker's skill and understanding of the process. This journey, from understanding hydration levels to mastering the crucial bulk fermentation, is a continuous learning experience.
The impact of mastering whole wheat baking extends far beyond the kitchen. It's a journey of connection – to the grain itself, to the ancient art of bread making, and to the satisfaction of creating something beautiful and nourishing from simple ingredients. The process demands patience, precision, and a willingness to learn from both successes and failures. As the renowned baker, Peter Reinhart, once said, Baking is a science, but it's also an art. It's about understanding the principles, but also about trusting your instincts and having fun with it.
This sentiment perfectly encapsulates the spirit of this exploration into achieving perfect whole wheat boule oven spring.
Now, it's your turn. Don't be discouraged by initial setbacks. Embrace the challenges, experiment with different techniques, and most importantly, enjoy the process. Each loaf, whether perfectly risen or not, represents a step forward on your baking journey. The next time you knead that dough, remember the lessons learned here, and strive for that magnificent oven spring – the reward of a perfectly crafted whole wheat boule awaits.
Unlock Your Best Whole Wheat Boule Yet!
Thanks for taking the time to explore the secrets of achieving amazing oven spring with your whole wheat bread! We hope you gained valuable insights and are ready to bake a masterpiece. Now, let's put that knowledge into action:
- Bake your best boule yet! Try the techniques discussed today and see the difference. Experiment with different flours and hydration levels to find your perfect recipe.
- Share your baking success! Post a picture of your beautiful boule on social media and tag us – we’d love to see your results!
- Consider joining our baking community forum to connect with other enthusiastic bakers and share tips for achieving that perfect oven spring.
What unique flour blend will you experiment with to elevate your next whole wheat boule?