
Baking Rustic Bread Directly on Your Oven Rack (With Caution!)

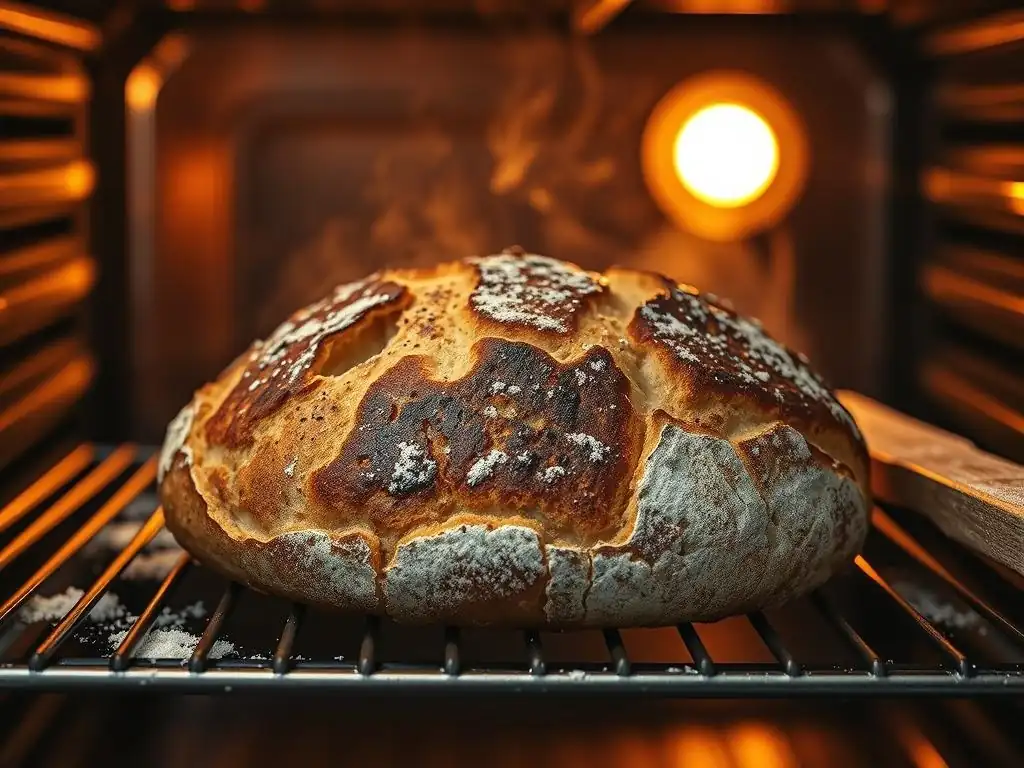
Welcome to BakeWithEase, your trusted guide to baking bliss! Ever dreamt of achieving that perfect, bakery-worthy crust on your homemade bread? Then you're in the right place. Today, we're diving into a slightly unconventional, yet incredibly rewarding technique: baking a rustic oven rack bread recipe directly on your oven rack. But before you preheat, there are a few crucial details you need to know. Intrigued? Keep reading to discover the secrets (and safety tips!) to achieving artisan bread perfection in your own kitchen!
- Baking Rustic Bread Directly on Your Oven Rack (With Caution!) - BakeWithEase
- Introduction: The Allure of Rustic Oven Rack Bread
- Understanding the Risks and Precautions
- The Ultimate Rustic Oven Rack Bread Recipe: Step-by-Step
- Baking Your Rustic Bread Directly on the Oven Rack
- Cooling and Storing Your Rustic Bread
- Troubleshooting: Common Issues and Solutions
- Rustic Oven Rack Bread Recipe Variations & Enhancements
- Conclusion: Mastering the Art of Rustic Oven Rack Bread Baking
-
Frequently Asked Questions
- What are the benefits of baking rustic bread directly on the oven rack?
- Is it safe to bake bread directly on the oven rack?
- What kind of bread works best for baking directly on the oven rack?
- What precautions should I take when baking rustic bread on the rack?
- What temperature adjustments are needed when baking bread this way?
- Final Reflection: The Humble Loaf, Elevated
- Unleash Your Inner Baker: Craft Your Own Crusty Loaf!
Baking Rustic Bread Directly on Your Oven Rack (With Caution!) - BakeWithEase
Introduction: The Allure of Rustic Oven Rack Bread
What is Rustic Bread and Why Bake It on the Rack?
Rustic bread, often characterized by its thick, chewy crust, open crumb structure, and irregular shape, evokes images of traditional baking methods passed down through generations. Unlike highly structured sandwich loaves, rustic bread embraces simplicity in ingredients – typically just flour, water, salt, and yeast – allowing the natural flavors of fermentation to shine. Think of a crusty boule, a freeform ciabatta, or a country loaf with a wonderfully crackled surface. The appeal lies in its authentic texture and deep flavor profile, often achieved through high-temperature baking and steam, which helps develop that signature crust.
Baking rustic bread directly on the oven rack is a technique some home bakers explore, driven by the desire for maximum heat transfer to the bottom crust and the challenge of a more primal baking method. While often recommended to bake bread on a preheated baking stone or Dutch oven to ensure even heat and promote oven spring, placing dough directly on the rack allows for direct contact with the intense heat circulating within the oven.
This can theoretically contribute to a very crispy bottom crust, a hallmark of great rustic bread. It's a method that bypasses specialized equipment, appealing to those who want to try a rustic oven rack bread recipe with minimal tools, but it comes with significant considerations.
BakeWithEase' Guide to Rustic Bread on Your Oven Rack: A Baking Adventure
Embarking on the journey of baking rustic bread directly on your oven rack is certainly an adventure, one that requires careful planning and execution. At BakeWithEase, we believe in exploring all facets of baking, but always with an emphasis on safety and understanding the process.
This guide will walk you through the steps of attempting a rustic oven rack bread recipe, highlighting the potential benefits alongside the crucial risks and necessary precautions you must take. We'll cover everything from preparing your dough to the final cooling, ensuring you have the knowledge to decide if this method is right for you and how to approach it safely.
This specific approach to baking rustic bread on the oven rack is not the most conventional or recommended method due to inherent challenges, but understanding it provides valuable insight into how heat interacts with your dough. We'll detail a basic rustic bread recipe suitable for this experiment, discussing ingredient ratios, proofing times (typically ranging from 1 to 3 hours for the first proof, depending on yeast activity and temperature), and shaping techniques crucial for dough that won't be contained by a pan or stone.
By the end of this guide, you'll be equipped with the knowledge to safely try this rustic oven rack bread recipe or understand why alternative methods might be preferable for consistent, successful results.
Understanding the Risks and Precautions
Oven Rack Baking: Potential Dangers to Consider
Baking bread directly on a bare oven rack presents several significant risks that standard baking methods on a stone or in a Dutch oven mitigate. The most immediate danger is the possibility of the raw dough sticking to the hot metal rack. Unlike a smooth, seasoned baking surface, the rack's grid structure provides many points for the dough to adhere as it expands and bakes.
If the dough sticks, it can be incredibly difficult to remove without tearing the bread or leaving baked-on residue on the rack, potentially requiring extensive cleaning or even damaging the oven's finish. This risk is particularly high with wet doughs, like those often used for open-crumb rustic bread, which can have hydration levels upwards of 70% or even 80%.
Another serious concern is the risk of the dough falling through the gaps in the rack, especially if the dough is improperly shaped, too wet, or if the rack wires are widely spaced. Imagine a beautifully proofed loaf collapsing and dripping onto the oven floor, creating a smoky mess and a potentially dangerous fire hazard if it catches fire on a heating element.
Furthermore, baking directly on the rack exposes the bottom of the loaf to extremely intense, direct heat compared to the circulating air above. This can lead to a severely burnt or excessively hard bottom crust while the top and interior might not be fully cooked, resulting in uneven baking that compromises the quality of your rustic oven rack bread recipe attempt.
Essential Safety Measures for Baking Bread on the Oven Rack
Given the inherent risks, attempting a rustic oven rack bread recipe requires stringent safety measures. Always ensure your oven and oven rack are spotlessly clean before you begin. Any residual grease or food particles on the rack can smoke, burn, or cause the dough to stick more readily. A crucial step is to use parchment paper.
While the idea is to bake directly on the rack, placing the dough on a sheet of parchment paper before transferring it to the rack creates a non-stick barrier. This significantly reduces the chance of the dough sticking or falling through, acting as a safety net. Ensure the parchment paper is rated for high temperatures, typically up to 450°F (230°C) or higher, as rustic bread is often baked at temperatures between 450°F and 500°F (230°C and 260°C).
Furthermore, handling hot dough and a hot oven rack demands careful use of oven mitts or heat-resistant gloves. Transferring the dough onto the hot rack and later removing the baked loaf are moments when burns are most likely. Using a pizza peel dusted with a small amount of flour or cornmeal, or a large, flat spatuala, is highly recommended for safely sliding the dough (on parchment) onto the rack and retrieving the finished bread.
Avoid trying to place or remove the dough by hand directly onto the rack. Always ensure the oven rack is securely in place and level before baking. Never attempt this method with a dough that is extremely slack or has not held its shape well during the second proofing, as it is more likely to spread and fall through.
Is Your Oven Rack Suitable for Direct Bread Baking?
Not all oven racks are created equal, and assessing the suitability of yours is a critical step before attempting a rustic oven rack bread recipe. Examine the material and spacing of the wires. Standard chrome-plated steel racks are common, but some older or lower-quality racks might have coatings that could potentially flake off at high baking temperatures or even release fumes.
While this is rare with modern racks, it's worth considering the condition and age of your equipment. More importantly, look at the spacing between the wires. Racks with very wide gaps between the wires are inherently riskier for baking freeform dough directly, even with parchment paper, as there's less underlying support for the dough as it expands.
Consider the overall sturdiness of the rack as well. A heavy, dense loaf of rustic bread can weigh anywhere from 1 to 2 pounds (approximately 0.5 to 1 kg) or more. Ensure your oven rack is robust enough to hold this weight without sagging or becoming unstable when pulled out slightly for placing or removing the bread.
If your rack seems flimsy, has widely spaced wires, or shows signs of wear, it is strongly advised not to attempt baking directly on it. In such cases, using a baking stone or a sturdy baking sheet (though a sheet will prevent direct rack contact) placed on the rack would be a far safer and more reliable alternative for achieving a good rustic oven rack bread result without the direct risks.
The Ultimate Rustic Oven Rack Bread Recipe: Step-by-Step
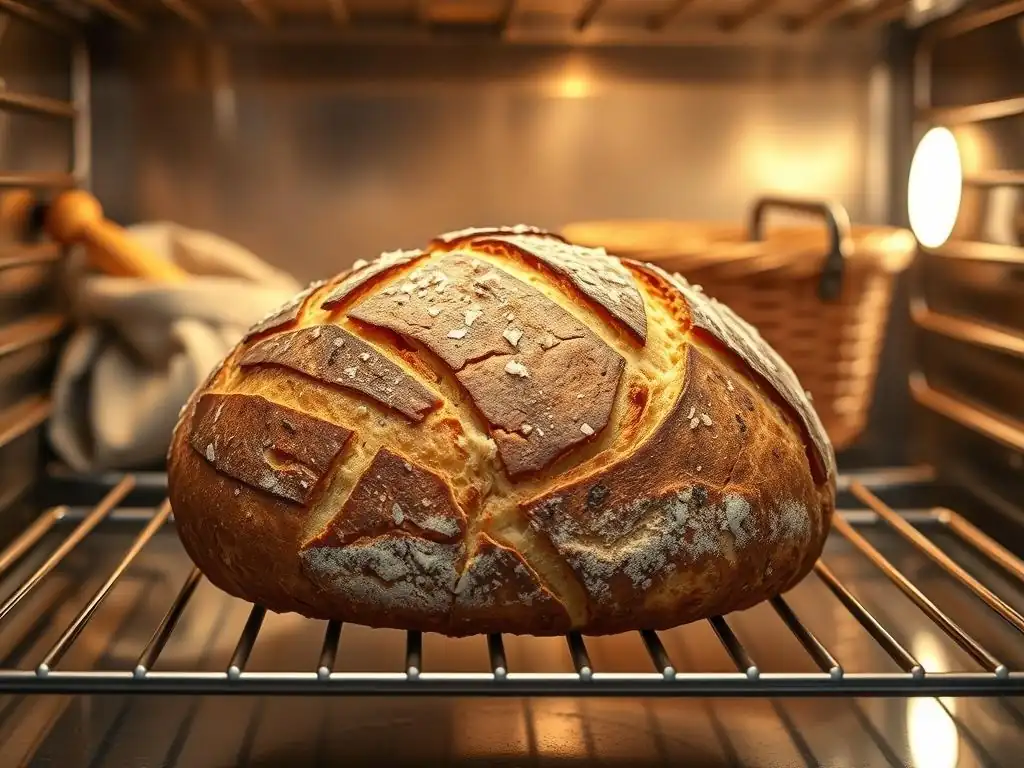
Ingredients for a Perfect Rustic Loaf
A classic rustic oven rack bread recipe relies on a few simple, high-quality ingredients. The magic happens through time and technique, not a long list of components.
Flour, Water, Salt, Yeast
- Flour: Approximately 500 grams of strong bread flour. Bread flour has a higher protein content (typically 12-14%) compared to all-purpose flour (10-12%), which is crucial for developing a strong gluten network capable of trapping the gases produced by yeast, resulting in a good rise and chewy texture. You can experiment with a mix, like 80% bread flour and 20% whole wheat flour for added flavor and nutrition, but ensure the majority is high-protein flour.
- Water: Around 375 grams of lukewarm water (about 95°F or 35°C). This gives a hydration level of 75%, which is typical for rustic loaves and contributes to a more open crumb. The exact amount may need slight adjustment depending on the flour's absorption rate. Using lukewarm water helps activate the yeast more quickly.
- Salt: Approximately 10 grams of fine sea salt or table salt. Salt is essential for flavor, controlling yeast activity, and strengthening the gluten structure. It should be added after the initial mixing of flour and water (autolyse) or incorporated thoroughly during the initial mixing phase.
- Yeast: About 2 grams of instant dry yeast, or 2.5 grams of active dry yeast (which may need to be bloomed in a little water first). Instant yeast can be mixed directly with the flour. The relatively small amount of yeast, combined with a longer fermentation period, helps develop deeper flavors in your rustic oven rack bread recipe. Alternatively, you could use about 100-150 grams of active sourdough starter for a sourdough version.
Equipment Needed for Baking on the Oven Rack
While the appeal of a rustic oven rack bread recipe is its perceived simplicity, you still need essential tools for handling dough and managing the high temperatures safely.
Oven, Baking Stone (Optional), Parchment Paper (Optional), Pizza Peel or Large Spatula
- Oven: A conventional oven capable of reaching and maintaining temperatures of 450°F (230°C) or higher. Consistency in temperature is key for proper oven spring and crust development. Ensure your oven is clean and the rack is suitable as discussed earlier.
- Baking Stone (Optional): While the goal is direct rack baking, having a preheated baking stone on a lower rack can help radiate heat upwards, assisting with oven spring and potentially mitigating some risks, although it's not directly supporting the bread in this specific method.
- Parchment Paper (Optional): Highly recommended, almost essential, for placing the dough on before transferring to the hot rack. Use high-temperature rated parchment. This is your primary defense against sticking and falling through the wires when baking rustic bread on oven rack.
- Pizza Peel or Large Spatula: Crucial for safely transferring the shaped dough onto the hot oven rack and removing the baked loaf. A wooden or metal pizza peel dusted with flour or cornmeal allows you to slide the dough easily without having to reach deep into a hot oven with your hands. Alternatively, two large, flat spatulas can work for smaller loaves.
Preparing Your Dough for Oven Rack Baking
Successful rustic oven rack bread baking starts long before the dough hits the heat. Proper dough preparation is vital for structure and flavor.
First Proofing: Developing Flavor and Structure
The first proofing, also known as bulk fermentation, is a critical stage where yeast produces carbon dioxide, causing the dough to rise, and enzymes break down starches into sugars, developing complex flavors. For this rustic oven rack bread recipe, after mixing your ingredients (and performing any desired kneading or stretch-and-folds over the first hour or two), place the dough in a lightly oiled bowl, cover it, and let it proof at room temperature (around 70-75°F or 21-24°C).
This proofing can take anywhere from 1.5 to 3 hours, or even longer if using less yeast or cooler temperatures. The dough should significantly increase in volume, ideally doubling or nearly doubling, and look bubbly and alive.
During this bulk fermentation, you might perform a few sets of stretch and folds (every 30-45 minutes for the first 1.5 hours) to build gluten strength. Gently stretching and folding the dough over itself helps align the gluten strands, providing the structure needed for the loaf to hold its shape on the oven rack.
For a 500g flour recipe with 75% hydration, performing 3-4 sets of stretch and folds will significantly improve the dough's ability to support itself during the bake. Adequate gluten development is paramount when baking rustic bread on oven rack without the support of a tin or stone.
Shaping the Dough: Creating the Rustic Look
After the first proof, gently turn the dough out onto a lightly floured surface. The goal is to shape the dough into a boule (round) or bâtard (oval) with good surface tension, without degassing it too much. For a boule, gently cup your hands around the dough and pull it towards you, rotating as you go, to create a tight skin on top.
For a bâtard, gently preshape into a rough oval, let rest for 15-20 minutes, then flatten slightly, fold the top third down, the bottom third up, and then fold in half lengthwise, sealing the seam. Roll gently to lengthen and create tension. The key is to create a taut surface that will help the loaf hold its shape during the second proof and in the oven.
Proper shaping is particularly important for a rustic oven rack bread recipe because the dough will receive less physical support during baking compared to methods using a pan or stone. A well-shaped loaf with good surface tension is less likely to spread excessively and potentially fall through the rack wires. Avoid overworking the dough at this stage, as you want to preserve the gas built during the first proof. Aim for a shape that is relatively compact and holds its form well on the counter before moving to the second proofing stage.
Second Proofing: Achieving Optimal Rise
The second proofing, or final proof, allows the shaped dough to rise again before baking. Place the shaped dough onto a piece of parchment paper large enough to easily transfer it to the oven rack. You can place the dough and parchment in a proofing basket (banneton) dusted with flour, or simply cover it loosely on the counter.
The second proof is usually shorter than the first, typically 45-90 minutes at room temperature, or longer if proofing in the refrigerator (which can also deepen flavor). The dough should look visibly puffy and increase in size, but it should not fully double.
To check if your dough is ready for baking (the "poke test"), gently press a floured finger into the side of the loaf. If the indentation springs back immediately, it needs more time. If it springs back slowly and partially, it's ready.
If it stays indented completely, it might be over-proofed and could collapse in the oven. Dough that is slightly under-proofed is often preferable when baking rustic bread on oven rack, as it will have more structure and 'oven spring' to help it hold its shape on the direct heat. Over-proofed dough is weaker and more prone to spreading and sticking.
Baking Your Rustic Bread Directly on the Oven Rack
Preheating Your Oven: The Key to a Crispy Crust
Achieving a beautiful, crispy crust on your rustic oven rack bread recipe depends heavily on a properly preheated oven. High initial heat is crucial for rapid oven spring and crust development. Preheat your oven, with the rack in place at the desired position (usually the middle or slightly below), to a high temperature, typically between 450°F and 500°F (230°C and 260°C). Allow the oven to preheat for at least 30-60 minutes after it indicates it has reached the set temperature. This ensures the oven cavity and, crucially, the oven rack itself are fully heated.
Just like a baking stone absorbs and radiates heat, the metal oven rack needs time to absorb sufficient thermal energy to provide a strong initial heat transfer to the bottom of the loaf. A quick preheat won't heat the rack adequately, leading to poor bottom crust development and potentially more sticking. Some bakers attempting this method even preheat the rack for up to an hour.
While the oven is preheating, you can also prepare for steam, which is vital for a thin, crispy crust. This often involves placing a tray on the bottom rack during preheating and adding hot water or ice cubes to it just as you load the bread.
Transferring the Dough: A Delicate Operation
Transferring the proofed dough onto the scorching hot oven rack is perhaps the most critical and potentially hazardous step in this rustic oven rack bread recipe. With your oven fully preheated to 475°F (245°C) and steam setup ready (if using), gently slide the parchment paper with the proofed dough onto your pizza peel or large spatula. Open the oven door, pull the hot rack out partially – just enough to access the baking area safely. Using the pizza peel, carefully slide the parchment paper and dough directly onto the hot oven rack.
Be quick but deliberate to minimize heat loss from the oven. Once the dough is safely on the rack, quickly slide the rack back into the oven and close the door. If using a steam tray, add your hot water or ice cubes now and close the oven door immediately to trap the steam. This whole process should take only a few seconds. Avoid nudging or adjusting the dough once it's on the hot rack, as this can cause it to stick or lose its shape.
Monitoring the Baking Process: Signs of Doneness
Once your rustic oven rack bread is in the oven, monitor its progress through the oven door window as much as possible to avoid opening the door and releasing precious heat and steam. The initial phase (the first 15-20 minutes) is when oven spring occurs and the crust starts to set. You should see the loaf expand and the surface begin to color.
After this initial phase, if you used steam, carefully open the door briefly to remove the steam tray (use thick oven mitts!). This transition from a moist to a dry heat environment helps the crust crisp up beautifully.
Continue baking for another 15-25 minutes, or until the crust is a deep golden brown and the internal temperature of the loaf reaches 200-210°F (93-99°C). A digital thermometer inserted into the center of the loaf is the most accurate way to check for doneness. Visually, look for a rich color all around the loaf – not just the top. The bottom crust, which is in direct contact with the rack, will likely darken faster than the top.
Achieving the Perfect Crust and Interior
The ideal rustic oven rack bread boasts a thick, crackly crust and a moist, open interior crumb. The high initial baking temperature (475°F or 245°C) is key to achieving both: it provides the necessary burst of heat for oven spring and starts the crust formation rapidly. The steam introduced at the beginning keeps the surface moist, allowing the dough to expand fully before the crust hardens. Removing the steam source later allows the dry heat to crisp the formed crust.
To ensure the bottom crust doesn't burn while the interior cooks through, you might need to adjust the baking time or temperature slightly based on your oven's hot spots. If the bottom is browning too quickly, you can try lowering the oven temperature slightly (e.g., to 450°F or 230°C) for the latter half of the bake, or carefully slide a baking sheet underneath the parchment paper on the rack for the last 10-15 minutes to shield the bottom from direct heat.
A well-baked interior will have a light, airy structure with irregular holes (the crumb) and should not appear dense or wet when sliced after cooling. The internal temperature check is the most reliable indicator of a fully cooked interior.
Cooling and Storing Your Rustic Bread
Cooling Techniques for Oven Rack Bread
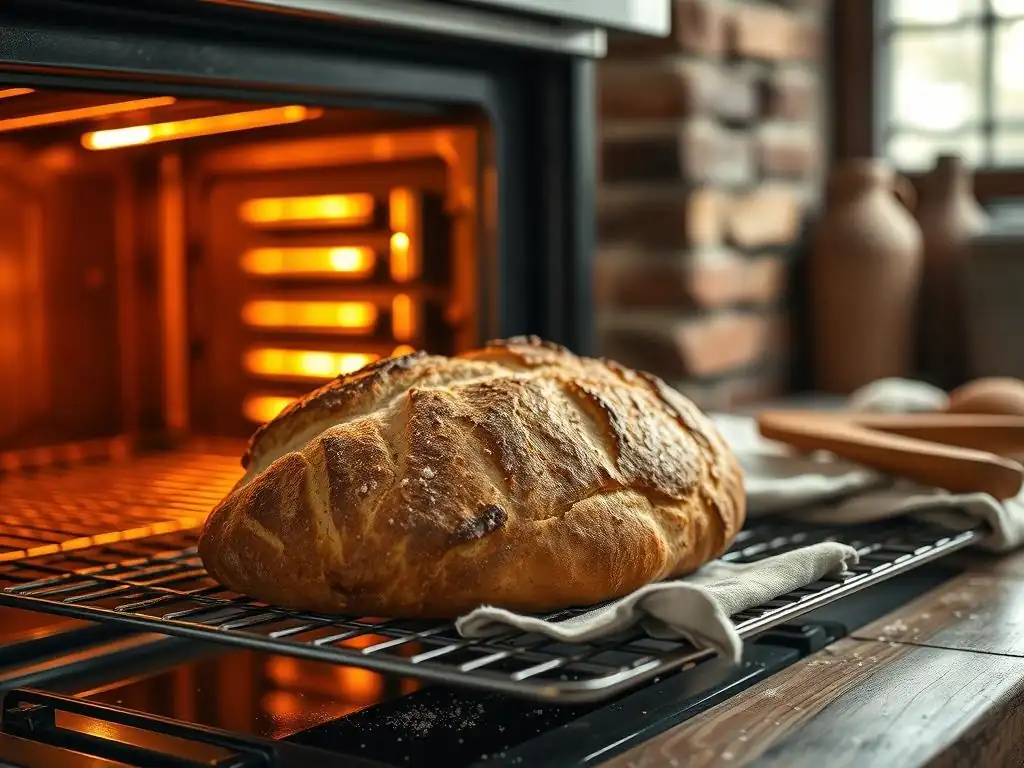
Once your rustic oven rack bread is beautifully baked with a deep golden crust, removing it safely from the hot oven rack is the next step. Use your pizza peel or large spatula to carefully slide the loaf (still on its parchment paper, if used) off the rack and out of the oven. Immediately transfer the loaf from the parchment paper onto a wire cooling rack. Cooling on a wire rack is non-negotiable for rustic bread, especially one baked directly on the oven rack.
Placing the hot loaf on a solid surface will trap steam underneath, making the bottom crust soggy – completely defeating the purpose of baking directly on the rack for crispiness. The wire rack allows air to circulate freely around the entire loaf, facilitating the release of steam and moisture from the interior. This process is crucial for the crust to set and crisp up fully and for the interior crumb structure to stabilize. Allow the bread to cool completely, ideally for at least 1-2 hours, before slicing. Slicing hot bread can compress the crumb and make it seem gummy.
Storing Your Freshly Baked Rustic Loaf
Proper storage is key to maintaining the quality of your rustic oven rack bread. Once completely cooled, the best way to store rustic bread is at room temperature. Avoid refrigerating it, as this accelerates staling. For short-term storage (1-2 days), simply leaving the loaf cut-side down on a clean surface or storing it in a paper bag works well. The paper bag helps keep the crust crisp while allowing the interior to breathe.
For longer storage (up to 3-4 days), you can wrap the cooled loaf loosely in a linen bread bag or a clean tea towel. Some people prefer storing it in a plastic bag or airtight container once cut, but this will soften the crust significantly. If you don't plan to eat the entire loaf within a few days, consider slicing it once cooled and freezing the slices in an airtight bag or container. Frozen rustic bread slices can be easily reheated in a toaster or oven, bringing them back close to their fresh state.
Troubleshooting: Common Issues and Solutions
Bread Sticking to the Oven Rack: Prevention and Remedies
One of the most common and frustrating issues when attempting a rustic oven rack bread recipe is the dough sticking firmly to the hot metal. This often happens if the rack wasn't perfectly clean, the dough was too wet, or parchment paper wasn't used. The primary prevention is using high-temperature parchment paper as a barrier between the dough and the rack. Ensuring your dough isn't excessively wet for this method (perhaps aiming for 70-75% hydration rather than 80%+) and shaping it with good surface tension also helps minimize contact points and spreading.
If your bread does stick, do not try to force it off immediately, especially while hot, as you risk tearing the loaf and scratching the rack. Turn off the oven and let the oven and rack cool down significantly. Sometimes, as the bread cools and contracts slightly, it may release its grip.
If it's still stuck, use a thin, sturdy metal spatula or scraper to gently work under the edges of the bread where it's stuck. Be patient and work slowly to free it. For stubborn baked-on dough residue left on the rack, you may need to use oven cleaner or a scrub pad once the oven is cold, following the manufacturer's instructions.
Uneven Baking: Achieving Consistent Results
Uneven baking, where one part of the loaf is darker or more cooked than another, can occur when baking rustic bread on oven rack due to inconsistent oven temperatures or hot spots. Ovens rarely heat perfectly evenly. The direct contact with the rack can also lead to the bottom cooking much faster than the top. To mitigate this, first, ensure your oven is fully preheated for a long enough time (45-60 minutes) to stabilize the temperature.
If you notice consistent uneven browning, try rotating the loaf halfway through the baking time (e.g., after 15-20 minutes, when you might also remove steam). Use your pizza peel to carefully rotate the parchment and loaf 180 degrees on the rack.
If the bottom is consistently burning, lowering the overall oven temperature slightly (e.g., from 475°F to 450°F after the initial 15 minutes) or sliding a baking sheet underneath the parchment for the final portion of the bake can help shield the bottom from excessive direct heat. Learning your oven's specific quirks is key to achieving consistent results with any rustic oven rack bread recipe.
Burnt Bottom: Protecting Your Bread from Over-Browning
A burnt or excessively hard bottom crust is a frequent complaint when attempting a rustic oven rack bread recipe due to the intense, direct heat transfer from the metal rack. Prevention starts with using parchment paper, which offers a thin layer of insulation, and potentially placing your oven rack slightly higher in the oven, away from the direct heat source at the bottom.
If you find the bottom is browning too quickly despite these measures, you can introduce shielding during the bake. As mentioned earlier, sliding a baking sheet underneath the parchment paper on the rack for the final 10-15 minutes of baking is an effective way to block some of that direct heat. Another technique is to place a baking stone or steel on a rack below the one your bread is on during preheating.
This can help radiate heat upwards and stabilize the oven temperature, reducing the need for the upper rack (where the bread is) to be excessively hot. Monitoring the bottom crust color through the oven door or by carefully pulling the rack out briefly is essential to catch over-browning early and implement shielding.
Rustic Oven Rack Bread Recipe Variations & Enhancements
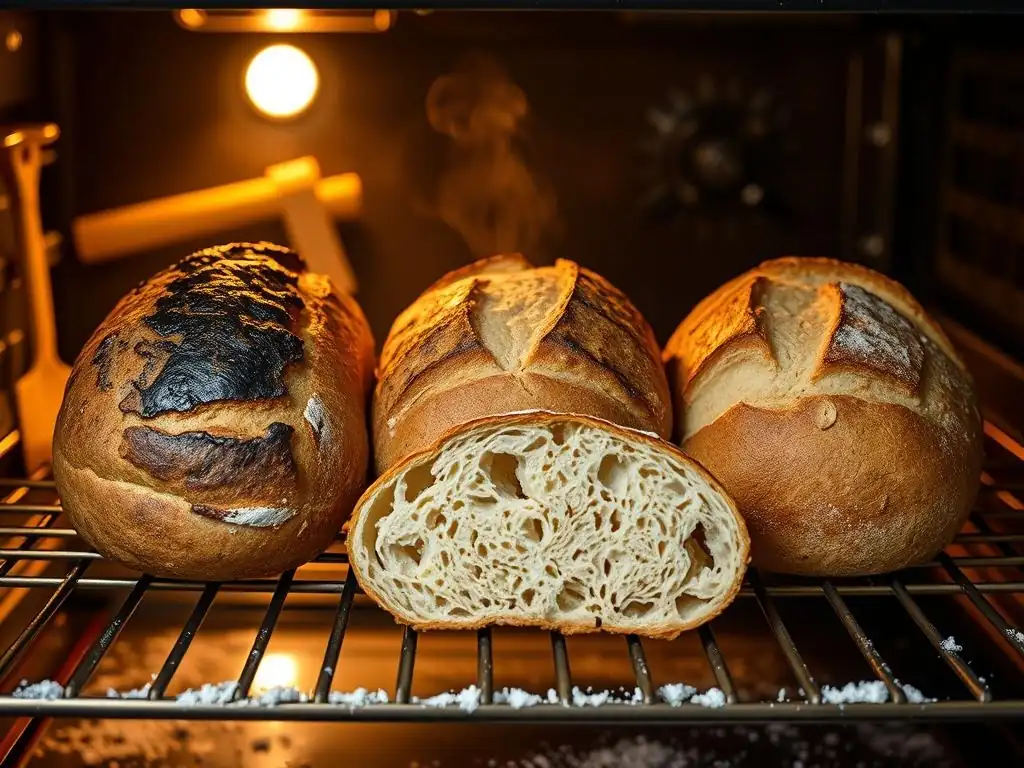
Adding Flavors: Herbs, Seeds, and More
Elevating your basic rustic oven rack bread recipe is easy by incorporating various flavor enhancers into the dough. Seeds are a popular choice; you can add a mix of sesame, poppy, sunflower, or pumpkin seeds to the dough during the final mixing phase (around 50-100 grams per 500g flour) or sprinkle them generously on the surface of the shaped loaf just before the second proofing. To help seeds adhere to the surface, you can lightly mist the dough with water or brush with an egg wash before adding them.
Fresh or dried herbs also lend wonderful aromas and flavors. Rosemary, thyme, or oregano can be chopped finely and kneaded into the dough (about 1-2 tablespoons of fresh herbs or 1-2 teaspoons of dried per loaf). Roasted garlic cloves or caramelized onions can be folded in during the stretch and fold phase, adding depth and sweetness. Consider adding spices like black pepper, caraway seeds, or even a pinch of smoked paprika for a different dimension. Just ensure any add-ins are distributed evenly throughout the dough.
Experimenting with Different Flours for Unique Textures
While bread flour is the standard for its gluten strength, experimenting with different flours can dramatically alter the texture and flavor of your rustic oven rack bread recipe. Substituting a portion of the bread flour with whole wheat flour (e.g., 20-50%) will result in a denser crumb, a nuttier flavor, and increased nutritional value. However, whole wheat absorbs more water, so you might need to slightly increase the hydration.
Using heritage grains like spelt or rye flour (starting with 10-20% substitution) introduces unique flavors and crumb characteristics. Spelt often yields a slightly sweeter, softer crumb, while rye adds tanginess and density. Be aware that rye flour has less gluten-forming protein, so doughs with high percentages of rye will be stickier and require different handling techniques. For a crispier crust, some recipes incorporate a small amount of rice flour. Each flour type will impact the dough's handling and baking time, requiring slight adjustments to your rustic oven rack bread recipe technique.
Rustic Sourdough Bread on the Oven Rack: A Deeper Dive
For those seeking complexity and a more pronounced tang, adapting the rustic oven rack bread recipe to use a sourdough starter instead of commercial yeast is a rewarding path. This requires maintaining an active sourdough starter (a fermented mixture of flour and water). The process involves feeding your starter 4-12 hours before mixing the dough to ensure it's vigorous. A typical sourdough recipe ratio might involve 20-30% of the total flour weight coming from the starter itself (e.g., 100-150g starter for 500g total flour).
Sourdough fermentation is slower than commercial yeast, meaning both the bulk fermentation and the final proofing will take significantly longer, often several hours at room temperature or 12-24 hours in the refrigerator. This extended fermentation develops more complex acids and flavors. Baking sourdough rustic bread on oven rack requires the same high temperatures and careful handling as the yeasted version. The structure provided by a well-developed sourdough starter's gluten network can sometimes be even more robust, which is beneficial for this direct-heat method, but the dough hydration and shaping remain critical for success.
Conclusion: Mastering the Art of Rustic Oven Rack Bread Baking
Attempting to bake a rustic oven rack bread recipe is a fascinating exploration into minimalist baking, stripping away some conventional tools to interact more directly with the heat of your oven. While it presents unique challenges, primarily the risk of sticking and uneven baking, understanding the fundamental principles of dough handling, oven dynamics, and, most importantly, safety precautions makes it a feasible, albeit cautious, endeavor for the adventurous home baker.
We've covered the essential ingredients, the crucial equipment (including that vital parchment paper! ), detailed dough preparation steps from proofing to shaping, and the nuances of the baking process itself, including how to monitor and troubleshoot common issues like burnt bottoms or sticking dough.
Enjoying the Simplicity and Flavor of Homemade Bread
Ultimately, the joy of baking rustic bread, whether on an oven rack, a stone, or in a Dutch oven, lies in the simple act of transforming basic ingredients into something truly delicious and satisfying. The aroma filling your kitchen, the crackle of the cooling crust, and the rewarding bite into a chewy, flavorful crumb are unparalleled. This rustic oven rack bread recipe experiment, while requiring extra vigilance, connects you to a more direct form of baking.
It highlights the importance of dough structure, heat management, and the subtle interactions between your loaf and its environment. Embrace the process, learn from each bake, and savor the incredible simplicity and profound flavor of your homemade creation.
Frequently Asked Questions
What are the benefits of baking rustic bread directly on the oven rack?
Baking directly on the rack provides better crust development due to direct heat transfer. It also often results in a more rustic appearance.
Is it safe to bake bread directly on the oven rack?
While generally safe, there are risks. Ensure your oven rack is clean and free of debris to prevent smoking or fire. Also, be prepared for potential messes and spills.
What kind of bread works best for baking directly on the oven rack?
Rustic loaves, like sourdough or artisan breads, benefit most. Breads with a lower hydration level are also less likely to stick or drip.
What precautions should I take when baking rustic bread on the rack?
Always use parchment paper for the first part of baking to prevent sticking. Have a baking stone or sheet pan underneath to catch any drips.
What temperature adjustments are needed when baking bread this way?
You might need to slightly lower the oven temperature to prevent burning. Monitor the bread closely and adjust as needed for even browning.
Final Reflection: The Humble Loaf, Elevated
Baking rustic bread directly on the oven rack offers a surprisingly simple path to achieving a deeply flavorful, beautifully textured loaf, a testament to the power of direct heat and minimal intervention. This technique, while seemingly unconventional, unlocks a level of crust development and interior airiness that's difficult to replicate using traditional methods. The resulting bread, with its crackling crust and chewy crumb, speaks volumes about the transformative power of embracing imperfection in the kitchen.
The enduring appeal of rustic bread lies not just in its taste, but in its connection to a simpler, more hands-on approach to food preparation. It's a reminder of the satisfaction derived from creating something beautiful and delicious from basic ingredients. This method, while requiring a bit of careful attention, allows for a deeper engagement with the baking process, fostering a connection to the food we consume. Bread is the staff of life,
they say, and this technique elevates that staff to an art form.
Now, consider your own kitchen. Think about the simple pleasure of creating something from scratch, something that nourishes both body and soul. Don't be afraid to experiment, to embrace the slightly charred edges and the uneven rise – these are the hallmarks of a truly rustic loaf. Try this technique, and let the aroma of freshly baked bread fill your home, a testament to your own culinary creativity and the enduring magic of a simple, perfectly imperfect loaf.
Unleash Your Inner Baker: Craft Your Own Crusty Loaf!
Thanks for taking the time to explore the art of baking rustic bread directly on your oven rack! We hope you gained valuable insights and newfound confidence in your baking abilities. Now it's time to put your knowledge into practice.
- Bake your first rustic loaf today! Gather your ingredients, follow the recipe (or your own adaptation! ), and experience the satisfying crunch of a perfectly baked crust. Don't be afraid to experiment!
- Share your baking journey! Post a picture of your creation on social media and tag #BakeWithEaseRustic. Let's inspire each other!
- Explore different flours and grains: What other flavor combinations can you create? Try experimenting with different types of flour, grains, and herbs.
Ready to transform your kitchen into a rustic bakery? What unique twist will you add to your first loaf?