
Why Your Chocolate Seized and How to Fix It Fast

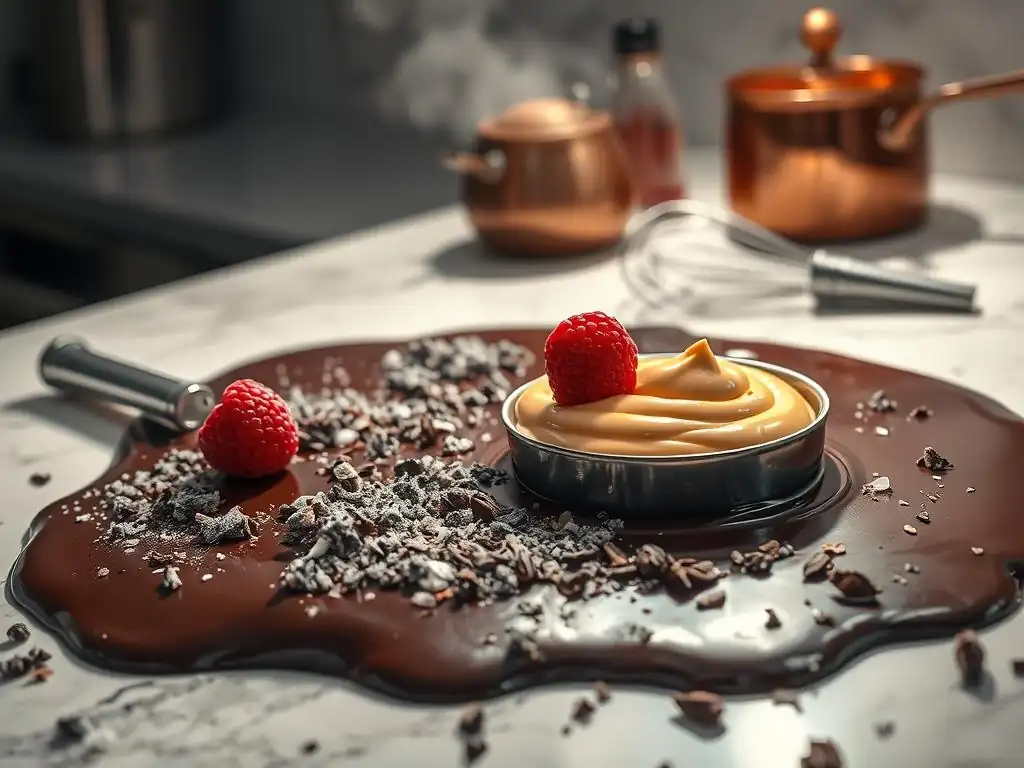
Welcome to BakeWithEase, your trusted companion in the delightful world of baking! Ever experienced the dreaded moment when your melted chocolate turns grainy and unworkable? Don't despair! Dive into this article where we unravel the mystery of why your chocolate seized and, more importantly, arm you with quick and effective fixes to salvage your sweet creations. Ready to rescue your chocolate and your baking dreams? Let's get started!
- Understanding and Preventing Chocolate Seizing: A Guide for Bakers
- Understanding Chocolate Seizing
- Common Causes of Chocolate Seizing
- Fixing Seized Chocolate
- Preventing Chocolate Seizing
- Troubleshooting Seized Chocolate in Specific Applications
- When to Start Over
- Frequently Asked Questions
- Final Reflection: The Sweet Science of Saving Seized Chocolate
- Rediscover Perfectly Smooth Chocolate!
Understanding and Preventing Chocolate Seizing: A Guide for Bakers
Chocolate seizing is a common, frustrating problem for home bakers, turning smooth, glossy melted chocolate into a stiff, grainy, and unusable mess. It happens rapidly and can feel like a disaster when you're in the middle of a recipe requiring perfectly melted chocolate for dipping, coating, or incorporating into batters. Understanding why this happens is the first step to avoiding it, and thankfully, there are often ways to salvage seized chocolate or, better yet, prevent it entirely.
This guide will walk you through the signs of seized chocolate, the science behind it, the most common culprits, and practical methods for fixing seized chocolate quickly if it happens. We'll also cover best practices for melting chocolate to help you achieve that desired silky texture every time. Don't let seized chocolate ruin your baking plans; with a little knowledge, you can tackle this challenge head-on.
Understanding Chocolate Seizing
Recognizing the Signs of Seized Chocolate
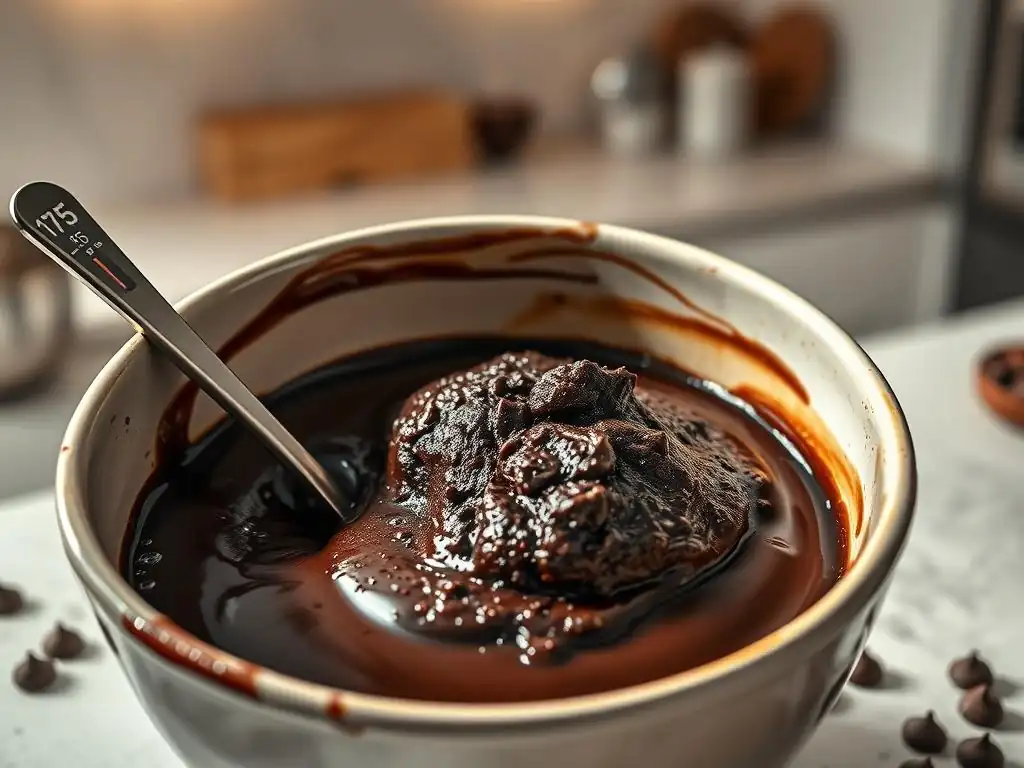
When chocolate seizes, the transformation is dramatic and unmistakable. You'll notice the smooth liquid chocolate suddenly becomes thick, lumpy, and grainy, losing its fluidity and shine. It might look like it's turned into a paste or crumbly mass rather than a pourable liquid. This texture change is usually accompanied by a loss of the characteristic smooth mouthfeel you expect from melted chocolate.
Imagine melting chocolate chips for cookies; instead of getting a beautiful pool of melted chocolate to swirl into dough, you end up with something resembling chunky peanut butter that's impossible to work with. This textural shift indicates that the cocoa solids within the chocolate have clumped together, separating from the cocoa butter or other fats, which is the core issue of seizing. The visual cue is your primary indicator that seizing has occurred.
The Science Behind Chocolate Seizing
At its heart, chocolate seizing is a reaction to tiny amounts of moisture interacting with cocoa solids. Chocolate contains cocoa solids, sugar, and fat (cocoa butter, and sometimes other fats). Cocoa solids are hydrophilic, meaning they attract and absorb water. When just a little bit of water is introduced to melted chocolate, the cocoa solids grab onto it, causing them to swell and clump together.
This clumping effectively pushes the fat away, resulting in the thick, grainy texture we recognize as seized chocolate. Because there isn't enough liquid (fat or other moisture) to fully suspend these swollen particles, they bind together into a solid mass. It's a delicate balance; a small amount of water (even just a few drops or steam) can trigger this reaction instantly, while a larger amount of liquid, like in a ganache, can prevent seizing by fully dispersing the cocoa solids.
Common Causes of Chocolate Seizing
Moisture and Chocolate Seizing
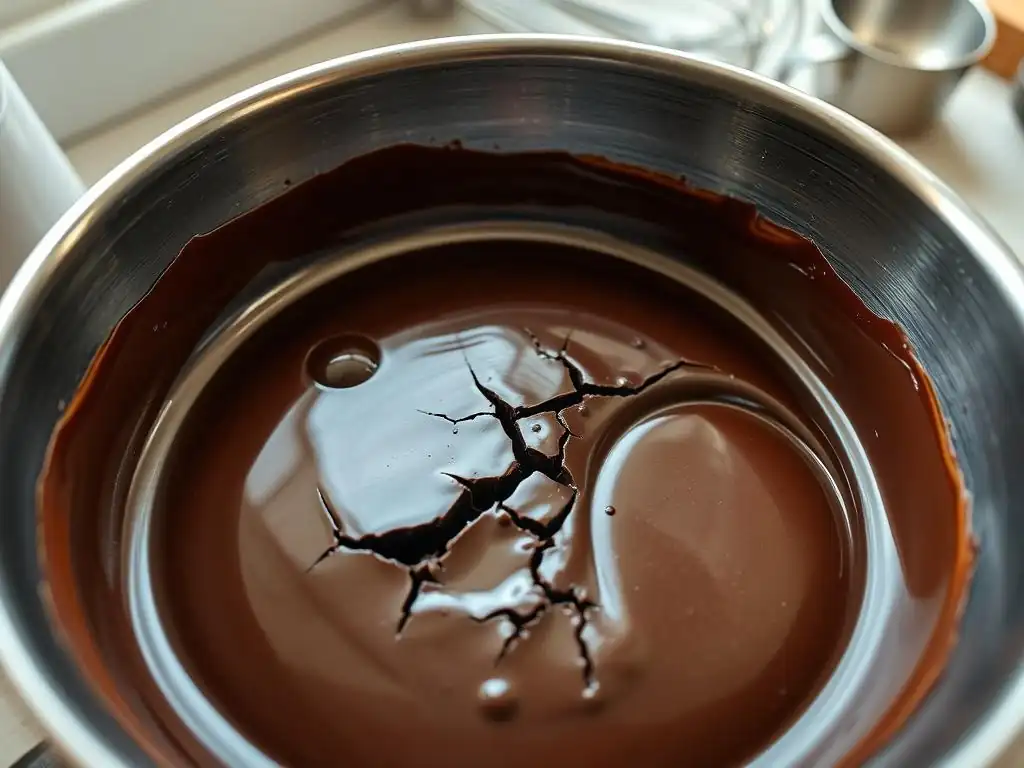
The most frequent culprit behind chocolate seizing is the introduction of water or steam. Even a single drop of water into melted chocolate can be enough to trigger the reaction. This often happens when melting chocolate over a double boiler if the water in the pot boils too vigorously, sending steam into the chocolate bowl. Condensation from a lid or even humidity in the air on a damp day can also be problematic.
Consider melting chocolate in a bowl over simmering water. If the bowl doesn't fit snugly over the pot, steam can escape and rise into the chocolate. Or, if you cover the melting chocolate, condensation can form on the lid and drip down. This seemingly small amount of moisture is more than enough to bind the hydrophilic cocoa solids, causing them to seize almost instantly.
Overheating and Chocolate Texture
While not true seizing in the same way moisture causes it, overheating chocolate can also ruin its texture and make it appear stiff and grainy. Chocolate contains sugar crystals, and if heated too high, these crystals can melt and then recrystallize in a larger, gritty form. Overheating also risks burning the cocoa solids, resulting in a bitter taste and a thick, pasty texture that won't smooth out properly.
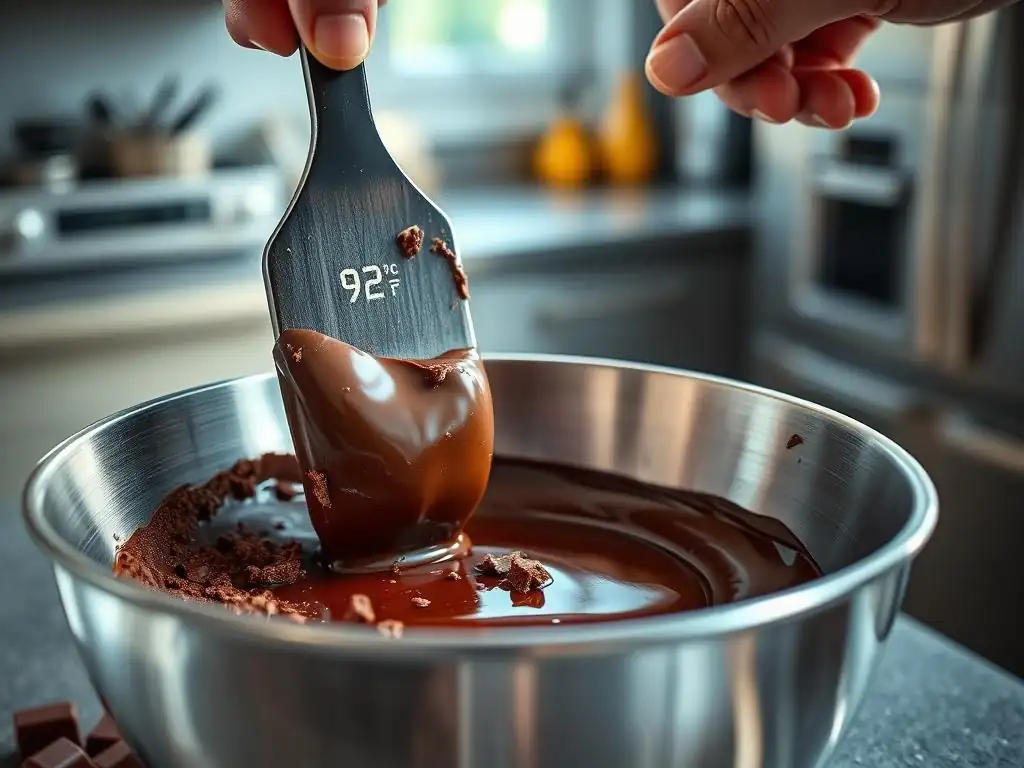
Different types of chocolate melt at different temperatures. Dark chocolate typically melts around 115-120°F (46-49°C), milk chocolate around 105-115°F (40-46°C), and white chocolate around 100-110°F (38-43°C). Exceeding these temperatures significantly, especially in a microwave or over direct heat, can scorch the chocolate or cause the sugar to burn, leading to a texture that is difficult to work with and visually similar to seized chocolate, though the underlying cause is different.
Incorporating Liquids Improperly
Adding liquids like milk, cream, or flavor extracts (like vanilla) to melted chocolate can also cause it to seize if done incorrectly. This is because these liquids contain water. As mentioned earlier, a small amount of water causes clumping. If you add just a few drops of vanilla extract or a splash of cold milk to melted chocolate, the water content can trigger the seizing reaction.
However, if you add enough liquid, like when making ganache with a 1:1 ratio of chocolate to hot cream, the cocoa solids become fully dispersed in the liquid, preventing them from clumping. The key is the amount of liquid relative to the chocolate. Adding a tiny bit is risky and often leads to seizing, while adding a substantial amount and stirring continuously can create a smooth emulsion.
Impact of Chocolate Quality
The quality and type of chocolate you use can influence its susceptibility to seizing, though even high-quality chocolate can seize under the right conditions. Chocolate with a higher percentage of cocoa solids and less sugar is generally more stable when melting. Conversely, chocolate with a higher sugar content or lower cocoa butter content (like some chocolate chips designed to hold their shape when baked) can be more prone to issues like burning or seizing.
Couverture chocolate, which has a higher percentage of cocoa butter, is often easier to melt smoothly and is less likely to seize than compound chocolate (which uses vegetable oil instead of cocoa butter) or standard baking chips. While good technique is paramount, starting with quality chocolate can give you a slight advantage in achieving a perfect melt and reducing the risk of seizing.
Fixing Seized Chocolate
Don't despair if your chocolate seizes! While it might not return to its original, perfect state, there are methods for fixing seized chocolate quickly and making it usable for certain applications, like sauces or brownies. The key is to reintroduce enough liquid or fat to disperse the clumped cocoa solids again.
Immediate Actions for Seized Chocolate
The moment you notice your chocolate seizing – turning thick and grainy – stop heating it immediately. Remove it from the heat source (whether it's a double boiler or microwave). Do not try to stir it aggressively, as this can sometimes make the clumping worse initially. Take a deep breath; while it looks bad, it's often fixable, especially if you act fast.
Assess the texture. Is it just slightly thick and grainy, or has it turned into a solid, crumbly mass? The degree of seizing will affect how successful your chocolate seized fixing quickly attempts will be. For moderate seizing, you might be able to smooth it out with added fat. For severe seizing, adding liquid might be necessary, but it will change the final product's consistency.
Restoring Smoothness with Fat
One of the most effective ways of fixing seized chocolate quickly is by adding more fat. This works because the added fat can help coat the clumped cocoa solids and allow them to separate and flow again. Use a neutral-flavored oil like vegetable oil, canola oil, or melted shortening, or even melted butter (clarified butter works best as it has less water). Start by adding just one teaspoon of fat per cup of seized chocolate.
Gently but firmly stir the mixture. The seized chocolate should begin to loosen and become smoother as you incorporate the fat. Add more fat, one teaspoon at a time, stirring well after each addition, until the chocolate reaches a pourable consistency. Be careful not to add too much, or your chocolate might become greasy. This method is excellent for salvaged chocolate used in baking, like mixing into brownie batter or cookie dough.
Using Hot Liquid Carefully
Another approach for fixing seized chocolate quickly involves adding a hot liquid. This is particularly useful if you plan to use the chocolate in a sauce or ganache, where the final product is meant to be more liquid anyway. The key is to use hot liquid – cold liquid will likely make it seize further. Boiling water, hot milk, or hot cream can work.
Add the hot liquid one tablespoon at a time to the seized chocolate, stirring vigorously and continuously. The hot liquid helps to break apart the clumps of cocoa solids and re-emulsify the mixture. Keep adding and stirring until you achieve a smooth, pourable consistency. A common guideline is about 1-2 tablespoons of hot liquid per cup of seized chocolate, but you may need slightly more or less depending on the severity of the seizing and the type of chocolate. This method is excellent for salvaging chocolate for hot fudge sauce or a thin glaze.
Blending as a Last Resort
If adding fat or hot liquid doesn't fully restore the smoothness, or if you have a large batch of seized chocolate, using an immersion blender or transferring it to a regular blender can sometimes help. Blending provides intense shearing action that can physically break down the clumps of cocoa solids and help them reincorporate into the fat or added liquid.
Carefully transfer the seized chocolate (after attempting to fix with fat or liquid) to a blender or use an immersion blender directly in the bowl. Blend on a low speed initially, gradually increasing if needed, until the mixture appears smoother. Be cautious as hot chocolate can splatter. While this method can improve texture, it might not fully restore the original glossy finish. It's often a last resort for making the chocolate usable in recipes where a perfectly smooth texture isn't absolutely critical, like a rustic chocolate bark or mixing into cake batter.
Preventing Chocolate Seizing
Prevention is always better than cure, especially when it comes to melted chocolate. Mastering the techniques for melting chocolate properly is the best way to avoid the frustration of seizing altogether.
Mastering the Double Boiler Method
The double boiler method is widely considered the safest way to melt chocolate smoothly and prevent seizing from overheating. It involves placing a heatproof bowl containing the chocolate over a pot of simmering (not boiling) water. The indirect heat from the steam gently melts the chocolate without scorching it.
Ensure the bottom of the bowl does not touch the water. The steam is what melts the chocolate. Use a bowl that fits snugly over the pot to prevent steam from escaping and condensing into the chocolate. Chop the chocolate into small, uniform pieces for even melting. Stir occasionally with a dry utensil. Remove the chocolate from the heat source just before it's fully melted; the residual heat will finish the job. Always use dry bowls and utensils.
Microwave Melting Techniques
Melting chocolate in the microwave is faster but requires more attention to prevent overheating and potential seizing. Use a microwave-safe bowl and chop the chocolate into small pieces. Heat on 50% power in short intervals, typically 30 seconds at a time.
Between each interval, remove the bowl and stir the chocolate thoroughly, even if it doesn't look melted. Chocolate holds its shape well even when melted, so stirring is crucial to gauge its consistency and distribute the heat. Stop heating when there are still a few small lumps remaining; stir these until they melt from the residual heat. Avoid high power settings and long heating times, which can easily scorch the chocolate.
Choosing the Right Chocolate
Selecting the appropriate chocolate for your task can significantly impact melting success. High-quality baking chocolate or couverture chocolate (often found in block or callet form) typically contains a higher percentage of cocoa butter, making it melt more smoothly and handle heat better than standard chocolate chips.
Chocolate chips often contain stabilizers to help them maintain their shape during baking, which can make them more challenging to melt into a perfectly smooth liquid. If you're melting chocolate for dipping, coating, or sauces where a silky texture is essential, opt for baking bars or couverture chocolate specifically designed for melting. Always chop or break the chocolate into small, uniform pieces before melting to ensure even heat distribution.
Tempering Chocolate (Brief Explanation)
While not strictly about preventing seizing from moisture or overheating, tempering is a process related to melting chocolate that prevents bloom (those white streaks or spots) and ensures a shiny, snappy finish. Tempering involves melting chocolate to a specific temperature, cooling it while agitating, and then slightly reheating it to stabilize the cocoa butter crystals.
This process results in chocolate that sets hard, is shiny, and has a satisfying snap when broken. It's essential for making molded chocolates, dipped candies, or chocolate decorations. While tempering itself doesn't prevent seizing from water, mastering the controlled heating and cooling steps involved in tempering reinforces good melting practices that minimize the risk of overheating and incorporate fat smoothly.
Troubleshooting Seized Chocolate in Specific Applications
Fixing seized chocolate has different implications depending on what you were trying to make.
Salvaging Seized Chocolate in Ganache
If your chocolate seizes while making ganache (usually by adding liquid that wasn't hot enough or stirring too vigorously initially), you can often fix it by adding more hot liquid. Heat additional cream or milk to just below boiling. Slowly whisk this hot liquid into the seized ganache, one tablespoon at a time, stirring continuously until the mixture becomes smooth and emulsified again.
Alternatively, you can try adding a teaspoon of softened butter or neutral oil to the seized ganache and stirring it in. If the ganache is still grainy after adding liquid or fat, an immersion blender can sometimes help create a smooth emulsion by breaking down the clumps. The goal is to re-emulsify the fat and liquid components.
Fixing Seized Chocolate in Chocolate Sauce
Seized chocolate intended for a liquid sauce can often be salvaged by adding more hot liquid, similar to fixing seized ganache. Heat milk, cream, or even water until very hot, then whisk it into the seized chocolate a tablespoon at a time. Continue adding hot liquid and stirring until the desired sauce consistency is achieved.
Another option is to incorporate the seized chocolate into a base that already contains liquid or fat, like a simple syrup or melted butter, heating and stirring until it smooths out. Since sauces are meant to be liquid, adding enough hot liquid to disperse the cocoa solids is the most direct path to fixing seized chocolate quickly in this context.
Addressing Seized Chocolate in Frosting
If chocolate seizes while being melted to be added to a frosting, or if the frosting itself becomes grainy after adding melted chocolate, it's likely due to temperature differences or moisture. If the melted chocolate seized before adding it to the frosting, try fixing it using the added fat or hot liquid methods mentioned earlier until it's smooth again, then incorporate it while still warm but not hot.
If the frosting seized after adding the chocolate, the issue might be the overall emulsion breaking. Try gently warming the frosting slightly over a double boiler or in short microwave bursts, then whisking vigorously or using an electric mixer to try and bring it back together. Sometimes adding a tablespoon of warm milk or cream can help re-emulsify a grainy frosting.
When to Start Over
Despite your best efforts to fix seized chocolate, sometimes it's beyond repair, or the salvaged texture isn't suitable for your intended use.
Recognizing Unsavable Chocolate
There are times when seized chocolate simply cannot be fully restored to a smooth, usable consistency. If you've tried adding fat and hot liquid, and it remains stubbornly grainy or pasty, it might be time to accept defeat. This can happen if the chocolate was severely overheated and burned, or if a very large amount of moisture was introduced initially.
Consider the application. If you need perfectly smooth chocolate for dipping delicate truffles or making a glossy glaze, severely seized chocolate, even if partially smoothed, might not yield the desired result. However, if you were making brownies, chocolate cake, or a rustic bark, the slightly less-than-perfect texture of salvaged chocolate might be perfectly acceptable.
Lessons Learned
Every baking mishap, including seized chocolate, is an opportunity to learn. Reflect on what might have caused the seizing: was there steam? Was the utensil wet? Was the heat too high? Did you add a cold liquid? Identifying the cause helps prevent it from happening in the future.
Keep notes in your recipes about melting techniques that worked well. Practice melting chocolate using the double boiler or controlled microwave methods. Remember that patience and low, gentle heat are your best friends when melting chocolate. While fixing seized chocolate quickly is a useful skill, preventing it in the first place saves time, ingredients, and frustration, leading to smoother baking experiences.
Frequently Asked Questions
What does it mean when chocolate "seizes"?
Seizing happens when melted chocolate becomes thick, grainy, and stiff. This is usually due to introducing moisture to the melted chocolate, causing the sugar particles to clump together.
What are the most common causes of chocolate seizing?
The most common culprit is water or steam getting into the melted chocolate. Even a tiny amount can trigger the seizing process. Another cause can be trying to melt chocolate that is already past its expiration date.
How can I quickly fix seized chocolate?
The most common method involves adding hot liquid, usually water or milk, a teaspoon at a time, while stirring vigorously. This helps to re-emulsify the chocolate.
Is it possible to prevent chocolate from seizing in the first place?
Yes! The key is to ensure that all your utensils and bowls are completely dry. Also, avoid melting chocolate over direct heat or steam; a double boiler is recommended.
Can I use seized chocolate even after it's fixed?
Yes, often you can! While the texture might be slightly different, fixed chocolate is generally suitable for recipes like brownies, sauces, or ganache, where a smooth texture isn't absolutely critical.
Final Reflection: The Sweet Science of Saving Seized Chocolate
The frustrating experience of seized chocolate is far more common than many realize, impacting not only home bakers but also professional chocolatiers. This seemingly minor culinary mishap can quickly derail a perfectly planned dessert, highlighting the delicate balance required in chocolate work. Understanding the science behind seizing, as explored in this article, empowers us to prevent this problem and swiftly remedy it when it occurs.
The impact of perfectly tempered chocolate extends far beyond mere aesthetics; it speaks to a dedication to quality and a respect for the craft. The smooth, glossy finish and satisfying snap of properly tempered chocolate are sensory experiences that elevate a simple treat to something truly special. As the renowned pastry chef, Jacques Torres, once said, Chocolate is more than just an ingredient; it's an emotion.
This emotion is undeniably diminished when the chocolate seizes, underscoring the importance of mastering this fundamental skill.
Now, armed with the knowledge of why chocolate seizes and how to prevent or fix it, I urge you to embrace the challenge. Don't let the fear of seizing deter you from exploring the world of chocolate making. Experiment with different techniques, learn from your mistakes, and savor the sweet reward of perfectly tempered chocolate. The next time you face a seized batch, remember the solutions outlined here and approach the problem with confidence. The journey to chocolate mastery is a delicious one, and I invite you to embark on it with renewed enthusiasm.
Rediscover Perfectly Smooth Chocolate!
Thanks for diving into the world of chocolate with us! We hope you now feel confident in troubleshooting those pesky seizing issues. Ready to put your newfound knowledge to the test?
- Try our foolproof chocolate melting technique: Follow our step-by-step guide (link to relevant page on bakewithease.com would go here, but is not included as per instructions) and create flawlessly smooth chocolate every time.
- Share your chocolate creations with us! Show off your baking skills and inspire others by posting photos on our community forum (link to relevant page on bakewithease.com would go here, but is not included as per instructions).
- Experiment with different types of chocolate – explore new textures and flavor profiles to elevate your baking game!
What delicious chocolate treat will you be making first?