
Why Your NoKnead Bread is Gummy (And How to Fix It)

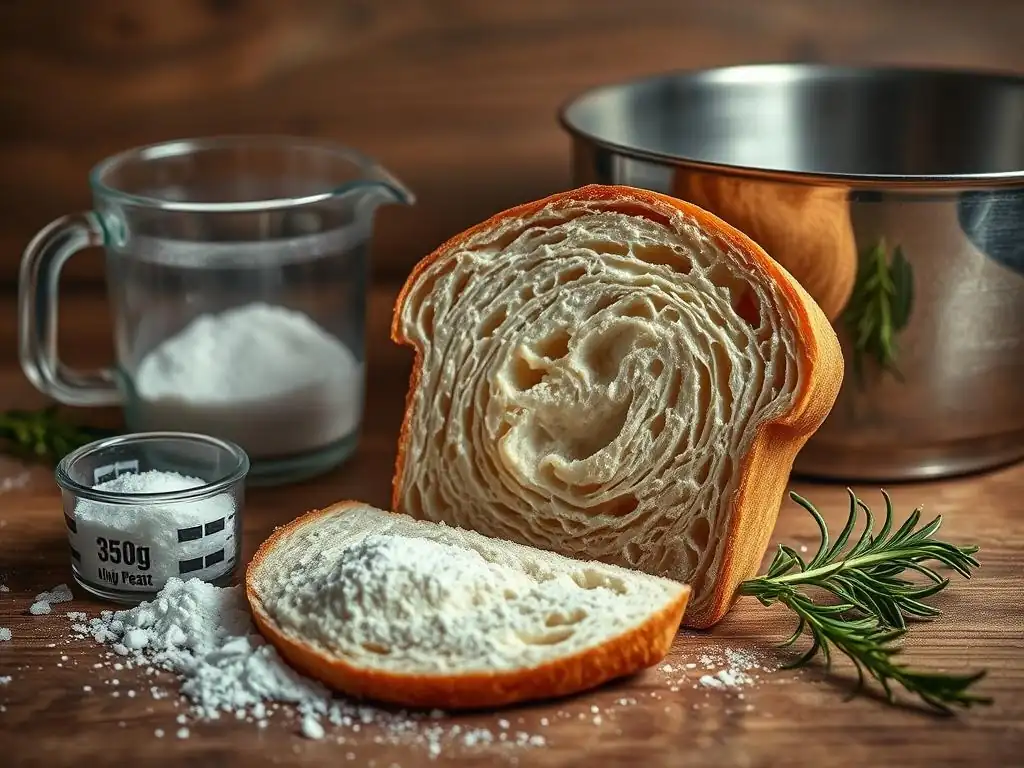
Welcome to BakeWithEase, your haven for all things baking! Ever wondered why your no-knead bread sometimes turns out...less than perfect? We're diving deep into the frustrating world of gummy bread, revealing the common culprits and, more importantly, providing the simple solutions you need to achieve that perfect, airy crumb. Ready to banish gummy bread forever? Let's get baking!
- Why Your Sourdough Bread is Gummy (And How to Fix It) - BakeRight.com
- Understanding Gummy Sourdough Bread: Identifying the Problem
- Common Causes of Gummy Texture in Sourdough Bread
- Fixing Gummy Sourdough Bread: Step-by-Step Solutions
- Preventing Gummy Sourdough Bread: Proactive Tips
- Sourdough Bread Troubleshooting: Other Common Issues & Solutions
- Enjoying Perfectly Baked Sourdough Bread
-
Frequently Asked Questions
- Why is my no-knead bread coming out gummy, even when following the recipe?
- How does hydration level affect the texture of no-knead bread?
- What role does fermentation play in preventing gummy no-knead bread?
- Can the type of flour used contribute to a gummy no-knead bread?
- How can I ensure my no-knead bread is fully cooked without burning the crust?
- Final Reflection: The Quest for the Perfect No-Knead Loaf
- Unlock Perfectly Crusty No-Knead Bread!
Why Your Sourdough Bread is Gummy (And How to Fix It) - BakeRight.com
Understanding Gummy Sourdough Bread: Identifying the Problem
What Does Gummy Bread Texture Actually Mean?
When bakers talk about sourdough bread gummy, they're typically referring to an unpleasant texture in the crumb. It's often dense, sticky, and somewhat translucent, feeling heavy or wet when you bite into it. Unlike a light, airy crumb with distinct holes, a gummy sourdough crumb feels compacted and can sometimes even stick to the roof of your mouth. This texture indicates that something went wrong during the baking process, preventing the starch structure from setting correctly.
This issue goes beyond just being slightly moist. Perfectly baked sourdough should have a resilient, slightly chewy crumb that springs back when gently pressed. A gummy texture, however, lacks this structure and elasticity. It suggests that the internal temperature didn't reach the point necessary for the starches to fully gelatinize and the proteins to coagulate properly, leaving behind a sticky, underdeveloped matrix within the loaf.
Is Your Sourdough Bread Doughy or Gummy? Knowing the Difference
While often used interchangeably, "doughy" and "gummy" can point to slightly different issues, though both result from underbaking. A "doughy" texture usually means the bread simply hasn't cooked through completely. The interior might still resemble raw dough in places, feeling soft and heavy, particularly towards the center. This is a clear sign of insufficient heat penetration or baking time.
A "gummy" texture, on the other hand, can be more nuanced. It's often fully cooked in the sense that it's not raw, but the crumb structure is collapsed, dense, and sticky. This might happen if the bread was underproofed, baked at too low a temperature, or sliced before it had a chance to cool properly. The starches have partially cooked but haven't had time to fully set and dry out slightly, leading to that characteristic sticky, dense, sourdough bread gummy texture. Recognizing the specific type of underdone texture helps pinpoint the exact cause.
Common Causes of Gummy Texture in Sourdough Bread
1. Insufficient Baking Time: The Leading Cause of Gummy Bread
The most frequent culprit behind sourdough bread gummy is simply not baking it long enough. Sourdough loaves are dense and require significant time in a hot oven for heat to penetrate all the way to the center. If you pull the loaf out too early, even if the crust looks beautiful and golden brown, the interior might still be undercooked. The starches inside won't have completed their transformation, and excess moisture remains trapped, resulting in that undesirable sticky, dense crumb.
Think of it like pasta; if you don't boil it long enough, it remains hard and chewy. With sourdough, underbaking leaves the internal structure weak and moisture-laden. A typical large sourdough loaf weighing around 800-1000 grams often requires 40-60 minutes of total baking time, sometimes even longer depending on the oven and dough hydration. Cutting this time short by even 10-15 minutes can make the difference between a perfect crumb and a gummy sourdough disappointment.
Why Longer Baking Time is Crucial for Sourdough Bread
During baking, several critical processes occur that transform raw dough into edible bread. First, the yeast activity increases rapidly before dying off, causing the final rise (oven spring). Then, the heat causes the gluten network to set, giving the bread its structure. Most importantly for texture, starches gelatinize – they absorb moisture and swell – and then water begins to evaporate, solidifying the crumb structure. If the baking time is too short, this final drying and setting phase isn't completed, leaving a high moisture content and a sticky, collapsed structure that feels sourdough bread gummy.
Achieving the correct internal temperature is key. For a fully baked sourdough loaf with a non-gummy texture, the internal temperature should ideally reach between 205°F and 210°F (96°C to 99°C). Using a probe thermometer is the most reliable way to confirm this. Without sufficient time at temperature, the water doesn't evaporate adequately, and the starch structure remains too soft and sticky, contributing significantly to a sourdough bread gummy outcome.
2. Underproofed Dough: Impact on Sourdough Texture
Underproofing, or not allowing the dough enough time to ferment and rise before baking, is another common cause of sourdough bread gummy. During proofing, the sourdough starter produces gases that create the air pockets in the dough, developing the structure that will become the crumb. It also develops flavor and conditions the gluten. If the dough is underproofed, it hasn't developed enough internal gas or strength to hold its shape and expand properly in the oven.
When an underproofed loaf is baked, it often experiences excessive, uncontrolled oven spring because the yeast is still highly active. This rapid expansion can sometimes lead to a dense, uneven crumb, especially near the bottom or center of the loaf. The structure isn't fully developed to support the rise, resulting in areas that collapse slightly, becoming compressed and leading to a sourdough bread gummy texture rather than an open, airy one.
The Relationship Between Proofing and Gummy Bread
Proofing is fundamentally about creating a strong yet flexible gluten network filled with gas bubbles. A well-proofed dough has a balanced structure capable of expanding gracefully in the oven and then setting into a stable crumb. An underproofed dough lacks sufficient gas development and structural integrity. Imagine trying to inflate a balloon that hasn't been stretched enough – it's resistant and might burst unevenly. Similarly, underproofed dough is too tight; it struggles to expand uniformly, leading to dense pockets.
These dense areas within the loaf retain more moisture during baking because heat penetration is less efficient in compressed spots. This trapped moisture doesn't evaporate as readily, leaving those parts of the crumb feeling heavy, sticky, and undeniably sourdough bread gummy. Proper proofing is essential for developing the internal structure that supports a light, airy crumb and allows for even heat distribution during baking.
How to Adjust Proofing Time Based on Temperature
Proofing time is highly dependent on ambient temperature. Sourdough activity is significantly faster in warmer environments and much slower in cooler ones. As a general guideline, dough might proof in 2-4 hours at room temperature (around 70-75°F or 21-24°C), while cold proofing in a refrigerator (around 38-40°F or 3-4°C) can take anywhere from 12 to 48 hours. If your kitchen is cooler than usual, your dough will need substantially more time to reach the correct proofing stage.
Conversely, if your kitchen is warmer, the dough will proof faster. It's crucial to rely less on strict timing and more on the dough's visual cues and feel (like the poke test). For example, dough that takes 4 hours to proof at 70°F might only need 2-3 hours at 80°F (27°C). Failing to adjust for temperature variations often leads to underproofing (or overproofing), both of which can contribute to a sourdough bread gummy texture, though underproofing is a more direct cause of density.
3. Inaccurate Oven Temperature Affecting Bread Baking
Baking sourdough requires a high, consistent temperature, typically between 450°F and 500°F (230°C to 260°C), especially during the initial phase (often in a Dutch oven or with steam) to achieve maximum oven spring and crust development. If your oven temperature is lower than indicated, or fluctuates significantly, it can lead to insufficient heat transfer into the loaf's interior. This results in longer baking times being needed, and if the standard recipe time is followed, the inside will be underbaked.
An oven running cooler than the recipe specifies means the bread isn't receiving the necessary heat energy to fully set the crumb structure and evaporate moisture efficiently. The crust might still brown eventually due to prolonged exposure, but the interior will lag behind in cooking. This differential cooking leads to a higher moisture content in the center and a less developed starch network, manifesting as a sourdough bread gummy texture.
Calibrating Your Oven for Consistent Results
Most home ovens are not perfectly calibrated. They can often be off by 25°F (15°C) or more from the set temperature. This discrepancy can significantly impact baking outcomes, especially for sensitive items like sourdough bread. The best way to ensure your oven temperature is accurate is to use a separate, inexpensive oven thermometer placed inside the oven. Check its reading after the oven has preheated for at least 30-60 minutes to ensure it's stable.
If you find your oven consistently runs hot or cold, you can adjust your baking temperature accordingly (e.g., if it runs 25°F cold, set it 25°F higher) or adjust baking times. Knowing your oven's true temperature is a fundamental step towards consistent baking results and avoiding issues like a sourdough bread gummy crumb caused by inadequate heat.
Recognizing Signs of an Oven Temperature Problem
Beyond using a thermometer, you can often spot signs of an oven temperature issue through observation. If your bread crust is browning very quickly but the loaf isn't expanding much, the oven might be too hot initially. Conversely, if your bread takes an unusually long time to brown and achieve oven spring, the oven might be running too cool. Uneven browning across the loaf can also indicate hot spots or temperature inconsistencies within the oven cavity.
These visual cues are important indicators that your oven might not be providing the consistent, high heat required for proper sourdough baking. When the heat is insufficient or uneven, the interior of the loaf doesn't cook uniformly or thoroughly, increasing the likelihood of developing a sourdough bread gummy texture in certain areas or throughout the loaf.
4. Improper Cooling of Sourdough Bread
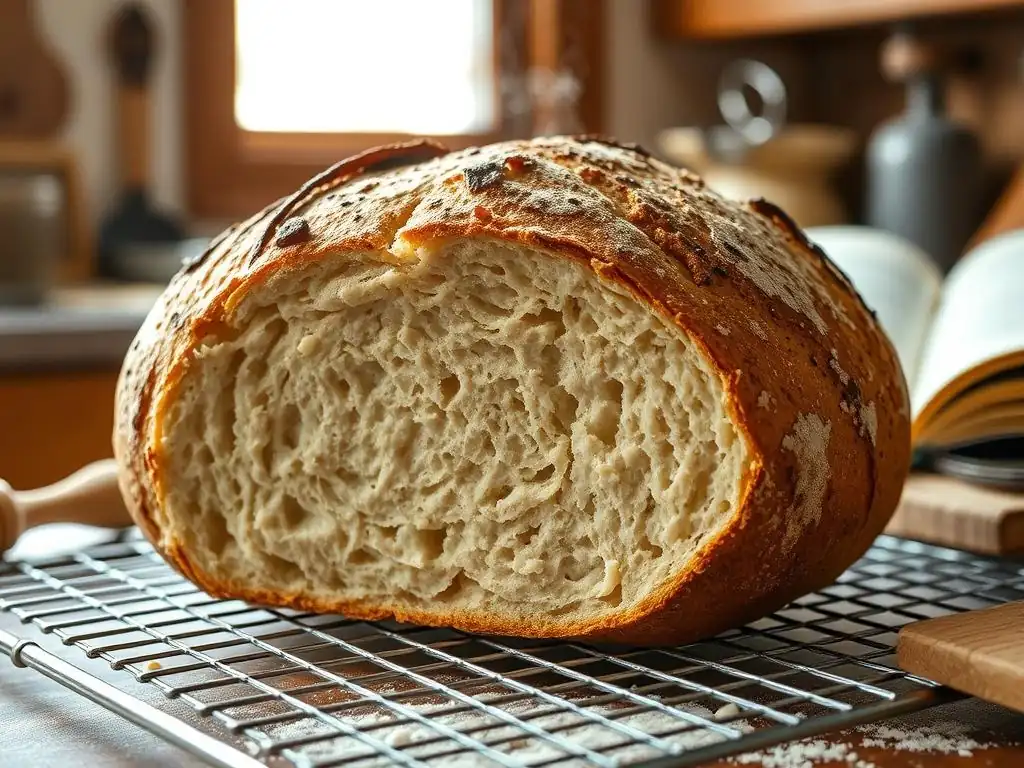
This is a surprisingly common cause of sourdough bread gummy that often gets overlooked. After baking, the bread continues to cook slightly as it cools, and critically, moisture redistributes throughout the loaf. Steam trapped inside the bread migrates outwards. If you slice into a hot loaf, you interrupt this process. The trapped steam escapes rapidly, but the internal structure hasn't fully set, causing the crumb to compress and become dense and sticky.
Think of it like a steak resting after cooking; the juices need time to settle. With bread, the moisture needs time to equalize and the starch structure needs to firm up as it cools. Cutting too early prevents this essential setting process. Even if the bread was perfectly baked, slicing it while hot can instantly turn a potentially open, airy crumb into a compressed, sourdough bread gummy mess because the interior hasn't had a chance to stabilize.
Why Cooling Time Matters for Bread Texture
The internal temperature of a sourdough loaf is still very high when it comes out of the oven, often exceeding 200°F (93°C). As it cools, this residual heat continues to affect the starch molecules, allowing them to finish their transformation and structure. More importantly, moisture, which is predominantly steam inside the hot loaf, slowly migrates from the interior towards the crust. This process is crucial for developing the final crumb texture and preventing it from being excessively wet or sticky.
Allowing the bread to cool completely, typically for at least 2-4 hours for a large loaf, gives this moisture redistribution time to occur. The crumb structure firms up as it cools and loses some internal moisture through evaporation from the crust. Skipping or shortening this cooling period traps steam inside, leading to a higher internal moisture level than is ideal for a set crumb. This trapped moisture is a primary contributor to that undesirable sourdough bread gummy texture.
Best Cooling Practices for Avoiding Gummy Bread
The absolute best way to cool sourdough bread is on a wire rack. A wire rack allows air to circulate around the entire loaf, facilitating even cooling and allowing steam to escape from all sides of the crust. Placing a hot loaf directly on a solid surface, like a counter or cutting board, traps steam on the bottom, making the bottom crust soggy and hindering the overall cooling and moisture release process.
Be patient! It's tempting to slice into a warm, fragrant loaf, but resist the urge. A large sourdough loaf needs a minimum of 2-4 hours to cool completely to room temperature. For very large or high-hydration loaves, it might even benefit from cooling longer. While it might seem counterintuitive, proper cooling is just as vital as baking time for achieving the perfect, non-gummy sourdough crumb.
5. Weak Starter Affecting Sourdough Rise
A healthy, active sourdough starter is the engine that drives the fermentation process and provides the lift for your bread. If your starter is weak or hasn't been fed recently, it may not produce enough carbon dioxide gas or be active enough to properly leaven the dough. A dough made with a weak starter won't rise adequately during bulk fermentation or proofing and will have poor oven spring.
A loaf with insufficient rise lacks the open structure needed for a light crumb. Instead, it will be dense. While a dense loaf isn't automatically gummy, the lack of structure means heat doesn't penetrate as efficiently during baking. This can lead to undercooked areas within the dense crumb, contributing to a sticky, sourdough bread gummy texture, particularly if combined with slightly short baking time or improper cooling.
The Impact of Starter Activity on Bread Texture
A strong starter is crucial for creating the internal architecture of sourdough bread. Its activity produces the gas that expands the dough, forming the bubbles that become the holes in the crumb. A weak starter produces less gas, resulting in a dough that doesn't expand much during proofing. This under-expanded dough goes into the oven already starting from a dense state.
Even with good oven spring, a loaf initiated with a weak starter often results in a tighter, less open crumb structure. This tighter structure holds onto moisture more readily during baking compared to a well-aerated crumb. The less efficient moisture release and less developed internal network contribute significantly to the likelihood of a sourdough bread gummy result.
Maintaining a Strong and Active Sourdough Starter
Keeping your starter vigorous is key to successful sourdough baking. Regularly feeding your starter (daily if kept at room temperature, weekly if refrigerated) with a consistent ratio of flour and water is essential. A common feeding ratio is 1:1:1 (1 part starter: 1 part water: 1 part flour) by weight. Using good quality, unbleached flour also helps.
Look for signs of activity: the starter should double or triple in volume within a few hours of feeding (at room temp), be full of bubbles, and pass the float test (a small dollop floats in water) when it's at its peak. Baking with your starter when it's most active ensures maximum leavening power, promoting a good rise and an open crumb that is less prone to becoming sourdough bread gummy.
If your starter seems sluggish, try feeding it more frequently or keeping it in a warmer spot (like near a warm appliance) for a few days to revive it.
Fixing Gummy Sourdough Bread: Step-by-Step Solutions
Solution 1: Increase Baking Time to Eliminate Gummy Texture
If you suspect underbaking is the cause of your sourdough bread gummy, the simplest fix is to extend the baking time. Don't rely solely on the crust color; the inside needs enough time to cook through. For a standard loaf baked in a Dutch oven, after the initial covered period (e.g., 20-25 minutes), remove the lid and continue baking. If the crust looks good but you suspect the inside isn't done, lower the oven temperature slightly (e.g., to 425-450°F or 220-230°C) to prevent the crust from burning, and bake for an additional 10-20 minutes or even longer.
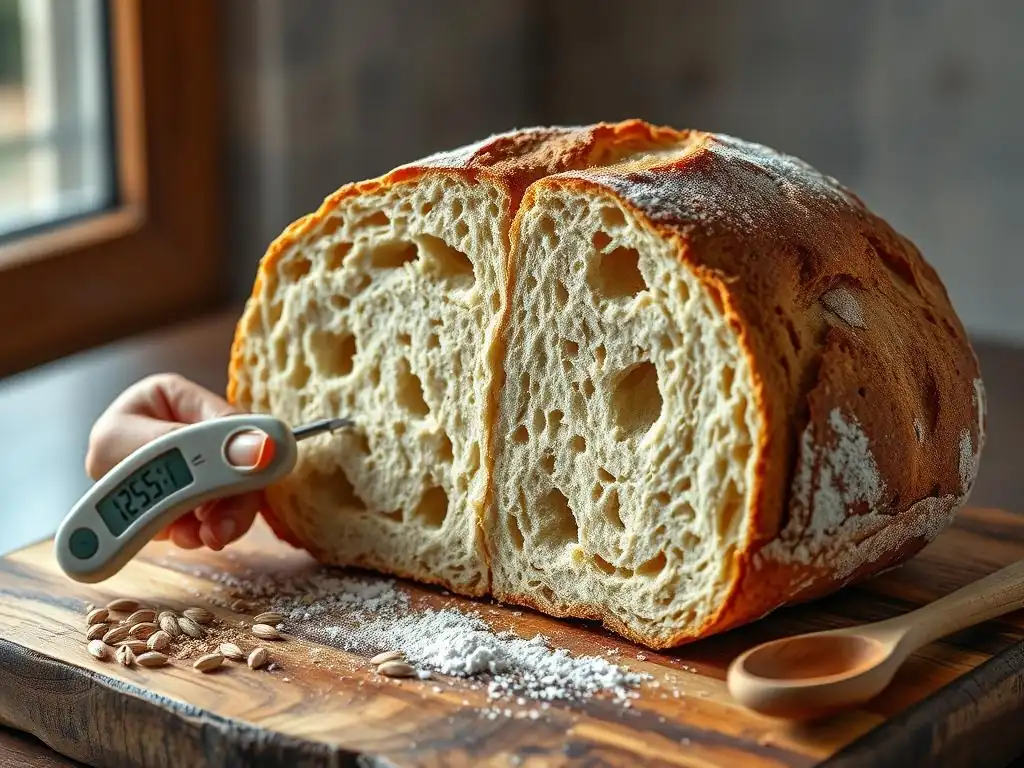
The total baking time for a large loaf is often 40-60 minutes. Using a probe thermometer is highly recommended. Insert it into the center of the loaf from the bottom or side. The internal temperature should register between 205°F and 210°F (96°C to 99°C) for a fully baked, non-gummy sourdough crumb. If it's lower, keep baking, checking the temperature every 5-10 minutes.
How to Determine the Correct Baking Time for Your Loaf
Determining the perfect baking time depends on several factors: the size and shape of your loaf, its hydration level, your oven's accuracy, and your preferred crust color. While recipes offer a starting point, learning to read your bread is crucial. Beyond the internal temperature guideline (205-210°F/96-99°C), a well-baked loaf should sound hollow when tapped firmly on the bottom. The crust should be a deep golden brown, or even dark brown in some areas for a robust flavor and crunchy texture.
Don't be afraid to bake your loaf longer than the recipe states if it doesn't meet these criteria. A few extra minutes can make all the difference in preventing a sourdough bread gummy interior. Keep an eye on the crust; if it's browning too quickly, tent the loaf loosely with aluminum foil to prevent burning while the inside finishes cooking.
Signs Your Sourdough Bread is Properly Baked
There are several reliable indicators that your sourdough bread is baked through and shouldn't be sourdough bread gummy. The most definitive sign is the internal temperature reaching 205-210°F (96-99°C). Visually, the crust should be a rich, deep golden brown, indicating that the Maillard reaction and caramelization have occurred properly, contributing to flavor and structure.
Another traditional test is tapping the bottom of the loaf. A fully baked loaf will produce a resonant, hollow sound. If the tap sounds dull or heavy, it likely means the interior is still dense and potentially undercooked. Trust these indicators over just the appearance of the top crust.
Solution 2: Extend the Proofing Time of Your Dough
If underproofing is contributing to your sourdough bread gummy issue, you need to adjust your proofing strategy. This involves allowing your dough more time to ferment and rise before baking. Pay close attention to the dough itself rather than just the clock. The ideal proofing time is reached when the dough is visibly increased in volume (often 50-90% increase during bulk fermentation, and maybe 20-50% increase during final proof, depending on the method) and shows signs of aeration.
Learn to use the poke test as your primary guide for the final proof. This simple technique helps you assess the dough's readiness accurately, ensuring it's not underproofed (or overproofed), which helps avoid a dense, sourdough bread gummy result. Remember that temperature significantly impacts proofing speed, so adjust your time expectations based on your environment.
Assessing Dough Readiness Through the Poke Test
The poke test is a classic method to determine if your dough is properly proofed and ready for baking. Gently flour your finger and press it about half an inch (1-2 cm) into the surface of the dough. Observe how quickly the indentation springs back.
- If the indentation springs back immediately and completely, the dough is underproofed. It needs more time to develop gas and relax the gluten. Baking now will likely result in a dense loaf and potentially a sourdough bread gummy interior.
- If the indentation springs back very slowly, only partially, or not at all, the dough is likely perfectly proofed or slightly overproofed. This is the stage you want for baking.
- If the indentation stays completely without any spring back, the dough is likely overproofed and may collapse when baked.
Mastering the poke test helps you bake at the optimal proofing stage, leading to better oven spring and a lighter crumb less susceptible to being sourdough bread gummy.
Solution 3: Ensure Accurate Oven Temperature
Confirming your oven's accuracy is a crucial step in preventing sourdough bread gummy bread caused by insufficient heat. Use an oven thermometer to verify the temperature, especially after the oven has preheated for a significant time (30-60 minutes). If your oven consistently runs cold, you'll need to adjust your approach.
You can either set your oven temperature higher to compensate (e.g., if it's 25°F cold, set it 25°F higher) or extend the baking time significantly. Baking in a Dutch oven or using steam in the oven can also help create a more consistent and effective baking environment, promoting better heat transfer and reducing the risk of an undercooked, sourdough bread gummy center.
Using an Oven Thermometer for Precise Baking
An inexpensive oven thermometer is one of the best investments a baker can make for consistency. Place it in the center of your oven rack and check its reading against your oven's display after the oven has been preheating for at least 30 minutes. Note the difference. This discrepancy is crucial information.
Knowing the true temperature allows you to make informed adjustments. If your oven is consistently 30°F (17°C) colder than the dial indicates, you know to set the temperature 30°F higher than the recipe calls for. This ensures the bread receives the correct amount of heat energy needed to fully set the crumb structure and avoid a sourdough bread gummy interior.
Solution 4: Allow the Bread to Cool Completely Before Slicing
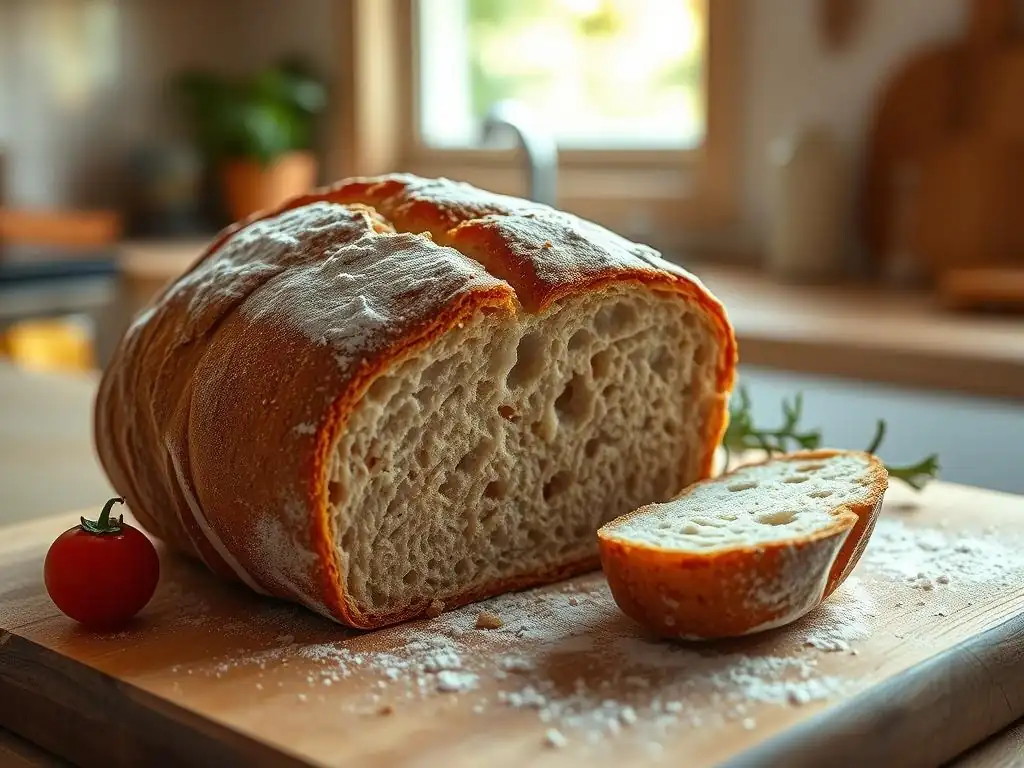
Patience is paramount after the loaf comes out of the oven. To avoid a sourdough bread gummy texture caused by trapped moisture, you must allow the bread to cool completely to room temperature before slicing. This typically takes 2-4 hours for a large loaf.
Resist the temptation to cut into that warm, fragrant loaf. The internal structure is still setting, and moisture is redistributing. Slicing too early releases steam prematurely and compresses the still-soft crumb, making it dense, sticky, and ultimately sourdough bread gummy.
The Importance of a Wire Rack for Cooling
Always cool your baked sourdough loaf on a wire rack. This allows air to circulate freely around the entire loaf, facilitating even cooling and allowing steam to escape efficiently from all sides.
Cooling on a solid surface traps steam underneath the loaf, leading to a soggy bottom crust and hindering the crucial moisture migration process within the crumb. Proper airflow ensures the loaf cools down evenly and allows the internal structure to set properly, preventing the development of a sourdough bread gummy texture.
Solution 5: Strengthen Your Sourdough Starter
If a weak starter is contributing to your sourdough bread gummy loaves, focus on improving its health and activity. Regular feeding is key. If you bake frequently, keeping your starter at room temperature and feeding it once or twice a day (using a ratio like 1:1:1 or 1:2:2 starter:water:flour by weight) will maintain its vigor. If you bake less often, store it in the refrigerator and feed it once a week.
Before baking, revive your refrigerated starter with 2-3 consecutive feedings at room temperature, spaced 8-12 hours apart, until it shows consistent doubling or tripling in volume within a few hours of feeding. Using a strong, active starter ensures proper leavening, resulting in a better rise and a more open crumb structure that is less likely to end up sourdough bread gummy.
Feeding Schedule and Environmental Factors for Starter Health
Maintaining a robust starter depends on a consistent feeding schedule and favorable environmental conditions. For a room-temperature starter (ideal temp 75-80°F or 24-27°C), feeding every 12-24 hours is usually sufficient to keep it active. A common ratio is 50g starter, 100g warm water, and 100g flour (1:2:2). Discarding a portion before feeding helps manage the volume and ensures the starter has enough fresh "food."
If storing in the refrigerator (ideal temp 38-40°F or 3-4°C), feeding once a week is typically enough. Use a larger feeding ratio like 1:3:3 or 1:4:4 to provide enough food for the slower fermentation. Always bring a refrigerated starter to room temperature and give it at least one or two active feedings before using it for baking. The goal is a starter that reliably doubles or triples in volume and is full of bubbles when used at its peak, providing the necessary lift to prevent a dense, sourdough bread gummy loaf.
Preventing Gummy Sourdough Bread: Proactive Tips
Mastering the Sourdough Bread Baking Process for Perfect Texture
Avoiding sourdough bread gummy results consistently comes down to mastering the entire sourdough process, not just one step. It starts with a healthy, active starter and understanding your dough's hydration. Proper mixing develops the gluten network. Adequate bulk fermentation and proofing build the internal structure and gas pockets. Correct shaping provides tension and structure. Finally, baking at the right temperature for sufficient time and allowing complete cooling are non-negotiable steps.
Each stage contributes to the final crumb texture. A strong foundation in mixing and fermentation allows for better oven spring. Effective heat penetration during baking sets that structure. Patient cooling preserves it. Paying attention to the details at every step, from feeding your starter to the final slice, significantly reduces the chances of ending up with a dense, sourdough bread gummy loaf.
The Key to Avoiding Gummy Bread: Patience and Observation
Perhaps the most crucial ingredient in preventing sourdough bread gummy bread is patience. Sourdough is a slow process dictated by microbial activity, not a clock. Rushing any stage – bulk fermentation, proofing, baking, or cooling – can lead to undesirable results. Learn to observe your dough: how it feels, how it looks, how it responds to the poke test.
Patience during proofing allows the necessary structure and gas to develop. Patience during baking ensures the interior cooks fully. Patience during cooling allows the crumb to set properly. Combining this patience with keen observation – watching your starter's activity, noting how your dough feels, checking internal temperature, and listening to the loaf after baking – empowers you to make adjustments as needed and consistently achieve a beautiful, non-gummy sourdough texture.
Troubleshooting Tips for Consistently Perfect Sourdough Bread
Here's a quick checklist to help troubleshoot and prevent future sourdough bread gummy loaves:
- [ ] Check Starter Activity: Is your starter consistently doubling/tripling after feeding? Use it at its peak.
- [ ] Assess Proofing: Is the dough passing the poke test? Does it look significantly increased in volume? Adjust time based on temperature.
- [ ] Verify Oven Temp: Use an oven thermometer. Is your oven running at the correct temperature? Adjust if necessary.
- [ ] Ensure Sufficient Bake Time: Is the internal temperature reaching 205-210°F (96-99°C)? Is the bottom sounding hollow? Bake longer if needed.
- [ ] Allow Full Cooling: Are you waiting 2-4 hours (or more) for the loaf to cool completely on a wire rack before slicing?
- [ ] Consider Dough Hydration: Is your dough very wet? Higher hydration might require longer baking or a slightly lower temperature for a longer duration.
Reviewing these points when you encounter a sourdough bread gummy loaf will help you identify the likely culprit and improve your technique for next time.
Sourdough Bread Troubleshooting: Other Common Issues & Solutions
Dense Crumb, Flat Loaf, Overly Sour Taste
While a sourdough bread gummy texture is frustrating, sourdough bakers encounter other common issues too. A dense crumb, even if not sticky, often points to underproofing or a weak starter – insufficient leavening prevents the open structure from forming. A flat loaf can be caused by overproofing (the structure collapses before or during baking), poor shaping (lack of surface tension), or a weak starter.
An overly sour taste usually indicates a long, slow fermentation, often in the refrigerator. While some sourness is desired, excessive sourness can be reduced by using a more active starter, fermenting for shorter periods at warmer temperatures, or using a higher proportion of fresh flour in your final dough. Understanding the relationship between fermentation time, temperature, and starter activity helps control both crumb structure and flavor, moving you towards consistently excellent sourdough results.
Enjoying Perfectly Baked Sourdough Bread
Serving Suggestions and Storage Tips
Once you've mastered the techniques to avoid sourdough bread gummy and achieved a perfectly baked loaf with a beautiful crumb, it's time to enjoy the fruits of your labor! Perfectly baked sourdough is delicious on its own, toasted with butter, used for sandwiches, or served alongside soups and stews. Its slightly tangy flavor pairs wonderfully with both sweet and savory toppings.
To keep your sourdough bread fresh, store it at room temperature. Avoid refrigerating it, as this can actually make the crumb stale faster. Store it in a paper bag (to keep the crust crisp) or a bread box. For longer storage, slice the cooled loaf and freeze the slices in an airtight bag. To enjoy, simply toast directly from frozen or let them thaw at room temperature. Proper storage ensures you can savor that perfect, non-gummy sourdough texture for days.
Frequently Asked Questions
Why is my no-knead bread coming out gummy, even when following the recipe?
The gummy texture in no-knead bread often stems from undercooking. Ensure the internal temperature reaches at least 200°F (93°C).
How does hydration level affect the texture of no-knead bread?
Too much water in the dough can result in a gummy interior. Try slightly reducing the water content in your recipe for a better texture.
What role does fermentation play in preventing gummy no-knead bread?
Proper fermentation is crucial. Insufficient fermentation can lead to a dense, gummy crumb. Extend the fermentation time or use slightly warmer water.
Can the type of flour used contribute to a gummy no-knead bread?
Yes, using a low-protein flour will create less gluten. Opt for bread flour or all-purpose flour with a higher protein content for better structure.
How can I ensure my no-knead bread is fully cooked without burning the crust?
Lower the oven temperature slightly and extend the baking time. Covering the bread with foil during the last part of baking can help prevent excessive browning while ensuring it cooks through.
Final Reflection: The Quest for the Perfect No-Knead Loaf
The seemingly simple art of no-knead bread making often hides a frustrating truth: gummy loaves. While the allure of effortless bread baking is undeniable, the reality for many is a dense, chewy interior that falls far short of the airy, crusty perfection sought. This article has explored the common culprits behind gummy no-knead bread, offering practical solutions to achieve that coveted light and fluffy texture.
The journey to mastering no-knead bread is a testament to the patience and precision required in baking. It's a process that mirrors life itself – requiring careful attention to detail and a willingness to learn from mistakes. As the renowned baker, Jim Lahey, once said, Baking is a science, but it's also an art. It's about understanding the ingredients and the process, but it's also about intuition and feeling.
This sentiment resonates deeply, as the subtle nuances of hydration, fermentation, and oven temperature can significantly impact the final product. Understanding these factors is key to transforming a gummy disappointment into a delightful, crusty masterpiece.
Now, it's your turn. Take what you've learned here and apply it to your next no-knead bread adventure. Don't be discouraged by a gummy loaf; instead, view it as an opportunity to refine your technique and deepen your understanding of this rewarding process. Experiment with different flours, hydration levels, and baking times. Embrace the journey, and soon, you'll be enjoying the satisfying reward of a perfectly risen, beautifully browned, and delightfully airy no-knead loaf. The perfect crust awaits!
Unlock Perfectly Crusty No-Knead Bread!
Thanks for taking the time to learn about achieving that perfect no-knead bread crust! You now have the knowledge to avoid gummy loaves and bake with confidence. Ready to put your new skills to the test?
- Bake your best loaf yet! Use what you've learned to create a delicious, crusty loaf today. Remember those crucial hydration and baking time adjustments.
- Share your baking triumphs (or challenges)! Let us know how your next loaf turns out – we'd love to see your pictures and hear your feedback.
- Explore more advanced no-knead techniques Dive into our other articles for tips on sourdough starters, shaping techniques and unique flavor combinations.
What unique ingredient will you try in your next no-knead bread experiment?