
Melt Chocolate Like a Pro: Avoid Burning Every Time

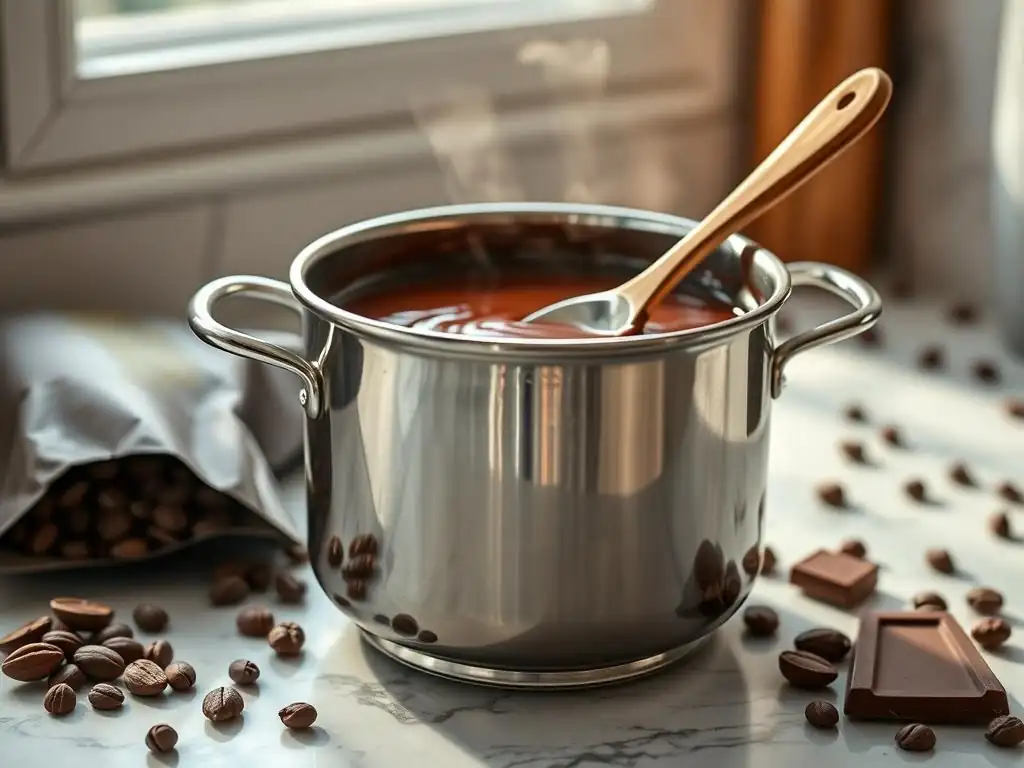
Welcome to BakeWithEase, your haven for baking brilliance! Ever wondered how to achieve that perfectly smooth, glossy chocolate coating without the dreaded burn? This guide cracks the code! Discover the secrets to melting chocolate like a pro and unlock a world of delectable desserts. Intrigued? Let's dive into how to melt chocolate smoothly and elevate your baking game today!
- Introduction: The Importance of Properly Melted Chocolate
- Choosing Your Chocolate: Quality and Type Matter
- Step-by-Step Melting Methods: Double Boiler, Microwave, and Direct Heat
- Troubleshooting: Common Issues and Their Solutions
- Advanced Techniques: Tempering and Flavoring
- Expert Tips for Consistent Results
- Conclusion: Unlock Your Chocolate Potential
- Frequently Asked Questions
- Final Reflection: Mastering the Art of Melting Chocolate
- Unleash Your Inner Chocolatier!
Introduction: The Importance of Properly Melted Chocolate
Why Smooth, Even Chocolate is Essential for Baking and Candy Making
Achieving a perfectly smooth, evenly melted chocolate is not just a matter of aesthetics; it's fundamental to the success of countless baking and confectionery projects. Whether you're dipping strawberries, coating truffles, making ganache for a cake filling, or incorporating it into a delicate mousse, the texture and consistency of your melted chocolate directly impact the final outcome.
Lumpy, grainy, or scorched chocolate can ruin the texture, flavor, and appearance of your creation, turning a potentially delightful treat into a disappointment. A smooth melt ensures the chocolate integrates seamlessly with other ingredients, providing that luxurious mouthfeel that makes chocolate desserts so irresistible.
Furthermore, properly melted chocolate is crucial for applications requiring a specific flow and set, such as chocolate molds or decorative drizzles. If the chocolate is too thick or contains unmelted bits, it won't fill molds properly, leading to imperfect shapes, or it will harden unevenly, resulting in a dull, brittle finish. Mastering how to melt chocolate smoothly is a foundational skill that elevates everything from simple chocolate chip cookies where melted chocolate might be used in a dough component, to complex bonbons requiring precise tempering and coating. This smooth consistency is the first step towards professional-looking and tasting results.
Common Pitfalls in Chocolate Melting and Their Prevention
Melting chocolate might seem simple, but it's surprisingly easy to encounter issues. The most common pitfalls include burning, seizing, and developing a grainy texture. Burning occurs when chocolate is exposed to too much heat, causing the cocoa solids and sugars to scorch. This results in a bitter, acrid taste and an unusable, hardened mass. Seizing, on the other hand, happens when even a tiny amount of water or steam comes into contact with melting chocolate. The sugar crystals in the chocolate instantly clump together, turning the smooth liquid into a thick, pasty, and often grainy mess.
Preventing these issues starts with understanding chocolate's delicate nature. Chocolate contains cocoa butter, which melts at a relatively low temperature, typically between 86°F and 90°F (30°C and 32°C) for milk and white chocolate, and slightly higher for dark chocolate. Exceeding this temperature significantly increases the risk of burning. To avoid seizing, ensure all equipment is completely dry and prevent any steam or water splashes from reaching the chocolate. Using indirect heat methods, like a double boiler or carefully controlled microwave power, are key strategies for learning how to melt chocolate smoothly and avoid these frustrating problems.
Choosing Your Chocolate: Quality and Type Matter
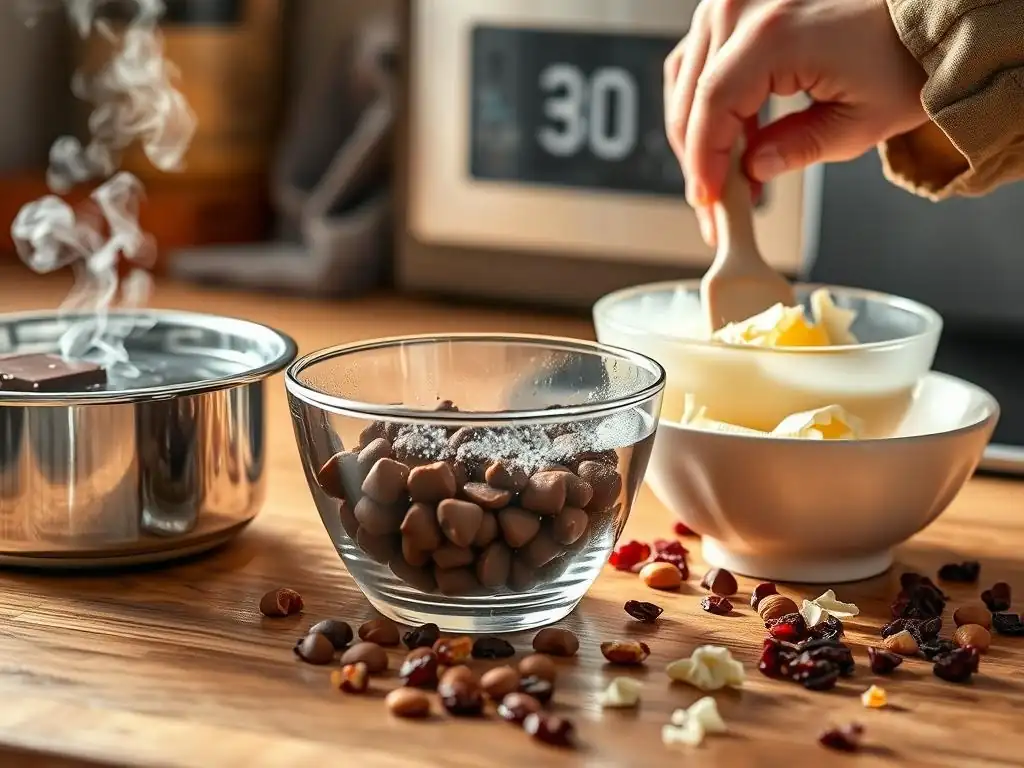
Selecting High-Quality Chocolate for Optimal Melting and Flavor
The quality of the chocolate you choose has a significant impact on both the melting process and the final flavor of your baked goods or confections. High-quality chocolate, often referred to as couverture, contains a higher percentage of cocoa butter compared to compound chocolate or standard baking chips. Cocoa butter is what gives chocolate its luxurious smoothness and allows it to melt evenly and fluidly. Chocolates with less cocoa butter, or those using alternative fats, may melt differently, potentially becoming greasy or not achieving that desired smooth consistency.
Look for chocolate that lists cocoa butter as a primary ingredient. Origin-specific chocolates or those with a higher cocoa percentage (especially dark chocolate) often indicate higher quality. While baking chips are convenient, they often contain stabilizers that help them hold their shape during baking, which can sometimes make them melt less smoothly than chocolate bars or fèves designed for melting. Using chopped high-quality chocolate bars or fèves (small, oval drops) specifically intended for melting and tempering will generally yield the best results when you want to know how to melt chocolate smoothly for dipping or coating.
Understanding the Melting Properties of Different Chocolate Types (Dark, Milk, White)
Different types of chocolate melt at slightly different temperatures and have varying sensitivities to heat. Dark chocolate, with its higher percentage of cocoa solids and typically lower sugar content, melts at the highest temperature, often around 90-95°F (32-35°C). It is generally more forgiving to melt than milk or white chocolate, but still susceptible to burning if overheated.
Milk chocolate contains milk solids and sugar, which lower its melting point, typically to 86-90°F (30-32°C). It's more prone to scorching than dark chocolate due to its sugar content. White chocolate, which contains no cocoa solids but is made from cocoa butter, sugar, and milk solids, has the lowest melting point, often between 82-86°F (28-30°C). White chocolate is the most delicate and easiest to burn or seize, requiring the lowest, most gentle heat and constant attention to successfully how to melt chocolate smoothly. Understanding these differences is crucial for selecting the appropriate melting method and temperature control.
Step-by-Step Melting Methods: Double Boiler, Microwave, and Direct Heat
Method 1: The Double Boiler Method for Gentle Melting
Setting Up a Double Boiler for Even Heat Distribution
The double boiler method is widely considered one of the safest ways to melt chocolate, as it uses indirect heat from steam to gently warm the chocolate. To set up a double boiler, you'll need a saucepan and a heatproof bowl that fits snugly over the top of the saucepan without touching the water at the bottom. A gap of at least an inch (about 2.5 cm) between the bottom of the bowl and the water is ideal.
Fill the saucepan with about one or two inches of water – just enough so it doesn't boil dry, but not so much that it touches the bowl. Bring the water to a bare simmer over low to medium heat.
Place your chopped chocolate or fèves in the dry heatproof bowl. Ensure the bowl and your stirring utensil are completely dry, as even a single drop of water can cause the chocolate to seize. Place the bowl over the simmering water. The steam rising from the water will gently heat the bottom of the bowl, transferring heat to the chocolate within. This gradual, indirect heat is perfect for learning how to melt chocolate smoothly without the risk of scorching, making it ideal for delicate chocolates like white or milk varieties.
Maintaining the Ideal Temperature for Double Boiler Melting
Temperature control is key when using a double boiler. The goal is to melt the chocolate slowly and gently using the residual heat from the steam, not the direct heat of boiling water. Once the water is simmering, reduce the heat to low or even remove the pot from the heat source entirely if your kitchen is warm, relying solely on the steam trapped under the bowl. Stir the chocolate frequently with a dry spatula or spoon. As the chocolate begins to melt, the stirring helps distribute the heat evenly and speeds up the process.
Monitor the chocolate closely. As it melts, remove the bowl from the saucepan just before all the chocolate is completely melted. The residual heat in the bowl and the already-melted chocolate will finish melting the remaining small pieces as you continue to stir. This technique prevents overheating and ensures a silky-smooth finish. For instance, if melting 8 ounces (about 225g) of dark chocolate, it might take 5-8 minutes over a gentle simmer, but you should remove it from the heat once about 80-90% is melted and stir to finish.
Preventing Steam and Condensation from Affecting the Chocolate
The Achilles' heel of the double boiler method is water or steam contamination, which leads to seized chocolate. It is absolutely critical to ensure that no water from the simmering pot or condensation from the steam gets into your chocolate. Choose a bowl that fits snugly over the saucepan to create a good seal and prevent steam from escaping around the edges and condensing into the chocolate.
As you lift the bowl off the saucepan, be mindful of condensation that might have formed on the underside of the bowl. Wipe the bottom of the bowl completely dry with a clean cloth before placing it on a counter or using the melted chocolate. Also, use only dry utensils for stirring. Even a seemingly clean spoon might have residual water if not thoroughly dried. By being meticulous about keeping water away, you guarantee a smooth, flowing melted chocolate, mastering how to melt chocolate smoothly using this classic technique.
Method 2: The Microwave Method for Quick and Easy Melting
Choosing Microwave-Safe Containers and Avoiding Hot Spots
The microwave is a fast and convenient way to melt chocolate, but it requires careful attention to avoid burning. Always use a microwave-safe bowl, preferably glass or ceramic. Plastic bowls can heat up too much and potentially impart off-flavors or melt themselves. The shape of the container can also affect melting; a wide, shallow bowl can sometimes help the chocolate melt more evenly than a deep, narrow one.
Microwaves heat unevenly, creating "hot spots." This is why it's crucial to heat chocolate in short intervals and stir frequently. For example, when melting 4 ounces (about 115g) of chocolate, start with 30-second intervals.
For larger quantities, say 8-12 ounces (225-340g), you might start with 60 seconds, but subsequent intervals should be much shorter, typically 15-20 seconds. After each interval, remove the bowl and stir the chocolate thoroughly, even if it doesn't look melted. This redistributes the chocolate and helps melt the pieces that haven't been hit directly by the microwaves, preventing some areas from overheating while others remain solid.
Precise Microwave Timing and Power Level Recommendations
Precise timing and a reduced power level are essential for successfully melting chocolate in the microwave. Heating on full power is a common mistake that leads to burning. It's best to use medium power (around 50%) or even low power (30-40%), especially when you're getting close to the chocolate being fully melted or working with delicate white or milk chocolate.
Start with a longer interval (e.g., 30-60 seconds on 50% power depending on quantity), then switch to much shorter intervals (15-20 seconds, or even 10 seconds for the final stages) with thorough stirring in between. For instance, melting 6 ounces (about 170g) of milk chocolate might take a total of 2-4 minutes, but broken down into 5-10 short bursts of 15-30 seconds each, interspersed with stirring. The chocolate will often retain its shape even when it's mostly melted, so stirring is key to revealing its true consistency.
Stop heating when there are still a few small lumps remaining and rely on stirring to finish the job with residual heat. This meticulous approach is how to melt chocolate smoothly and safely in the microwave.
Proper Stirring Techniques for Uniform Melting and Preventing Burning
Stirring is arguably the most critical step when melting chocolate in the microwave. After each heating interval, remove the bowl from the microwave and stir the chocolate vigorously with a rubber spatula or spoon. Don't just poke at it; really work through the chocolate, bringing the warmer edges into the cooler center and breaking up any clumps.
Even if the chocolate appears mostly solid after a short burst, stirring helps distribute the heat that has penetrated the chocolate and allows the cocoa butter crystals to melt more evenly. Continue this process of short bursts of heat followed by thorough stirring until the chocolate is completely smooth and glossy. The chocolate will continue to melt as you stir it outside the microwave due to the heat it has absorbed. Stopping just shy of fully melted and relying on residual heat and stirring is the secret to preventing that final, fatal overheating that leads to burning.
Method 3: Direct Heat Melting: When and How to Use It
Selecting the Right Pan and Heat Source
Melting chocolate directly in a saucepan over a burner is the riskiest method and generally not recommended for beginners or for larger quantities, as it's very easy to burn the chocolate. However, it can be used successfully for very small amounts or when making recipes like simple chocolate sauces where other ingredients are added quickly. If you must use direct heat, choose a heavy-bottomed saucepan. Heavy-bottomed pans distribute heat more evenly than thin ones, reducing the chance of hot spots that can scorch the chocolate.
Use the lowest possible heat setting on your stovetop. Electric burners often retain heat, so even the "low" setting might be too hot; consider using a heat diffuser if you have one. Gas burners can offer more precise control, but the flame must be kept very low. Ensure the pan is completely dry before adding the chocolate.
Maintaining Low and Consistent Heat
The key to melting chocolate directly over heat without burning is maintaining an extremely low and consistent temperature. Add your finely chopped chocolate to the dry saucepan. Place the pan over the absolute lowest heat setting. Stir the chocolate constantly and gently with a heatproof spatula or wooden spoon. Never walk away from the pan, even for a moment.
As soon as the chocolate starts to melt around the edges, remove the pan from the heat entirely and continue stirring. The residual heat in the pan and the melted chocolate should be enough to finish melting the remaining pieces. If needed, you can return the pan to the very low heat for just a few seconds at a time, stirring constantly off the heat in between. This on-again, off-again approach minimizes direct exposure to the heat source, drastically reducing the risk of burning and helping you how to melt chocolate smoothly even with this challenging method.
Troubleshooting: Common Issues and Their Solutions
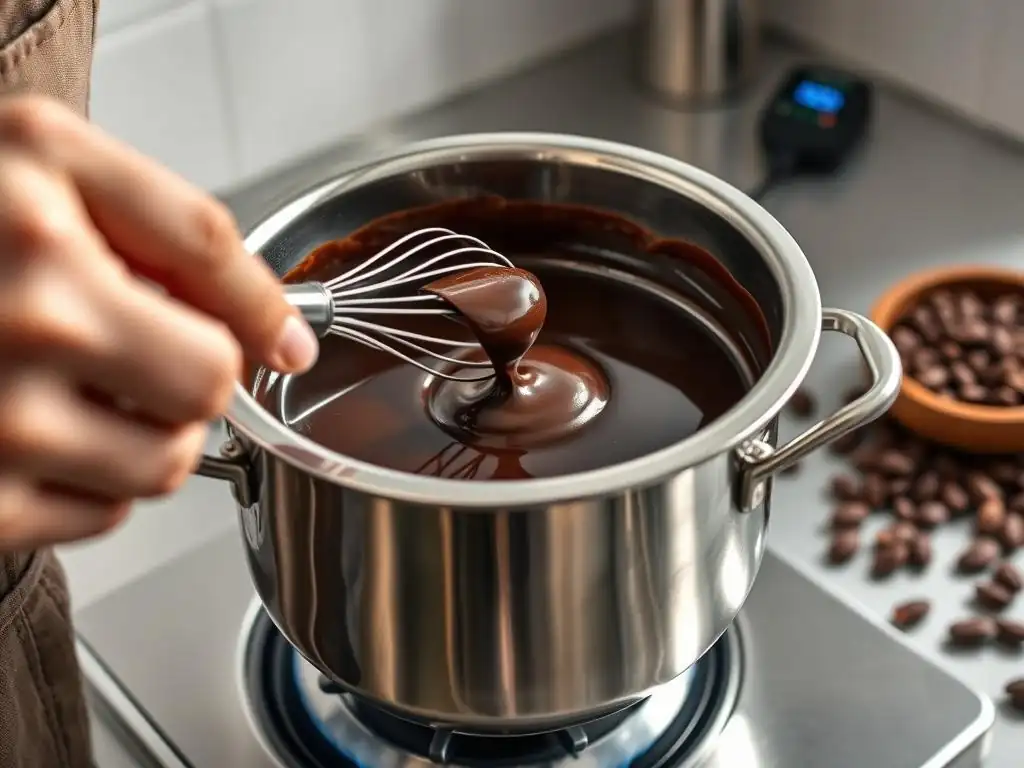
Rescuing Seized Chocolate: Techniques for Restoration
Seized chocolate is a common and frustrating problem, where the smooth liquid turns into a thick, lumpy paste due to contact with water or overheating. While fully restoring seized chocolate to its original state for all applications (like tempering) is difficult, you can often rescue it for use in ganaches, sauces, or baking. The most common technique involves adding a small amount of hot liquid fat.
Carefully stir in a teaspoon of a neutral oil (like vegetable or canola) or melted shortening per ounce (about 30g) of seized chocolate. Use hot liquid (around 140-160°F or 60-70°C) like hot cream, milk, or even hot water, adding just a tablespoon at a time while stirring vigorously. For example, for 4 ounces of seized chocolate, you might start with 4 teaspoons of oil or 1-2 tablespoons of hot cream.
The added fat or liquid helps break up the sugar crystals that have clumped together. Continue adding and stirring until the mixture becomes a smooth, pourable consistency again. Be aware that the flavor and texture will be slightly different, and it won't set up properly for dipping or molding, but it can be perfectly fine for brownies, cakes, or hot fudge sauce.
Preventing Chocolate Burning and Overheating
Preventing chocolate from burning is far easier than dealing with the aftermath. The absolute best way to prevent burning is to use gentle, indirect heat and avoid rushing the process. The double boiler method is inherently safer than direct heat. When using the microwave, always use medium or low power and heat in very short intervals, stirring thoroughly after each one.
Crucially, stop heating the chocolate when there are still a few small pieces or lumps visible. The heat already absorbed by the chocolate is usually sufficient to melt these remaining bits as you continue to stir it off the heat source. For instance, if you're melting 10 ounces (about 280g) of dark chocolate, remove it from the heat or microwave when about 95% is melted.
Continuous stirring will melt the rest within 30-60 seconds. Monitoring the temperature with an instant-read thermometer can also be helpful; aim to keep dark chocolate below 115°F (46°C), milk chocolate below 105°F (40°C), and white chocolate below 100°F (38°C) during melting.
Achieving a Smooth, Glossy Finish and Avoiding Graininess
A smooth, glossy finish is the hallmark of properly melted chocolate. Graininess can result from seizing (due to water contamination) or from not melting the chocolate completely, leaving behind tiny sugar or cocoa solid particles. To ensure a smooth texture, always use completely dry equipment when melting. Avoid high heat, which can cause the cocoa butter and cocoa solids to separate slightly or sugar to crystallize.
Stirring is essential for achieving glossiness and smoothness. Constant stirring helps distribute the heat evenly, ensures all solid pieces melt, and aligns the cocoa butter crystals, contributing to a shiny appearance. If you're melting a large quantity, consider using an immersion blender or a whisk after melting to ensure ultimate smoothness, especially for ganache. For the ultimate in gloss and snap when the chocolate cools, tempering is required, but simply knowing how to melt chocolate smoothly without burning or seizing is the first critical step.
Advanced Techniques: Tempering and Flavoring
Tempering Chocolate for Shine, Snap, and Stability
Tempering is a process of carefully melting and cooling chocolate to specific temperatures to stabilize the cocoa butter crystals. This results in chocolate that hardens with a beautiful glossy shine, a firm "snap" when broken, and resistance to melting at room temperature (preventing bloom, the grayish streaks that can appear on untempered chocolate). It's essential for making professional-looking molded chocolates, dipped candies, and chocolate decorations.
The most common method is the "seeding" method. First, melt about two-thirds of your chopped chocolate gently using a double boiler or careful microwave technique, bringing it up to its initial melting temperature (e.g., 115-120°F / 46-49°C for dark chocolate). Remove from heat and add the remaining one-third of unmelted chopped chocolate (the "seed" chocolate). Stir constantly until the seed chocolate melts and the temperature drops to the correct working temperature (e.g., 88-91°F / 31-33°C for dark, 86-88°F / 30-31°C for milk/white). This cooling with seed chocolate encourages the formation of stable cocoa butter crystals.
Incorporating Flavors and Extracts into Melted Chocolate
Melted chocolate is a fantastic base for adding other flavors, but it's crucial to do so correctly to avoid seizing or altering the texture negatively. Oil-based flavors and extracts are generally the safest to add directly to melted chocolate, as water-based ingredients can cause seizing. Examples include pure vanilla extract (use sparingly as some contain alcohol, which can cause thickening), citrus oils, or nut extracts. Add these after the chocolate is fully melted and smooth, stirring them in gently.
If a recipe calls for adding a liquid flavoring like a liqueur, coffee, or fruit puree, it's best to incorporate it into a ganache or sauce rather than directly into plain melted chocolate. For instance, to add raspberry flavor, you might make a raspberry puree reduction and whisk it into warm cream before pouring the cream over chopped chocolate to make a ganache. When making ganache, the high ratio of liquid (cream) to chocolate prevents seizing. Always add liquid flavorings when the melted chocolate is warm, around 90-100°F (32-38°C), and stir until fully combined.
Using Melted Chocolate in Various Applications: Ganache, Dipping, Decoration
Mastering how to melt chocolate smoothly opens up a world of culinary possibilities. Perfectly melted chocolate is the foundation for many classic confections. Ganache, a simple yet versatile mixture of melted chocolate and hot cream, is used for fillings, frostings, truffles, and glazes. The ratio of chocolate to cream determines its consistency, from pourable glaze (1:1 ratio by weight) to firm truffle filling (2:1 or 3:1 ratio).
For dipping fruits, cookies, or candies, smooth, tempered chocolate provides a hard, shiny coating that sets quickly. Untempered melted chocolate can also be used for dipping, but it will set softer and may develop bloom. Melted chocolate is also essential for decorative elements like drizzles, chocolate curls, or piped designs. For these applications, the chocolate needs to be fluid enough to work with but not so hot that it becomes difficult to handle. A working temperature just above its melting point, or the correct tempering temperature, is ideal.
Expert Tips for Consistent Results
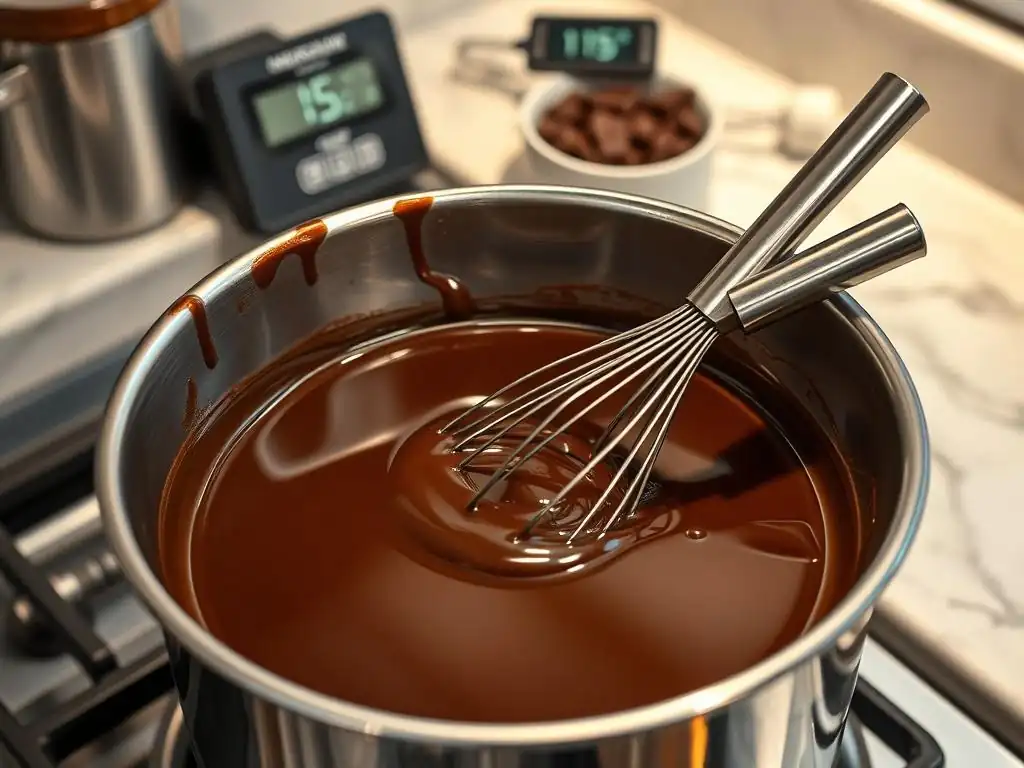
Monitoring and Adjusting Temperature Throughout the Process
Consistent, reliable results when melting chocolate hinge on temperature control. Using a thermometer is highly recommended, especially when you're learning or working with larger quantities or delicate chocolate types. As mentioned, aim to keep temperatures below the scorching point: dark chocolate below 115°F (46°C), milk below 105°F (40°C), and white below 100°F (38°C).
During melting, particularly with a double boiler, you might need to remove the bowl from the heat periodically to prevent overheating, especially as the chocolate gets close to being fully melted. With the microwave, the adjustment is in the duration and power level of your heating intervals. If your chocolate starts to feel too warm or looks like it's clumping, immediately remove it from the heat source and stir continuously to cool it down slightly using air circulation. This constant monitoring and willingness to adjust are key to how to melt chocolate smoothly every time.
Essential Tools and Equipment for Chocolate Melting
Having the right tools makes the process of melting chocolate much easier and helps ensure success. A good quality heatproof rubber spatula is indispensable for stirring, scraping down the sides of the bowl, and ensuring even melting. Its flexibility allows you to get every last bit of chocolate.
For the double boiler method, you'll need a appropriately sized saucepan and a heatproof bowl that fits snugly over it without touching the water. For the microwave method, a set of microwave-safe glass or ceramic bowls in various sizes is helpful. An instant-read thermometer or a chocolate thermometer is highly recommended for accurate temperature monitoring, especially if you plan to temper chocolate. Weighing your chocolate using a digital kitchen scale is also much more accurate than using volume measurements (like cups) and is standard practice for consistent results in baking and confectionery.
Proper Storage of Melted Chocolate
Once chocolate is melted, its storage depends entirely on whether it was tempered or not, and how you plan to use it. Untempered melted chocolate will remain liquid or semi-liquid at room temperature if kept warm (e.g., in a warm water bath or on a warming pad). If allowed to cool, it will solidify but will be soft and prone to bloom. This is fine if you're using it immediately in a recipe like a cake batter or ganache, but if you need it to set firm and shiny, it must be tempered first.
Tempered chocolate, once melted and used for dipping or molding, should be allowed to set at cool room temperature (around 65-70°F or 18-21°C) away from humidity. Do not refrigerate tempered chocolate unless absolutely necessary, as condensation can form and cause sugar bloom. If you have leftover melted and tempered chocolate, you can let it solidify at room temperature, then chop it up and re-temper it later. Untempered melted chocolate that has cooled and solidified can also be re-melted using the same gentle methods, but it still won't have the desirable snap and shine until it is properly tempered.
Conclusion: Unlock Your Chocolate Potential
Summary of Key Techniques for Successful Chocolate Melting
Melting chocolate successfully is a fundamental skill that unlocks a world of delicious baking and confectionery creations. The most reliable methods involve gentle, indirect heat sources like a double boiler or controlled microwave power, always using short intervals and frequent stirring. Selecting high-quality chocolate with good cocoa butter content is also crucial for a smooth melt.
Remember the key principles: always use completely dry equipment to prevent seizing, keep the heat low and gentle to avoid burning, and stop heating just before the chocolate is fully melted, relying on residual heat and stirring to finish. Understanding the different melting points of dark, milk, and white chocolate allows you to adjust your approach accordingly, treating delicate white chocolate with the most care.
Enhance Your Baking and Confectionery Skills with Perfectly Melted Chocolate
Mastering how to melt chocolate smoothly is a game-changer for your baking repertoire. No more grainy ganaches or dull, bloomed chocolate coatings. With practice, you'll consistently achieve that silky, luxurious texture that elevates everything from simple chocolate sauces to intricate molded candies.
Experiment with different types of chocolate and practice the various melting methods to find what works best for you and your kitchen setup. As you gain confidence, you can explore advanced techniques like tempering to create professional-quality confections with beautiful shine and snap. By focusing on careful technique and quality ingredients, you can confidently how to melt chocolate smoothly every time and take your chocolate creations to the next level.
Frequently Asked Questions
How does the double boiler method help melt chocolate smoothly?
The double boiler provides indirect heat, preventing the chocolate from burning. This gentle heating ensures smooth, even melting, crucial for many recipes.
What type of chocolate works best when melting?
Good quality chocolate with a high cocoa butter content melts most smoothly. Avoid chocolate chips, as they often contain stabilizers that hinder proper melting.
Can I melt chocolate in the microwave?
Yes, but use low power levels and stir frequently in short intervals (15-30 seconds). This prevents overheating and ensures even melting without burning.
What should I do if my melted chocolate seizes up?
Seizing usually happens when even a tiny amount of water enters the chocolate. Sometimes, adding a small amount of vegetable oil or shortening can help to restore it.
How can I keep my melted chocolate warm while I'm working with it?
Place the bowl of melted chocolate over a warm (not hot) water bath. Stir occasionally to maintain even temperature and prevent it from solidifying.
Final Reflection: Mastering the Art of Melting Chocolate
In a world where culinary skills can elevate our everyday experiences, knowing how to melt chocolate smoothly is not just a technique—it's a gateway to creativity and indulgence. The ability to melt chocolate without burning it transforms not only our desserts but also our confidence in the kitchen. As we embrace the art of melting chocolate, we unlock a world of possibilities, from decadent truffles to luscious ganaches, enhancing our culinary repertoire and delighting those we share our creations with.
Cooking is an expression of love, and mastering the technique of melting chocolate has a profound impact on our culinary culture. The joy of creating something beautiful and delicious resonates deeply with both the cook and those who enjoy the final product. As we perfect this skill, we contribute to a tradition that celebrates craftsmanship and creativity in the kitchen. Cooking is like love. It should be entered into with abandon or not at all.
– Harriet Van Horne. This sentiment encapsulates the essence of melting chocolate; it’s about embracing the process and allowing our passion to shine through.
As you reflect on the lessons shared in this article, I invite you to take action in your own kitchen. Experiment with different melting methods, explore new recipes, and share your chocolate creations with others. Let the simple act of melting chocolate become a joyful ritual that inspires creativity and connection. Remember, every time you melt chocolate smoothly, you’re not just making a treat; you’re crafting memories and experiences that will linger long after the last bite. So, go ahead—melt chocolate like a pro and savor the sweet rewards!
Unleash Your Inner Chocolatier!
Thanks for joining us on this delicious journey into the world of chocolate melting! We hope you've gained some valuable tips and tricks to avoid those dreaded burnt chocolate disasters. Now it's time to put your new knowledge into practice!
- Master the perfect melt: Try out the techniques we discussed – using a double boiler or microwave – and see which works best for you. Experiment with different types of chocolate and note your results! This is your chance to become a true chocolate melting expert.
- Share your chocolate creations: Tag us on social media and show off your perfectly melted masterpieces! Let's inspire each other with delicious results.
- Dive deeper into chocolate: Explore other recipes on BakeWithEase.com featuring delicious chocolate treats.
Ready to create your next chocolate masterpiece? What innovative chocolate recipe will you try first?