
Pressure Cooker Caramel Sauce: Speedy Method for LastMinute Desserts

Welcome to BakeWithEase, your kitchen companion for all things delicious! Ever dreamt of decadent caramel without the hours of stirring? Discover the secret to velvety smooth, easy pressure cooker caramel sauce – a baking game-changer perfect for those last-minute dessert cravings. Intrigued? Let's unlock the magic of pressure cooking and transform your desserts today!
- Pressure Cooker Dulce de Leche: Speedy Method for Last-Minute Desserts
- BakeWithEase.com Presents: The Easiest Pressure Cooker Dulce de Leche Recipe
-
Mastering Easy Pressure Cooker Dulce de Leche: A Step-by-Step Guide
- Ingredients for Perfect Pressure Cooker Dulce de Leche
- Essential Equipment for Pressure Cooking Dulce de Leche
- Step 1: Preparing the Cans for Pressure Cooking
- Step 2: Submerging the Cans in the Pressure Cooker
- Step 3: Pressure Cooking the Dulce de Leche for a Smooth Texture
- Step 4: Safely Releasing the Pressure and Cooling the Dulce de Leche
- Troubleshooting Common Pressure Cooker Dulce de Leche Problems
- Flavor Variations for Your Pressure Cooker Dulce de Leche
- Using Your Homemade Pressure Cooker Dulce de Leche
- Storing Your Easy Homemade Dulce de Leche
- Pressure Cooker Dulce de Leche: A Quick Recap for Perfect Results
-
Frequently Asked Questions
- What makes pressure cooker caramel sauce "easy" compared to traditional methods?
- What types of pressure cookers are suitable for making this caramel sauce?
- Can I use different types of sugar besides granulated white sugar?
- How do I store pressure cooker caramel sauce, and how long does it last?
- What are some suggested uses for pressure cooker caramel sauce?
- Final Reflection: The Sweetness of Simplicity in a Pressure Cooker
- Unlock the Sweetness: Make Caramel Magic Today!
Pressure Cooker Dulce de Leche: Speedy Method for Last-Minute Desserts
BakeWithEase.com Presents: The Easiest Pressure Cooker Dulce de Leche Recipe
Why Pressure Cooker Dulce de Leche is a Baking Game Changer
Making traditional dulce de leche on the stovetop is a labor of love, often requiring hours of simmering and constant stirring to prevent scorching. This slow, gentle cooking process gradually caramelizes the milk sugars, yielding that signature rich, thick, and spreadable consistency. While the results are undeniably delicious, the time commitment—typically 2 to 4 hours of attentive simmering—makes it impractical for spontaneous baking projects or last-minute dessert needs. This is where the pressure cooker method shines, drastically cutting down the required time while delivering a similarly beautiful and versatile product.
The brilliance of crafting easy pressure cooker caramel sauce, or dulce de leche, lies in its efficiency under high pressure. By sealing the condensed milk cans within a pressure cooker and applying high heat, the caramelization process is accelerated significantly. Instead of hours, you're looking at cook times that can range from as little as 30 minutes for a lighter hue to around 60 minutes for a deep, dark caramel, plus depressurizing and cooling time.
This makes it an incredibly convenient hack for bakers who need a batch ready quickly for fillings, toppings, or mixing into batters. The controlled environment also reduces the risk of scorching compared to open-pot methods, offering a more hands-off experience once the pressure is reached.
Mastering Easy Pressure Cooker Dulce de Leche: A Step-by-Step Guide
Ingredients for Perfect Pressure Cooker Dulce de Leche
The beauty of this incredibly easy pressure cooker caramel sauce recipe is its simplicity. You only need one core ingredient:
- Sweetened Condensed Milk: Look for standard cans of sweetened condensed milk. The number of cans you use depends on your pressure cooker's capacity and how much dulce de leche you need. A typical batch might involve 1 to 3 cans. Ensure the cans are not dented or damaged, as this could compromise safety during the high-pressure cooking process.
That's it! Just the condensed milk and water for the pressure cooker bath. This minimal ingredient list makes it a pantry staple recipe, ready to be whipped up whenever a caramel craving strikes or a recipe calls for this delightful treat.
Essential Equipment for Pressure Cooking Dulce de Leche
To successfully make easy pressure cooker caramel sauce, you'll need a few key pieces of equipment:
- A Pressure Cooker: This can be either a stovetop or an electric model (like an Instant Pot). Ensure it's large enough to comfortably hold the number of condensed milk cans you plan to cook, with adequate space around them and sufficient height for water coverage. Most 6-quart or larger pressure cookers can easily accommodate 2-3 standard 14-ounce cans.
- Trivet or Rack: Most pressure cookers come with a metal trivet or rack that sits at the bottom. This is essential for keeping the cans elevated off the bottom of the pot, preventing direct contact with the heat source and promoting even cooking. If your cooker didn't come with one, a steamer basket or even metal canning rings can sometimes serve a similar purpose, ensuring there's a gap between the cans and the cooker's base.
- Tongs or Heat-Resistant Gloves: You will need a safe way to handle the hot cans after cooking and cooling. Long-handled tongs or sturdy, heat-resistant oven mitts are crucial for safely removing the cans from the hot water bath.
Having these items ready before you begin will ensure a smooth and safe process for making your easy pressure cooker caramel sauce. Safety is paramount when working with pressure cookers and hot liquids.
Step 1: Preparing the Cans for Pressure Cooking
Before placing the cans of sweetened condensed milk into the pressure cooker, proper preparation is vital for both safety and cleanliness. Begin by completely removing all labels from the cans. Paper labels can disintegrate during cooking, potentially clogging the pressure valve or making a mess inside the cooker. Once the labels are off, thoroughly wash the exterior of the cans to remove any adhesive residue or lingering paper bits.
Next, inspect each can carefully. Check for any dents, bulges, or signs of damage. Only use cans that are in perfect condition. While rare, a compromised can could potentially fail under pressure. This simple inspection step adds an extra layer of safety to your easy pressure cooker caramel sauce process. Ensure the pull-tab or seam is intact and looks normal before proceeding.
Step 2: Submerging the Cans in the Pressure Cooker
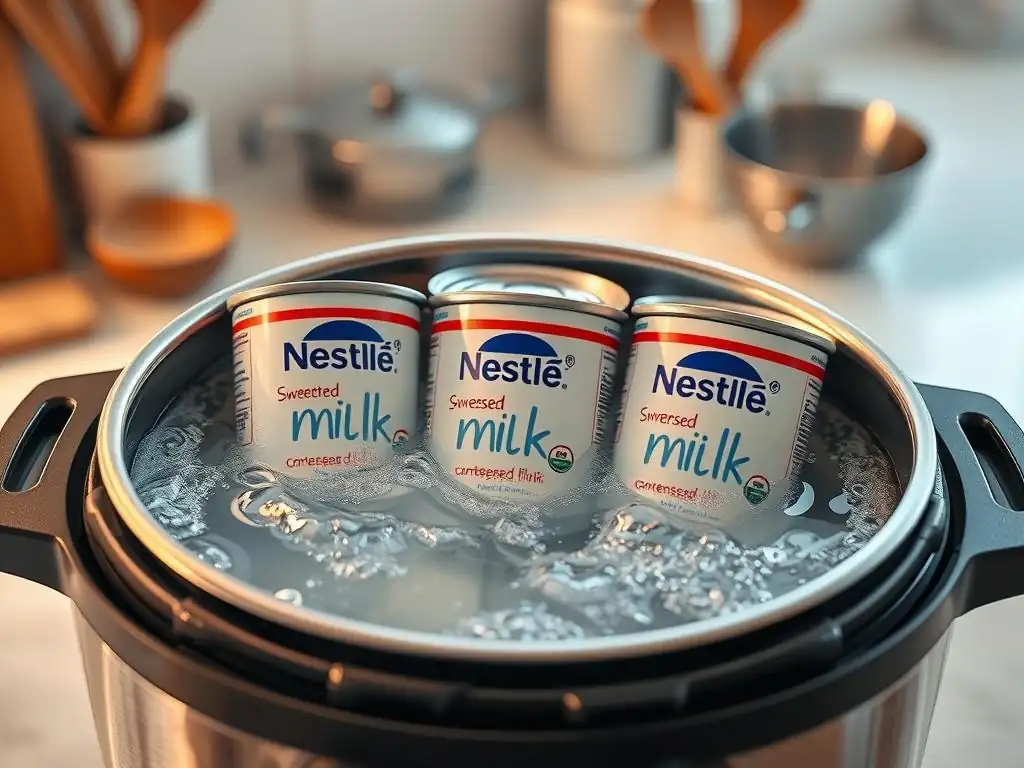
Place the metal trivet or rack at the bottom of your pressure cooker pot. Carefully arrange the prepared, label-free cans of sweetened condensed milk on top of the trivet. Ensure the cans are not touching the sides of the pressure cooker and are spaced slightly apart if cooking multiple cans. This allows for better water circulation around each can.
Now, add enough water to the pressure cooker pot so that the cans are completely submerged. A common guideline is to fill the water level to at least 1-2 inches above the tops of the cans. This ensures that the cans remain fully covered by water throughout the pressure cooking cycle, which is critical for preventing them from overheating or potentially bursting. Using warm or hot water can help the pressure cooker come up to pressure faster, but cold water works fine too.
Step 3: Pressure Cooking the Dulce de Leche for a Smooth Texture
Secure the lid onto your pressure cooker, ensuring it is properly sealed according to your cooker's instructions. Close the steam release valve (if applicable) to the 'sealing' position. Set the pressure cooker to cook on high pressure. The cooking time will determine the color and thickness of your easy pressure cooker caramel sauce.
- For a lighter, runnier dulce de leche (like a caramel sauce), cook for approximately 30-40 minutes at high pressure.
- For a classic, thicker, spreadable dulce de leche (like a filling), cook for approximately 45-60 minutes at high pressure.
Once the cooking time is complete, the pressure cooker will need to depressurize.
Step 4: Safely Releasing the Pressure and Cooling the Dulce de Leche
After the pressure cooking time is finished, it is absolutely crucial to allow the pressure to release naturally. Do NOT attempt a quick pressure release by opening the valve. The contents inside the cans and the surrounding water are extremely hot and under pressure. A rapid release can be dangerous. Allow the pressure to come down on its own, which can take anywhere from 15 to 40 minutes or more, depending on your cooker and the volume of contents. The float valve will drop when it's safe to open the lid.
Once the pressure has fully released and the lid can be safely opened, carefully remove the hot cans from the water bath using tongs or heat-resistant gloves. Place the cans on a wire rack to cool completely at room temperature. This cooling process is essential – never attempt to open a hot can of dulce de leche.
The contents are still under residual heat and could erupt. Allow the cans to cool for several hours or preferably overnight until they are cool to the touch. Only then is it safe to open them and reveal your luscious, easy pressure cooker caramel sauce.
Troubleshooting Common Pressure Cooker Dulce de Leche Problems
Dulce de Leche Too Thick: Solutions and Adjustments
If, after cooking and cooling, you find your easy pressure cooker caramel sauce is thicker than you desired – perhaps too stiff for drizzling – this usually means it was cooked for a little too long or has simply set up very firmly upon cooling. Don't worry, it's easily fixable!
To achieve a smoother, more pourable consistency, you can gently warm the dulce de leche and stir in a liquid. Transfer the contents of the can to a heatproof bowl or saucepan. Add a small amount of milk, cream, or even a splash of water, starting with just a teaspoon or two. Gently heat the mixture over low heat or in a microwave in short bursts (e.g., 15-second intervals), stirring well after each addition, until you reach your desired consistency. Be careful not to overheat, as this can cause it to seize.
Dulce de Leche Too Light: How to Achieve a Richer Color
If your easy pressure cooker caramel sauce turned out lighter than you expected, resembling more of a creamy beige than a rich caramel brown, it means it wasn't cooked for quite long enough to achieve the desired level of caramelization. This is a common outcome when aiming for a shorter cooking time (like 30-40 minutes).
The good news is you can simply cook it for longer. If the can is still sealed, you can place it back in the pressure cooker with fresh water and cook for an additional 15 to 30 minutes at high pressure, followed by natural release and complete cooling.
If you've already opened the can, you can transfer the contents to a heatproof dish and gently bake it in a low oven (around 250°F or 120°C), stirring occasionally, until it reaches the desired color. This oven method can take an additional 1-2 hours, so the pressure cooker method is still significantly faster for achieving the initial cook.
Preventing Can Explosion During Pressure Cooking
The possibility of a can exploding during pressure cooking is a serious safety concern, though thankfully rare when proper precautions are taken. The primary cause of a can failing under pressure is insufficient water level. If the water level drops below the top of the cans during the cooking cycle, the exposed portion of the can can overheat, leading to excessive internal pressure and potential rupture.
To prevent this, always ensure the cans are fully submerged in water by at least 1-2 inches at the start of the cooking process. Using a trivet or rack is also crucial to keep the cans off the direct bottom heat. Additionally, thoroughly inspecting the cans beforehand for any dents or damage (as mentioned in Step 1) is vital.
Finally, always use the natural pressure release method after cooking. Rapid release can cause volatile movement inside the pot, potentially jostling cans and is generally less safe with liquid-filled containers. Following these steps ensures a safe process for making your easy pressure cooker caramel sauce.
Flavor Variations for Your Pressure Cooker Dulce de Leche
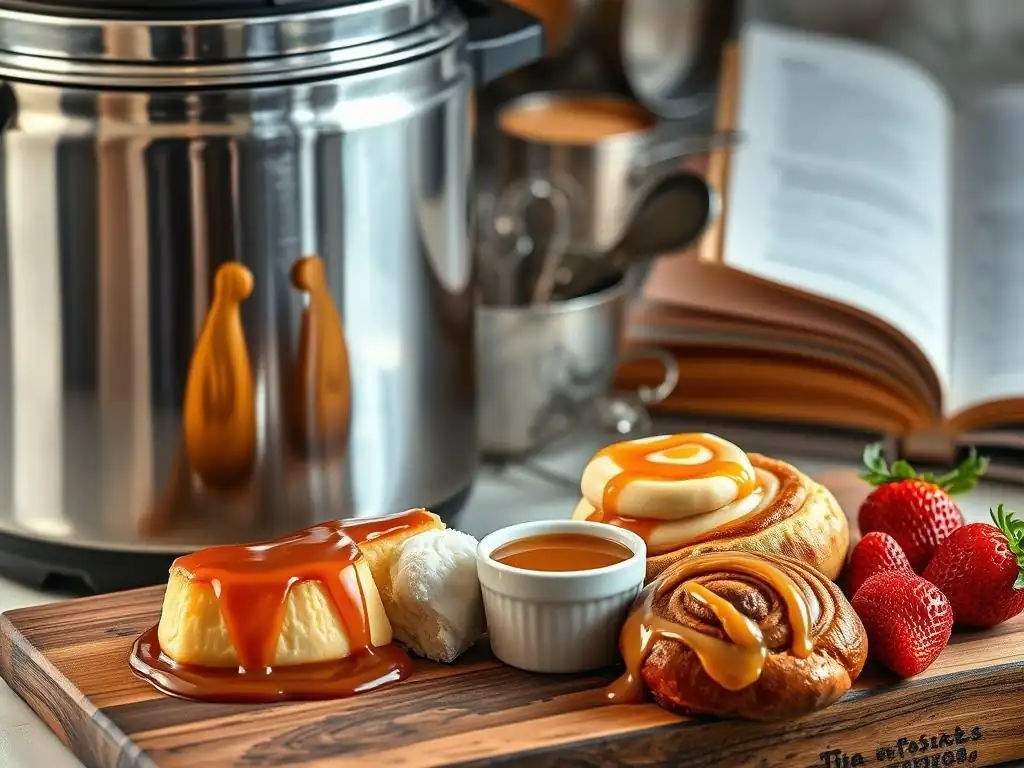
Homemade easy pressure cooker caramel sauce is a fantastic base for adding other flavors, transforming it into custom sauces or fillings. The best time to add additional flavorings is typically after the dulce de leche has been cooked, cooled, and transferred out of the can. This allows you to control the intensity and prevents potential issues during the high-pressure cooking process.
Cinnamon Dulce de Leche: Infusing with Cinnamon Flavor
Adding a hint of cinnamon creates a warm, aromatic twist on the classic dulce de leche, perfect for fall desserts or anything requiring a touch of spice. Once your easy pressure cooker caramel sauce is cooked, cooled, and in a bowl or jar, you can incorporate cinnamon.
- Stir in 1/2 to 1 teaspoon of ground cinnamon per can of dulce de leche, mixing thoroughly until combined. Start with a smaller amount and add more to taste.
- Alternatively, you can warm the finished dulce de leche slightly and steep a cinnamon stick or two in it for about 30-60 minutes, then remove the stick before cooling and storing. This infuses the flavor more subtly.
Coffee Dulce de Leche: A Caffeinated Twist
For coffee lovers, blending in coffee notes creates a sophisticated and slightly bitter contrast to the sweetness of the dulce de leche. This variation is excellent for tiramisu-inspired desserts or coffee-flavored baked goods.
- Dissolve 1-2 teaspoons of instant espresso powder or very strong instant coffee granules per can of dulce de leche into a tablespoon of hot water or milk. Let it cool slightly.
- Stir this coffee mixture into your cooled easy pressure cooker caramel sauce until fully incorporated. Taste and add more coffee mixture if a stronger flavor is desired. The bitterness of the coffee helps balance the richness of the caramel.
Using Your Homemade Pressure Cooker Dulce de Leche
Once you've mastered making easy pressure cooker caramel sauce, a world of delicious possibilities opens up! Its rich, creamy texture makes it incredibly versatile in both simple and elaborate desserts.
Drizzling over Pancakes and Waffles
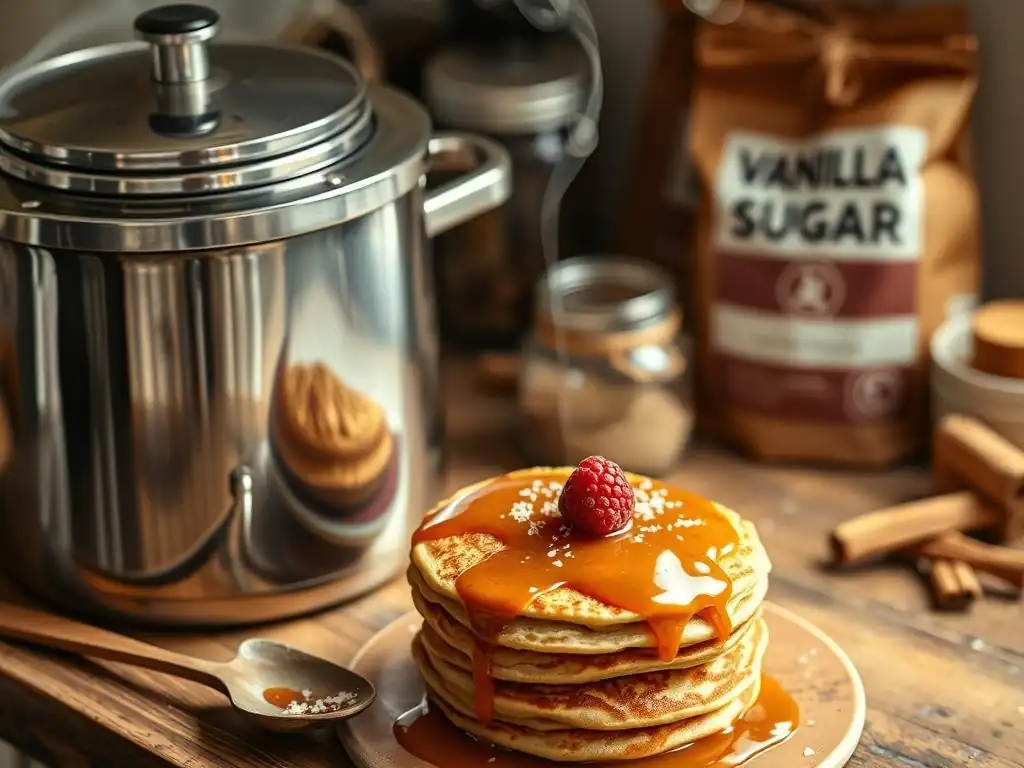
Perhaps the simplest and most instantly gratifying use is as a decadent topping. Warm your homemade easy pressure cooker caramel sauce slightly until it reaches a pourable consistency. Drizzle it generously over a stack of fluffy pancakes or crispy waffles for an elevated breakfast or brunch treat.
- Tip: A little sprinkle of sea salt over the finished dish enhances the caramel flavor beautifully.
Dulce de Leche for Alfajores
This is a classic pairing! Dulce de leche is the traditional filling for Alfajores, delicate shortbread cookies popular in South America. Your thick, spreadable easy pressure cooker caramel sauce is ideal for sandwiching between two cookies.
- Spread a generous layer of the cooled, thick dulce de leche onto the flat side of one cookie.
- Gently press another cookie on top to create a sandwich.
- Often, the edges are then rolled in shredded coconut or powdered sugar.
Incorporating into Flan
Flan, a creamy custard dessert, often features a caramel component. Your easy pressure cooker caramel sauce can be incorporated in a couple of ways.
- Use it as the base caramel layer in your flan dish before adding the custard mixture. Simply pour the sauce into the bottom of the mold.
- For a richer flan, you can blend some of the dulce de leche directly into the custard mixture before baking. This infuses the entire dessert with that wonderful caramel flavor. A common ratio might be blending in 1/4 to 1/2 cup of dulce de leche per standard flan recipe using 4-6 eggs.
Storing Your Easy Homemade Dulce de Leche
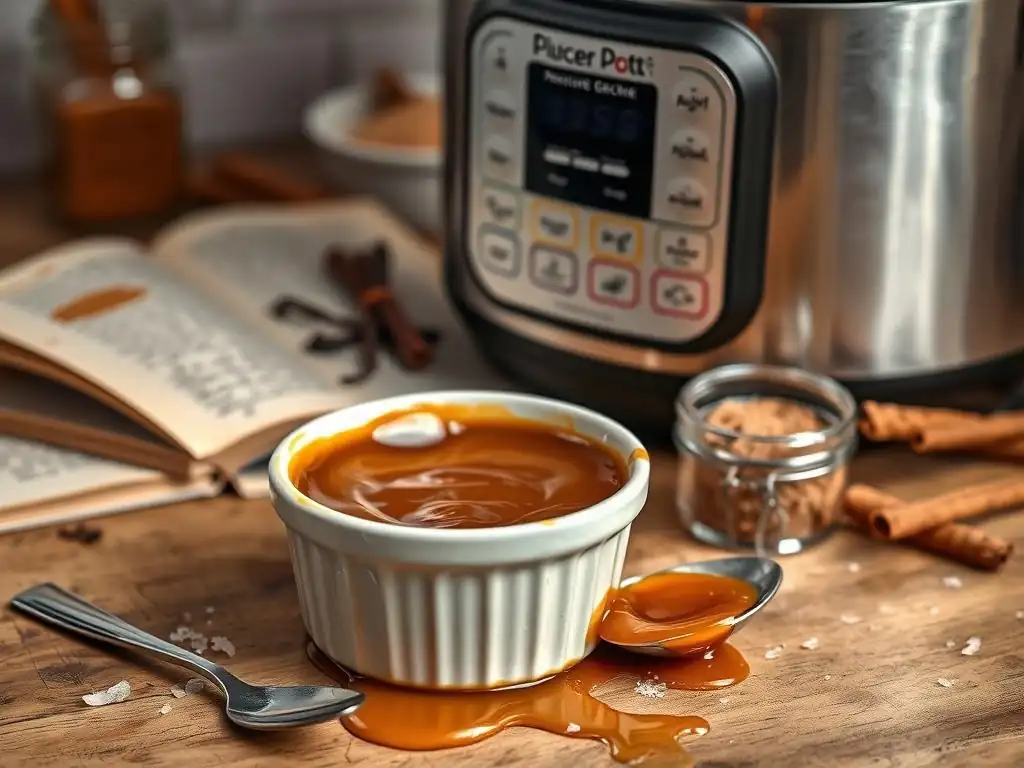
Proper storage is key to enjoying your delicious easy pressure cooker caramel sauce for as long as possible. While the canning process provides initial preservation, once opened or transferred, it needs careful handling.
Proper Storage for Longevity
After opening the can or if you've added flavorings, transfer the dulce de leche to a clean, airtight container. Glass jars with tight-fitting lids are an excellent choice. Ensure the container is completely dry before adding the dulce de leche.
Store the sealed container in the refrigerator. The cold temperature helps maintain its texture and prevents spoilage. Avoid storing it in the open can once opened, as this can lead to oxidation and affect flavor and quality.
Shelf Life of Pressure Cooker Dulce de Leche
When stored properly in an airtight container in the refrigerator, your homemade easy pressure cooker caramel sauce typically has a good shelf life. You can expect it to remain fresh and delicious for approximately 2 to 3 weeks.
Always use a clean spoon each time you scoop out the dulce de leche to avoid introducing contaminants. If you notice any signs of spoilage, such as mold, off odors, or significant changes in color or texture, it's best to discard it. For longer storage, you might be able to freeze it, though this can sometimes affect the texture slightly upon thawing.
Pressure Cooker Dulce de Leche: A Quick Recap for Perfect Results
Making easy pressure cooker caramel sauce (dulce de leche) is a simple, time-saving hack for bakers. Start with label-free, undamaged cans of sweetened condensed milk placed on a trivet in your pressure cooker, ensuring they are submerged under at least 1-2 inches of water. Cook on high pressure for 30-60 minutes depending on desired color and thickness. Always use the natural pressure release method for safety, allowing 15-40+ minutes for pressure to drop.
Cool the cans completely for several hours or overnight before opening. Store the finished dulce de leche in an airtight container in the refrigerator for up to 2-3 weeks. This easy pressure cooker method yields a versatile caramel perfect for drizzling, filling, and incorporating into countless desserts, offering a fantastic shortcut for last-minute baking needs.
Frequently Asked Questions
What makes pressure cooker caramel sauce "easy" compared to traditional methods?
Pressure cooker caramel sauce is considered easy because it significantly reduces the cooking time and requires less hands-on stirring. It's a much faster alternative to stovetop caramel.
What types of pressure cookers are suitable for making this caramel sauce?
Most electric pressure cookers, like the Instant Pot, are suitable. Ensure your pressure cooker is in good working condition and has a safe sealing mechanism before using it for this recipe. Always follow the manufacturer's instructions.
Can I use different types of sugar besides granulated white sugar?
While granulated white sugar is typically used, you can experiment with brown sugar for a deeper, molasses-like flavor. However, be aware that it might slightly alter the texture and cooking time.
How do I store pressure cooker caramel sauce, and how long does it last?
Store the cooled caramel sauce in an airtight container in the refrigerator. It usually lasts for up to two weeks. You can also freeze it for longer storage.
What are some suggested uses for pressure cooker caramel sauce?
This caramel sauce is incredibly versatile! Use it as a topping for ice cream, drizzle it over cakes and pies, or incorporate it into brownies and other desserts. It adds a rich, sweet flavor to almost anything.
Final Reflection: The Sweetness of Simplicity in a Pressure Cooker
The ease and speed of making caramel sauce in a pressure cooker revolutionizes dessert preparation, proving that indulgence doesn't have to be complicated. This simple technique, once mastered, opens up a world of possibilities for last-minute dessert creations, transforming even the most rushed occasions into moments of sweet celebration. No more hours spent nervously watching a sugar-based concoction threaten to burn; instead, a perfectly smooth, rich caramel awaits in mere minutes.
The impact of this quick method extends beyond simply saving time; it democratizes dessert-making. It empowers home cooks of all skill levels to confidently tackle a classic confection that was once perceived as intimidating. This accessibility fosters a sense of culinary accomplishment and encourages experimentation with different flavor profiles and dessert applications. The best things in life are simple,
a sentiment perfectly embodied by this pressure cooker caramel sauce recipe. It's a testament to the power of efficient techniques in achieving extraordinary results.
Now, consider your own kitchen. Imagine the possibilities: a spontaneous sundae night, a last-minute gift for a friend, or simply a moment of self-indulgence after a long day. This pressure cooker caramel sauce recipe isn't just a recipe; it's a key to unlocking culinary confidence and the joy of creating delicious memories. So, embrace the simplicity, experiment with flavors, and let the sweet aroma of homemade caramel fill your home. You deserve it.
Unlock the Sweetness: Make Caramel Magic Today!
Thanks for joining us on this delicious journey into pressure cooker caramel perfection! You now have a secret weapon for creating amazing desserts in a fraction of the time. Ready to put your new skills to the test?
- Whip up a batch of your own caramel sauce: This recipe is so quick and easy, you'll wonder why you ever waited so long! Remember to adjust sweetness to your preference.
- Share your caramel creations: Tag us on social media @BakeWithEase (not a real account - replace with your social media handle) and show off your delicious results! We'd love to see what you make.
- Experiment with different flavor combinations: Add a pinch of sea salt, a splash of vanilla, or even some cocoa powder to explore endless possibilities. What unique twist will you create?
What delicious dessert will you transform with your homemade pressure cooker caramel sauce? Let us know in the comments!