
Temperature's Role: How Room Temp Affects Your Starter's Growth

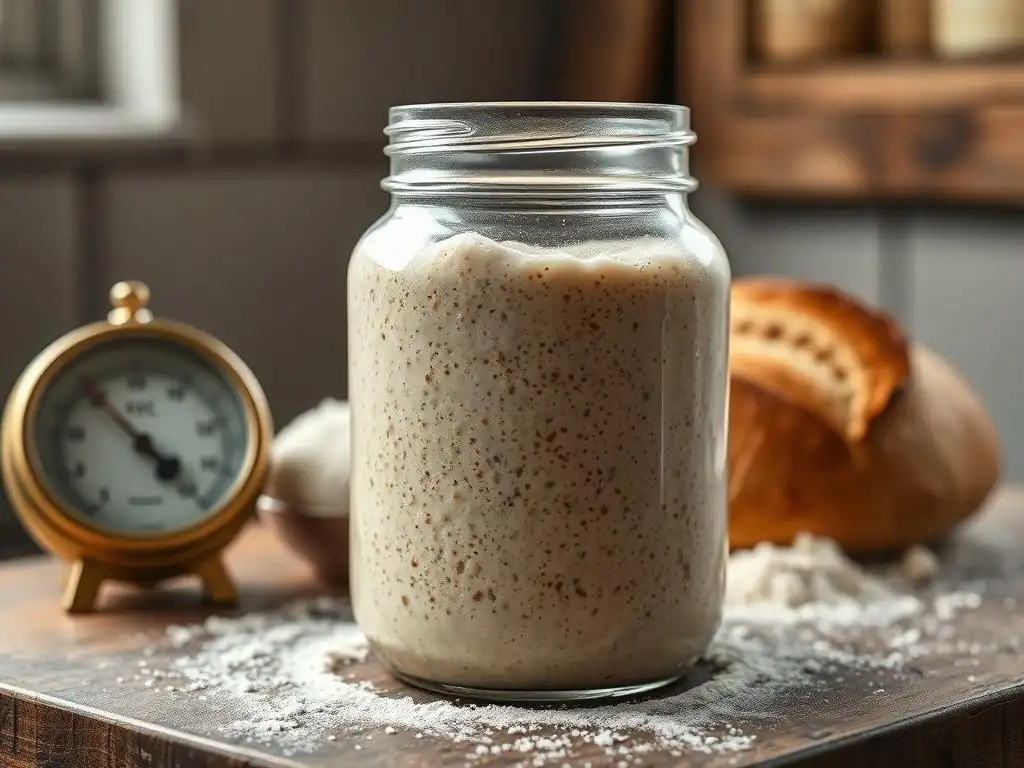
Welcome to BakeWithEase, your trusted guide in the delightful world of baking! Ever wondered if your room temperature is secretly sabotaging your sourdough dreams? Unlock the secrets to optimal starter growth in our latest deep dive. Discover how seemingly small fluctuations can make a world of difference, and learn practical tips to nurture a thriving starter, no matter the season. Read on to master the art of room temperature starter growth and elevate your baking game!
- Understanding Hydration Levels: How Water Content Affects Your Sourdough Starter
- Understanding Hydration and Sourdough Starter Activity
- The Impact of Hydration on Starter Growth
- Hydration and Sourdough Starter: A Detailed Look
- Troubleshooting Starter Issues Related to Hydration
- Maintaining the Ideal Hydration for a Healthy Starter
- Practical Tips for Controlling Starter Hydration
- Hydration vs. Other Factors Affecting Starter Growth
- Case Studies: Hydration and Sourdough Starter Success
- Advanced Techniques: Mastering Hydration Control for Sourdough
- Conclusion: Optimizing Hydration for Perfect Sourdough Starter Growth
-
Frequently Asked Questions
- What is the ideal room temperature for optimal starter growth?
- How does a colder room temperature affect my sourdough starter?
- What happens if my starter gets too warm?
- Can I use my oven to control the room temperature for my starter?
- How often should I feed my starter based on the room temperature?
- Final Reflection: The Unseen Hand of Temperature in Sourdough Success
- Unlock Your Baking Potential: Master the Art of Temperature Control!
Understanding Hydration Levels: How Water Content Affects Your Sourdough Starter
Understanding Hydration and Sourdough Starter Activity
Hydration in the context of sourdough refers to the ratio of water to flour by weight. It's a critical factor that significantly influences your starter's health, activity, and overall behavior. Think of it as setting the stage for the microbial party happening within your jar – too much water or too little, and the microorganisms might not thrive optimally. Understanding this ratio is fundamental to successful sourdough baking and predicting your starter's growth at room temperature.
The standard hydration level for many starters is 100%, meaning you use equal weights of flour and water (e.g., 100 grams of flour and 100 grams of water). However, hydration levels can range significantly, from stiff starters around 50-60% hydration to very wet starters at 150% or even higher. Each level creates a different environment affecting everything from fermentation speed to the starter's consistency and how it behaves when you're ready to bake.
Why Hydration Matters for Sourdough Starter Development
Hydration is crucial because water is the medium in which the yeast and bacteria in your starter live and work. These microorganisms consume the sugars in the flour and produce carbon dioxide gas and organic acids, which are the hallmarks of a healthy, active starter. The amount of water available directly impacts how easily they can access the nutrients in the flour and how quickly metabolic processes occur.
Moreover, hydration affects the development of gluten in the starter. While not as critical as in the final dough, some gluten development occurs and contributes to the starter's structure and its ability to trap the carbon dioxide gas produced. A higher hydration starter, with more water, tends to have less gluten structure, leading to a more liquid consistency and often faster initial activity, whereas a lower hydration starter develops more structure and ferments more slowly. This difference in consistency and fermentation speed is key to understanding room temperature starter growth characteristics.
Optimal Hydration Range for Starter Fermentation
While there's no single "optimal" hydration for all starters, the 100% hydration level is widely considered standard and excellent for general-purpose starters. This ratio provides a good balance: enough water for microbial activity and nutrient access, while still allowing for some structure development. Starters maintained at 100% hydration are typically easy to work with, show predictable room temperature starter growth patterns, and are versatile for most sourdough recipes.
However, optimal hydration can also be defined by your specific goals or the type of flour you're using. Some bakers prefer slightly stiffer starters (around 70-80% hydration) as they can be more stable and require less frequent feeding, albeit with slower fermentation. Others might use wetter starters (120%+ hydration) for specific dough types or to encourage faster leavening, though these require more vigilance due to accelerated activity. Ultimately, the best hydration is one that you can consistently maintain and that suits your baking needs and the typical room temperature in your kitchen.
The Impact of Hydration on Starter Growth
The hydration level of your sourdough starter has a profound impact on the speed and characteristics of its growth and fermentation. It's one of the primary levers you can pull, alongside temperature and feeding ratio, to influence how your starter behaves between feedings. Understanding this impact is vital for timing your bakes and ensuring your starter is at its peak when you need it.
A starter's hydration directly affects the mobility of enzymes and nutrients within the mixture. In a wetter environment, these components can move more freely, allowing the yeast and bacteria quicker access to the food sources in the flour. This increased mobility translates into a faster metabolic rate for the microorganisms, leading to quicker production of gas and acids.
How Higher Hydration Accelerates Starter Activity
Higher hydration levels, such as 120% or 150%, generally lead to faster starter activity and quicker room temperature starter growth. With more water available, the enzymes in the flour can break down starches into simple sugars more rapidly, providing readily available food for the yeast and bacteria. The microorganisms can also move and multiply more efficiently in a less viscous environment.
This accelerated activity means that a high-hydration starter will often peak sooner than a lower-hydration one when kept at the same room temperature. For example, a starter fed at 1:1:1 ratio (starter:flour:water) at 100% hydration might peak in 6-8 hours at 75°F (24°C), while a starter fed the same ratio but at 150% hydration could peak in just 4-6 hours. While this can be advantageous for quick turnaround times, it also means the starter will pass its peak and become acidic more quickly, potentially requiring more frequent feedings.
How Lower Hydration Slows Down Sourdough Starter Fermentation
Conversely, lower hydration levels, such as 60% or 70%, result in slower fermentation and more measured room temperature starter growth. In a stiffer environment, the water is less available, and the mobility of enzymes and microorganisms is reduced. Access to nutrients is less immediate, and the metabolic processes occur at a more leisurely pace.
A lower-hydration starter will take longer to rise and peak compared to a wetter starter under identical conditions. While a 100% hydration starter might peak in 6-8 hours, a 60% hydration starter fed the same ratio could take 10-12 hours or even longer to reach its peak at 75°F (24°C). This slower fermentation can be beneficial for bakers who prefer less frequent feedings or who want a starter that remains active and viable for a longer period between uses. It also often results in a tangier starter due to the extended fermentation time allowing more organic acids to develop.
Hydration and Sourdough Starter: A Detailed Look
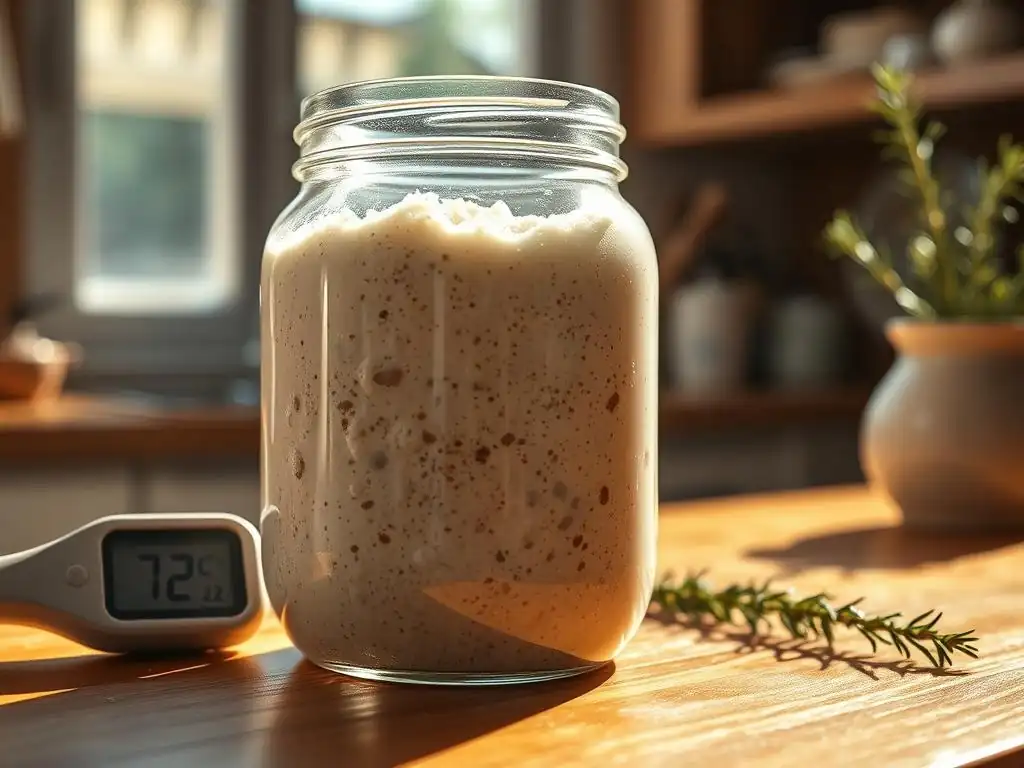
Delving deeper into the interaction between hydration and your starter reveals fascinating aspects of its behavior. Hydration doesn't just affect speed; it also influences the physical structure of the starter and its chemical composition, particularly its acidity profile. These factors contribute significantly to the starter's overall health, performance, and the characteristics it imparts to your final bake.
Understanding these underlying principles helps you troubleshoot issues and intentionally manipulate your starter's properties. Whether you're aiming for a mild or tangy loaf, or trying to achieve a specific crumb structure, controlling hydration is a powerful tool in your sourdough arsenal.
The Science Behind Hydration and Gluten Development
Water is essential for gluten development. Gluten is formed when two proteins in flour, gliadin and glutenin, combine in the presence of water and mechanical energy (like mixing). In a sourdough starter, mixing isn't vigorous, but some level of gluten network does begin to form, especially during the initial mixing and subsequent stirring during feedings.
A lower hydration starter (e.g., 60-70%) has less water per gram of flour. This allows the gluten proteins to form a denser, more structured network. You'll notice this in the starter's consistency – it will be thicker, more paste-like, and hold its shape better. This stronger structure helps trap gas more effectively, but the density can also impede the movement of microorganisms and nutrients, contributing to slower fermentation. A 100% hydration starter has a looser structure, while very high hydration starters (120%+) develop minimal discernible gluten structure, appearing more like a thick batter or liquid.
Hydration's Effect on Sourdough Starter Acidity
The hydration level also influences the balance of acids produced by the bacteria (lactic acid bacteria, or LAB) in your starter. LAB produce both lactic acid and acetic acid. Lactic acid is milder and contributes a creamy tang, while acetic acid is sharper and more vinegary. The ratio of these acids can be influenced by several factors, including temperature, feeding frequency, and importantly, hydration.
Generally, higher hydration starters (like 100% or more) tend to favor the production of lactic acid, especially when kept at warmer room temperatures. This is because the wetter environment and faster fermentation suit the metabolism of lactic acid-producing bacteria. Lower hydration starters (below 80%), on the other hand, often promote a higher proportion of acetic acid, particularly during longer, slower fermentation cycles. The stiffer environment and extended time allow the acetic acid bacteria to become more dominant, resulting in a tangier, sometimes even pungent, aroma and flavor in the starter.
Many common issues encountered with sourdough starters can be traced back, at least in part, to incorrect or inconsistent hydration. Recognizing how hydration problems manifest can help you quickly diagnose and correct issues, getting your starter back on track for robust room temperature starter growth.
Whether your starter is sluggish and inactive or overly liquid and collapsing too quickly, adjusting the hydration is often one of the first steps in troubleshooting. It's a relatively easy variable to control once you understand its effects.
Starter Not Rising? Hydration Could Be the Culprit
If your sourdough starter isn't rising or showing minimal activity, several factors could be at play (temperature, feeding ratio, flour type), but hydration is a frequent suspect, especially if the starter is very stiff. A starter that is too low in hydration (e.g., below 60%) might struggle to show significant volume increase because the dense structure inhibits gas expansion. While gas is being produced, it might not be enough to overcome the stiffness of the starter.
To troubleshoot this, ensure your hydration is at least 70-80%, or ideally 100% for standard starters. Increase the water content relative to the flour in your next few feedings. For example, if you were feeding 50g starter, 50g flour, and 25g water (50% hydration), try feeding 50g starter, 50g flour, and 50g water (100% hydration) instead. Monitor the room temperature starter growth over the next 24-48 hours; increasing hydration often provides the necessary medium for more vigorous activity and visible rise.
Dealing with Runny Starter Due to High Hydration
Conversely, if your starter is excessively runny, separating quickly, or collapsing immediately after peaking, it might be too high in hydration. While high hydration can boost initial activity, too much water relative to the flour's ability to absorb it and form any structure means the starter cannot hold onto the gas produced. It will rise, but the structure is too weak to sustain the lift, leading to a rapid fall or minimal dome at its peak.
To address a runny starter, decrease the amount of water in your subsequent feedings relative to the flour. If you were feeding 50g starter, 50g flour, and 75g water (150% hydration) and finding it too liquid, try reducing the water to 60g (120% hydration) or even 50g (100% hydration). Gradually adjust until you find a consistency that shows a good rise and holds its peak for a reasonable time before slowly deflating. Remember that some separation is normal, especially in active starters, but excessive runniness indicates a structural issue often linked to hydration.
Reviving a Stiff Starter in Low Hydration Environments
A starter that is intentionally kept stiff (low hydration) for specific purposes (like certain rye starters or storage) can become very dense and slow. If you need to activate it for baking or transition it to a more standard hydration, you'll need to gradually increase its water content. Attempting a drastic jump in hydration might shock the culture.
To revive a stiff starter, feed it with a higher hydration ratio than its current state, but don't necessarily jump all the way to 100% in one go if it was very stiff (e.g., 50%). If your starter is 50% hydration, try feeding it at 70-80% hydration for a couple of cycles. Once it shows good activity at that level, you can then transition to 100% hydration if desired. This gradual increase allows the microorganisms to adapt to the wetter environment and ensures consistent room temperature starter growth during the transition.
Maintaining the Ideal Hydration for a Healthy Starter
Consistency is key to maintaining a healthy and predictable sourdough starter. Once you've determined the ideal hydration level for your needs – whether it's the standard 100% or something different – maintaining that level accurately at each feeding is crucial. Fluctuating hydration can lead to inconsistent behavior, making it difficult to predict peak times or troubleshoot other issues.
Maintaining ideal hydration involves precise measurement and understanding how different flours absorb water. This might seem tedious initially, but it quickly becomes second nature and pays dividends in the form of a reliable and robust starter ready for baking.
Measuring Water and Flour Accurately
The most accurate way to measure ingredients for your sourdough starter is by weight using a digital kitchen scale. Volume measurements (cups, tablespoons) are notoriously inaccurate for flour and water, as density varies significantly, especially with flour compaction. For example, a cup of all-purpose flour can weigh anywhere from 100 to 140 grams depending on how it's scooped and settled.
To achieve a consistent hydration, always weigh your starter, flour, and water. For a 100% hydration starter, you would feed equal weights of flour and water (e.g., 50g starter, 50g flour, 50g water). For a 70% hydration starter, you would use 70% the weight of the flour in water (e.g., 50g starter, 50g flour, 35g water). This simple practice ensures you are consistently feeding the same ratio of water to flour, leading to predictable room temperature starter growth.
Adjusting Your Starter Hydration Based on Flour Type
Different types of flour absorb water differently due to variations in protein and starch content, as well as milling processes. Whole wheat flour, for example, contains the bran and germ, which are highly absorbent. As a result, whole wheat typically requires more water to reach the same consistency as a starter made with white bread flour at the same hydration percentage.
If you switch from feeding with all-purpose flour to whole wheat flour while maintaining a strict 100% hydration by weight, your starter might appear much stiffer with the whole wheat. To achieve a similar consistency and maintain consistent room temperature starter growth characteristics, you might need to increase the hydration slightly when using more absorbent flours like whole wheat or rye. Conversely, using less absorbent flours might require a slight decrease in water to prevent the starter from becoming too runny. Experimentation is key here to find the right balance for your specific flour types.
Practical Tips for Controlling Starter Hydration
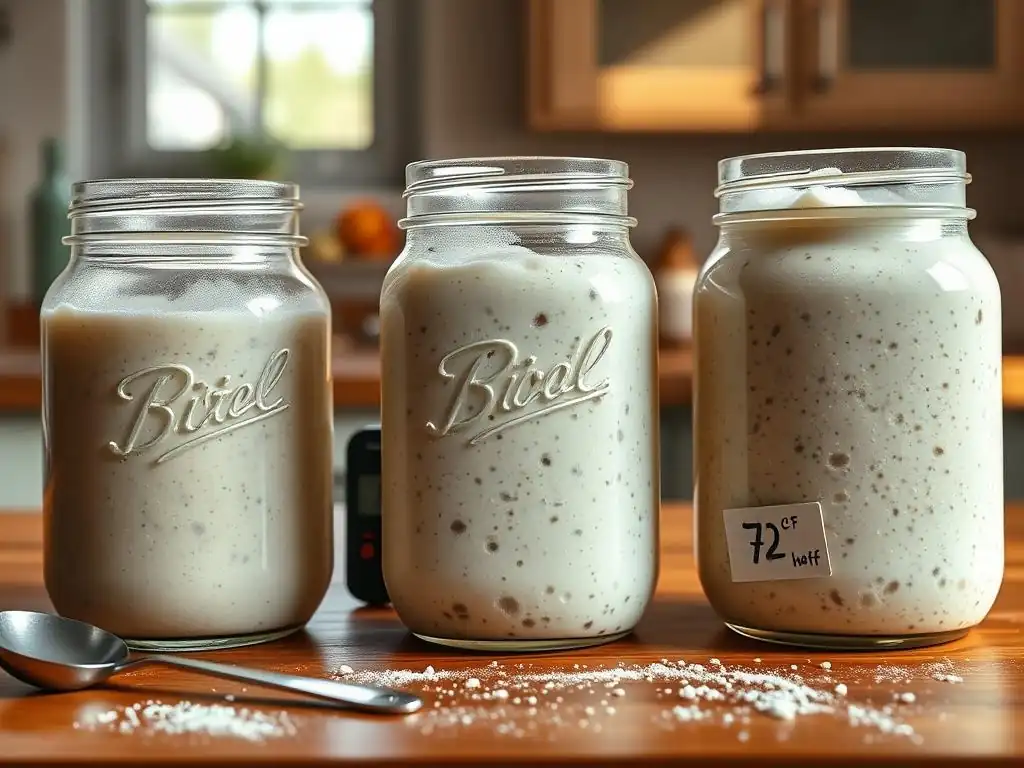
Mastering sourdough starter hydration involves more than just understanding the science; it also requires practical application in your kitchen. Implementing simple techniques can help you achieve and maintain the perfect hydration level for your starter, ensuring reliable performance every time you bake.
These tips focus on precision, adaptability, and recognizing how environmental factors can play a role. Consistent application of these techniques will lead to more predictable room temperature starter growth and a happier starter culture.
Using a Kitchen Scale for Precision
As mentioned earlier, a kitchen scale is your best friend for controlling hydration. It eliminates the guesswork associated with volume measurements. Weighing your ingredients allows you to hit your target hydration percentage precisely every single time.
- Task List:
- Place your starter jar on the scale and tare it (set to zero).
- Add the desired weight of starter. Tare again.
- Add the desired weight of water. Tare again.
- Add the desired weight of flour.
- Mix thoroughly.
This method guarantees the correct ratio of water to flour, which is the definition of hydration, and is essential for predicting room temperature starter growth cycles.
Strategies for Different Flour Absorption Rates
Since flours vary in absorption, you might need to adjust your target hydration slightly based on the flour you're using, even if your measured hydration is consistent.
- If using a highly absorbent flour (like whole wheat or rye), you might find that 100% hydration feels stiffer than expected. You could choose to accept this stiffer consistency or increase your target hydration to perhaps 105% or 110% to achieve a similar look and feel to a 100% white flour starter.
- If using a less absorbent flour (like some all-purpose flours), 100% hydration might feel slightly wetter. You could reduce your target hydration to 95% or 90%.
The key is to observe your starter's consistency and activity and adjust the water weight percentage in your feeding formula until you achieve the desired result for that specific flour type.
Achieving Consistent Hydration in Varying Humidity
While the measured hydration ratio (water weight / flour weight) remains constant regardless of humidity, the apparent consistency of your starter can be slightly affected by the ambient moisture in the air. In very humid environments, flour might absorb a tiny bit more moisture from the air before being weighed, and the starter might lose less water to evaporation during fermentation. In very dry environments, the opposite can occur.
For most home bakers, these effects are minimal and don't necessitate daily adjustments to your feeding ratios. However, if you live in an extremely humid or dry climate and notice inconsistent results despite precise weighing, you might subtly adjust the water amount by a few grams. For instance, in very dry conditions, you might add an extra 2-3g of water per 100g of flour to compensate for potential evaporation and slightly drier flour.
In very humid conditions, you might reduce water by a few grams. Pay attention to the starter's texture after mixing and its room temperature starter growth pattern.
Hydration vs. Other Factors Affecting Starter Growth
While hydration is a crucial factor influencing your sourdough starter's activity, it's not the only player. Starter growth and fermentation are complex processes influenced by a combination of variables working together. Understanding how hydration interacts with other factors like flour type, temperature, and feeding schedule is essential for predictable and successful sourdough baking.
Thinking of these factors as interconnected parts of an ecosystem within your starter jar helps in managing its behavior. Manipulating one factor often requires considering its effect on the others.
The Role of Flour Type in Starter Development
The type of flour you use provides the food for your starter's microorganisms. Different flours contain varying amounts of sugars, starches, and nutrients, as well as different levels of enzymes (amylase) that break down starches into simple sugars. Flours also differ significantly in their protein content and absorption capabilities, as discussed earlier.
Flours with higher protein content and more available nutrients, like strong bread flour or whole wheat flour, can often support more vigorous fermentation and room temperature starter growth compared to lower-protein all-purpose flour or rye flour (which ferments differently). The flour type also directly impacts how a given hydration level will feel and behave – 100% hydration with rye flour will look and act very differently than 100% hydration with bread flour.
Temperature and Its Impact on Starter Fermentation
Temperature is arguably the most significant factor influencing the rate of fermentation and room temperature starter growth. The yeast and bacteria in your starter are living organisms, and their metabolic activity is highly sensitive to temperature. Warmer temperatures (typically 75-80°F or 24-27°C) accelerate fermentation, leading to faster rising and peaking times. Cooler temperatures (below 70°F or 21°C) slow down activity considerably.
Hydration interacts with temperature. At warmer temperatures, a higher hydration starter will ferment extremely rapidly. At cooler temperatures, even a high-hydration starter will be slower, though still likely faster than a low-hydration starter at the same cool temperature. Understanding your kitchen's ambient room temperature is vital, as it dictates how quickly your starter will ferment at your chosen hydration level. A starter that reliably doubles in 6-8 hours at 100% hydration when kept at 75°F will take much longer if the room temperature drops to 65°F (18°C).
Feeding Schedules and Their Interaction with Hydration
The feeding schedule and ratio (the ratio of starter:flour:water) determine how much food is available to the microorganisms and how often they receive a fresh supply. A common feeding ratio is 1:1:1 by weight (equal parts starter, flour, and water), which provides enough food for the starter to peak and then begin to deplete its resources within a typical 6-12 hour cycle at room temperature.
Hydration influences how quickly the starter consumes its food at a given ratio. A higher hydration starter will likely consume the available sugars faster than a lower hydration one when fed the same ratio of fresh flour and water. This means a high-hydration starter on a 1:1:1 schedule might peak and become hungry sooner, potentially requiring more frequent feedings to stay vibrant, especially if kept at a warm room temperature.
Conversely, a lower-hydration starter might sustain itself longer on the same feeding ratio. Adjusting your feeding ratio (e.g., moving to 1:2:2 or 1:3:3) can provide more food and extend the time between feedings, irrespective of hydration, though hydration will still affect the speed at which that food is consumed.
Case Studies: Hydration and Sourdough Starter Success

Examining how bakers utilize hydration in real-world scenarios provides valuable insight into its practical impact. These examples demonstrate how controlling hydration contributes to a healthy starter and influences the characteristics of the resulting bread.
While these aren't specific company case studies, they represent common practices and outcomes experienced by home sourdough bakers.
Achieving a Balanced Starter with Consistent Hydration
A common goal for many bakers is a versatile, balanced starter that performs reliably for various recipes. Maintaining a consistent 100% hydration is a standard approach to achieving this. For example, a baker might consistently feed their starter 50g of active starter, 50g of bread flour, and 50g of water daily, keeping it on the counter at an average room temperature of 72°F (22°C).
By maintaining this consistent hydration and feeding ratio, the baker establishes a predictable cycle. The starter typically doubles in volume within 6-8 hours, reaching its peak activity before slowly deflating. This consistent room temperature starter growth pattern allows the baker to easily time their dough mixing, knowing exactly when the starter will be ready to use. The 100% hydration also provides a good balance of lactic and acetic acids, resulting in a pleasant, versatile tang in the final bread.
Adapting Hydration Ratios for Whole Wheat Flour
Consider a baker who primarily maintains a 100% hydration starter using white bread flour. They decide to switch to feeding with 50% white bread flour and 50% whole wheat flour to add more character to their starter and bread. If they continue to feed at a strict 100% hydration by weight (e.g., 50g starter, 50g white flour, 50g whole wheat flour, 100g water), they might notice the starter is significantly stiffer than before.
Recognizing that whole wheat flour is more absorbent, the baker might adapt their hydration ratio for this specific flour blend. Instead of 100% hydration relative to the total flour weight, they might increase the water slightly, perhaps aiming for 105% or 110% hydration (e.g., 50g starter, 50g white flour, 50g whole wheat flour, 105-110g water). This adjustment results in a starter consistency similar to their original white flour starter, maintaining a comparable level of mobility for the microorganisms and resulting in more familiar room temperature starter growth behavior, even with the change in flour composition.
Advanced Techniques: Mastering Hydration Control for Sourdough
Once you've mastered the basics of maintaining a healthy starter at a consistent hydration, you can explore advanced techniques that leverage hydration control to influence both your starter and the final dough. These methods allow you to fine-tune your baking process and achieve specific bread characteristics.
These techniques highlight how hydration isn't just about keeping your starter alive; it's a tool to manipulate fermentation speed, dough handling, and even flavor development.
Using Different Hydrations to Achieve Specific Dough Textures
Experienced bakers sometimes maintain starters at different hydration levels specifically for different types of bread. For instance, a very stiff starter (say, 50-60% hydration), often called a pâte fermentée or stiff levain, is sometimes preferred for enriching doughs like brioche or panettone. Its lower acidity and slower fermentation contribute specific qualities to these breads.
Conversely, a very wet starter (120%+ hydration), sometimes referred to as a liquid levain or barm, can be used to accelerate fermentation in the final dough and contribute to an open, airy crumb structure. Using a portion of your main starter to build a smaller amount of levain at a different hydration level allows you to experiment with these techniques without changing your main starter's routine maintenance hydration. The hydration of this build will significantly impact its peak time and room temperature starter growth characteristics.
Autolyse: Utilizing Hydration for Improved Dough Strength
While not directly controlling starter hydration, the concept of autolyse in dough mixing is deeply related to the power of water in flour. Autolyse is a resting period early in the dough mixing process where you combine only flour and water (and sometimes the starter, though a true autolyse is just flour and water) and let it rest for 20 minutes to several hours. No salt or yeast/starter is added during the flour-water phase.
During autolyse, the water allows the gluten proteins to start hydrating and aligning themselves without the interference of salt or the mechanical stress of kneading. Enzymes in the flour also begin breaking down starches. This pre-hydration and initial gluten development significantly improve the dough's extensibility and make subsequent kneading easier and more efficient. The hydration level of the final dough is critical for autolyse effectiveness; higher hydration doughs benefit immensely, becoming much more manageable and developing strength more readily after the autolyse period.
Conclusion: Optimizing Hydration for Perfect Sourdough Starter Growth
Mastering hydration is fundamental to cultivating a healthy, active, and predictable sourdough starter. From understanding the basic ratio of water to flour to recognizing how different hydration levels influence microbial activity, gluten development, and acid production, you gain significant control over your starter's behavior.
By using precise measurements with a kitchen scale, adapting to the absorption rates of different flours, and considering the interplay between hydration and factors like temperature and feeding schedules, you can maintain your starter at its optimal state. Whether you prefer a standard 100% hydration for its versatility or experiment with stiffer or wetter starters for specific baking goals, consistent hydration is key to achieving reliable room temperature starter growth and, ultimately, baking delicious sourdough bread with ease.
Pay attention to your starter's cues, adjust hydration as needed, and enjoy the rewarding process of working with your vibrant, bubbly culture.
Frequently Asked Questions
What is the ideal room temperature for optimal starter growth?
The best room temperature for starter growth is typically between 70-75°F (21-24°C). This range encourages healthy yeast activity and faster fermentation.
How does a colder room temperature affect my sourdough starter?
Colder room temperatures slow down starter activity. This means it will take longer to double in size and may require more feedings.
What happens if my starter gets too warm?
Excessively warm room temperatures can lead to over-fermentation, resulting in a sour or alcoholic smell. It can also weaken the yeast.
Can I use my oven to control the room temperature for my starter?
Yes, an oven with the light on can create a warmer environment. However, be cautious to avoid overheating, aiming for the optimal 70-75°F range.
How often should I feed my starter based on the room temperature?
At ideal room temperature, feed your starter once or twice a day. If it's colder, you may only need to feed it every 24-48 hours.
Final Reflection: The Unseen Hand of Temperature in Sourdough Success
The seemingly insignificant detail of room temperature holds the key to unlocking the vibrant potential of your sourdough starter. A few degrees too high or too low can mean the difference between a thriving, bubbly culture and a sluggish, disappointing one. This seemingly small factor significantly impacts the entire sourdough baking process, from the initial creation of the starter to the final rise of the bread.
Understanding the nuanced relationship between temperature and starter growth has profoundly impacted my own baking journey. It's a constant learning process, a delicate dance between observation and adjustment. The subtle shifts in activity, the variations in aroma – these are the whispers of the starter, communicating its needs. Patience is a virtue, especially when working with sourdough,
a wise baker once told me, and nowhere is this truer than in understanding the crucial role of temperature. This isn't just about baking bread; it's about cultivating a living organism, a testament to the power of nature's processes.
Now, consider your own starter. What temperature does it thrive in? What adjustments have you made to accommodate seasonal changes or variations in your kitchen environment? Take the time to observe, to experiment, and to truly understand the unique personality of your starter. By paying close attention to the subtle cues it provides, you'll unlock a deeper connection with the process, leading to consistently successful bakes and a richer appreciation for the art of sourdough.
Unlock Your Baking Potential: Master the Art of Temperature Control!
Thanks for diving into the world of sourdough with us! You've now gained valuable insights into how temperature dramatically impacts your starter's growth. Ready to put this knowledge to work?
- Experiment with your environment: Try adjusting your starter's location to see how temperature affects its activity. Note its behavior in different spots around your home!
- Share your findings: Let's build a community! Tell us about your temperature experiments and what you discover in the comments below.
- Track your starter's progress: Create a simple log to monitor its growth under varying temperatures. This data will be invaluable for future bakes!
What temperature adjustments will you make to your baking routine today?