
Preventing Frosting Bleeding: Tips and Tricks

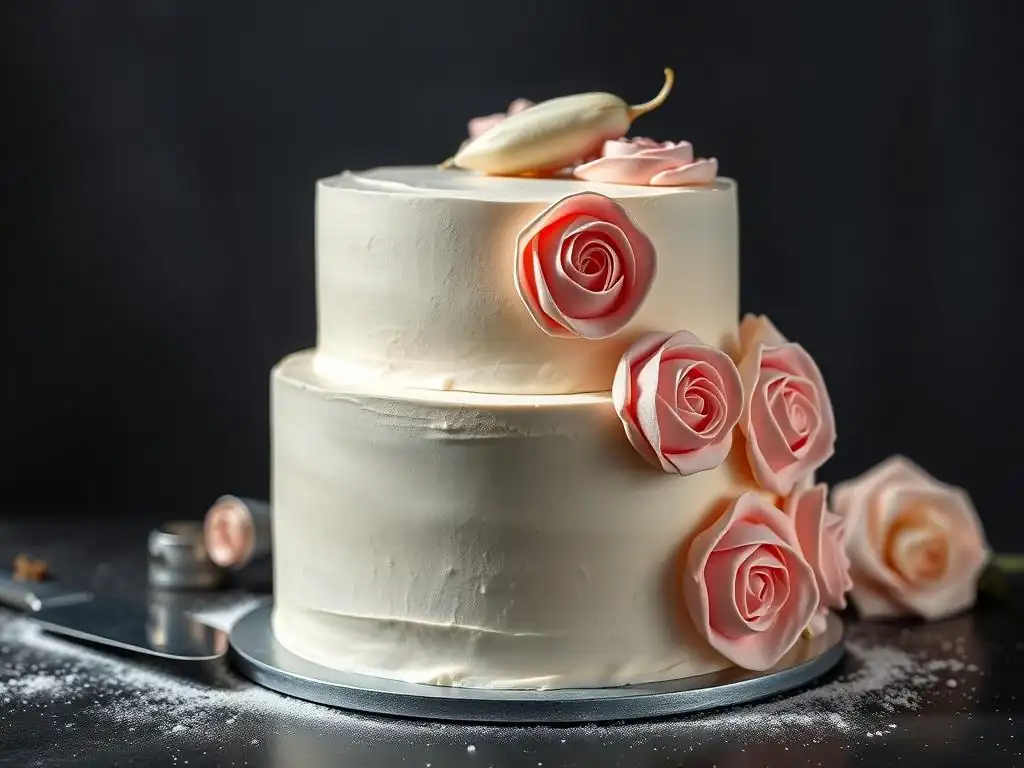
Welcome to BakeWithEase, your trusted guide to baking bliss! Ever wondered how to achieve picture-perfect frosted treats without the dreaded color bleed? Discover the secrets now! Our latest article, "Preventing Frosting Bleeding: Tips and Tricks," dives deep into the science and artistry of stable frosting, ensuring your creations always look as delicious as they taste. Ready to say goodbye to bleeding frosting forever? Let's get baking!
- Preventing Frosting Bleeding: Tips and Tricks for Perfect Cake Decorating
- Understanding Frosting Bleeding: Why Does it Happen?
- Preparing Your Frosting to Prevent Color Bleeding
- Essential Techniques to Stop Frosting From Bleeding
- Advanced Tips and Tricks for Frosting That Won't Bleed
- Troubleshooting Common Frosting Bleeding Issues
- Best Practices for Storing Decorated Cakes to Prevent Bleeding
- Frosting Won't Bleed Again: Your Checklist for Success
- Mastering Cake Decorating: Beyond Preventing Bleeding
-
Frequently Asked Questions
- How can I prevent my frosting from bleeding when decorating a cake?
- What ingredients in frosting contribute most to bleeding issues?
- Does the type of cake affect whether frosting bleeds?
- What are some tricks to help set the frosting and prevent bleeding?
- I'm using a dark-colored frosting. Is there anything specific I should do to prevent bleeding?
- Final Reflection: The Enduring Art of Flawless Frosting
- Conquer Frosting Bleeds: Bake Your Best Yet!
Preventing Frosting Bleeding: Tips and Tricks for Perfect Cake Decorating
Frosting bleed can turn a beautifully decorated cake into a smudged mess. It's that frustrating moment when vibrant colors start to seep into each other or into the cake itself. But fear not! With the right techniques and understanding, you can ensure your frosting won’t bleed again and keep your cake designs looking crisp and professional. This guide dives into the common culprits behind color migration and provides practical tips to achieve flawlessly decorated cakes every time.
Understanding Frosting Bleeding: Why Does it Happen?
Color bleeding in frosting occurs when dye molecules migrate from one area to another. This migration is often facilitated by moisture. Think of it like watercolor paint spreading on paper – the water carries the pigment. In frosting, the "water" can come from various sources, leading to colors running where you don't want them. Identifying the root cause is the first step to preventing this common decorating headache.
Understanding the specific factors contributing to bleeding, such as the type of coloring used, the frosting consistency, and even the environment, is crucial. It's a common challenge for bakers, especially when working with contrasting or intense colors like deep reds, blacks, or blues next to white or light-colored frosting. Learning to manage these variables is key to achieving a clean, professional finish that lasts.
Over-Saturation of Food Coloring: A Primary Cause
One of the most frequent reasons for frosting colors bleeding is simply using too much food coloring. Liquid food colorings, in particular, contain a significant amount of water or other liquid bases. Adding excessive amounts of these can introduce too much moisture into your frosting, making it more susceptible to color migration, especially when placed next to other colors. Even gel colors, while more concentrated, can cause bleeding if used in vast quantities.
When you add more coloring than the frosting structure can hold stably, the excess dye is essentially free to move. This is particularly true for intense colors like red or black, which require a high concentration of dye to achieve their desired depth. If you find yourself adding spoonfuls rather than drops, you're likely increasing the risk of bleeding. Using concentrated colors correctly is vital for vibrant results without the bleed-through.
Condensation and Ambient Humidity's Impact
Moisture in the environment plays a significant role in frosting bleed. When a cold cake decorated with frosting is brought into a warmer, more humid environment, condensation forms on the surface, just like condensation on a cold drink. This condensation introduces surface moisture, which can reactivate the dyes in the frosting, allowing them to spread and bleed into adjacent colors or the cake itself.
High ambient humidity, even without dramatic temperature changes, can also contribute. If the air is thick with moisture, the frosting absorbs it over time. This gradual absorption can soften the frosting's structure and encourage dye migration. Controlling the environment where the cake is stored and displayed is therefore critical, especially in humid climates or during warm seasons.
Bleeding Potential of Buttercream, Whipped Cream, and Ganache
Different types of frostings have varying levels of susceptibility to bleeding. Buttercream, particularly American buttercream (made with butter and powdered sugar), is generally more stable due to its high fat content, which repels water. However, it can still bleed if over-saturated with liquid coloring or exposed to significant moisture. Cream cheese frosting, due to its higher water content from the cream cheese, can be slightly more prone to bleeding than a stable buttercream.
Whipped cream and frostings made with whipped cream are often the most vulnerable to bleeding. Their light, airy structure holds more moisture, and they are less stable at room temperature. Ganache, especially white chocolate ganache colored with dyes, can also experience bleeding issues, although its density often provides more resistance than whipped cream. Understanding the base of your frosting helps predict its behavior and allows you to take appropriate preventative measures so your frosting won’t bleed again.
Preparing Your Frosting to Prevent Color Bleeding
Proper preparation of your frosting is the first line of defense against color bleed. It involves choosing the right ingredients, achieving the correct consistency, and selecting the most stable coloring agents. These steps lay the foundation for a successful decorating project where your colors stay exactly where you put them.
Taking the time during the frosting preparation phase can save you significant frustration later. It's not just about getting the taste right; it's about creating a stable medium for your artistic vision. A well-prepared frosting is half the battle won in the fight against color migration.
Buttercream vs. Cream Cheese Frosting: Choosing for Stability
When planning a cake with intricate designs or contrasting colors, the type of frosting you choose can impact the likelihood of bleeding. American buttercream, made primarily from butter, powdered sugar, and a small amount of liquid (milk or water), is generally a stable choice. The high-fat content of the butter creates a barrier against moisture movement. A classic ratio might be 1 part butter to 2-3 parts powdered sugar by weight.
Cream cheese frosting, while delicious, contains cream cheese, which has a higher water content than butter. This can make it slightly less stable for detailed work with contrasting colors. If you must use cream cheese frosting for a design requiring separate colors, consider thickening it slightly more than usual with extra powdered sugar or using a stabilized recipe that incorporates a small amount of cornstarch or meringue powder to help absorb excess moisture.
Achieving Stiff Peaks: The Ideal Consistency
The consistency of your frosting is critical for preventing bleeding. A frosting that is too thin or loose is more likely to allow colors to migrate. For decorating, especially piping with different colors next to each other, you want a frosting that holds its shape firmly – think stiff peaks, similar to meringue. This consistency provides a denser structure that inhibits dye movement.
If your buttercream is too soft, you can stiffen it by adding more powdered sugar, a tablespoon at a time, or by chilling it briefly in the refrigerator. For whipped cream-based frostings, ensuring you whip the cream to firm peaks and potentially using a stabilizer like gelatin or cornstarch can make a significant difference in preventing frosting won’t bleed again issues. A firm consistency acts as a physical barrier against color spread.
Concentrated Gel Colors: The Key to Vibrant, Stable Color
Choosing the right type of food coloring is paramount. Concentrated gel food colorings are widely recommended over liquid food colorings for frosting. Gel colors are made with less water and more pure pigment, meaning you need to use significantly less product to achieve a vibrant color. For example, achieving a deep red might require only a teaspoon or two of gel color for a standard batch of buttercream, whereas liquid color could require several tablespoons, drastically altering the frosting's consistency and increasing moisture.
By minimizing the amount of liquid added to the frosting while still achieving intense colors, you reduce the risk of color migration. Gel colors also tend to be more stable over time. Always start with a small amount of gel color on a toothpick and gradually add more until you reach the desired shade. This conservative approach helps maintain the frosting's structure and ensures your frosting won’t bleed again.
Essential Techniques to Stop Frosting From Bleeding
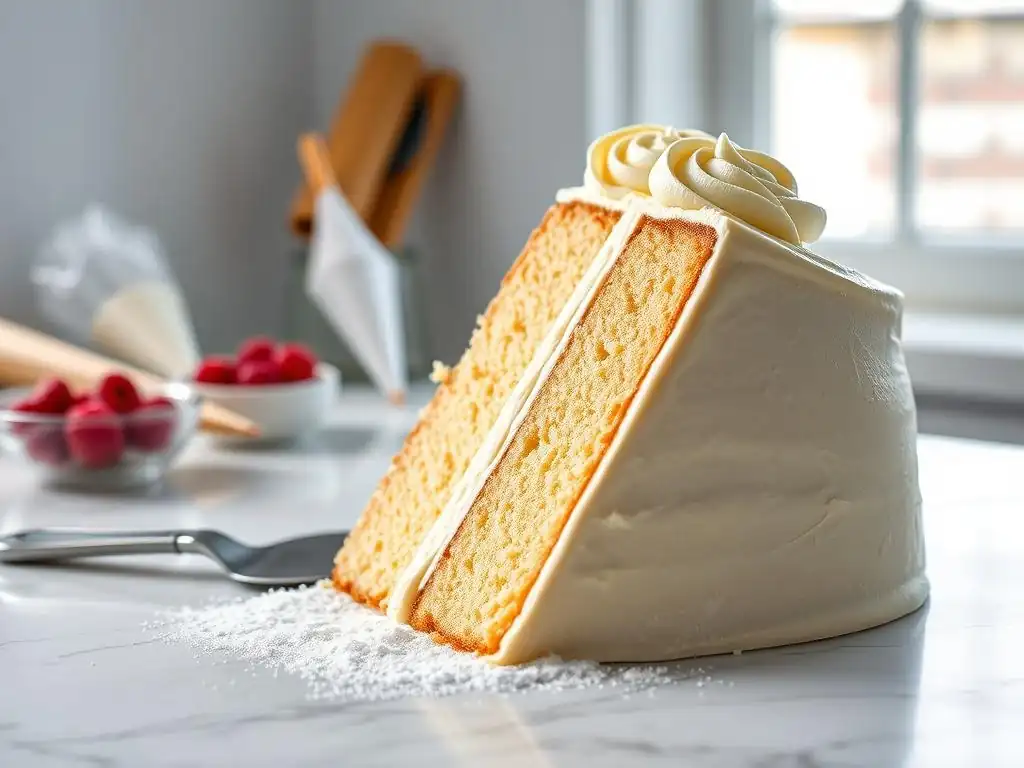
Beyond preparing the frosting correctly, several application techniques can act as barriers and further prevent color bleed. These methods focus on controlling moisture and creating physical separations between different colors or between the frosting and the cake itself. Implementing these steps provides extra layers of protection for your intricate designs.
Mastering these techniques is part of becoming a skilled cake decorator. They require a little extra time and effort, but the result – a flawless, bleed-free cake – is well worth it. These methods are particularly useful when working with challenging colors or in less-than-ideal environmental conditions.
The Crumb Coat: Sealing in Crumbs and Reducing Moisture
A crumb coat is a thin layer of frosting applied to a cake before the final decorative layer. Its primary purpose is to trap any loose crumbs, preventing them from getting into your final frosting layer. However, a crumb coat serves another crucial function: it seals the cake, creating a barrier that can help prevent moisture migration from the cake into the frosting.
Apply a thin, even layer of frosting all over the cake, then chill it thoroughly until firm (typically 15-30 minutes in the refrigerator). This firm layer provides a stable base and helps isolate the decorative frosting from the cake's internal moisture. While not a direct barrier between frosting colors, a good crumb coat contributes to overall stability and helps ensure your final layer of frosting won’t bleed again from cake interaction.
Candy Melts or Ganache: Creating a Moisture Barrier
For areas where dark, potent colors will be placed directly next to light colors or the cake surface, creating a specific moisture barrier can be highly effective. One method is to use melted candy melts (like white or colored confectionery wafers) or a thin layer of ganache (white or dark chocolate).
For example, if you are piping a black border directly onto a white cake surface or a white frosting background, you could first pipe a thin line of melted white candy melts or white ganache where the black will go. Once this barrier sets (which happens quickly as it cools), you can pipe the black frosting on top. The solid barrier prevents the moisture and dye from the black frosting from migrating into the white area. This is a particularly robust technique for ensuring your frosting won’t bleed again in critical high-contrast areas.
Thin, Even Layers: Promoting Consistent Drying
Applying frosting in thin, even layers, especially the final decorative layer, can help prevent bleeding. Thick layers of frosting, particularly if inconsistent in thickness, can trap moisture and take longer to set. This prolonged setting time increases the opportunity for dyes to migrate.
When applying your final coat, aim for smooth, even coverage. If piping details, try to keep the thickness of the piped lines consistent. This allows the frosting to set up uniformly, reducing the chances of some areas staying moist longer than others and initiating bleeding. Patience and careful application of thin layers contribute significantly to a clean finish.
Refrigeration: Solidifying Frosting and Preventing Migration
Cold is your friend when it comes to preventing frosting bleeding. Refrigerating the cake after applying the frosting (especially after the crumb coat and after applying contrasting colors) helps to firm up the frosting. As the frosting chills and solidifies, the movement of moisture and dye molecules slows down significantly, effectively halting or preventing bleeding.
After applying a crumb coat, chill until firm. After applying the final layer of frosting, especially if it involves multiple colors, chill the cake again until the frosting is firm to the touch before adding delicate details or serving. Short chilling periods (15-30 minutes) between applying different colors or elements can be very effective in setting each layer and preventing migration. Refrigeration is a powerful tool to ensure your frosting won’t bleed again.
Advanced Tips and Tricks for Frosting That Won't Bleed
Once you've mastered the basics, you can explore more advanced techniques and material choices to further enhance the stability of your frosting colors. These tips delve deeper into ingredient science and application strategy to tackle even the most challenging color combinations.
Employing these advanced strategies can elevate your cake decorating skills and give you confidence when working with vibrant or difficult colors. They provide additional layers of security against bleeding, ensuring your finished cake looks spectacular and stays that way.
Gel vs. Liquid Food Coloring: Concentration and Water Content
Reiterating the importance, the difference in concentration and water content between gel and liquid food coloring is the single most impactful factor in preventing bleeding. Liquid colors are diluted and require using much more volume to achieve intensity, adding excess moisture. A standard 1 oz bottle of liquid red might be needed for a vibrant color, introducing several tablespoons of liquid.
In contrast, gel colors are highly concentrated pastes or gels. A tiny drop or a small amount on a toothpick is often sufficient for vibrant colors. Using even half a teaspoon of a concentrated gel color can achieve a deep shade with minimal added moisture. Always opt for high-quality, concentrated gel colors from reputable brands known for their stability and pigment load to ensure your frosting won’t bleed again due to excessive liquid.
Powdered Sugar: Increasing Stability in Buttercream
While adding powdered sugar stiffens buttercream, it also contributes to stability by absorbing moisture. Powdered sugar contains a small amount of cornstarch (usually around 3%) which acts as an anti-caking agent but also helps absorb excess liquid. Increasing the ratio of powdered sugar slightly in your buttercream can make it firmer and less prone to bleeding.
A standard American buttercream ratio might be 1 part butter to 2 parts powdered sugar by weight. Increasing this to 1:2.5 or even 1:3, while adjusting liquid slightly for consistency, can create a more stable base. However, be mindful not to add so much sugar that the frosting becomes dry or grainy. It's a balance between stability and texture.
Melted White Chocolate: A Flavorful Moisture Barrier
Incorporating melted white chocolate into buttercream (like a Swiss meringue or Italian meringue buttercream base) or using it as a direct barrier offers both flavor and stability. White chocolate contains cocoa butter, a fat that repels water. Adding cooled, melted white chocolate to buttercream can improve its structure and resistance to moisture migration.
As mentioned earlier, a thin layer of melted white chocolate, allowed to set, can also serve as an excellent physical barrier between colors. This is particularly useful when piping intricate details or borders. The solid chocolate layer effectively isolates the colors, making it much harder for dyes to move across the boundary. This technique is especially effective for achieving a frosting won’t bleed again result on detailed designs.
Piping Gel Isolation: Separating Colors and Preventing Bleeding
Piping gel, a clear, thick gel often used in cake decorating, can also be employed as an isolating barrier. While it doesn't harden like chocolate, its thick, slightly sticky consistency can help contain colors. Some decorators pipe a thin line of clear piping gel between areas where different colors will meet.
Once the piping gel is applied, the adjacent colors are piped up to the gel line but not over it. The gel creates a physical buffer zone. This method is less common than chocolate barriers but can be useful in specific situations, particularly for delicate airbrushing or painting techniques where precise color separation is needed.
Troubleshooting Common Frosting Bleeding Issues
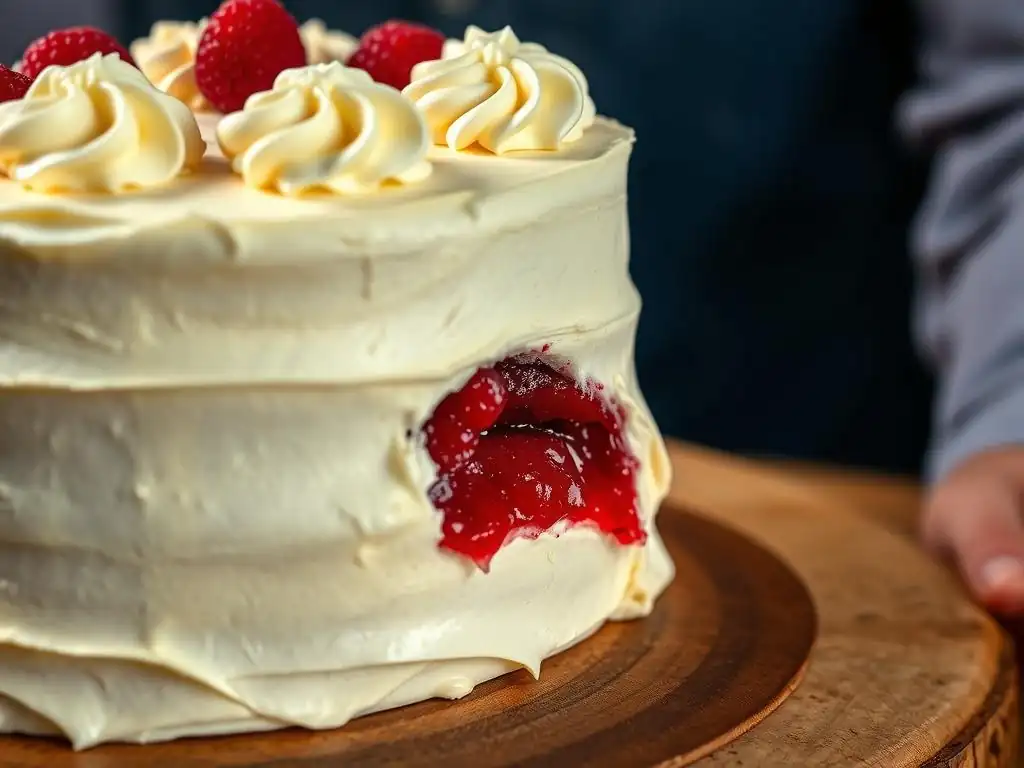
Even with the best preventative measures, sometimes bleeding can still occur. Knowing how to troubleshoot common scenarios can help you mitigate the damage or understand what went wrong for future projects. Addressing specific problematic colors and frosting types is key.
Certain colors and frosting bases present unique challenges. Understanding these specific difficulties allows you to apply targeted solutions and increase your success rate, ensuring your frosting won’t bleed again in common problem areas.
Deep Red and Black Frosting: Special Considerations
Deep red and black are notoriously difficult colors to achieve and often the most prone to bleeding. They require a very high concentration of dye. To minimize bleeding with these colors:
- Use high-quality, super-red or super-black concentrated gel colors specifically designed for minimal bleeding.
- Consider using a base frosting that is already dark (like chocolate buttercream for black) to reduce the amount of black dye needed.
- Allow colored frosting to deepen over time. Often, the color will intensify as it sits, meaning you might not need as much dye initially. Mix the color slightly lighter than desired and let it sit for an hour or two.
- Use the barrier techniques (chocolate, ganache) discussed earlier when placing these colors next to light colors.
Buttercream Bleeding: Over-Mixing and Temperature
Buttercream can bleed if it's over-mixed after coloring. Over-mixing can sometimes break down the fat structure, releasing trapped moisture. Mix colors in gently until just combined. Also, temperature fluctuations can cause buttercream to soften and then reharden unevenly, potentially leading to some bleeding. Keep buttercream at a consistent, cool room temperature while working, and chill properly afterward.
If buttercream starts to bleed, it might be due to excess moisture. If the cake is already decorated, chilling it immediately is the best course of action to halt the migration. For future batches, ensure you are using sufficient powdered sugar and concentrated gel colors, and avoid over-mixing.
Whipped Cream Bleeding: Stabilization Techniques
Whipped cream's high moisture content makes it very susceptible to bleeding. To prevent this, stabilization is almost always necessary for colored whipped cream. Common stabilizers include:
- Gelatin: Dissolve powdered gelatin in cold water, then heat gently until clear (do not boil). Allow to cool slightly but remain liquid, then whisk into the whipped cream towards the end of whipping. Use about 1-2 teaspoons of gelatin per cup of heavy cream.
- Cornstarch or Meringue Powder: Some recipes incorporate these dry ingredients into the powdered sugar used to sweeten the cream. The starch helps absorb moisture.
Using a stabilizer significantly improves the whipped cream's ability to hold color and shape, helping ensure your frosting won’t bleed again.
Best Practices for Storing Decorated Cakes to Prevent Bleeding
How you store your decorated cake after finishing is just as important as the techniques used during decorating. Improper storage can quickly undo all your hard work, leading to condensation and subsequent bleeding.
Protecting the cake from environmental moisture and temperature changes is key to maintaining its appearance. Following these storage guidelines will help preserve the integrity of your frosting colors until it's time to serve.
Refrigeration is Key: Maintaining Cold Temperatures
Once decorated, a cake, especially one with moisture-sensitive frosting or intricate colored designs, should be refrigerated. The cold temperature keeps the frosting firm and stable, preventing dye migration. Aim for a refrigerator temperature between 35°F and 40°F (1.7°C to 4.4°C).
Keep the cake in the refrigerator until shortly before serving. This is particularly important if you live in a warm or humid climate. The longer the cake is exposed to warmer, potentially humid air, the higher the risk of condensation and bleeding.
Airtight Containers: Minimizing Humidity Exposure
Storing the cake in an airtight container is crucial for preventing condensation. When a cold cake is placed in the refrigerator, moisture in the air inside the fridge can still condense on the cold surface. An airtight container traps the air around the cake, and as the cake cools, it cools the air inside the container. This minimizes the temperature difference between the cake surface and the surrounding air when removed, significantly reducing condensation.
Use a cake carrier with a tight-fitting lid or place the cake box inside a large plastic bag, sealing it well. Ensure the container is large enough that it doesn't touch the frosting. This simple step is highly effective in preventing the moisture issues that cause frosting won’t bleed again problems.
Proper Boxing: Protecting from Condensation
If using a standard cake box, it's best to place the entire boxed cake inside a large, sealable plastic bag before refrigerating. This creates a micro-environment around the cake that helps regulate temperature and humidity changes when the cake is moved in and out of the fridge.
When taking the cake out of refrigeration, leave it inside the sealed container or box/bag for at least 30 minutes to an hour at room temperature. This allows the cake to warm up gradually, reducing the temperature difference between the cake and the ambient air and minimizing condensation. Removing the cake from its protective environment too soon is a common mistake that can lead to sudden, visible bleeding.
Frosting Won't Bleed Again: Your Checklist for Success
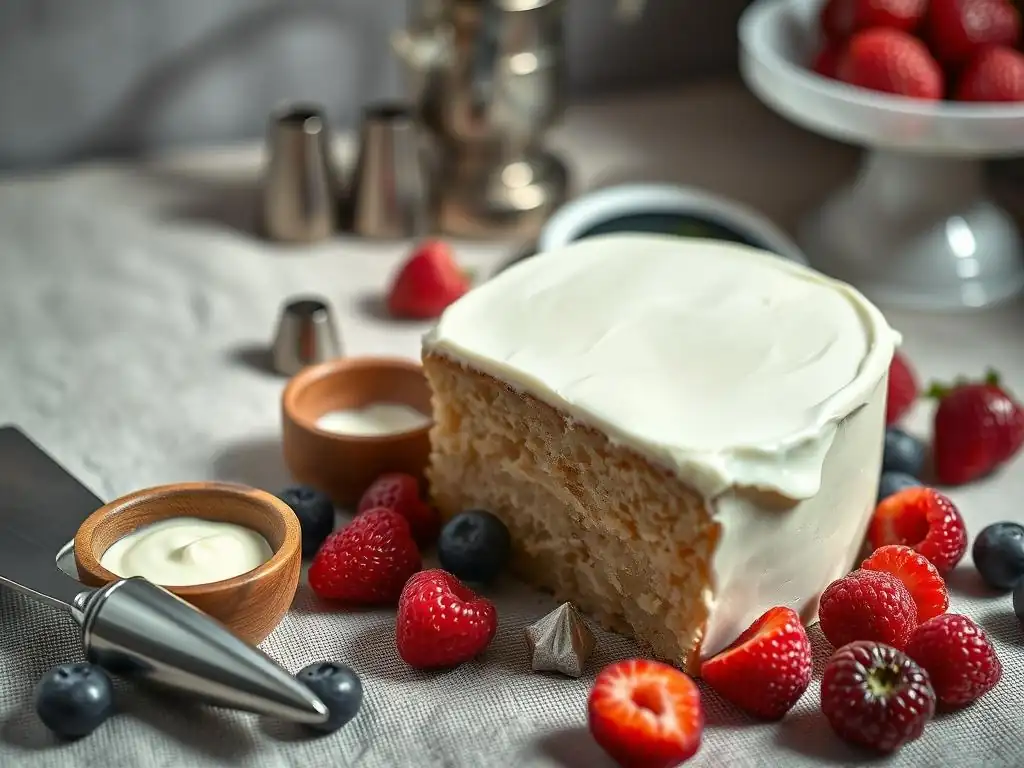
Achieving bleed-free frosting is a culmination of careful planning and execution. By following a few key steps consistently, you can dramatically improve the outcome of your decorated cakes. Use this checklist as a quick reference before starting your next project.
Having a systematic approach ensures that you don't overlook any critical steps. This checklist summarizes the most important factors to consider, helping you confidently create beautiful cakes where your frosting won’t bleed again.
Checklist: Crumb Coat, Gel Colors, Proper Consistency, Refrigeration
- [ ] Plan your colors: Minimize high-contrast colors placed directly adjacent if possible, or plan to use barrier techniques.
- [ ] Choose the right frosting: Opt for stable buttercreams or stabilize other types (like whipped cream).
- [ ] Use concentrated gel colors: Avoid liquid colors, and use the minimum amount needed for the desired shade. Allow color to deepen over time.
- [ ] Achieve stiff consistency: Ensure your frosting holds its shape well for piping and spreading.
- [ ] Apply a crumb coat: Seal the cake and chill until firm.
- [ ] Consider moisture barriers: Use melted chocolate, ganache, or piping gel for high-risk color boundaries.
- [ ] Apply thin, even layers: Promote uniform setting of the frosting.
- [ ] Refrigerate frequently: Chill the cake after the crumb coat, after applying contrasting colors, and before serving.
- [ ] Store properly: Use airtight containers or bag the boxed cake when refrigerating.
- [ ] Allow gradual warming: Let the cake sit in its container at room temp before uncovering to prevent condensation.
Recommended Tools: Offset Spatula, Piping Bags, Gel Food Coloring
Having the right tools can make applying these techniques easier and more effective.
- Offset Spatula: Essential for applying smooth, even crumb coats and final frosting layers. Various sizes are helpful.
- Piping Bags and Tips: Necessary for controlled application of frosting, especially when using barrier techniques or applying different colors precisely.
- High-Quality Concentrated Gel Food Coloring: Invest in a good set of gel colors from a reputable brand known for pigment intensity and stability.
- Bench Scraper/Smoother: Helps achieve smooth, even sides on your frosted cake, promoting consistent layer thickness.
Mastering Cake Decorating: Beyond Preventing Bleeding
Preventing frosting bleeding is a significant step in mastering cake decorating, but it's just one piece of the puzzle. Once you can confidently create cakes where the frosting won’t bleed again, you can focus on refining other techniques that will take your decorating skills to the next level.
Continuing to practice and learn new skills will open up a world of possibilities in cake design. From achieving perfectly smooth sides to creating intricate piped designs, each new technique builds upon your foundational knowledge.
Achieving Sharp Edges on Buttercream Cakes
Once your buttercream is stable and you're confident it won't bleed, work on perfecting sharp edges. Apply a generous, even layer of chilled buttercream to your crumb-coated cake. Use a tall bench scraper held perpendicular to the cake side and parallel to the turntable. Rotate the turntable while holding the scraper steady to remove excess frosting and create smooth sides. Then, use a small offset spatula to carefully pull the excess frosting from the top edge towards the center of the cake. Chill thoroughly between steps for best results.
Mastering Different Piping Techniques
With stable, non-bleeding frosting, you can explore a vast array of piping techniques using different tips. Practice basic techniques like stars, shells, rosettes, and dots. Experiment with different piping consistencies for different effects. Learning to apply consistent pressure and angle with your piping bag is key to creating uniform and professional-looking piped designs. Your bleed-free frosting provides the perfect canvas!
Frequently Asked Questions
How can I prevent my frosting from bleeding when decorating a cake?
The most common cause is using too much liquid in your frosting. Also, ensure the cake is completely cooled before frosting.
What ingredients in frosting contribute most to bleeding issues?
High amounts of water-based food coloring and excessive liquid extracts can cause bleeding. Consider using gel-based colors instead.
Does the type of cake affect whether frosting bleeds?
Yes, very moist cakes can sometimes cause frosting to bleed, especially if the frosting is thin. A denser cake will help the frosting hold its shape.
What are some tricks to help set the frosting and prevent bleeding?
Chilling the frosted cake in the refrigerator for a short period can help the frosting firm up and reduce bleeding.
I'm using a dark-colored frosting. Is there anything specific I should do to prevent bleeding?
Dark colors, especially red and black, often require more dye, increasing the risk of bleeding. Use gel food coloring and consider a white chocolate base to minimize the amount of dye needed.
Final Reflection: The Enduring Art of Flawless Frosting
Preventing frosting bleed is more than just a baking technique; it's a testament to the power of precision and preparation. A perfectly frosted cake, free from unsightly color runs, is a symbol of culinary artistry, a visual delight that elevates the entire baking experience. This seemingly small detail can significantly impact the overall presentation and enjoyment of a cake, transforming it from a simple dessert into a masterpiece.
The pursuit of bleed-free frosting reflects a broader cultural appreciation for detail and perfection. We strive for flawless results in many aspects of life, and the meticulous process of achieving this in baking provides a satisfying sense of accomplishment. This attention to detail isn't just about aesthetics; it's about taking pride in one's craft and delivering a product that exceeds expectations. The details are not the details. They make the design.
– Charles Eames. This quote perfectly encapsulates the importance of seemingly minor details, like preventing frosting bleed, in achieving overall excellence.
Now, armed with these tips and tricks, I invite you to embark on your own baking journey. Don't be afraid to experiment, to refine your techniques, and to find what works best for you. Remember, the path to mastering bleed-free frosting is a process of learning, adapting, and celebrating the small victories along the way. Each perfectly frosted cake is a testament to your dedication and skill, a delicious reward for your efforts, and a source of joy for those who share in its beauty. So, go forth and create your own masterpieces!
Conquer Frosting Bleeds: Bake Your Best Yet!
Thanks for taking the time to learn about preventing frosting bleeds! We hope you now feel more confident in creating flawlessly frosted cakes. Ready to put your new skills to the test?
- Try our recommended frosting recipe and technique: We've included a direct link to a recipe specifically designed to minimize bleeding in the article itself. Give it a go!
- Share your baking triumphs (or challenges!) with us on social media! Use #BakeWithEaseFrosting to connect with other bakers.
- Experiment with different frosting types and colors: This is your chance to explore how various consistencies and shades impact bleed potential.
So, what delicious creation will you frost flawlessly today?