
The Simple Palette Knife Swirl

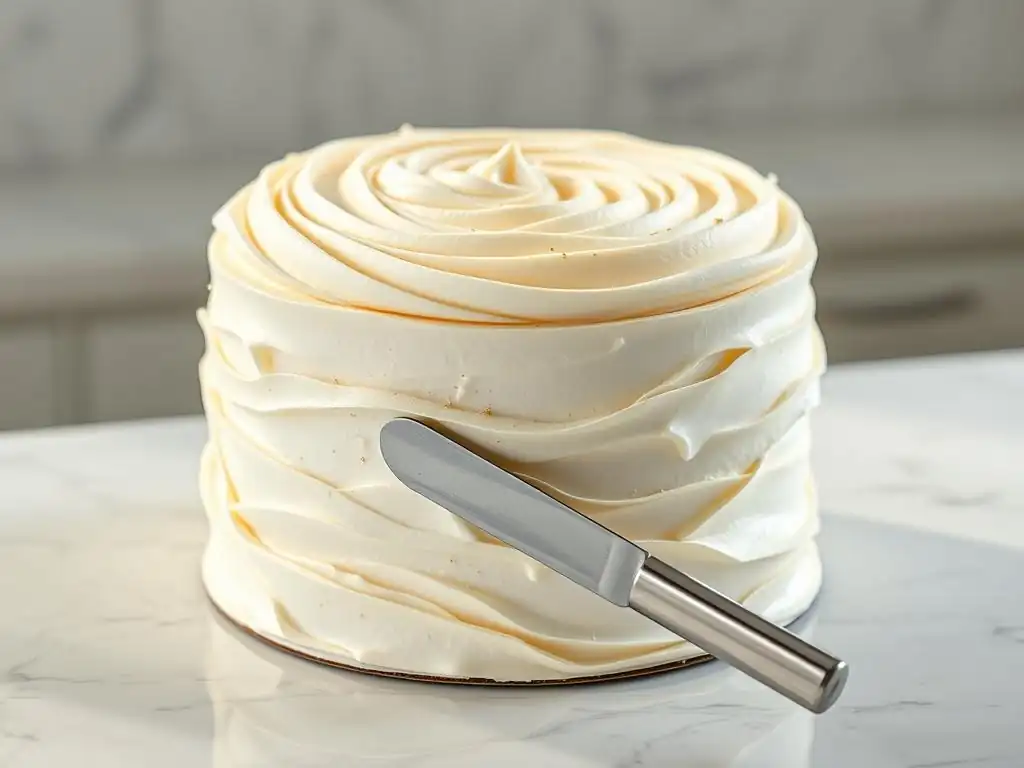
Welcome to BakeWithEase, your haven for all things baking! Ever wondered how to achieve that flawlessly elegant buttercream finish you see on professional cakes? Prepare to be amazed, because in this article, we're demystifying the art of the palette knife swirl buttercream frosting. It's simpler than you think, and the results are stunning. Ready to unlock this technique and transform your cakes into edible masterpieces? Let's get started!
- Mastering the Palette Knife: Cake Decorating Techniques
- Introduction to Palette Knife Cake Decorating
- Understanding Your Tools: Palette Knives and Frosting
- Step-by-Step Guide: Achieving Different Palette Knife Effects
- Palette Knife Decorating Variations and Creative Ideas
- Troubleshooting Common Palette Knife Issues
- Tips and Tricks for Stunning Palette Knife Designs
- Showcasing Your Palette Knife Creations
- Conclusion: Expanding Your Cake Decorating Skills
-
Frequently Asked Questions
- What is a palette knife swirl on buttercream frosting?
- What kind of buttercream works best for a palette knife swirl?
- What size and shape of palette knife should I use?
- How do I prevent my buttercream from mixing colors when swirling?
- What are some tips for achieving a professional-looking palette knife swirl?
- Final Reflection: The Enduring Allure of the Simple Swirl
- Unleash Your Inner Pastry Artist: Master the Swirl!
Mastering the Palette Knife: Cake Decorating Techniques
Introduction to Palette Knife Cake Decorating
Elevate Your Cakes with Texture and Dimension
Using a palette knife for cake decorating opens up a world of creative possibilities, allowing you to transform simple frosted cakes into edible works of art. This technique moves beyond smooth finishes, enabling you to add dynamic textures, bold strokes, and unique patterns that capture the eye.
Think of the knife not just as a tool for spreading, but as a brush creating texture on a canvas of frosting. The varying pressure and angle of the palette knife can produce subtle ripples, dramatic peaks, or the ever-popular palette knife swirl buttercream frosting effect, giving your cake a professional, artisanal appearance with relatively simple movements.
Beyond aesthetics, adding texture with a palette knife can also be forgiving. Unlike striving for a perfectly smooth finish that highlights every imperfection, a textured design can cleverly disguise minor bumps or inconsistencies in your frosting application. It's a fantastic way for bakers of all skill levels to add visual interest and depth to their cakes, making each creation truly unique. Whether you're aiming for a rustic charm or a modern artistic statement, mastering the palette knife technique is a valuable skill in any cake decorator's repertoire.
Why Choose Palette Knife Decorating?
Palette knife decorating offers a refreshing alternative to traditional piping bags and tips, providing a more organic and artistic approach to frosting cakes. It's often quicker than meticulously piping intricate designs, especially when covering large surfaces or creating all-over textures. The direct application of frosting with a knife allows for spontaneous creativity; you can blend colors directly on the cake or create sweeping gestures that are difficult to replicate with other tools. Many find the process itself quite therapeutic, enjoying the tactile experience of shaping the frosting with the knife.
Furthermore, the palette knife technique is incredibly versatile. While it's famous for creating beautiful palette knife swirl buttercream frosting, it can also be used for sharp edges, abstract painting effects, or even forming delicate frosting flowers directly on the cake surface. This versatility means you can achieve a wide range of styles – from minimalist modern to richly textured rustic – using just one or two simple tools. It's an excellent method for adding a personalized touch to celebration cakes without needing an extensive collection of specialized piping nozzles.
Understanding Your Tools: Palette Knives and Frosting
Selecting the Right Palette Knife for Various Techniques
Palette knives, often confused with spatulas, are characterized by their flexible, blunt blades designed for spreading, mixing, and applying materials smoothly. For cake decorating, you'll typically encounter two main types: straight and offset. A straight palette knife has a blade that continues directly from the handle, while an offset palette knife has a bend in the handle, lifting it above the blade. This offset design is particularly useful for frosting cakes as it keeps your knuckles away from the cake surface, allowing for smoother application, especially on the sides and top edges.
Sizes also vary, ranging from small 4-inch blades perfect for detail work or small cakes, to larger 10-inch or 12-inch blades suitable for quickly covering large cake surfaces or creating sweeping textures. For achieving a classic palette knife swirl buttercream frosting, a medium-sized offset palette knife (around 6-8 inches) is often ideal, providing good control for creating distinct swirls. Having a selection of sizes and shapes (some blades are more rounded, others pointed) will allow you to experiment with different effects and find the tools that feel most comfortable for your hand and the specific technique you're attempting.
The Best Frosting Consistency for Palette Knife Application
The success of your palette knife decorations heavily relies on the consistency of your frosting. For most palette knife techniques, including creating a beautiful palette knife swirl buttercream frosting, a medium-stiff consistency is generally preferred. The frosting should be thick enough to hold its shape when applied and manipulated with the knife, but not so stiff that it's difficult to spread smoothly or creates tearing on the cake surface. Buttercream is a popular choice due to its smooth texture and ability to hold peaks, but ganache and cream cheese frosting can also work if prepared to the right consistency.
If your frosting is too thin, it will simply slide off the cake or fail to hold the texture you're trying to create. If it's too thick, it will be hard to spread evenly and might pull crumbs from the cake. You can adjust consistency by adding a tiny bit of liquid (like milk or cream) to thin it, or a bit more sifted powdered sugar or meringue powder to thicken it.
A good test is to scoop some frosting onto your knife; it should cling to the knife without dripping and feel spreadable but firm. Ensure your frosting is free of air bubbles by mixing it on low speed or stirring it manually before application.
Preparing Your Cake for Palette Knife Decorating
Proper cake preparation is crucial before you even pick up your palette knife to apply the final layer of frosting. First, ensure your cake layers are completely cooled. Attempting to frost a warm cake will result in melting frosting and a crumbly mess. If possible, chilling your cooled cake in the refrigerator for 15-30 minutes can make it firmer and easier to handle. Leveling your cake layers is also important for stability and achieving an even canvas. You can use a serrated knife or a cake leveler for this step.
Once the layers are stacked, a crumb coat is essential. This is a thin layer of frosting applied all over the cake to trap any loose crumbs. Apply this thin layer, then chill the cake again (typically for 20-30 minutes) until the crumb coat is firm to the touch.
This creates a smooth, stable base for your final frosting layer, preventing crumbs from ruining your beautiful palette knife swirl buttercream frosting or other textured designs. A well-chilled crumb coat provides the ideal surface for the main application of frosting, allowing the palette knife to glide smoothly without picking up cake particles.
Step-by-Step Guide: Achieving Different Palette Knife Effects
Step 1: Crumb Coating Your Cake
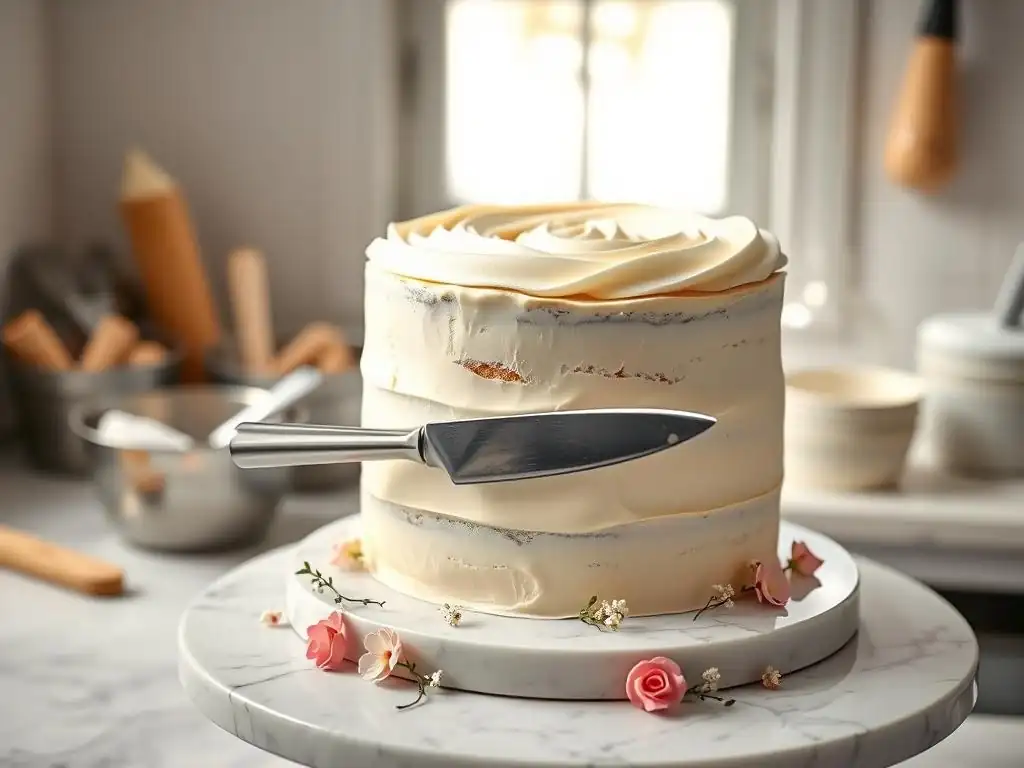
The crumb coat is the foundational step for any well-frosted cake, especially when planning textured palette knife finishes. Start with your cooled, leveled cake layers stacked on a cake board or serving plate. Place a dollop of frosting on top of the cake and spread it thinly over the top and down the sides using an offset palette knife or a bench scraper. The goal here isn't perfection, but simply to cover the entire cake surface with a thin layer of frosting. Don't worry about crumbs getting into the frosting; that's exactly what this layer is designed to capture.
Once the cake is fully covered with the thin crumb coat, use your palette knife or scraper to gently smooth it out as much as possible, removing excess frosting. This step is quick and functional. For an 8-inch round cake, you might use only about 1/2 cup of frosting for the crumb coat.
After applying the crumb coat, refrigerate the cake for at least 20-30 minutes, or until the frosting is firm and dry to the touch. This chilling period sets the crumb coat, creating a barrier that locks in all those pesky crumbs, ensuring they won't appear in your final, decorative layer of palette knife swirl buttercream frosting.
Step 2: Applying the Base Layer of Frosting
After the crumb coat is firm, it's time to apply a more generous layer of frosting, which will serve as the canvas for your palette knife techniques. Apply a thick, even layer of frosting to the top and sides of the cake. You can do this by scooping large amounts of frosting onto your palette knife and spreading it, or by piping rings of frosting around the cake sides and top using a piping bag with a large round tip (like an Ateco 808). Piping helps ensure an even thickness of frosting, which is beneficial for consistent texture.
Once the cake is covered with a substantial amount of frosting – enough to work with without exposing the crumb coat underneath (typically 1/4 to 1/2 inch thick) – use your palette knife or a bench scraper to smooth it out slightly. You don't need a perfectly smooth finish at this stage unless your desired final effect requires a smooth base before adding texture.
The goal is simply to have enough frosting on the cake to manipulate with your palette knife to create your desired texture, such as a vibrant palette knife swirl buttercream frosting. For an 8-inch cake, this layer might require 2-3 cups of frosting.
Step 3: Mastering Specific Palette Knife Techniques
Creating a Textured Rustic Finish
A textured rustic finish is one of the most popular and forgiving palette knife techniques, perfect for achieving that charming, imperfect look. With your base layer of frosting applied, hold your palette knife at a slight angle (around 30-45 degrees) against the cake surface. Using short, overlapping strokes, gently drag the knife through the frosting. You can vary the direction of your strokes (up, down, sideways, or even in swoops) to create different patterns. For instance, dragging the knife upwards creates peaks, while dragging it sideways can create waves.
The key is to experiment with pressure and angle. Less pressure creates subtle ripples, while more pressure can create deeper grooves or pull the frosting more dramatically. You can also lift the knife slightly away from the cake at the end of a stroke to create small peaks, adding more dimension.
This technique is fantastic for using a palette knife to create a beautiful swirl buttercream frosting effect on the sides or top of the cake by using sweeping, curved motions with the knife. Don't aim for uniformity; the beauty of this finish lies in its organic, slightly uneven appearance.
Achieving a Smooth, Modern Look
While palette knives are great for texture, they are also essential tools for achieving incredibly smooth, sharp edges on a cake, a hallmark of modern cake design. After applying your base layer of frosting, use a large, straight palette knife or a bench scraper held perpendicular to the cake surface. Starting with the sides, hold the scraper against the cake and rotate the turntable slowly and steadily, keeping the scraper in place. This shaves off excess frosting and smooths the surface. Repeat this process until the sides are smooth and straight.
For the top, use a large offset palette knife. Starting from the outer edge, hold the knife flat against the top surface and gently pull it towards the center, dragging excess frosting with it. Wipe the knife clean after each pull.
Repeat this process around the entire top edge, working inwards until the top is smooth and flush with the sharp edge created on the sides. This requires patience and practice, often involving chilling the cake between smoothing passes. A smooth finish is the perfect base if you plan to add minimal, precise details or simple palette knife swirl buttercream frosting accents later.
Adding Dimension with Palette Knife Painting
Palette knife painting on cakes involves using frosting like paint to create artistic designs directly on the frosted surface. This technique typically starts with a base layer of smooth or lightly textured frosting, often white or a pale color. You then apply small amounts of different colored frostings onto the cake using the palette knife, spreading, blending, and layering them to create effects ranging from abstract strokes to impressionistic floral designs. Use a small palette knife (like a 4-6 inch offset or straight) for more control over smaller details.
To create a painted effect, place a small amount of colored frosting on your knife. Gently press the knife flat against the cake and drag it slightly, or dab it to create texture. You can layer colors wet-on-wet to blend them directly on the cake, or let a layer crust slightly before adding another color on top for more defined strokes. This technique is excellent for creating textured floral petals or abstract bursts of color. It's a highly creative application of the palette knife, allowing you to treat the cake as a true artistic canvas.
Palette Knife Decorating Variations and Creative Ideas
Abstract Palette Knife Designs
Abstract designs are perhaps the most freeing application of the palette knife, encouraging spontaneous creativity without strict rules. These designs often involve applying various colors of frosting onto the cake and using the palette knife to swirl, scrape, and blend them in dynamic patterns. You might apply large swatches of color and then use a clean knife to drag lines or curves through them, or layer different shades and gently press the knife against the surface to create textured blocks of color. The beauty lies in the non-representational nature, allowing for bold strokes and vibrant color combinations.
Consider using multiple palette knives or cleaning your knife frequently when working with several colors to prevent muddying. Experiment with different knife sizes and shapes; a small, pointed knife can create fine lines or small dabs of color, while a large, straight knife can create sweeping, broad strokes.
An abstract palette knife swirl buttercream frosting design might involve applying several complementary colors and then using a swirling motion with an offset knife to blend them together loosely, creating a marbled or painterly effect across the cake surface. There are no mistakes in abstract art – only opportunities for unique expression!
Floral Palette Knife Designs
Creating flowers with a palette knife is a popular and achievable technique that yields beautiful, textured results. This often involves applying frosting directly onto the cake surface and shaping it into petals and leaves using the edge or flat side of a small palette knife. For a simple rose, you might start by creating a central bud with a dollop of frosting, then add small amounts of frosting around it, shaping them into curved petal forms by pressing the knife against the frosting and dragging it slightly.
Different types of flowers can be created by varying the color, consistency, and application method of the frosting. Sunflowers can be made with yellow frosting applied in short, textured strokes radiating from a central brown circle, while lavender sprigs can be created by dabbing small amounts of purple frosting with the tip of the knife.
Using a palette knife to create buttercream frosting flowers offers a unique, textured look distinct from piped flowers, adding a charming, handmade feel to your cake decorations. Practice on a piece of parchment paper first to get a feel for shaping the petals before working directly on the cake.
Geometric Palette Knife Designs
Geometric designs offer a more structured approach to palette knife decorating, focusing on clean lines, sharp angles, and defined shapes. This can involve using the straight edge of a palette knife or bench scraper to create precise patterns in the frosting. For instance, you could create vertical or horizontal stripes by dragging the side of a straight knife or scraper through a thick layer of frosting. Chevrons or diagonal patterns can be achieved by angling the knife differently.
To create more complex geometric shapes like squares or diamonds, you might apply frosting in specific areas and then use the knife to define the edges and fill in the shapes. Using stencils can also help guide your palette knife for precise geometric patterns. For a clean look, it's often helpful to chill the cake slightly between applying different sections or colors of frosting. While less common than the rustic or floral styles, geometric designs showcase the palette knife's ability to create sharp, modern looks and add a striking visual element to your palette knife swirl buttercream frosting cake.
Troubleshooting Common Palette Knife Issues
Preventing Crumbs in Your Frosting
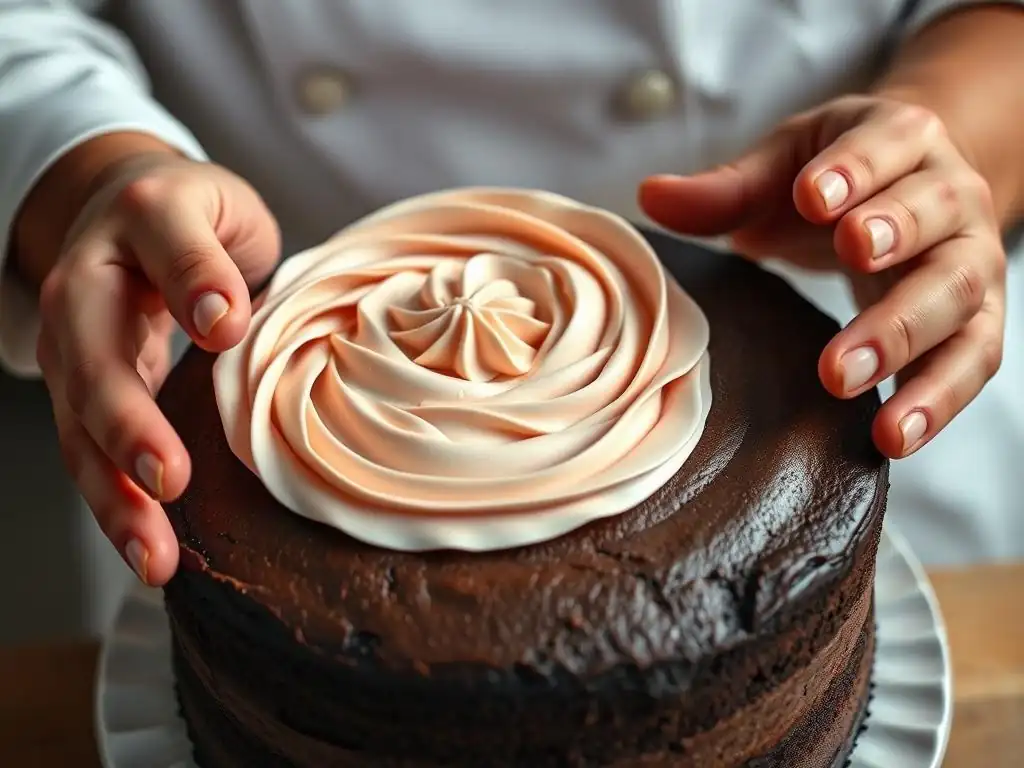
One of the most frustrating issues when decorating a cake is picking up crumbs from the cake into your beautiful final layer of frosting, ruining the clean look. The most effective way to prevent this is by applying a thorough crumb coat (as discussed in Step 1) and chilling the cake until that layer is firm. This seals in all loose particles, creating a smooth, stable surface. Ensure the crumb coat is completely set before applying your main frosting layer.
When applying the final layer, use generous amounts of frosting. Don't try to spread a thin amount, as this requires more pressure and is more likely to drag crumbs. Scoop a good amount of frosting onto your palette knife and apply it gently, letting the frosting spread rather than forcing it.
When smoothing or texturing, try to keep the knife moving and avoid repeatedly scraping the same area. If you do pick up a crumb, carefully lift it out with the tip of your knife or a toothpick and smooth over the spot with clean frosting. Keep your palette knife clean by wiping it on the edge of your frosting bowl or with a clean cloth frequently.
Fixing Uneven Texture
Achieving a consistent texture across your cake using a palette knife can sometimes be tricky, resulting in areas that are too thick, too thin, or have inconsistent patterns. If you notice uneven texture, the best approach depends on the desired look. For rustic or abstract designs, slight variations are often part of the charm. However, if an area looks significantly different or sparse, you can simply apply a bit more frosting to that spot and rework the texture with your palette knife, blending it into the surrounding area.
If you're aiming for a more uniform texture, like a consistent palette knife swirl buttercream frosting pattern, and find some swirls are too deep or too shallow, you can gently re-smooth the area with your palette knife and attempt the technique again. Sometimes, slightly chilling the cake can help the frosting firm up, making it easier to manipulate without overworking it.
Ensure you have enough frosting on the cake initially; trying to spread a thin layer into a texture is much harder than manipulating a thicker one. Practice on a dummy cake or the back of a baking sheet can help you develop a feel for consistent pressure and movement.
Dealing with Air Pockets
Air pockets, or bubbles, in your frosting can create unsightly holes or bumps when you're trying to achieve a smooth or consistently textured finish with your palette knife. These pockets are often introduced during the mixing process if the frosting is whipped at high speed. To minimize air bubbles, mix your buttercream or other frosting on low speed for several minutes after all ingredients are combined. This helps to push out trapped air.
Before applying the frosting to the cake, you can also press it against the side of your mixing bowl with a spatula to force out air bubbles. Once the frosting is on the cake, if you spot a large bubble while smoothing or texturing, you can gently pop it with the tip of your palette knife or a pin and then smooth over the area.
For smaller bubbles that appear during texturing, sometimes incorporating them into the design (especially for rustic finishes) is the easiest solution. For smooth finishes, persistent bubbles might require scraping off the frosting in that area, mixing it again briefly, and reapplying it.
Tips and Tricks for Stunning Palette Knife Designs
Chilling Your Cake for Stability
Chilling your cake at various stages of the decorating process is a simple yet incredibly effective tip for achieving professional-looking palette knife designs. As mentioned earlier, chilling after the crumb coat is essential for trapping crumbs. However, chilling can also be beneficial after applying the main layer of frosting but before attempting detailed palette knife work, especially if you're aiming for sharp lines or precise textures. A slightly firm frosting surface is less likely to tear or shift as you work with the knife.
Furthermore, if you are creating multi-layered designs, adding different colors, or working on complex patterns like palette knife painting or geometric shapes, chilling the cake between steps allows the previous layers or sections to set. This prevents colors from bleeding into each other and provides a stable surface to work against. A quick 15-20 minute chill in the refrigerator can make a significant difference in the ease and outcome of your palette knife application, helping you achieve a cleaner palette knife swirl buttercream frosting or any other desired effect.
Using a Turntable for Even Application
A rotating cake turntable is an indispensable tool for palette knife cake decorating, especially when frosting the sides of the cake or creating continuous textures like horizontal stripes or a full palette knife swirl buttercream frosting around the circumference. A good quality turntable allows you to rotate the cake smoothly and steadily while holding your palette knife or scraper in a consistent position against the cake. This makes it much easier to achieve even thickness and uniform patterns.
When smoothing the sides for a sharp edge or applying a consistent texture, place your palette knife or scraper against the side of the cake at the desired angle and pressure, then use your other hand to slowly and continuously rotate the turntable. This allows the cake to turn against the stationary tool, resulting in a much smoother and more even finish than trying to move the knife around a stationary cake. For creating a beautiful palette knife swirl buttercream frosting around the sides, the turntable allows you to make large, continuous swirling motions with ease.
Practicing Different Techniques
Like any skill, mastering palette knife cake decorating takes practice. Don't expect perfection on your first attempt. Start with simple techniques like the rustic texture or a basic palette knife swirl buttercream frosting on the top of a cake. You can practice on a dummy cake (a foam cake form) or even on the back of a baking sheet covered with parchment paper. Spread a layer of frosting and practice holding the knife at different angles, applying varying pressure, and making different strokes – short, long, curved, straight.
Experiment with different types of palette knives and different frosting consistencies to see how they affect the outcome. Try creating small sections of different textures side-by-side to compare results. The more you practice, the more comfortable you will become with the feel of the palette knife in your hand and the way the frosting responds. This practice will build your confidence and skill, allowing you to tackle more complex designs and consistently achieve stunning results on your finished cakes.
Showcasing Your Palette Knife Creations
Palette Knife Landscape Cake
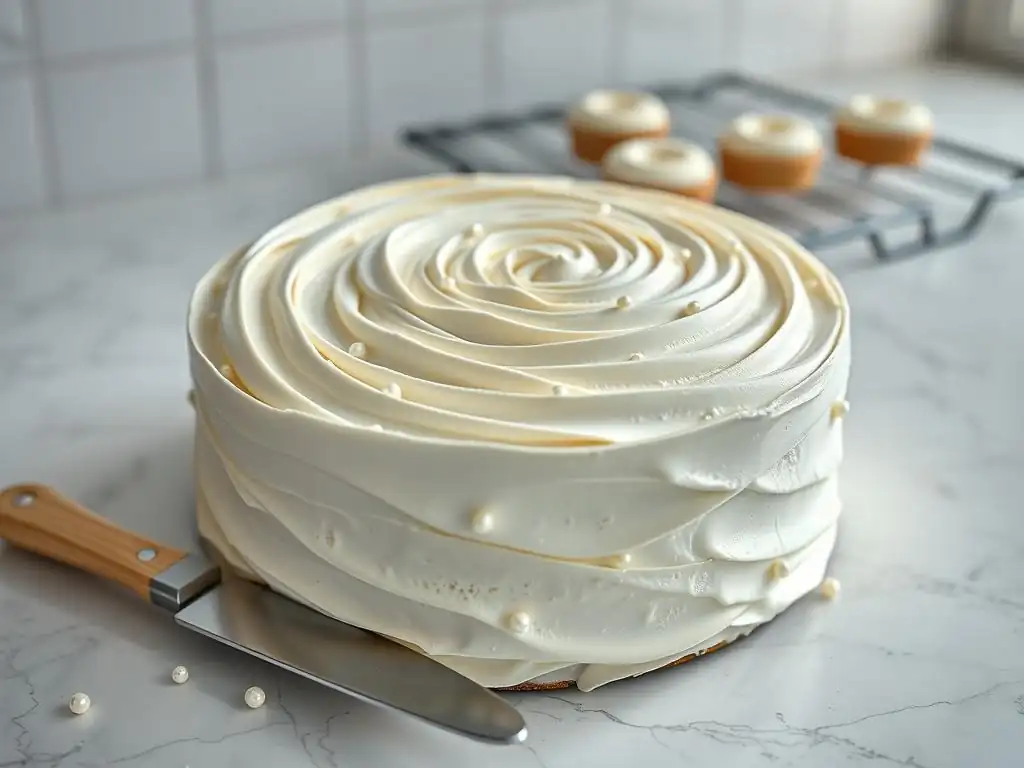
A palette knife landscape cake is a beautiful way to showcase the artistic capabilities of this decorating technique. This involves using different colored frostings applied and blended with a palette knife to create scenes like rolling hills, mountains, skies, or even seascapes. Typically, you would start with a base color for the sky, then add colors for the landscape elements, using the palette knife to spread, layer, and texture the frosting to mimic natural forms.
For instance, you might use blues and whites for a swirled sky effect at the top, then greens and browns for hills at the bottom, using the knife to create textured peaks and valleys. Adding small details like trees or flowers can be done by dabbing or dragging small amounts of frosting with the tip of a smaller palette knife. This type of cake truly highlights the painterly quality of palette knife decorating, transforming the cake into a scenic view.
Palette Knife Floral Wreath Cake
Building upon the floral technique, a palette knife floral wreath cake involves arranging textured frosting flowers and leaves in a circular pattern around the top or sides of the cake. This creates a lovely, organic border. You would create individual flowers and leaves directly on the cake surface or on parchment paper (then transfer them once slightly chilled), using various colored buttercreams shaped with different palette knife strokes.
Arrange larger flowers first, then fill in gaps with smaller buds, leaves, and perhaps some textured palette knife swirl buttercream frosting elements in complementary colors to add depth and fullness to the wreath. This style is particularly popular for celebration cakes like birthdays or anniversaries, offering a charming and rustic elegance that looks both impressive and inviting.
Palette Knife Abstract Art Cake
An abstract art cake is where you can truly let your creativity run wild with the palette knife. This involves applying various colors in bold strokes, layers, and textures across the entire cake surface without aiming for a specific recognizable image. Think vibrant color blocking, dynamic swirls, scraped textures, and intentional imperfections. You might use bright, contrasting colors or soft, blended pastels depending on the desired mood.
Apply large patches of different colored frosting and then use your palette knife to swirl, scrape, or blend them together. You can create a dramatic palette knife swirl buttercream frosting effect using multiple colors swirled together across the entire cake, or focus on specific areas with intense texture and color layering. This style is modern, eye-catching, and allows for complete artistic freedom, making each cake a unique piece of edible abstract art.
Conclusion: Expanding Your Cake Decorating Skills
Unleash Your Creativity with Frosting and a Palette Knife
Mastering the palette knife is a journey that significantly expands your cake decorating capabilities. It moves you beyond traditional smooth finishes and piping, introducing a world of texture, dimension, and artistic expression. Whether you are creating a simple palette knife swirl buttercream frosting, an intricate floral design, or a bold abstract piece, the palette knife offers a unique way to interact with your frosting and transform a plain cake into a visually stunning centerpiece. The techniques are accessible, forgiving, and incredibly versatile, allowing bakers of all levels to achieve impressive results.
Embrace the process of experimentation. Play with different pressures, angles, and strokes. Try various frosting consistencies and explore how different colors interact on the cake surface. The beauty of palette knife decorating often lies in its imperfections and the unique, handmade quality it imparts. So, grab your favorite palette knife, prepare your buttercream frosting, and start creating. You might be surprised at the incredible textures and artistic effects you can achieve, adding a whole new dimension to your baking repertoire.
Further Resources for Cake Decorating
To continue developing your palette knife skills and other cake decorating techniques, explore the wealth of resources available. Many online platforms offer video tutorials specifically demonstrating palette knife techniques, showing the hand movements and angles in detail. Baking blogs and websites (like BakeWithEase.com!) provide step-by-step guides and inspirational examples of various palette knife applications, from basic smoothing to advanced artistic designs.
Consider investing in a few different types and sizes of palette knives to broaden your toolkit. Practice regularly, perhaps setting aside time each week to work on a specific technique or design. Joining online baking communities or local classes can also provide valuable feedback and opportunities to learn from others. With practice and exploration, you'll become increasingly proficient at using a palette knife to create beautiful, textured, and artistic cake decorations, including mastering the perfect palette knife swirl buttercream frosting.
Frequently Asked Questions
What is a palette knife swirl on buttercream frosting?
It's a decorating technique using a palette knife to create a visually appealing swirled pattern on buttercream frosting. This technique adds a touch of elegance to your cake.
What kind of buttercream works best for a palette knife swirl?
American buttercream and Swiss meringue buttercream are both good options, but a smooth and creamy texture is key. Avoid buttercream that is too stiff or grainy.
What size and shape of palette knife should I use?
An offset palette knife is recommended for better control and maneuverability. The size depends on the cake, but a medium-sized knife is often a good starting point.
How do I prevent my buttercream from mixing colors when swirling?
Apply the different colored buttercreams in separate, distinct sections on the cake. Avoid overlapping the colors too much when swirling to maintain definition.
What are some tips for achieving a professional-looking palette knife swirl?
Practice on a parchment-lined surface first to get a feel for the technique. Keep your knife clean between swirls and work quickly to prevent the buttercream from setting.
Final Reflection: The Enduring Allure of the Simple Swirl
The art of the palette knife swirl buttercream frosting transcends mere cake decoration; it's a testament to the power of simplicity and intention. This seemingly straightforward technique, as explored throughout this article, offers a surprisingly versatile and impactful way to elevate any baked good, from humble cupcakes to elaborate wedding cakes. Its enduring popularity speaks volumes about our inherent appreciation for beauty born from ease and elegance.
The palette knife swirl's influence extends beyond the culinary world. It embodies a broader aesthetic principle: that less can truly be more. The deliberate imperfection, the unique texture created by each individual swirl, speaks to the handmade quality that is increasingly valued in a mass-produced world. It reminds us of the beauty found in embracing the unique, rather than striving for robotic perfection. The details are not the details. They make the design.
- Charles Eames. This quote perfectly captures the essence of the palette knife swirl – the seemingly insignificant details coalesce to create something truly special.
Now, consider your own creative endeavors. What simple techniques, seemingly insignificant details, hold the potential to transform your work? I invite you to experiment with the palette knife swirl, not just as a frosting technique, but as a metaphor for approaching your own creative pursuits with intention and a focus on the beauty of simplicity. Embrace the imperfections, celebrate the uniqueness of each swirl, and discover the transformative power of a simple, yet profoundly elegant, approach.
Unleash Your Inner Pastry Artist: Master the Swirl!
Thanks for taking the time to explore the magic of the palette knife swirl! We hope you've gained some delicious inspiration and newfound confidence in your baking skills. Ready to put your new knowledge into practice?
- Try the swirl technique on your next cake: Challenge yourself to recreate the designs from the article, or invent your own unique swirl masterpiece. This is the best way to solidify what you've learned!
- Share your creations: Post pictures of your stunning swirls on social media using #BakeWithEaseSwirls – we'd love to see your baking journey!
- Explore our other easy decorating techniques: Dive deeper into our collection of simple yet elegant cake decorating tutorials for endless creative possibilities.
What stunning swirl design will you create first? Let us know in the comments below!