
Authentic Neapolitan Pizza Dough: Ingredients & Technique

Welcome to BakeWithEase!
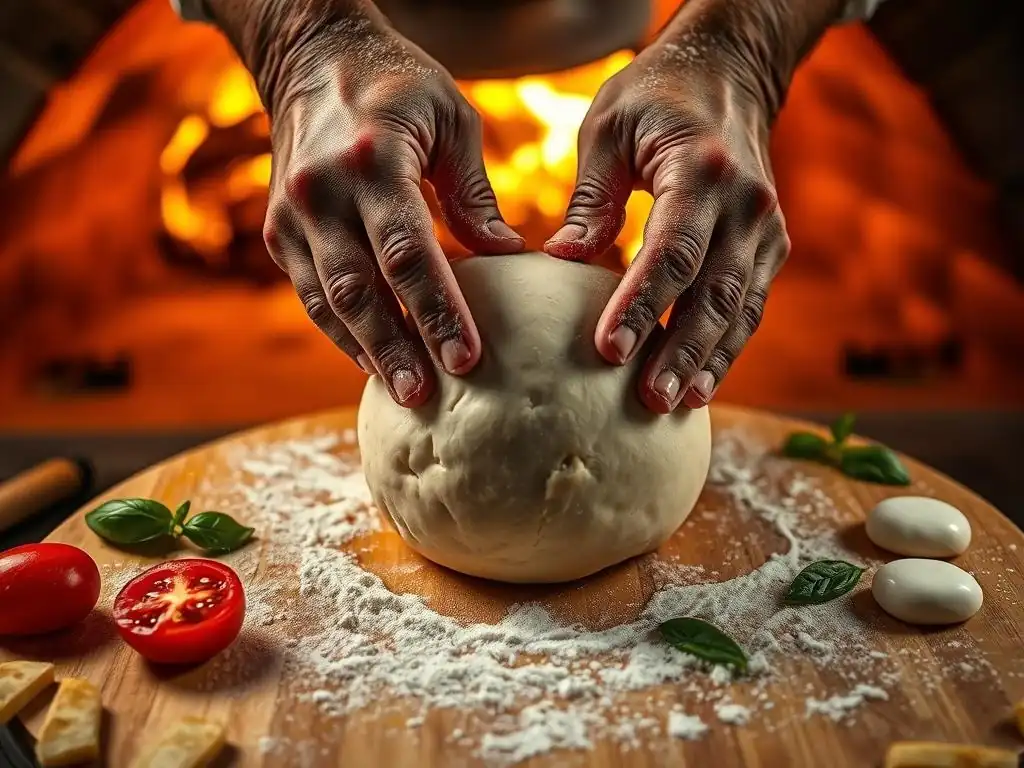
Ever dreamt of crafting that perfectly charred, blistered crust of an authentic Neapolitan pizza in your own kitchen? You're in the right place! Dive into our Neapolitan pizza dough recipe – a journey into the heart of Italian culinary tradition. Uncover the secrets to achieving that coveted airy texture and irresistible flavor, and get ready to impress with your newfound pizzaiolo skills. Let's get baking!
- Introduction to Neapolitan Pizza Dough
- Essential Ingredients for the Perfect Neapolitan Pizza Dough Recipe
- Mastering the Neapolitan Pizza Dough Technique: A Step-by-Step Guide
- Baking Your Neapolitan Pizza: Tips and Tricks
- Troubleshooting Your Neapolitan Pizza Dough: Common Issues and Solutions
- Storing Neapolitan Pizza Dough: Freshness and Longevity
- Neapolitan Pizza Dough Recipe Variations: Exploring Different Options
- Conclusion: Enjoying Your Homemade Authentic Neapolitan Pizza
- Frequently Asked Questions
- Final Reflection: The Timeless Allure of Authentic Neapolitan Pizza
- Unleash Your Inner Pizzaiolo!
Introduction to Neapolitan Pizza Dough
What Makes Authentic Neapolitan Pizza Dough Special?
Authentic Neapolitan pizza dough stands apart from other pizza doughs primarily due to its strict adherence to tradition and specific ingredients. Certified by the Associazione Verace Pizza Napoletana (AVPN), the true Neapolitan pizza dough recipe uses only four ingredients: 00 flour, water, yeast, and salt.
The resulting dough is incredibly light and airy, producing a crust (known as the cornicione) that is soft, puffy, and slightly chewy, with characteristic leopard-spot charring when baked at extremely high temperatures. This unique texture and flavor profile are a direct result of the specific type of flour used, the high hydration level, and the long, slow fermentation process.
Beyond the simple list of ingredients, the magic lies in the precise ratios and the handling technique. The dough is traditionally mixed without significant kneading, allowing the gluten structure to develop naturally over an extended fermentation period. This slow development contributes to the dough's digestibility and the complex flavors that emerge. When baked quickly in a scorching hot oven, the high water content in the dough turns to steam, creating that signature airy crust while the exterior crisps and chars beautifully. Mastering this Neapolitan pizza dough recipe is a rewarding journey for any home baker.
Why Bake Neapolitan Pizza Dough at Home?
Baking authentic Neapolitan pizza dough at home allows you to recreate the experience of a true Neapolitan pizzeria in your own kitchen. While achieving the exact results of a 900°F+ wood-fired oven might require specialized equipment, you can still produce a significantly superior pizza compared to store-bought options or standard pizza recipes. Making the dough from scratch gives you complete control over the quality of ingredients and the fermentation process, leading to a more flavorful and digestible crust.
Furthermore, mastering the Neapolitan pizza dough recipe is a fundamental skill that opens the door to exploring variations and perfecting your technique. It's a rewarding process that connects you to centuries of pizza-making tradition. The satisfaction of pulling a beautifully charred, airy pizza from your oven, made with your own hands using simple ingredients, is unparalleled. It transforms pizza night from a simple meal into a culinary event, allowing you to share a taste of Naples with friends and family.
Essential Ingredients for the Perfect Neapolitan Pizza Dough Recipe
00 Flour: The Cornerstone of Authentic Neapolitan Pizza
The most crucial ingredient for an authentic Neapolitan pizza dough recipe is "Tipo 00" flour. This Italian classification refers to how finely the flour is milled and its low ash content, resulting in a very fine, soft powder. More importantly, Neapolitan 00 flours, specifically those intended for pizza (often labelled "Forno" or "Pizzeria"), have a specific protein content and gluten strength (W index, typically between 280 and 320) that is ideal for long fermentation times and high-temperature baking. This strength allows the dough to stretch thinly without tearing and develop that characteristic airy structure without becoming tough.
Using a high-quality 00 flour designed for pizza is essential because its properties allow the dough to hydrate correctly and develop the necessary gluten network during the long fermentation. Unlike all-purpose flour, which has lower protein and different gluten characteristics, 00 flour provides the perfect balance of elasticity and extensibility needed for the Neapolitan stretching technique and the rapid rise in a hot oven. While some generic 00 flours exist, seeking out those specifically marketed for pizza will yield the best results for your Neapolitan pizza dough recipe.
Water: Hydration and its Importance in Neapolitan Dough
Water is not just a binder in your Neapolitan pizza dough recipe; it's a critical component influencing hydration, dough temperature, and gluten development. The traditional hydration level for Neapolitan dough typically ranges from 55% to 65% of the flour weight, though some modern recipes push higher. The quality of water matters too; ideally, use cool, filtered water free from strong chlorine odors, which can potentially inhibit yeast activity. The temperature of the water also plays a role in controlling the initial dough temperature, which is vital for managing fermentation speed.
Higher hydration levels, like 62-65%, result in a wetter, stickier dough that can be more challenging to handle but produces a lighter, airier crust with larger bubbles. Lower hydration, around 58-60%, yields a more manageable dough, suitable for beginners, while still delivering excellent results. Regardless of the exact percentage chosen, ensuring the water is incorporated properly during mixing is key to developing the gluten structure and achieving a smooth, elastic dough required for a successful Neapolitan pizza dough recipe.
Yeast: Selecting the Right Yeast for Your Pizza
Yeast is the living organism responsible for the fermentation process in your Neapolitan pizza dough recipe, producing carbon dioxide gas that makes the dough rise and contributing significantly to the flavor profile. Traditional Neapolitan recipes often call for fresh yeast (also known as compressed yeast), known for its clean flavor and consistent activity. However, instant dry yeast or active dry yeast can also be successfully used, with adjustments to the quantity and activation method.
When using fresh yeast, a typical ratio might be around 0.5-1 gram per 100 grams of flour for a long, cold fermentation. If using instant dry yeast, you'll need about 1/3 of the amount of fresh yeast (e.g., 0.15-0.3 grams per 100g flour).
Active dry yeast requires a slightly higher amount than instant (around 0.2-0.4 grams per 100g flour) and must be proofed in a small amount of warm water before adding to the dry ingredients. The amount of yeast used is inversely proportional to the fermentation time and temperature; less yeast is needed for longer, colder fermentation periods, which also develop more complex flavors in your Neapolitan pizza dough.
Salt: Balancing Flavors and Controlling Fermentation
Salt is a vital, yet often underestimated, ingredient in any Neapolitan pizza dough recipe. Its primary roles are to enhance the flavor of the crust, providing necessary seasoning to balance the richness of the toppings, and to strengthen the gluten structure, which improves the dough's elasticity and ability to hold its shape. Traditionally, fine sea salt is preferred for its purity and mineral content, which can subtly enhance flavor. The typical salt percentage in Neapolitan dough is between 2% and 3% of the flour weight.
Beyond flavor and structure, salt also plays a crucial role in regulating yeast activity. It slows down fermentation, preventing the dough from over-proofing too quickly and allowing for a longer, more controlled rise. This slower fermentation contributes to better flavor development. It's important to avoid direct contact between salt and yeast when initially mixing the ingredients, as high concentrations of salt can kill yeast cells. Adding salt after the flour and water have started to combine is a common practice to ensure optimal yeast performance in your Neapolitan pizza dough recipe.
Mastering the Neapolitan Pizza Dough Technique: A Step-by-Step Guide
Step 1: Preparing the Dough: Mixing the Ingredients
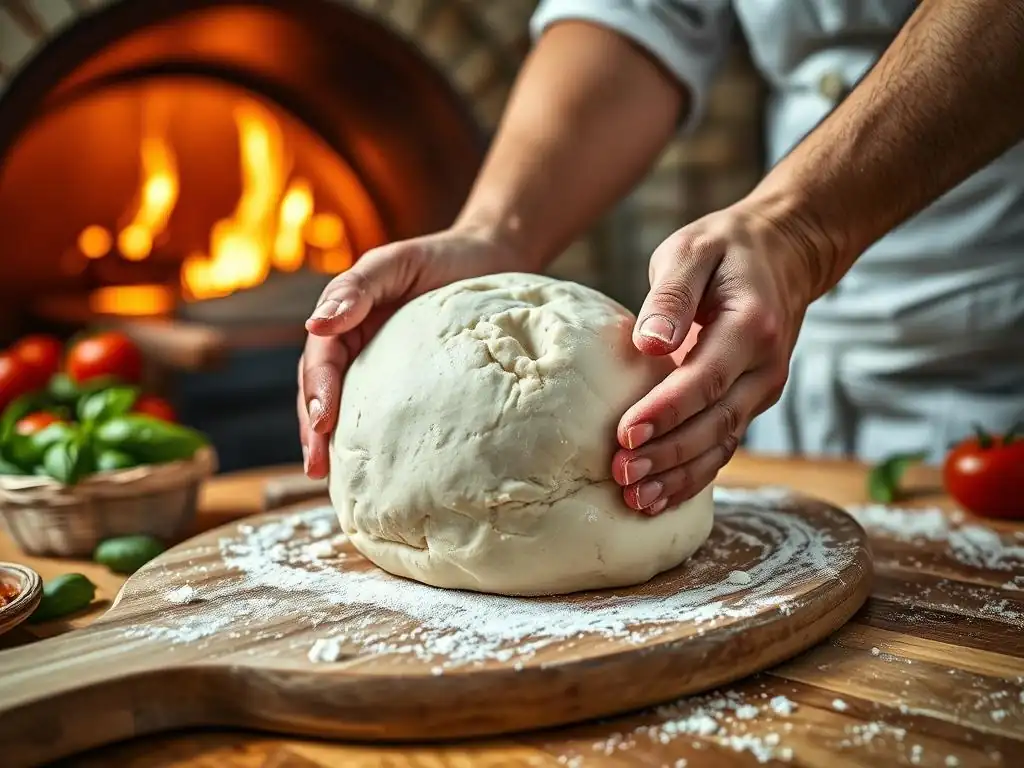
The first step in creating your authentic Neapolitan pizza dough recipe is the mixing process. Traditionally, this is done by hand in a large bowl or on a clean surface, though a stand mixer with a dough hook can also be used. Begin by dissolving the salt in most of the water.
In a separate small amount of water, dissolve the yeast (if using fresh or active dry). Create a well in the center of the flour, pour in the saltwater mixture, and then the yeast mixture. Gradually incorporate the flour into the liquid using your hands or the mixer on a low speed.
Continue mixing until a shaggy dough forms. At this stage, if using a mixer, increase the speed slightly and mix for about 10-15 minutes until the dough is smooth, elastic, and pulls away from the sides of the bowl.
If mixing by hand, turn the dough out onto a lightly floured surface and knead gently for 15-20 minutes, using minimal extra flour, until it passes the windowpane test (you can stretch a small piece thin enough to see light through it without tearing). The goal is to develop the gluten sufficiently without overworking the dough, resulting in a smooth, slightly sticky ball ready for fermentation in your Neapolitan pizza dough recipe journey.
Step 2: Bulk Fermentation: Achieving the Right Dough Structure
Bulk fermentation is a critical stage in the Neapolitan pizza dough recipe, allowing the dough to rise as a single mass. This process develops flavor, improves dough structure, and makes it more digestible. After mixing, place the dough in a lightly oiled container large enough to allow it to triple in size. Cover tightly to prevent a skin from forming. The traditional method involves a long, slow fermentation at room temperature (around 20-22°C or 68-72°F) for 8-12 hours, or until the dough has roughly doubled or tripled.
Alternatively, for a more complex flavor profile and better scheduling flexibility, you can use a cold fermentation method. After an initial short rest at room temperature (1-2 hours), transfer the covered container to the refrigerator (around 4°C or 39°F) for 24-72 hours. Cold fermentation slows down yeast activity while allowing enzymes to break down starches and proteins, creating more aromatic compounds. Regardless of the method chosen, the dough should be significantly increased in volume and feel airy and bubbly before moving to the next step of your Neapolitan pizza dough recipe.
Understanding Bulk Fermentation Time
The duration of bulk fermentation directly impacts the flavor, texture, and handling of your Neapolitan pizza dough. A shorter, warmer fermentation (8-12 hours at room temperature) relies more on yeast activity for rise and produces a dough that is often easier to handle immediately after fermentation. This method is suitable if you plan to bake the same day the dough is mixed. The dough should be noticeably larger, perhaps 2-3 times its original size, and feel light and airy.
A longer, colder fermentation (24-72 hours in the refrigerator) slows down yeast activity significantly, allowing desirable enzymatic processes to occur. This develops more complex, nuanced flavors and aromas in the dough. While the visual rise might be slower in the fridge, the dough undergoes profound internal changes. After cold fermentation, the dough needs time to come back to room temperature (typically 1-2 hours) before balling. This extended period is key to achieving the signature depth of flavor found in a truly excellent Neapolitan pizza dough recipe.
Step 3: Balling the Dough: Dividing and Shaping
Once the bulk fermentation is complete, it's time to divide the dough into individual pizza balls, a crucial step in the Neapolitan pizza dough recipe technique. Gently turn the dough out onto a lightly floured surface. Avoid degassing it aggressively; you want to preserve the air bubbles that have formed during fermentation. Using a dough scraper or knife, divide the dough into portions, typically ranging from 220 to 280 grams per ball, which is the standard size for a single Neapolitan pizza.
Shape each portion into a smooth, tight ball. This is done by gently folding the edges underneath the dough and using the tension created against the surface to form a taut sphere. The goal is to create surface tension that will help the dough hold its shape and rise properly during proofing and baking. Place the shaped dough balls seam-side down into proofing boxes or individual containers, ensuring they have enough space to expand without touching. This step prepares the dough for its final rise in your Neapolitan pizza dough recipe process.
Step 4: Proofing the Dough Balls: The Final Rise
Proofing is the final rise period for the individual dough balls before they are stretched and baked. This stage is essential for the dough to relax, become easily stretchable, and accumulate the final volume of gas needed for a light, airy crust. Cover the proofing boxes or containers to maintain humidity and prevent the dough from drying out. The proofing duration depends on the fermentation method used.
If the dough underwent a long, cold bulk fermentation, it needs to proof at room temperature (around 20-22°C or 68-72°F) for 2-4 hours, or until the balls have noticeably increased in size, feel soft and pillowy, and are easy to stretch. If the dough had a shorter, warmer bulk fermentation, the proofing time might be slightly longer, perhaps 3-5 hours, depending on the ambient temperature. The dough balls should be roughly double their size and feel very light when ready. Proper proofing is key to achieving the characteristic cornicione when baking your Neapolitan pizza dough.
Optimal Proofing Conditions
Optimal proofing conditions involve maintaining a consistent temperature and humidity level. Room temperature proofing, typically around 20-22°C (68-72°F), is standard after cold fermentation or for the entire proofing phase following a shorter bulk rise. Placing dough balls in a proofing box or sealed container is crucial to prevent the surface from drying out, which would inhibit the final rise and make stretching difficult.
Humidity is just as important as temperature during proofing. A dry dough surface can lead to a tough crust and prevent the dough from expanding fully. Using airtight containers or covering proofing boxes with lids or plastic wrap helps maintain sufficient humidity around the dough balls. You'll know your Neapolitan pizza dough balls are perfectly proofed when they are light, airy, and offer just slight resistance when gently pressed, indicating they are relaxed and ready to be transformed into a delicious pizza.
Baking Your Neapolitan Pizza: Tips and Tricks
Oven Temperature: Reaching the Ideal Heat
Baking Neapolitan pizza requires extremely high temperatures to achieve the signature rapid rise and charring of the crust. Traditional wood-fired ovens reach temperatures exceeding 450°C (850°F), often closer to 500°C (930°F). This intense heat cooks the pizza in 60-90 seconds. While home ovens typically cannot reach these temperatures, you can approximate the conditions.
To bake your Neapolitan pizza dough recipe successfully in a home oven, preheat your oven to its highest possible setting, usually 250-300°C (480-570°F). It's crucial to let the oven preheat for at least 45-60 minutes, or even longer, to ensure your baking surface (stone or steel) is thoroughly heated through. Placing the baking surface on the top rack, close to the heating element (especially if you use the broiler function for the final minute), helps maximize the heat transfer to the pizza crust, mimicking the intense heat of a true pizza oven.
Baking Surface: Stone vs. Steel
Choosing the right baking surface significantly impacts the crust development when baking your Neapolitan pizza dough. Both pizza stones and pizza steels absorb and radiate heat, providing the intense bottom heat necessary to cook the base quickly and promote oven spring. Pizza stones, typically made from ceramic or cordierite, are more traditional and absorb heat gradually, releasing it steadily. They work well but can be prone to breaking if subjected to sudden temperature changes.
Pizza steels, made from carbon steel, conduct heat much more efficiently and store more energy than stones. This means they get hotter faster and transfer more intense heat to the dough, resulting in a more rapid rise and often better bottom charring, even in a home oven.
A 1/4-inch thick steel preheated for an hour at 260°C (500°F) can store significantly more usable energy than a comparable stone. For home bakers aiming for results closest to a professional pizza oven for their Neapolitan pizza dough, a baking steel is often the preferred choice due to its superior heat transfer properties.
Stretching and Topping Your Neapolitan Pizza Dough
Properly stretching the Neapolitan pizza dough is an art form. The goal is to gently coax the dough into a round shape, about 10-12 inches in diameter, while preserving the air bubbles that have formed in the rim ( cornicione). Avoid using a rolling pin, as this will deflate the edge.
Start by pressing the center of the dough ball outwards, leaving the outer edge untouched to form the rim. Then, lift the dough and gently stretch it using your hands, working from the inside out, allowing gravity to help. The dough should be thin in the center but maintain a puffy edge.
Once stretched, quickly transfer the dough to a lightly floured pizza peel. Top sparingly with high-quality ingredients. Authentic Neapolitan pizza uses simple toppings: San Marzano tomatoes (crushed by hand), fresh mozzarella (like fior di latte or buffalo mozzarella), fresh basil, a drizzle of extra virgin olive oil, and a pinch of salt. Overloading the pizza will weigh it down, prevent proper cooking, and make transferring it into the hot oven difficult. Keep it simple to let the quality of your homemade Neapolitan pizza dough shine through.
Baking Time: Achieving the Perfect Char
The baking time for Neapolitan pizza is remarkably short due to the extremely high temperatures. In a true Neapolitan oven at 450-500°C (850-930°F), a pizza cooks in just 60 to 90 seconds. The intense heat causes the crust to puff dramatically, the cheese to melt and bubble, and the edge to develop characteristic dark spots, known as leopard spotting or charring, which add flavor.
In a home oven preheated to its maximum temperature (e.g., 250-300°C or 480-570°F) with a baking stone or steel, the baking time will be longer, typically ranging from 5 to 10 minutes. Place the pizza directly onto the preheated surface. Rotate the pizza halfway through baking if your oven has hot spots. Look for the crust to be well-risen, golden brown with some dark char spots on the edge, and the cheese melted and slightly bubbly. This shorter time compared to other pizza styles is key to the Neapolitan pizza dough's unique texture.
Troubleshooting Your Neapolitan Pizza Dough: Common Issues and Solutions
Dough Too Sticky: Solutions and Adjustments
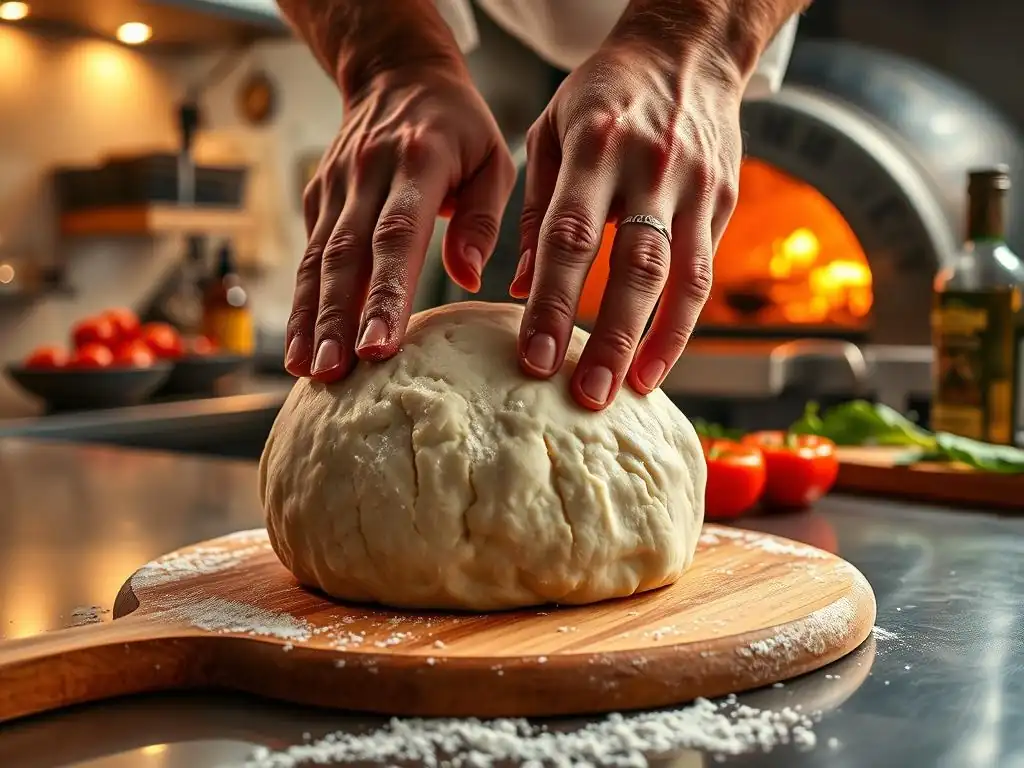
A common issue when working with a high-hydration Neapolitan pizza dough recipe is excessive stickiness, making it difficult to handle and stretch. This can be caused by too much water, insufficient gluten development, or not enough flour on your work surface and hands. If the dough is too sticky immediately after mixing, you can try adding a small amount of flour, a tablespoon at a time, until it becomes more manageable, being careful not to add too much and make the dough tough.
If the dough is sticky after bulk fermentation or proofing, it might be due to incomplete gluten development or over-fermentation. Ensure you kneaded or mixed the dough adequately in the initial step. During shaping and stretching, use a moderate amount of semolina flour or fine durum wheat flour on your work surface and hands; these flours help prevent sticking without being absorbed into the dough as readily as wheat flour. Practicing gentle handling techniques will also help manage sticky dough without tearing it, essential for a successful Neapolitan pizza dough.
Dough Not Rising: Troubleshooting Yeast and Fermentation
If your Neapolitan pizza dough isn't rising as expected during bulk fermentation or proofing, the issue likely lies with the yeast or the fermentation conditions. First, check the expiration date of your yeast; old yeast may be inactive. If using active dry yeast, ensure you proofed it in warm water (around 40-45°C or 105-115°F) until foamy before adding it to the flour. Using water that is too hot or too cold can kill or inactivate the yeast.
Secondly, consider the fermentation temperature. Yeast activity is highly dependent on temperature. If your room is too cold (below 20°C or 68°F), fermentation will be very slow. Find a warmer spot, like inside a turned-off oven with the light on, or consider a longer fermentation period.
Conversely, if the temperature is too high (above 27°C or 80°F), the yeast can become overly active initially but then exhaust itself, leading to a dense dough. Ensure your dough temperature after mixing is within the ideal range (around 22-24°C or 72-75°F) for room temperature fermentation. Patience and controlling the environment are key to proper yeast activity in your Neapolitan pizza dough.
Pizza Crust Too Tough: Tips for a Tender Crust
A tough crust in your Neapolitan pizza dough recipe can be disappointing. This is often caused by overworking the dough during mixing or kneading, using flour with too high a protein content (like bread flour instead of 00 flour), insufficient hydration, or not allowing adequate fermentation and proofing time. Overworking develops too much gluten tension, resulting in a dense, rubbery crust.
To ensure a tender crust, start by using the correct 00 flour designed for pizza. Avoid aggressive kneading; aim for just enough gluten development to pass the windowpane test. Ensure your hydration level is appropriate for the flour and your comfort level (aim for at least 60%).
Most importantly, give the dough sufficient time for bulk fermentation and proofing. This allows the gluten to relax and the dough to become extensible and airy. Baking at a high temperature on a preheated stone or steel also contributes to a tender interior by ensuring a rapid rise and short bake time, preventing the dough from drying out and becoming tough.
Storing Neapolitan Pizza Dough: Freshness and Longevity
Storing Unbaked Dough: Refrigeration and Freezing Techniques
Properly storing unbaked Neapolitan pizza dough allows you to prepare it in advance and enjoy fresh pizza later. After the initial bulk fermentation (or even after balling), the dough can be refrigerated for 1 to 3 days. Place the dough balls in individual airtight containers or a proofing box, ensuring they are lightly oiled to prevent sticking. Refrigeration slows down yeast activity significantly, continuing the slow, cold fermentation which develops flavor. Remember to take the dough out of the fridge 2-4 hours before baking to allow it to come to room temperature and proof.
For longer storage, you can freeze Neapolitan pizza dough. After bulk fermentation and balling, lightly oil each dough ball and place them on a baking sheet lined with parchment paper. Freeze them individually until solid (about 2-3 hours). Once frozen, transfer the dough balls to freezer-safe bags or containers, pressing out as much air as possible. Frozen dough can last for 1-2 months. To use, transfer a frozen dough ball to a lightly oiled container and thaw it in the refrigerator overnight, then let it come to room temperature and proof for 2-4 hours before stretching and baking.
Storing Baked Pizza: Maintaining Quality and Flavor
While Neapolitan pizza is best enjoyed immediately after baking, leftovers can be stored. To maintain quality and flavor, allow the pizza to cool completely on a wire rack to prevent the crust from becoming soggy. Once cool, store individual slices or whole pizzas wrapped tightly in plastic wrap or aluminum foil, or place them in an airtight container. Refrigerate baked pizza within two hours of baking. It will keep in the refrigerator for 2-3 days.
Reheating Neapolitan pizza requires care to revive the crust's texture. Avoid the microwave, which makes the crust rubbery. The best method is reheating in a hot oven or on a stovetop.
Place slices on a baking sheet in a preheated oven (around 180°C or 350°F) for 5-10 minutes until heated through and the crust crisps up. Alternatively, heat a non-stick skillet over medium heat, place the slice in it, cover with a lid or foil (you can even add a tiny splash of water to create steam under the lid), and heat for 5-8 minutes until the bottom is crisp and the cheese is melted. Proper storage and reheating can help you enjoy your delicious homemade Neapolitan pizza dough creation even days later.
Neapolitan Pizza Dough Recipe Variations: Exploring Different Options
Sourdough Neapolitan Pizza Dough: A Tangy Twist
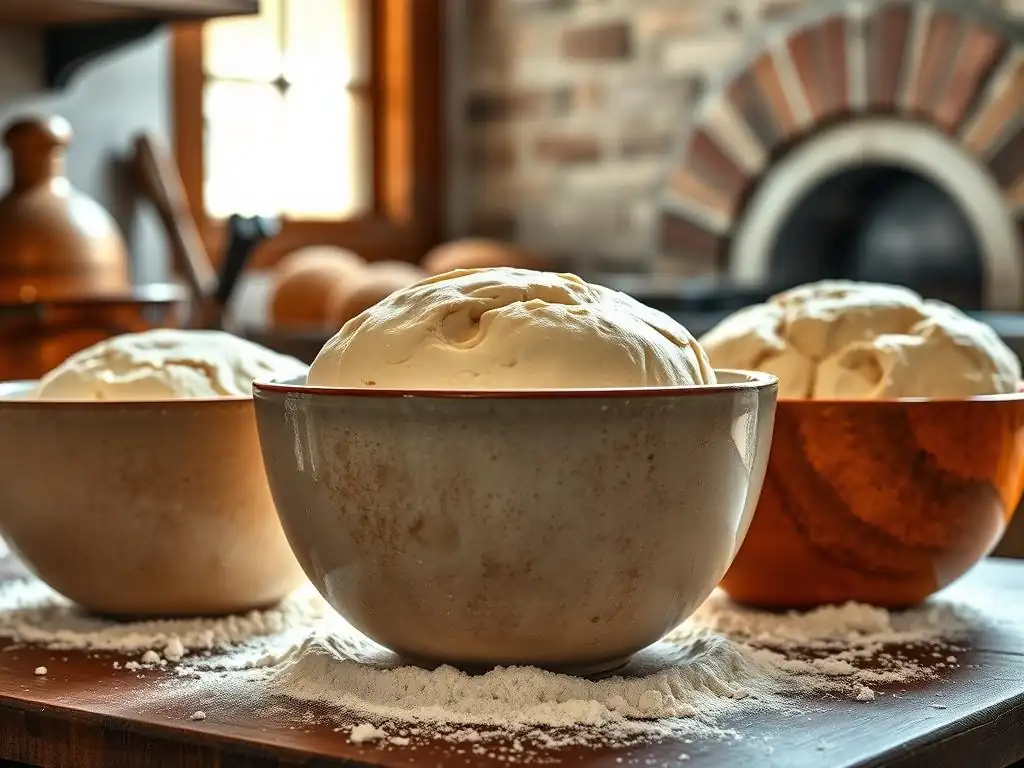
Introducing a sourdough starter to your Neapolitan pizza dough recipe offers a delightful tangy flavor and unique crust texture. Instead of commercial yeast, a mature and active sourdough starter (typically at 100% hydration) is used as the leavening agent. The fermentation process with sourdough is often longer and more complex, contributing deeper flavors and a more open crumb structure. The ratio of starter to flour will vary depending on the starter's activity and desired fermentation time, but a common starting point might be 10-20% starter relative to the flour weight.
Working with sourdough Neapolitan pizza dough requires understanding your starter's behavior and adjusting fermentation times based on its activity and ambient temperature. Cold fermentation is particularly effective with sourdough, allowing the characteristic tangy notes to develop over 24-72 hours or even longer in the refrigerator. The resulting crust is often slightly chewier and more complex in flavor than yeast-leavened dough, offering a sophisticated variation on the classic Neapolitan pizza dough recipe.
Whole Wheat Neapolitan Pizza Dough: Adding Nutrients and Flavor
While authentic Neapolitan pizza strictly calls for 00 flour, you can create delicious variations by incorporating whole wheat flour into your Neapolitan pizza dough recipe. Adding whole wheat flour increases the fiber and nutrient content and imparts a nuttier, earthier flavor to the crust. However, whole wheat flour absorbs more water and its bran particles can interfere with gluten development, potentially resulting in a denser dough and crust.
To successfully incorporate whole wheat flour, it's often best to use a blend rather than 100% whole wheat. Start by substituting 10-20% of the 00 flour with fine whole wheat flour. You may also need to increase the hydration slightly (by a few percentage points) as whole wheat absorbs more liquid.
The fermentation time might need slight adjustment, and the dough might require a bit more gentle handling due to the presence of bran. The resulting crust, while not strictly traditional, offers a healthier profile and a pleasant depth of flavor that complements various toppings, making it a great alternative Neapolitan pizza dough recipe for those seeking more nutritional value.
Conclusion: Enjoying Your Homemade Authentic Neapolitan Pizza
Mastering the Art of Neapolitan Pizza Making
Embarking on the journey of creating an authentic Neapolitan pizza dough recipe at home is a rewarding endeavor. It's a practice that combines precision with intuition, requiring attention to the quality of simple ingredients and patience during the crucial fermentation process. From selecting the right 00 flour and calibrating the perfect hydration to mastering the gentle art of stretching and baking at high heat, each step contributes to the final, delicious outcome.
With practice, you'll develop a feel for the dough, understanding how it responds to temperature and time. The result of your efforts will be a pizza with a light, airy, and flavorful crust – a true taste of Naples achieved in your own kitchen. Don't be discouraged by initial imperfections; every batch is a learning experience. Continue to refine your technique, experiment with fermentation times, and most importantly, enjoy the process and the incredible pizza you create with your homemade Neapolitan pizza dough.
Frequently Asked Questions
What makes Neapolitan pizza dough authentic?
Authentic Neapolitan dough relies on specific ingredients and a traditional preparation method. It typically uses only four ingredients: '00' flour, water, salt, and yeast, with a focus on slow fermentation.
What is '00' flour and why is it important for Neapolitan pizza?
'00' flour is a finely milled Italian flour with a low gluten content. This results in a softer, more elastic dough that's characteristic of Neapolitan pizza.
Can I use regular all-purpose flour instead of '00'?
While you can substitute all-purpose flour, the results won't be exactly the same. The texture will be different, potentially resulting in a less airy and more dense crust.
How long should I ferment my Neapolitan pizza dough?
A long, slow fermentation is crucial for flavor development. Aim for at least 24 hours in the refrigerator, and ideally up to 72 hours for optimal results.
What's the best way to stretch Neapolitan pizza dough without tearing it?
Gently stretch the dough using your fingertips and the backs of your hands. Avoid using a rolling pin, as this will deflate the dough and ruin the airy texture.
Final Reflection: The Timeless Allure of Authentic Neapolitan Pizza
The pursuit of the perfect Neapolitan pizza dough is not merely a culinary quest; it's a journey into tradition, a testament to the enduring power of simple, high-quality ingredients. The precise balance of flour, water, yeast, and salt, combined with the meticulous technique detailed in this article, reveals a depth of flavor and texture that transcends mere sustenance. It's a connection to generations of pizzaioli, a legacy carried forward with each perfectly formed pie.
The impact of Neapolitan pizza on the global culinary landscape is undeniable. Its influence extends far beyond the simple act of eating; it represents a cultural exchange, a sharing of passion and tradition. It's a testament to the power of simple ingredients elevated by skill and dedication. The beauty of Neapolitan pizza lies not in its complexity, but in its simplicity. It's a celebration of the finest ingredients, prepared with love and respect.
This quote, though fictional, perfectly encapsulates the spirit of authentic Neapolitan pizza making, and the profound impact it has had on my own understanding of food and craft.
Now, it's your turn. Don't just read this recipe; live it. Experiment with different flours, feel the dough come alive in your hands, and savor the aroma of baking pizza. Embrace the imperfections, learn from each attempt, and discover the joy of creating something truly authentic. The journey to mastering Neapolitan pizza dough is a rewarding one, filled with delicious discoveries and a deeper appreciation for the art of pizza making. So, gather your ingredients, and let the adventure begin!
Unleash Your Inner Pizzaiolo!
Thanks for taking the time to delve into the art of authentic Neapolitan pizza dough! We hope you gained valuable insights into the ingredients and techniques that make this pizza truly special. Now it's time to put your knowledge into action.
- Craft your masterpiece: Get baking! Use the recipe and techniques you just learned to make your own Neapolitan pizza. Don't be afraid to experiment!
- Share your creation: Snap a picture of your finished pizza and share it on social media using #BakeWithEaseNeapolitan. Let's see those beautiful, bubbly crusts!
- Join the conversation: What’s your favorite Neapolitan pizza topping? Share your thoughts and tips in the comments below – let’s inspire each other!
What unique twist will you add to your Neapolitan pizza adventure?