
Is Basic Piping Hard? Tips to Make it Easy

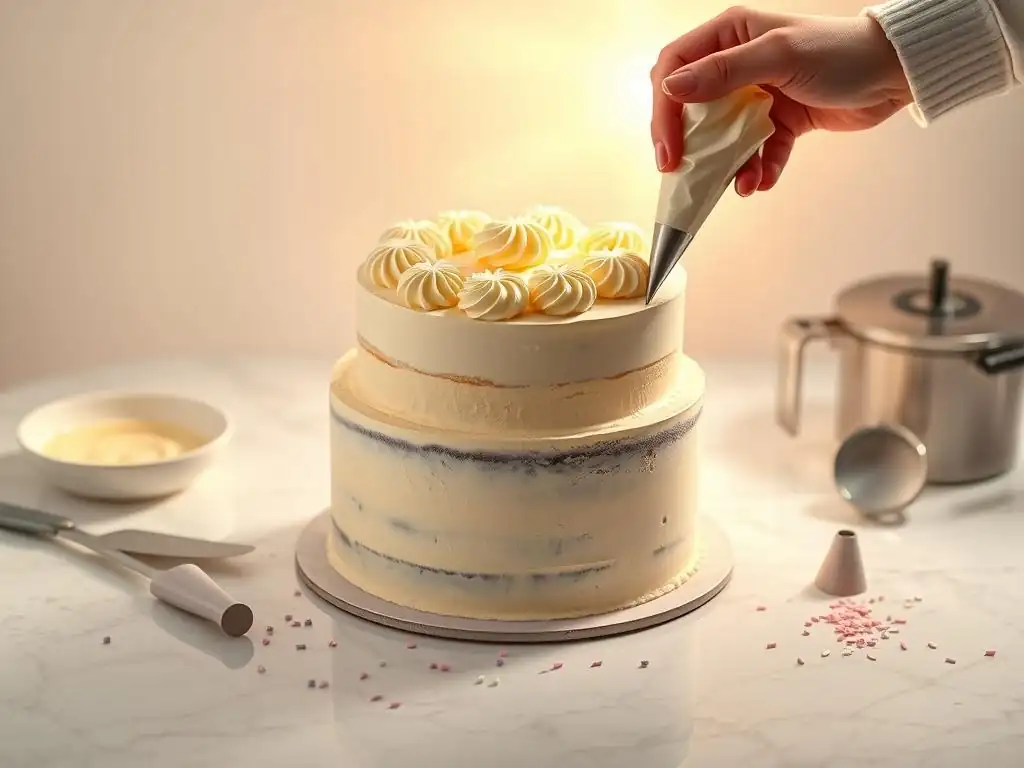
Welcome to BakeWithEase, your partner in creating delightful treats! Ever wondered if achieving picture-perfect swirls and rosettes with buttercream is truly within reach? Spoiler alert: it is! Dive into our guide, " Is Basic Piping Hard? Tips to Make it Easy," and unlock the secrets to easy piping buttercream frosting tips. Get ready to transform your desserts from delicious to dazzling – let's bake!
- Mastering Buttercream Piping: Easy Techniques for Stunning Results
- Introduction to Buttercream Piping: A Beginner's Guide
- Debunking Piping Myths: Making Buttercream Piping Easier
- Essential Tools for Buttercream Piping Success
- Mastering Buttercream Consistency for Optimal Piping
- Easy Buttercream Piping Techniques for Beginners
- Common Piping Mistakes and How to Avoid Them
- Easy Piping Projects for Beginners: Practice Makes Perfect
- Beyond the Basics: Expanding Your Piping Skills
- Conclusion: You CAN Master Buttercream Piping!
-
Frequently Asked Questions
- What are some essential tools for easy buttercream piping?
- What kind of buttercream is best for piping, and why?
- How do I get a smooth consistency in my buttercream for easy piping?
- What are some beginner-friendly piping techniques I can try?
- How can I prevent air bubbles in my piping bag, which can ruin my designs?
- Final Reflection: Mastering the Art of Effortless Piping
- Unleash Your Inner Pastry Chef!
Mastering Buttercream Piping: Easy Techniques for Stunning Results
Introduction to Buttercream Piping: A Beginner's Guide
Why Buttercream Piping Seems Daunting (And Why It Doesn't Have To Be)
Many aspiring bakers look at beautifully decorated cakes and cupcakes with intricate swirls, borders, and flowers and immediately think, "That's too hard for me." The world of piping seems reserved for professionals with years of practice and secret techniques. Holding a piping bag filled with creamy frosting, trying to apply consistent pressure while creating a specific shape, can feel awkward and intimidating at first. Concerns about getting the frosting consistency just right, choosing the correct tip from dozens of options, and avoiding frustrating air bubbles are common hurdles. It’s easy to feel overwhelmed before you even start.
However, the reality is that basic piping skills are much more accessible than they appear. Like learning to ride a bike, it requires a little practice, the right guidance, and patience, but it’s absolutely achievable for anyone. Many stunning decorations are built upon just a few fundamental techniques using simple tools. Focusing on mastering these core skills, understanding your buttercream, and practicing regularly transforms piping from a daunting task into an enjoyable and rewarding part of baking. Our goal is to make learning easy piping buttercream frosting tips a fun and successful experience for everyone.
BakeWithEase's Philosophy: Simple Piping Techniques for Impressive Cakes
At BakeWithEase, we believe that baking, including cake decorating, should be enjoyable and accessible to everyone, regardless of skill level. Our philosophy centers on breaking down seemingly complex techniques into simple, manageable steps. We focus on teaching foundational skills that build confidence and provide a solid base for more advanced endeavors. We understand that getting started can be the hardest part, especially when faced with a new skill like buttercream piping.
That's why we emphasize easy piping buttercream frosting tips that yield impressive results without requiring specialized training or expensive equipment. Our approach is about empowering you to create beautiful baked goods using techniques that are straightforward and effective. Whether you want to add a simple border to a cake or decorate a dozen cupcakes with pretty swirls, we provide clear, step-by-step guidance. We believe that with the right knowledge and a little practice, anyone can master the basics of piping and add that professional touch to their homemade treats.
Debunking Piping Myths: Making Buttercream Piping Easier
Myth 1: You Need Years of Experience for Professional-Looking Piping
One of the biggest misconceptions about piping is that achieving a professional look requires extensive experience or natural artistic talent. While experience certainly refines skill, many classic and elegant piping designs are based on simple, repetitive motions that beginners can master quickly. Think about the classic star tip swirl on a cupcake, a simple shell border around a cake base, or uniform dots. These are fundamental techniques that look polished but rely more on consistent pressure and angle than on complex dexterity.
Many professional-looking results are achieved by mastering just a handful of basic tips and techniques. For instance, a single piping tip like the #1M or #2D can create beautiful rosettes or swirls that instantly elevate a plain cake or cupcake. Focusing on getting your buttercream consistency right and practicing these core shapes for even just 15-20 minutes can dramatically improve your results. You don't need to be able to pipe intricate roses on day one; mastering a few easy piping buttercream frosting tips will take you far.
Myth 2: Expensive Equipment is Essential for Beautiful Buttercream Piping
Another common myth is that you need to invest in a large collection of expensive tools to start piping effectively. While there are countless piping tips and specialized gadgets available, you can achieve beautiful results with a minimal, affordable setup. A basic set of disposable piping bags (or one reusable bag), a coupler, and just 3-4 essential piping tips is more than enough for a beginner.
For example, a starter set might include a round tip ( #12 or #2A), a star tip ( #1M or #21), and perhaps a petal tip ( #104) or leaf tip ( #352). These few tips cover a wide range of designs, from simple dots and lines to stars, shells, rosettes, and basic leaves. You can often purchase a small set of these essential items for under $20.
Focusing on learning how to use these basic tools effectively is much more important than having dozens of tips you don't know how to use. These easy piping buttercream frosting tips are designed to be accessible with minimal investment.
Myth 3: Perfect Buttercream Consistency is Unachievable
Many beginners struggle with buttercream that is too stiff, too soft, or grainy, leading to frustrating piping experiences. This leads to the myth that achieving the "perfect" piping consistency is some sort of magical, elusive goal. While consistency is crucial, it's not a mystery; it's about understanding the ingredients and how temperature affects them, and knowing how to make simple adjustments.
Most standard buttercreams (like American buttercream, made from butter and powdered sugar) are relatively easy to adjust. If your buttercream is too stiff, adding a small amount of liquid (milk, cream, or even water), usually just a tablespoon or two at a time, while mixing will loosen it up. If it's too soft, often chilling it in the refrigerator for 15-30 minutes can firm it up.
Sometimes, simply mixing it longer can improve texture by smoothing out lumps. Learning to recognize the right consistency – typically smooth, creamy, and holding its shape well when piped – is a skill developed through practice, not an innate talent. We'll share easy piping buttercream frosting tips for getting this just right.
Essential Tools for Buttercream Piping Success
Piping Bags: Choosing the Right Type and Size
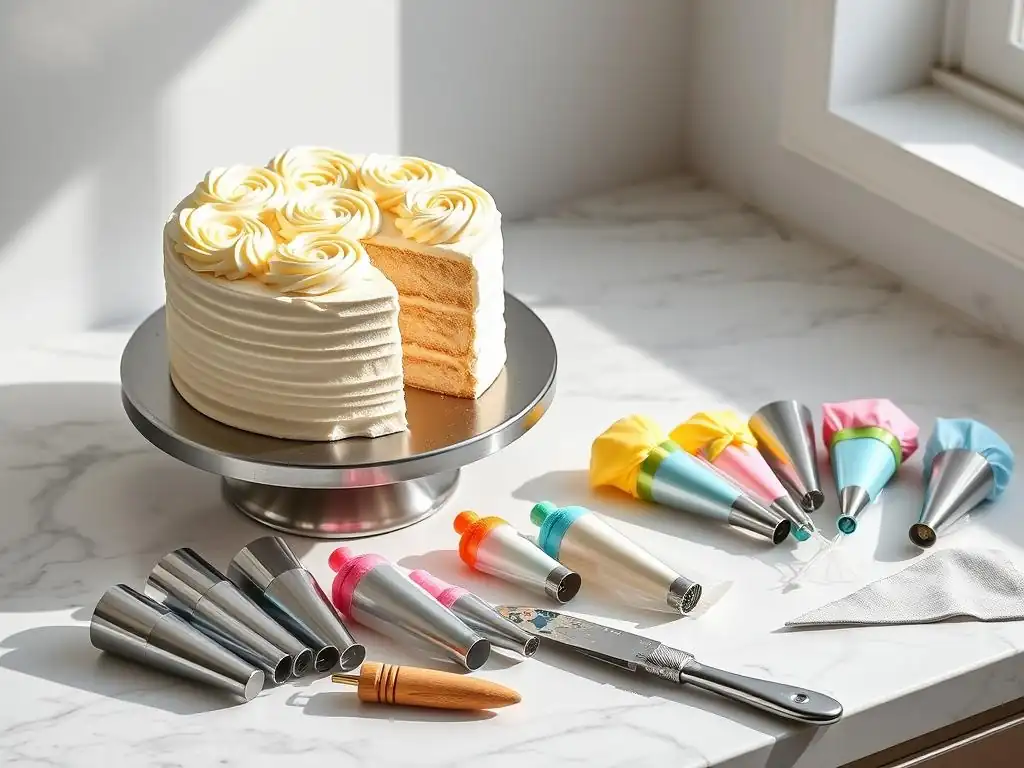
Piping bags are the fundamental vessel for your buttercream. They come in two main types: disposable and reusable. Disposable bags, typically made of plastic, are convenient because there's no cleanup; you simply use them and discard. They are often sold in rolls or boxes and come in various sizes, commonly 12-inch or 16-inch. For beginners, disposable bags are a great starting point as they are inexpensive and hygienic.
Reusable bags are usually made from canvas, nylon, or silicone. They are more environmentally friendly and durable but require thorough washing after each use. They also come in different sizes. For most basic piping tasks, a medium-sized bag (around 12-14 inches) is versatile enough to hold a good amount of frosting without being too unwieldy when full. Choosing the right size means you don't have to refill constantly but also don't struggle to control a bag packed with too much frosting.
Piping Tips: Must-Have Shapes for Beginners
Piping tips, also called nozzles, are the small attachments that shape the frosting as it's squeezed from the bag. A beginner doesn't need dozens of tips. Starting with a few key shapes will allow you to create a wide variety of designs. Essential tips for beginners include:
- Round Tips: Used for dots, lines, writing, and filling in areas. Sizes like #3, #12, or #2A are useful.
- Star Tips: Create classic star shapes, shells, and rosettes. Open star tips like #1M or #21 are incredibly versatile. Closed star tips like #2D make ruffled stars or rosettes.
- Petal Tips: Used for piping ruffles, swags, and flower petals. Tip #104 is a popular choice.
- Leaf Tips: Designed to create realistic leaves. Tip #352 is a common beginner leaf tip.
Investing in just these 4-5 tip types will equip you to practice most easy piping buttercream frosting tips and techniques needed for decorating cupcakes and simple cakes. They provide a solid foundation before exploring more specialized tips.
Couplers: Simplifying Tip Changes and Preventing Waste
A coupler is a simple two-part plastic piece that fits inside a piping bag and allows you to change piping tips without changing the bag or emptying the frosting. The base of the coupler goes inside the bag before filling, with the narrow end poking through a cut hole. The piping tip slides over the outside of this narrow end, and then the ring part of the coupler screws on to hold the tip securely in place.
Using a coupler is highly recommended, especially when starting out or when you want to use multiple tips with the same color of frosting. It saves time, reduces the number of bags you need, and prevents waste. A standard coupler works with most small to medium-sized tips (often referred to as standard tips). For larger tips (like the #1M), you might need a large coupler or simply drop the tip directly into the bag without a coupler.
Offset Spatulas: Achieving Smooth Cake Surfaces
While not strictly a piping tool, an offset spatula is essential for preparing your cake surface before you pipe. Piping beautiful designs is much easier and looks significantly better on a smoothly frosted cake or cupcake base. An offset spatula has a blade that is "offset" or angled away from the handle, which keeps your knuckles from dragging in the frosting as you smooth it.
Offset spatulas come in various sizes, from small ones perfect for cupcakes to larger ones for frosting entire cakes. A medium-sized offset spatula (around 7-9 inches) is a good all-rounder. Use it to apply a crumb coat (a thin layer of frosting that traps crumbs), chill the cake, and then apply a final, smooth layer of buttercream. A smooth canvas is the first step to successful and easy piping buttercream frosting tips application.
Mastering Buttercream Consistency for Optimal Piping
The Importance of Buttercream Texture for Different Piping Techniques
The texture of your buttercream is arguably the most critical factor for successful piping. Buttercream that is too stiff will be hard to squeeze, can tear the piping bag, and will result in jagged, uneven shapes. Frosting that is too soft will lose its shape, droop, and can look messy. Different piping techniques also benefit from slightly different consistencies. For example, piping fine details like writing or delicate lines requires a slightly firmer consistency than piping large swirls or filling in areas.
A buttercream that is too grainy or has air bubbles will also make smooth piping difficult. Graininess usually comes from undissolved sugar, which can be improved by mixing longer or using a different sugar. Air bubbles are common and can be removed by pressing the frosting against the side of the bowl or working the bag. Understanding how temperature affects your buttercream (colder is firmer, warmer is softer) is also key to maintaining the right texture throughout your decorating process. Perfecting consistency is one of the key easy piping buttercream frosting tips.
Achieving the Perfect Buttercream Consistency: A Detailed Guide
Achieving the right buttercream consistency typically involves adjusting the ratio of liquid (like milk or cream) to the fat and sugar, and managing temperature. For a basic American buttercream made with 1 cup (2 sticks) of butter and 4 cups of powdered sugar, you might start by adding 2-3 tablespoons of liquid. Mix thoroughly.
To check the consistency for piping, scoop some frosting onto your spatula and see if it holds a peak that curls slightly at the top. Or, fill a small piping bag with a tip you plan to use and try piping a test shape on a piece of parchment paper.
- If it's too stiff and hard to squeeze, add liquid one teaspoon at a time, mixing well after each addition, until it reaches a smooth, pipeable consistency.
- If it's too soft and doesn't hold its shape, you can add more powdered sugar (a tablespoon at a time) or, more effectively, chill the buttercream in the refrigerator for 15-30 minutes. Stir it after chilling, as it will be firmer around the edges.
Sometimes, simply beating the buttercream for an extra few minutes can improve its texture by making it smoother and slightly lighter. Don't be afraid to make small adjustments; it's easier to fix consistency issues by adding small amounts gradually.
Troubleshooting Common Buttercream Consistency Problems
Even with the best recipe, you might encounter issues. Here's how to troubleshoot common problems:
- Too Stiff: As mentioned, add a very small amount of liquid (milk, cream, light corn syrup, or even water) – think half a teaspoon to a tablespoon at a time for a standard batch. Beat well until smooth and pliable. Over-adding liquid can make it too soft quickly.
- Too Soft/Melting: This is often a temperature issue. The room might be too warm, or your butter was too soft to start. If adding a little more powdered sugar doesn't work (it can make it too sweet or stiff later), the best solution is chilling. Place the buttercream in the refrigerator for 15-30 minutes, then stir it to check consistency. If it's still too soft, chill longer. For piping in warm conditions, consider adding a bit of shortening to your recipe or using a crusting buttercream.
- Grainy Texture: Usually due to undissolved powdered sugar. Sifting your powdered sugar before adding it helps. If it's already mixed, beat the buttercream for several minutes on medium speed. The friction can help dissolve some sugar crystals. A tiny amount of liquid can also sometimes help dissolve sugar, but be careful not to make it too soft.
- Air Bubbles: These cause breaks and inconsistencies in your piped lines. After mixing, use a spatula to press the buttercream firmly against the sides of the bowl to push air out. When filling your piping bag, fill it slowly and avoid scooping air into it. Once filled, gently twist the top and squeeze a little frosting out onto parchment paper until the bubbles are gone.
Mastering these adjustments is a key part of learning easy piping buttercream frosting tips and will save you a lot of frustration.
Easy Buttercream Piping Techniques for Beginners
Technique 1: Piping Simple Dots and Borders
Piping dots and simple borders are fundamental skills that serve as building blocks for many designs.
- Dots: Fit a round tip (like a #12 or #2A) into your bag. Hold the bag perpendicular (straight up) to the surface. Squeeze firmly and steadily until the dot is the desired size. Stop squeezing and quickly pull the bag straight up. The goal is a round, even dot.
- Borders: The simplest border is a line of connected dots or a continuous line. For a string of dots, pipe individual dots close together. For a continuous line, hold the bag at a slight angle (around 45 degrees) to the surface, squeeze steadily, and move the bag along the edge of the cake or cupcake. The speed of your movement combined with pressure dictates the thickness of the line. You can use round or star tips for borders. A star tip ( #21) creates a decorative, serrated line.
Practicing dots and lines on parchment paper before moving to your cake or cupcakes is highly recommended. Try to make them uniform in size and spacing. These easy piping buttercream frosting tips are the absolute basics.
Technique 2: Creating Basic Stars and Shells
Star and shell shapes are classic and versatile, perfect for borders, filling areas, or decorating cupcakes. These use a star tip, most commonly an open star like the #1M or #21.
- Stars: Hold the bag perpendicular to the surface. Squeeze firmly and steadily until a star shape forms. Stop squeezing and pull the bag straight up. The tip's size and the pressure you apply will determine the size of the star. Uniform pressure is key for consistent stars.
- Shells: This technique creates a tapered shape resembling a seashell or a comma. Hold the bag at about a 45-degree angle to the surface. Squeeze firmly to create a base, then gradually decrease pressure as you pull the bag away, creating a tail. The tip of the shell should lightly touch the surface as you finish. Shells are often piped in rows, with the head of the next shell covering the tail of the previous one to create a continuous border.
Practice maintaining steady pressure and a consistent angle for uniform stars and shells. These are essential easy piping buttercream frosting tips for decorative borders and cupcake swirls.
Technique 3: Piping Rosettes and Swirls
Rosettes and swirls are popular for decorating the tops of cupcakes or as decorative elements on cakes. These also use star tips, particularly larger ones like the #1M or #2D.
- Rosettes: Hold the bag with a star tip (like #1M) perpendicular to the surface. Start in the center and pipe a tight spiral outwards, or start on the outside edge and spiral inwards. Maintain consistent pressure. When you reach the desired size, stop squeezing and pull the bag away cleanly. This creates a beautiful, rose-like swirl.
- Swirls (Cupcake Style): This is the classic cupcake topping. Hold the bag with a large star tip ( #1M is perfect) perpendicular to the center of the cupcake. Start squeezing and pipe a spiral outwards, then continue piping one or two layers on top of the first spiral, moving inwards slightly with each layer to build height. Stop squeezing and pull up sharply at the top center to create a peak. Consistent pressure and smooth movement are key to a smooth, appealing swirl.
These techniques are quick to learn and instantly make a baked good look professionally decorated, demonstrating the power of easy piping buttercream frosting tips.
Technique 4: Making Leaves and Petals
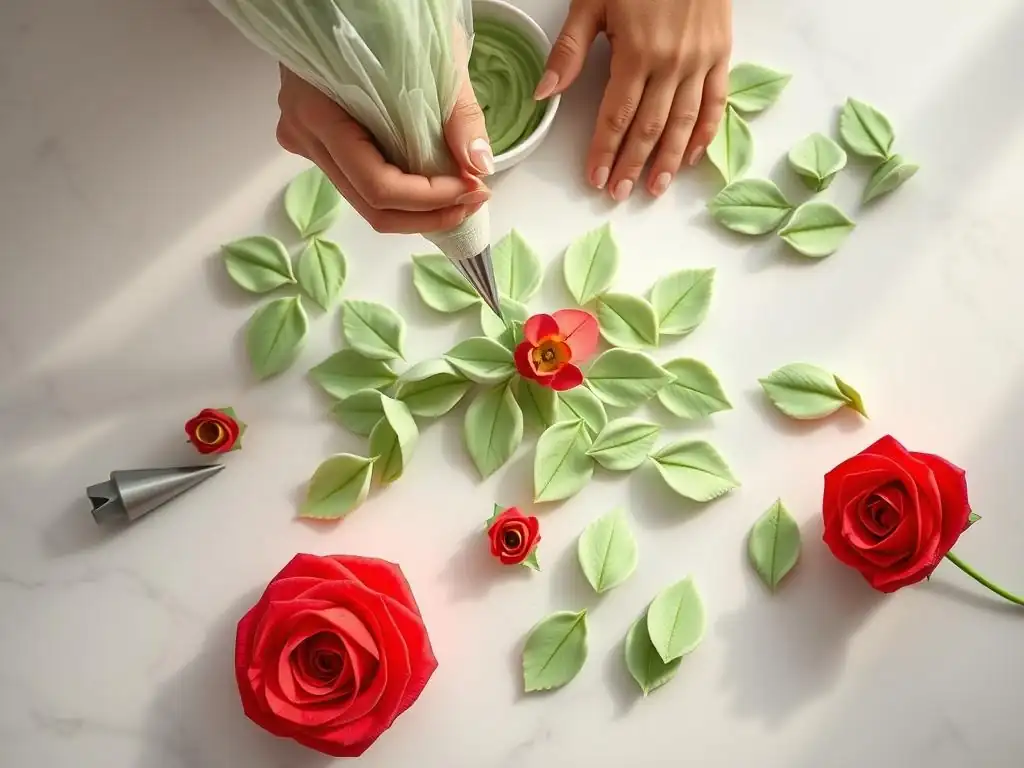
Adding leaves and petals can bring a floral element to your decorating.
- Leaves: Use a leaf tip ( #352 is common). This tip has a V-shaped opening. Hold the bag with the V-opening perpendicular to the surface. Squeeze firmly to create the base of the leaf, then gently pull the bag away while slightly decreasing pressure. You can wiggle the bag gently as you pull away to create a more natural, ruffled leaf shape. Practice varying the pressure and wiggling motion to create leaves of different sizes and looks.
- Petals (Simple): Using a petal tip ( #104), which is tear-drop shaped (wider at one end, narrower at the other), allows you to create simple petals or ruffles. Hold the bag with the wider end of the tip pressed against the surface (or where you want the base of the petal). Squeeze gently and move the bag in the desired petal shape (e.g., a curve for a rose petal, or back and forth for a ruffle border), keeping the wider end anchored. Release pressure as you finish the shape. These techniques are great for adding accents and learning more nuanced piping control.
Mastering these shapes adds versatility to your repertoire of easy piping buttercream frosting tips.
Technique 5: Adding Texture with Different Piping Tips
Beyond specific shapes, different tips can add interesting textures to your frosting.
- Grass/Hair Tip: Tips like #233 have multiple small holes and create a fine, strand-like texture resembling grass, fur, or hair. Hold the bag perpendicular and squeeze, pulling up as the strands form.
- Basketweave Tip: Tips like #44 or #47 have one smooth side and one serrated side. By piping overlapping horizontal and vertical strips, you can create a woven texture on the side of a cake. Hold the smooth side down for a smooth weave.
- Ruffle Tips: Petal tips ( #104) can also be used to create ruffled borders or swags by holding the wide end against the cake and moving the bag up and down or side to side while squeezing.
Experimenting with these tips allows you to add visual interest and variety to your decorations, going beyond simple shapes while still using relatively easy piping buttercream frosting tips.
Common Piping Mistakes and How to Avoid Them
Air Bubbles: Preventing and Eliminating Them for Smooth Piping
Air bubbles are a common frustration that cause breaks and gaps in your piped lines or shapes. They often get incorporated into the buttercream during mixing or when scooping it into the piping bag.
- Prevention: After mixing your buttercream, use a spatula to press it firmly against the sides of the mixing bowl for a minute or two. This helps push out trapped air. When filling your piping bag, try to scoop the frosting in smoothly rather than dumping it in, which can trap pockets of air. Don't overfill the bag; this makes it harder to manage and can force air down.
- Elimination: Once the bag is filled, gently twist the top closed and squeeze a small amount of frosting out onto a piece of parchment paper or a paper towel until the bubble passes. Sometimes, you can see a bubble moving down the bag; you can try to gently push it towards the tip. If you hear a puff of air while piping, stop, squeeze out the bubble onto your practice surface, and then resume piping. Addressing air bubbles is a crucial easy piping buttercream frosting tip for clean results.
Inconsistent Pressure: Maintaining a Steady Flow
Maintaining consistent pressure on the piping bag is vital for creating uniform shapes, lines, and swirls. Squeezing too hard or too soft will result in uneven thickness, size, or shape.
- Practice: The best way to improve pressure consistency is through practice. Fill a bag with frosting (or even mashed potatoes or just air) and practice squeezing onto parchment paper. Try piping straight lines, circles, and stars, focusing solely on keeping the pressure steady.
- Holding the Bag: Hold the bag with your dominant hand near the twisted-off top, using it to apply steady pressure. Your non-dominant hand should guide the tip. Squeeze from the top down, twisting the bag closed as you go to keep the frosting moving towards the tip. Avoid squeezing the middle or bottom of the bag, which makes pressure inconsistent.
- Amount of Frosting: Don't overfill your bag. A bag that is too full is hard to grip and squeeze evenly. Fill it about half to two-thirds full.
Consistent pressure is one of the most fundamental easy piping buttercream frosting tips that improves all piping techniques.
Overfilled Piping Bag: Preventing Messes and Maintaining Control
Filling a piping bag too full is a common beginner mistake that makes the bag difficult to handle, control pressure, and can lead to frosting squeezing out the top.
- Filling Level: As a general rule, fill the piping bag no more than two-thirds full. For a standard 12-inch bag, this might be around 1 to 1.5 cups of frosting.
- Twisting the Top: Once filled, gather the top of the bag and twist it closed just above the level of the frosting. This creates tension that helps push the frosting down and prevents it from coming out the wrong end. As you pipe, continue twisting the bag down to keep pressure on the frosting.
- Refilling: It's better to refill your bag multiple times than to struggle with an overstuffed one. Stopping to refill takes only a moment and makes the piping process much smoother and more controlled.
Properly filling and managing your piping bag is a simple yet effective easy piping buttercream frosting tip that makes a big difference in your piping experience.
Easy Piping Projects for Beginners: Practice Makes Perfect
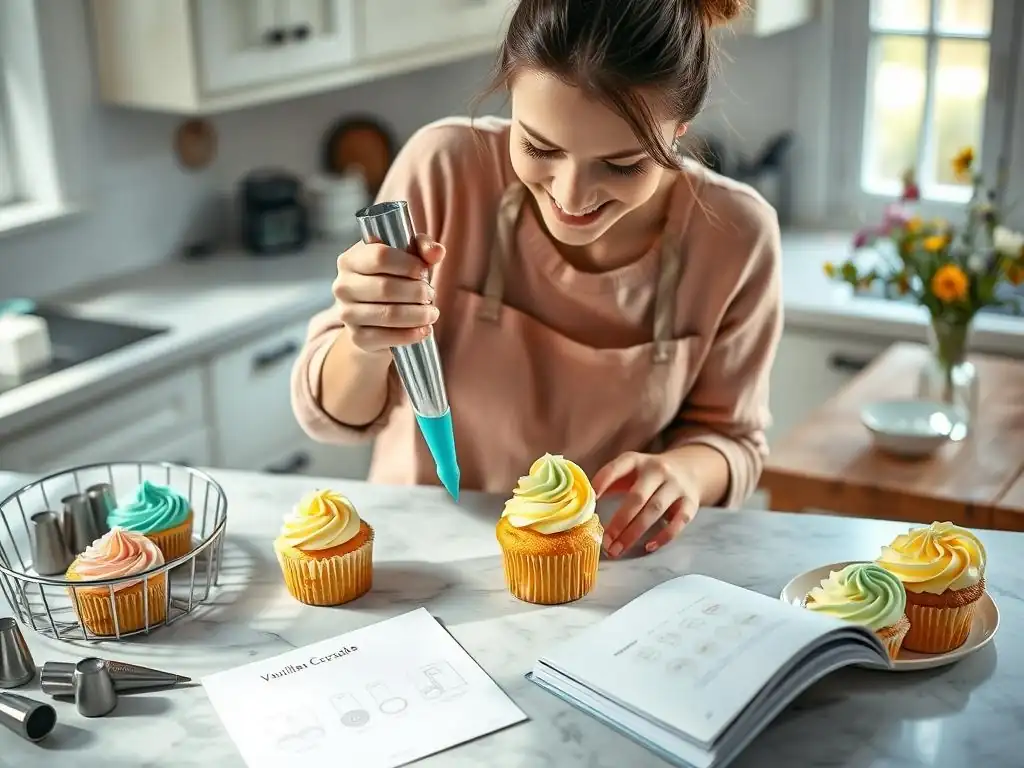
Decorated Cupcakes: Simple Designs for Stunning Results
Cupcakes are the perfect canvas for practicing easy piping buttercream frosting tips. Their small size makes them less intimidating than a full cake, and you can practice multiple techniques on a single batch.
- Swirls: The classic cupcake swirl using a #1M or #2D tip is a fantastic starting point. Aim for consistent height and coverage on each cupcake. A batch of 12 cupcakes provides ample opportunity to refine this technique.
- Stars and Dots: Use a star tip ( #21) to pipe small stars all over the top of the cupcake for a textured look, or use a round tip ( #12) to pipe uniform dots.
- Simple Rosettes: Pipe a single rosette on top of each cupcake using a #1M tip for an elegant finish.
Practicing on cupcakes allows you to quickly see results and build confidence before tackling larger projects. You can decorate a dozen cupcakes in about 15-20 minutes once you get the hang of it.
Bordered Cakes: Adding Elegant Finishing Touches
Adding a simple border to the top or bottom edge of a cake instantly elevates its appearance and hides any imperfections where the frosting meets the cake board.
- Shell Border: Using a star tip ( #21 or #1M) and the shell technique (piping overlapping shapes), create a continuous border around the base or top edge of the cake. Aim for uniform size and spacing between the shells. A 6-inch round cake might require 20-25 shells for a bottom border.
- Star Border: Pipe a continuous line of touching stars around the edge using a star tip ( #21).
- Dot Border: Use a round tip ( #12) to pipe uniform dots around the edge, either touching or slightly spaced.
These easy piping buttercream frosting tips provide a clean, finished look to your cakes with minimal effort.
Floral Cakes: Creating Beautiful Buttercream Blooms
While intricate floral arrangements can be advanced, creating simple buttercream blooms is achievable for beginners and is a beautiful application of easy piping buttercream frosting tips.
- Rosette Cake: Cover the entire surface of a cake with rosettes using a #1M tip. Pipe them close together to cover the cake completely. This looks stunning but is simply a repetition of the basic rosette technique. A standard 8-inch round cake top might take 30-40 rosettes.
- Simple Flowers with Petal Tips: Use a petal tip ( #104) to pipe simple flowers directly onto the cake or onto parchment paper (then transfer them to the cake after chilling). Pipe petals around a central point or a piped dot. Add a leaf or two with a leaf tip ( #352).
Combining simple techniques like rosettes, dots, and leaves allows you to create impressive floral designs without needing advanced skills.
Beyond the Basics: Expanding Your Piping Skills
Exploring Advanced Piping Tips and Their Unique Uses
Once you're comfortable with the basic tips, you can explore the vast world of specialized piping tips.
- Specialty Star Tips: Tips with more teeth ( #199) create finer serrations, while others have unique shapes.
- Ruffle Tips: Tips like #86 or #100 create different styles of ruffles and swags.
- Flower Nail Tips: Specific tips used with a flower nail (a small metal circle on a stick) to build multi-petal flowers like roses ( #104, #124, #125).
- Basketweave Tips: Tips like #46 or #48 create different widths of basketweave patterns.
- Multi-Opening Tips: Tips with multiple holes in various arrangements to pipe multiple lines, dots, or stars at once.
Each tip offers unique creative possibilities, allowing you to expand your repertoire beyond the easy piping buttercream frosting tips you started with.
Advanced Buttercream Techniques: Piping Realistic Flowers
Moving into advanced techniques often involves combining multiple skills and tips. Piping realistic buttercream flowers, like roses, peonies, or chrysanthemums, typically requires practice with petal tips and a flower nail.
- Buttercream Roses: Built layer by layer on a flower nail using a petal tip ( #104, #124, or #125). You pipe a base bud, then carefully layer petals around it, rotating the nail as you go.
- Palette Knife Painting: Using buttercream of different colors and an offset or palette knife to create textured, painterly floral designs directly on the cake.
- Brush Embroidery: Piping a shape outline and then using a small, clean brush to feather the edges inwards, creating a delicate embroidered look.
These techniques require more control, practice, and understanding of buttercream consistency, but they build upon the fundamental easy piping buttercream frosting tips you've already learned.
Resources for Continued Learning: Where to Find More Tutorials
Learning to pipe is a journey, and there are many places to find further guidance. On the BakeWithEase website, we have a growing collection of tutorials and guides dedicated to cake decorating and piping. Look for step-by-step articles and videos demonstrating specific techniques with various tips. Exploring different sections of our site, particularly within the Basic Piping Skills and Intermediate Baking categories, will provide additional resources, tips, and project ideas to help you continue developing your skills.
Conclusion: You CAN Master Buttercream Piping!
Encouragement and Resources for Aspiring Bakers
Don't let the initial intimidation of buttercream piping discourage you. As we've explored, many "professional" techniques are built upon mastering a few easy piping buttercream frosting tips and understanding your materials. The key is to start simple, use the right basic tools, and practice consistently.
Remember that mistakes are part of the learning process. Buttercream is forgiving – if a piped shape doesn't look right, you can often scrape it off and try again (or re-mix the frosting). Focus on enjoying the process of creating something beautiful. With the foundational knowledge provided here and the resources available on BakeWithEase.com, you have everything you need to start your piping journey. Keep practicing these easy piping buttercream frosting tips, and you'll be creating stunning cakes and cupcakes in no time!
Frequently Asked Questions
What are some essential tools for easy buttercream piping?
You'll need piping bags (disposable or reusable), piping tips (a variety of shapes and sizes), and a coupler to easily switch tips. A gel food coloring set will also help you create beautiful designs.
What kind of buttercream is best for piping, and why?
American buttercream is generally considered the easiest for piping due to its stiff consistency. Swiss meringue buttercream is another good option, known for its smooth texture and stability.
How do I get a smooth consistency in my buttercream for easy piping?
Ensure your butter is at room temperature before creaming it. Also, mix the buttercream for several minutes after adding the powdered sugar to eliminate any graininess.
What are some beginner-friendly piping techniques I can try?
Start with simple techniques like rosettes, stars, and swirls. Practice on parchment paper before piping directly onto your cake or cupcakes to gain confidence.
How can I prevent air bubbles in my piping bag, which can ruin my designs?
After filling the piping bag, squeeze gently to release any trapped air. Twist the top of the bag tightly to maintain pressure and prevent air from entering.
Final Reflection: Mastering the Art of Effortless Piping
The pursuit of perfectly piped buttercream frosting is more than just a culinary skill; it's a testament to patience, practice, and the joy of creating something beautiful. In today's visually-driven world, where Instagrammable desserts reign supreme, the ability to effortlessly pipe elegant swirls and intricate designs is increasingly valuable, both professionally and personally. This isn't just about creating pretty cakes; it's about unlocking a creative outlet and finding satisfaction in mastering a seemingly simple technique.
The journey of learning to pipe buttercream has profoundly impacted my own baking experience. It's a constant reminder that even the most challenging skills can be broken down into manageable steps. The difference between ordinary and extraordinary is that little extra.
This quote perfectly encapsulates the dedication required to achieve beautiful piping, but also highlights the immense reward that comes with perseverance. The subtle shifts in pressure, the consistent hand movements, the understanding of your tools – these are all elements that contribute to the final, breathtaking result, and they're all learnable.
Now, it's your turn. Don't be intimidated by the seemingly daunting task of mastering buttercream piping. Remember the tips and techniques discussed in this article, grab your piping bag, and experiment! Each attempt, whether successful or not, brings you closer to understanding the nuances of this craft. Embrace the process, celebrate your progress, and most importantly, have fun creating something delicious and visually stunning. The journey to effortless piping is a rewarding one, and the sweet rewards are well worth the effort.
Unleash Your Inner Pastry Chef!
Thanks for taking the time to explore the world of basic piping with us! We hope you now feel confident and excited to tackle this fundamental baking skill. Ready to put your newfound knowledge into practice?
- Master the swirl: Try practicing different piping techniques with your favorite frosting – we bet you'll be amazed at what you can create! This is your chance to experiment and have fun.
- Share your creations: Show off your piping prowess! Snap a picture of your masterpiece and share it with us on social media – we'd love to see your baking journey. Use #BakeWithEasePiping.
- Challenge a friend: Invite a friend to join you in this piping adventure – learning together makes it even more enjoyable!
So, what delicious treat will you pipe first?