
Microwave Caramel in Minutes: Foolproof Technique for Lazy Bakers

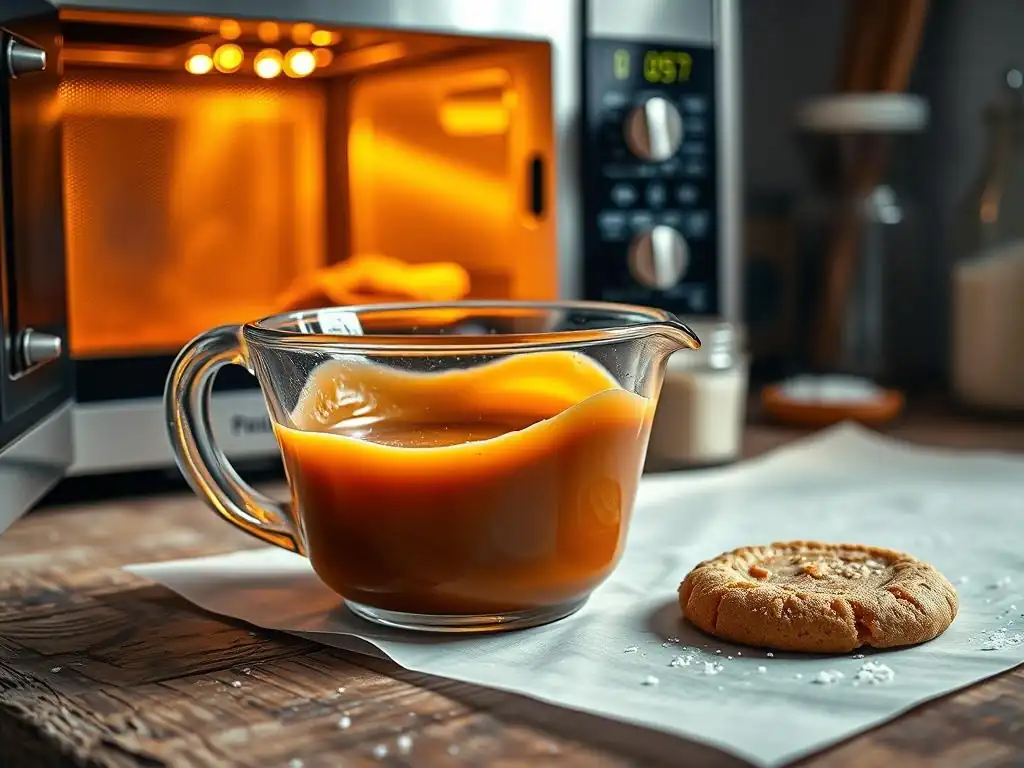
Welcome to BakeWithEase, your haven for delicious baking adventures! Ever dreamt of rich, decadent caramel without the stovetop fuss? Discover our foolproof technique for an easy microwave caramel recipe that's ready in minutes. Unlock a world of effortless baking and satisfy your sweet cravings – keep scrolling to learn the secret!
- BakeWithEase Presents: The Easiest Microwave Caramel Recipe
- Why Microwave Caramel is a Game Changer for Busy Bakers
- Ingredients for Your Easy Microwave Caramel Recipe
-
Step-by-Step Guide: Making Caramel in the Microwave
- Preparation: Getting Ready for Your Microwave Caramel
- Step 1: Combining the Ingredients
- Step 2: The First Microwave Interval (3 Minutes)
- Step 3: Stirring and Checking Consistency
- Step 4: Subsequent Microwave Intervals (1-Minute Increments)
- Step 5: Achieving the Perfect Caramel Color and Texture
- Important Tips for Avoiding Burnt Microwave Caramel
- Troubleshooting Common Microwave Caramel Problems
- Variations on the Basic Microwave Caramel Recipe
- Using Your Homemade Microwave Caramel
- Storing Your Microwave Caramel for Optimal Freshness
- Mastering Caramel with Ease: Your Go-To Microwave Caramel Guide
- Frequently Asked Questions
- Final Reflection: The Sweet Simplicity of Effortless Caramel
- Unleash Your Inner Caramel Master!
BakeWithEase Presents: The Easiest Microwave Caramel Recipe
Welcome to BakeWithEase, where we believe that delicious baking doesn't have to be difficult or time-consuming. Today, we're tackling a classic sweet treat that often intimidates home bakers: caramel. Forget standing over a hot stove, constantly stirring, and worrying about crystallization. We're going to show you a revolutionary method that uses your microwave to create rich, golden caramel in just minutes. This easy microwave caramel recipe is so straightforward, it feels like magic!
This foolproof technique simplifies the caramel-making process dramatically. By leveraging the controlled heating of the microwave, we eliminate many common pitfalls associated with traditional stovetop methods. Whether you need a quick drizzle for ice cream or a base for other confections, this easy microwave caramel recipe delivers consistent, delicious results every time, proving that even complex-sounding sweets can be made with ease right in your kitchen.
Why Microwave Caramel is a Game Changer for Busy Bakers
Making caramel the traditional way requires careful monitoring, precise temperature control, and a significant time commitment. For anyone juggling work, family, or just a packed schedule, finding 30-45 minutes to dedicate solely to stirring sugar can be a challenge. The microwave method drastically cuts down on active time, allowing you to multitask or simply relax while the microwave does the heavy lifting. This efficiency makes it an ideal solution for last-minute dessert cravings or unexpected baking projects.
Furthermore, the cleanup for this easy microwave caramel recipe is typically much simpler than the stovetop version. You're using a microwave-safe bowl, often the only pot or pan involved, which translates to less scrubbing of burnt sugar from saucepan bottoms. This convenience factor, combined with the speed and reliability of the process, truly makes microwave caramel a game changer for anyone who wants to enjoy homemade caramel without the fuss.
Save Time with This Quick Caramel Recipe
One of the most compelling benefits of using the microwave for caramel is the incredible time savings. A traditional stovetop caramel can take anywhere from 15 to 30 minutes of active cooking time, plus prep. With this easy microwave caramel recipe, you can have a perfectly golden, bubbling caramel ready in approximately 5-8 minutes of total microwave time, broken into short intervals. This frees up valuable time for other tasks, whether it's preparing other components of your dessert or simply enjoying a moment of peace.
Consider a scenario where you suddenly decide to make caramel apple dip for an impromptu gathering. Instead of planning an hour ahead, you can whip up a batch of this quick caramel in under 15 minutes from start to finish, including measuring ingredients and brief cooling. This rapid turnaround is invaluable for spontaneous baking and ensures you're never far from a delicious caramel fix. For instance, using a standard 1000-watt microwave, the total cooking time is often less than 7 minutes.
No Candy Thermometer Needed: Simplified Caramel Making
Traditional caramel making often requires a candy thermometer to accurately track temperature and ensure you reach the correct stage (e.g., 320°F or 160°C for dry caramel). For many home bakers, owning and using a candy thermometer can feel intimidating or like an unnecessary piece of equipment. This easy microwave caramel recipe bypasses the need for one entirely.
Instead of relying on temperature readings, this method uses visual cues – specifically, the color of the caramel – and timed microwave intervals to guide you. You'll learn to recognize the stages by the change in color from clear to pale yellow, then to golden amber. This visual approach is much more intuitive and accessible, making the process less technical and more forgiving. You're simply watching for that perfect golden hue, making this a truly simplified caramel-making experience.
Perfect for Last-Minute Baking Projects
Have you ever been halfway through decorating a cake or preparing a batch of brownies and realized they could really use a drizzle of caramel? This easy microwave caramel recipe is the ultimate solution for those last-minute additions. Because it's so fast and requires minimal cleanup, you can make a fresh batch on the fly without disrupting your main baking project.
Imagine needing caramel sauce for a topping. Instead of running to the store or embarking on a lengthy stovetop process, you can measure out your ingredients, pop them in the microwave for a few short bursts, and have warm, pourable caramel ready in under 10 minutes. This convenience supports spontaneous creativity in the kitchen and ensures your desserts can always have that extra touch of homemade deliciousness, even when time is tight.
Ingredients for Your Easy Microwave Caramel Recipe
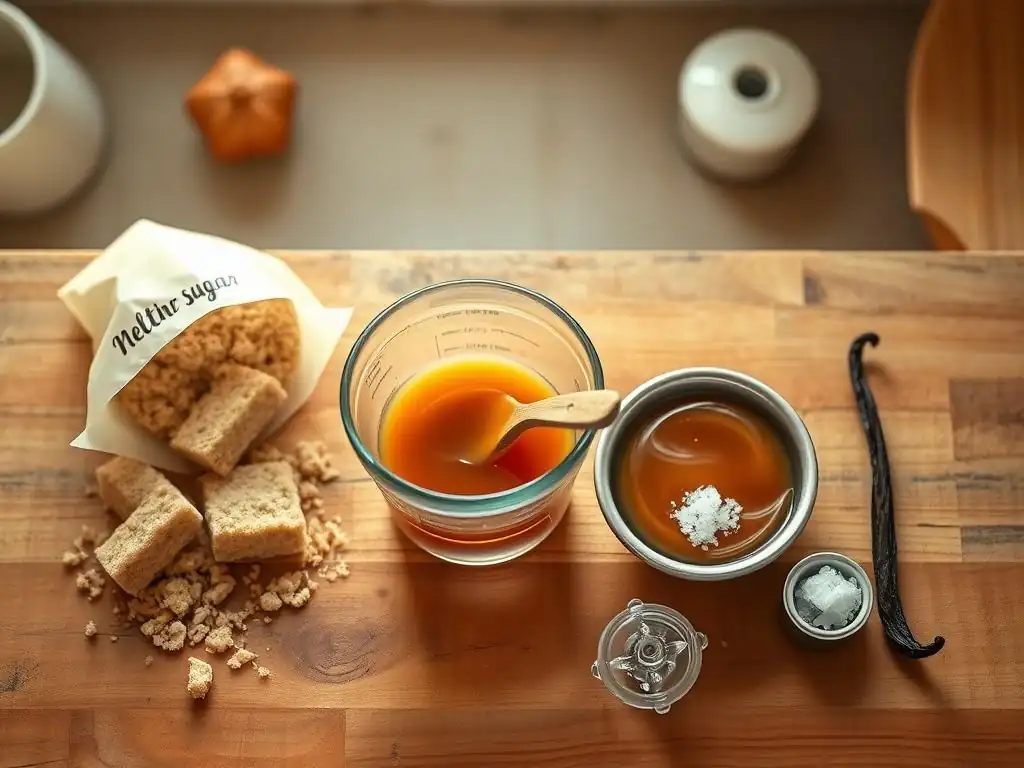
Making delicious caramel doesn't require a long list of fancy ingredients. In fact, this easy microwave caramel recipe uses just a few staples that you likely already have in your pantry and refrigerator. The simplicity of the ingredient list is part of what makes this technique so accessible and appealing to bakers of all levels, especially those looking for a quick and reliable method.
The core components work together to create the classic rich, sweet, and slightly complex flavor profile of caramel. Each ingredient plays a crucial role in the chemical reactions that occur during the heating process, resulting in that signature golden color and luxurious texture. Let's take a closer look at the simple yet essential ingredients needed for this foolproof microwave caramel.
Simple Ingredients for Delicious Caramel
The beauty of this easy microwave caramel recipe lies in its minimal ingredient list. You don't need any stabilizers, corn syrup (unless you choose to add it for specific texture reasons, but it's not required for the basic recipe), or complex sugars. Just a few common items are enough to create a decadent caramel that rivals stovetop versions in flavor and texture. This simplicity is key to its "easy" designation.
Using just these basic components ensures that the pure flavor of the caramelized sugar shines through, complemented by the richness of butter and cream. This straightforward approach minimizes the chance of errors related to measuring or combining too many different ingredients, keeping the process smooth and efficient. For instance, a typical batch uses just 1 cup of sugar, 1/4 cup of butter, and 1/2 cup of cream.
Granulated Sugar
Granulated sugar is the foundation of any caramel. When heated to high temperatures, the sugar molecules break down and undergo a complex chemical process called caramelization. This transformation changes the sugar's color from white to shades of amber and develops the characteristic nutty, slightly bitter, and deeply sweet flavor we associate with caramel.
For this easy microwave caramel recipe, standard white granulated sugar works perfectly. Its uniform crystal size helps it heat evenly in the microwave. While other sugars like brown sugar can be used for variations, granulated sugar provides the cleanest base flavor for the classic caramel taste achieved with this microwave method.
Unsalted Butter
Butter adds richness, flavor, and helps create a smooth, emulsified caramel sauce. Using unsalted butter is recommended so you can control the salt level yourself, especially if you plan to make salted caramel later. The fat in the butter also contributes to the luxurious mouthfeel of the finished caramel.
When added to the hot sugar, the butter melts and combines, helping to prevent the caramel from becoming too hard or brittle. It's crucial to use butter that is at room temperature or slightly softened, as very cold butter can cause the hot sugar to seize up momentarily.
Heavy Cream (36% Fat)
Heavy cream is essential for transforming the caramelized sugar into a smooth, pourable sauce. The high fat content (typically 36% or more) provides richness and body. When added to the hot sugar mixture, the cream cools it down and creates a luscious emulsion.
Warm cream is often recommended when adding it to hot caramel to prevent seizing, but for this easy microwave caramel recipe, adding it at room temperature or slightly warmed works well due to the way the ingredients are combined initially. The cream is whisked in after the sugar and butter have been partially microwaved, allowing for a smoother integration.
Sea Salt
While optional for a basic caramel, a pinch of sea salt is highly recommended, especially if you love salted caramel. Salt doesn't just make things salty; it enhances and balances sweetness. A touch of salt can elevate the flavor of caramel, making it more complex and less cloyingly sweet.
Adding a small amount of fine sea salt at the end of the process allows its flavor to shine through. Just 1/4 to 1/2 teaspoon of sea salt for a batch made with 1 cup of sugar can make a significant difference, transforming a simple sweet into a sophisticated treat.
Step-by-Step Guide: Making Caramel in the Microwave
Making caramel in the microwave might sound unconventional, but it's a highly effective and simple method. The key is to use a large enough microwave-safe bowl to accommodate the bubbling and expansion that occurs during heating, and to microwave in short intervals, stirring between each. This allows for controlled heating and prevents burning.
Follow these steps carefully, and you'll be rewarded with a beautiful, delicious batch of homemade caramel using this easy microwave caramel recipe. Remember that microwave wattages vary, so the timings are approximate and you'll need to pay close attention to the color and consistency as you go.
Preparation: Getting Ready for Your Microwave Caramel
Before you begin microwaving, gather all your ingredients and measure them out accurately. This easy microwave caramel recipe is quick, so having everything ready to go is key to success. You'll need granulated sugar, unsalted butter (cut into pieces), and heavy cream (at room temperature or slightly warmed). You'll also need a very large microwave-safe bowl, preferably one that holds at least 6-8 cups, as the mixture will bubble up significantly.
Have a whisk or heatproof spatula ready for stirring, and a pot holder or oven mitt for handling the hot bowl. It's also helpful to have the heavy cream measured out in a separate container, ready to add quickly when the time comes. Taking these few minutes to prepare ensures a smooth and safe cooking process.
Step 1: Combining the Ingredients
In your large microwave-safe bowl, combine the granulated sugar and the cut-up pieces of unsalted butter. Do not add the heavy cream or salt at this stage. The sugar and butter will heat together first, creating the initial base for the caramel.
Ensure the butter pieces are distributed somewhat evenly across the sugar. While they won't be fully mixed yet, this helps the melting process begin more uniformly in the initial microwave intervals. This combination sets the stage for the sugar to begin caramelizing while the butter melts into it.
Step 2: The First Microwave Interval (3 Minutes)
Place the bowl with the sugar and butter in the microwave. Microwave on high power for approximately 3 minutes. During this time, the butter will melt, and the sugar will start to dissolve into the butter, forming a bubbly, translucent mixture around the edges.
Be aware that microwaves vary in power. A 1000-watt microwave might heat faster than a 700-watt model. After 3 minutes, the mixture will be hot and likely bubbling. Carefully remove the bowl using a pot holder, as it will be very hot.
Step 3: Stirring and Checking Consistency
Carefully remove the bowl from the microwave after the first interval. Using a whisk or heatproof spatula, stir the mixture thoroughly. At this point, the sugar may not be fully dissolved, and you'll have a hot, buttery, granular liquid. Stirring helps distribute the heat and encourages the sugar to dissolve more evenly.
After stirring, return the bowl to the microwave. This stirring step is crucial before proceeding to the next heating intervals, as it prevents hot spots and promotes even caramelization.
Step 4: Subsequent Microwave Intervals (1-Minute Increments)
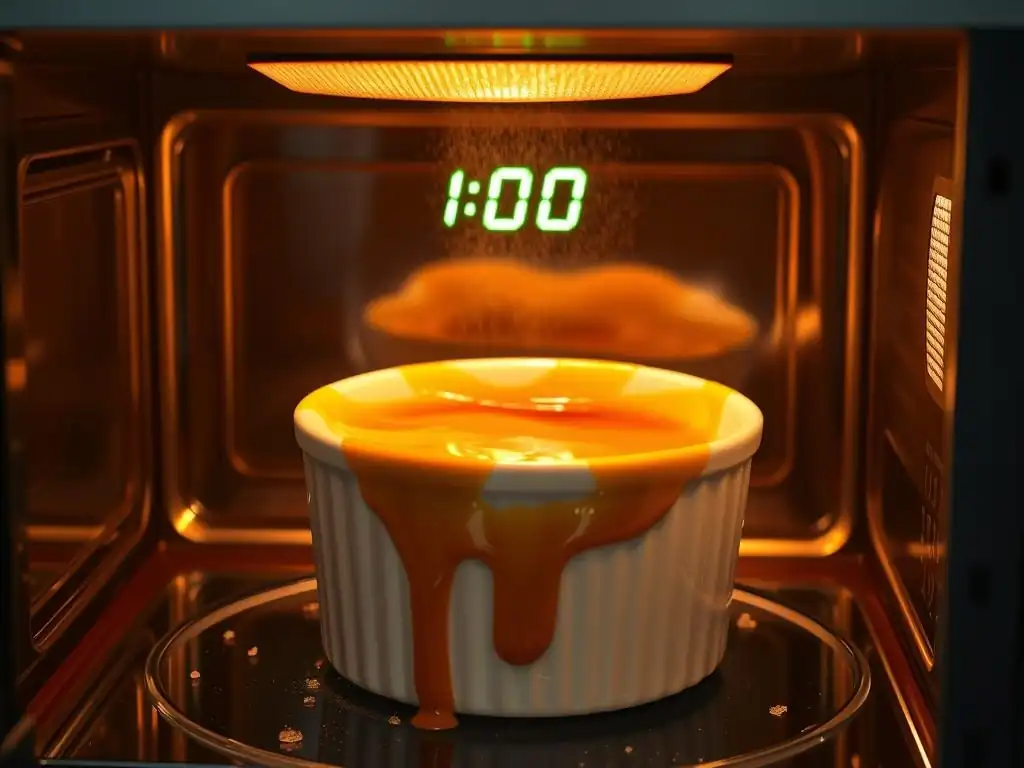
Now, you will microwave the mixture in shorter intervals, typically 1 minute at a time, stirring thoroughly after each interval. This is where the color development happens, and you need to watch closely. Microwave for 1 minute, carefully remove, stir well, and observe the color.
Repeat this 1-minute microwave and stirring process. After a few 1-minute intervals (often between 2 to 4 more intervals depending on your microwave), you will start to see the color change from pale yellow to a light amber. Continue microwaving in 1-minute bursts, stirring and checking the color each time.
Step 5: Achieving the Perfect Caramel Color and Texture
The goal is to reach a beautiful golden or medium amber color. This usually takes a total of 5 to 8 minutes of microwave time, but it's the color, not the clock, that determines readiness. A light amber color is perfect for a classic, sweet caramel. A deeper amber will yield a more intensely flavored caramel with slight bitter notes, similar to professional confectionery. Be cautious not to let it get too dark, as it can quickly burn.
Once you achieve the desired color (which often happens rapidly in the last minute or two), carefully remove the bowl from the microwave. Immediately and carefully whisk in the heavy cream. The mixture will bubble up violently and steam heavily when the cooler cream is added, so stand back. Whisk until the caramel is smooth and the cream is fully incorporated. If adding salt or vanilla, stir them in now. The caramel will continue to thicken as it cools.
Important Tips for Avoiding Burnt Microwave Caramel
The transition from perfectly caramelized to burnt can happen in seconds in the microwave. The most critical tip is to watch the color constantly during the final 1-minute intervals. Don't walk away! As soon as it reaches your desired shade of amber, stop the microwave immediately.
Using a very large bowl helps prevent boil-overs, but it also provides more surface area, which can affect heating speed. Know your microwave's power and be prepared to adjust timings – start with shorter intervals if you're unsure. If you see any wisps of smoke or smell a truly burnt odor, it's likely gone too far and might need to be discarded, as burnt sugar cannot be salvaged and will taste acrid.
Troubleshooting Common Microwave Caramel Problems
Even with an easy microwave caramel recipe, occasionally things don't go exactly as planned. Understanding common issues and how to address them can save your batch and help you learn for next time. Most problems stem from either heating inconsistencies, ingredient issues, or improper handling.
Don't be discouraged if your first attempt isn't perfect. Caramel making, even in the microwave, involves working with high temperatures and sugar chemistry. With a little practice and knowledge of these troubleshooting tips, you'll be a microwave caramel master in no time.
Caramel Not Thickening? Solutions and Advice
If your caramel sauce seems too thin after cooling, there are a couple of potential reasons and solutions. One common cause is not heating the sugar mixture long enough to reach a sufficient temperature for caramelization and subsequent thickening. The color test is key; if it's still very pale yellow, it likely needs more time in the microwave.
You can carefully return the thin caramel to the microwave for very short bursts (30 seconds at a time), stirring well in between, until it reaches a slightly deeper amber color. Be extremely cautious, as it can go from thin to burnt quickly at this stage. Another possibility is adding too much cream relative to the sugar, which simply dilutes the mixture. Ensure you're using the specified ratio in the easy microwave caramel recipe.
Caramel Crystallizing? Preventing and Fixing Crystallization
Crystallization occurs when dissolved sugar molecules reform into solid crystals, turning your smooth caramel grainy or solid. While less common in methods that incorporate butter and cream early like this easy microwave caramel recipe, it can still happen. Introducing stray sugar crystals (from the side of the bowl or a dirty utensil) or insufficient stirring can trigger it.
To prevent crystallization, ensure your bowl and utensils are clean. Stir thoroughly after each microwave interval to dissolve as many sugar crystals as possible. If your caramel does crystallize, sometimes gently reheating it (either in the microwave in short bursts or in a double boiler) and stirring can help redissolve the crystals. Adding a tiny amount of liquid (like a teaspoon of water or cream) and gently heating might also work, but this can be tricky and sometimes the batch is beyond saving.
Burnt Caramel? What to Do and How to Avoid It
Burnt caramel is unfortunately irreversible. Once the sugar is burnt, it develops a harsh, bitter, and unpleasant taste that cannot be masked or fixed. The most common cause of burnt microwave caramel is simply microwaving it for too long or at too high a power without adequate stirring or monitoring.
To avoid burning, use a large bowl (this helps distribute heat and provides a buffer), stir thoroughly after every microwave interval, and most importantly, watch the color like a hawk during the final minutes. As soon as it hits your desired amber, stop immediately and add the cream. If your caramel does burn, you'll know by the dark color and acrid smell. Unfortunately, the best course of action is usually to discard it and start over, learning from the previous attempt.
Variations on the Basic Microwave Caramel Recipe
Once you've mastered the basic easy microwave caramel recipe, you can easily experiment with variations to create different flavor profiles. Adding simple ingredients can transform your classic caramel into something new and exciting, perfect for pairing with various desserts or enjoying on its own. These variations are just as simple to execute as the base recipe.
These slight modifications open up a world of possibilities for using your homemade microwave caramel. Whether you prefer a hint of saltiness, a floral vanilla note, or the deep richness of brown sugar, adapting this easy microwave caramel recipe is straightforward and rewarding.
Salted Caramel: Adding a Salty Kick
Salted caramel is incredibly popular, and adding a salty kick to your microwave caramel is incredibly easy. After you've microwaved the sugar and butter, added the cream, and whisked it smooth, simply stir in fine sea salt to taste. Start with a small amount, like 1/4 teaspoon for a batch made with 1 cup of sugar, and add more until you reach your desired balance of sweet and salty.
The salt crystals should dissolve easily in the warm caramel. Using fine sea salt is best as it dissolves quickly and evenly, providing a consistent salty flavor throughout. This simple addition transforms the easy microwave caramel recipe into a sophisticated treat, perfect for drizzling over brownies, ice cream, or using as a dip.
Vanilla Caramel: Infusing with Vanilla Extract
Adding vanilla extract infuses your caramel with a warm, aromatic flavor that complements the rich sweetness beautifully. Just like salt, vanilla is typically added after the caramel has been cooked and the cream has been stirred in.
Stir in about 1 teaspoon of pure vanilla extract per batch after the caramel is smooth and off the heat. Be cautious when adding extracts to hot mixtures, as they can sometimes cause spattering. The residual heat of the caramel is usually enough to gently warm the vanilla and disperse its flavor throughout the sauce. This small addition enhances the classic taste of your easy microwave caramel recipe.
Brown Sugar Caramel: A Deeper, Richer Flavor
While the basic recipe uses granulated sugar, you can create a caramel with a deeper, more molasses-like flavor by using brown sugar, or a mix of brown and granulated sugar. Brown sugar contains molasses, which lends a richer color and a slightly different taste profile compared to caramel made solely from white sugar.
If using brown sugar, you might find the microwaving time or visual cues change slightly due to the darker color of the sugar initially. Start with the same intervals but watch closely. The final color might appear darker sooner. Using half granulated and half brown sugar is a good way to introduce the brown sugar flavor without drastically changing the process of the easy microwave caramel recipe.
Coffee Caramel
For coffee lovers, infusing caramel with coffee flavor is a delightful variation. There are a few ways to achieve this. One method is to dissolve instant coffee granules in the heavy cream before adding it to the hot sugar mixture. Use about 1-2 teaspoons of instant coffee per batch, dissolved in the measured heavy cream.
Alternatively, you could stir in a small amount of very strong brewed coffee or espresso very carefully after the cream has been incorporated. Be mindful that adding extra liquid can affect the final consistency, so start with just a tablespoon or two. This variation adds a sophisticated, slightly bitter note that pairs wonderfully with chocolate or coffee-flavored desserts using your easy microwave caramel recipe.
Using Your Homemade Microwave Caramel
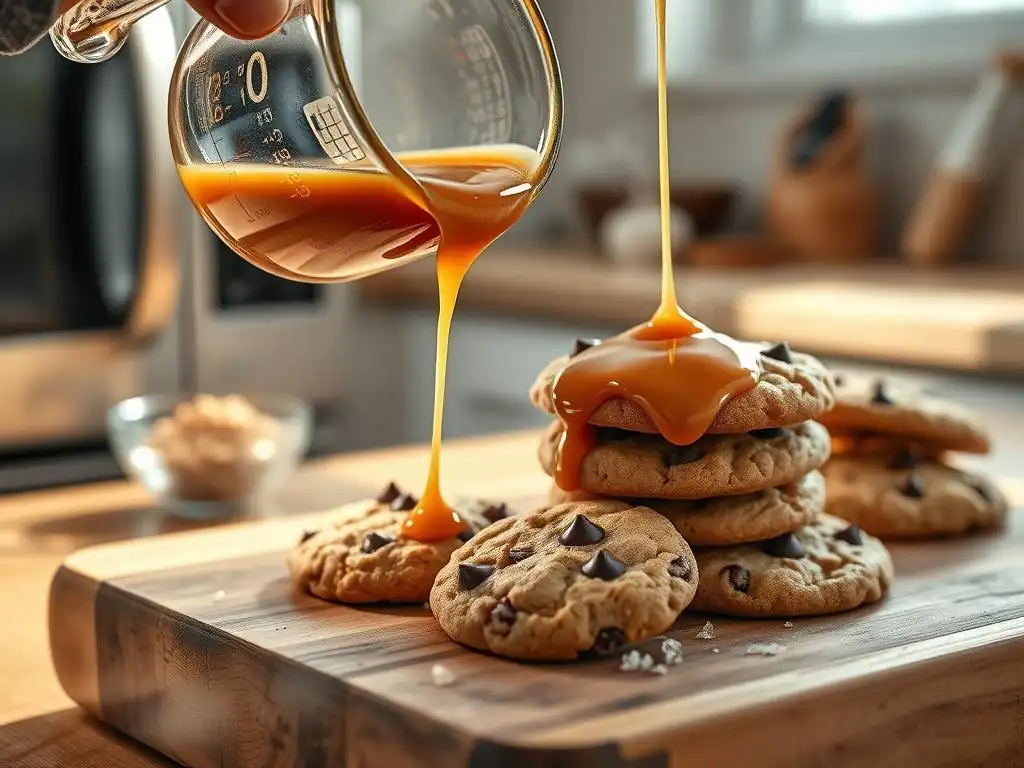
Once your easy microwave caramel recipe is complete and has cooled slightly, it's ready to be used in countless ways! Its versatility makes it a fantastic staple to have on hand. Whether you've made a thinner sauce consistency or a thicker, more chewy version, there's a perfect application for it.
From simple toppings to more complex confectionery projects, your homemade microwave caramel can elevate a wide range of desserts and treats. Here are some popular and delicious ways to utilize your freshly made caramel.
Caramel Sauce: Drizzling Over Desserts
The most common use for homemade caramel made with this easy microwave caramel recipe is as a rich, pourable sauce. While still warm, it has a lovely liquid consistency perfect for drizzling. As it cools, it will thicken into a spoonable sauce.
Caramel sauce is fantastic over ice cream, apple pie, cheesecake, brownies, or pancakes. You can also use it as a dip for fruit like apple slices. If the sauce becomes too thick after cooling, gently warm it in the microwave for 15-30 seconds, stirring until it reaches the desired drizzling consistency again.
Caramel Filling: For Cakes and Cupcakes
This easy microwave caramel recipe can be cooked slightly longer (aiming for a slightly darker amber color and cooking for perhaps one extra 30-second interval before adding cream) to create a thicker caramel suitable for fillings. As it cools, it will become firm enough to hold its shape within a cake layer or piped into the center of a cupcake.
Ensure the caramel is cool but still pliable before using it as a filling. You can use it on its own or combine it with buttercream or cream cheese frosting for a swirl of caramel flavor. A classic pairing is caramel filling with chocolate cake or apple spice cupcakes.
Caramel Candies: Creating Chewy Treats
With careful cooking and cooling, your microwave caramel can even be turned into chewy caramel candies. To achieve this, cook the sugar/butter mixture a little longer in the microwave – perhaps an additional 1-2 minutes in total compared to sauce, aiming for a slightly deeper amber color and a thicker consistency before adding the cream. The key is reaching a higher final temperature.
After adding the cream and stirring, pour the hot mixture into a parchment-lined square pan. Let it cool completely at room temperature for several hours until firm, then cut into squares. The chewiness will depend on how long you cooked the sugar initially and the ratio of ingredients. This requires a bit more precision than the sauce, but it's achievable with this easy microwave caramel recipe technique.
Caramel for Caramel Apples
Homemade caramel is infinitely better than store-bought for coating apples! The thickness required for caramel apples falls somewhere between a sauce and a chewy candy. You need it thick enough to coat the apple without dripping off excessively, but still pliable when cool.
Cook your easy microwave caramel recipe a bit longer than for sauce, aiming for a medium-dark amber color before adding the cream. Once the cream is incorporated, let the caramel cool slightly in the bowl until it's thick enough to coat a spoon without running off too quickly. Dip your prepared apples into the warm caramel, swirling to coat, and place on parchment paper to set.
Storing Your Microwave Caramel for Optimal Freshness
Proper storage is key to keeping your homemade microwave caramel delicious and ready to use. Because it contains dairy, it needs to be stored correctly to maintain its quality and safety. Luckily, storing this easy microwave caramel recipe is straightforward.
Whether you've made a large batch or just have a little bit leftover, knowing how to store it and for how long ensures you can enjoy your homemade treat for as long as possible.
How to Store Leftover Caramel Sauce
Once your microwave caramel sauce has cooled completely, transfer it to an airtight container. Glass jars or plastic containers with tight-fitting lids work well. Ensure the container is clean and dry before adding the caramel.
Store the sealed container in the refrigerator. The cold temperature will cause the caramel to thicken considerably, becoming quite firm. This is normal and expected due to the butter and cream content.
Shelf Life of Homemade Microwave Caramel
When stored properly in an airtight container in the refrigerator, homemade microwave caramel sauce typically lasts for about 2-3 weeks. While sugar acts as a preservative to some extent, the dairy components (butter and cream) are perishable.
Always check for signs of spoilage before using, such as mold, off odors, or unusual discoloration (beyond the expected changes from cooling). For best quality and safety, aim to use your batch within this timeframe.
Tips for Reheating Caramel
When you're ready to use your refrigerated microwave caramel, it will be quite thick or solid. To make it pourable or spoonable again, you'll need to gently reheat it. The easiest way is in the microwave.
Transfer the desired amount of caramel to a microwave-safe bowl. Microwave on 50% power in 30-second intervals, stirring thoroughly after each interval, until it reaches the desired consistency. Be careful not to overheat it, as this can cause it to burn or separate. Alternatively, you can place the container of caramel in a bowl of warm water or gently heat it in a saucepan over very low heat, stirring constantly.
Mastering Caramel with Ease: Your Go-To Microwave Caramel Guide
Making caramel doesn't have to be a daunting task reserved for professional pastry chefs. With this easy microwave caramel recipe, anyone can create delicious, rich caramel right in their own kitchen in a matter of minutes. We've covered everything from the simple ingredients needed to step-by-step instructions, troubleshooting tips, fun variations, and how to store your finished product.
This foolproof technique eliminates common hurdles like crystallization and burning associated with traditional stovetop methods, making it accessible and reliable for bakers of all levels. So next time you need a caramel fix, skip the store-bought stuff and whip up a batch of this quick and easy microwave caramel. Your desserts (and your taste buds) will thank you!
Frequently Asked Questions
What makes this microwave caramel recipe so easy?
This recipe is easy because it requires minimal ingredients and uses the microwave for cooking, eliminating the need for a stovetop and constant stirring. It's a foolproof technique that reduces the risk of burning the caramel.
How long does it typically take to make microwave caramel?
The entire process, from gathering ingredients to having finished caramel, usually takes only a few minutes. You can have delicious caramel in under 10 minutes using this quick microwave method.
Can I use this microwave caramel for different desserts?
Yes! This caramel is incredibly versatile and can be used for various desserts. It's perfect for drizzling over ice cream, dipping apples, or as a filling for cakes and pastries.
What kind of container should I use for microwaving the caramel?
It's best to use a microwave-safe glass bowl or container with high sides, as the caramel will bubble up during cooking. Ensure the container is large enough to prevent overflow.
How should I store the leftover microwave caramel?
Store any leftover caramel in an airtight container in the refrigerator. It will firm up as it cools, but you can easily reheat it in the microwave in short bursts until it reaches your desired consistency.
Final Reflection: The Sweet Simplicity of Effortless Caramel
The microwave has revolutionized baking, and nowhere is this more evident than in the creation of caramel. No longer is this decadent treat relegated to hours of painstaking stovetop work; with a few simple steps and a trusty microwave, anyone can achieve perfectly smooth, luscious caramel in mere minutes. This accessibility democratizes dessert, bringing the joy of homemade caramel to even the busiest kitchens.
The ease of this microwave method has profoundly impacted my own baking habits, freeing up valuable time for other creative pursuits. It's not just about convenience; it's about unlocking a sense of empowerment in the kitchen. The ability to whip up a batch of caramel quickly and easily has inspired me to experiment with new recipes and flavor combinations, transforming simple desserts into extraordinary creations. The simplest things are often the most beautiful.
This quote perfectly encapsulates the magic of this recipe – a testament to the beauty found in simplicity and efficiency.
Now it's your turn. Don't let the perceived complexity of caramel hold you back. Try this foolproof recipe, and experience the joy of creating something delicious and impressive without the fuss. Embrace the ease, experiment with variations, and share your caramel creations with loved ones. Let the sweet simplicity of this method inspire you to explore the boundless possibilities within your own kitchen.
Unleash Your Inner Caramel Master!
Thanks for joining us on this delicious journey into the world of quick and easy caramel making! You've just learned how to create rich, decadent caramel in minutes, without the usual fuss. Now it's time to put your new skills to the test.
- Whip up a batch of caramel today! Use our foolproof microwave method to impress yourself (and maybe some friends!) with your newfound caramel expertise.
- Share your caramel creations! Post a picture of your masterpiece on social media and tag us – we’d love to see what you bake!
- Experiment with different flavor combinations: Think salted caramel, coffee caramel, or even spicy caramel – the possibilities are endless!
So, what incredible caramel creation will you make first?