
Hold It Right: The Secret to Perfect Piping Pressure

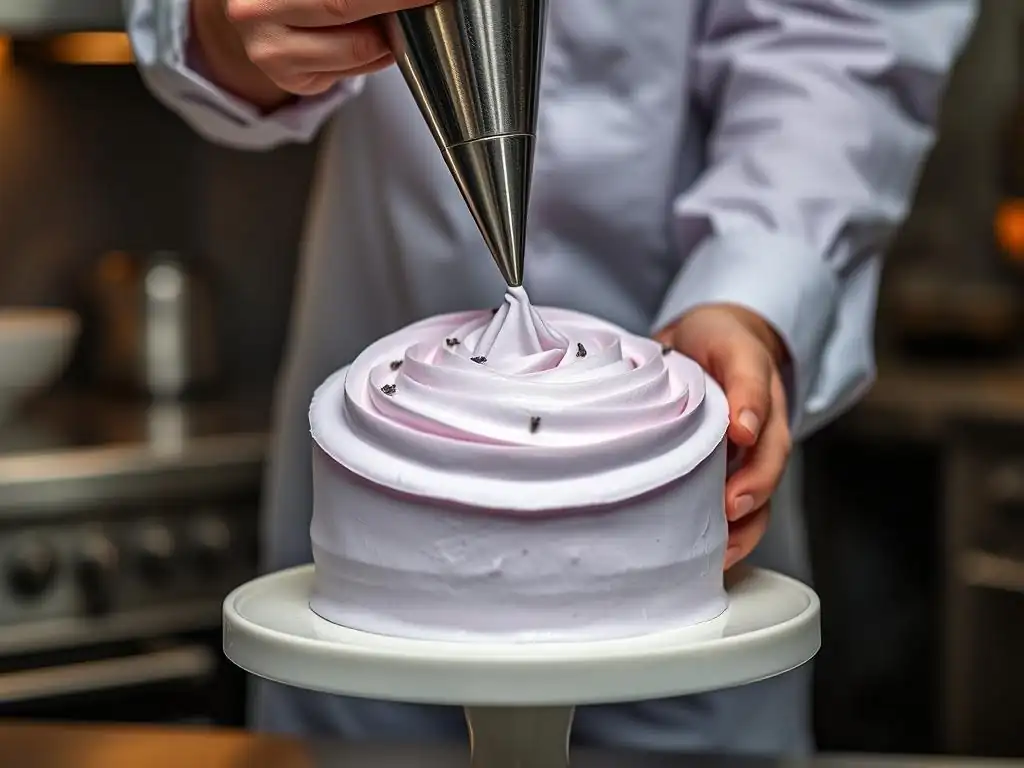
Welcome to BakeWithEase, your guide to unlocking baking brilliance! Ever wondered how professional bakers achieve those flawlessly decorated cakes? It all starts with mastering the art of perfect piping pressure – a technique that's easier than you think. Discover the secrets to creating stunning buttercream designs and elevate your baking to the next level with our step-by-step guide. Ready to hold it right and transform your frosting skills? Read on!
- The Art of Piping: Achieving Consistent Pressure for Beautiful Buttercream Designs
- The Foundation of Exquisite Buttercream Piping: Consistent Pressure
- A Practical Guide to Achieving Perfect Piping Pressure
- Troubleshooting Common Piping Pressure Issues
- Advanced Techniques: Harnessing Pressure for Unique Effects
- Maintaining Your Piping Equipment for Optimal Results
- Perfect Piping Pressure: Consistent Practice and Refinement
-
Frequently Asked Questions
- How important is consistent pressure when piping buttercream frosting?
- What are some common mistakes that lead to inconsistent piping pressure?
- How do I properly hold a piping bag to maintain perfect piping pressure?
- What type of buttercream frosting is best for achieving sharp, defined piping results?
- How can I practice achieving perfect piping pressure without wasting a lot of frosting?
- Final Reflection: Mastering the Art of Piping Pressure
- Unlock Your Piping Potential: Master the Perfect Squeeze!
The Art of Piping: Achieving Consistent Pressure for Beautiful Buttercream Designs
The Foundation of Exquisite Buttercream Piping: Consistent Pressure
Mastering the art of piping beautiful designs on cakes and cupcakes hinges on a fundamental skill: maintaining consistent pressure. It's the silent conductor behind every perfect swirl, crisp line, and delicate detail you create with buttercream frosting. Without steady pressure, even the most skilled baker will struggle to achieve professional-looking results, leading to uneven borders, lopsided rosettes, and designs that lack definition and uniformity. Understanding this principle is the first step towards elevating your decorating game.
Consistent pressure ensures that the flow of buttercream from the piping tip is smooth and uninterrupted. Imagine squeezing a tube of toothpaste; if you squeeze harder in some spots than others, the ribbon of paste will be thicker and thinner unevenly. The same applies to buttercream. Perfect piping pressure buttercream frosting means applying just the right amount of steady force to the bag to produce a consistent stream of frosting, whether you're piping dots, stars, or intricate lace patterns. It's a skill that takes practice, but the payoff in terms of design quality is immense.
Why Consistent Piping Pressure is Crucial for Professional Results
Achieving a professional look in baking often comes down to attention to detail, and nowhere is this more evident than in piped decorations. Consistent piping pressure is the bedrock upon which symmetrical and refined designs are built. When the pressure is uniform, each element piped – be it a dot, a shell border, or a letter – will have the same size, shape, and texture as the one next to it, creating a polished and cohesive appearance. This level of uniformity is what distinguishes amateur work from that of a seasoned decorator.
Furthermore, consistent pressure allows for greater control over the intricate details that make designs pop. Trying to pipe delicate leaves or fine lines with erratic pressure will result in blobs and breaks. With perfect piping pressure buttercream frosting, you can dictate the thickness and flow precisely, enabling you to execute complex patterns and fine details with confidence. For instance, a consistent light pressure with a small round tip can create delicate tendrils, while steady firm pressure with a star tip forms perfectly formed stars or shells. This control is indispensable for achieving high-quality decorative finishes.
Understanding the Impact of Pressure on Buttercream Design Elements
The pressure you apply directly dictates the size, shape, and definition of the piped element. Consider piping a simple star using a closed star tip like the 2D or 1M. Applying light, intermittent pressure will result in small, undefined stars or blobs. Increasing to steady, medium pressure will produce well-formed stars with distinct points. Applying firm, consistent pressure while pulling away quickly will create a classic rosette. Each specific design requires a particular pressure technique to achieve the desired outcome.
Beyond basic shapes, varying pressure within a single stroke can create dynamic effects. For example, when piping a shell border, you start with firm pressure, then gradually ease up as you pull the bag away to create the tapered tail of the shell. For piping leaves with a leaf tip, you squeeze firmly to create the wide base and then reduce pressure while wiggling the bag slightly to form the pointed tip and veining. Understanding this direct relationship between pressure and the resulting design element is fundamental to mastering perfect piping pressure buttercream frosting and expanding your decorative repertoire.
A Practical Guide to Achieving Perfect Piping Pressure
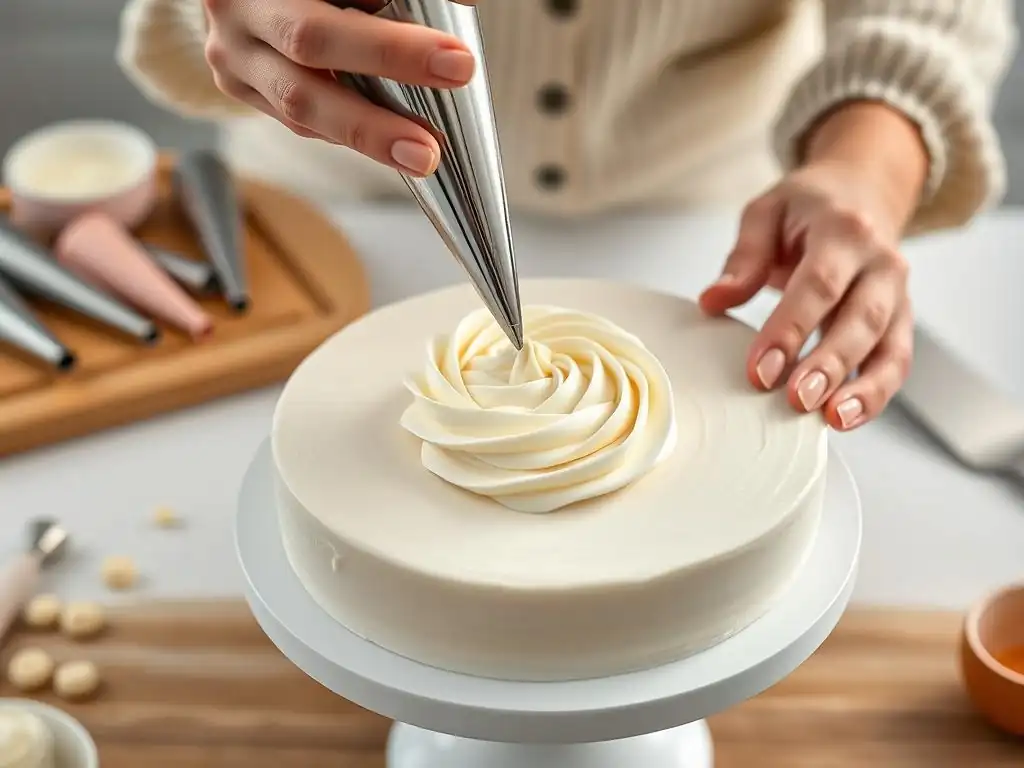
Mastering perfect piping pressure for buttercream frosting is a skill developed through understanding the tools, preparing the frosting correctly, and practicing technique. This guide breaks down the process into manageable steps, focusing on the practical aspects of getting your hands and the frosting to work in harmony.
Step 1: Selecting the Right Piping Bag and Tip
Your tools are the extension of your hands when piping, and choosing the right bag and tip is the essential first step. The material and size of the piping bag, along with the shape and size of the tip, significantly influence how easily you can control the flow and pressure of the buttercream. Using ill-suited tools can make achieving consistent pressure much more challenging, even with perfect buttercream consistency.
For instance, a very large tip requires more pressure to maintain flow than a small one. Similarly, a bag that is too full or too empty can hinder your ability to apply consistent force. Taking a moment to select the appropriate tools for the task at hand sets you up for success in achieving perfect piping pressure buttercream frosting.
Choosing the Best Piping Bag Material: Silicone vs. Plastic
Piping bags come in various materials, primarily silicone (reusable) and disposable plastic. Each has its pros and cons regarding grip and control, which directly affects piping pressure. Silicone bags are durable and eco-friendly, offering a good grip, especially when hands might be slightly greasy from baking. However, some bakers find them slightly less flexible than disposable bags, which can sometimes impact fine pressure adjustments.
Disposable plastic bags, often made of polyethylene, offer excellent flexibility and a smooth inner surface that allows buttercream to flow easily. They are convenient as they require no cleaning. Many decorators prefer them for intricate work where precise pressure modulation is key. A high-quality disposable bag, typically thicker than cheap alternatives, provides a stable grip and resists bursting, making it a reliable choice for maintaining perfect piping pressure buttercream frosting. Consider trying both types to see which feels most comfortable and controllable in your hand.
Exploring Different Piping Tip Shapes and Their Applications
Piping tips are the nozzles that shape the buttercream as it exits the bag, and their design is crucial for the final look. Tips come in a vast array of shapes: round, star (open and closed), petal, leaf, basketweave, and many specialty tips. The shape dictates the pattern, while the size affects the scale. A small round tip (like a #3) is ideal for fine lines and writing, requiring light, steady pressure. A large star tip (like a #1M) is perfect for swirls and rosettes, needing firmer, consistent pressure.
Understanding what each tip is designed for helps you anticipate the required pressure. For example, piping grass with a multi-opening tip requires a different pressure technique (short, sharp bursts) than piping a smooth swirl with a round tip (continuous, even pressure). Experimenting with different tips and observing how varying pressure affects the output is a valuable exercise in mastering perfect piping pressure buttercream frosting.
Step 2: Preparing Your Buttercream for Optimal Piping
Even with the perfect bag and tip, achieving perfect piping pressure buttercream frosting is impossible if your frosting isn't ready. The consistency of your buttercream is paramount. It needs to be smooth, pliable, and free of air bubbles. Buttercream that is too stiff will require excessive pressure, leading to hand fatigue and difficulty maintaining a steady flow. Buttercream that is too soft will spread and lose its shape once piped, regardless of how perfect your pressure is.
Ensuring your buttercream is at the right temperature is also vital. Cold buttercream is stiff and hard to pipe, while overly warm buttercream becomes greasy and slack. Aim for a smooth, spreadable consistency that holds its shape when scooped. This ideal state allows for consistent flow with manageable pressure, setting the stage for beautiful piping.
Achieving the Ideal Buttercream Consistency: American vs. Swiss Meringue
Buttercream consistency varies greatly depending on the type. American buttercream, made from butter and powdered sugar, tends to be stiffer and sweeter. It often requires a bit more liquid (milk or cream) to reach a pipeable consistency, similar to smooth peanut butter or thick frosting from a can. Testing a small amount in a bag is crucial; if it's hard to squeeze, add a teaspoon of liquid at a time and mix thoroughly.
Swiss meringue buttercream, Italian meringue buttercream, and French buttercream, which are egg-based, are typically smoother and silkier. They are often naturally more pliable at room temperature but can become very soft if too warm. The ideal consistency for these is often described as like soft-serve ice cream or a very thick pudding – smooth, but with enough body to hold a peak. For perfect piping pressure buttercream frosting, regardless of type, the goal is a consistency that flows easily but holds sharp edges when piped.
Degassing Your Buttercream: Eliminating Air Pockets
Air pockets are the nemesis of consistent piping pressure. As you squeeze the bag, an air bubble moving through the tip will cause a sudden break or sputter in the flow, ruining the line or design element you're creating. Degassing your buttercream before filling the bag is a simple but critical step.
To degas, use a spatula to press the buttercream firmly against the sides of your mixing bowl, working out any trapped air. Stir it vigorously for a minute or two, pressing down. You should hear popping sounds as air is released. This process creates a denser, smoother frosting that will flow evenly through the tip, allowing you to maintain perfect piping pressure buttercream frosting without unexpected interruptions.
Step 3: Filling the Piping Bag Efficiently
How you fill the piping bag also impacts your ability to apply consistent pressure. An improperly filled bag can make it difficult to gather and squeeze the frosting evenly. Overfilling is a common mistake that leads to frosting squeezing out the top of the bag and makes it hard to grip comfortably. Underfilling means you'll need to refill frequently, interrupting your flow.
The goal is to fill the bag cleanly and efficiently, leaving enough space at the top to twist or secure the bag and provide a comfortable grip area. A well-filled bag allows you to concentrate on the pressure you're applying to the frosting, rather than wrestling with the bag itself.
Mastering the Scoop Method for Air-Free Filling
The scoop method is a popular and effective way to fill a piping bag while minimizing trapped air. Fold the top edge of the piping bag down to create a cuff over your hand. Hold the cuffed bag in one hand, forming a wide opening. Use a spatula or spoon to scoop the degassed buttercream into the bag, pushing it towards the tip as you go.
As you add frosting, scrape it against the inside of the cuff to prevent air pockets from forming along the sides. Fill the bag about half to two-thirds full. Once filled, unfold the cuff and gently push the frosting down towards the tip, twisting the top of the bag to seal it. This method helps ensure a smooth column of buttercream, crucial for maintaining perfect piping pressure buttercream frosting.
Determining the Appropriate Amount of Buttercream for Your Bag
The right amount of buttercream to put in a piping bag depends on the size of the bag and the task. A good rule of thumb is to fill the bag no more than two-thirds full. This leaves ample space at the top to twist or secure the bag and allows you to comfortably grip the bulk of the frosting in your hand.
Overfilling makes the bag bulky and hard to handle, forcing you to use excessive hand strength just to manage the bag, diverting focus from consistent pressure. It also increases the risk of frosting squirting out the top. For smaller, intricate work, filling the bag only halfway might be preferable for better control and less hand fatigue, contributing to more precise perfect piping pressure buttercream frosting.
Step 4: Mastering Your Grip and Hand Position
Your grip and hand position are perhaps the most critical factors in achieving perfect piping pressure buttercream frosting. It's not just about squeezing; it's about how you hold the bag, where you apply pressure, and how you maintain stability. A poor grip leads to uneven pressure, hand cramps, and lack of control over the tip's movement.
Finding a comfortable and stable hand position allows you to apply consistent force to the buttercream without straining your hand or wrist. This enables smooth, continuous piping and the ability to make fine adjustments to pressure as needed for different design elements.
Establishing a Comfortable and Stable Hand Position
The most common and effective grip involves holding the twisted-off top of the piping bag in your dominant hand, using it to apply pressure. Your non-dominant hand supports the bag near the tip, guiding its movement and providing stability. Imagine your dominant hand is the "engine" providing the squeeze, and your non-dominant hand is the "steering wheel" directing the flow.
Ensure your grip on the twisted top is firm but not tense. The pressure should come from squeezing the bulk of the frosting in the lower part of the bag, primarily using the palm and fingers of your dominant hand, pushing it towards the tip. Your non-dominant hand should gently support the bag, keeping the tip steady and controlling the direction of the line or shape you are piping. This two-handed approach is key to maintaining stable, perfect piping pressure buttercream frosting.
Maintaining Even Pressure Throughout the Piping Process
Maintaining even pressure means applying the same amount of squeeze to the bag from the beginning to the end of a piping stroke. This is where practice truly comes into play. As you pipe, focus on keeping a steady squeeze with your dominant hand. Avoid relaxing your grip or squeezing harder in certain spots.
Think of it as a continuous, smooth flow of energy from your hand through the frosting and out the tip. For longer lines or larger shapes, you'll need to maintain this steady pressure while simultaneously moving the bag at a consistent speed. If your speed or pressure fluctuates, your piped line will be uneven. It's about coordinating the squeeze and the movement to produce a uniform result, the hallmark of perfect piping pressure buttercream frosting.
Step 5: Practicing Pressure Control: Exercises and Techniques
Like any skill, mastering perfect piping pressure buttercream frosting requires practice. Dedicated exercises can help you develop the necessary muscle memory and control. Don't worry about decorating a cake immediately; start with simple exercises on parchment paper or a practice board. You can scrape the frosting back into the bowl and reuse it for practice (just avoid getting crumbs in it! ).
Consistent, focused practice sessions, even short ones, are more beneficial than infrequent, long ones. The goal is to train your hands to apply steady pressure automatically, so you can focus on the design itself.
Piping Straight Lines: Focus on Steady Application
Piping straight lines is a fundamental exercise for developing consistent pressure and movement. Draw parallel lines on parchment paper. Hold the piping bag with firm, steady pressure and move the tip along the drawn line at a consistent speed. The goal is to produce a line of uniform thickness from start to finish.
- [ ] Draw parallel lines on parchment paper.
- [ ] Hold the bag with steady, even pressure.
- [ ] Move the tip along the line at a consistent speed.
- [ ] Aim for uniform thickness.
- [ ] Repeat until lines are consistently straight and even.
If your line is thicker in some spots and thinner in others, it indicates inconsistent pressure. If it's wavy, your hand movement isn't steady. Practice piping lines of different lengths and thicknesses by varying the tip size, all while maintaining perfect piping pressure buttercream frosting.
Creating Swirls and Rosettes: Developing Finesse
Swirls and rosettes are excellent exercises for practicing continuous, even pressure combined with controlled circular movement. Using a star tip (like 1M or 2D), hold the bag perpendicular to the surface. Apply firm, consistent pressure and move the tip in a circular motion, starting from the center and spiraling outwards, or starting from the outside and spiraling inwards.
Maintain the same pressure throughout the swirl. If the pressure drops or increases, the thickness of the swirl will vary, or the rosette won't form correctly. Practice making swirls of different sizes, focusing on keeping the pressure steady and the movement smooth. This helps build the muscle memory needed for perfect piping pressure buttercream frosting in more complex designs.
Executing Intricate Buttercream Designs with Precision
Once you feel comfortable with lines and swirls, move on to more intricate designs like shells, dots, or writing. These require not only consistent pressure but also precise stops and starts, and often variations in pressure within a single element (like the tapered tail of a shell).
Shell borders, for instance, require starting with firm pressure, then gradually easing up as you pull the bag away and forward to create the shape. Piping dots requires a quick squeeze and release while holding the tip close to the surface. Practice these specific techniques, paying close attention to how changes in pressure and timing affect the final piped shape. This focused practice hones your ability to achieve perfect piping pressure buttercream frosting for a wide range of decorative elements.
Troubleshooting Common Piping Pressure Issues
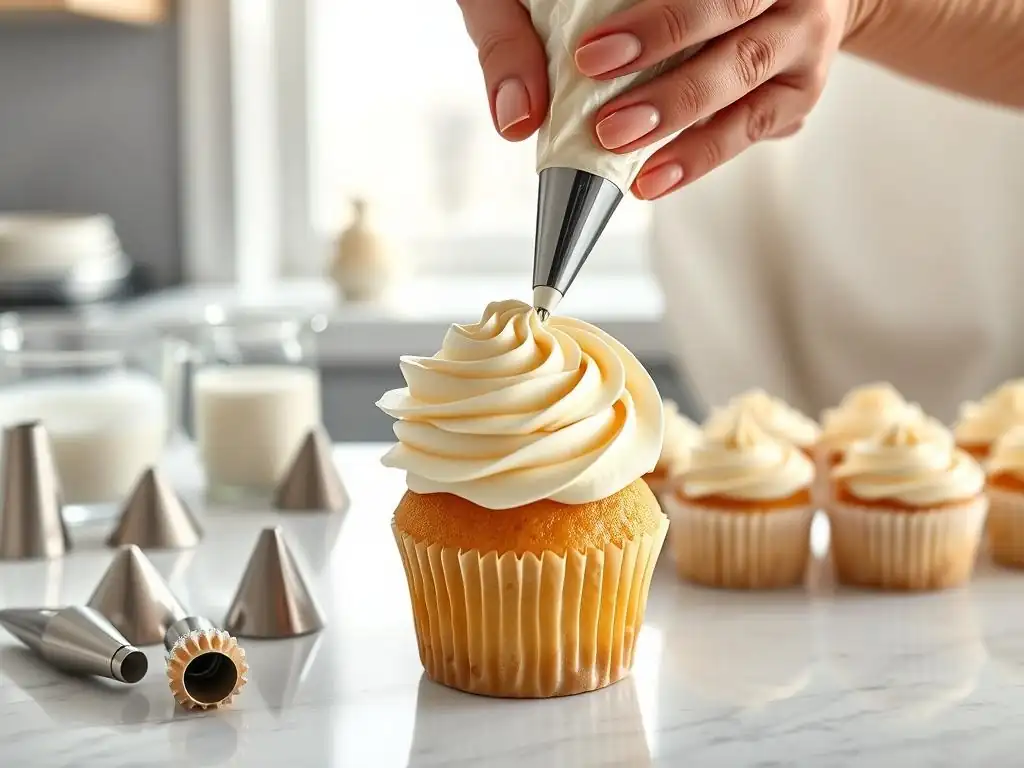
Even with practice, you might encounter issues with piping pressure. Recognizing the signs and understanding the causes can help you quickly correct problems and get back to creating beautiful designs. Common issues include uneven piping, bags bursting, and frosting not flowing smoothly.
Addressing these problems often involves checking your buttercream consistency, how you filled the bag, and refining your technique. Don't get discouraged; troubleshooting is a normal part of the learning process when mastering perfect piping pressure buttercream frosting.
Addressing Uneven Piping: Identifying and Correcting the Cause
Uneven piping – lines or shapes that vary in thickness or definition – is almost always a direct result of inconsistent pressure. If a line gets thicker, you squeezed harder. If it gets thinner or breaks, you eased up or stopped squeezing. The first step is to consciously focus on maintaining a steady squeeze with your dominant hand.
Other potential causes include air bubbles (degas your frosting! ), inconsistent buttercream consistency (make sure it's uniformly smooth), or an unstable hand position (ensure your non-dominant hand is supporting and guiding the bag steadily). Practice the straight line exercise again, paying close attention to the feel of the bag and the pressure you're applying, until you can produce lines of consistent thickness, indicating steady, perfect piping pressure buttercream frosting.
Preventing Bag Explosions: Proper Filling and Pressure Management
A bursting piping bag is a frustrating and messy problem, usually caused by excessive pressure applied to a weak point in the bag or seam, or simply overfilling. High-quality disposable bags are designed to withstand significant pressure, but they aren't invincible.
Ensure you are not overfilling the bag; leave plenty of room at the top to twist and grip. The pressure should be applied evenly across the bulk of the frosting, not concentrated on a small area or directly on a seam. If you find yourself having to squeeze excessively hard, your buttercream might be too stiff. Try warming it slightly or adding a tiny amount of liquid and remixing to achieve a more pliable consistency that requires less force, making it easier to maintain perfect piping pressure buttercream frosting without risking a burst.
Resolving Flow Problems: Adjusting Buttercream Consistency and Tip Size
If buttercream isn't flowing smoothly from the tip, the issue could be several things. Check for blockages in the tip, especially if using a tip with small openings or if your buttercream contains small lumps or crumbs. If the tip is clear, the problem is likely related to consistency or tip size relative to consistency.
Buttercream that is too stiff will resist flowing, requiring excessive pressure and potentially causing hand fatigue. If this is the case, remix your buttercream, adding a small amount of milk, cream, or even a tiny bit of softened butter, until it is pliable. Conversely, if the frosting is too soft, it might just ooze out without control, making it hard to achieve crisp shapes. Chilling it briefly can help. Also, ensure the tip size is appropriate for the buttercream consistency; a very stiff frosting will struggle to pass through a tiny tip, even with perfect piping pressure buttercream frosting.
Advanced Techniques: Harnessing Pressure for Unique Effects
Once you've mastered consistent pressure for basic shapes, you can start exploring how varying pressure intentionally can create exciting textures and designs. Advanced piping techniques often involve dynamic pressure changes within a single piped element to achieve specific artistic effects.
These techniques require a deeper understanding of how buttercream behaves under different pressures and precise control over your hands. It's about moving beyond uniform pressure to calculated, controlled variations that add depth and artistry to your decorations.
Creating Texture with Varied Pressure Techniques
Varying pressure can create fascinating textures. For example, when piping ruffles, you use consistent side-to-side movement combined with varying pressure – firmer pressure at the base of the ruffle and lighter pressure towards the edge – to create a delicate, wavy effect. Piping dots with a quick, firm squeeze results in taller, more defined dots, while a slower, gentler squeeze creates flatter, wider dots.
Another example is piping 'pull-out' strings or hair using a small round tip. You start with steady pressure while holding the tip against the surface, then pull the bag away quickly while maintaining the pressure briefly before releasing. The initial pressure anchors the string, and the consistent pressure during the pull determines its thickness, showcasing how controlled pressure changes are integral to achieving unique textures with perfect piping pressure buttercream frosting.
Piping Flowers and Intricate Designs: Mastering Precision
Many realistic buttercream flowers, like roses, carnations, and chrysanthemums, rely heavily on precise pressure control combined with specific tip movements. Piping rose petals with a petal tip (like #104 or #124) involves holding the tip at a specific angle and applying varied pressure as you move around the central cone. Firmer pressure creates the wider base of the petal, while easing pressure forms the delicate, thinner edge.
Intricate lattice work or filigree designs piped with small round tips demand incredibly steady, light pressure and precise movement. Any fluctuation in pressure will result in uneven lines that disrupt the delicate pattern. Mastering these designs is the pinnacle of achieving perfect piping pressure buttercream frosting, requiring not only skill but also significant patience and practice.
Achieving Ombre Effects with Controlled Buttercream Flow
While often achieved by coloring frosting layers in the bag, an ombre effect can also be subtly influenced by controlled pressure. For example, when piping a border or filling an area with a mix of colors, applying slightly firmer pressure initially and then easing up can push more of one color through, creating a gradient effect within the piped element itself.
More commonly, consistent pressure is key when piping rows of different colored frosting side-by-side to create a smooth ombre transition across a surface. If the pressure is inconsistent, the rows will be uneven, disrupting the visual flow of the gradient. Thus, even for effects primarily based on color, maintaining perfect piping pressure buttercream frosting is essential for a polished finish.
Maintaining Your Piping Equipment for Optimal Results
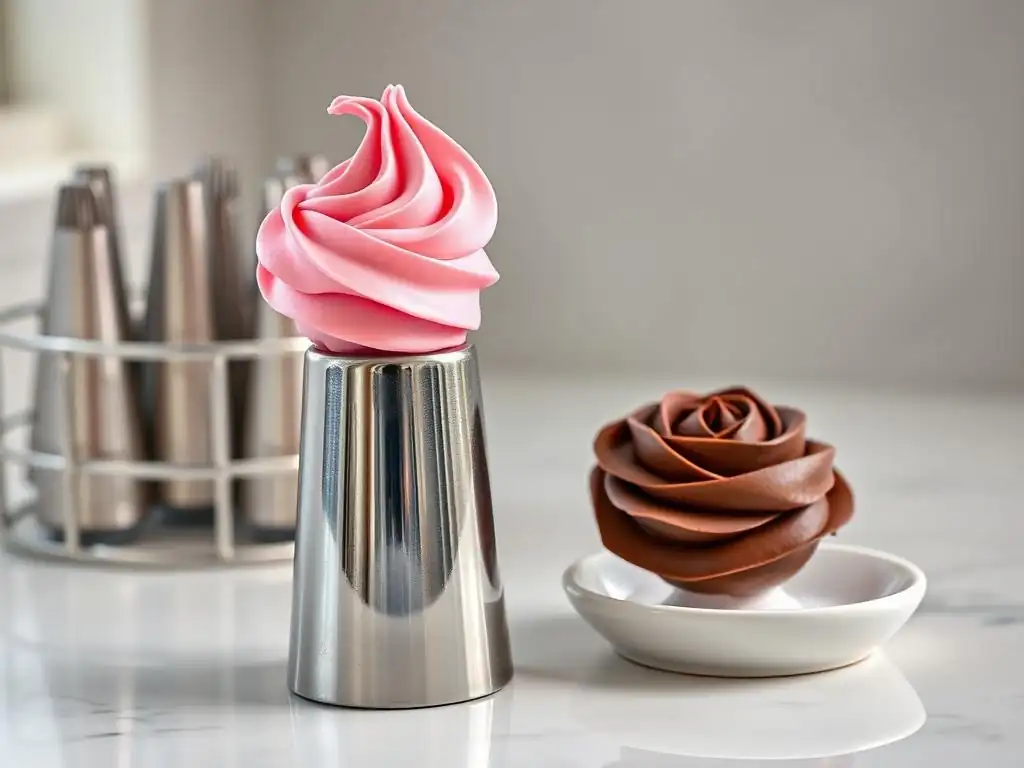
Proper care of your piping bags and tips is essential for their longevity and performance. Clean equipment functions better, allowing for smoother frosting flow and easier pressure control. Residue from old frosting can clog tips and affect the texture of your piped designs.
Taking a few minutes to clean and store your tools correctly after each use ensures they are ready and in good condition for your next baking project, contributing to your ability to consistently achieve perfect piping pressure buttercream frosting.
Properly Cleaning Your Piping Bags and Tips
Cleaning piping equipment should be done promptly after use, before frosting has a chance to harden. For disposable bags, simply discard them. For reusable silicone or plastic-coated bags, rinse them thoroughly with warm water to remove as much frosting as possible. Then, wash them with soap and water, using a bottle brush or similar tool to clean the inside. Pay extra attention to the seams where frosting can hide. Rinse well and hang them upside down to dry completely.
Piping tips should also be rinsed immediately. Use a small brush, like a pasty brush or a dedicated tip cleaning brush, to push any residual frosting out of the openings and crevices. Wash them in warm soapy water and rinse thoroughly. Small tips can be placed in the cutlery basket of a dishwasher, but hand washing is often more effective for ensuring all residue is removed. Clean tips are crucial for unobstructed, consistent flow needed for perfect piping pressure buttercream frosting.
Storing Your Piping Equipment to Prolong Lifespan
Proper storage prevents damage and keeps your equipment organized and accessible. Piping tips can be stored in small containers, tackle boxes, or on tip stands designed for this purpose. Keeping them together makes it easy to find the tip you need and prevents them from getting lost or damaged in a drawer.
Reusable piping bags should be completely dry before storing to prevent mold or mildew. They can be folded or rolled and stored in a clean drawer or container. Storing tips inside the bags is also a common practice. Keeping your equipment clean and stored correctly not only prolongs its lifespan but also ensures that when you reach for a bag and tip, they are ready to help you create beautiful designs with perfect piping pressure buttercream frosting.
Perfect Piping Pressure: Consistent Practice and Refinement
Mastering perfect piping pressure buttercream frosting is an ongoing journey. It's a skill that improves with each cake, cupcake, or cookie you decorate. Don't expect perfection overnight. Be patient with yourself, embrace the learning process, and focus on consistent practice.
The more you pipe, the more intuitive pressure control will become. Your hands will learn the feel of the bag and the frosting, and you'll be able to adjust pressure almost automatically.
Tips for Continuous Improvement and Experimentation
To continue improving your piping pressure, try these tips:
- Record yourself piping to analyze your hand position and pressure.
- Practice with different buttercream recipes to understand how consistency affects pressure.
- Experiment with piping at different speeds while maintaining steady pressure.
- Try piping on vertical surfaces (like the side of a cake dummy) to understand how gravity affects pressure.
- Challenge yourself with increasingly complex designs that require varied pressure techniques.
Experimentation is key. Don't be afraid to try new tips, techniques, or even slightly different buttercream consistencies. Each new challenge provides an opportunity to refine your control over perfect piping pressure buttercream frosting.
Resources for Further Learning: Online Communities and Workshops
Learning doesn't have to be solitary. Connect with other bakers online through forums, social media groups, or dedicated baking communities. Share your work, ask questions, and learn from others' experiences and techniques. Many experienced decorators offer valuable tips and troubleshooting advice.
Consider taking an in-person or online piping workshop. Hands-on guidance from an instructor can provide personalized feedback on your grip and pressure, helping you correct habits you might not even realize you have. Whether through community support or structured learning, seeking resources can significantly accelerate your journey towards achieving perfect piping pressure buttercream frosting and creating stunning decorated treats.
Frequently Asked Questions
How important is consistent pressure when piping buttercream frosting?
Consistent pressure is absolutely crucial for achieving professional-looking results. It ensures even lines, consistent shapes, and avoids unsightly blobs or breaks in your piped designs.
What are some common mistakes that lead to inconsistent piping pressure?
Common mistakes include gripping the piping bag too tightly or loosely, failing to maintain a steady hand, and uneven filling of the bag.
How do I properly hold a piping bag to maintain perfect piping pressure?
Hold the bag with your dominant hand near the top, using the other hand to guide the tip. Apply gentle, even pressure from the top while keeping your guiding hand steady.
What type of buttercream frosting is best for achieving sharp, defined piping results?
While personal preference plays a role, American buttercream is generally known for its stability. Others, like Swiss Meringue, provide a smoother finish but may require more precise temperature control.
How can I practice achieving perfect piping pressure without wasting a lot of frosting?
Use mashed potatoes or shortening tinted with food coloring for practice. This allows you to refine your technique without the expense or waste of buttercream.
Final Reflection: Mastering the Art of Piping Pressure
The pursuit of the perfect buttercream rose, the flawlessly smooth swirl, or the delicately detailed border—it all hinges on one crucial element: mastering piping pressure. This seemingly simple aspect of cake decorating holds the key to unlocking a world of creative possibilities, transforming a hobby into an art form. Understanding and controlling pressure isn't just about aesthetics; it's about expressing your vision with precision and confidence.
The journey to perfect piping pressure is a deeply personal one. It's about developing a tactile understanding of your tools and ingredients, a sensitivity that comes only with practice and patience. The best things in life are worth waiting for,
and this rings true for achieving that perfect consistency in your buttercream. The subtle shifts in pressure, the feel of the bag in your hand—these are the elements that elevate a simple cake into a masterpiece. This isn't just about technique; it's about the connection between the baker and their creation.
Now, it's your turn. Consider the pressure you apply to other aspects of your life—the delicate balance needed in relationships, the firm resolve required to pursue your goals. Just as with piping, finding the "perfect pressure" in these areas requires practice, self-awareness, and a willingness to adjust your approach. Don't be afraid to experiment, to make mistakes, and to learn from each squeeze of the bag. The journey towards mastery is a rewarding one, filled with beautiful creations and the satisfaction of a job well done. Embrace the process, and let your creativity flow.
Unlock Your Piping Potential: Master the Perfect Squeeze!
Thanks for diving into the world of perfect piping! We hope you now feel confident in tackling even the most intricate frosting designs. Ready to put your new skills to the test?
- Practice your piping pressure with your favorite recipe. Experiment with different nozzles and pressures to find your ideal technique. This is where the magic truly happens!
- Share your piping creations with us on social media using #BakeWithEasePiping – we’d love to see your masterpieces!
- Try a new piping technique from our extensive recipe library – challenge yourself to expand your skills!
What delicious creation will you pipe first? Let us know in the comments!