
Simple Steps to Your First Perfect Homemade Croissant


Welcome to BakeWithEase, your kitchen companion on the journey to baking bliss! Ever dreamt of flaky, buttery perfection? Our Easy homemade croissant recipe guide unlocks the secrets to crafting this classic pastry in your very own kitchen. Dive in and discover how simple techniques can yield extraordinary results – your croissant adventure starts now! What are you waiting for?
- Mastering Homemade Croissants: A Baker's Guide
- Introduction: Elevating Your Baking Skills
- Step-by-Step: The Ultimate Croissant Recipe
- Troubleshooting: Common Challenges and Solutions
- Enjoying Your Homemade Croissants: Serving and Storage
- Advanced Techniques: Expanding Your Croissant Repertoire
- Conclusion: Celebrate Your Baking Success
-
Frequently Asked Questions
- How difficult is it to make croissants at home using BakeWithEase's guide?
- What are the key ingredients needed for BakeWithEase's Easy homemade croissant recipe guide?
- How long does the entire process of making croissants take, from start to finish?
- What if I don't have experience with laminated dough? Will the BakeWithEase guide still be helpful?
- Can the Easy homemade croissant recipe guide be adapted for different dietary needs, such as gluten-free or vegan?
- Final Reflection: The Unexpected Joy of the Perfect Croissant
- Unlock Your Inner Baker: Craft the Croissant of Your Dreams!
Mastering Homemade Croissants: A Baker's Guide
Introduction: Elevating Your Baking Skills
Unlocking the Secrets to Flaky, Buttery Croissants
Achieving that perfect, shatteringly crisp exterior giving way to a soft, airy interior is the hallmark of a great croissant. The secret lies primarily in the technique of lamination – the process of repeatedly folding butter into dough to create dozens, if not hundreds, of ultra-thin layers. When baked, the water in the butter turns to steam, forcing these layers apart and creating that signature flaky texture. This intricate dance between dough elasticity and butter plasticity requires careful temperature control and precise handling.
Beyond the physical layers, the quality of ingredients plays an equally crucial role. High-fat butter, often referred to as European-style butter with approximately 82% fat content (compared to around 80% in standard butter), is paramount. Its lower water content means less steam interfering with gluten development during lamination and more pure butter flavor baked into every bite. Combine this with the right flour, cold water, and a touch of sugar and salt, and you lay the foundation for a truly exceptional pastry.
The Joy of Baking Croissants at Home
Embarking on the journey to bake your own croissants is a deeply rewarding experience, far exceeding the simple act of following an easy homemade croissant recipe guide. It's a meditative process that connects you to time-honored baking traditions, requiring patience, attention to detail, and a willingness to learn from each fold and proofing stage. The aroma that fills your kitchen as they bake is simply incomparable, a rich, buttery perfume that promises pure indulgence.
The satisfaction of pulling a tray of golden-brown, perfectly puffed croissants from your oven is immense. These aren't just pastries; they're edible testaments to your skill and dedication. Sharing warm, truly fresh homemade croissants with loved ones transforms a simple breakfast or snack into a special occasion. While perhaps seeming complex at first glance, breaking down the process into manageable steps reveals that this classic pastry is well within reach for the home baker.
Step-by-Step: The Ultimate Croissant Recipe
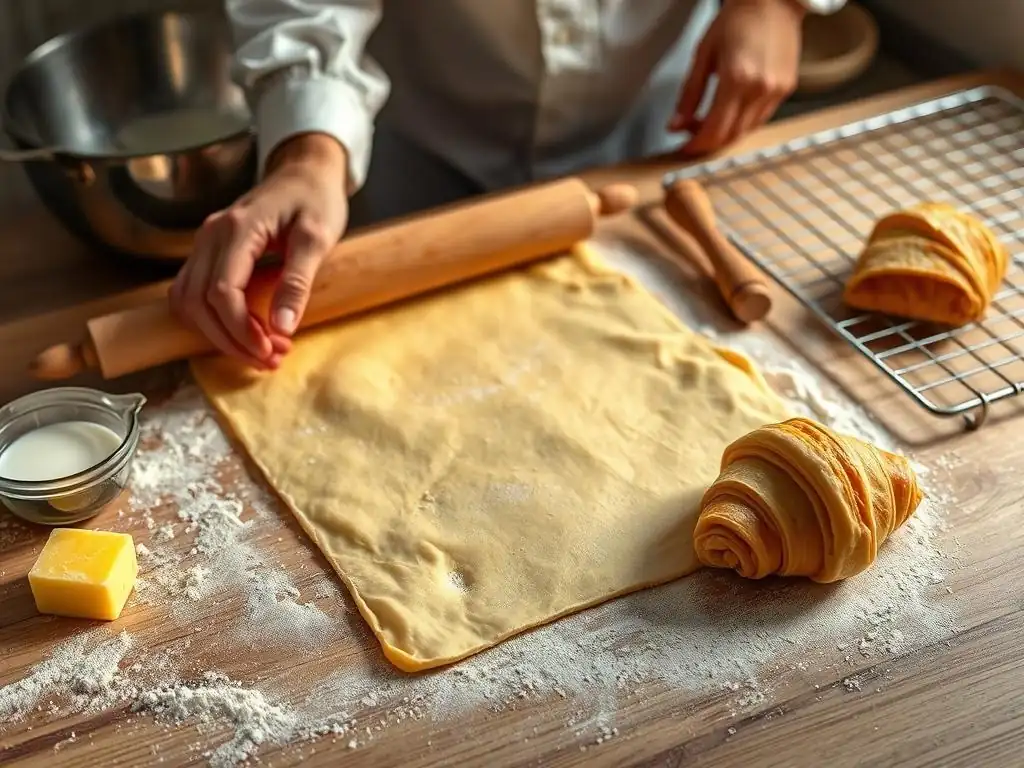
Gathering Your Ingredients: The Essentials
Bread Flour: The Foundation for Structure
Bread flour is the preferred choice for croissants due to its higher protein content, typically ranging from 12% to 14%. This elevated protein level allows for the development of a strong gluten network, which is absolutely essential for withstanding the rigorous process of lamination. A robust gluten structure provides the necessary elasticity for the dough to be rolled thin repeatedly without tearing, ensuring the butter layers remain intact and separate, which is key to achieving maximum flakiness.
Using bread flour also contributes to the overall texture and rise of the final croissant. The strong gluten traps the gases produced by the yeast during proofing and baking, contributing to a well-inflated, airy interior crumb. While all-purpose flour can be used, it generally results in a less structured dough that is harder to laminate effectively and may yield croissants that are less airy and flaky than those made with higher-protein bread flour.
Instant Yeast: Ensuring a Consistent Rise
Instant yeast is a convenient and reliable leavening agent for an easy homemade croissant recipe guide. Unlike active dry yeast, it does not require proofing in warm water before being added to the dry ingredients. Its granules are smaller and more porous, allowing them to be absorbed quickly by the dough moisture and become active rapidly. This provides a consistent and predictable rise, which is crucial for the precise timing required during different stages of croissant making, particularly during the initial bulk fermentation and the final proofing.
The activity level of instant yeast is generally quite high, meaning you often need slightly less of it compared to active dry yeast. For a typical batch yielding a dozen or more croissants, you might use just a few teaspoons. Its ease of use removes one potential variable for home bakers, helping to ensure that the dough rises properly, contributing to both the texture and volume of the finished pastry.
European-Style Butter: High Fat Content for Flakiness
As mentioned earlier, European-style butter is highly recommended for its higher fat content, typically around 82%, compared to the approximately 80% found in many standard North American butters. This difference, though seemingly small, has a significant impact on the lamination process and the final texture. Higher fat means less water, and less water translates to less steam disrupting the delicate layers during baking.
More importantly, high-fat butter tends to be more pliable and less prone to cracking when cold, making it easier to roll into a thin, even sheet and encase within the dough without breaking. This ensures a continuous layer of butter between the dough sheets, which is vital for creating distinct, airy layers as it melts and steams in the hot oven. The superior flavor profile of quality European-style butter also imparts a richer taste to the finished croissants.
Sugar and Salt: Balancing Flavors
Sugar serves multiple purposes in croissant dough. Firstly, it provides food for the yeast, fueling the fermentation process which contributes to the dough's rise and flavor development. Secondly, sugar aids in the Maillard reaction during baking, promoting browning and contributing to the beautiful golden color of the crust. While croissants are not overly sweet, the small amount of sugar included balances the richness of the butter and enhances the overall taste profile.
Salt is equally important. It controls the rate of yeast activity, preventing the dough from rising too quickly and allowing for more controlled fermentation, which develops better flavor. Furthermore, salt strengthens the gluten structure, making the dough more resilient and easier to handle during lamination. It also enhances the flavor of the butter and flour, preventing the final product from tasting bland. Getting the balance right between sugar and salt is key to a well-rounded flavor.
Cold Water: Maintaining Dough Temperature
Using cold water when mixing the initial dough is a critical step in managing dough temperature from the outset. The friction generated during mixing, especially in a stand mixer, can quickly warm the dough. Starting with cold water helps to keep the dough temperature low, which is crucial for subsequent stages, particularly lamination. A cold dough is less prone to developing gluten too quickly and, more importantly, helps to maintain the temperature of the butter block when it is incorporated later.
Keeping the dough cold prevents the butter from melting into the dough during the rolling and folding process. If the butter melts and integrates too early, you lose the distinct layers necessary for flakiness, resulting in a bread-like texture rather than a layered pastry. Aiming for a final dough temperature after mixing of around 22-24°C (72-75°F) is ideal, and starting with cold water significantly helps in achieving this.
Preparing the Dough: Building Flavor and Strength
Mixing the Dough: Achieving a Smooth, Elastic Texture
The initial mixing of the dough is where the foundation for structure is built. Combine your dry ingredients (flour, yeast, sugar, salt) and then add the cold water. Mix, using a stand mixer with a dough hook or by hand, until the dough comes together.
Continue mixing for several minutes – typically 5 to 10 minutes in a mixer on medium speed – until the dough is smooth, elastic, and pulls away cleanly from the sides of the bowl. A properly mixed dough should be able to be stretched thinly without tearing, a sign of good gluten development (the windowpane test).
This mixing time is crucial for hydrating the flour fully and developing the gluten network. An underdeveloped dough will be difficult to roll out during lamination and prone to tearing, leading to butter leakage. Conversely, overmixing can make the dough tough. The goal is a smooth, supple dough that is strong enough to hold up to the subsequent handling while remaining extensible.
Bulk Fermentation: Developing Complexity
Following the initial mix, the dough undergoes bulk fermentation, often involving a period at room temperature followed by a longer chill in the refrigerator. The room temperature phase, lasting perhaps 1 to 2 hours, allows the yeast to become active and begin producing gases and flavor compounds. This is often accompanied by a 'fold' or two within the first hour to build strength.
The subsequent cold fermentation in the refrigerator, ideally for 8 to 12 hours or even up to 24 hours, is where significant flavor development occurs. The cold temperature slows down yeast activity considerably but allows enzymes to break down complex carbohydrates into simpler sugars, contributing to a richer, more nuanced flavor profile. This cold period also chills the dough thoroughly, making it the perfect temperature to begin the lamination process with cold butter.
Lamination: Creating Layers of Buttery Goodness
Preparing the Butter Block: Perfectly Cold and Flexible
The lamination process begins with preparing the butter block. Take your cold, high-fat butter (ensure it's straight from the fridge, ideally around 4°C / 40°F) and pound or roll it between two sheets of parchment paper into a rectangle of a specific size and thickness, often around 15x20 cm (6x8 inches) and 6-8 mm (1/4 inch) thick for a standard batch. The key is for the butter to be cold but pliable, not hard and brittle. If it's too hard, it will shatter when rolled; if too soft, it will melt into the dough.
Achieving the right temperature and consistency for the butter block is paramount. You might need to let it sit out for a few minutes if it's too hard, or gently pound it with a rolling pin to soften it slightly while shaping. The edges should be relatively sharp and the thickness uniform. This block will be encased in the dough and must be able to spread evenly throughout the layers as the dough is rolled.
Encasing the Butter: The First Lock-in
Take your well-chilled dough from its bulk fermentation period. Roll it out into a rectangle roughly double the size of your butter block (e.g., 30x20 cm / 12x8 inches), ensuring it's also cold and relatively uniform in thickness. Place the prepared butter block onto one half of the dough rectangle, leaving a small border around the edges. Fold the other half of the dough over the butter block, carefully sealing the edges to completely encase the butter.
This step, often called the 'lock-in', creates the first layer of butter sandwiched between two layers of dough. It's crucial to seal the edges well so that the butter doesn't escape during subsequent rolling. The goal is a neatly packaged parcel of butter within dough, ready for the iterative process of rolling and folding that builds the hundreds of layers characteristic of a flaky, buttery croissant.
Folding Techniques: Mastering Single and Double Turns
Lamination involves repeatedly rolling out the dough-encased butter and folding it upon itself. The most common techniques are the 'single turn' and the 'double turn' (also known as the book fold). A single turn involves rolling the dough into a rectangle and folding it into thirds, like folding a letter. This triples the number of layers with each turn. A double turn involves folding both ends of the rolled-out dough towards the center, and then folding the whole piece in half, quadrupling the layers in that section.
Most easy homemade croissant recipe guides call for a total of 3 to 4 turns, often a mix of single and double folds, or sometimes just three single folds. For example, three single folds yield 3^3 = 27 layers of butter separated by 27 layers of dough, totaling 54 layers. Four single folds yield 3^4 = 81 layers of butter and 81 layers of dough, totaling 162 layers. The specific number and type of folds influence the final texture, with more folds generally resulting in finer, more numerous layers.
Refrigeration: Relaxing Gluten Between Folds
Between each rolling and folding step (turn), the dough must be thoroughly chilled in the refrigerator. This rest period, typically 30 to 60 minutes, is non-negotiable. Its primary purpose is twofold: to relax the gluten that has been developed and tightened during rolling, and to keep the butter cold and solid.
Rolling stretches the gluten network, and without adequate rest, the dough will resist subsequent rolling, shrinking back and potentially tearing. Chilling allows the gluten to relax, making the dough more extensible for the next turn. Crucially, it ensures the butter remains cold and distinct from the dough. If the butter warms up and melts into the dough, the layers will be lost, and you won't achieve the desired flaky structure. Proper chilling between turns is a cornerstone of successful croissant making.
Shaping the Croissants: From Dough to Crescent Perfection
Rolling Out the Dough: Achieving Uniform Thickness
After completing the required number of turns and the final chill, the laminated dough is ready for shaping. Remove the dough from the refrigerator and let it sit for a few minutes if it's too stiff, allowing it to become slightly more pliable but still cold. Lightly flour your work surface and rolling pin. Roll the dough out into a large, thin rectangle. The target thickness is typically around 3 to 4 millimeters (about 1/8 inch).
Maintaining uniform thickness across the entire rectangle is crucial for consistent results. Areas that are thicker will bake differently than thinner areas, potentially leading to uneven rise and texture. Work methodically, lifting and rotating the dough occasionally to prevent sticking, and ensure your rolling pin applies even pressure across the surface.
Cutting the Triangles: Precision for Consistent Results
Once the dough is rolled to the correct thickness and dimensions (which will vary based on the recipe and desired croissant size, but often involves a width of around 20-25 cm / 8-10 inches), it's time to cut. Using a sharp knife or pizza cutter and a ruler, trim the edges to create straight lines. Then, cut the rectangle into long, narrow triangles. A standard croissant triangle might have a base of about 8-10 cm (3-4 inches) and a length of 20-25 cm (8-10 inches).
Precise, clean cuts are important. Jagged edges can hinder the layers from puffing up properly during baking. Cutting uniform triangles ensures that all your croissants are roughly the same size, which means they will proof and bake evenly. This step transforms the flat sheet of dough into the individual pieces that will become the iconic crescent shape.
Shaping the Croissants: The Classic Crescent and Variations
Shaping is where the triangles are transformed into croissants. Take one triangle and gently stretch the base slightly. Make a small slit, about 1-2 cm (1/2 - 3/4 inch), in the center of the base. This slit allows you to widen the base slightly and helps create the classic crescent shape. Starting from the base, roll the triangle up towards the point, keeping the rolling relatively loose to allow the layers to expand during proofing.
As you roll, gently pull the sides outwards slightly to elongate the triangle, then continue rolling. Once rolled, curve the ends inward to form the classic crescent shape. For variations like pain au chocolat, you might cut rectangles instead of triangles and roll them around chocolate batons. The key is to roll with gentle tension and ensure the point is tucked underneath the finished shape to prevent it from unraveling during proofing and baking.
Proofing: Achieving Maximum Volume and Airiness
Optimal Proofing Environment: Temperature and Humidity Control
Proofing is the final rise before baking and is arguably the most critical stage for achieving a light, airy interior crumb. Croissants require a warm, humid environment to proof correctly. An ideal temperature range is typically between 24-27°C (75-80°F) with relatively high humidity (around 75-80%). This temperature allows the yeast to become very active, while the humidity prevents the surface of the dough from drying out, which would restrict its expansion.
Too cold an environment will result in insufficient rise; too warm, and the butter within the layers may melt before the dough has fully proofed, leading to butter leakage and a dense, greasy interior. Common methods for creating the right environment include using a dedicated proofing box, placing the croissants in a turned-off oven with a pan of hot water on the rack below, or simply finding a warm, draft-free spot in your kitchen during a warm day.
Proofing Assessment: The Finger Dent Test
Knowing when your croissants are perfectly proofed is essential. The standard method is the "finger dent test." Gently press the side of a croissant with your finger. If the indentation springs back immediately, the dough is under-proofed and needs more time. If the indentation remains completely without springing back, the dough is over-proofed, and the delicate gluten structure may collapse during baking.
A perfectly proofed croissant will show an indentation that slowly springs back about halfway. At this stage, the croissants should have significantly increased in volume (often nearly doubled), feel very light and airy, and the layers should be visibly separated and jiggly. This typically takes 2 to 3 hours in the optimal proofing environment, though timing can vary based on temperature, humidity, and yeast activity.
Baking to Perfection: Achieving a Golden-Brown Crust
Oven Temperature: Preheating and Adjustments
Baking croissants requires a specific oven temperature strategy. Begin by preheating your oven to a relatively high temperature, typically between 200-220°C (400-425°F). This initial high heat is crucial for creating "oven spring" – a rapid rise in the dough caused by the sudden expansion of gases and steam. This helps to set the layers quickly and achieve maximum puff.
After the initial few minutes (often 5-10 minutes), the temperature is typically reduced to a lower setting, around 175-190°C (350-375°F). This lower temperature allows the croissants to bake through completely without the exterior burning. Ensure your oven is fully preheated before putting the croissants in; an accurate oven thermometer is highly recommended as oven temperatures can vary significantly from the dial setting.
Baking Time: Monitoring Color and Internal Temperature
The total baking time for croissants usually ranges from 15 to 25 minutes, depending on their size and your oven. The primary indicator of doneness is color. Croissants should bake to a deep, rich golden-brown color across the entire surface, not just a pale yellow. A pale croissant is likely underbaked, resulting in a doughy interior. They should also feel very light when lifted.
For absolute certainty, especially if you are new to baking croissants, you can use an instant-read thermometer. A properly baked croissant should reach an internal temperature of 90-95°C (195-205°F). Carefully insert the thermometer into the side or base of a croissant, avoiding piercing the top layers excessively. Monitoring both color and temperature helps ensure a perfectly baked, fully cooked interior with that desirable flaky exterior.
Egg Wash: Enhancing Color and Shine
Applying an egg wash before baking is a simple step that significantly enhances the appearance of your homemade croissants. A typical egg wash is made by whisking a whole egg with a small amount of water or milk (about a tablespoon). Gently brush this mixture over the entire exposed surface of the proofed croissants, being careful not to let it pool between the layers, which could glue them together.
The egg wash contributes to the beautiful, glossy, deep golden-brown color of the baked crust. It gives the croissants a professional finish and helps create a slightly crispier exterior. Apply it evenly using a soft brush, avoiding drips. This final touch elevates the visual appeal, making your easy homemade croissant recipe guide results look as good as they taste.
Troubleshooting: Common Challenges and Solutions
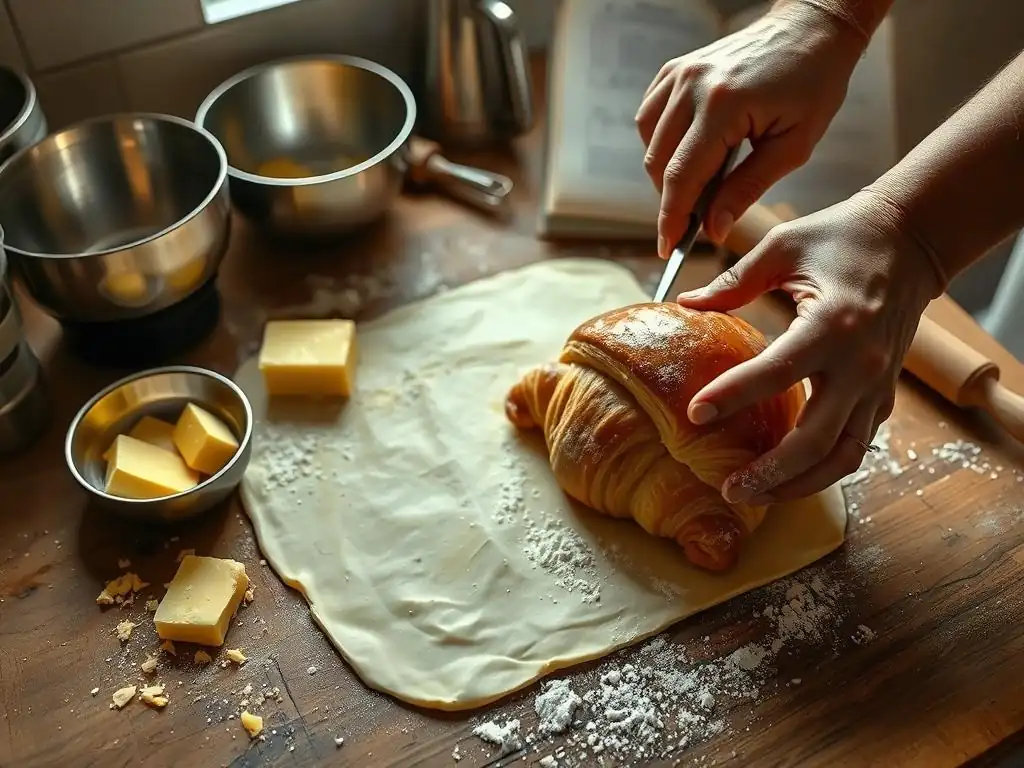
Sticky Dough: Adjusting Hydration Levels
Encountering sticky dough during the initial mixing or subsequent handling is a common issue. This is often a result of slightly too much water relative to the flour (high hydration) or insufficient mixing time to develop the gluten structure needed to absorb the liquid. Different flours absorb water differently, so even following a recipe precisely can sometimes lead to variations.
To address sticky dough during mixing, resist the urge to add large amounts of extra flour. Instead, add a very small amount (perhaps a tablespoon at a time) and continue mixing until the dough becomes smooth and elastic. If the dough is sticky after refrigeration, ensure it is properly chilled; cold dough is less sticky. If it remains excessively sticky, it might indicate the initial hydration was too high for the specific flour used, and you may need to slightly reduce the water in future batches.
Butter Leakage: Temperature Management Techniques
Butter leaking out of the dough during rolling or proofing is a frustrating problem that directly impacts the flakiness of the final croissant. This almost always points to temperature issues: either the butter block was too soft or warm when encased, the dough wasn't sufficiently chilled between turns, or the proofing environment was too warm, causing the butter to melt before the dough structure was set.
The solution lies in vigilant temperature management. Ensure your butter block is cold but pliable, not soft. Chill the dough thoroughly (for at least 30-60 minutes) between every fold. Work quickly when rolling to minimize the time the dough and butter are at room temperature. During proofing, maintain the recommended temperature range (24-27°C / 75-80°F) and avoid exceeding it. If you notice butter starting to leak during proofing, immediately move the tray to a slightly cooler spot to slow the process.
Insufficient Rise: Yeast Activity and Proofing Issues
Croissants that don't rise sufficiently during proofing or baking can be disappointing, resulting in dense pastries. This can be due to several factors related to yeast activity or proofing conditions. Potential causes include inactive or expired yeast, water that was too hot or too cold during initial mixing (killing or inhibiting yeast), insufficient kneading to develop gluten, inadequate proofing time, or a proofing environment that is too cold.
Troubleshooting involves checking your yeast's viability (proof a small amount in warm water if using active dry). Ensure your mixing water is the correct temperature (lukewarm for active dry, cold for instant). Confirm the dough was mixed long enough to develop strength. Most importantly, verify that your proofing environment is within the optimal temperature range and that you have allowed sufficient time for the dough to double in size and pass the finger dent test. Patience during proofing is key to an airy crumb.
Uneven Baking: Oven Calibration and Rotation
If your croissants are golden brown on one side of the tray but pale on the other, or if some are done while others are still raw, uneven oven temperature is the likely culprit. Most home ovens have hot spots, meaning certain areas are hotter than others. This leads to inconsistent baking results across the baking sheet.
To combat uneven baking, first, consider using an oven thermometer to check if your oven's temperature aligns with the dial setting and to identify potential hot spots. Secondly, the simplest and most effective solution is to rotate the baking sheet halfway through the baking time. For instance, if baking for 20 minutes, rotate the tray 180 degrees after 10 minutes. This ensures all croissants spend equal time in different areas of the oven, promoting more uniform browning and baking.
Enjoying Your Homemade Croissants: Serving and Storage
Freshly Baked: The Ultimate Indulgence
There is truly nothing that compares to the experience of eating a croissant still warm from the oven. The exterior is at its absolute crispiest, shattering delicately with each bite, while the interior is incredibly soft, steamy, and fragrant with butter. The layers are most defined and airy immediately after baking.
Allowing the croissants to cool on a wire rack for just 10-15 minutes after removing them from the oven is usually sufficient. This brief cooling period allows the internal structure to set slightly, preventing them from collapsing when you bite into them. Serving them warm is the ultimate payoff for your efforts following this easy homemade croissant recipe guide.
Serving Suggestions: Pairings for Any Occasion
Freshly baked croissants are delicious on their own, but they also pair beautifully with a variety of accompaniments. A classic combination is simply splitting them open and spreading with high-quality butter and your favorite jam or preserves. Honey is another excellent choice, complementing the rich butter flavor.
For a more substantial treat, croissants make fantastic bases for sandwiches. Consider slicing them horizontally and filling with ham and cheese for a savory option, or fresh fruit and whipped cream for a dessert. They are, of course, the perfect companion to a cup of coffee, tea, or hot chocolate, whether for breakfast, brunch, or an afternoon snack.
Storage Tips: Maintaining Freshness and Texture
Croissants are best enjoyed the day they are baked, as their crispness diminishes quickly. However, they can be stored for a short period. Once completely cooled, store leftover croissants in an airtight container at room temperature for 1-2 days. Avoid refrigerating them, as this can make them stale more quickly.
To revive the flaky texture of stored croissants, reheat them in a warm oven (around 175°C / 350°F) for 5-10 minutes until they are warm and the crust is crisp again. Baked croissants also freeze exceptionally well. Once cooled, wrap them individually or in pairs in plastic wrap, then place in a freezer bag or airtight container. They can be frozen for up to 1-2 months. Reheat frozen croissants directly from the freezer in a 175°C (350°F) oven for 10-15 minutes until warmed through and crisp.
Advanced Techniques: Expanding Your Croissant Repertoire
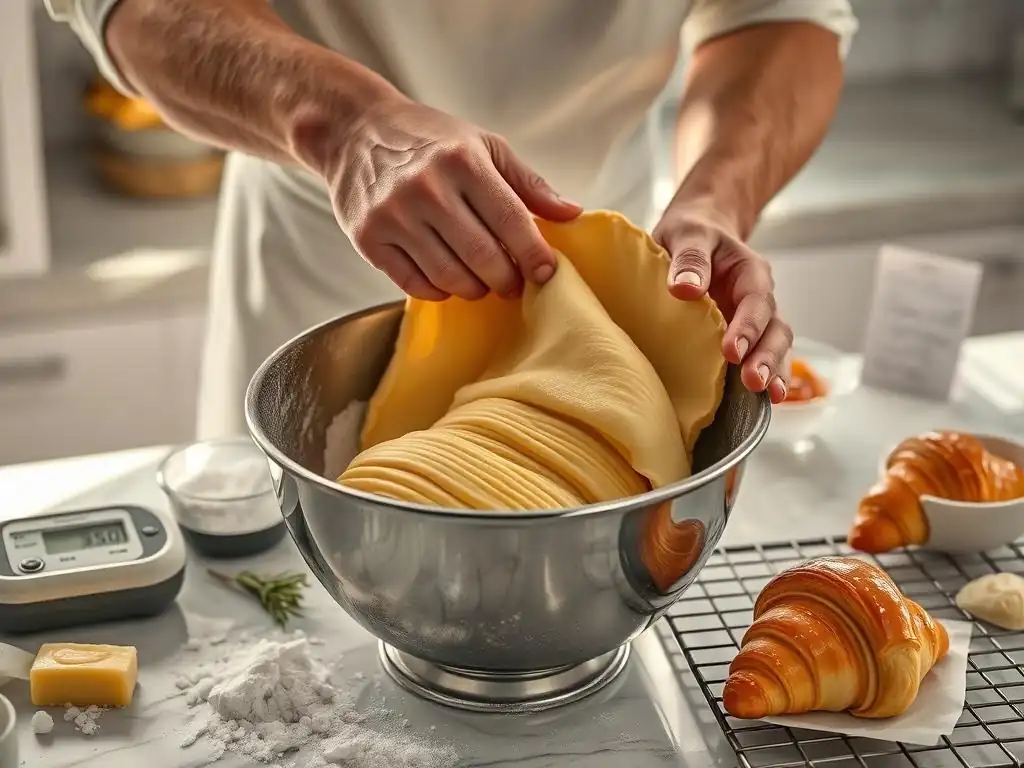
Pain au Chocolat: Adding Chocolate Batons
Once you've mastered the basic easy homemade croissant recipe guide, you can easily venture into variations. Pain au chocolat, or chocolate croissants, are a popular next step. Instead of cutting triangles, the laminated dough is typically cut into rectangles. One or two chocolate batons (specifically designed baking sticks of dark chocolate) are placed at one end of the rectangle, and the dough is rolled up around them.
The process of lamination and proofing remains the same, only the shaping differs slightly. The result is a delightful pastry with pockets of melted chocolate nestled within the buttery layers. Ensure the chocolate batons are of good quality, as they are a significant flavor component in the finished pastry.
Almond Croissants: Elevating with Frangipane
Almond croissants are a wonderful way to repurpose day-old plain croissants, though they are also often made fresh. Baked croissants are split horizontally and filled with frangipane, a sweet almond cream. The top is then spread with more frangipane and often sprinkled with sliced almonds.
These are then baked again until the frangipane is golden and slightly crisp and the croissant is warmed through. A dusting of powdered sugar is the traditional finishing touch. This technique transforms a simple croissant into a rich, decadent dessert pastry, showcasing the versatility of the basic laminated dough.
Creative Fillings: Exploring Savory and Sweet Options
The possibilities for filling croissants are vast, allowing you to get creative once you understand the basic dough handling. For savory options, consider rolling cheese (like Gruyère or cheddar) and ham into the dough before shaping, or filling baked croissants with scrambled eggs and bacon for a brunch treat.
Sweet fillings can include fruit fillings (like apple or cherry), pastry cream, or even sweet cheese mixtures. The key is to ensure the filling doesn't compromise the structure during proofing or leak excessively during baking. Experimenting with different fillings is a fun way to personalize your easy homemade croissant recipe guide journey and discover new favorites.
Conclusion: Celebrate Your Baking Success
Embarking on the path to making homemade croissants is a rewarding endeavor that elevates your baking skills and yields truly spectacular results. While the process involves multiple steps and requires patience and attention to detail, following a clear easy homemade croissant recipe guide breaks it down into manageable stages. From mastering lamination to achieving the perfect proof and bake, each step contributes to that iconic flaky, buttery perfection.
Don't be discouraged if your first batch isn't absolutely perfect; like any skill, croissant making improves with practice. Embrace the journey, learn from any challenges, and most importantly, savor the incredible taste and texture of a croissant you made yourself. Celebrate your success, share your delicious creations, and enjoy the immense satisfaction of mastering one of the most celebrated pastries in the world.
Frequently Asked Questions
How difficult is it to make croissants at home using BakeWithEase's guide?
BakeWithEase emphasizes easy-to-follow instructions, making it accessible even for beginners. The guide breaks down the process into simple steps, minimizing potential difficulties. While croissants require patience, the method is designed for success.
What are the key ingredients needed for BakeWithEase's Easy homemade croissant recipe guide?
The recipe primarily requires basic baking staples like flour, butter, yeast, sugar, and salt. The guide specifies easy-to-find ingredients, ensuring accessibility for all bakers. Detailed quantities are provided for accurate results.
How long does the entire process of making croissants take, from start to finish?
Making croissants is a multi-day process due to the resting and chilling requirements of the dough. While active preparation time is manageable, plan for at least 24-36 hours for optimal results. The guide provides a timeline to help manage the process.
What if I don't have experience with laminated dough? Will the BakeWithEase guide still be helpful?
Absolutely! The guide is specifically designed with beginners in mind and focuses on demystifying the lamination process. It offers step-by-step visual aids and clear explanations to help you master the technique.
Can the Easy homemade croissant recipe guide be adapted for different dietary needs, such as gluten-free or vegan?
While the guide focuses on a traditional croissant recipe, BakeWithEase may offer alternative recipes or modifications for dietary restrictions. Check the website for dedicated gluten-free or vegan baking resources, or search for suitable ingredient substitutions.
Final Reflection: The Unexpected Joy of the Perfect Croissant
The seemingly simple act of making croissants at home unlocks a world of culinary satisfaction far beyond the flaky, buttery result. It's a journey of patience, precision, and ultimately, immense reward, proving that even seemingly complex recipes can be conquered with the right guidance and a little perseverance. This isn't just about baking; it's about embracing a process that fosters creativity and self-sufficiency in the kitchen.
The influence of homemade baking, and specifically the allure of the croissant, extends far beyond the individual kitchen. It represents a connection to tradition, a rebellion against mass-produced goods, and a celebration of the simple pleasures in life. The act of creating something beautiful and delicious from scratch is deeply satisfying, a feeling echoed throughout history and across cultures. The best things in life are homemade.
This simple sentiment encapsulates the heart of this endeavor, reminding us of the value of handcrafted goods and the joy of sharing them with loved ones.
Now, I invite you to consider your own culinary journey. Perhaps you've been intimidated by the croissant, believing it to be too difficult. But I hope this guide has shown you otherwise. Don't be afraid to experiment, to embrace the process, and to savor the incredible taste of a perfectly crafted croissant made with your own two hands. The reward, both in taste and in personal accomplishment, is well worth the effort. So, gather your ingredients, roll up your sleeves, and embark on your own croissant adventure. The journey, and the delicious destination, await.
Unlock Your Inner Baker: Craft the Croissant of Your Dreams!
Thanks for joining us on this buttery, flaky journey! You've now got the skills to tackle even the most delicate pastry. Ready to put your newfound expertise to the test?
- Bake your first perfect croissant: Don't wait! Grab your ingredients and follow the steps again – this time, aiming for even flakier layers and a richer golden-brown crust.
- Share your creation!: Show off your baking prowess on social media and tag us—we'd love to see your masterpiece! Use #BakeWithEaseCroissants.
- Explore our other recipes: Discover more delightful treats from our recipe collection – from sourdough bread to decadent cakes!
What unexpected ingredient will you add to your next croissant creation to elevate the flavor?