
Baking Bread That Stays Soft and Moist at High Altitude

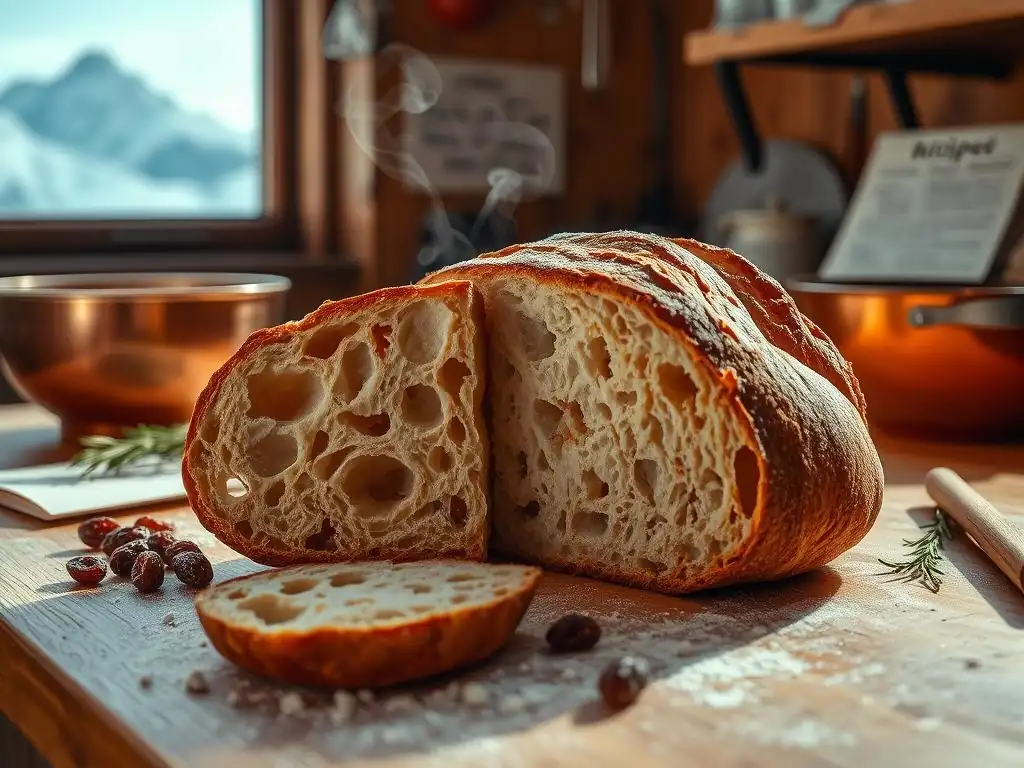
Welcome to BakeWithEase, your kitchen companion for baking success! Ever struggled to achieve that perfect, soft crumb in your bread, especially at higher altitudes? You're not alone! Discover the secrets to baking high altitude soft bread that stays irresistibly moist and delicious. Curious how to conquer the challenges of thin air? Let's dive in and unlock the secrets together!
Baking bread at higher elevations presents unique challenges, especially when the goal is a loaf that's wonderfully soft and moist. The reduced atmospheric pressure and lower humidity found in areas like Denver, Colorado (around 5,280 feet), or Flagstaff, Arizona (around 7,000 feet), significantly impact how dough behaves. Understanding these environmental factors is the first step toward achieving that desired high altitude soft bread. This guide explores the science behind these challenges and provides practical adjustments to help you bake delicious, tender loaves no matter your elevation.
- Understanding High Altitude Baking Challenges for Soft Bread
- Key Adjustments for Baking High Altitude Soft Bread
- High Altitude Soft Bread Recipe: A Step-by-Step Guide
- Tips and Tricks for Baking the Perfect High Altitude Soft Bread
- Achieving Consistent Results with High Altitude Soft Bread Baking
- Enjoying Your Delicious High Altitude Soft Bread
-
Frequently Asked Questions
- What is the biggest challenge when baking soft bread at high altitude?
- Why does high altitude affect bread texture?
- What adjustments should I make to my bread recipe for high altitude baking?
- What ingredients can I add to help keep my high-altitude bread soft?
- How do I know if my high-altitude bread dough has risen enough?
- Final Reflection: The Sweet Success of High-Altitude Baking
- Unlock the Secrets to Fluffy High-Altitude Bread!
Understanding High Altitude Baking Challenges for Soft Bread
The air pressure drops as you climb in elevation. At sea level, the pressure is about 14.7 psi, but at 5,000 feet, it's closer to 12.3 psi. This might seem small, but it has a profound effect on gases and liquids, which are critical components in bread baking. Water boils at a lower temperature (around 203°F or 95°C at 5,000 feet compared to 212°F or 100°C at sea level), and gases expand more readily. These changes directly influence yeast activity, moisture evaporation, and gluten development, all of which are key to baking high altitude soft bread.
The Science Behind High Altitude Baking: Why Bread Dries Out
At higher altitudes, the lower atmospheric pressure causes leavening gases (like carbon dioxide produced by yeast) to expand much faster and more vigorously than they would at sea level. This rapid expansion can stretch the gluten structure too thin before it has a chance to set, leading to a weak framework that collapses or results in a coarse, crumbly texture. Furthermore, the lower boiling point of water means moisture evaporates from the dough and the baking bread more quickly during both proofing and baking.
This increased evaporation is a primary culprit behind dry, dense, or crumbly bread at elevation. For example, a recipe perfected at sea level might lose significantly more moisture during a standard 30-minute bake at 7,000 feet, leading to a drier final product. The faster rise combined with quicker moisture loss makes achieving a tender, moist crumb a specific challenge for high altitude soft bread bakers.
Common Problems with High Altitude Bread Baking
Bakers at high altitude frequently encounter several frustrating issues. Over-proofing is common because the yeast works faster, often leading to dough that rises beautifully but then collapses in the oven, resulting in a dense brick. Another frequent problem is excessive drying, where loaves develop thick, hard crusts and dry, crumbly interiors. Tunnels or large, irregular holes in the crumb can also occur due to the rapid, uneven expansion of gases.
These issues are directly linked to the environmental differences. A typical sea-level recipe, if followed exactly at 5,000 feet or higher, will almost certainly yield disappointing results. The dough might become too dry too quickly, the yeast might overwork the gluten, and the final loaf will likely lack the desired softness and moisture characteristic of a good high altitude soft bread. Recognizing these symptoms is the first step to applying the necessary adjustments.
Key Adjustments for Baking High Altitude Soft Bread
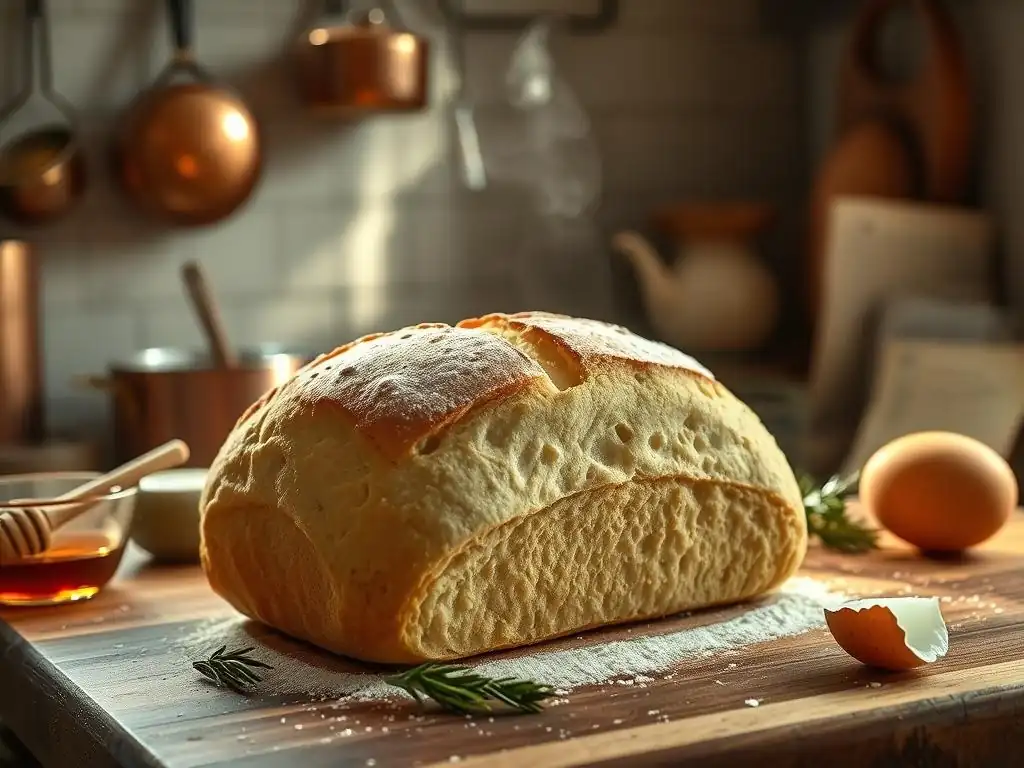
Successfully baking high altitude soft bread requires modifying standard recipes to counteract the effects of lower pressure and humidity. The three main areas requiring attention are gluten development, moisture retention, and yeast activity. Small tweaks in each of these areas can make a significant difference in the final texture and moisture level of your loaf. It's often a process of experimentation, but starting with established high-altitude principles provides a solid foundation.
Reducing Gluten Development for a Softer Texture
Gluten provides the structure in bread, trapping the gases produced by yeast. However, at high altitude, less gluten is needed because the gases expand more readily, and too much gluten can lead to a tough or dry loaf. Reducing gluten development helps create a more tender crumb, which is essential for high altitude soft bread. This can be achieved through careful ingredient selection and specific mixing techniques.
The Role of Flour in High Altitude Bread
The type of flour you use plays a crucial role. Strong bread flours, high in protein (typically 12-14%), develop robust gluten networks. While necessary for structure, this strong network can become too stiff and dry at higher elevations.
Many high altitude bakers find success using all-purpose flour (around 10-12% protein) or even a blend of all-purpose and softer cake flour (around 8-10% protein) for a more tender crumb. For instance, substituting 1/4 to 1/2 cup of bread flour with all-purpose flour in a recipe designed for sea level can reduce overall gluten strength, promoting a softer texture suitable for high altitude soft bread.
Techniques to Minimize Gluten Formation
Beyond flour choice, how you mix the dough impacts gluten. Over-kneading develops more gluten. For a softer loaf at high altitude, consider slightly reducing kneading time compared to sea-level instructions.
A mixing time of 6-8 minutes in a stand mixer on medium speed, or 10-12 minutes by hand, might be sufficient for many doughs, rather than the 8-10 minutes or 15+ minutes often recommended at sea level. Techniques like the "no-knead" method or using folds during bulk fermentation instead of intensive kneading also naturally result in less gluten development, contributing to a softer, more open crumb, which is desirable for high altitude soft bread.
Increasing Moisture Retention in High Altitude Bread
Moisture loss is a major obstacle to achieving soft, moist bread at elevation. The drier air and lower boiling point of water mean dough dries out faster during mixing, proofing, and baking. Actively working to retain moisture is key. This involves adjusting liquid ratios and incorporating ingredients known for their moisture-holding properties.
The Importance of Hydration: Water Ratios for High Altitude
Increasing the hydration level of your dough is perhaps the most critical adjustment for high altitude soft bread. Since water evaporates more quickly, you need more of it initially. A common starting point is to increase the liquid (water, milk, etc.) by 1-2 tablespoons per cup of flour used in the recipe.
So, if a recipe calls for 2 cups of flour and 1 cup of water (50% hydration relative to flour), you might start by using 1 cup and 2-4 tablespoons of water. You might even need to go higher, adding liquid until the dough feels slightly wetter than you're used to at sea level. For instance, a recipe that works well at 65% hydration at sea level might require 68-72% hydration or even higher at 5,000+ feet to counteract moisture loss during the process.
Adding Moisture-Rich Ingredients to High Altitude Bread Dough
Incorporating ingredients that attract and hold moisture can also help keep your high altitude soft bread from drying out. Additions like milk (instead of water), eggs, butter, oil, yogurt, or even cooked potatoes (like in potato bread) contribute fats and starches that retain moisture. A tablespoon or two of olive oil or melted butter per loaf can make a noticeable difference in crumb softness and shelf life.
Using milk instead of water can add richness and improve tenderness. Even ingredients like honey or molasses, while adding sweetness, also contribute hygroscopic properties, meaning they attract and hold water, which is beneficial for maintaining moisture in high altitude soft bread.
Optimizing Yeast Activity at High Altitude
Yeast works faster at higher elevations due to lower atmospheric pressure allowing the carbon dioxide gas it produces to expand more easily. While this might sound good, unchecked, it leads to over-proofing and potential collapse. Controlling yeast activity is vital for developing good flavor and structure without over-stressing the gluten network.
Adjusting Yeast Amounts for Faster Rise
To compensate for the increased yeast activity, you typically need less yeast than a sea-level recipe calls for. As a starting point, try reducing the amount of yeast by 10-25%. If a recipe calls for 2 teaspoons of active dry yeast, you might use 1.5 to 1.8 teaspoons.
For instant yeast, which is more potent, the reduction might be slightly more significant. The exact reduction depends on your specific altitude; higher elevations require greater reductions. Reducing the yeast allows for a slower, more controlled rise, which helps develop better flavor and a stronger, more stable gluten structure capable of supporting the final high altitude soft bread.
Controlling Fermentation Time at High Altitude
Because yeast is more active, fermentation (rising) times will be shorter. A first rise that takes 60-90 minutes at sea level might only take 30-45 minutes at 5,000 feet. It's crucial to watch the dough itself, not the clock.
The dough should double in size, but be careful not to let it over-proof, indicated by it becoming fragile and beginning to deflate slightly. Punching down the dough gently and allowing a second, shorter rise can help redistribute yeast and gases, contributing to a finer crumb. Refrigerating the dough for a portion of the rise time (known as retarding) can also slow fermentation, allowing for longer flavor development and better control, which is beneficial for high altitude soft bread.
High Altitude Soft Bread Recipe: A Step-by-Step Guide
This section outlines a basic approach to baking a high altitude soft bread, incorporating the adjustments discussed earlier. Remember that baking is an art and a science, and these are starting points. Your specific altitude, oven, and ingredients may require further fine-tuning. This guide provides a framework focused on techniques for higher elevations.
Ingredients for High Altitude Soft Bread
You'll need standard bread ingredients, but pay close attention to the ratios and types:
- Flour: Use a blend of all-purpose and possibly a softer flour for tenderness. Start with approximately 3-4 cups flour.
- Liquid: Water or milk. Increase the amount compared to sea-level recipes. Start with about 1.25 - 1.5 cups liquid for 3-4 cups of flour.
- Yeast: Reduced amount. For 3-4 cups of flour, use about 1.5 - 2 teaspoons active dry yeast or 1.25 - 1.75 teaspoons instant yeast.
- Sugar: Optional, but adds tenderness and aids browning. Can slightly reduce if desired (e.g., 1-2 tablespoons).
- Salt: Essential for flavor and controlling yeast. Standard amount (e.g., 1-1.5 teaspoons).
- Fat/Enrichment: Butter, oil, or egg. Adds moisture and softness. Consider 1-2 tablespoons butter or oil, or one egg.
- Optional Additions: Milk powder, potato flakes, or yogurt for extra softness and moisture retention.
Step 1: Preparing the Dough for High Altitude
Combine the liquid (warmed to around 105-115°F for active dry yeast, or simply warm for instant yeast), yeast, and a pinch of sugar in a large bowl. Let it sit for 5-10 minutes until foamy if using active dry yeast. Add the remaining sugar, salt, fat/enrichment, and about half of the flour. Mix until combined. Gradually add the remaining flour, mixing until a shaggy dough forms. Turn the dough out onto a lightly floured surface and knead.
- High Altitude Adjustment: Knead only until the dough is smooth and elastic, but not overly developed. This might take 6-8 minutes in a mixer or 10-12 minutes by hand. The dough should feel slightly sticker than you might expect at sea level due to the increased hydration. Resist the urge to add too much extra flour during kneading; a bench scraper can help manage sticky dough.
Step 2: Proofing the Dough at High Altitude
Place the dough in a lightly greased bowl, turning to coat. Cover tightly with plastic wrap. Allow the dough to rise in a warm, draft-free place.
- High Altitude Adjustment: Watch the dough, not the clock. The first rise will be faster. It should double in size, which might take only 30-60 minutes depending on your altitude and kitchen temperature. Gently punch down the dough. For a second rise (if desired for a finer crumb), shape the loaf and place it in a greased loaf pan. Cover again and let it rise until it has nearly doubled and is just peaking over the rim of the pan. This second rise will also be quicker, perhaps 20-40 minutes. Be vigilant to prevent over-proofing, which can lead to collapse in the oven.
Step 3: Baking the Bread at High Altitude
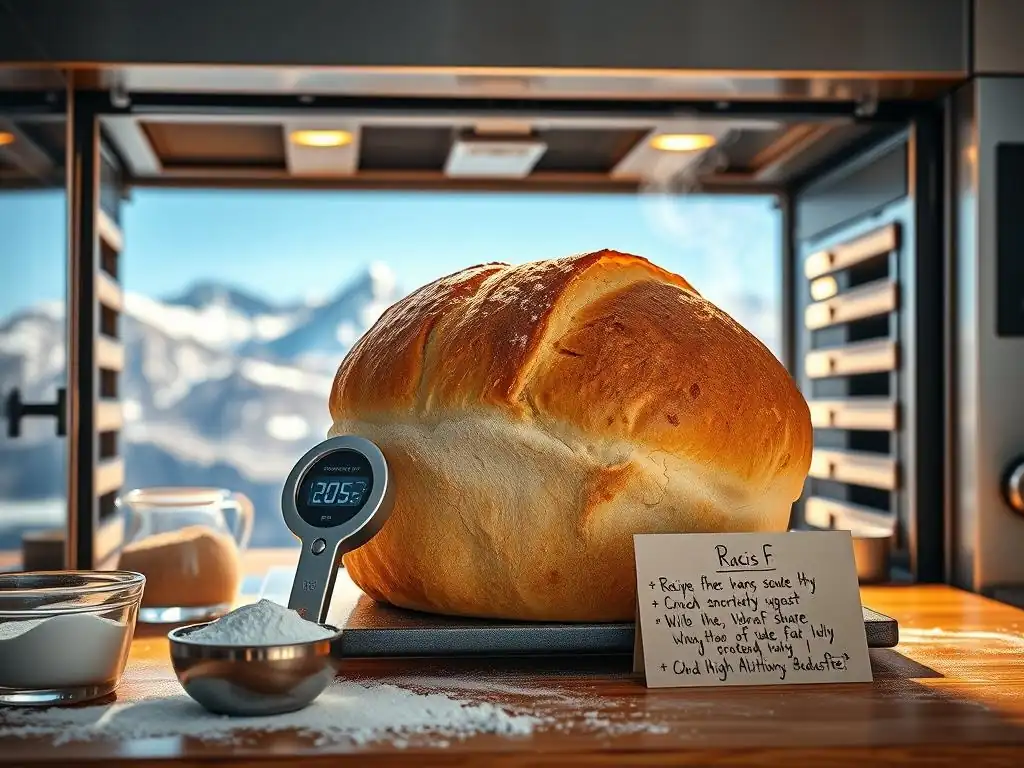
Preheat your oven well in advance to ensure it reaches and maintains the correct temperature.
- High Altitude Adjustment: High altitude baking often benefits from a slightly higher oven temperature initially to help set the structure quickly before the gases over-expand and moisture evaporates excessively. Preheat your oven to 400-425°F (205-220°C). Bake the loaf for 10-15 minutes at this higher temperature, then reduce the heat to 375-400°F (190-205°C) for the remainder of the baking time. This two-stage temperature approach helps create a stable crust while allowing the interior to cook through. The total baking time will vary depending on the loaf size, but a standard loaf might take 30-40 minutes. The bread is done when the crust is golden brown and the internal temperature reaches 190-200°F (88-93°C).
Step 4: Cooling and Storing Your High Altitude Soft Bread
Once baked, immediately remove the loaf from the pan and place it on a wire rack to cool completely.
- High Altitude Adjustment: Allowing the bread to cool fully on a rack is essential. This allows steam trapped inside to escape gradually, preventing a gummy interior. While it's tempting to slice into warm bread, waiting ensures the crumb structure sets properly. Once completely cool, store your high altitude soft bread in an airtight container or bread bag to preserve its moisture and softness, as bread can dry out quickly in high altitude environments.
Tips and Tricks for Baking the Perfect High Altitude Soft Bread
Beyond the core adjustments, several practical tips can help fine-tune your high altitude bread baking process and consistently achieve soft, moist results. These involve precision, understanding your oven, and knowing how to troubleshoot common issues specific to baking at elevation.
Measuring Ingredients Accurately at High Altitude
Accurate measurement is always important in baking, but it's absolutely critical at high altitude where the balance is more delicate. Using a kitchen scale to weigh your ingredients, especially flour and liquids, provides the most consistent results. Volume measurements (cups, tablespoons) can vary significantly based on how flour is scooped or packed. For instance, a cup of flour can weigh anywhere from 4 to 5 ounces depending on the method. Weighing ensures you're using the exact amount specified in the adjusted recipe, which is key when tweaking hydration or flour ratios for high altitude soft bread.
Oven Temperature Considerations for High Altitude Baking
Ovens can be notoriously inaccurate, and at high altitude, where precise timing and temperature are vital, this can cause problems. Using an oven thermometer is highly recommended to verify that your oven is actually reaching and maintaining the temperature you set. If your oven runs cool, your bread might not set quickly enough, leading to collapse. If it runs hot, the crust might burn before the interior is cooked, and moisture loss will be accelerated. Calibrating your oven or adjusting the set temperature based on the thermometer reading can significantly improve the consistency of your high altitude soft bread.
Troubleshooting Common High Altitude Bread Issues
Even with adjustments, you might encounter issues. Knowing how to diagnose and fix them is part of the process.
Dealing with a Sticky Dough
If your dough is excessively sticky even after incorporating the adjusted amount of liquid and kneading, avoid the temptation to dump in large amounts of extra flour. This will lower your hydration and result in a dry loaf. Instead:
- Use a bench scraper to manage and move the dough.
- Lightly oil your hands and work surface instead of heavily flouring them.
- Knead for a few more minutes; sometimes stickiness resolves as gluten develops.
- If it's still unmanageable, add flour one tablespoon at a time and knead briefly before deciding if more is needed.
Preventing a Dense or Dry Crumb
A dense or dry crumb is often a sign of insufficient hydration, over-proofing, or too much gluten development.
- Insufficient Hydration: Increase the liquid amount in your next batch by another tablespoon or two per cup of flour.
- Over-proofing: Reduce yeast slightly more, shorten the rise time, or use a cooler spot for rising. Watch the dough, not the clock.
- Too Much Gluten: Use a lower-protein flour or blend, and reduce kneading time. Ensure you're weighing ingredients for accuracy.
Achieving Consistent Results with High Altitude Soft Bread Baking
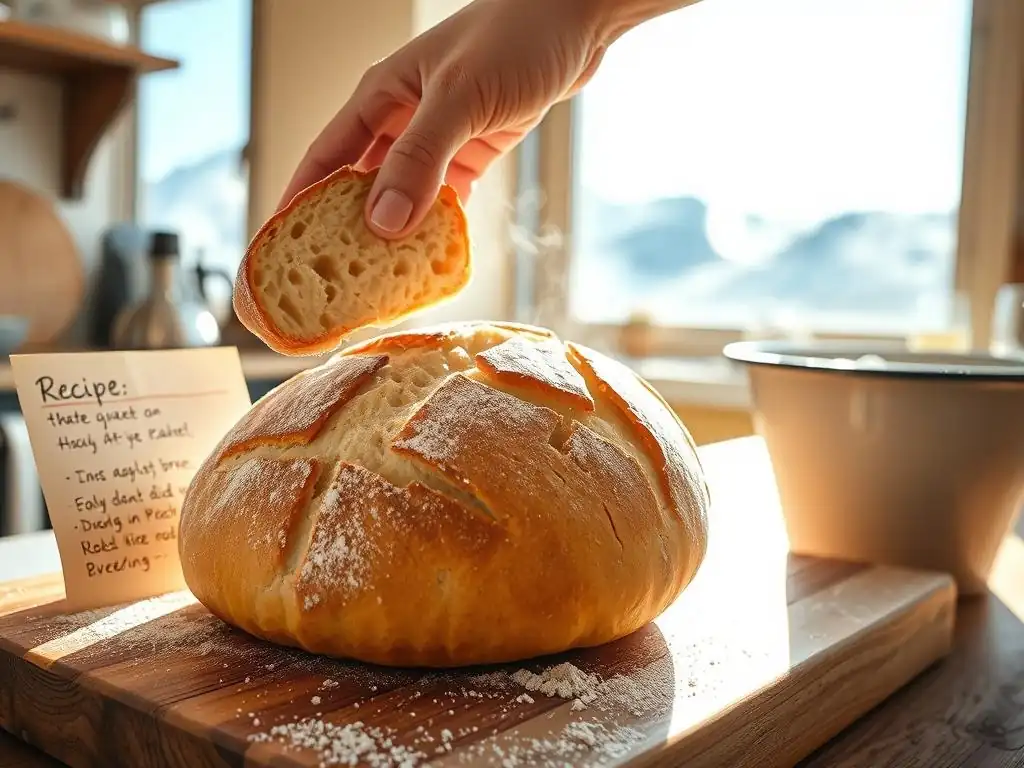
Consistency is the mark of a skilled baker, especially at high altitude. Once you've successfully baked a high altitude soft bread, replicating that success batch after batch requires attention to detail and a willingness to observe and adapt.
Maintaining Consistent Oven Temperatures
As mentioned, oven accuracy is paramount. Beyond using a thermometer, try to avoid opening the oven door unnecessarily during baking, as this causes significant temperature fluctuations. If your oven struggles to maintain temperature, consider using a baking stone or steel, which helps stabilize the oven temperature and provides a burst of heat to the bottom of the loaf, promoting good oven spring and a stable structure for your high altitude soft bread.
Adapting Recipes for Different Altitudes
Adjustments needed for baking at 5,000 feet will differ slightly from those needed at 7,000 feet or 10,000 feet. Generally, the higher the altitude, the greater the adjustments required (less yeast, more liquid, potentially less sugar, shorter rise times, higher initial baking temperature). Keep a baking journal to note your altitude, the original recipe, the adjustments you made, and the results. This record-keeping is invaluable for fine-tuning recipes for your specific location and consistently producing excellent high altitude soft bread. Online resources or local high-altitude cookbooks can also offer specific starting points for various elevations.
Experimenting with Different Flours and Additives
Don't be afraid to experiment! Try different brands of flour – some perform better at altitude than others. Explore additives known for moisture retention, such as vital wheat gluten (used cautiously to improve structure without toughness), lecithin, or even commercial dough conditioners designed for softness. For example, adding just one or two teaspoons of vital wheat gluten per loaf can sometimes provide the necessary structural support at very high elevations without making the crumb tough, contributing to a better high altitude soft bread. Note the impact of each change in your baking journal.
Enjoying Your Delicious High Altitude Soft Bread
After all your efforts in adjusting and perfecting your technique, the best part is enjoying the fruits of your labor. Your homemade high altitude soft bread is a testament to your baking skill and perseverance.
Serving Suggestions and Pairings
Freshly baked high altitude soft bread is wonderful on its own, perhaps with just a smear of butter. It also makes fantastic sandwiches, toast, or garlic bread. Pair a rustic loaf with soup or stew, or serve slices alongside a cheese board. The soft, moist crumb holds up well to various toppings and fillings, making it incredibly versatile.
Storing Leftover High Altitude Bread Properly
To keep your high altitude soft bread fresh and moist for as long as possible, proper storage is key. Once completely cool, store the loaf in a bread box, a clean plastic bag, or wrapped tightly in plastic wrap and then placed in a resealable bag. For longer storage, slice the cooled bread and freeze the slices in a freezer-safe bag. Freezing is an excellent way to preserve the quality of high altitude soft bread, allowing you to enjoy fresh-tasting slices anytime. Avoid storing in the refrigerator, as this can actually dry out bread more quickly.
Frequently Asked Questions
What is the biggest challenge when baking soft bread at high altitude?
The biggest challenge is dealing with the lower air pressure, which causes dough to rise too quickly. This can result in a crumbly, dry bread if not adjusted properly.
Why does high altitude affect bread texture?
At higher altitudes, liquids evaporate faster, and the dough rises more rapidly due to decreased atmospheric pressure. This can lead to a dry and less elastic bread structure.
What adjustments should I make to my bread recipe for high altitude baking?
Typically, you'll need to reduce the amount of yeast and increase the liquid content. Consider also reducing the baking time to prevent over-browning and dryness.
What ingredients can I add to help keep my high-altitude bread soft?
Adding ingredients like milk powder or potato flakes can help retain moisture. Also consider using honey or molasses for added softness and flavor.
How do I know if my high-altitude bread dough has risen enough?
Instead of relying solely on time, monitor the dough's volume increase. It should rise significantly, but not double as quickly as at sea level.
Final Reflection: The Sweet Success of High-Altitude Baking
The quest for perfectly soft bread at high altitude is more than just a culinary challenge; it's a testament to human ingenuity and our enduring connection to the simple pleasures of freshly baked goods. This article explored the unique difficulties of baking at higher elevations – the lower boiling point of water, the faster evaporation rates – and offered practical solutions to overcome these obstacles. From adjusting ingredient ratios to mastering the art of steam baking, we've uncovered techniques that transform frustrating failures into consistently soft and moist loaves.
The impact of altitude on baking extends beyond the individual kitchen; it reflects a broader cultural adaptation to challenging environments. High-altitude baking is a testament to our resilience and our ability to modify traditional practices to suit our surroundings. It's a story of experimentation, innovation, and the unwavering pursuit of deliciousness, even in the face of seemingly insurmountable odds. The best bread is the bread that brings people together,
a sentiment that rings especially true when considering the shared challenges and triumphs of high-altitude bakers.
Now, consider your own baking journey. Perhaps you've experienced the frustration of a dense, dry loaf, or maybe you've already mastered the art of high-altitude baking. Regardless, I encourage you to embrace the challenge, experiment with the techniques outlined in this article, and discover the joy of creating perfectly soft bread, no matter your elevation. The journey itself, filled with experimentation and the satisfaction of a perfectly risen loaf, is a reward in itself. Let your kitchen become a testament to your culinary resilience – bake on!
Unlock the Secrets to Fluffy High-Altitude Bread!
Thanks for joining us on this baking adventure! We hope you gained valuable insights into conquering the challenges of high-altitude bread making. Now it's time to put your newfound knowledge into practice.
- Bake your first high-altitude loaf today! Use the tips and tricks from this article to create a soft, delicious bread that will impress even the most seasoned bakers. Remember to adjust your recipe accordingly!
- Share your baking triumphs (and challenges!) with us on social media using #BakeWithEaseHighAltitude. Let's build a supportive community of high-altitude bakers!
- Experiment with different flour types and see how they affect the texture of your bread. You might discover your new favorite high-altitude recipe!
Ready to experience the joy of perfectly baked bread, no matter the altitude?