
Is Your Cake Sticking? Easy Release Secrets

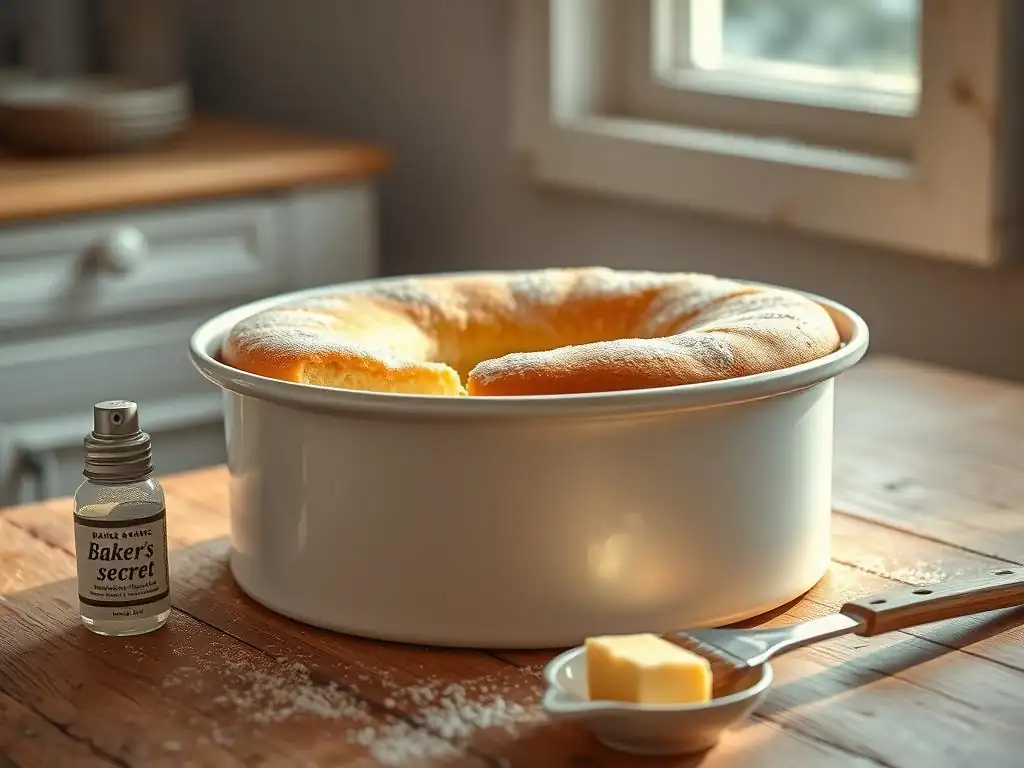
Welcome to BakeWithEase, where even the trickiest baking challenges become a piece of cake! Tired of your beautiful creations clinging to the pan? You've come to the right place. This week, we're diving deep into cake release baking tips that will guarantee perfectly clean results every time. But that's just the beginning... Discover how to say goodbye to sticky situations and hello to effortlessly elegant desserts. Ready to unlock the secrets? Read on!
- Preventing Cake Sticking: Effective Release Techniques
- Achieving Perfect Cake Release: A Guide for Bakers
- Understanding Why Cakes Stick and How to Avoid It
- Proven Methods for Non-Stick Cakes: A Comprehensive Guide
- Method 1: The Traditional Shortening and Flour Method
- Method 2: The Convenience of Baking Spray: A Detailed Look
- Method 3: The Reliability of Parchment Paper: A Versatile Solution
- Method 4: Creating Homemade Cake Release: A Cost-Effective Option
- Advanced Techniques for Difficult Cakes and Pans
- Troubleshooting and Recovery: Addressing Sticking Issues
- Optimizing Your Baking Process for Easy Release
- Conclusion: Confidently Baking Without the Fear of Sticking
-
Frequently Asked Questions
- How can I prevent my cake from sticking to the pan?
- What is "cake release" and how is it different from just greasing the pan?
- Can I use parchment paper as a substitute for cake release?
- What are some common mistakes people make that cause cakes to stick?
- What do I do if my cake is already stuck in the pan?
- Final Reflection: The Sweet Science of Cake Release
- Unleash Your Inner Baker: Effortless Cake Release!
Preventing Cake Sticking: Effective Release Techniques
Achieving Perfect Cake Release: A Guide for Bakers
Baking a beautiful cake is incredibly rewarding, but few things are as frustrating as having it stick to the pan. A stuck cake can ruin the presentation, damage the delicate structure, and waste all your hard work. Mastering effective cake release baking tips is fundamental for bakers of all levels, ensuring your creations slide out cleanly every time, ready for frosting and admiration. It's not just about avoiding disaster; it's about achieving a flawless finish that does justice to your recipe and effort.
This guide will walk you through various proven methods to prevent cake sticking, from traditional techniques to modern conveniences. We'll explore why cakes stick in the first place, delve into step-by-step instructions for preparing your pans, and even touch upon advanced strategies for challenging recipes and intricate molds. By understanding the principles behind effective cake release baking tips, you'll build confidence and consistency in your baking, making sticking a problem of the past.
Understanding Why Cakes Stick and How to Avoid It
Achieving a clean cake release starts with understanding the factors that cause sticking. It's not just bad luck; it's often a combination of pan type, batter composition, and how the pan was prepared (or not prepared!) before baking. Addressing these root causes is the first step in implementing successful cake release baking tips.
Common Causes of Cake Sticking: Pan Type, Batter, and Preparation
One of the primary culprits behind a stuck cake is inadequate or incorrect pan preparation. Simply pouring batter into a bare pan, even a non-stick one, significantly increases the risk of sticking. Pans made from certain materials, like aluminum or older tinware, may be more prone to sticking than newer non-stick coated pans, especially if they are scratched or worn. The surface texture of the pan also plays a role; intricate designs like those found in Bundt pans offer more surface area for potential sticking points compared to a smooth round pan.
The composition of your cake batter can also influence sticking. Batters high in sugar or those with delicate structures, like angel food or chiffon cakes, are particularly susceptible. Sugar caramelizes during baking, creating a sticky residue that can bond firmly to the pan surface. Leaner batters with less fat also offer less natural lubrication. Furthermore, failing to let the cake cool properly in the pan before attempting to invert it can cause sticking, as the structure is still fragile and more likely to tear or adhere while hot. Proper application of cake release baking tips considers all these factors.
The Importance of Cake Release for Presentation and Texture
Effective cake release baking tips are crucial not just for avoiding frustration, but for preserving the visual appeal and desired texture of your baked goods. A cake that sticks often comes out in pieces, with chunks left behind in the pan. This not only makes frosting and decorating difficult, if not impossible, but it also compromises the integrity of the cake's structure.
When a cake sticks, the bottom and sides that remain adhered to the pan can become overcooked or even burnt, affecting the overall texture and taste. A clean release ensures that the cake cools evenly, maintaining its intended moistness and tenderness throughout. Imagine baking a perfectly moist chocolate cake – if half of it stays in the pan, the remaining half might have dry patches where it tore. Implementing reliable cake release baking tips guarantees that the cake you spent time and effort creating comes out looking and tasting exactly as it should.
Proven Methods for Non-Stick Cakes: A Comprehensive Guide
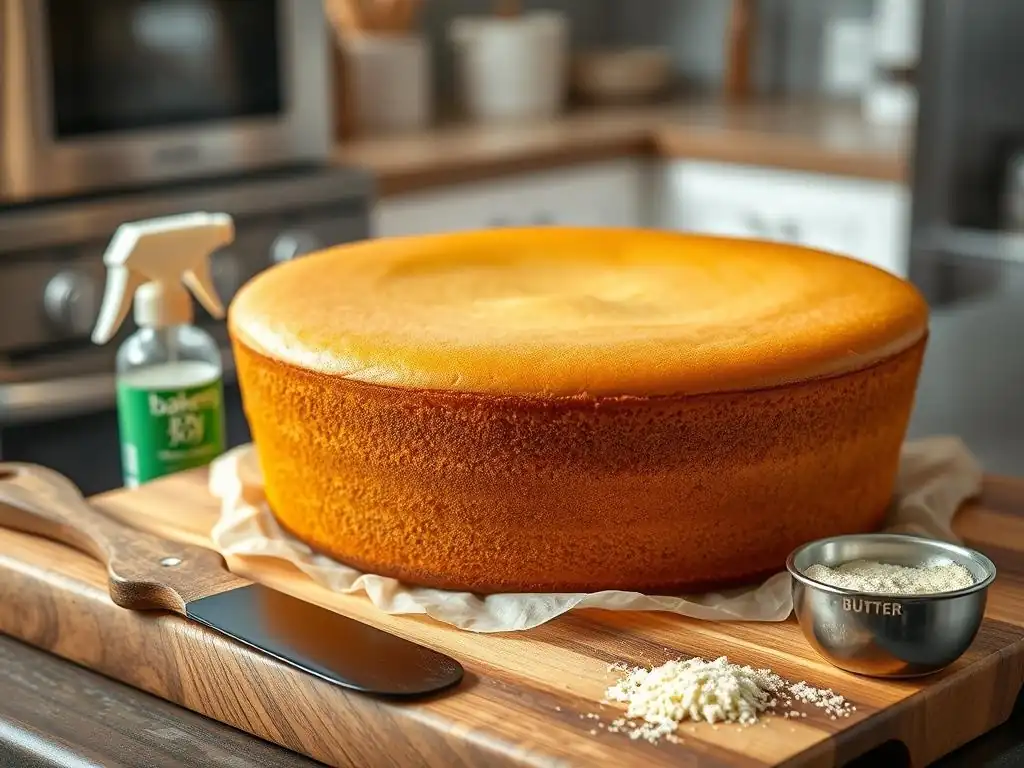
Fortunately, there are several highly effective methods to prevent cake sticking, ensuring your cakes release cleanly every time. The best approach often depends on the type of cake, the pan you're using, and your personal preference. Let's explore the most popular and reliable cake release baking tips.
Preparing Baking Pans: Essential First Steps
Regardless of the specific method you choose, the initial preparation of your baking pan is critical. Ensure your pan is clean and dry before you begin. Any residual grease or crumbs from previous baking can actually promote sticking in those areas.
- Check for damage: Inspect your pan for scratches or areas where the non-stick coating might be worn. These are prime spots for sticking.
- Wash and dry thoroughly: Use warm, soapy water and dry completely. A slightly warm pan can sometimes help the grease spread more evenly, but ensure it's not hot enough to melt solid shortening instantly.
Method 1: The Traditional Shortening and Flour Method
This classic technique has been a go-to for bakers for generations and remains one of the most reliable cake release baking tips, especially for standard cakes. It provides a robust barrier between the cake batter and the pan surface.
Step-by-Step: Achieving Flawless Release with Shortening and Flour
This method involves two key steps: greasing the pan with a solid fat, typically shortening, and then coating that fat layer with flour.
- Apply the shortening: Use a pastry brush, a piece of paper towel, or even your fingers to apply a generous, even layer of solid vegetable shortening (like Crisco) to the entire interior surface of the pan. This includes the bottom, sides, and any corners or crevices. Ensure there are no bare spots. Avoid using butter for this step unless the recipe specifically calls for it, as butter contains water and milk solids that can cause sticking and browning.
- Add the flour: Sprinkle a few tablespoons of all-purpose flour into the greased pan.
- Coat the pan: Tilt and rotate the pan, tapping it gently, to distribute the flour evenly over the shortening. Make sure the flour adheres to all greased surfaces.
- Remove excess: Invert the pan and tap out any excess flour over a sink or trash can. Too much flour can create a pasty layer on the outside of your cake.
- Task List for Shortening & Flour:
- [ ] Ensure pan is clean and dry.
- [ ] Apply solid shortening evenly to all interior surfaces.
- [ ] Add flour to the greased pan.
- [ ] Tilt and tap pan to coat with flour.
- [ ] Invert pan and tap out excess flour.
Selecting the Right Flour for Coating: Considerations and Options
While all-purpose flour is the standard choice for coating pans, you can make substitutions depending on your cake recipe or dietary needs.
- All-Purpose Flour: The most common and effective option for most cakes. It creates a thin, non-stick barrier.
- Cake Flour: Can be used, but it's finer and might not adhere as well to the shortening, potentially leaving bare spots. Stick with AP flour for reliability.
- Cocoa Powder: For chocolate cakes, using cocoa powder instead of flour is an excellent cake release baking tip. It prevents the white flour coating from showing on the finished dark cake. Use unsweetened cocoa powder and coat the pan just as you would with flour.
- Nut Flour (e.g., Almond Flour): If baking a gluten-free cake, you can sometimes use a fine nut flour or a gluten-free flour blend. Test a small area first, as some gluten-free flours might absorb grease differently.
- Granulated Sugar: For specific cakes like pound cake, some recipes recommend greasing the pan and then coating it with granulated sugar instead of flour. This gives the cake a slightly crisp, sweet crust. This is a specific technique and not a general substitute for flour in all cakes.
Approximately 2-3 tablespoons of flour (or cocoa) is typically enough to coat a standard 8 or 9-inch cake pan or a loaf pan. The exact amount will vary based on the pan size and shape; you just need enough to create a thin, even layer over the grease.
Avoiding Common Mistakes with Shortening and Flour
Even with a reliable method, small errors can lead to sticking. Being mindful of these common mistakes enhances the effectiveness of these cake release baking tips.
One frequent mistake is not coating the pan completely. Any spot missed with shortening or flour is a potential sticking point. Pay close attention to corners, edges, and the center tube of Bundt pans. Another error is using too much flour; while you need enough to coat, excessive flour can create a dry, pasty layer on the cake's crust that is unappetizing. Tapping out the excess is crucial.
Using melted butter instead of solid shortening is another common pitfall for this specific method. Melted butter can pool and doesn't provide the same consistent, even layer of fat as solid shortening, increasing the likelihood of sticking. Ensure the shortening is at room temperature or slightly warmer for easy spreading, but not melted liquid. Finally, ensure you apply the flour immediately after greasing; if the shortening cools too much, the flour won't adhere properly.
Method 2: The Convenience of Baking Spray: A Detailed Look
Baking spray, often labeled as "baking spray with flour," is a convenient modern alternative to the traditional shortening and flour method. It combines grease and flour (or a flour substitute) in an aerosol can, simplifying the pan preparation process. It's become a popular tool for busy bakers seeking effective cake release baking tips.
Exploring Baking Sprays: Types, Ingredients, and Usage
Baking sprays are typically made from a blend of oils (such as canola, soybean, or palm oil) and a non-stick agent, often wheat flour or a gluten-free alternative like rice flour or cornstarch. Some brands also include lecithin, an emulsifier that helps prevent sticking.
- Types:
- Standard Baking Spray: Contains oil and flour.
- Oil Sprays: (Like regular cooking spray) Do not contain flour and are generally less effective for preventing cake sticking compared to baking spray specifically designed for baking. They work better for greasing pans for things like muffins or brownies where sticking is less of a concern.
- Gluten-Free Baking Spray: Uses a gluten-free flour alternative.
When using baking spray, shake the can well before use to ensure the flour is evenly dispersed within the oil. Hold the can a few inches away from the pan and apply an even coating over the entire interior surface.
Proper Application Techniques for Baking Spray
Applying baking spray correctly is key to its effectiveness. A light, even coating is needed; overspraying can lead to a gummy residue on your cake and can even build up on your pans over time, becoming sticky itself.
Hold the can approximately 6-8 inches away from the pan. Use a sweeping motion to cover the bottom and sides thoroughly. For pans with intricate designs, like Bundt pans, take extra care to spray into all the nooks and crannies. Don't forget the center tube or any indentations.
- Checklist for Baking Spray Application:
- [ ] Shake the can well before each use.
- [ ] Hold the can 6-8 inches away from the pan.
- [ ] Apply an even coating to all interior surfaces.
- [ ] Ensure intricate areas are fully coated.
- [ ] Avoid overspraying.
Choosing Baking Spray Based on Cake Type and Pan Design
While baking spray is versatile, it's not always the absolute best choice for every situation. For very delicate cakes like angel food, which rely on adhering to the pan sides to rise properly, no grease or spray should be used (they are typically baked in ungreased aluminum pans).
For standard butter cakes, loaf cakes, and cupcakes, baking spray is usually highly effective and convenient. For complex Bundt pans, baking spray can be very helpful because the spray gets into the details easily, but sometimes a combination of shortening applied manually to ensure coverage in tight spots, followed by a light dusting of flour or cocoa, provides the most reliable release.
Consider the pan's complexity and the cake's fragility when choosing between baking spray and other cake release baking tips. Approximately 2-3 seconds of continuous spray is usually sufficient for a standard 9-inch pan, but coverage is more important than duration.
Method 3: The Reliability of Parchment Paper: A Versatile Solution
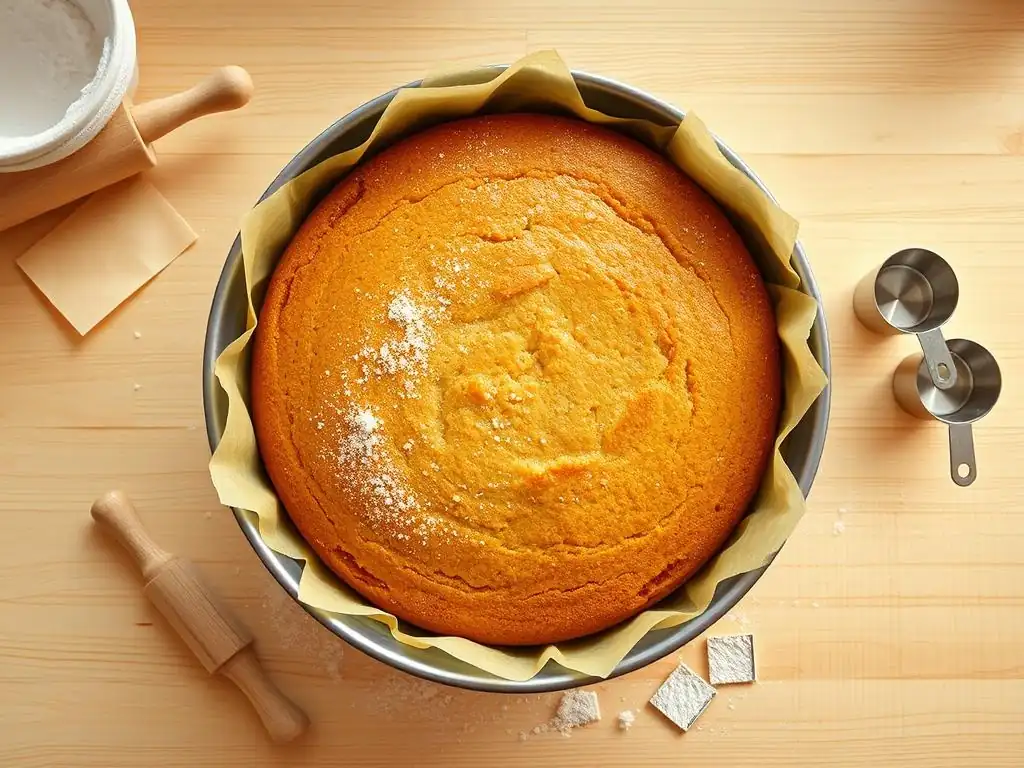
Parchment paper is an excellent tool for preventing cake sticking, particularly for flat-bottomed pans like round cake pans, square pans, and loaf pans. It creates a completely non-stick surface that the cake bakes directly on. This is one of the most foolproof cake release baking tips for simple pan shapes.
Cutting and Fitting Parchment Paper: Techniques for Various Pans
Using parchment paper requires cutting it to fit the specific pan shape. While you can buy pre-cut rounds, cutting your own is cost-effective and allows for custom fits.
For round pans, a simple technique is to fold a square of parchment paper into a triangle, then fold it again and again until it forms a narrow point. Place the point at the center of the pan bottom and cut the paper even with the pan's edge. When unfolded, you'll have a perfect circle. For square or rectangular pans, simply measure the bottom dimensions and cut a piece to fit.
- Steps for Cutting Parchment Round:
- Start with a square of parchment paper larger than the pan diameter.
- Fold the square in half diagonally to make a triangle.
- Fold the triangle in half again.
- Fold the resulting triangle into thirds (this requires a bit of estimation to get three equal segments).
- Fold in half one more time.
- Place the pointed tip at the center of the inverted pan bottom.
- Cut the paper along the edge of the pan.
- Unfold the paper; it should be a circle that fits the pan bottom.
Utilizing Parchment Paper Rounds for Circular Cakes
Once you have a parchment paper round cut to size, you still need to prepare the pan slightly to ensure the paper stays in place and the cake doesn't stick to the sides.
Lightly grease the bottom of the pan with a little shortening, butter, or baking spray. This helps the parchment paper adhere securely. Place the parchment round on the greased bottom, pressing it down smoothly. Then, grease the sides of the pan using your preferred method (shortening and flour, or baking spray). This combination ensures the cake releases cleanly from both the bottom and the sides. Approximately 1-2 teaspoons of shortening or a quick 1-second spray is enough to hold the parchment in place.
Exploring Silicone Baking Mats as a Reusable Alternative
For sheet cakes or cakes baked in rectangular pans, silicone baking mats (like Silpat) offer a reusable alternative to parchment paper. These mats are inherently non-stick and can be placed directly in the bottom of the pan.
Silicone mats are durable, easy to clean, and can withstand high oven temperatures. They provide an excellent non-stick surface for the bottom of the cake. As with parchment paper, you'll still need to grease the sides of the pan to prevent sticking there. Silicone mats are typically sized for standard half-sheet or quarter-sheet pans, but smaller ones are available for loaf pans. They are a long-term investment compared to disposable parchment paper but offer convenience and consistent performance as part of your cake release baking tips arsenal.
Method 4: Creating Homemade Cake Release: A Cost-Effective Option
For bakers who prefer to mix their own ingredients or want a reliable, economical alternative to commercial sprays, making a batch of homemade cake release is an excellent option. This mixture, often called "goop," is highly effective and can be stored for future use. It's a classic among experienced bakers' cake release baking tips.
Recipe: Simple and Effective Homemade Cake Release
A common and effective recipe for homemade cake release involves just three ingredients in equal parts:
- 1/2 cup All-Purpose Flour
- 1/2 cup Vegetable Shortening (solid, like Crisco)
- 1/2 cup Vegetable Oil (liquid, like canola or sunflower oil)
Combine all ingredients in a bowl and whisk or beat them together until the mixture is completely smooth and uniform, with no lumps of flour or shortening. The consistency should be like a thick paint or a thin paste.
- Ingredients for Homemade Cake Release:
- [ ] All-Purpose Flour
- [ ] Vegetable Shortening
- [ ] Vegetable Oil
Benefits of Using a Homemade Solution
Using homemade cake release offers several advantages. Firstly, it's typically more cost-effective than repeatedly buying commercial baking sprays, especially if you bake frequently. You can make a large batch and keep it on hand.
Secondly, you know exactly what ingredients are in it, which can be appealing for those concerned about additives in commercial products. It provides an incredibly reliable non-stick barrier that works well even in intricate pans like Bundt pans. Approximately 1-2 tablespoons is usually sufficient to coat a standard 9-inch pan thoroughly.
Storing Homemade Cake Release for Extended Use
Homemade cake release can be stored at room temperature in an airtight container, such as a jar with a tight-fitting lid, for several months. Some bakers prefer to store it in the refrigerator, which can extend its shelf life even longer, possibly up to a year.
Before each use, give the mixture a quick stir or whisk, as the oil might separate slightly over time. When ready to use, simply apply a thin, even layer to your pan using a pastry brush, just as you would with solid shortening. Ensure all surfaces are coated. This reliable mixture is a fantastic addition to your repertoire of cake release baking tips.
Advanced Techniques for Difficult Cakes and Pans
Some cakes and pan types present unique challenges when it comes to preventing sticking. Delicate structures and intricate designs require extra care and sometimes specialized cake release baking tips.
Releasing Delicate Cakes: Strategies for Chiffon and Sponge Cakes
Cakes like chiffon and sponge cakes are known for their light, airy texture, which is often achieved by whipping egg whites. These cakes typically require an ungreased aluminum pan (specifically an angel food cake pan with a removable bottom and "feet") for baking. The batter needs to cling to the sides of the pan to climb as it rises in the oven.
After baking, these cakes are typically inverted immediately while still in their pans, resting on the pan's feet or suspended over a bottle, until completely cool. This hanging process uses gravity to help the cake set and prevent it from collapsing on itself. Attempting to grease the pan or remove the cake while warm would cause it to deflate and stick. This specific technique is paramount for these types of cakes, overriding standard cake release baking tips.
Addressing Intricate Pans: Tips for Bundt and Decorative Pans
Bundt pans and other decorative molds are beautiful but notorious for sticking due to their many crevices and details. Standard greasing methods need to be applied with extra diligence.
Using a pastry brush to push shortening into every single indentation is crucial. Follow this with a thorough coating of flour or, preferably for dark cakes, cocoa powder, ensuring it gets into all the details. Tapping out excess is vital so you don't obscure the design with a floury residue.
Alternatively, homemade cake release ("goop") applied with a brush is often highly effective for Bundt pans because its consistency allows it to get into tight spots easily. A combination approach – manually greasing the most difficult parts and then using baking spray – can also work. The key is absolute, complete coverage of the pan's surface.
Freezing Cakes for Enhanced Release: Benefits and Procedures
While not a pan preparation method, freezing a baked cake can sometimes aid in its release, especially if you suspect it might stick or if you're trying to remove a cake that has partially stuck.
Freezing firms up the cake's structure, making it less prone to tearing. If a cake feels a bit stuck after cooling, you can try placing the pan (with the cake still in it) in the freezer for 20-30 minutes. The slight contraction of the cake and the pan, combined with the hardened structure of the cake, can sometimes loosen its grip on the pan. Once slightly frozen, you can attempt to invert it again. This is more of a recovery tactic than a preventative one, but it's a useful trick in your book of cake release baking tips.
Troubleshooting and Recovery: Addressing Sticking Issues
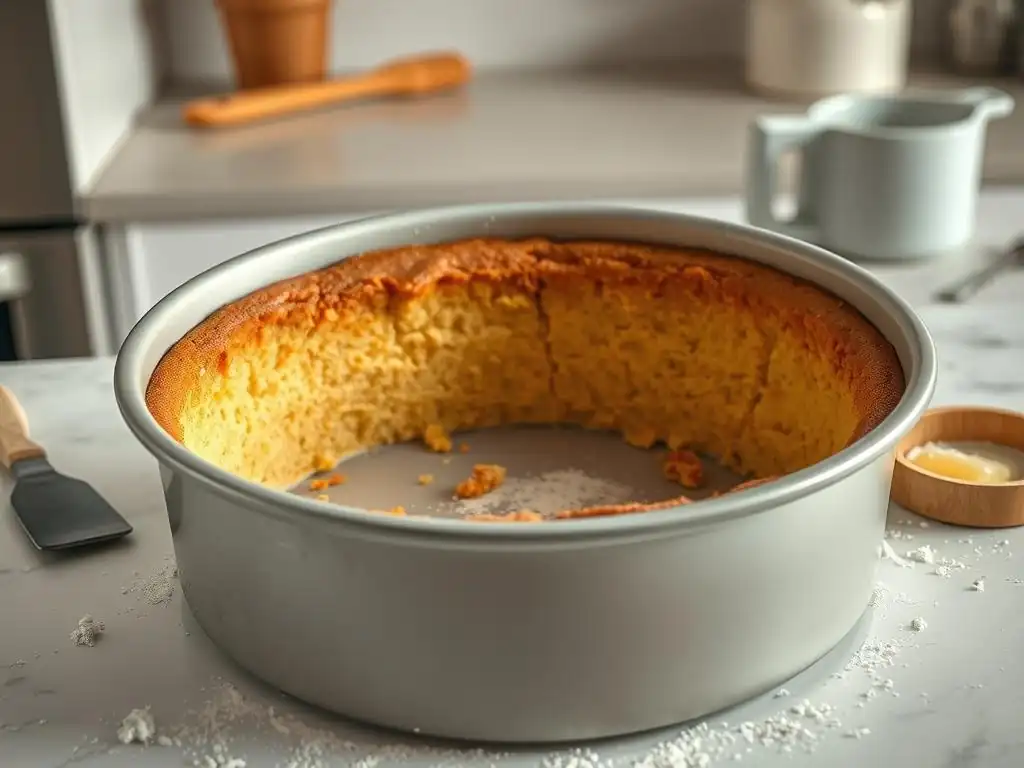
Even with the best preparation, sometimes a cake still sticks. Don't despair! There are steps you can take to try and salvage the situation and learn from the experience to improve your future cake release baking tips.
Identifying the Cause of Sticking and Implementing Solutions
If your cake sticks, try to analyze why. Was the pan adequately greased and floured? Were there any bare spots? Was the pan material old or scratched? Did you try to remove the cake too soon?
If you suspect inadequate greasing, you might try gently running a thin offset spatula or knife around the edges of the pan to loosen the cake (being careful not to scratch the pan). If the bottom is stuck, warming the bottom of the pan slightly (e.g., placing it on a warm, damp towel for a minute) can sometimes help loosen it. Identifying the specific failure point helps you refine your cake release baking tips for the next bake.
Gently Removing a Stuck Cake: Minimizing Damage
If a cake is stuck, brute force will only make it worse. Patience and gentle techniques are key.
- Cool completely (if not already): A warm cake is more likely to tear. Ensure it's fully cooled in the pan for the recommended time (usually 10-20 minutes, depending on the cake size, before inverting).
- Loosen edges: Use a thin, flexible spatula or knife to carefully run around the perimeter of the cake, between the cake and the pan side.
- Tap the pan: Hold the pan level and tap it firmly on the counter a few times to try and dislodge the cake from the bottom.
- Invert and wait: Place your cooling rack or serving plate over the pan and invert them together. If the cake doesn't release immediately, let the inverted pan sit for a few minutes. Gravity might do the work.
- Gentle warming (last resort): If still stuck, try the warm, damp towel method mentioned above for a minute or two, then try inverting again.
Refining Your Technique for Future Success
Every baking experience, even one with a stuck cake, is a learning opportunity. Reflect on which cake release baking tips you used and how you applied them.
Did you miss a spot when greasing? Was the flour coating too thin in areas? Was the pan old or damaged? Did you use the right pan for the cake type (e.g., not greasing an angel food cake pan)? Adjust your preparation method based on what you observed. Perhaps switch from baking spray to the shortening and flour method for that particular pan or recipe, or try homemade cake release. Consistent application and careful observation are the best ways to perfect your cake release baking tips over time.
Optimizing Your Baking Process for Easy Release
Preventing sticking isn't just about the grease and flour; it's also about the tools you use and how you maintain them. Integrating these considerations into your overall baking process enhances your cake release baking tips.
Selecting the Right Baking Pans: Materials and Design Features
The material and condition of your baking pans significantly impact cake release.
- Aluminum: Excellent for even heat distribution, promoting uniform baking. Standard aluminum pans (especially older ones without non-stick coating) require thorough greasing and flouring. Angel food cake pans are typically ungreased aluminum.
- Non-Stick Coated: Offer convenience, but the coating can wear over time, reducing effectiveness. Even non-stick pans benefit from a light application of grease or spray, particularly for delicate or sugary cakes. A good quality, well-maintained non-stick pan is a great asset for easy cake release baking tips.
- Dark Metal: Absorb more heat and can cause faster browning on the outside of the cake, potentially leading to sticking if not properly prepared. Reduce oven temperature by about 25°F (about 15°C) when using dark pans.
- Silicone Pans: Often marketed as completely non-stick. While many cakes release well from silicone, some still benefit from a light spray, especially intricate designs. Always place silicone pans on a baking sheet for stability.
Investing in good quality pans and understanding their properties is a fundamental part of effective cake release baking tips.
Maintaining Your Pans: Cleaning and Care for Longevity
Proper care extends the life of your baking pans and maintains their non-stick properties, whether inherent or applied.
Always clean pans soon after use. For pans used with grease and flour, soak them in warm, soapy water to loosen any residue. Use a non-abrasive sponge or cloth to avoid scratching the surface, especially on non-stick pans. Avoid using metal utensils or harsh scouring pads inside the pan.
For non-stick pans, excessive heat or dishwasher use can degrade the coating over time. Handwashing is often recommended. If using baking spray regularly, you might notice a sticky residue buildup. This can sometimes be removed with a paste of baking soda and water or commercial cleaners designed for this purpose, but it's better to avoid excessive spray in the first place. Well-maintained pans are easier to work with and contribute significantly to successful cake release baking tips.
Conclusion: Confidently Baking Without the Fear of Sticking
Mastering cake release baking tips is a game-changer for home bakers. By understanding the 'why' behind sticking and implementing proven prevention methods, you can approach any cake recipe with confidence. From the traditional reliability of shortening and flour to the convenience of baking spray, the versatility of parchment paper, or the economy of homemade release, you have a range of effective techniques at your disposal.
Summary of Cake Release Methods for Consistent Results
Here’s a quick recap of the key cake release baking tips:
- Shortening & Flour: Classic, reliable for most standard cakes. Requires complete, even coating.
- Baking Spray: Convenient, quick, good for many pan types. Avoid overspraying.
- Parchment Paper: Foolproof for flat-bottomed pans. Combine with greased sides.
- Homemade Release: Economical, effective, great for intricate pans.
Remember to choose the method best suited to your cake type and pan, prepare your pans meticulously, and maintain them properly. Even if a cake sticks, troubleshooting techniques can help salvage it, and learning from the experience will improve your future baking. With these strategies, you're well-equipped to bake beautiful cakes that release cleanly every time, making your baking process smoother and more enjoyable.
Frequently Asked Questions
How can I prevent my cake from sticking to the pan?
There are several methods, but the most common involve preparing the pan properly. This includes greasing the pan thoroughly with shortening, butter, or cooking spray and then dusting it with flour or cocoa powder. Pan preparation is key to a clean release.
What is "cake release" and how is it different from just greasing the pan?
Cake release is a specially formulated mixture that typically combines equal parts of shortening, oil, and flour. It creates a superior non-stick barrier compared to just greasing, ensuring a cleaner and more reliable cake release.
Can I use parchment paper as a substitute for cake release?
Yes, parchment paper is an excellent alternative. Cut a circle of parchment paper to fit the bottom of the cake pan after greasing it. This provides an extra layer of protection and helps prevent sticking.
What are some common mistakes people make that cause cakes to stick?
Common mistakes include insufficient greasing, using old or expired baking spray, or not letting the cake cool properly before attempting to remove it from the pan. Always ensure the pan is thoroughly coated and the cake is cooled.
What do I do if my cake is already stuck in the pan?
If your cake is stuck, try gently loosening the edges with a thin spatula. You can also try placing the pan on a warm, damp towel for a few minutes to help loosen the cake. Patience is key; avoid forcing it out.
Final Reflection: The Sweet Science of Cake Release
The seemingly simple act of releasing a cake from its pan is, in reality, a crucial moment of truth for every baker. A perfectly released cake, sliding effortlessly from its confines, is a testament to careful technique and a deep understanding of baking science. But a stuck cake? That's a recipe for frustration and, quite possibly, a ruined dessert.
This exploration into the art of cake release has highlighted more than just a few helpful tips; it's revealed a deeper connection between baking precision and the joy of sharing delicious creations. The struggle with a stuck cake is a universal experience, a shared frustration that transcends cultural boundaries. Baking is at once child's play and adult joy. And cooking is all about caring.
– Laurie Colwin. This quote perfectly captures the essence of baking – the simple act of creating something delicious becomes a powerful expression of care and attention to detail, something easily lost if your cake refuses to cooperate.
So, the next time you're preparing to bake, remember the lessons learned here. Don't just follow a recipe; understand why each step is important. Embrace the science behind the perfect release – the right pan, the proper greasing technique, the importance of cooling – and you'll unlock a world of baking confidence. Take the time to prepare your pans meticulously, and experience the satisfaction of a flawlessly released cake. The reward? Not just a beautiful dessert, but the pride of knowing you mastered a fundamental skill, transforming a potential baking disaster into a sweet success.
Unleash Your Inner Baker: Effortless Cake Release!
Thanks for taking the time to explore our tips on achieving perfectly released cakes! We hope you've gained some valuable insights to make your baking even more enjoyable. Now it's time to put your newfound knowledge into practice!
- Master the perfect cake release: Try our recommended techniques from the article – you might be surprised at how easily your cakes come out of the pan! Remember to focus on the proper prep work!
- Share your baking triumphs (or challenges!): We'd love to see your cake creations – tag us on social media and inspire other bakers!
- Dive deeper into our baking resources: Explore more of our cake recipes and techniques on BakeWithEase.com – we have a whole library dedicated to baking success!
Ready to bake a flawless, perfectly released cake? What's your favorite cake release tip?