
Dry Cake? Bring Your Bake Back to Life!

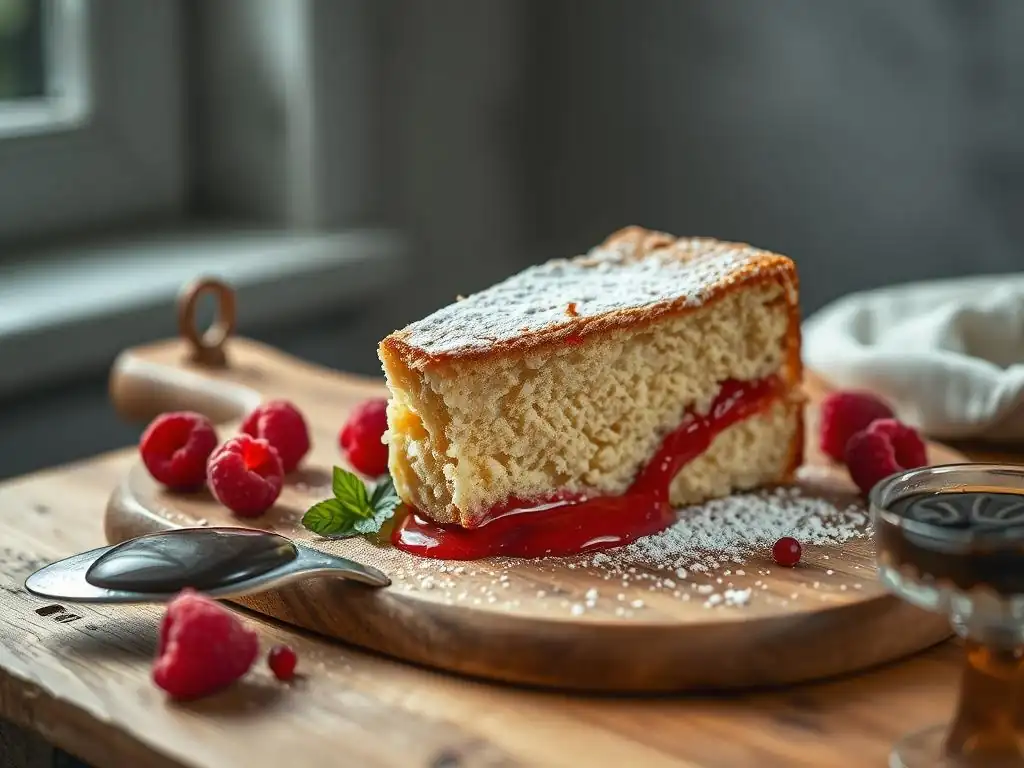
Welcome to BakeWithEase, your trusted companion in the world of baking! Are you staring down at a dry, crumbly cake, wondering where you went wrong? Don't despair! This week, we're diving deep into the art of reviving dry cake recipes, unlocking the secrets to transforming your baking mishaps into delicious triumphs. Discover simple, effective techniques to rescue your bakes and bring them back to life. Ready to learn how? Let's get started!
Understanding Why Your Cake is Dry: Common Causes
Overbaking: The Silent Cake Killer
Overbaking is arguably the most common culprit behind a dry cake. When a cake is left in the oven for too long, the moisture within the batter evaporates excessively. As the heat penetrates the cake, it continues to cook the proteins and starches, causing them to tighten up and expel water.
Think of it like cooking a steak for too long – it becomes tough and dry because all the juices have been cooked out. The same principle applies to your delicate cake crumb. Even a few extra minutes beyond the recommended baking time can make a significant difference, turning a perfectly moist cake into a dry, crumbly disappointment.
The temperature and time specified in most recipes are guidelines, but individual ovens can vary significantly, sometimes by as much as 20-30 degrees Fahrenheit from the dial setting. This variance means relying solely on the timer is risky. A cake that might take 30 minutes in one oven could be overbaked in just 25 minutes in a hotter oven.
Monitoring visual cues and using a cake tester or toothpick is essential to catch the cake just as it transitions from underbaked to perfectly done. Look for edges that are pulling slightly away from the pan and a top that springs back gently when lightly pressed.
Ingredient Imbalance: Too Much Flour, Not Enough Fat
The ratio of wet to dry ingredients is critical for cake moisture. A common issue leading to dryness is an imbalance, often involving too much flour or not enough fat and liquid. Flour absorbs moisture, and excess flour can soak up all the available liquid (like milk, eggs, or oil/butter), leaving none to contribute to the cake's tenderness and moist crumb structure.
This is particularly true if you're measuring flour by volume (cups) instead of weight. A cup of flour can vary significantly in weight depending on how packed it is, potentially adding 20-30% more flour than intended, which drastically alters the wet-to-dry ratio.
Fats (like butter, oil, or shortening) and liquids (milk, buttermilk, yogurt, sour cream, eggs) are key contributors to a cake's richness and moisture. Fats coat the flour particles, preventing excessive gluten development and resulting in a more tender cake. Liquids hydrate the dry ingredients and contribute to the overall moistness.
If a recipe calls for too little of these or if you accidentally reduce them, the cake will inevitably turn out dry. For instance, reducing the butter in a standard 8-inch cake recipe from 1/2 cup (approximately 113g) to 1/4 cup (approximately 56g) to "make it healthier" will likely result in a noticeable decrease in moisture and tenderness.
Incorrect Oven Temperature: A Recipe for Disaster
Baking at an incorrect oven temperature can severely impact your cake's moisture. If the oven is too hot, the cake's exterior will set and brown too quickly before the interior has a chance to fully bake and before the leavening agents have done their job properly. This rapid setting can create a tough crust and drive moisture out rapidly, leading to a dry texture, even if the center seems technically "done." The high heat essentially shocks the cake, causing it to dry out from the outside in.
Conversely, an oven that is too cool can also contribute to dryness, though less directly than a hot oven. In a cooler oven, the cake bakes slowly. While this can sometimes result in a more even bake, if the temperature is significantly lower than required, the cake spends too much time exposed to heat. Over this extended period, moisture can still evaporate excessively before the cake structure fully sets.
It's like a slow leak versus a burst pipe – both result in water loss over time. Using an oven thermometer is highly recommended, as built-in oven thermostats can be inaccurate, sometimes off by 50 degrees Fahrenheit or more. Calibrating your oven or adjusting baking time based on a reliable thermometer is crucial.
Improper Mixing: Overmixing or Undermixing the Batter
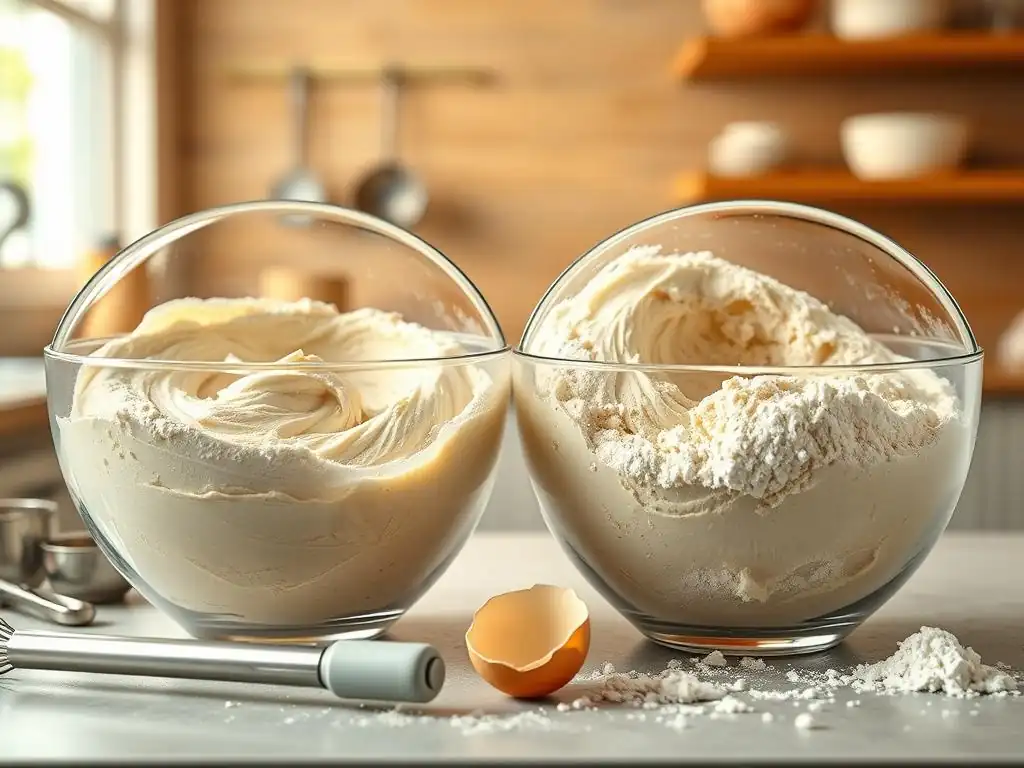
Mixing technique plays a crucial role in cake texture. Overmixing cake batter develops the gluten in the flour too much. Gluten, a protein network, provides structure, but excessive development makes the cake tough and rubbery, which is often perceived as dryness. When you cream butter and sugar, you're incorporating air, which creates lift and tenderness. Adding eggs strengthens the structure. However, once flour is added, mixing should be minimal – just until the dry ingredients are incorporated. Continuing to mix after this point activates and strengthens the gluten, leading to a dense, dry crumb.
Undermixing can also cause problems, though it's less likely to result in overall dryness and more likely to lead to uneven texture or tunneling. If ingredients like butter and sugar aren't properly creamed, or if dry ingredients aren't fully incorporated, you can end up with pockets of unmixed ingredients or a cake that lacks uniform structure. While not the primary cause of overall dryness, inconsistencies from undermixing can make parts of the cake seem drier or less pleasant to eat. The goal is to mix just enough to combine everything, ensuring a smooth, homogeneous batter without overworking the gluten.
Stale Ingredients: The Importance of Freshness
The freshness of your ingredients, particularly leavening agents and fats, impacts the final cake texture and moisture. Baking powder and baking soda lose their potency over time, typically becoming less effective after 6-12 months once opened. Using stale leavening means the cake won't rise properly, resulting in a dense, heavy texture that can feel dry even if it technically contains enough moisture. A simple test for baking powder freshness is to add a teaspoon to hot water; it should fizz vigorously. For baking soda, add a teaspoon to vinegar; it should also fizz immediately.
Fats, like butter or oil, can also affect the outcome if they are old or improperly stored. Rancid fats not only impart off-flavors but can also alter the way they interact with other ingredients, potentially affecting the cake's structure and moisture distribution.
Flour itself can become stale or absorb off-odors, though it's less likely to be a primary cause of dryness unless it's significantly old or stored in humid conditions where it might clump and affect accurate measurement. For the best results and moist cakes, always check the expiration dates on your leavening agents and ensure your fats are fresh and properly stored.
Reviving Dry Cake Recipes: Proven Techniques
Simple Syrup Soak: The Ultimate Hydration Boost
One of the most effective ways when considering reviving dry cake recipes is using a simple syrup soak. Simple syrup is essentially a liquid sweetener that can be easily absorbed by the porous structure of a dry cake, adding much-needed moisture and improving texture. This technique works particularly well for sponge cakes, pound cakes, and other cakes with a relatively open crumb. The syrup penetrates the cake, making it softer, more tender, and significantly less dry. It's a quick fix that can salvage a cake that might otherwise be destined for the bin.
The beauty of simple syrup is its versatility. While a basic syrup is just sugar and water, you can infuse it with flavorings like vanilla extract, citrus zest, coffee liqueur, or even fruit juice to complement the cake's flavor profile. For instance, a vanilla cake could benefit from a vanilla bean infused syrup, while a chocolate cake might be enhanced by a coffee or rum-flavored syrup.
The amount of syrup needed depends on the cake's size and how dry it is, but a general guideline is to use enough to moisten the cake without making it soggy. Start with a small amount and add more as needed.
Preparing Simple Syrup: A Quick and Easy Recipe
Preparing simple syrup is incredibly straightforward, requiring just two ingredients: sugar and water. The standard ratio is 1:1 by weight or volume. For example, you can combine 1 cup (approximately 200g) of granulated sugar with 1 cup (approximately 240ml) of water. Combine the sugar and water in a small saucepan over medium heat. Stir constantly until the sugar is completely dissolved and the mixture is clear. Do not boil it for too long, as you don't want it to thicken into a candy syrup. Once the sugar is dissolved, remove the pan from the heat.
For flavored simple syrup, you can add flavorings at this stage. Stir in a teaspoon or two of vanilla extract, a tablespoon of citrus zest, a shot of liqueur (like rum or coffee liqueur), or even a cinnamon stick while the syrup is still hot. Let the flavoring steep as the syrup cools. Strain out any solids (like zest or cinnamon sticks) before using.
It's important to let the simple syrup cool completely before applying it to the cake. Applying hot syrup can sometimes break down the cake's structure. Once cooled, the syrup is ready to use for reviving dry cake recipes.
Applying Simple Syrup: Even Distribution is Key
Applying simple syrup correctly is crucial for achieving an evenly moist cake without creating soggy spots. The best way to apply the syrup is when the cake is cool. You can use a pastry brush to gently brush the syrup over the top and sides of the cake. Apply in thin layers, allowing each layer to soak in before applying more. This method gives you control over how much moisture is added and helps prevent oversaturation in one area.
Alternatively, for cakes baked in layers, you can drizzle the syrup over the cut surfaces using a spoon or a squeeze bottle. If the cake is very dry or dense, you can also poke small holes across the surface using a skewer or toothpick before brushing or drizzling the syrup. These holes act as channels, allowing the syrup to penetrate deeper into the cake's crumb.
Focus on areas that seem particularly dry, such as the edges or the top surface. Let the cake sit for at least 30 minutes after applying the syrup to allow the moisture to distribute evenly before frosting or serving.
Steaming the Cake: Reintroducing Moisture
Steaming is another effective technique for reviving dry cake recipes, particularly for whole cakes or larger pieces. This method gently warms the cake in a humid environment, allowing the existing moisture to redistribute and the cake's structure to soften. It's a less invasive method than soaking and can work wonders on cakes that are only slightly dry or just a day or two old. The steam helps to relax the tight crumb that often results from overbaking or incorrect mixing.
The principle is simple: expose the cake to steam for a short period. This can be done using various setups, from a dedicated steamer to a makeshift arrangement on your stovetop or even in your oven. The key is to create a steamy environment around the cake without letting direct water contact it. This gentle process helps to hydrate the cake from the inside out, restoring some of its original softness and moisture without making it overly wet or altering its flavor profile significantly, unlike a syrup soak.
How to Steam a Cake: A Step-by-Step Guide
To steam a cake, you'll need a pot or pan large enough to hold the cake or cake pieces, a lid, and a rack or steamer basket to keep the cake out of the water. Start by adding about an inch or two of water to the bottom of your pot or pan. Bring the water to a simmer over medium heat. While the water is heating, place your cake on the rack or in the steamer basket. Ensure the rack elevates the cake well above the water level.
Once the water is simmering and producing steam, carefully place the rack with the cake into the pot. Cover the pot tightly with a lid to trap the steam. Reduce the heat to low to maintain a gentle simmer. Steam the cake for 5 to 15 minutes, depending on the size and dryness of the cake. A small slice might only need 5 minutes, while a whole loaf cake could take 10-15 minutes. Check the cake – it should feel softer and slightly warm. Remove the cake from the steamer and let it cool slightly before handling or frosting.
Choosing the Right Steaming Method: Oven vs. Stovetop
You have a couple of options when it comes to steaming your cake for reviving dry cake recipes: using the stovetop or the oven. The stovetop method, as described above, is quick and direct, ideal for smaller cakes or slices. It allows for easy monitoring and adjustment of the steam level by controlling the heat under the pot. This method is energy-efficient for smaller quantities and doesn't require preheating a whole oven.
The oven steaming method is suitable for larger cakes or if you prefer a more hands-off approach. To do this, preheat your oven to a low temperature, perhaps 250-300°F (120-150°C). Place a pan of hot water (like a roasting pan filled halfway) on the bottom rack of the oven. Place the cake on a rack above the water pan.
The heat from the oven will cause the water to evaporate, creating a steamy environment. Bake/steam the cake for 15-30 minutes, again depending on size and dryness, until it feels rehydrated. Both methods are effective; choose the one that best suits the size of your cake and your available equipment.
Adding a Moist Glaze or Frosting: Masking Dryness
While not strictly reviving the internal crumb structure, adding a moist glaze or a generous layer of frosting can significantly improve the eating experience of a dry cake. The glaze or frosting provides external moisture and richness, counteracting the cake's dryness in each bite. It's a delicious way to make a less-than-perfect cake enjoyable and is often the easiest solution when you don't have time for soaking or steaming.
A thick, rich frosting like buttercream or cream cheese frosting can mask dryness effectively due to its high fat and sugar content, which contribute moisture. Glazes, especially those made with powdered sugar and liquid (milk, juice, or liqueur), can also add a layer of sweetness and moisture. The key is to apply a sufficient amount to ensure that every forkful includes some of the moist topping alongside the dry cake. This technique is particularly popular for reviving dry cake recipes that were intended to be frosted anyway, like layer cakes or cupcakes.
Choosing the Right Glaze: Matching Flavors and Textures
Selecting the appropriate glaze for a dry cake involves considering both flavor compatibility and texture. A simple powdered sugar glaze made with milk or lemon juice is quick and effective for adding a thin layer of sweetness and moisture. For a richer option, a ganache made from chocolate and cream provides deep flavor and a smooth, decadent texture that pairs well with chocolate or vanilla cakes. A cooked glaze, like a caramel or brown butter glaze, offers more complex flavors.
Consider the cake's original flavor profile. A lemon cake would be excellent with a lemon glaze or a citrus-flavored simple syrup under a vanilla frosting. A spice cake might pair well with a cream cheese frosting or a brown butter glaze. The texture of the glaze also matters; a thin glaze will add less moisture than a thick, pourable one or a full frosting. Don't be afraid to experiment with adding a touch of extract (like almond or maple) or a splash of liqueur to your glaze for an extra boost of flavor and moisture.
Homemade Frosting Recipes:
Cream Cheese Frosting
Cream cheese frosting is a classic choice known for its tangy flavor and rich, creamy texture, which makes it perfect for reviving dry cake recipes. It's particularly wonderful on red velvet, carrot, spice, or even vanilla cakes.
- Combine 8 ounces (approximately 226g) of softened cream cheese and 1/2 cup (approximately 113g) of softened unsalted butter in a large bowl.
- Beat with an electric mixer on medium speed until smooth and well combined, about 2-3 minutes. Ensure there are no lumps of cream cheese.
- Gradually add 4 cups (approximately 450g) of powdered sugar, one cup at a time, mixing on low speed until just combined. Scrape down the sides of the bowl as needed.
- Add 1 teaspoon of vanilla extract and 1-2 tablespoons of milk or cream (start with 1 tbsp and add more if needed for desired consistency).
- Beat on medium-high speed for 1-2 minutes until light and fluffy. Avoid overbeating once the liquid is added, as it can make the frosting too soft. This recipe yields enough frosting for a two-layer cake or about 24 cupcakes.
Chocolate Ganache
Chocolate ganache is a simple yet luxurious frosting or glaze that adds intense chocolate flavor and moisture, effectively combating cake dryness. It hardens slightly as it cools but remains soft enough to eat.
- Finely chop 8 ounces (approximately 226g) of good quality chocolate (semisweet or dark chocolate chips or bars work well). Place the chopped chocolate in a heatproof bowl.
- Heat 1 cup (approximately 240ml) of heavy cream in a small saucepan over medium heat until it just begins to simmer around the edges. Do not boil vigorously.
- Pour the hot cream directly over the chopped chocolate in the bowl. Let it sit undisturbed for 5 minutes to allow the heat from the cream to melt the chocolate.
- After 5 minutes, gently whisk the mixture starting from the center and working outwards until it is smooth, glossy, and completely emulsified. Avoid whisking too vigorously, which can incorporate air bubbles.
- For a pourable glaze, use the ganache while it is still warm. For a thicker frosting, let the ganache cool at room temperature, stirring occasionally, until it reaches a spreadable consistency (this can take 1-2 hours). Do not refrigerate unless you need to speed up thickening, but be careful it doesn't get too hard. This amount is typically sufficient for glazing a small cake or frosting a single layer.
Transforming Dry Cake into Cake Pops or Trifles: Creative Solutions
Sometimes, despite your best efforts, a cake might be too dry to salvage with simple soaking or steaming, or you might just want a creative way to repurpose it. Transforming a dry cake into something new is a fantastic way to ensure it doesn't go to waste. Cake pops and trifles are two popular and delicious options that inherently add moisture and new textures, effectively bypassing the original dryness issue. These methods are excellent for reviving dry cake recipes and giving them a completely new lease on life.
These transformations work because they involve breaking down the dry cake crumb and combining it with moist ingredients like frosting (for cake pops) or creams, fruits, and sauces (for trifles). The dryness of the original cake becomes irrelevant once it's mixed with these wet components. It's a practical and fun approach, especially if the cake's flavor is good but the texture is off. Plus, these repurposed desserts are often crowd-pleasers!
Cake Pops: A Fun and Delicious Transformation
Cake pops are a brilliant way to use dry cake because the process involves crumbling the cake and mixing it with frosting, instantly adding moisture and binding the crumbs together. The dry cake crumb is no longer noticeable once it's combined with a rich, creamy binder.
- Crumble the dry cake very finely into a large bowl. Ensure there are no large lumps remaining.
- Add frosting, starting with a few tablespoons, and mix it into the cake crumbs. Use just enough frosting to make the mixture moist enough to roll into balls that hold their shape, but not so wet that it's sticky. A good starting point is about 1/4 cup of frosting per 2 cups of cake crumbs, but this varies based on the cake's dryness and the frosting's consistency.
- Roll the mixture into uniform balls, typically 1 to 1.5 inches in diameter.
- Melt candy melts or chocolate according to package directions. Dip lollipop sticks into the melted coating, then insert about halfway into each cake ball. This helps secure the ball to the stick. Chill the cake balls in the refrigerator for at least 30 minutes until firm.
- Once chilled, dip each cake pop into the melted coating, allowing excess to drip off. Decorate with sprinkles or drizzles if desired. Place in a stand or on parchment paper to set completely. The coating seals in the added moisture from the frosting, resulting in a perfectly moist bite.
Cake Trifles: Layered Dessert Perfection
Trifles are elegant layered desserts that are perfect for repurposing dry cake. By layering the crumbled cake with moist components like pudding, whipped cream, fruit, or sauces, you create a dessert where the dryness of the cake is fully mitigated by the surrounding moisture and textures.
- Crumble the dry cake into bite-sized pieces.
- Prepare your accompanying layers. This could include homemade or store-bought pudding (vanilla, chocolate, or butterscotch), whipped cream (sweetened with sugar and vanilla), fresh or stewed fruit (berries, peaches, apples), or a fruit sauce or syrup.
- Assemble the trifle in a clear glass bowl or individual glasses. Start with a layer of crumbled cake at the bottom.
- Drizzle the cake layer with a bit of simple syrup, fruit juice, or liqueur if desired for extra moisture and flavor (optional, as the other layers provide moisture).
- Add a layer of pudding or cream, spreading it evenly over the cake.
- Add a layer of fruit or sauce.
- Repeat the layers until the bowl is full, ending with a layer of cream or whipped cream.
- Chill the trifle in the refrigerator for at least 4 hours, or preferably overnight. This chilling time allows the moisture from the pudding, cream, and fruit to soak into the cake layers, transforming their texture. Serve cold.
Preventing Dry Cake: Baking Tips & Tricks
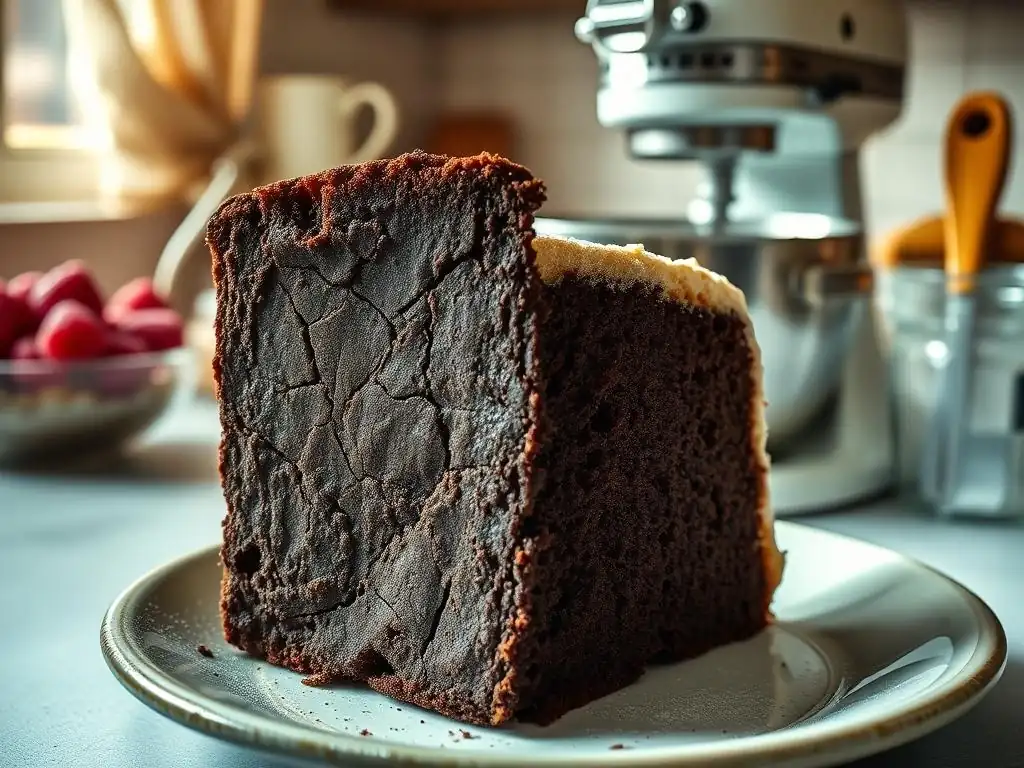
Accurate Measurements: The Foundation of a Moist Cake
Accurate measurements are the bedrock of successful baking, especially when aiming for a moist cake. Even small errors in measuring ingredients, particularly flour and leavening agents, can significantly impact the final texture. Using too much flour is a common mistake that leads to dryness because flour absorbs moisture. For example, scooping flour directly from the bag with a measuring cup can compact it, potentially adding 20% more flour than needed compared to the 'spoon and level' method or, ideally, weighing it.
For consistent results and moist cakes, using a kitchen scale to weigh ingredients, especially flour, sugar, and fats, is highly recommended. A cup of all-purpose flour is generally considered to weigh around 120-125 grams. Measuring by weight eliminates the variability caused by packing density. Liquids are less prone to measurement errors when using volume measures, but ensuring you're at eye level with the liquid in the cup is important. Precision in measuring ensures the wet-to-dry ratio is correct, which is fundamental to preventing a dry cake and avoiding the need for reviving dry cake recipes later.
Using Cake Flour: Achieving a Tender Crumb
The type of flour used can influence a cake's moisture and tenderness. Cake flour has a lower protein content (typically 8-10%) compared to all-purpose flour (10-12%). Lower protein means less potential for gluten development. Since excessive gluten development leads to a tough, dry cake, using cake flour can help achieve a softer, more tender crumb that feels moister. It creates a delicate structure that is less likely to dry out during baking.
While many recipes call for all-purpose flour, substituting a portion or all of it with cake flour (adjusting quantities slightly if necessary, as cake flour is lighter by volume) can significantly improve the texture of cakes prone to dryness. For instance, in a delicate sponge cake or a tender butter cake, cake flour contributes to that desirable fine, soft crumb. If you don't have cake flour, you can approximate it by removing two tablespoons of all-purpose flour from a cup and replacing them with two tablespoons of cornstarch, then sifting them together.
Adding Sour Cream or Yogurt: Extra Moisture and Flavor
Incorporating ingredients like sour cream, yogurt, buttermilk, or mayonnaise into your cake batter is an excellent strategy for boosting moisture and adding richness. These ingredients are acidic, which helps to tenderize the cake by breaking down proteins. Their high fat and liquid content also directly contribute to a moist crumb. Sour cream and full-fat yogurt, in particular, add a dense richness and a slight tang that enhances flavor without making the cake taste overtly like dairy.
For instance, replacing some of the milk or even some fat in a recipe with an equal amount of sour cream or full-fat yogurt can dramatically improve moisture retention. Adding 1/2 cup (approximately 120g) of sour cream to a standard loaf cake recipe can make a noticeable difference in how moist it remains days after baking. Buttermilk works similarly, reacting with baking soda to create a tender crumb. These additions are a simple tweak to traditional recipes that can make a significant difference in preventing dryness.
Don't Overmix: Gentle Handling for a Light Texture
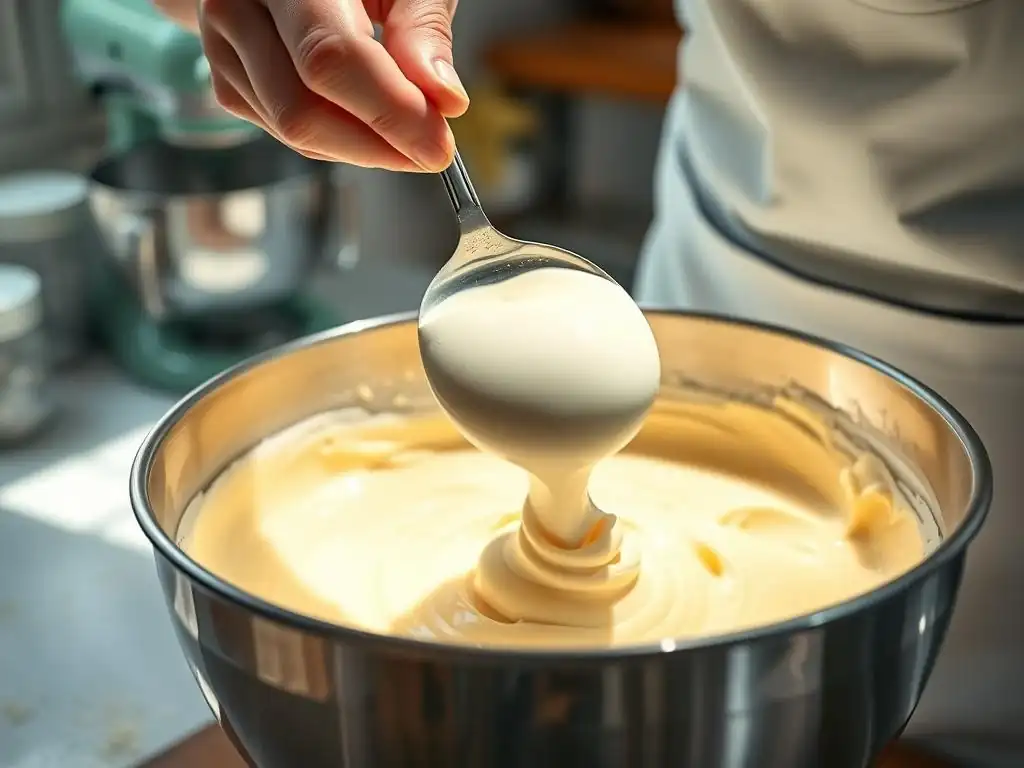
As mentioned earlier, overmixing is a prime cause of dry, tough cakes. Once the dry ingredients (flour, baking powder, baking soda, salt) are added to the wet ingredients, mix the batter only until the streaks of flour disappear. Continuing to mix beyond this point develops the gluten network in the flour. Excessive gluten creates a strong, elastic structure that is desirable in bread but results in a dense, chewy, and dry cake.
Use a gentle hand or a low speed on your mixer when incorporating the dry ingredients. Often, the final few stirs are best done manually with a spatula to ensure you don't accidentally overwork the batter. Some recipes even recommend folding in the dry ingredients in stages, alternating with liquids, to minimize mixing time. A slightly lumpy batter is far better than a smooth, overmixed one when it comes to cake tenderness and moisture. Remember, the goal is just combined, not smooth and elastic.
Monitoring Baking Time: Using a Cake Tester
Relying solely on the timer is a common pitfall that leads to overbaking and thus, dry cake. Oven temperatures vary, and the actual baking time can differ from the recipe's estimate. The most reliable way to determine if a cake is done is to use a cake tester, toothpick, or a thin skewer.
Insert the tester into the center of the cake. If it comes out clean or with just a few moist crumbs attached, the cake is ready. If it comes out with wet batter, it needs more time. Start checking the cake a few minutes before the recipe's minimum suggested baking time.
For example, if a recipe says bake for 30-35 minutes, start checking at 28 minutes. This allows you to catch the cake the moment it's perfectly baked, preserving its moisture and preventing the need for reviving dry cake recipes. Also, pay attention to visual cues like the cake pulling away from the edges of the pan or the top springing back when gently pressed.
Storing Cake Properly to Maintain Moisture
Cooling Completely Before Wrapping: Preventing Condensation
Proper storage is just as important as baking technique in keeping a cake moist. A critical first step is allowing the cake to cool completely before wrapping or storing it. If you wrap a warm or hot cake, the residual heat will create condensation inside the wrapping material or container. This moisture collects on the surface of the cake, making it sticky or soggy in spots, while paradoxically contributing to overall dryness elsewhere as the internal moisture is drawn out and trapped on the surface.
Allow the cake to cool on a wire rack. A wire rack allows air circulation around all sides of the cake, promoting even cooling and preventing the bottom from becoming soggy. For a standard cake, this cooling process can take anywhere from 1 to 3 hours, depending on its size and density. Patience here pays off by ensuring the cake's texture remains consistent and moist before you even think about storing it.
Wrapping Tightly: Creating a Barrier Against Air
Once the cake is completely cool, wrapping it tightly is essential to protect it from drying out. Exposure to air is a primary cause of staling and moisture loss in baked goods. Oxygen causes oxidation, which breaks down fats and flavors, while air circulation allows moisture to evaporate from the cake's surface.
Use plastic wrap or aluminum foil and wrap the cake snugly. For a whole cake, wrap the entire exterior multiple times to create a good barrier. For slices, wrap each individual slice tightly. The goal is to minimize contact between the cake and the air. This airtight seal helps to lock in the cake's internal moisture, keeping the crumb soft and preventing the outer layers from becoming hard and dry, thus extending the cake's freshness and delaying the potential need for reviving dry cake recipes.
Using Airtight Containers: Locking in Freshness
After wrapping, storing the cake in an airtight container provides an additional layer of protection against air exposure and physical damage. While wrapping alone helps, placing the wrapped cake inside a container creates a more robust barrier. This is particularly useful for preventing edges and corners from drying out.
Choose a container that is appropriately sized for the cake or slices to minimize the amount of air trapped inside. Snap-top plastic containers or tins with tight-fitting lids work well. This double layer of protection – wrapping plus an airtight container – is the best approach for storing cake at room temperature for a few days, ensuring it remains as moist as possible. Store the container at room temperature unless the cake contains perishable fillings or frostings that require refrigeration.
Freezing for Long-Term Storage: Preserving Cake Quality
If you need to store cake for more than a few days, freezing is the best method to preserve its moisture and texture. Freezing halts the staling process and prevents significant moisture loss over time. This is a great strategy if you've baked a large cake or want to save portions for later enjoyment without them drying out.
To freeze cake, ensure it is completely cooled. Wrap the cake or individual slices tightly first in plastic wrap, then in a layer of aluminum foil. This double wrapping protects against freezer burn, which is essentially dehydration caused by exposure to cold, dry air. Place the well-wrapped cake in a freezer-safe bag or container.
Label it with the date. Properly wrapped cake can be frozen for up to 2-3 months. To thaw, transfer the wrapped cake to the refrigerator overnight, then bring it to room temperature before unwrapping. This slow thawing process helps prevent condensation and maintains moisture, ensuring you won't need to resort to reviving dry cake recipes upon thawing.
Frequently Asked Questions
How can I tell if my cake is actually dry?
A dry cake will often feel crumbly and lack moisture to the touch. It might also have a hard or tough texture compared to a moist cake.
What's the most common reason cakes turn out dry?
Overbaking is a frequent culprit. Leaving the cake in the oven for too long causes excessive moisture evaporation, leading to a dry final product.
Can I prevent my cake from drying out while it's baking?
Yes! Try adding a pan of water to the oven to create steam, which helps retain moisture. Also, ensure accurate oven temperature and don't overmix the batter.
What are some liquid options for reviving a dry cake?
Simple syrup is a classic choice. You can also use fruit juice, liqueurs, or even coffee to brush onto the cake layers to rehydrate them.
Besides liquids, what else can I do to make a dry cake more palatable?
Frosting can help mask dryness, especially a moist buttercream or cream cheese frosting. Consider adding a filling like jam or curd for extra moisture and flavor.
Final Reflection: The Sweet Science of Cake Resurrection
The battle against dry cake is far from over, but armed with the right knowledge, we can win. This article has explored several techniques to rescue a seemingly ruined cake, from simple additions of liquid to more involved methods of re-moisturizing and re-baking. The fight against dryness isn't just about saving a single cake; it's about preventing future baking failures and embracing the possibilities of culinary redemption.
The impact of a perfectly moist cake extends far beyond the simple pleasure of taste. It's about the joy of creation, the satisfaction of overcoming a challenge, and the ability to transform a potential disappointment into a delicious success. This resonates deeply with me, as I've experienced the frustration of a dry cake firsthand, and the elation of successfully reviving one. The best things in life are worth fighting for,
and a perfectly moist cake, rescued from the brink of dryness, is certainly one of them.
Now, I challenge you, dear reader, to take what you've learned and apply it to your own baking journey. Don't let a dry cake defeat you; instead, see it as an opportunity to learn, adapt, and ultimately, triumph. Embrace the science of cake revival, experiment with the techniques discussed, and most importantly, enjoy the sweet reward of a perfectly moist and delicious cake, every single time.
Rediscover Your Baking Bliss!
Thanks for taking the time to learn how to rescue a dry cake! We hope you gained valuable tips and tricks to avoid this baking mishap in the future. Now it's time to put your newfound knowledge into practice.
- Try our easy cake hydration method: Follow the steps outlined in the article to revitalize your dry cake and impress your tastebuds! This is your chance to turn a baking blunder into a delicious success.
- Share your cake rescue story: Let us know how it went! We’d love to see pictures and hear about your experiences in the comments section below.
- Explore our other baking guides: Discover more helpful tips and tricks on our website to elevate your baking skills.
Ready to tackle that dry cake and share your baking triumph? What delicious recipe will you revive next?