
Liquid Ingredients 101: Using Measuring Jugs to Prevent Overpouring

Welcome to BakeWithEase.com, your haven for effortless baking! Ever wondered if that slightly-too-full measuring jug is the culprit behind your baking woes? This week, we're diving deep into measuring jugs baking tips to unlock the secrets of perfectly balanced liquid ingredients. Discover how mastering this simple tool can revolutionize your cakes, breads, and everything in between. Ready to ditch the guesswork and embrace precision? Let's get baking!
- Why Accurate Liquid Measurement Matters in Baking
- Understanding Your Measuring Jugs: A Baker's Guide
- Preventing Overpouring: Practical Baking Tips & Hacks with Measuring Jugs
- Measuring Specific Liquid Ingredients: Tips for Accuracy
- Troubleshooting Common Measuring Jug Problems
- Maintaining Your Measuring Jugs for Long-Term Accuracy
-
Frequently Asked Questions
- How do measuring jugs specifically help prevent overpouring when baking?
- What types of liquid ingredients are best measured using a measuring jug, according to BakeWithEase?
- What are some "baking tips" related to measuring jugs, mentioned on BakeWithEase.com?
- Why is accurate measurement of liquid ingredients so important in baking, according to BakeWithEase?
- Does BakeWithEase recommend specific features to look for when choosing a measuring jug for baking?
- Final Reflection: The Humble Jug's Unexpected Power
- Unlock Your Baking Precision: Master Measuring Jug Techniques!
Why Accurate Liquid Measurement Matters in Baking
Baking is often described as a science, and for good reason! Unlike cooking, where a pinch of this or a dash of that might work, baking relies on precise ratios of ingredients to achieve the desired chemical reactions and structural outcomes. Liquid ingredients, whether it's water, milk, oil, or eggs, play a fundamental role in almost every recipe, influencing everything from the dough's consistency to the final product's texture, rise, and moisture level. Getting the amount of liquid right is one of the most critical steps in ensuring baking success.
An incorrect measurement of liquid can throw off the entire balance of a recipe. Too little liquid can result in a dry, crumbly texture, insufficient gluten development in bread, or a dense, heavy cake that doesn't rise properly. For example, if a cookie recipe calls for 1/2 cup of milk and you only add 1/4 cup, the dough might be too stiff, leading to hard cookies that spread minimally.
Conversely, adding too much liquid can lead to a batter or dough that is too wet or sticky, resulting in a flat cake, a bread that doesn't hold its shape, or cookies that spread excessively and become thin and brittle. Mastering accurate measuring jugs baking tips is key to avoiding these pitfalls.
The Science Behind Liquid Ratios: Impact on Texture and Rise
Liquid ingredients are essential for activating leavening agents like yeast and baking soda, which produce the gases that make baked goods rise. Water or milk hydrates proteins in flour to form gluten, the network that gives structure to bread and chewier baked goods. They also dissolve sugar and salt, distributing flavor evenly throughout the mixture. The ratio of liquid to dry ingredients dictates the batter or dough's consistency, which directly impacts the final texture – think about the difference between a pourable cake batter and a kneadable bread dough.
For instance, in a standard loaf of white bread, the hydration level (water weight divided by flour weight) typically ranges from 60% to 70%. If you're using 500 grams of flour, you'd likely need 300-350 grams (or milliliters, as water is approximately 1g/mL) of water. Even a slight deviation, say adding an extra 50 ml, can make the dough excessively sticky and difficult to handle, potentially leading to a flatter loaf because the gluten structure is too weak to support the increased moisture and gas. Understanding these ratios and how to measure liquids accurately with measuring jugs is fundamental.
Common Baking Failures Due to Inaccurate Liquid Measurement
Many common baking frustrations can be traced back to mismeasuring liquid ingredients. A cake that sinks in the middle might be the result of a batter that is too wet, causing the structure to collapse before it sets. Muffins that are tough and dry could be due to not enough milk or oil, preventing proper hydration of the flour and resulting in overmixing to try and compensate. Runny cookie dough that spreads into a single blob on the baking sheet is often a symptom of too much liquid, making the dough too soft.
Consider a simple pancake recipe. If it calls for 1 cup of milk and you accidentally add 1.25 cups, your batter will be thinner than intended. This might lead to pancakes that are difficult to flip, cook unevenly, and have a less fluffy texture. Conversely, if you only add 0.75 cups, the batter will be too thick, yielding heavy, dense pancakes. These everyday examples highlight why precision using measuring jugs baking tips is not just for professional bakers but crucial for home bakers too.
Understanding Your Measuring Jugs: A Baker's Guide
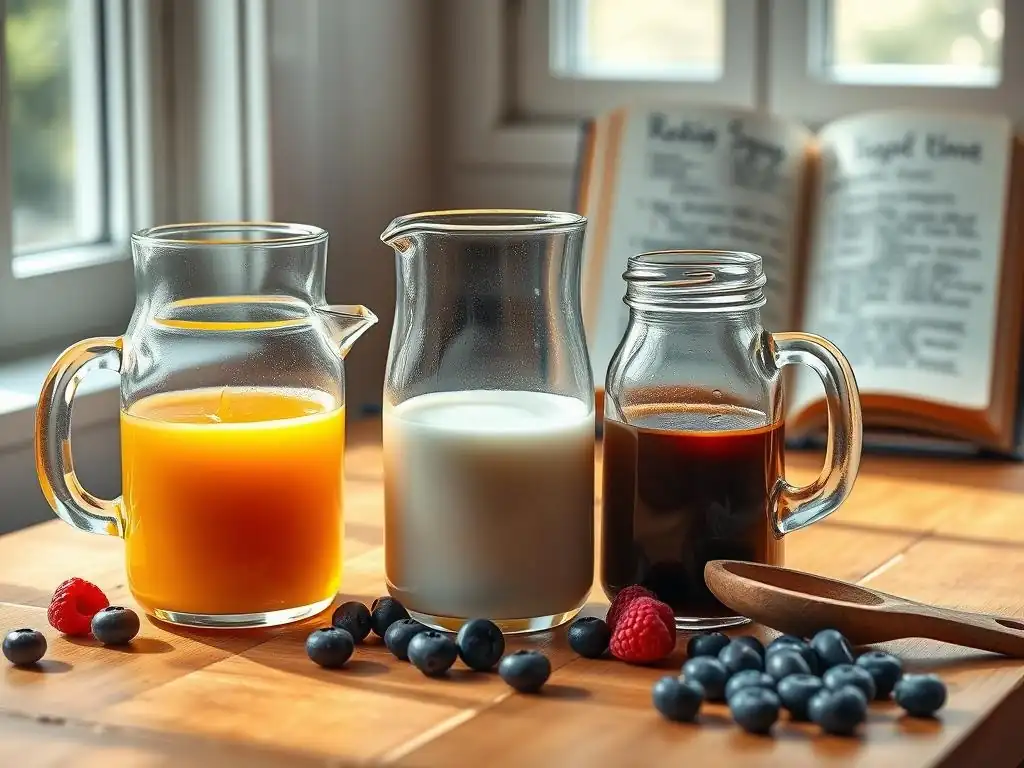
Measuring jugs, also known as liquid measuring cups, are specifically designed for accurately measuring fluids. They differ significantly from dry measuring cups, which are meant to be filled and leveled off. Liquid measuring jugs typically have a spout for easy pouring and markings along the side to indicate volume. They are usually made of transparent material like glass or plastic, allowing you to see the liquid level clearly.
The design of a measuring jug facilitates precise measurement by volume. The spout helps control the flow of liquid, reducing spills and allowing for more accurate pouring up to the desired mark. The handle provides stability, making it easier to hold the jug steady while checking the measurement. Understanding how to correctly use these features is a key part of effective measuring jugs baking tips.
Types of Measuring Jugs: Materials, Spouts, and Markings
Measuring jugs come in various materials, most commonly glass or plastic. Glass jugs, like the popular Pyrex or Anchor Hocking brands, are durable, resistant to odors and stains, and often microwave-safe, which can be handy for warming milk or melting butter directly in the jug. Plastic jugs are lighter and less prone to breaking but can sometimes retain odors or become scratched and cloudy over time. The best choice often comes down to personal preference and how you plan to use it.
Beyond material, consider the spout design and markings. Some jugs have a more defined or elongated spout (though not a gooseneck like coffee kettles! ), which offers better control over the pouring stream, essential for preventing overpouring. The markings can vary in clarity and units; look for jugs with clear, easy-to-read lines and numbers, ideally indicating both metric (milliliters) and imperial (cups, ounces) units, as recipes can use either system. Ensure the markings are printed or molded accurately – sometimes cheaper jugs can be slightly off.
Reading Measuring Jug Markings: Cups, Milliliters, and Ounces Explained
Measuring jugs are marked with volume increments. In countries using the imperial system, they are typically marked in cups and fluid ounces. In metric regions or for more precise measurements, they are marked in milliliters (ml). A standard US cup is equivalent to approximately 237 ml, though baking recipes often use a rounded 240 ml for simplicity. Fluid ounces are a measure of volume, distinct from weight ounces; 8 fluid ounces equal 1 cup, or about 237 ml.
When measuring liquids like water or milk, you'll notice the surface of the liquid forms a slight curve called a meniscus. For accurate measurement, you should always read the bottom of this curve at eye level against the desired marking on the jug. For example, to measure 1 cup of milk, fill the jug until the lowest point of the milk's surface aligns with the 1-cup line when you are looking at it from the side, with the jug on a flat surface.
Why Eye-Level Measurement is Crucial for Accuracy
Reading the liquid level at eye level is arguably the single most important technique for accurate liquid measurement using a jug and is a cornerstone of good measuring jugs baking tips. If you read the level from above or below, a phenomenon called parallax occurs, where the apparent position of the liquid line shifts depending on your viewing angle.
Looking down at the jug from above will make the liquid level appear higher than it actually is, leading you to add less liquid than the recipe requires. Conversely, looking up at the jug from below will make the liquid level appear lower, causing you to overfill the jug and add more liquid than needed. To perform this correctly, place the jug on a flat counter, bend down so your eyes are level with the desired measurement line, and fill the jug until the bottom of the meniscus touches that line.
Preventing Overpouring: Practical Baking Tips & Hacks with Measuring Jugs
Overpouring is a common mistake that can easily happen, especially when rushing or not paying close attention. Even a slight overpour can significantly alter the liquid ratio in a recipe, leading to undesirable results. Fortunately, there are simple techniques and habits you can adopt when using measuring jugs to minimize the risk of adding too much liquid. These practical measuring jugs baking tips are easy to implement and make a big difference.
One fundamental tip is to always place your measuring jug on a flat, stable surface before filling it. Holding the jug in your hand while filling it makes it difficult to keep it steady and level, increasing the chance of overshooting your target measurement. By placing it on the counter, you create a stable base that allows for precise filling and accurate reading at eye level.
The "Eye-Level" Technique Explained Step-by-Step
Mastering the eye-level technique is your best defense against overpouring. Here’s a step-by-step guide:
- Place the jug: Put your measuring jug on a flat, level surface, like your kitchen counter.
- Bend down: Position your body so your eyes are level with the desired measurement line on the side of the jug. Don't stand over it and look down.
- Pour slowly: Begin pouring the liquid into the jug. As you approach the target line, slow down your pouring speed significantly.
- Check the meniscus: Continue pouring until the bottom of the meniscus (the curve of the liquid's surface) is perfectly aligned with the measurement line you are looking at eye-level.
- Stop immediately: As soon as the meniscus hits the line, stop pouring.
This method ensures you are reading the volume accurately, preventing you from adding more liquid than intended. It might feel awkward at first, but with practice, it becomes second nature and greatly improves your baking accuracy.
Using the Spout Correctly for Controlled Pouring
The spout on a measuring jug isn't just for transferring liquid to your mixing bowl; it's also a tool for controlled filling. When pouring liquid into the jug from a bottle or carton, position the opening so the liquid flows down the side of the jug, rather than directly into the center. This helps to minimize splashing and the formation of bubbles, especially important for liquids like milk or oil where foam or air pockets can distort the true volume.
As you get close to your target measurement, use the spout of the source container (like a milk carton or oil bottle) to pour a slow, steady stream. The narrower the stream, the easier it is to stop exactly when the liquid reaches the desired line. For the final drops needed to hit the mark, you can even tilt the source container back slightly and let just a few drops trickle out of its spout, giving you ultimate control and preventing you from overshooting.
Choosing the Right Size Jug for Your Recipe
Using a measuring jug that is appropriately sized for the volume you need is another crucial tip for preventing overpouring. If you need to measure 1/4 cup of milk, trying to do so in a large 4-cup measuring jug with widely spaced markings can be difficult and prone to error. The lines for smaller volumes might be close together or less clearly defined near the bottom of a large jug.
Conversely, if you need to measure 3 cups of water, don't try to fill a 1-cup jug three times. Not only is this inefficient, but cumulative small errors in each measurement can add up to a significant overall inaccuracy. Always use a jug that comfortably holds the full amount required, ideally with the target measurement line in the upper half of the jug where the markings are often clearer and more spread out.
For example, for 1.5 cups (approx 350 ml), use a 2-cup (500 ml) jug. This allows you to see the line clearly and gives you space to pour without immediately splashing over. This simple step improves your measuring jugs baking tips effectiveness.
Measuring Specific Liquid Ingredients: Tips for Accuracy
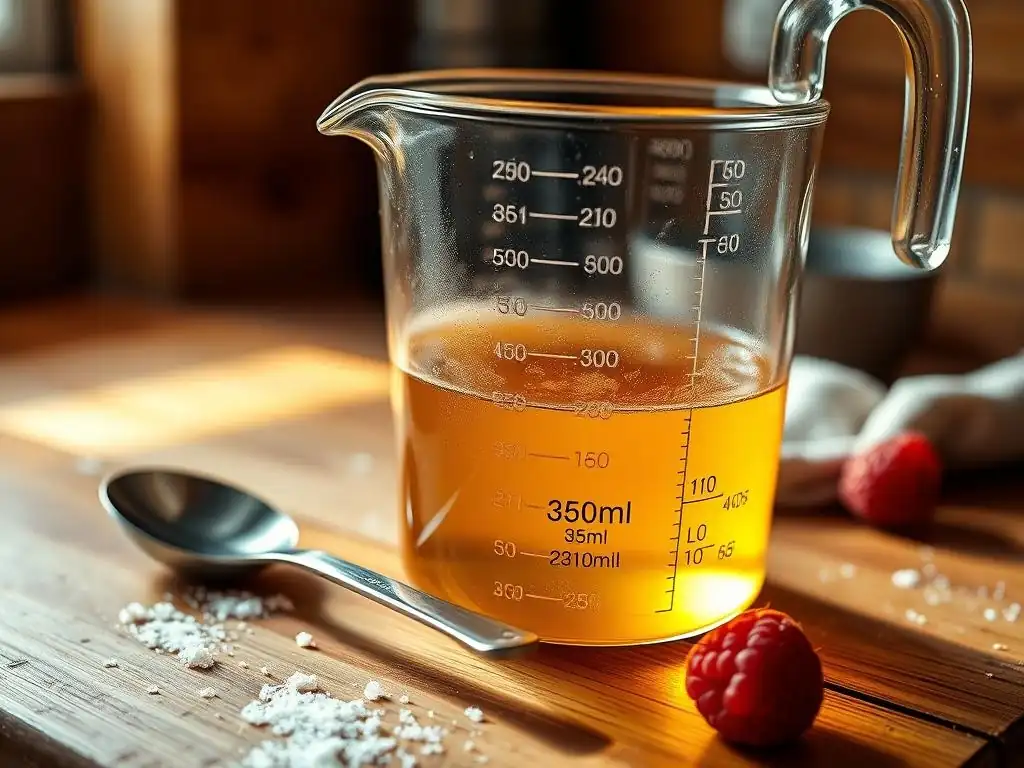
While the eye-level technique and using the spout apply to most liquids, some ingredients have unique properties that require specific handling to ensure accurate measurement. Understanding these nuances is part of becoming proficient with measuring jugs baking tips. Viscosity, surface tension, and the tendency to foam can all impact how accurately you measure a liquid.
For example, liquids like honey or syrup are much thicker (more viscous) than water or milk. They pour slowly and tend to cling to the sides of the measuring jug. Other liquids, like oil, can also stick to the plastic or glass. Extracts, while thin, are used in very small volumes, requiring jugs with precise markings for teaspoons or tablespoons, or even droppers for extreme accuracy.
Measuring Water and Milk: The Basics
Water and milk are among the easiest liquids to measure accurately using a standard measuring jug. They have relatively low viscosity and form a clear meniscus that is easy to read. The key here is consistently applying the eye-level technique as described earlier.
Pour the water or milk directly into the jug placed on a flat surface. As you approach the desired line, slow your pour. Bend down to ensure your eye is level with the marking, and stop pouring when the bottom of the meniscus aligns perfectly with the line. There's generally no need to account for sticking or excessive bubbles with these liquids, making them good practice for perfecting your basic measuring technique.
Measuring Oils and Syrups: Handling Viscosity
Measuring viscous liquids like vegetable oil, honey, maple syrup, or corn syrup presents a slightly different challenge. These liquids pour slowly and tend to leave a significant residue clinging to the sides of the jug after pouring, making cleanup stickier and potentially affecting accuracy if you're measuring multiple ingredients in the same jug without washing.
While you still use the eye-level technique, you might find it helpful to lightly grease the measuring jug with a tiny bit of the same oil or a neutral cooking spray before adding thick syrups like honey or molasses. This helps the syrup slide out more easily, ensuring you get the full amount into your mix and making cleanup easier.
For oils, the main challenge is reading the level accurately, as they don't always form as pronounced a meniscus as water. Stick strictly to the eye-level rule, aligning the flat surface of the oil (or the very subtle meniscus if visible) with the mark.
Measuring Extracts and Flavorings: Small Volumes, Big Impact
Vanilla extract, almond extract, lemon juice, and other flavorings are typically used in small quantities – teaspoons or tablespoons. Measuring these accurately is just as crucial as measuring larger liquid volumes, as too much extract can overpower a recipe, while too little might leave it bland. While some large measuring jugs have markings for teaspoons and tablespoons, these are often less precise than dedicated measuring spoons or smaller jugs designed for small volumes.
For volumes of 1/4 cup or less, especially tablespoons and teaspoons, it's often more accurate to use a set of liquid measuring spoons or a small measuring jug specifically designed for ounces and tablespoons, which allows you to apply the eye-level technique to smaller amounts. If using a larger jug with small volume markings, pour very slowly and precisely. For tiny amounts like 1/4 teaspoon, a dropper can offer the most accuracy, though this isn't a typical use case for standard measuring jugs baking tips.
Troubleshooting Common Measuring Jug Problems
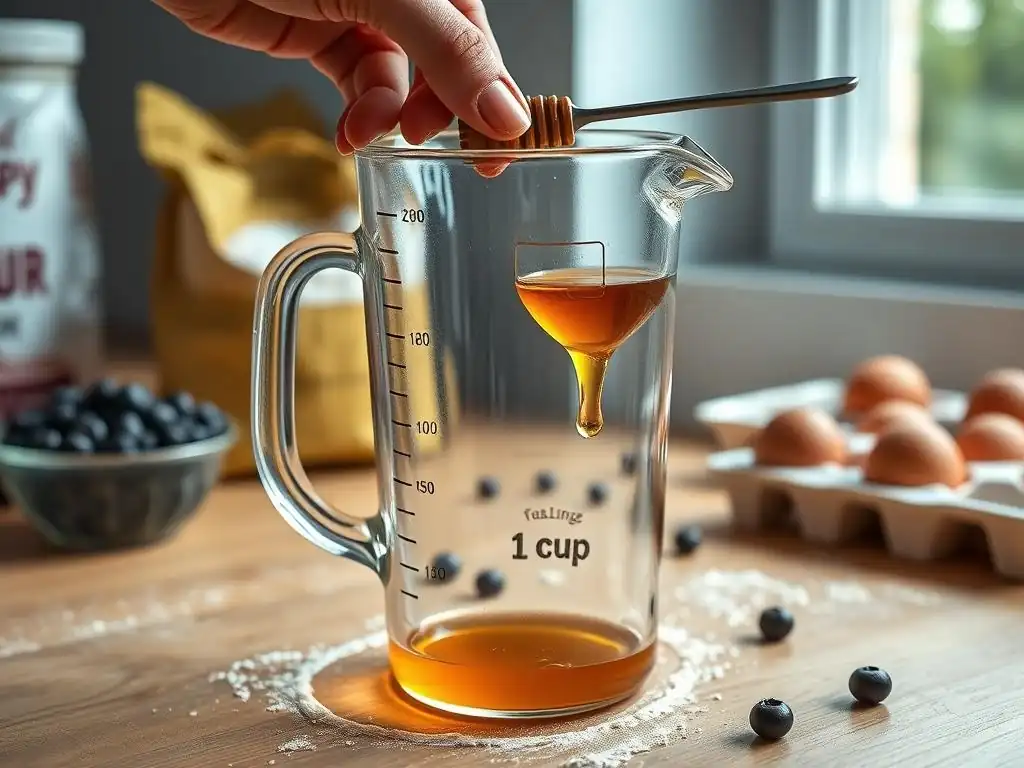
Even with the right techniques, you might encounter minor issues when measuring liquids that can affect accuracy. Being aware of these common problems and knowing how to address them is part of mastering your measuring jugs baking tips. These issues often relate to the nature of the liquid itself or the cleanliness of your equipment.
One frequent issue is dealing with bubbles or foam, particularly when measuring milk or liquids that have been shaken. Another relates to how certain liquids interact with the jug's surface, leaving residue or making the true level harder to read. Addressing these ensures that the volume you see on the jug is the actual volume of the liquid ingredient you're adding to your recipe.
Dealing with Bubbles or Foam in Liquids
Liquids like milk, especially if poured vigorously or taken straight from a carton that's been shaken, can develop a layer of foam or small bubbles on the surface. When reading the liquid level using the eye-level technique, you should always measure to the level of the liquid itself, not the top of the foam.
If there's a significant amount of foam, let the liquid sit for a moment to allow some of the bubbles to dissipate. For milk, you can gently tap the jug on the counter a few times to help the bubbles rise and pop. Skim off excessive foam if necessary, though usually, just waiting a few seconds is enough for the true liquid level to become clear beneath the foam layer, allowing you to read the meniscus accurately.
Ensuring Cleanliness for Accurate Measurements
A clean measuring jug is essential for accurate measurements, especially when switching between different types of liquid ingredients. Residue from a previous ingredient, such as oil or syrup, can affect the way the next liquid fills the jug, potentially causing it to cling to the sides differently or distort the meniscus.
Before measuring a new ingredient, quickly rinse and dry your measuring jug. This is particularly important when moving from an oily ingredient to a watery one, or vice versa. Ensuring the inside of the jug is clean and dry (unless measuring oil/syrup where a tiny bit of grease can help!) provides a consistent surface for the liquid, allowing for a more accurate reading against the markings. A clean jug is a reliable jug when it comes to applying measuring jugs baking tips.
Maintaining Your Measuring Jugs for Long-Term Accuracy
Taking good care of your measuring jugs ensures they remain accurate and easy to use for years to come. Proper cleaning and storage prevent damage, maintain the clarity of the material, and preserve the integrity of the measurement markings. While measuring jugs might seem simple, a little care goes a long way in keeping them reliable tools in your baking arsenal.
Avoid abrasive cleaners or scrubbers that can scratch plastic jugs, making them cloudy and harder to read, or potentially damaging the printed markings. For glass jugs, while more durable, extreme temperature changes can cause thermal shock and breakage, so avoid pouring very hot liquids into a cold jug or vice versa.
Best Practices for Cleaning Different Types of Kettles
Correction: This header should be about cleaning measuring jugs, not kettles.
Best Practices for Cleaning Different Types of Measuring Jugs
Cleaning measuring jugs is usually straightforward. For most liquids like water, milk, or juice, a simple rinse with warm, soapy water is sufficient. Use a soft sponge or cloth to clean the inside and outside, paying attention to the spout area where residue can accumulate. Rinse thoroughly and let it air dry or dry with a lint-free towel.
For oily or sticky residues from syrups or oils, you might need hotter water and a little more dish soap. For particularly stubborn, sticky residues like molasses or honey, letting the jug soak in hot soapy water for a few minutes can help loosen the goo before washing. Glass jugs are often dishwasher safe, which provides a thorough cleaning. Check the manufacturer's instructions for plastic jugs, as some may warp in the dishwasher, especially on hot cycles. Always ensure the markings remain clear and undamaged after washing.
Frequently Asked Questions
How do measuring jugs specifically help prevent overpouring when baking?
Measuring jugs are designed with clear markings and pouring spouts, allowing for precise measurement and controlled pouring of liquid ingredients. This helps prevent accidental overpouring, which can drastically impact the consistency of your bake.
What types of liquid ingredients are best measured using a measuring jug, according to BakeWithEase?
BakeWithEase recommends using measuring jugs for ingredients like milk, water, oil, and melted butter. Any liquid ingredient that needs precise measurement for consistent results is ideal for a jug.
One tip is to measure at eye level to ensure accuracy. Another is to use separate jugs for oily and non-oily ingredients to avoid contamination.
Why is accurate measurement of liquid ingredients so important in baking, according to BakeWithEase?
Accurate measurement is crucial because liquid ingredients directly affect the hydration and texture of your baked goods. Too much or too little liquid can ruin the recipe.
Does BakeWithEase recommend specific features to look for when choosing a measuring jug for baking?
BakeWithEase suggests looking for jugs with clear, easy-to-read markings, a comfortable handle for easy pouring, and a durable material that can withstand both hot and cold liquids.
Final Reflection: The Humble Jug's Unexpected Power
Mastering the art of baking isn't just about following recipes; it's about understanding the fundamental tools that bring those recipes to life. Precise measurement is paramount, and often overlooked, in achieving consistent, delicious results. This seemingly simple act of measuring liquid ingredients accurately can be the difference between a culinary triumph and a disappointing flop.
The impact of accurate measuring extends far beyond the individual kitchen. It's a cornerstone of culinary education, a skill passed down through generations, and a vital element in professional baking. Baking is a science, and like any science, precision is key.
This simple truth underscores the importance of understanding and utilizing tools like measuring jugs effectively. My own journey in baking has been significantly enhanced by paying close attention to this often-underestimated detail; the frustration of inconsistent results has been replaced by the satisfaction of predictable success.
Now, I invite you to consider your own baking practices. Do you take the time to accurately measure your liquids? Do you appreciate the humble measuring jug for its role in transforming ingredients into delightful creations? Take a moment to reflect on this often-overlooked aspect of baking. By embracing precise measurement, you'll not only improve your baking skills but also deepen your appreciation for the artistry and science behind this beloved craft. The next time you reach for a recipe, remember the power of the measuring jug – a small tool with a significant impact on your baking journey.
Unlock Your Baking Precision: Master Measuring Jug Techniques!
Thanks for taking the time to learn about the power of measuring jugs in baking! We hope you now feel more confident in achieving perfectly consistent results. Ready to put your new knowledge into practice?
- Master your measuring jug: Practice measuring various liquid ingredients using your preferred technique (e.g., tilting, pouring slowly, using a spoon to eliminate air bubbles). Aim for precision within 1/8 of a cup or less.
- Share your baking triumphs (or challenges!) with our community. Post a picture of your perfectly measured batter on social media and use #BakeWithEase!
- Explore our other helpful guides – we've got tips on everything from ingredient substitutions to oven temperature calibration.
What's your go-to technique for achieving perfect liquid measurements in baking? Let's discuss!