
Say Goodbye to Chocolate Bloom: Easy Tempering Techniques

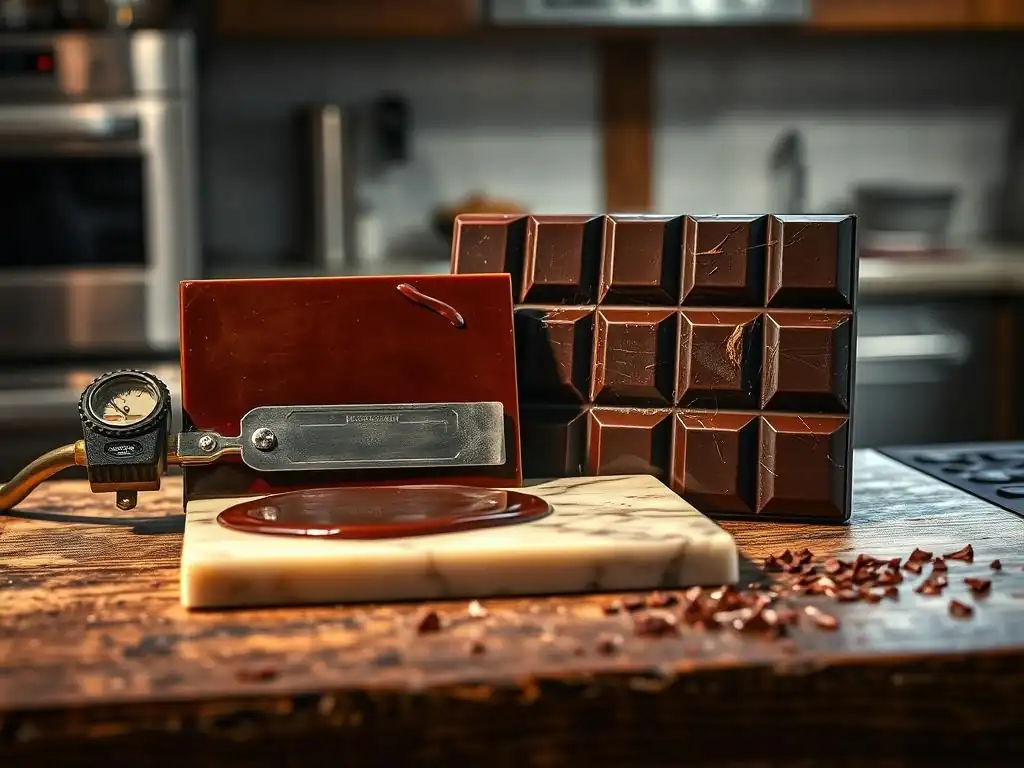
Welcome to BakeWithEase, your haven for effortless baking! Ever dreamed of creating desserts with that professional, glossy sheen? In this article, we're cracking the code to easy chocolate tempering techniques, demystifying the process and banishing that dreaded chocolate bloom. Prepare to unlock the secrets to smooth, stable chocolate, and get ready to elevate your baking game! Curious how? Let's dive in!
- Mastering Chocolate Tempering: Techniques for a Professional Finish
- Understanding Chocolate and Tempering
- Tempering Techniques for Home Bakers
- Tools and Equipment
- Troubleshooting Common Problems
- Using Tempered Chocolate
- Refining Your Tempering Skills
-
Frequently Asked Questions
- What is chocolate bloom, and why is tempering important to prevent it?
- What are some easy chocolate tempering techniques for beginners?
- Why is temperature control so vital when tempering chocolate?
- Can I temper chocolate without a thermometer?
- What types of chocolate are best suited for easy tempering?
- Final Reflection: The Enduring Allure of Perfectly Tempered Chocolate
- Unlock Perfectly Smooth Chocolate: Master Tempering Today!
Mastering Chocolate Tempering: Techniques for a Professional Finish
Welcome to BakeWithEase! Today, we're diving into the fascinating world of chocolate tempering. If you've ever wondered how professional chocolatiers get that beautiful shine and satisfying snap, the secret lies in tempering. Say goodbye to dull, streaky chocolate and hello to perfectly finished treats. Mastering easy chocolate tempering techniques is simpler than you might think, and it dramatically elevates your baking results.
Understanding Chocolate and Tempering
Before we get started with the how, let's understand the what and why behind chocolate tempering. It's a fundamental skill for anyone serious about working with chocolate, ensuring your creations look and taste their best.
What is Chocolate Tempering? Achieving Stable Cocoa Butter Crystals
Chocolate is primarily made of cocoa solids, sugar, and cocoa butter. Cocoa butter is the key player when it comes to tempering. It's a polymorphic fat, meaning it can solidify into different crystal structures, each with distinct properties. There are six known forms of cocoa butter crystals, but only one – the Beta (V) crystal – is stable and desirable for solid chocolate. This specific crystal structure melts at a relatively high temperature (around 32-34°C or 90-93°F), contracts slightly upon cooling, and results in chocolate that is firm, glossy, and snaps cleanly when broken.
Tempering is the process of carefully melting chocolate, cooling it down, and then slightly warming it back up to specific temperature ranges to encourage the formation of these stable Beta (V) crystals. By controlling the temperature, you eliminate the unstable crystal forms (like the form VI crystal, which melts at a higher temperature but can cause bloom) and promote the growth of the desired Beta (V) structure. Achieving stable cocoa butter crystals is the core goal of easy chocolate tempering techniques, ensuring your finished product has the desired characteristics.
Why Tempering is Essential: Appearance, Texture, and Shelf Life
Tempering offers several crucial benefits that distinguish professional-looking chocolate from amateur attempts. Firstly, appearance is significantly enhanced. Properly tempered chocolate sets with a beautiful, high-gloss shine and a uniform color, free from the gray, streaky appearance known as "bloom." This visual appeal is vital for confections like bonbons, chocolate bars, and decorative elements.
Secondly, texture is vastly improved. Untempered chocolate is often soft, crumbly, and melts too easily in your hands rather than in your mouth. Tempered chocolate, thanks to its stable crystal structure, is firm at room temperature and breaks with a satisfying snap. It also has a smoother mouthfeel. Finally, tempering increases the shelf life of chocolate. The stable crystal structure prevents fat bloom (the migration of fat to the surface) and sugar bloom (caused by moisture condensation), which can make chocolate unappetizing, even if still safe to eat. Employing easy chocolate tempering techniques ensures these desirable traits.
Types of Chocolate: Understanding the Differences for Tempering
Not all chocolate is created equal when it comes to tempering. The type of chocolate you use depends heavily on its composition, specifically the percentage of cocoa butter and the presence of other fats. Real chocolate, often called "couverture" chocolate, is ideal for tempering because it contains a high percentage of cocoa butter (typically 30-39% or higher) and no added vegetable fats. This high cocoa butter content makes it responsive to the tempering process. Dark chocolate generally has the highest cocoa butter content, followed by milk chocolate, and then white chocolate.
Compound chocolate, on the other hand, contains vegetable fats (like palm kernel oil or coconut oil) instead of or in addition to cocoa butter. While compound chocolate is easier to melt and doesn't require tempering to set firmly, it lacks the flavor complexity, snap, and smooth melt of tempered real chocolate. For achieving that professional finish, always opt for high-quality couverture chocolate when practicing easy chocolate tempering techniques. The tempering temperature ranges vary slightly depending on the cocoa butter content and sugar level of dark, milk, and white chocolate.
Tempering Techniques for Home Bakers
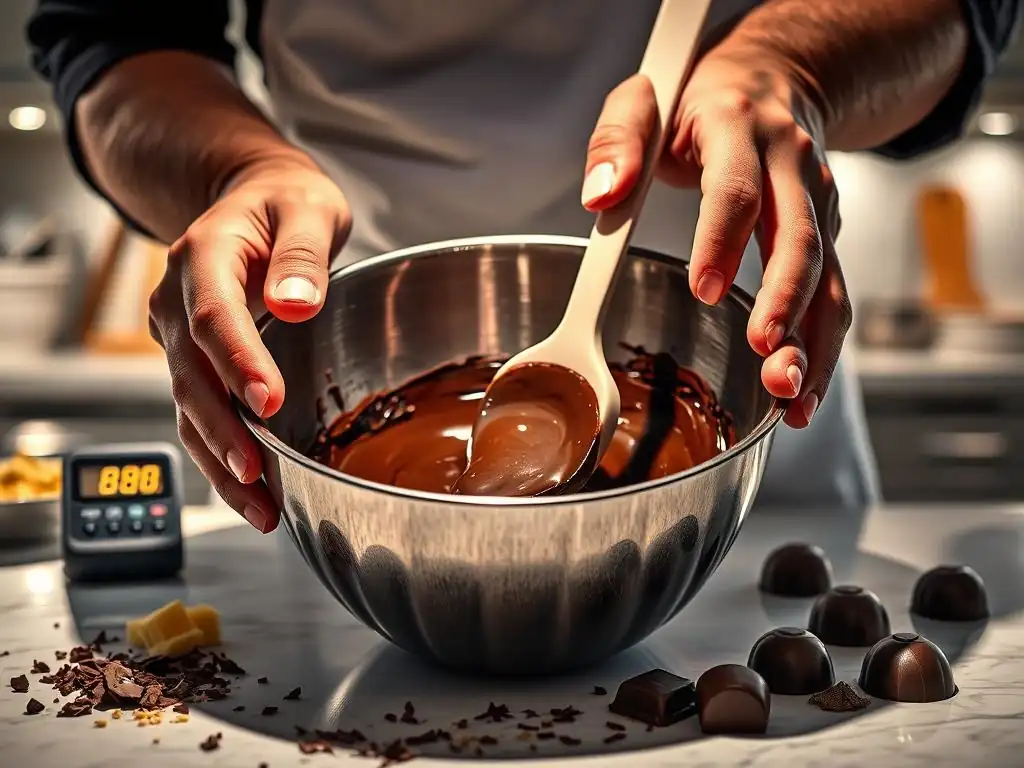
Now that we understand the why, let's explore some practical and easy chocolate tempering techniques you can use right in your home kitchen. These methods aim to guide the cocoa butter into its stable form without requiring specialized industrial equipment.
Technique 1: The Seeding Method
The seeding method is one of the most reliable and widely used techniques for easy chocolate tempering, especially for home bakers. It involves melting the majority of your chocolate and then introducing finely chopped, already tempered chocolate (the "seed") to cool it down and initiate the formation of stable crystals. The Beta (V) crystals in the seed chocolate act as templates, encouraging the melted chocolate's cocoa butter to crystallize into the desired form as it cools.
This technique requires careful temperature monitoring and consistent stirring. You typically melt about 70-75% of your chocolate, bring it to the correct melting temperature, and then stir in the remaining 25-30% of finely chopped chocolate. The stirring helps distribute the heat and encourages crystal formation. This method is particularly effective because it directly introduces the stable crystal structure needed for successful tempering, making it one of the most accessible easy chocolate tempering techniques.
Step-by-Step Guide to Seeding: A Detailed Approach
Here is a detailed breakdown of the seeding method:
- Preparation: Finely chop all the chocolate you plan to temper. Divide it into two portions: about 75% for melting and 25% for seeding. Ensure your workspace, bowls, and utensils are completely dry, as even a drop of water can seize chocolate.
- Melting: Gently melt the larger portion of chocolate. The safest way is using a double boiler or a heatproof bowl set over a pan of barely simmering water (ensure the bottom of the bowl doesn't touch the water). Alternatively, you can melt it in the microwave on low power, stirring frequently. Melt dark chocolate to about
45-50°C (115-122°F), milk chocolate to40-45°C (105-113°F), and white chocolate to38-40°C (100-105°F). - Adding the Seed: Remove the melted chocolate from the heat. Immediately add the reserved, finely chopped chocolate ("seed") to the melted chocolate. Stir continuously with a rubber spatula.
- Cooling and Crystallization: As you stir, the seed chocolate will melt, and the overall temperature of the mixture will drop. The Beta (V) crystals in the seed will encourage the formation of new stable crystals. Continue stirring until all the seed chocolate is melted and the mixture reaches the target working temperature:
31-32°C (88-90°F)for dark chocolate,29-30°C (84-86°F)for milk chocolate, and28-29°C (82-84°F)for white chocolate. This vigorous stirring and cooling phase is critical for successful easy chocolate tempering techniques using seeding. - Testing: Once the chocolate is at the target temperature, test its temper. Dip a spoon or the tip of a knife into the chocolate. If it's tempered correctly, it should set within 3-5 minutes at room temperature (around 20-22°C or 68-72°F) with a glossy finish and no streaks.
- Maintaining Temperature: Keep the chocolate at its working temperature while you use it. If it starts to cool and thicken too much, you can gently rewarm it slightly (a few seconds in the microwave or over the warm water bath, away from the heat) but do not exceed the working temperature range.
Temperature Control and Mixing: Key Considerations for Seeding
Precision in temperature control is paramount for the seeding method to work effectively. Overheating the initial melt will destroy all crystal forms, requiring a complete restart. Cooling too slowly or not stirring enough during the seeding phase can result in unstable crystals or a mixture that doesn't fully temper. The target working temperatures are specific because they are just below the melting point of the stable Beta (V) crystals, allowing them to form and grow without melting away.
Constant and thorough stirring is equally important. Stirring distributes the seed crystals evenly throughout the melted chocolate, ensures consistent cooling, and helps the new stable crystals propagate. Think of it like mixing concrete – you need to keep it moving to get a uniform structure. If the chocolate cools too much before all the seed is melted, you can gently warm it very slightly while stirring, but avoid adding too much heat. Mastering these temperature points and the mixing technique is central to successful easy chocolate tempering techniques like seeding.
Technique 2: Microwave Tempering
For smaller quantities of chocolate, microwave tempering is arguably one of the quickest and easiest chocolate tempering techniques available to the home baker. It relies on carefully controlling the heat applied to the chocolate to ensure that not all the cocoa butter crystals are melted, leaving some stable Beta (V) crystals intact to act as seeds. This method is often referred to as "selective melting."
While simple, microwave tempering requires attention to detail to avoid overheating. It's particularly useful for tasks like dipping small items or making simple chocolate decorations when you don't need large batches of tempered chocolate. The key is using low power settings and frequent stirring to achieve a smoothly melted texture while keeping the temperature below the point where all stable crystals are destroyed.
Mastering Microwave Tempering: A Quick Guide
Follow these steps for successful microwave tempering:
- Preparation: Chop the chocolate into small, uniform pieces. Place the chopped chocolate in a microwave-safe bowl.
- Heating in Short Bursts: Microwave the chocolate on a low power setting (e.g., 30% or 50% power). Heat for very short intervals, starting with 30-60 seconds, then reducing to 15-20 seconds, and finally 10-second bursts as the chocolate begins to melt.
- Stirring is Key: After each heating interval, remove the bowl from the microwave and stir the chocolate thoroughly with a rubber spatula. Even if the chocolate doesn't look melted on the surface, the heat is transferring internally. Stirring helps distribute the heat and melt the solid pieces.
- Selective Melting: Continue heating and stirring until most of the chocolate is melted and smooth, but a few small lumps of solid chocolate remain. Remove the bowl from the microwave and stir vigorously. The residual heat in the melted chocolate, combined with the stirring, should melt the remaining lumps. The goal is to reach the correct working temperature without exceeding it. The final temperature should be in the working range:
31-32°C (88-90°F)for dark,29-30°C (84-86°F)for milk, and28-29°C (82-84°F)for white. - Testing: Test the temper as described in the seeding method. If it sets with a good shine and snap, it's tempered.
The crucial part of this easy chocolate tempering technique is to stop heating before the chocolate is completely melted and rely on stirring to finish the job. This ensures that some stable crystal structure from the original chocolate is preserved, effectively seeding the rest of the melt.
Suitable Chocolate Types for Microwave Tempering
Microwave tempering works best with good quality couverture chocolate, just like other tempering methods. Dark chocolate is often the easiest to temper using this method due to its higher cocoa butter content and slightly higher working temperature range. Milk and white chocolate can be more challenging because their working temperatures are lower, making them more susceptible to overheating.
When using milk or white chocolate with the microwave method, be extra cautious with heating times and power levels. Use even shorter bursts and stir even more frequently. Ensure you start with very finely chopped chocolate to help it melt quickly and evenly. While this is one of the most convenient easy chocolate tempering techniques, it requires careful observation and practice to get it right, especially with milk and white chocolate.
Technique 3: Water Bath Tempering
Water bath tempering, also known as the classic double boiler method, is another traditional and effective technique for easy chocolate tempering. It involves melting chocolate over a warm water bath, cooling it down, and then gently rewarming it to the working temperature. This method offers precise temperature control, as water baths provide gentle, indirect heat.
This technique requires two bowls (one fitting snugly over the other) and a pot for water. The key is to manage the water temperature carefully and prevent any water or steam from coming into contact with the chocolate, which can cause it to seize.
Step-by-Step Guide to Water Bath Tempering
Here's how to temper chocolate using a water bath:
- Set up the Water Bath: Fill a saucepan with a few inches of water. Bring the water to a gentle simmer, then reduce the heat to very low or remove it from the heat source entirely. Place a heatproof bowl containing your chopped chocolate over the saucepan, ensuring the bottom of the bowl does not touch the water.
- Melting: Let the chocolate melt slowly, stirring occasionally with a dry rubber spatula. Melt dark chocolate to
45-50°C (115-122°F), milk chocolate to40-45°C (105-113°F), and white chocolate to38-40°C (100-105°F). Remove the bowl from the hot water bath once melted. - Cooling: Now, the crucial cooling phase. You need to cool the chocolate down to its crystallization temperature range. One common way is to transfer the melted chocolate to a clean, dry bowl and place that bowl over an ice bath (a bowl of ice water). Stir continuously until the chocolate cools to the crystallization temperature:
27-28°C (80-82°F)for dark,26-27°C (79-80°F)for milk, and25-26°C (77-79°F)for white. Stirring vigorously helps promote crystal formation. - Rewarming to Working Temperature: Remove the bowl from the ice bath and wipe the bottom dry to prevent water drips. Return the bowl to the empty saucepan (or a fresh one) with just warm, not simmering, water (around
32-35°Cor90-95°F). Gently warm the chocolate back up to its working temperature:31-32°C (88-90°F)for dark,29-30°C (84-86°F)for milk, and28-29°C (82-84°F)for white. Stir constantly and remove from the heat source as soon as the temperature is reached. - Testing: Perform the temper test. The chocolate should set quickly with a shine.
This method involves a distinct melting, cooling, and rewarming curve, guiding the cocoa butter through the temperature ranges necessary to form stable crystals. It's a bit more involved than seeding or microwave methods but offers excellent control, making it a classic choice among easy chocolate tempering techniques.
Maintaining Consistent Temperature with a Water Bath
Maintaining the correct temperatures at each stage is critical for water bath tempering. During the initial melting phase, ensure the water is simmering gently, not boiling vigorously, to prevent overheating and steam. Crucially, the bottom of the chocolate bowl must not touch the water. Steam is just as detrimental as liquid water.
During the cooling phase over an ice bath, stir constantly to ensure the chocolate cools evenly and doesn't solidify around the edges while the center remains warm. When rewarming, use only warm water, not hot, and heat very gently. Remove the bowl from the heat source immediately once the target working temperature is reached. Keeping the water bath at a stable, warm temperature during the final rewarming step allows for precise adjustment to hit the narrow working temperature window for successful easy chocolate tempering techniques using this method.
Tools and Equipment
Having the right tools makes a significant difference when attempting easy chocolate tempering techniques. Precision and cleanliness are key, and certain pieces of equipment are indispensable for monitoring temperatures and handling the chocolate properly.
Essential Tools: Thermometers, Bowls, and Spatulas
A reliable thermometer is arguably the single most important tool for chocolate tempering. You need to accurately measure the temperature of the chocolate at various stages. Digital instant-read thermometers are excellent, as are dedicated candy or chocolate thermometers. Accuracy within 1 degree Celsius or Fahrenheit is helpful for hitting those narrow temperature windows. Without accurate temperature readings, successful easy chocolate tempering techniques are much harder to achieve.
You'll also need clean, dry bowls – preferably glass or stainless steel, as plastic can retain moisture and odors. You'll need at least one for melting and potentially another for cooling (if using the water bath method with an ice bath). Rubber spatulas are essential for stirring the chocolate smoothly and scraping down the sides of the bowl, ensuring even heating and cooling. Avoid wooden spoons, which can retain moisture.
Choosing the Right Chocolate: Quality and Cocoa Content
As mentioned earlier, using high-quality couverture chocolate is paramount for successful tempering. Look for chocolate specifically labeled as "couverture," which guarantees a higher cocoa butter content. The percentage of cocoa solids indicated on the packaging ( % cacao) gives you an idea of the chocolate's bitterness and flavor profile, but the tempering behavior is most influenced by the cocoa butter content.
For easy chocolate tempering techniques, starting with a good quality dark couverture (around 55-70% cacao) is often recommended, as it is generally more forgiving than milk or white chocolate due to its higher working temperature range. Reputable chocolate manufacturers often provide technical data sheets for their couverture products, which can sometimes include specific melting and tempering temperatures.
Temperature Charts: Dark, Milk, and White Chocolate
Understanding the specific temperature ranges for different types of chocolate is fundamental to all easy chocolate tempering techniques. These temperatures are approximate and can vary slightly based on the specific chocolate's composition, but they provide essential targets.
Here's a general guide:
| Chocolate Type | Initial Melting Temp | Cooling/Crystallization Temp | Working Temp |
|---|---|---|---|
| Dark Chocolate | 45-50°C (115-122°F) |
27-28°C (80-82°F) |
31-32°C (88-90°F) |
| Milk Chocolate | 40-45°C (105-113°F) |
26-27°C (79-80°F) |
29-30°C (84-86°F) |
| White Chocolate | 38-40°C (100-105°F) |
25-26°C (77-79°F) |
28-29°C (82-84°F) |
Note: These are target temperatures. Slight variations might occur.
These charts are invaluable when practicing easy chocolate tempering techniques. Keep them handy!
Troubleshooting Common Problems
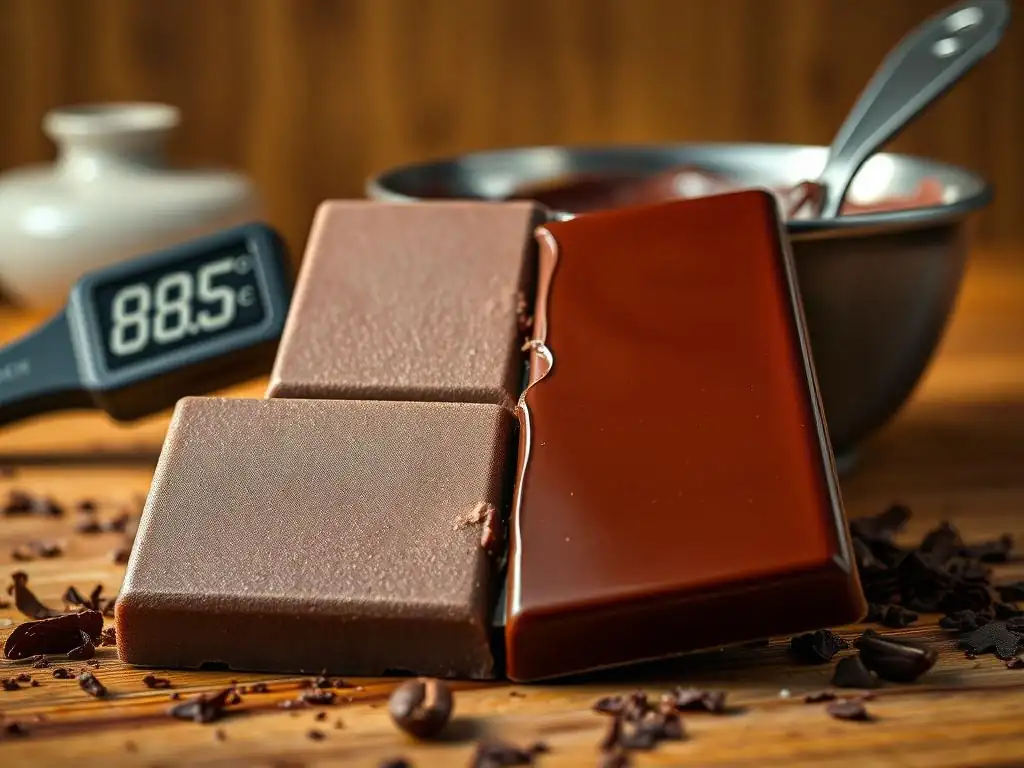
Even with the best intentions and tools, things can sometimes go wrong during the tempering process. Don't despair! Many common issues have straightforward solutions. Recognizing the problem is the first step to fixing it and getting back to mastering easy chocolate tempering techniques.
Dealing with Seizing Chocolate: Causes and Solutions
Seized chocolate is thick, lumpy, and unusable for tempering. This happens when chocolate comes into contact with even a tiny amount of water or steam. The sugar crystals in the chocolate attract the water, forming a syrup that causes the chocolate solids to clump together. This is why keeping all equipment and your workspace completely dry is critical.
Causes of Seizing:
*   Water drops falling into melting chocolate (from condensation, wet spatulas, etc.)
*   Steam from a water bath making contact with the chocolate.
*   Adding water-based liquids (like milk or coffee) *before* incorporating them properly with fat.
If your chocolate seizes:
- Identify the cause: Was it water? Or did it overheat drastically?
- Attempt to rescue (if water-seized): You might be able to rescue water-seized chocolate by stirring in a tablespoon or two of a neutral oil (like vegetable or canola oil) or melted cocoa butter per cup of seized chocolate. Stir vigorously until it becomes a smooth, albeit thinner, consistency. This chocolate can often be used for ganaches, sauces, or baking into things, but it will not temper properly and will not have the desired snap or shine.
- If due to overheating/burning: Unfortunately, burnt chocolate is usually irrecoverable. The flavor is ruined, and the texture is permanently damaged.
Preventing seizing is far easier than fixing it. Always use dry equipment and be meticulous when working over a water bath.
Fixing Over-Tempered Chocolate: Salvaging Techniques
Over-tempered chocolate occurs when the chocolate cools too much during the process, becoming too thick to work with, or when too many stable crystals form, making it grainy or solidifying prematurely. If your chocolate becomes too thick while you're working with it, or if your temper test solidifies too quickly and is brittle, you might have over-tempered it.
[ ] Check the temperature: Is it below the working range?
[ ] Observe consistency: Is it too thick or grainy?
To fix over-tempered chocolate:
- Gently Reheat: Return the chocolate to a very gentle heat source (like a warm, not hot, water bath or a few seconds in the microwave on low power). Stir constantly. The goal is to warm it just enough to melt some of the excess stable crystals and bring it back into the correct working temperature range (
31-32°Cfor dark,29-30°Cfor milk,28-29°Cfor white). - Add Untempered Chocolate: Sometimes, stirring in a few small pieces of finely chopped untempered chocolate can help. This cools the overall mixture slightly while providing more cocoa butter that isn't locked into excess stable crystals.
- Re-temper: If the chocolate has become solid or grainy, the most reliable solution is often to re-melt it completely (back to the initial melting temperature) and go through the tempering process again from scratch using one of the easy chocolate tempering techniques you practiced.
Patience and gentle heat are key to salvaging over-tempered chocolate.
Preventing Bloom After Tempering: Storage and Handling
Even perfectly tempered chocolate can develop bloom if not stored correctly. Bloom is the appearance of gray streaks or a powdery film on the surface of chocolate, caused by unstable crystal formation occurring after the chocolate has set. Fat bloom happens when the stable Beta (V) crystals melt (e.g., from warm temperatures) and recrystallize into unstable forms on the surface. Sugar bloom occurs when moisture condenses on the surface (e.g., from moving cold chocolate to a warm, humid environment), dissolving sugar crystals which then recrystallize as fuzzy white spots.
To prevent bloom on your beautifully tempered chocolate:
- Allow Proper Setting: Ensure your tempered chocolate sets fully at room temperature (around
20-22°Cor68-72°F). Avoid refrigerating or freezing unless absolutely necessary, as rapid temperature changes and condensation can cause bloom. - Store Correctly: Store finished chocolate confections in a cool, dry place, ideally between
15-18°C (59-64°F), away from direct sunlight and strong odors. - Avoid Temperature Fluctuations: Significant swings in temperature are a major cause of fat bloom. Try to keep the storage environment stable.
- Handle with Care: Avoid touching chocolate surfaces excessively, as the heat from your hands can melt the surface layer, leading to fat bloom.
Proper storage is the final, crucial step in ensuring your efforts with easy chocolate tempering techniques result in long-lasting, beautiful confections.
Using Tempered Chocolate
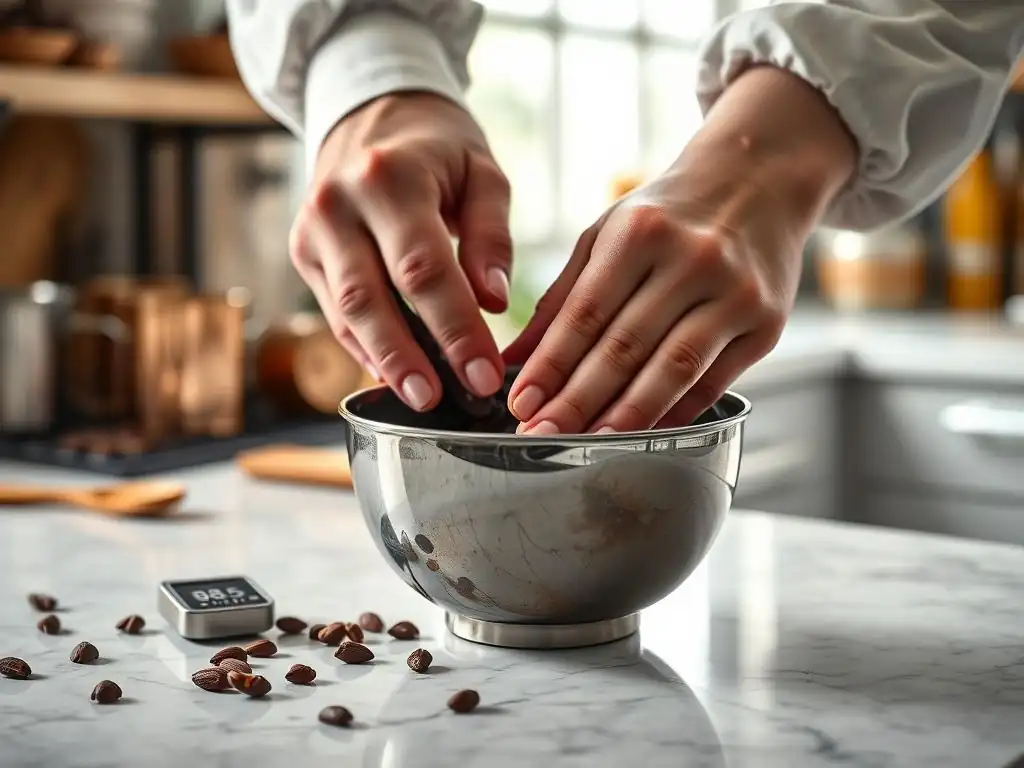
Once you've successfully tempered your chocolate, a world of possibilities opens up! Tempered chocolate is essential for achieving that professional finish in many classic chocolate applications.
Creating Chocolate Decorations: Molds and Techniques
Tempered chocolate is perfect for creating stunning chocolate decorations. Its ability to set firmly and contract slightly makes it release cleanly from molds, resulting in sharp details and a smooth, glossy surface. You can use polycarbonate molds, silicone molds, or even simple acetate sheets.
Pour the tempered chocolate into clean, dry molds, tap gently to remove air bubbles, and scrape off the excess. Allow them to set fully at room temperature. For intricate details, you can use a piping bag filled with tempered chocolate. You can also spread tempered chocolate thinly onto acetate sheets and cut shapes or create curls and shards before it fully sets. Mastering easy chocolate tempering techniques allows you to create everything from simple chocolate buttons to complex 3D figures.
Making Chocolate Covered Treats: Fruits, Nuts, and More
Dipping items in tempered chocolate gives them that appealing, snappy coating. Fruits like strawberries, dried apricots, or orange peel segments, nuts, pretzels, cookies, and caramels are all excellent candidates. The key is to ensure the items you are dipping are completely dry and at room temperature. Cold or wet items can cause the chocolate to seize or set unevenly.
Maintain the tempered chocolate at its working temperature while you dip. Dip items using forks or tongs, allowing excess chocolate to drip back into the bowl before placing them on parchment paper to set. The tempered chocolate will set relatively quickly at room temperature, forming a firm, glossy shell that prevents stickiness and gives a satisfying bite. This is a prime application for easy chocolate tempering techniques, transforming simple ingredients into elegant confections.
Incorporating Tempered Chocolate into Recipes: Mousses and Ganaches
While tempering is primarily for solid chocolate applications, understanding the properties of tempered chocolate is also beneficial when incorporating it into other recipes. For example, adding properly melted (not necessarily tempered) chocolate to a mousse base provides structure and flavor. However, if you were making a chocolate coating for a mousse cake, using tempered chocolate would give you a superior finish.
Ganaches, a mixture of chocolate and cream, benefit from using good quality chocolate. While ganache itself doesn't require tempering after it's made (it's a softer texture), understanding the melting properties of the chocolate used is helpful. For certain applications, like firm ganache centers for bonbons that need to be enrobed in tempered chocolate, starting with high-quality chocolate processed with easy chocolate tempering techniques for the coating ensures the best overall texture and appearance of the final product.
Refining Your Tempering Skills
Tempering is a skill that improves with practice. Don't be discouraged if your first attempt isn't perfect. Each time you try, you'll gain a better feel for the temperatures and consistency of the chocolate.
Practice and Patience: Achieving Consistent Results
Consistency is key to mastering easy chocolate tempering techniques. Pay close attention to the temperature ranges, the feel of the chocolate as it cools and thickens, and the results of your temper tests. Keep notes if helpful – what temperature did you reach? How did you stir? What was the room temperature?
Starting with small batches (e.g., 200-300 grams) can be less intimidating and wasteful as you practice. Focus on one technique at a time until you feel comfortable with it. The seeding method and microwave method are excellent starting points for easy chocolate tempering techniques for beginners. Patience is your friend; don't rush the cooling or rewarming phases.
Advanced Techniques: Tempering with a Chocolate Melter
Once you're comfortable with manual tempering methods, you might consider investing in a dedicated chocolate melter or tempering machine. These devices automate the process by precisely controlling temperature throughout the melting, cooling, and holding phases. They often use induction heating or a similar method to maintain chocolate at its ideal working temperature for extended periods.
While more of an investment, a chocolate melter takes much of the guesswork out of easy chocolate tempering techniques, allowing you to temper larger quantities more consistently and keep the chocolate in temper for hours. This is particularly useful for professional settings or if you plan to do a lot of chocolate work.
Enjoying Your Perfectly Tempered Chocolate
The most rewarding part of mastering easy chocolate tempering techniques is getting to enjoy your creations! Bask in the glory of that beautiful shine and satisfying snap. Share your perfectly tempered bonbons, dipped fruits, or chocolate decorations with friends and family.
- Admire the gloss and even color.
- Listen for the clean snap when you break it.
- Notice how it melts smoothly in your mouth, not sticky in your hands.
Celebrate your success and keep practicing! The journey to perfect chocolate tempering is a delicious one.
Frequently Asked Questions
What is chocolate bloom, and why is tempering important to prevent it?
Chocolate bloom is the white or grayish coating that can appear on chocolate. Tempering is crucial because it stabilizes the cocoa butter crystals, preventing bloom and ensuring a smooth, glossy finish.
What are some easy chocolate tempering techniques for beginners?
Beginners can try the microwave method or the seeding method. These techniques involve carefully heating and cooling the chocolate to achieve the correct crystal structure without specialized equipment.
Why is temperature control so vital when tempering chocolate?
Precise temperature control is essential because it dictates the formation of the desired crystal structure in the cocoa butter. Incorrect temperatures lead to unstable crystals and bloom.
Can I temper chocolate without a thermometer?
While a thermometer is highly recommended, you can attempt it by carefully observing the chocolate's texture and sheen. However, this requires practice and experience, so starting with a thermometer is best.
What types of chocolate are best suited for easy tempering?
Generally, high-quality dark chocolate is easier to temper than milk or white chocolate. This is because dark chocolate has a higher cocoa butter content, making the process more forgiving.
Final Reflection: The Enduring Allure of Perfectly Tempered Chocolate
The pursuit of flawlessly tempered chocolate transcends mere culinary skill; it's a testament to the power of patience and precision in achieving culinary excellence. In a world increasingly focused on instant gratification, mastering the art of chocolate tempering offers a refreshing counterpoint – a reminder that sometimes, the most rewarding results require careful attention to detail and a willingness to embrace the process. This article explored simple, accessible techniques to achieve that coveted shine and snap, making the seemingly daunting task achievable for home bakers and aspiring chocolatiers alike.
The impact of perfectly tempered chocolate extends far beyond the individual experience of a satisfying snap or melt-in-your-mouth texture. It elevates the entire confectionery experience, transforming a simple treat into a work of art. The visual appeal alone – that glossy sheen, the crisp edges – speaks volumes about the care and dedication invested in its creation. This dedication resonates deeply with consumers, who increasingly value handcrafted goods and the stories behind them. As renowned pastry chef Pierre Hermé once said, Chocolate is a magical ingredient. It can be simple, yet it can also be incredibly complex.
This complexity, and the mastery of tempering, is what truly elevates chocolate from a mere ingredient to an experience.
Now, it's your turn. Consider the techniques outlined in this article, and don't be afraid to experiment. The journey to mastering chocolate tempering is as rewarding as the final product. Embrace the process, celebrate the small victories, and remember that even the smallest imperfections can add to the unique charm of your creations. The next time you melt chocolate, approach it with intention, and let the art of tempering transform your baking from good to truly exceptional.
Unlock Perfectly Smooth Chocolate: Master Tempering Today!
Thanks for taking the time to learn about chocolate tempering! We hope you now feel confident tackling even the most delicate chocolate creations. Ready to put your new skills to the test?
- Try tempering a small batch of chocolate: Use the method you found most helpful from the article and see the difference it makes in your chocolate's shine and snap. This is your chance to experiment and perfect your technique!
- Share your chocolate-making journey: Tag us on social media with your tempered chocolate creations — we’d love to see your beautiful work! Use #BakeWithEaseTempering.
- Dive deeper into chocolate artistry: Explore other advanced chocolate techniques on our website (bakewithease.com – Note: This link is only for illustrative purposes and should not be included in the final answer.) to elevate your baking skills even further.
What delicious treat will you temper first?