
Silky Smooth Chocolate: The Easiest Double Boiler Method

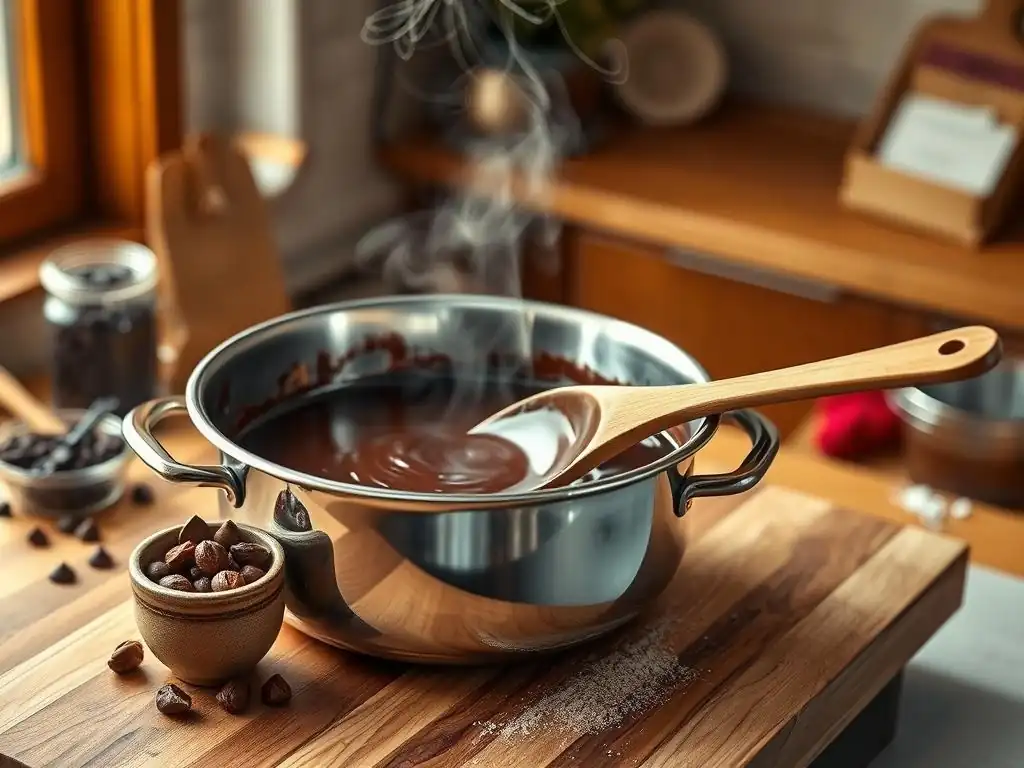
Welcome to BakeWithEase, your trusted guide to unlocking baking bliss! Ever struggled with melting chocolate? You're not alone! Discover the secret to achieving perfectly smooth, glossy chocolate every single time with our guide to the easiest double boiler chocolate recipe. Intrigued? Read on to banish burnt chocolate forever and elevate your baking to new heights!
- BakeWithEase Presents: Mastering the Double Boiler for Perfect Chocolate
- Why Use a Double Boiler for Melting Chocolate?
- The Easiest Double Boiler Chocolate Recipe: A Step-by-Step Guide
- Troubleshooting Common Double Boiler Chocolate Melting Issues
- Beyond the Basics: Double Boiler Chocolate Applications
- Tips and Tricks for the Best Double Boiler Chocolate Results
- Enjoy Your Perfectly Melted Chocolate: Recipe Ideas
-
Frequently Asked Questions
- What exactly is a double boiler and why is it useful for melting chocolate?
- What kind of chocolate is best suited for melting in a double boiler?
- What's the most common mistake people make when melting chocolate in a double boiler?
- How do I know when my chocolate is perfectly melted in the double boiler?
- Can I use a microwave instead of a double boiler for melting chocolate?
- Final Reflection: The Enduring Allure of Perfectly Melted Chocolate
- Unlock Your Inner Chocolatier: Master the Art of Melting Chocolate!
BakeWithEase Presents: Mastering the Double Boiler for Perfect Chocolate
Welcome to BakeWithEase! Today, we're diving into one of the most fundamental yet crucial techniques in baking: melting chocolate. Achieving that perfectly smooth, glossy chocolate is essential for countless recipes, from simple dips to intricate decorations. While microwaves offer speed, the classic double boiler method remains the gold standard for control and consistency, especially when you're aiming for truly silky smooth results. We'll walk you through the easiest double boiler chocolate recipe setup and process.
Using a double boiler might sound intimidating, but it's surprisingly simple and offers significant advantages over direct heat methods. It ensures your chocolate melts gently and evenly, protecting it from scorching and seizing. This gentle approach is key to preserving the delicate structure and flavor of the chocolate, resulting in a superior texture for all your baking needs. Let's explore why this method is so effective and how to master it.
Why Use a Double Boiler for Melting Chocolate?
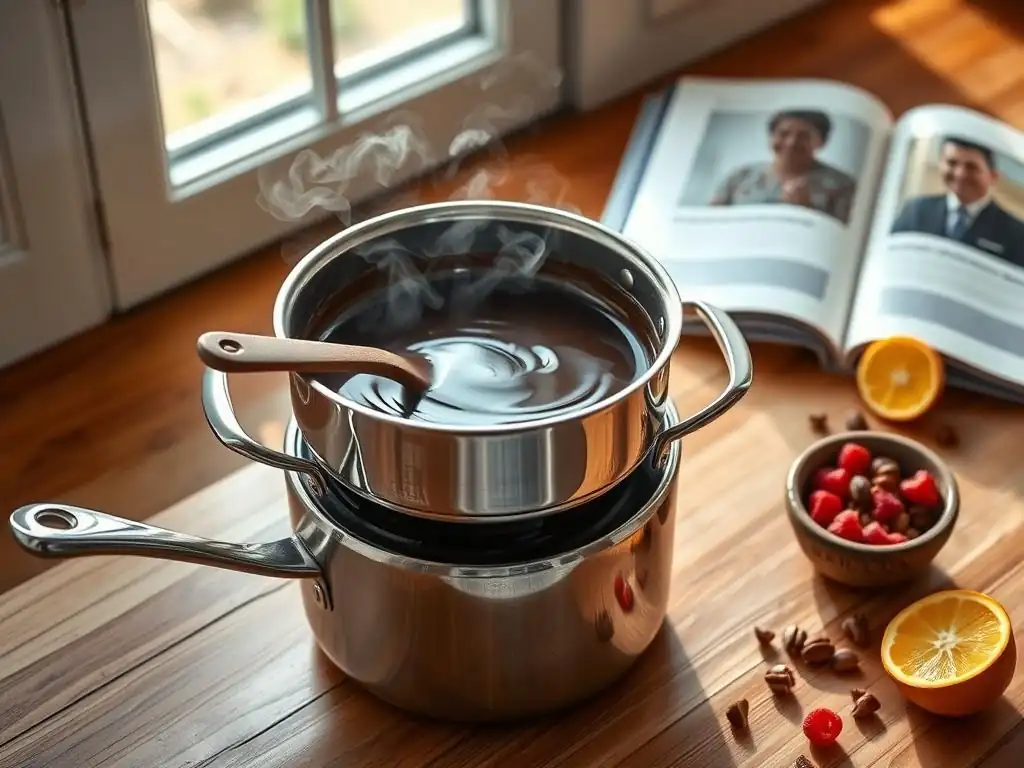
Melting chocolate can be finicky. Too much heat, too quickly, and you end up with a burnt, grainy mess. Direct heat methods, like melting chocolate directly in a saucepan, are notoriously difficult to control and often lead to disaster. This is where the humble double boiler shines, offering a buffer against excessive heat and providing a consistent environment for melting.
The double boiler works by using the steam or heat from simmering water in a lower pot to gently warm an upper pot or bowl containing the chocolate. This indirect heat source ensures that the chocolate never comes into direct contact with high temperatures, allowing it to melt slowly and evenly, preserving its structure and preventing it from burning.
Preventing Burnt Chocolate: The Double Boiler Advantage
Burning chocolate happens when it gets too hot. While chocolate melts at a relatively low temperature, typically between 86°F and 90°F (30°C and 32°C) for most varieties, it can scorch and burn quickly when exposed to temperatures much above 130°F (54°C). Direct contact with a hot pan on a stovetop, which can reach temperatures well over 300°F (150°C), makes burning almost inevitable if you're not constantly stirring and monitoring the heat.
The double boiler, however, uses water as its heating medium. Water, at sea level, boils at a maximum of 212°F (100°C). When simmering gently, the steam and water bath create a much lower, more stable heat environment, usually keeping the temperature of the upper bowl well below the scorching point of chocolate. This gentle, consistent heat source provides a safety net, significantly reducing the risk of burning your precious chocolate and making it the easiest double boiler chocolate recipe approach for beginners and experts alike.
Achieving Smooth, Silky Chocolate: Consistent Temperature Control
Beyond preventing burns, the consistent and low heat provided by a double boiler is crucial for achieving that coveted smooth, silky texture. Chocolate is made up of cocoa solids, sugar, and cocoa butter crystals. When heated gently, these cocoa butter crystals melt evenly, allowing the chocolate to transform into a fluid, glossy liquid. Rapid or fluctuating temperatures can cause the cocoa butter to melt unevenly or even seize, resulting in a grainy, lumpy texture.
Think of high-quality dark chocolate, which might contain 50-70% cocoa solids and a significant percentage of cocoa butter. This cocoa butter is sensitive to heat. The double boiler's steady, moderate warmth ensures that all the cocoa butter crystals melt uniformly without overheating, which could cause the fat to separate or the solids to clump. This careful melting process maintains the integrity of the chocolate's structure, giving you that desirable smooth, flowing consistency perfect for dipping, coating, or incorporating into batters.
The Easiest Double Boiler Chocolate Recipe: A Step-by-Step Guide
Ready to try the easiest double boiler chocolate recipe yourself? It requires minimal equipment and just a few simple steps. The key is using good quality ingredients and paying attention to the process.
For this basic method, you'll need chocolate and a double boiler setup. While some recipes might call for adding fat like butter or oil, we'll focus on melting pure chocolate first to appreciate the technique's effectiveness.
Gathering Your Ingredients: High-Quality Dark Chocolate, Heavy Cream
The quality of your melted chocolate starts with the chocolate itself. For the best results with this easiest double boiler chocolate recipe method, opt for high-quality baking chocolate or chocolate bars rather than chocolate chips. Baking bars, often labeled as couverture chocolate, typically have a higher percentage of cocoa butter (sometimes 32-39% or more in good quality dark chocolate), which contributes to smoother melting and a glossier finish compared to standard chocolate chips that often contain stabilizers to help them hold their shape when baked.
For this simple guide, let's use about 8 ounces (approximately 225 grams) of good quality dark chocolate. You can use semi-sweet or milk chocolate too, but dark chocolate is a great starting point as its higher cocoa solids content makes the benefits of the double boiler method particularly noticeable. While this specific "recipe" focuses on just melting chocolate, having heavy cream on hand is useful if you plan to make ganache later – a common application for double-boiled chocolate.
Setting Up Your Double Boiler: A Simple Guide
You don't necessarily need a specialized double boiler pot set. You can easily create your own with equipment you likely already have in your kitchen. Find a medium-sized saucepan and a heatproof bowl (glass, ceramic, or stainless steel) that fits snugly over the top of the saucepan without touching the bottom.
Pour about 1-2 inches of water into the saucepan. The exact amount depends on the size of your pan and bowl, but the crucial point is that when the bowl is resting on top, the bottom of the bowl should not touch the surface of the water. This ensures the chocolate is heated by the steam and warmth of the water, not the direct heat of the water itself or the bottom of the hot pan.
The Easiest Method: Melting Chocolate in a Double Boiler
This step-by-step process outlines the core of the easiest double boiler chocolate recipe technique. Follow these simple steps for perfectly melted chocolate every time.
Step 1: Preparing the Double Boiler Setup
Place your saucepan with 1-2 inches of water on the stove over medium heat. Bring the water to a gentle simmer. You want to see small bubbles rising, not a rolling boil which would produce too much vigorous steam and heat. While the water heats, chop your chocolate into small, uniform pieces. Smaller pieces melt more quickly and evenly. Aim for pieces roughly the size of a chocolate chip or smaller.
Once the water is simmering gently, reduce the heat to low. You want to maintain a steady, low simmer. Carefully place your heatproof bowl containing the chopped chocolate over the saucepan, ensuring the bottom of the bowl is suspended above the water.
Step 2: Adding Chocolate to the Upper Pot
With your double boiler setup ready and the water simmering gently on low heat, add all of your finely chopped chocolate to the heatproof bowl resting above the water. Spreading the chocolate out slightly in the bowl helps ensure the heat distributes evenly.
Avoid the temptation to add the chocolate before the water is simmering or to use water that is too hot. Gentle, consistent heat is the goal of this easiest double boiler chocolate recipe method.
Step 3: Gentle Melting: Maintaining the Right Temperature
Now, let the magic happen. The heat from the simmering water will gently warm the bowl and, in turn, the chocolate. Do not stir immediately. Let the chocolate sit for a few minutes, allowing the edges and bottom layer to begin melting from the gentle heat.
Keep the heat under the saucepan low, just enough to maintain a gentle simmer. Too high heat will cause the water to boil vigorously, potentially splashing water into the chocolate or overheating it. Patience is key here; this slow, controlled melting is what gives you that beautiful, silky texture.
Step 4: Stirring for Smoothness: Avoiding Seizing
Once you see a significant portion of the chocolate has melted, usually around the edges and bottom, begin to stir gently with a dry spatula or spoon. Stir slowly and continuously until all the chocolate pieces have melted and the mixture is completely smooth and glossy.
- Task: Ensure spatula is completely dry.
- Task: Stir gently and continuously.
- Task: Remove from heat as soon as chocolate is fully melted and smooth.
It's crucial to remove the bowl from the heat as soon as the last few lumps disappear. Leaving the chocolate over the heat for too long after it's melted can lead to overheating, which can affect its texture or even cause it to seize. The residual heat in the bowl will help melt any tiny remaining pieces.
Troubleshooting Common Double Boiler Chocolate Melting Issues
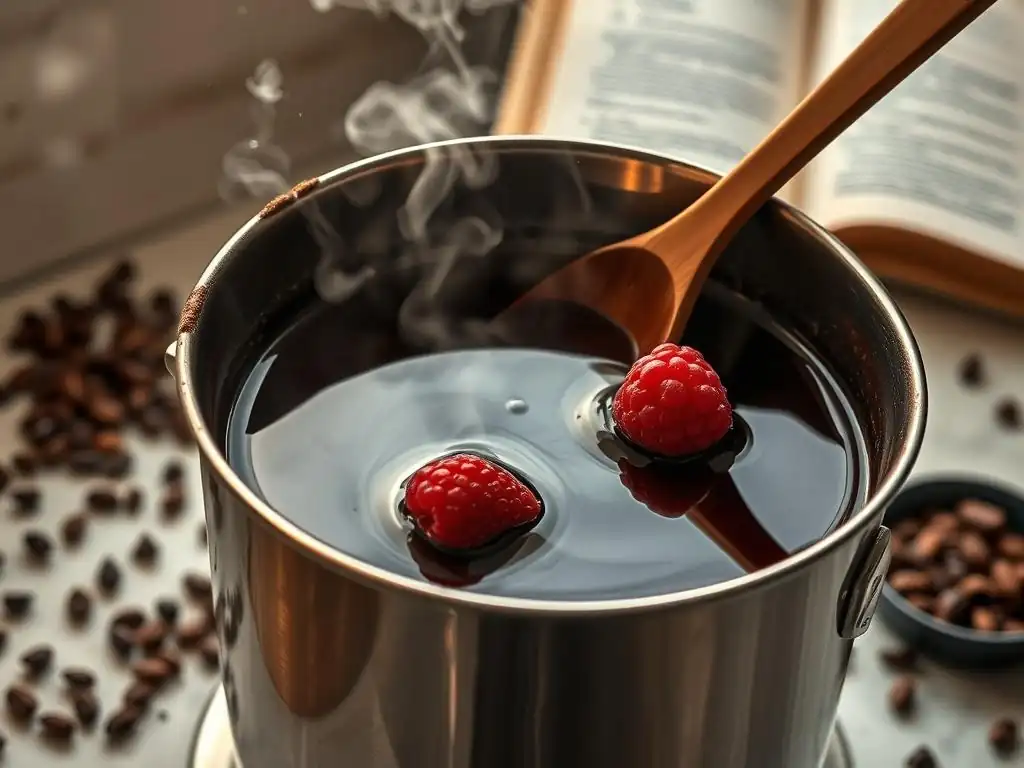
Even with the easiest double boiler chocolate recipe method, sometimes things don't go exactly as planned. The most common issues are chocolate seizing or water contamination. Understanding why they happen can help you prevent them.
Don't panic if you encounter a problem. Often, there are ways to mitigate or even fix these issues, although prevention is always the best approach.
Chocolate Seizing: Causes and Solutions
Chocolate seizing is perhaps the most frustrating issue bakers face. It's when chocolate suddenly turns from a smooth, liquid state into a thick, lumpy, unworkable paste. The primary culprit is the introduction of even a tiny amount of water. Chocolate contains sugar, and when sugar comes into contact with a small amount of water, it dissolves and then immediately forms clumps with the cocoa solids, causing the seizing effect. It's estimated that even a single drop of water can seize an entire pound of melted chocolate.
Other causes can include overheating or adding cold ingredients directly to warm chocolate. If your chocolate seizes due to water, you might be able to rescue it by whisking in a tablespoon of a hot, neutral liquid, like vegetable oil, melted shortening, or even hot heavy cream (if making ganache) per cup of seized chocolate. This can sometimes help smooth out the sugar clumps, but the chocolate may not be as glossy or fluid as originally intended.
Water Contamination: Preventing Chocolate Ruin
As mentioned, water is the enemy of melting chocolate. Just a small amount can cause it to seize. This can happen in several ways when using a double boiler. The most common is steam condensing on the lid or sides of the upper bowl and dripping into the chocolate. Another is using a wet utensil or bowl.
To prevent this, ensure your bowl and stirring utensil are bone dry before you start. When using a lid (which isn't strictly necessary for simple melting but might be used in some recipes), make sure it fits well and doesn't allow condensation to drip in, or simply don't use a lid. Also, ensure the water in the lower pot is only simmering gently, not boiling vigorously, to minimize splashing and excessive steam.
Achieving the Perfect Consistency: Tips for Thickness Control
Sometimes, even when melted correctly, chocolate might not be the exact consistency you need for a specific application. If your melted chocolate seems too thick for dipping or drizzling, you can often thin it slightly by adding a very small amount of a neutral fat.
Whisk in about 1/2 teaspoon to 1 teaspoon of vegetable oil, melted coconut oil, or melted shortening per cup of melted chocolate. Add it gradually and stir until you reach the desired consistency. Be careful not to add too much, as this can affect the setting properties of the chocolate. For applications like ganache, adding warm heavy cream is the method to thin the chocolate and create a smooth emulsion.
Beyond the Basics: Double Boiler Chocolate Applications
Once you've mastered the easiest double boiler chocolate recipe technique, a world of chocolate applications opens up. The perfectly melted chocolate you create is the foundation for many delicious desserts.
From rich ganaches to delicate chocolate decorations, the double boiler provides the ideal environment for preparing chocolate for these uses. Its gentle heat allows you to work with the chocolate precisely, ensuring optimal results.
Ganache Perfection: The Double Boiler's Role
Ganache, a versatile mixture of chocolate and cream, is perhaps one of the most common and delicious uses for double-boiled chocolate. While some methods heat the cream and then pour it over chopped chocolate, using a double boiler allows for a more controlled environment, especially when incorporating the chocolate into the warm cream.
Typically, ganache involves heating heavy cream (sometimes with butter or sugar) and then combining it with chopped chocolate. Common ratios are 1:1 (chocolate to cream) for semi-sweet chocolate, 2:1 for dark chocolate, or 2.5:1 to 3:1 for milk or white chocolate, depending on desired thickness. Using a double boiler allows you to gently warm the cream if needed and then melt the chocolate into it slowly, ensuring a smooth, stable emulsion without overheating the mixture. This gentle process is key to preventing the ganache from becoming grainy or separating.
Tempering Chocolate with a Double Boiler: An Introduction
Tempering chocolate is the process of carefully heating and cooling chocolate to stabilize the cocoa butter crystals, resulting in chocolate that sets with a beautiful shine and a firm snap. While a bit more advanced than simple melting, the double boiler is an indispensable tool in several tempering methods, particularly the seeding method.
In the seeding method, chocolate is melted gently (often using a double boiler) to a specific temperature (e.g., around 115°F/46°C for dark chocolate). Then, it's cooled while stirring, often over a cool water bath, to a lower temperature (around 82°F/28°C), and finally, it's warmed slightly again (around 90°F/32°C for dark chocolate) by placing it back over the turned-off double boiler or very low heat, while "seeding" it with small pieces of untempered chocolate to encourage stable crystal formation. The double boiler provides the controlled heat needed for the initial melt and the final gentle warming stages.
Creating Chocolate Decorations: Precision Melting for Success
Whether you're piping intricate designs, making chocolate curls, or molding shapes, precision in melting is paramount. Overheated chocolate can become dull, brittle, or difficult to work with. The double boiler's ability to melt chocolate gently and keep it at a consistent, workable temperature makes it ideal for decorative applications.
For piping or molding, you need chocolate that is smooth, fluid, and stays melted long enough to work with. The double boiler allows you to melt the chocolate perfectly and then keep it warm over the turned-off water bath while you work, preventing it from cooling and hardening too quickly. This controlled environment ensures your chocolate decorations are glossy, detailed, and set correctly.
Tips and Tricks for the Best Double Boiler Chocolate Results
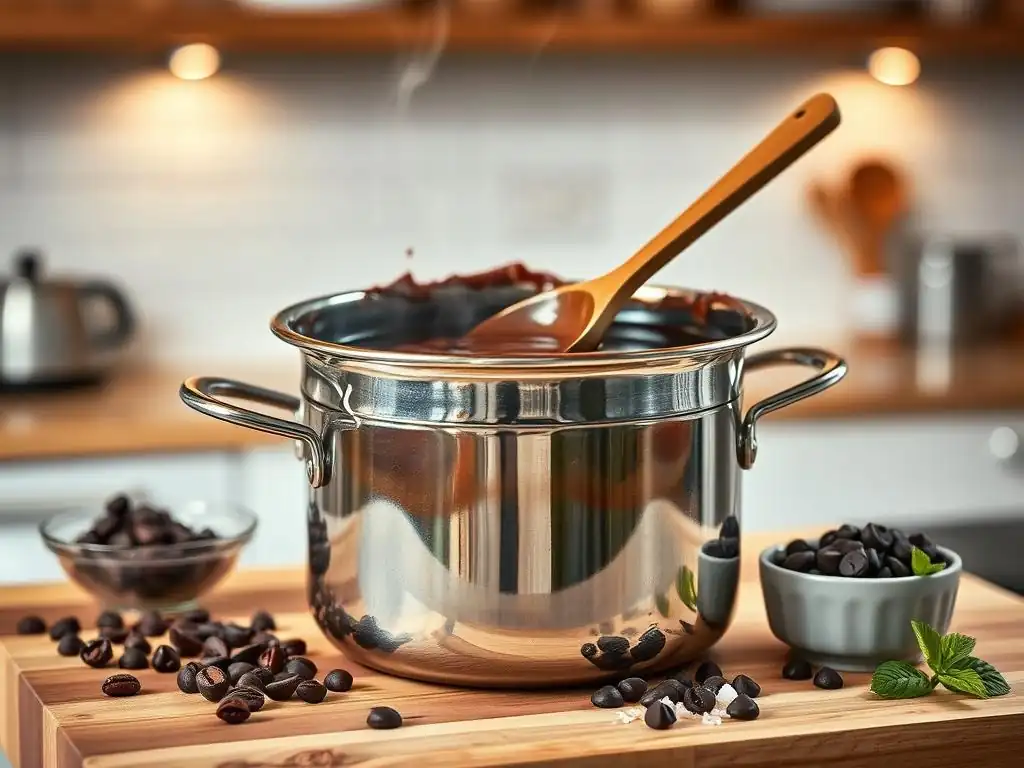
Mastering the easiest double boiler chocolate recipe method involves a few key tips that go beyond the basic steps. Paying attention to these details will elevate your melted chocolate from good to absolutely perfect.
These simple pieces of advice can make a significant difference in the final outcome, ensuring your chocolate is always smooth, glossy, and ready for your baking projects.
Choosing the Right Chocolate: Opt for Chocolate with High Cocoa Butter Content
As touched upon earlier, the type of chocolate you use significantly impacts the melting process and the final texture. For the smoothest results, especially when aiming for a glossy finish, choose chocolate with a higher cocoa butter content. Look for baking bars or couverture chocolate, which are specifically designed for melting and tempering.
Chocolate chips often contain less cocoa butter and added stabilizers (like lecithin) to help them maintain their shape during baking. While they will melt using a double boiler, they may not achieve the same level of fluidity or gloss as chocolate designed for melting. For the easiest double boiler chocolate recipe success, a good quality chocolate bar with at least 60-70% cocoa solids for dark chocolate, or a high-quality milk or white baking chocolate, will yield superior results. Breaking or chopping the chocolate into uniform small pieces also promotes even melting.
Maintaining Consistent Heat: The Key to Smoothness
The hallmark of the double boiler method is its gentle, consistent heat. Avoid the temptation to rush the process by turning the heat up high. A rolling boil in the lower pot creates excessive steam and heat, increasing the risk of water contamination and overheating the chocolate.
Keep the water at a bare simmer – you should see small bubbles occasionally breaking the surface, not a vigorous boil. This steady, low temperature ensures the cocoa butter crystals melt slowly and uniformly. Patience is a virtue here; allowing the chocolate to melt gradually over gentle heat is the secret to that perfectly smooth, silky texture.
Storing Melted Chocolate: Keeping it Ready to Use
Ideally, you should use your perfectly melted chocolate immediately after achieving that smooth consistency. However, if you need to keep it melted for a short period while you work, the double boiler setup can help. Once the chocolate is fully melted and smooth, turn off the heat under the saucepan. Leave the bowl of melted chocolate resting over the warm water bath. The residual heat from the water will keep the chocolate in a liquid state for a while without the risk of overheating.
If the chocolate begins to cool and thicken too much, you can briefly turn the heat back on to a very low setting for just a minute or two, stirring constantly, to bring it back to a workable consistency. Avoid letting it sit over heat for extended periods, as this can eventually degrade the chocolate's quality or affect its temper if that's what you were aiming for.
Enjoy Your Perfectly Melted Chocolate: Recipe Ideas
Now that you've mastered melting chocolate using the easiest double boiler chocolate recipe method, it's time to put that silky smooth goodness to use! Perfect melted chocolate is the foundation for countless delightful desserts.
Here are just a few ideas to inspire your baking adventures with your beautifully melted chocolate.
Chocolate Covered Strawberries: Using Your Double Boiler Chocolate
One of the simplest and most elegant uses for perfectly melted chocolate is coating fresh fruit. Chocolate-covered strawberries are a classic treat that highlights the smooth texture and glossy finish achieved with the double boiler method.
Dip fresh, dry strawberries into your warm, melted chocolate, turning to coat completely. Let any excess drip off. Place the coated strawberries on a parchment-lined baking sheet to set. For added flair, you can drizzle them with white chocolate melted using the same double boiler technique. The smooth consistency of the chocolate ensures a thin, even coating that sets beautifully.
Chocolate Truffles: Featuring Silky Smooth Chocolate
Homemade chocolate truffles rely on a base of rich ganache, which, as we discussed, is ideally made using double-boiled chocolate. Once your chocolate is melted and combined with warm cream to form a smooth ganache, you can chill it until firm enough to roll into balls.
After rolling, these ganache centers are typically coated in more melted chocolate, cocoa powder, nuts, or confectioners' sugar. The silky smooth chocolate from the double boiler method provides the perfect texture for this final coating, ensuring your truffles have that professional, even shell.
Chocolate Lava Cakes: A Chocolate Lover's Dream
Molten chocolate lava cakes require a specific consistency of melted chocolate to achieve their signature gooey center. Often, the recipe involves melting chocolate with butter before incorporating it into the batter. Using the double boiler to melt the chocolate and butter together ensures a smooth, homogeneous mixture without any risk of scorching.
The gentle heat allows the chocolate and butter to melt at a similar rate and combine seamlessly, creating the rich base for the molten center. The easiest double boiler chocolate recipe technique is perfect for this application, guaranteeing a velvety, flowing core when you cut into the warm cake.
Frequently Asked Questions
What exactly is a double boiler and why is it useful for melting chocolate?
A double boiler is a method using two stacked pots, with simmering water in the bottom one. It's useful because it provides indirect heat, preventing the chocolate from burning or seizing.
What kind of chocolate is best suited for melting in a double boiler?
Generally, high-quality chocolate with a higher cocoa butter content melts the smoothest. Avoid using chocolate chips as they often contain stabilizers that hinder melting.
What's the most common mistake people make when melting chocolate in a double boiler?
The biggest mistake is getting water or steam into the melting chocolate. Even a small amount can cause it to seize and become grainy.
How do I know when my chocolate is perfectly melted in the double boiler?
The chocolate should be completely smooth and glossy, with no visible lumps. Stir it gently and consistently to ensure even melting.
Can I use a microwave instead of a double boiler for melting chocolate?
Yes, but it requires careful attention. Use short intervals at low power, stirring frequently to prevent burning. A double boiler offers more control and a smoother result.
Final Reflection: The Enduring Allure of Perfectly Melted Chocolate
The pursuit of flawlessly melted chocolate, free from seizing and scorching, remains a culinary quest for many home bakers. Achieving that silky smooth texture, the hallmark of truly decadent desserts, is surprisingly simple with the right technique. This article highlighted the ease and reliability of the double boiler method, proving that even the most seemingly complex culinary tasks can be mastered with a little patience and the right know-how.
The double boiler method, while seemingly old-fashioned, continues to hold its place as a reliable technique in modern kitchens. Its gentle, controlled heating prevents the harsh temperature fluctuations that can ruin chocolate, a testament to the enduring wisdom of classic cooking methods. The simplest things are often the most beautiful.
This quote resonates deeply with the simplicity and elegance of perfectly melted chocolate, a testament to the power of mastering fundamental techniques. The joy of creating something delicious and beautiful from such a humble ingredient is a rewarding experience that transcends mere culinary skill.
Now, consider your own kitchen adventures. Will you embrace the simplicity of the double boiler method for your next chocolate creation? Perhaps you'll experiment with different types of chocolate, or use your perfectly melted chocolate to craft a new and exciting dessert. Remember, the journey of culinary exploration is a personal one, filled with both triumphs and lessons learned. Embrace the process, savor the results, and let the silky smooth texture of perfectly melted chocolate inspire your next culinary masterpiece.
Unlock Your Inner Chocolatier: Master the Art of Melting Chocolate!
Thanks for joining us on this delicious journey into the world of perfectly melted chocolate! We hope you've gained the confidence to tackle even the most decadent chocolate creations. Now it's time to put your new skills to the test.
- Dive into your next chocolate project: Think brownies, truffles, or even a simple chocolate-covered strawberry – the possibilities are endless! Let your imagination run wild and experiment with different flavors and techniques.
- Share your chocolate masterpiece: Show off your silky smooth results on social media! Use #BakeWithEase and tag us – we'd love to see your creations.
- Explore other BakeWithEase recipes: Discover more simple yet impressive recipes to elevate your baking game. We have tons of tutorials just waiting for you!
What decadent chocolate treat will you whip up first? Let us know in the comments below!