
Advanced Tips for Working with Exceptionally Sticky Dough

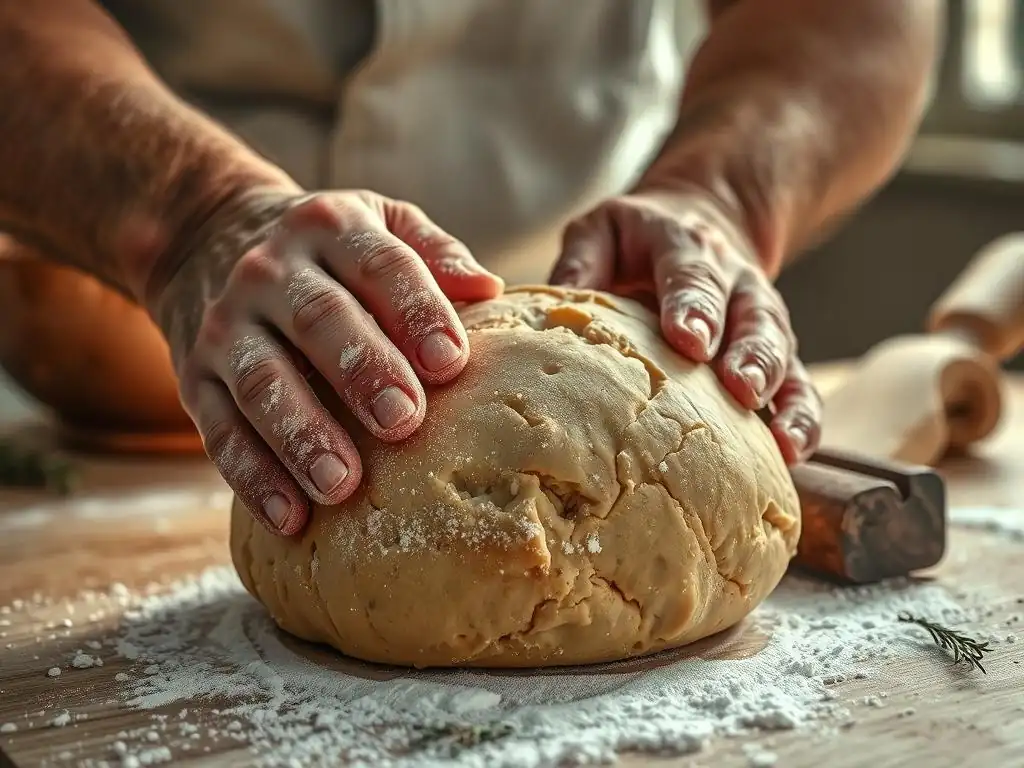
Welcome to BakeWithEase, your companion on the baking journey! Ever wrestled with dough so sticky it seemed impossible to tame? Advanced Tips for Working with Exceptionally Sticky Dough unveils the secrets to mastering those challenging recipes. Discover how simple adjustments can transform your sticky situation into baking success. Read on to elevate your bread baking skills and conquer even the most stubborn dough!
- Advanced Tips for Working with High-Hydration Dough: Bake With Ease
- Understanding High-Hydration Dough in Bread Baking
- Mastering High-Hydration Dough Baking Techniques for Bread and Pizza
- Advanced Techniques for Taming High-Hydration Dough
- Preventing High-Hydration Dough Problems: Proactive Baking Strategies
- Troubleshooting Common High-Hydration Dough Issues
- Baking with Confidence: High-Hydration Dough Success Stories
- Conclusion: Embracing the Challenge of High-Hydration Dough Baking for Superior Results
-
Frequently Asked Questions
- How can I tell if my dough is too sticky?
- What's the most effective way to prevent sticky dough from ruining my baking project?
- Can adding more flour always fix a sticky dough?
- What tools can I use to work with sticky dough if I don't want to use my hands?
- Are there specific types of dough that are naturally stickier than others?
- Final Reflection: Mastering the Sticky Dough Challenge
- Unleash Your Inner Baking Maestro!
Advanced Tips for Working with High-Hydration Dough: Bake With Ease
Understanding High-Hydration Dough in Bread Baking
High-hydration dough refers to dough where the weight of water is significantly higher relative to the weight of flour, often exceeding 70% or even 80%. This higher water content results in a wetter, stickier dough compared to standard recipes, which might use 60-65% hydration. While challenging to handle, this extra water plays a crucial role in the final product, contributing to a more open crumb structure, a crispier crust, and enhanced flavor development, especially in sourdough and artisan breads. Mastering sticky dough baking techniques is key to unlocking these benefits.
The increased water allows for greater enzymatic activity during fermentation, breaking down starches into sugars that feed the yeast and contribute to browning and flavor. Furthermore, the higher hydration facilitates better gluten development with less mechanical effort, as the gluten strands can move and align more freely in the wetter environment. This is why techniques like stretch and fold are so effective with these doughs. Embracing the stickiness is the first step toward achieving superior results with high-hydration sticky dough.
Factors Influencing Dough Hydration: Gluten Development, Flour Type, Ambient Humidity
Several factors interact to determine how a high-hydration dough behaves. Gluten development is paramount; sufficient gluten network strength is needed to trap the gases produced during fermentation, allowing the dough to rise despite its slack nature. Flour type significantly impacts hydration capacity.
Bread flour, with its higher protein content (typically 12-14%), can absorb more water than all-purpose flour (10-12%), allowing for higher hydration levels while still maintaining some structure. Whole wheat flour, containing bran and germ, also absorbs more water than white flour, often requiring higher hydration in recipes, sometimes exceeding 85% total hydration for a similar consistency to a white dough at 75%.
Ambient humidity also plays a subtle but noticeable role. In a very humid environment, flour can absorb some moisture from the air before even being mixed, slightly altering the effective hydration level. Similarly, during bulk fermentation and proofing, a dry environment can cause the surface of the dough to dry out and form a skin, hindering expansion and requiring more careful handling or techniques like misting. Understanding these variables helps bakers adjust their sticky dough baking techniques on the fly.
The Benefits and Challenges of High-Hydration Doughs
Working with high-hydration dough offers numerous rewards. The higher water content leads to a more gelatinized starch structure during baking, contributing to a moist interior and a wonderfully open, airy crumb, often desired in artisanal loaves and Neapolitan-style pizza crusts. The extended fermentation processes often used with these doughs (like cold proofing) develop complex flavors that are simply not present in lower-hydration, faster recipes. Additionally, the excess water turns to steam in the hot oven, helping to create a thin, shatteringly crisp crust.
However, the challenges are significant, primarily centered around handling the sticky dough. It can be difficult to mix initially, prone to sticking to hands, surfaces, and proofing baskets. Shaping requires practice and confidence, as the dough is slack and can feel like it has a mind of its own. Over-proofing can lead to a dough that collapses easily, and transferring the fragile dough to the oven without deflation requires specific strategies. Mastering sticky dough baking techniques is essential to overcome these hurdles and consistently produce beautiful loaves and pizzas.
Mastering High-Hydration Dough Baking Techniques for Bread and Pizza
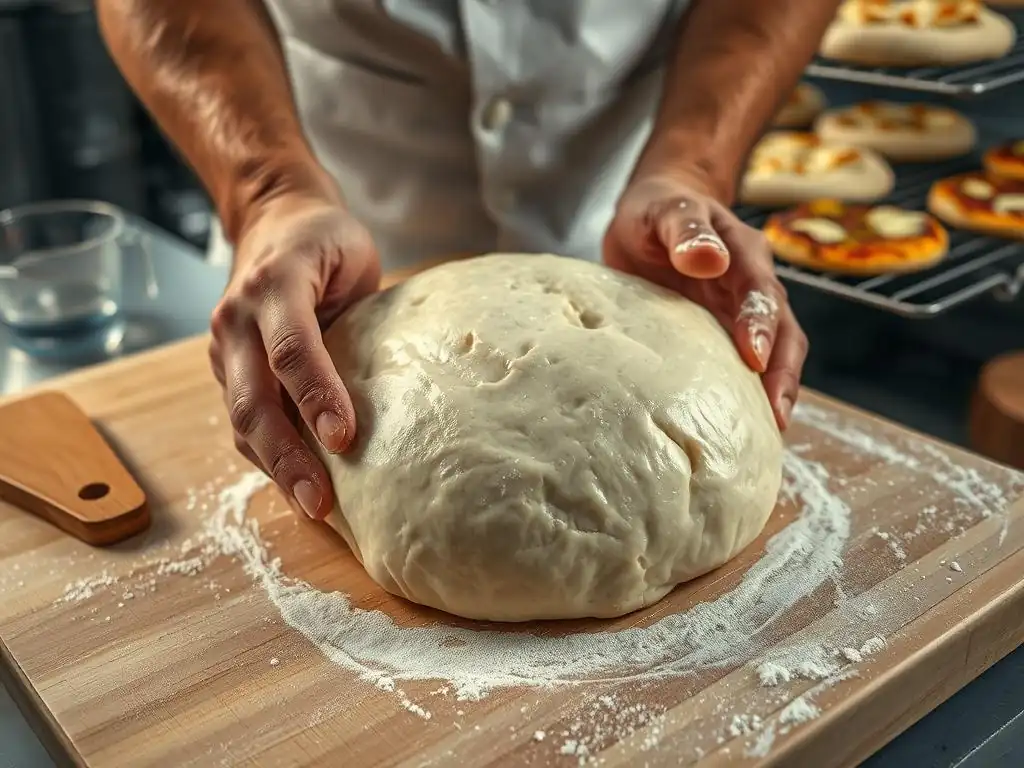
Successfully working with high-hydration dough requires specific sticky dough baking techniques and a willingness to embrace the stickiness. It's less about kneading vigorously and more about developing strength through gentle handling and time. Techniques like autolyse, stretch and fold, and coil folds are indispensable for building the gluten network without the mess of traditional kneading. Patience during bulk fermentation and proofing is also crucial, allowing the dough to develop both strength and flavor.
The goal is to transform a shaggy, wet mass into a cohesive, airy dough that holds its shape reasonably well before baking. This transformation happens gradually through controlled fermentation and strategic handling. Using the right tools and understanding how to minimize sticking are fundamental sticky dough baking techniques that will build confidence and improve results.
Essential Tools for Managing High-Hydration Dough: A Baker's Arsenal
Working with sticky dough is significantly easier with the right equipment. While not strictly necessary for everyone, certain tools make the process much smoother. A sturdy dough scraper or bench knife is invaluable for dividing dough, cleaning surfaces, and helping to lift and manipulate the sticky mass.
- Bench Scraper: Essential for handling and portioning sticky dough.
- Proofing Baskets (Bannetons): Often lined with flour or a special liner to prevent sticking during the final proof. Rice flour is particularly effective at preventing dough from sticking to bannetons.
- Parchment Paper: Crucial for transferring delicate, proofed dough to a hot oven or baking surface without deflation.
- Digital Scale: Accuracy in weighing ingredients, especially water, is critical for high-hydration recipes. Baking is a science!
- Large Mixing Bowl: Allows ample space for stretch and folds.
- Spray Bottle with Water: Helps keep the dough surface moist during bulk fermentation if needed.
Using a generous amount of bench flour (or rice flour) can help manage stickiness on surfaces, but relying too heavily on it can change the dough's hydration. Learning to handle the dough with slightly wet hands or a minimal amount of oil can also be effective sticky dough baking techniques.
Proper Hydration for Optimal Texture and Flavor in Sourdough Bread
Determining the proper hydration level for a specific sourdough recipe depends on several factors, including the type of flour used, the desired crumb structure, and even the baker's handling comfort level. For many popular sourdough recipes aiming for an open crumb, hydration levels often fall between 75% and 85%. A 75% hydration sourdough might be easier for a beginner to handle, while an 85% or even 90%+ hydration can yield incredibly light and airy results but requires more advanced sticky dough baking techniques.
The hydration level directly impacts the dough's extensibility and elasticity. Higher hydration leads to a more extensible dough that spreads easily but can be harder to build tension in for shaping. Lower hydration results in a more elastic dough that holds its shape better but might produce a denser crumb.
Experimenting with small adjustments, perhaps starting at 70% and gradually increasing hydration by 2-3% in subsequent bakes, is a practical way to find the sweet spot for your flour and technique. Remember that whole grain flours will absorb more water than white flour, so an 80% hydration dough with 50% whole wheat flour will feel less wet than an 80% hydration dough with 100% white flour.
Advanced Techniques for Taming High-Hydration Dough
Beyond the basics, several advanced sticky dough baking techniques can significantly improve your results with wet doughs. These methods focus on developing strength, managing stickiness, and enhancing flavor through controlled time and temperature. They require practice but are incredibly rewarding.
The "Stretch and Fold" Method: Developing Strength in High-Hydration Dough
The stretch and fold technique is a cornerstone of working with high-hydration dough, effectively replacing traditional kneading. After the initial mix, the dough rests for a period (e.g., 30 minutes). Then, the baker gently stretches a portion of the dough up and folds it over the rest, rotating the bowl and repeating the process until all sides have been stretched and folded. This is typically done every 30-60 minutes during the first 2-3 hours of bulk fermentation.
This gentle action aligns the gluten strands without tearing them, building structure and tension in the dough. As the gluten develops, the dough becomes less shaggy, smoother, and more capable of holding its shape. A typical sequence might involve 4-6 sets of stretch and folds over 2-3 hours. This is one of the most critical sticky dough baking techniques for building the internal network needed for a good rise and open crumb.
Cold Proofing for Enhanced Dough Handling and Flavor
Cold proofing involves retarding the final rise of the dough in a refrigerator, typically at temperatures between 35-40°F (2-4°C), for an extended period, often 12 to 48 hours or even longer. This slow fermentation develops significantly more complex flavors as enzymes and wild yeasts work slowly on the dough's sugars.
Beyond flavor, cold proofing is a fantastic sticky dough baking technique for managing wet dough. The cold temperatures firm up the dough, making it much easier to handle, score, and transfer to the oven without risking deflation. The surface also dries slightly in the cold, which can contribute to a crispier crust. This method is particularly popular for sourdough and high-hydration pizza dough, allowing bakers to bake on demand and achieve superior texture and taste.
Autolyse: Improving Dough Strength and Handling
Autolyse is a simple but powerful technique where flour and water are mixed together and allowed to rest for 20 minutes to several hours before adding the salt and starter/yeast. The purpose is to allow the flour to fully hydrate and for enzymes (protease and amylase) naturally present in flour to begin breaking down proteins and starches.
This initial resting period allows gluten development to begin naturally without any mechanical work. When the salt and leavening are finally added, the dough is already more extensible, less sticky, and easier to handle. Autolyse can significantly reduce the overall mixing time and improve the dough's structure, making subsequent stretch and folds even more effective. It's a fundamental sticky dough baking technique for improving dough handling and final bread quality.
Preventing High-Hydration Dough Problems: Proactive Baking Strategies
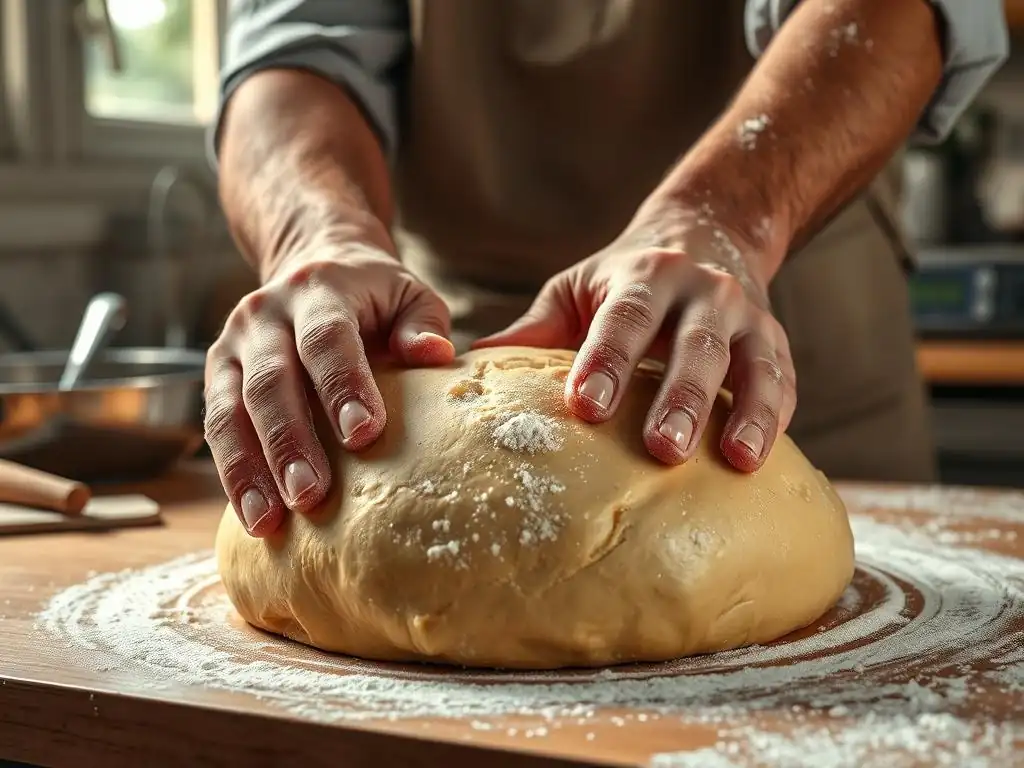
Prevention is often the best cure when dealing with the potential pitfalls of sticky dough. By understanding the underlying principles and taking proactive steps during mixing and fermentation, you can avoid many common issues.
Adjusting Hydration Levels for Different Flour Types
As mentioned earlier, different flours have different absorption capacities. If a recipe calls for 80% hydration using bread flour, and you substitute a portion with whole wheat or rye flour, you will likely need to increase the total water to achieve a similar dough consistency. Whole wheat flour typically requires an additional 5-10% water by weight compared to white flour due to the presence of bran and germ.
Conversely, using a lower protein flour like pastry flour in a high-hydration recipe designed for bread flour will result in an extremely slack, unmanageable dough that may not develop sufficient structure. Always consider the flour's protein content and adjust hydration accordingly. Sometimes, sticking to the hydration range recommended for that specific flour type is one of the simplest sticky dough baking techniques to prevent frustration.
Utilizing Whole Grain Flours in High-Hydration Doughs
Incorporating whole grain flours (like whole wheat, rye, or spelt) into high-hydration doughs adds flavor, nutrition, and complexity. However, the bran particles in whole grains can interfere with gluten development by acting like tiny razors cutting the gluten strands. This means whole grain doughs can sometimes feel weaker or less cohesive than white doughs at the same hydration level.
To counteract this, bakers often use a higher overall hydration when including whole grains, or they might incorporate techniques like an extended autolyse specifically for the whole grain portion before mixing with white flour and other ingredients. Using a strong bread flour as a base (e.g., 70-80% white bread flour) and adding a smaller percentage of whole grain (e.g., 20-30%) is a common approach to balance flavor, nutrition, and dough manageability. Mastering sticky dough baking techniques with whole grains involves patience and slightly different handling.
The Role of Gluten Development in Dough Structure
Gluten, formed when proteins (glutenin and gliadin) in flour combine with water and are worked, provides the essential structure that allows dough to trap gas and rise. In high-hydration doughs, developing a strong gluten network is critical because the high water content makes the dough inherently slack. Without sufficient gluten development, the dough will spread out like a pancake rather than holding its shape and developing oven spring.
Techniques like stretch and folds and coil folds are designed specifically to build this gluten structure gently over time. Observing the dough's transformation during bulk fermentation is key: it should become progressively smoother, more elastic, and capable of holding tension. A well-developed dough will pass the "windowpane test," where a small piece can be stretched thinly enough to see light through it without tearing. Adequate gluten development is foundational to all successful sticky dough baking techniques.
Troubleshooting Common High-Hydration Dough Issues
Even with the best techniques, sticky dough can present challenges. Knowing how to diagnose and fix common problems is part of the learning process.
Dough Sticking to Surfaces: Solutions and Prevention
Excessive sticking is perhaps the most common complaint when working with wet dough. While some stickiness is unavoidable, you can minimize it. Prevention starts with proper surface preparation: use a minimal amount of water on your hands or bench scraper when handling, or a very light dusting of flour (rice flour is excellent as it doesn't absorb into the dough readily). Using a non-stick surface, like a granite countertop or a large cutting board, can also help.
If dough is sticking badly to a proofing basket, ensure the basket was well-floured, ideally with rice flour, before placing the dough in it. For extremely wet doughs, proofing seam-side up in a floured basket or even in a bowl lined with a floured linen couche can prevent the top surface (which will become the bottom) from sticking when inverted. A bench scraper is your best friend for gently releasing sticky dough from surfaces. These sticky dough baking techniques focus on minimizing contact area and providing a barrier.
Overcoming Dough That Tears Easily
If your high-hydration dough tears easily when you try to stretch or handle it, it could be due to several reasons: insufficient gluten development, over-fermentation, or using a flour with low protein content. If the dough tears during stretch and folds early in the process, it likely needs more time and gentle handling to build strength. Give it a rest period (10-15 minutes) and try again more gently.
If the dough tears later in the process or feels fragile after bulk fermentation, it might be over-proofed. Over-fermentation causes the gluten structure to begin breaking down. In this case, handle the dough as minimally and gently as possible during shaping and transfer. Ensure you are using a strong bread flour suitable for high hydration if you consistently experience tearing. Adjusting your sticky dough baking techniques to be more gentle can often help.
Dealing with Dough That Lacks Structure
Dough that spreads excessively, feels like a liquid, and doesn't hold any tension likely lacks sufficient gluten development or is significantly over-hydrated for the flour used. If this happens after initial mixing, ensure you perform enough sets of stretch and folds or coil folds during the first few hours of bulk fermentation. Observe the dough: is it becoming smoother and more cohesive?
If the dough still lacks structure after adequate gluten development efforts, the hydration level might be too high for your specific flour or your current skill level. For your next bake, try reducing the water by 5-10% and see if the dough is more manageable. Sometimes, simply giving the dough more time during bulk fermentation (within limits) can also help enzymes strengthen the dough structure. Patience is one of the most important sticky dough baking techniques.
Baking with Confidence: High-Hydration Dough Success Stories
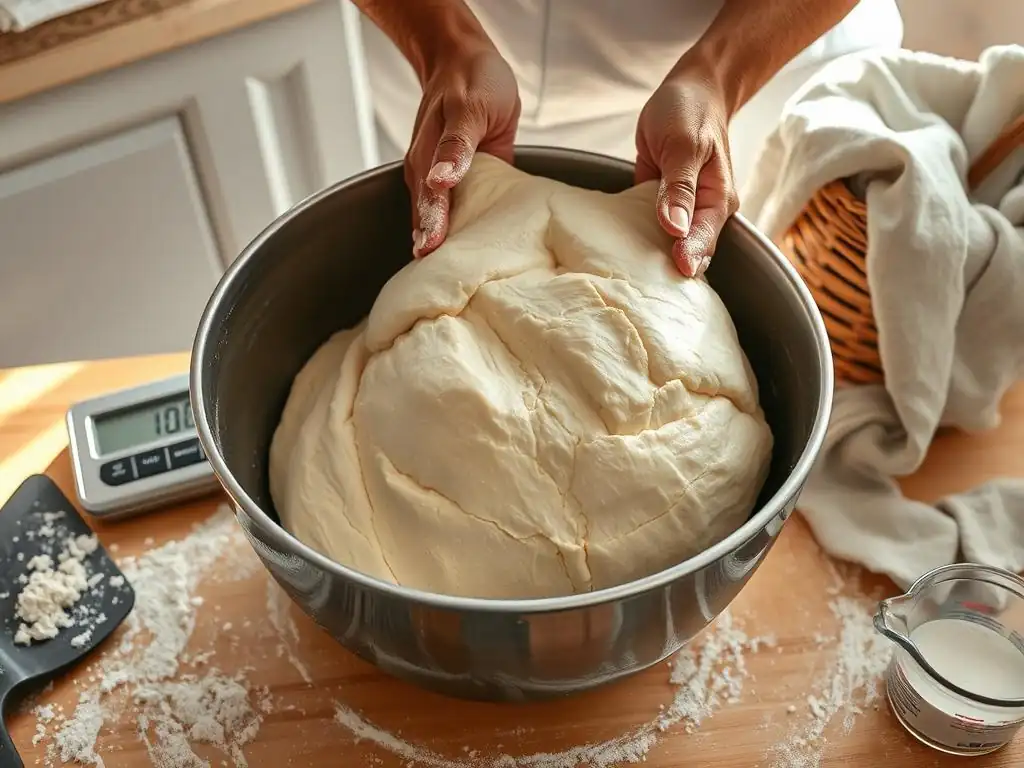
Achieving a beautiful loaf or pizza with high-hydration dough is incredibly satisfying and marks a significant step in a baker's journey. The unique properties of these doughs lead to desirable characteristics in the final product.
Achieving an Open Crumb Structure in Sourdough Bread
The hallmark of successful high-hydration sourdough is often a highly open, airy crumb with irregular holes of varying sizes. This is achieved through a combination of factors: sufficient water allowing for good gluten development and extensibility, proper fermentation creating ample gas production, and gentle handling during shaping and transfer to preserve the gas within the dough.
Techniques like stretch and folds build the structure to support the open network, while a long, slow fermentation (especially cold proofing) develops the strength and gas needed for expansion. Learning to shape the slack dough effectively to create surface tension without degassing it is crucial. Finally, baking at high temperatures in a Dutch oven or with steam helps the dough achieve maximum oven spring before the crust sets, locking in that open structure. These sticky dough baking techniques are designed to maximize volume and openness.
Tips for a Crisp Crust with High-Hydration Dough
High-hydration doughs inherently contribute to a crispier crust because there is more water available to convert to steam in the hot oven. This steam expands the dough rapidly (oven spring) and keeps the crust pliable longer, allowing it to thin out before finally setting into a brittle, crisp shell. Baking at very high temperatures (often 450-500°F or 230-260°C) is essential.
Using a baking stone or steel preheated for at least 30-60 minutes provides intense heat from below, promoting rapid oven spring and crust development. Baking in a Dutch oven for the first 20-25 minutes traps steam released by the dough, mimicking a professional steam injection oven and ensuring a thin, crisp crust rather than a thick, hard one. Removing the lid for the final 20-30 minutes allows the crust to brown and crisp up fully. These sticky dough baking techniques leverage the high water content for maximum crust potential.
Conclusion: Embracing the Challenge of High-Hydration Dough Baking for Superior Results
Working with exceptionally sticky dough can feel intimidating at first, but by understanding the science behind high hydration and practicing specific sticky dough baking techniques, you can master this rewarding aspect of baking. From selecting the right flour and tools to employing methods like stretch and fold, autolyse, and cold proofing, each step contributes to developing a strong, flavorful dough capable of producing loaves and pizzas with incredible texture and crust.
Don't be discouraged by initial failures; every sticky mess is a learning opportunity. Embrace the process, be patient with your dough, and refine your handling skills. The resulting open crumb, complex flavor, and crisp crust are well worth the effort. With practice and the application of these advanced sticky dough baking techniques, you'll confidently bake delicious, high-hydration bread and pizza that will impress everyone.
Frequently Asked Questions
How can I tell if my dough is too sticky?
A dough is likely too sticky if it completely clings to your hands and work surface, making it difficult to shape or even handle. It shouldn't just be slightly tacky; it should be unmanageably adhesive.
What's the most effective way to prevent sticky dough from ruining my baking project?
Employing techniques like using cold ingredients, lightly flouring your hands and work surface, and allowing for adequate gluten development are crucial for managing sticky dough. These can help build structure.
Can adding more flour always fix a sticky dough?
While adding flour can help, overdoing it can lead to a dry and tough final product. Add flour gradually, about a tablespoon at a time, and only until the dough is manageable, aiming for a slightly tacky feel.
What tools can I use to work with sticky dough if I don't want to use my hands?
Consider using a dough scraper or spatula to handle the dough, minimizing direct contact. Also, using a stand mixer with a dough hook can help you develop gluten effectively without excessive sticking.
Are there specific types of dough that are naturally stickier than others?
Yes, doughs with high hydration levels, like those used for sourdough or ciabatta, tend to be stickier. These recipes often require special handling techniques to achieve the desired results.
Final Reflection: Mastering the Sticky Dough Challenge
The struggle with exceptionally sticky dough is far more than just a baking inconvenience; it's a testament to the delicate balance of ingredients and technique that defines truly exceptional baked goods. Overcoming this challenge unlocks a world of flavor and texture possibilities, from perfectly chewy sourdough to light and airy croissants. Mastering sticky dough isn't just about following a recipe; it's about understanding the fundamental principles of hydration and gluten development.
The journey of working with sticky dough has profoundly shaped my own baking philosophy. It's taught me patience, precision, and the importance of embracing the unexpected. The best bakers are not those who never make mistakes, but those who learn from them and adapt.
This quote perfectly encapsulates the iterative process of perfecting sticky dough techniques. Each failed attempt, each slightly too wet or too dry batch, has been a valuable lesson in understanding the nuances of flour, water, and time. The resulting satisfaction of a perfectly formed loaf, however, is unparalleled.
Now, it's your turn. Don't be intimidated by the stickiness; embrace it as a challenge, an opportunity to deepen your understanding of baking. Experiment with different flours, hydration levels, and techniques. Remember the lessons learned here, and most importantly, remember to enjoy the process. The reward – a delicious, perfectly textured baked good – is well worth the effort. So, gather your ingredients, embrace the stickiness, and let your baking journey begin!
Unleash Your Inner Baking Maestro!
Thanks for taking the time to explore the art of handling sticky dough! We hope you gained valuable insights and new confidence in your baking skills. Now it's time to put your knowledge into action.
- Master that sticky dough: Try the techniques discussed today on your next baking project – even if it's just a small batch! Notice the difference in your workflow.
- Share your sticky dough success story: Post a picture of your masterpiece on social media and tag us – we’d love to see your baking triumph!
- Experiment with different flours: Explore how varying flour types impact dough consistency and find your perfect blend for optimal stickiness management.
Ready to conquer any dough, no matter how sticky? What's your biggest sticky dough challenge, and how will you tackle it now?