
The Crucial Temperature for Your Butter Block

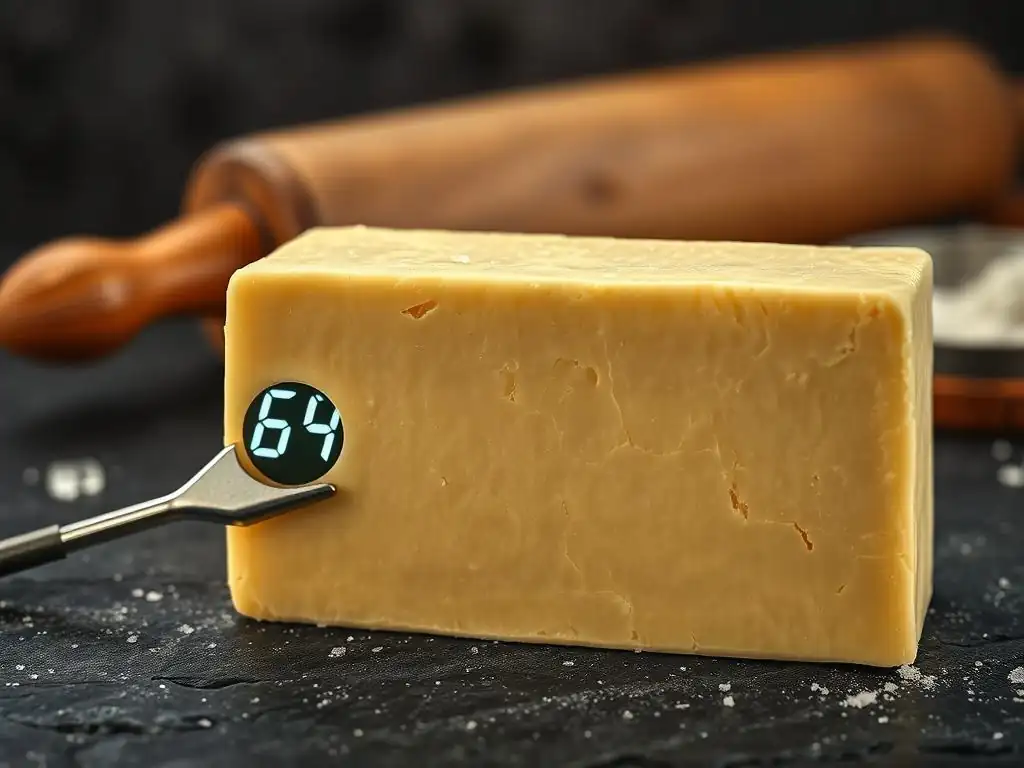
Welcome to BakeWithEase, your trusted guide to baking brilliance! Ever wondered if you're really getting the most out of your butter? Our latest deep dive explores a topic that can make or break your pastries: the butter block baking temperature. Discover the secrets to achieving that perfect, flaky texture and unlock a new level of baking success. Intrigued? Keep reading to learn how a simple temperature adjustment can transform your creations!
- The Crucial Temperature for Your Butter Block: Perfecting Croissant Lamination at Home
- Introduction: Why Butter Temperature Matters for Croissant Baking
- The Ideal Butter Block Baking Temperature Range for Croissants
- Preparing Your Butter Block for Croissant Dough Lamination
- Assessing Butter Block Temperature: Practical Tests and Indicators
- Troubleshooting Common Butter Temperature Problems in Croissant Baking
- Advanced Techniques for Maintaining Optimal Butter Temperature
- Step-by-Step Guide: Integrating the Perfectly Tempered Butter Block into Your Croissant Dough
- Achieving Croissant Perfection: Beyond Butter Temperature
- Conclusion: Mastering Butter Temperature for Perfect Croissants
-
Frequently Asked Questions
- What is the ideal butter block baking temperature according to BakeWithEase?
- Why is butter block temperature so important in baking?
- How can I quickly chill a butter block that's too soft?
- What happens if my butter block is too cold when I start baking?
- What are some recipes where butter block temperature is particularly critical?
- Final Reflection: The Perfect Melt: Mastering Butter's Role in Baking
- Unlock Butter's Baking Potential!
The Crucial Temperature for Your Butter Block: Perfecting Croissant Lamination at Home
Introduction: Why Butter Temperature Matters for Croissant Baking
Creating perfectly flaky croissants at home can feel like a culinary Everest. While many factors contribute to success, one often overlooked element is the temperature of your butter block. This seemingly small detail plays a monumental role in achieving those coveted layers that define a great croissant. Getting the butter block baking temperature right is not just a suggestion; it's a fundamental requirement for successful lamination and ultimately, a delicious result.
Understanding how butter behaves at different temperatures is key to unlocking the magic of laminated doughs. Butter isn't just a flavoring agent in croissants; it's a structural component. Its malleability, firmness, and melting point are all critical during the intricate process of lamination, where layers of dough and butter are created through repeated folding. The temperature of the butter block directly dictates how well these layers form and separate during baking.
Understanding the Role of Butter in Croissant Dough Lamination
Butter serves as the separator between thin layers of dough during the lamination process. As the dough is rolled and folded, the butter is spread into a thin, even sheet between each layer. This creates alternating strata of dough and butter. During baking, the water content in the butter turns to steam, forcing the dough layers apart and creating the characteristic flaky structure.
For this process to work effectively, the butter needs to be firm enough to be rolled out without oozing, yet pliable enough to spread evenly without breaking or tearing the dough. If the butter is too cold and hard, it will shatter into pieces when rolled, creating uneven pockets instead of continuous layers. Conversely, if it's too warm and soft, it will melt into the dough before baking begins, resulting in a dense, bready texture instead of flakiness. The correct butter block baking temperature ensures this delicate balance is achieved.
The Impact of Butter Temperature on Croissant Texture and Flakiness
The final texture of your croissant hinges significantly on the state of the butter during lamination and baking. Properly tempered butter, maintained at the optimal butter block baking temperature, ensures distinct layers are formed. When these croissants hit the hot oven (typically around 190°C or 375°F), the rapid expansion of steam from the butter pushes those layers apart dramatically.
This explosive separation is what gives croissants their airy, open interior and crisp, flaky exterior. If the butter temperature was too high during lamination, the butter would have already started to integrate with the dough, reducing or eliminating those crucial separate layers. The result is a heavier, less flaky pastry. Mastering the butter block baking temperature is arguably one of the most critical steps to achieving that delightful shatter and airy honeycomb interior.
The Ideal Butter Block Baking Temperature Range for Croissants
Identifying and maintaining the correct temperature for your butter block is paramount for successful croissant lamination. It's not a wide margin for error; even a few degrees can make a significant difference in how the butter behaves during the crucial rolling and folding steps. This specific temperature range ensures the butter is pliable but still holds its shape, allowing for the creation of thin, uniform layers.
Bakers often refer to this specific temperature range as the "plastic" state of butter. Below this range, butter is brittle and snaps; above it, it becomes too soft and greasy. Working within this plastic state is essential for rolling the butter block into thin sheets without it either breaking apart or melting into the surrounding dough. It's the sweet spot for creating those dozens of paper-thin layers.
Defining the Optimal Temperature Window: 12-15°C (54-59°F)
The generally accepted optimal temperature window for the butter block used in croissant lamination is between 12°C and 15°C (54°F and 59°F). At this temperature, the butter is firm but bendable, similar in consistency to modeling clay. It should be able to bend slightly without breaking and should not feel greasy or oily to the touch.
Maintaining the butter block baking temperature within this narrow range throughout the lamination process is key. This means not only starting with butter at this temperature but also ensuring the dough and the working environment are cool enough to prevent the butter from warming up too quickly between folds. This temperature range allows the butter to stretch and thin out alongside the dough, creating those critical, distinct layers.
Why This Temperature Range is Crucial for Successful Lamination
This specific temperature range is crucial because it allows the butter to be rolled into a thin, even layer alongside the dough without melting or breaking. If the butter is too cold (below 12°C/54°F), it will be hard and brittle. When you try to roll the dough, the cold butter will shatter into small pieces, creating gaps in the butter layer and leading to uneven lamination and potentially holes or weak spots in the final croissant structure.
Conversely, if the butter is too warm (above 15°C/59°F), it becomes too soft and greasy. It will begin to melt into the dough during rolling, destroying the separation between layers. This results in a dense, heavy dough that doesn't puff up properly in the oven, yielding a bready, rather than flaky, croissant. Achieving the correct butter block baking temperature during the lamination phase is the difference between a laminated masterpiece and a disappointing, flat pastry.
Preparing Your Butter Block for Croissant Dough Lamination
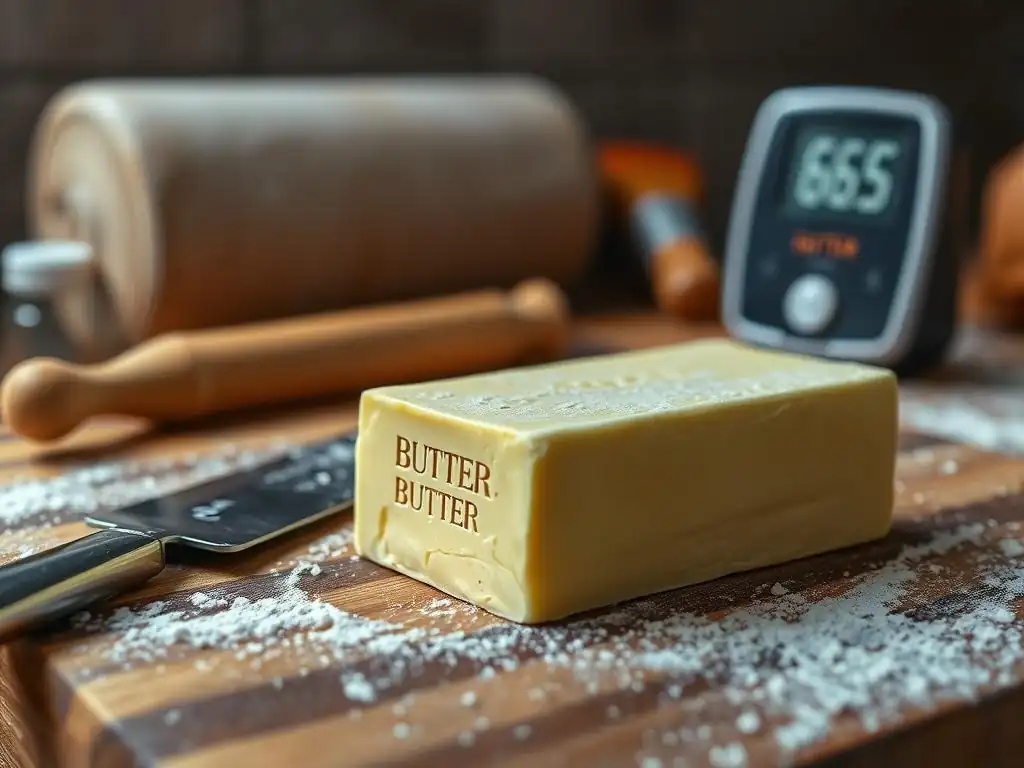
Successfully incorporating the butter block into your croissant dough starts well before the first fold. Proper preparation ensures the butter is at the correct consistency and shape to integrate seamlessly with the détrempe. This initial step sets the stage for successful lamination and is just as important as maintaining the correct butter block baking temperature throughout the process.
Selecting the right type of butter and preparing it correctly are foundational steps. Simply taking butter straight from the fridge or microwave won't cut it. It requires patience and specific techniques to get it to that ideal pliable state, ensuring it's ready to be enclosed within the dough and rolled out thinly without resistance or melting.
Choosing the Right Type of Butter for Croissant Baking: European-Style Butter (82-84% Fat)
For optimal croissant lamination, European-style butter is generally preferred over American-style butter. This is primarily due to its higher fat content, typically ranging from 82% to 84%, compared to the 80% fat content found in most American butters. The higher fat content contributes to better flakiness and a richer flavor.
The lower water content in European-style butter also means less steam is generated during baking, which can help create larger, more distinct air pockets. While you can make croissants with American butter, achieving the same level of flakiness and richness can be more challenging. Using a high-quality butter with a higher fat percentage provides a better starting point for achieving that perfect butter block baking temperature and consistency.
How to Properly Soften Butter for the Butter Block: Avoiding Over-Softening
Softening butter for the butter block requires care to avoid over-softening or melting, which would make it unusable for lamination. The goal is to make it pliable, not liquid or greasy. A common method is to gently beat cold butter with a rolling pin or a stand mixer with a paddle attachment until it becomes flexible but still cool to the touch.
Alternatively, you can leave the butter at room temperature for a short period, but this requires careful monitoring, especially in warm environments. Some bakers recommend cutting cold butter into small cubes and letting them sit for only 10-20 minutes before gently pressing or rolling. The key is to reach that pliable state where it can be shaped without resistance, ensuring the butter block baking temperature is within the desired range.
Techniques for Shaping and Preparing the Butter Block: Achieving Uniform Thickness
Once the butter is pliable, it needs to be shaped into a uniform rectangle or square, depending on your recipe and preferred lamination method. This is typically done by placing the softened butter between two sheets of parchment paper and rolling it out with a rolling pin. Aim for a consistent thickness, usually between 6mm and 1 cm (about 1/4 to 3/8 inch).
A uniform thickness is crucial because it ensures the butter rolls out evenly with the dough during lamination. If the butter block has thick and thin spots, the thin areas might melt or break, while the thick areas resist rolling, potentially tearing the dough. Achieving this uniform shape and thickness, while maintaining the correct butter block baking temperature, is a vital preparatory step.
Assessing Butter Block Temperature: Practical Tests and Indicators
Knowing the ideal butter block baking temperature is one thing; being able to accurately assess whether your butter is actually at that temperature is another. Relying solely on guesswork can lead to frustration and failed laminations. Fortunately, there are several practical methods you can use to check the temperature and consistency of your butter block before and during the lamination process.
These tests range from simple tactile methods to using precise tools. Becoming familiar with these indicators will help you determine if your butter is too cold, too warm, or just right for the delicate work of creating those beautiful croissant layers. Consistent assessment helps maintain the optimal butter block baking temperature throughout the multiple turns.
The Finger Test: A Simple Method for Evaluating Butter Softness
A common and simple method for evaluating butter consistency is the finger test. Gently press your finger into the butter block. If the butter is at the correct temperature (12-15°C / 54-59°F), your finger should leave a slight indentation without much resistance, but the butter should not feel greasy or sticky. It should feel cool, not cold.
If your finger doesn't leave an indentation easily, the butter is likely too cold and brittle. If your finger sinks in easily and the butter feels oily, it is too warm. While not as precise as a thermometer, the finger test is a quick, practical way to gauge the butter's readiness and ensure the butter block baking temperature is in the right ballpark.
Using a Thermometer: Accurate Temperature Measurement for Baking
For the most accurate assessment of your butter block's temperature, a digital thermometer is indispensable. Insert the probe into the center of the butter block to get a reading. This provides a precise numerical value, allowing you to confirm whether the butter is within the critical 12-15°C (54-59°F) range.
Using a thermometer eliminates guesswork and is highly recommended for consistent results, especially when you are first learning to work with laminated doughs. It allows you to adjust your environment or resting times based on concrete data, ensuring you are working with the optimal butter block baking temperature at each stage of lamination.
Visual Cues: Recognizing the Signs of Properly Tempered Butter
Beyond touch and temperature readings, visual cues can also indicate if your butter is properly tempered. Butter at the correct butter block baking temperature should appear opaque and uniform in color, without any shiny or greasy patches. It should also hold its shape well without slumping.
If the butter looks dull or fractured, it might be too cold. If it appears shiny, translucent, or has a wet look, it is likely too warm and beginning to melt. Learning to recognize these visual signs, in conjunction with the finger test and thermometer, provides a comprehensive approach to ensuring your butter block is at the ideal consistency for successful lamination.
Troubleshooting Common Butter Temperature Problems in Croissant Baking
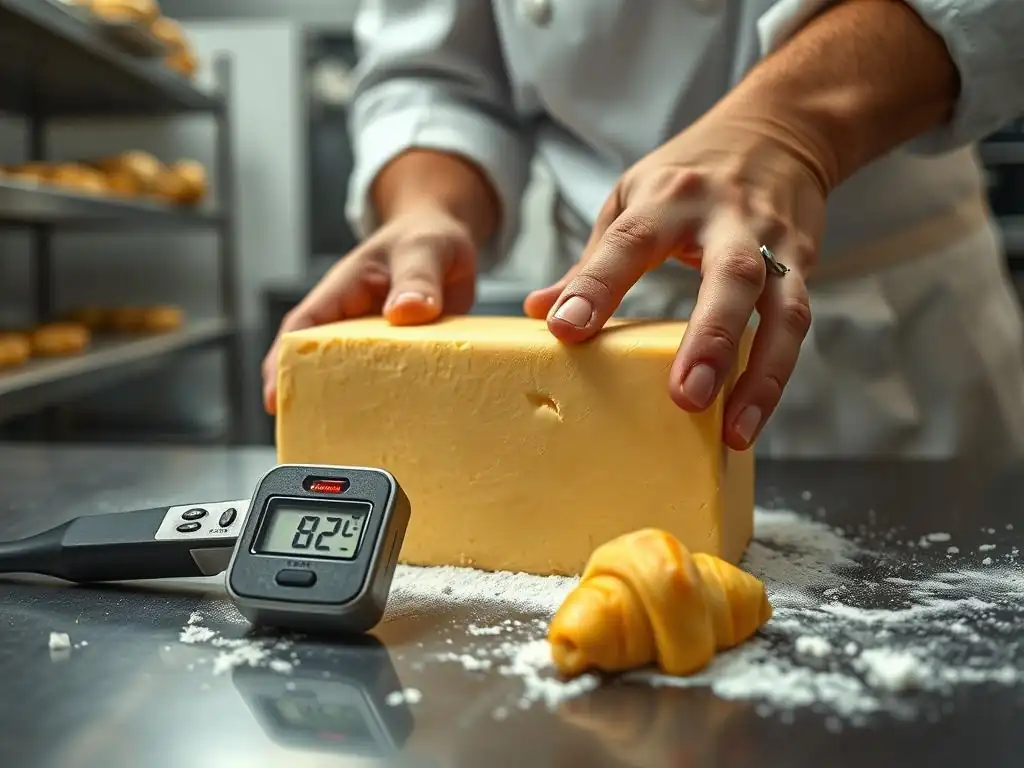
Despite careful preparation, you might encounter issues with your butter block's temperature during the lamination process. The dynamic nature of working with dough and butter means that environmental factors and the heat generated during rolling can quickly affect the butter's state. Recognizing these problems and knowing how to address them is crucial for salvaging your dough and achieving good results.
Common problems include butter that is either too hard to roll smoothly or too soft, leading to seepage. These issues directly impact the formation of distinct layers and, consequently, the final texture of your croissants. Being prepared to troubleshoot ensures you can maintain the correct butter block baking temperature throughout the intricate folding process.
Butter Too Cold: Issues with Dough Incorporation and Lamination
If your butter block is too cold (significantly below 12°C/54°F), it will be hard and brittle. When you attempt to roll the dough, the cold butter will resist stretching and is likely to break into pieces. This results in an uneven butter layer within the dough. You might see chunks of butter rather than a smooth sheet when you look at the cross-section after a fold.
Rolling dough with cold, hard butter can also be very difficult and puts undue stress on the dough, potentially tearing it. The uneven butter distribution will lead to croissants with inconsistent flakiness – some areas might be airy, while others are dense or even hollow. If you realize your butter is too cold, let the dough rest at a slightly warmer temperature for a short period (e.g., 10-15 minutes at room temperature) to allow the butter to soften slightly before attempting to roll again.
Butter Too Warm: Problems with Melting and Dough Seepage
Conversely, if your butter block is too warm (above 15°C/59°F), it will become soft, greasy, and start to melt. As you roll the dough, the warm butter will ooze out from between the layers, a phenomenon known as "seepage." You'll see streaks of butter on your work surface and potentially soaking into the dough.
Butter seepage is detrimental because it destroys the separation between the dough layers. The butter is no longer a distinct layer but is incorporated into the dough itself. This prevents the steam from lifting the layers during baking, resulting in a dense, heavy croissant with little to no flakiness. If your butter is too warm, immediately place the dough back into the refrigerator for at least 20-30 minutes, or until the butter firms up again to the correct butter block baking temperature range.
Strategies for Correcting Butter Temperature During the Lamination Process
If you notice the butter is becoming too soft during lamination, the most effective strategy is to stop working the dough immediately and return it to the refrigerator. Allow it to rest for 20-30 minutes, or even longer if needed, until the butter firms up again to the desired 12-15°C (54-59°F). This resting period also allows the gluten in the dough to relax, making it easier to roll the next turn.
If the butter feels too cold and hard, you can let the dough rest at room temperature for a very short time (5-10 minutes) or gently press on it with your hands to slightly warm the butter. However, be extremely cautious not to over-warm it. It's often better to err on the side of slightly too cold and let it temper slightly as you begin to roll, rather than risking it becoming too warm. Patience and frequent chilling are key to managing the butter block baking temperature.
Advanced Techniques for Maintaining Optimal Butter Temperature
Beyond the basic troubleshooting, experienced bakers employ several techniques to actively manage and maintain the butter block baking temperature throughout the demanding lamination process. These methods help counteract the warming effects of handling, rolling, and ambient room temperature, ensuring the butter stays within its ideal plastic state.
Incorporating these advanced strategies can significantly improve your consistency and success rate when making laminated doughs like croissants. They provide a more controlled environment for the butter, minimizing the risk of temperature fluctuations that can compromise layer formation.
Using a Cold Marble Slab for Butter Block Preparation
A cold marble slab is an excellent tool for preparing and working with the butter block. Marble naturally stays cooler than other surfaces, providing a chilled base that helps prevent the butter from warming up too quickly while you are shaping it or performing the initial folds.
Before starting, you can even chill the marble slab in the refrigerator for a short period, though be mindful of condensation. Rolling the butter block or the laminated dough on a cold marble surface helps draw heat away, assisting in maintaining the crucial butter block baking temperature. If you don't have a marble slab, a large, chilled baking sheet can offer a similar, though less effective, benefit.
Employing Temperature-Controlled Environments: Refrigerator Temperature Settings (4°C/39°F)
The refrigerator is your best friend when making croissants. The standard refrigerator temperature is typically around 4°C (39°F), which is too cold for rolling but perfect for chilling the dough and butter block between turns. Consistent chilling is vital to firm up the butter and relax the dough's gluten.
After each fold (or "turn"), the dough needs to rest in the refrigerator for at least 30-60 minutes. This allows the butter to re-solidify to the correct butter block baking temperature range (it will warm slightly as you work it again) and prevents it from melting during subsequent rolling. A well-chilled dough and butter block are much easier to work with and less prone to seepage.
Tips for Working Quickly to Prevent Butter from Warming Up
While patience is required for the resting periods, speed and efficiency are important when you are actively rolling and folding the dough. The longer you handle and work the dough, the more heat is transferred from your hands and the friction of rolling, which can quickly warm the butter block.
Aim to complete each turn relatively quickly, perhaps within 5-10 minutes of removing the dough from the refrigerator. Have your work surface, rolling pin, and any necessary tools ready before you start rolling. Minimize unnecessary handling. If you feel the butter starting to soften even slightly, don't hesitate to stop and return the dough to the refrigerator for a quick chill. Working efficiently helps preserve the butter block baking temperature.
Step-by-Step Guide: Integrating the Perfectly Tempered Butter Block into Your Croissant Dough
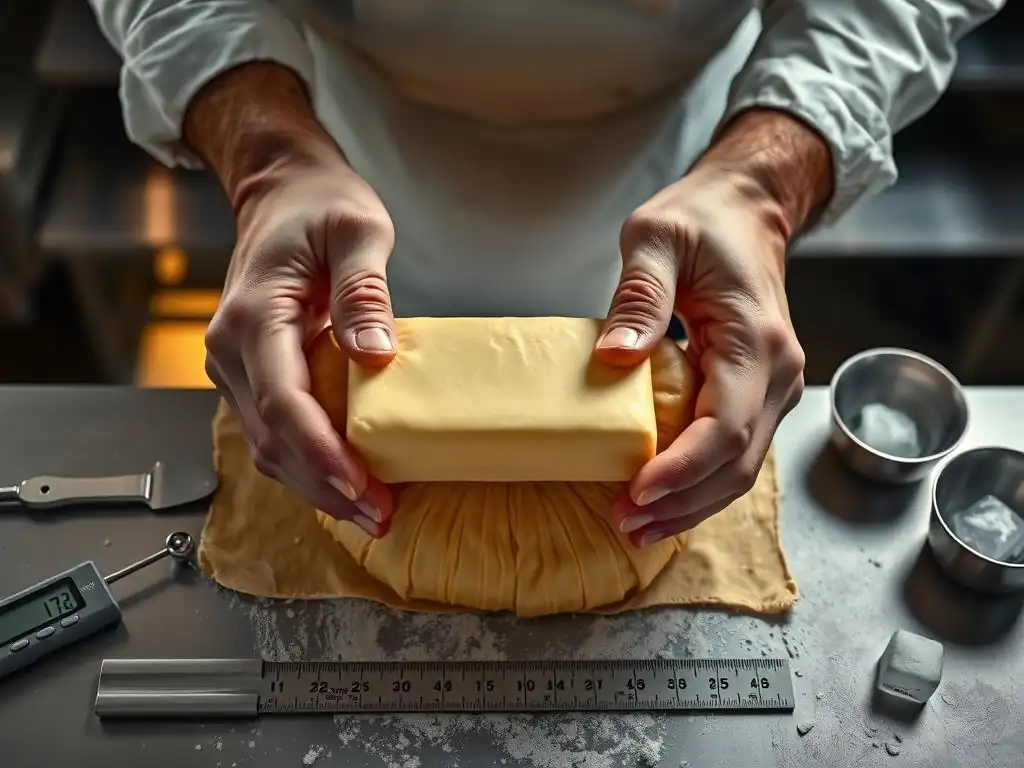
Once your détrempe (the basic dough) is made and rested, and your butter block is perfectly tempered to 12-15°C (54-59°F), it's time to combine them and begin the lamination process. This is where the magic happens, building the foundation for hundreds of delicate layers. The careful integration of the butter block is the first critical step after achieving the correct butter block baking temperature for the butter itself.
This process typically involves enclosing the butter within the dough and then repeatedly rolling and folding the combined mass. Each fold creates new layers of dough and butter, multiplying the number of layers with each turn.
Preparing the Détrempe (Basic Dough): [Briefly Mention Détrempe Recipe – Flour, Water, Yeast, Salt]
The détrempe is the foundational dough for croissants, usually a lean dough made from just four basic ingredients: strong bread flour (high protein content, typically 12-14%), water, yeast (either active dry or instant), and salt. Some recipes might include a small amount of sugar or milk for flavor and tenderness.
The détrempe is mixed until just combined, then kneaded briefly – you don't want to develop too much gluten at this stage, as it will be developed further during lamination. It's then typically chilled for several hours, often overnight, to firm up and relax the gluten, making it easier to roll out alongside the butter block which is kept at its optimal butter block baking temperature.
Enclosing the Butter Block: The First Fold and Seal
The first step in lamination is enclosing the tempered butter block within the détrempe. The chilled détrempe is usually rolled out into a rectangle, typically about twice the size of the butter block. The butter block is placed on one half of the dough rectangle.
The other half of the dough is then folded over the butter block, completely encasing it. The edges of the dough are carefully sealed to prevent the butter from escaping during rolling. This initial "lock-in" creates three layers: dough, butter, and dough. Maintaining the butter block baking temperature is crucial here so the butter doesn't ooze out while sealing.
Performing the Turns: Single vs. Double Folds for Optimal Lamination
After the butter is enclosed, the laminated dough is rolled out and folded repeatedly. There are two main types of folds:
- Single Fold (or Letter Fold): The dough is rolled into a rectangle, and then one end is folded to the center, and the other end is folded over it, like folding a letter. This creates three layers from the previous set.
- Double Fold (or Book Fold): The dough is rolled into a rectangle, the ends are folded towards the center seam, and then folded in half along the seam. This creates four layers from the previous set.
Most croissant recipes call for a specific number of turns, often three single folds or a combination of single and double folds (e.g., one double and two singles). Each turn multiplies the layers, resulting in potentially hundreds of layers by the end of the process. The dough must be chilled between each turn to relax the gluten and re-firm the butter to its ideal butter block baking temperature.
Resting the Dough: Allowing Gluten Relaxation and Butter Firming
Resting the dough between turns is absolutely critical. After each rolling and folding step, the gluten in the dough becomes taut and elastic, making it difficult to roll further. The butter also warms up from the friction and handling.
Placing the dough back in the refrigerator for 30-60 minutes (or even longer) allows the gluten to relax, making the dough pliable and easy to roll again. Crucially, it also allows the butter block to firm up back to the desired 12-15°C (54-59°F) range. Skipping or shortening rest periods is a common mistake that leads to difficult rolling, torn dough, and butter seepage, compromising the lamination structure before the croissants even reach the oven, regardless of the final butter block baking temperature.
Achieving Croissant Perfection: Beyond Butter Temperature
While mastering the butter block baking temperature and lamination is fundamental, other factors are equally important for achieving truly perfect croissants. From the initial dough handling to the final moments in the oven, each step contributes to the final outcome – a pastry that is light, airy, and shatteringly crisp.
Focusing solely on lamination isn't enough; attention must be paid to the entire process. These additional techniques ensure that the beautifully laminated dough structure is preserved and maximized during proofing and baking.
Dough Handling Techniques: Minimizing Gluten Development
Beyond the initial mixing, minimizing excessive gluten development during rolling is important. While some gluten is necessary for structure, too much can make the dough elastic and difficult to roll thinly, potentially tearing the butter layers. Use minimal flour on your work surface and rolling pin to prevent sticking, but avoid incorporating excess dry flour into the dough.
Roll the dough gently and evenly, applying consistent pressure. Avoid stretching or pulling the dough aggressively. If the dough springs back significantly, it indicates the gluten is too tight – this is a sign it needs more rest in the refrigerator to relax before you continue rolling. Gentle handling preserves the delicate layers created by maintaining the proper butter block baking temperature.
Proofing Your Croissants: Achieving the Right Rise and Oven Spring
Proofing is the final rise of the shaped croissants before baking. This is where the yeast produces carbon dioxide, causing the croissants to expand and develop their characteristic shape and texture. Proper proofing is crucial for achieving a light, airy interior. Croissants are typically proofed in a warm, humid environment (around 24-26°C / 75-79°F with 70-80% humidity) until they are visibly puffy and jiggly but not so expanded that the layers start to separate prematurely. This usually takes 1.5 to 3 hours, depending on the environment.
Under-proofed croissants will be dense and heavy, while over-proofed croissants can collapse in the oven. The ideal proofed croissant should look fragile and airy. The layers, formed by the tempered butter block and careful lamination, should be visible and slightly separated, ready to expand dramatically in the heat.
Baking for Flakiness: 190°C (375°F) for 18-22 Minutes
Baking is the final step where the laminated structure is revealed. Croissants are typically baked in a hot oven, often preheated to around 190°C (375°F). The high initial heat causes the water in the butter layers to instantly turn to steam, creating rapid expansion and forcing the dough layers apart. This is known as "oven spring."
Bake for 18-22 minutes, or until the croissants are deeply golden brown and feel light when lifted. The exact time can vary depending on your oven. The deep color indicates that the layers have caramelized and become crisp. The high initial butter block baking temperature for the butter during lamination facilitates the creation of these layers, and the hot oven ensures they puff up dramatically, resulting in that signature flaky texture.
Conclusion: Mastering Butter Temperature for Perfect Croissants
Making croissants at home is a rewarding challenge that teaches valuable baking skills. While many elements contribute to success, the importance of the butter block baking temperature cannot be overstated. It is the silent architect of the flaky layers that define this classic pastry.
Understanding how butter behaves at different temperatures, preparing your butter block correctly, and diligently maintaining its temperature throughout the lamination process are fundamental steps. By paying close attention to the 12-15°C (54-59°F) range, troubleshooting issues as they arise, and utilizing smart techniques like chilling and efficient handling, you significantly increase your chances of achieving croissant perfection.
Recap of Key Butter Temperature Principles
Remember the core principles:
- Butter acts as a layer separator during lamination.
- The ideal butter block baking temperature for lamination is 12-15°C (54-59°F).
- Butter too cold shatters; butter too warm melts and seeps.
- Use a thermometer and tactile/visual cues to assess temperature.
- Frequent chilling between turns is essential to maintain the correct butter block baking temperature.
- European-style butter (82%+ fat) is preferred.
Mastering these principles is key to creating a dough structure that is ready to achieve maximum flakiness when it hits the hot oven.
Encouragement for Experimentation and Continuous Improvement in Croissant Baking
Don't be discouraged if your first few batches aren't perfect. Croissant making is a skill that improves with practice. Each attempt is a learning opportunity to better understand how your dough and butter behave in your specific environment. Pay attention to the feel of the dough and butter at each stage.
Experiment with slightly different resting times, observe how your oven bakes, and refine your technique. The journey to perfect croissants is one of continuous improvement. By focusing on the crucial element of the butter block baking temperature, you are well on your way to enjoying those golden, flaky layers you've been dreaming of. Happy baking!
Frequently Asked Questions
What is the ideal butter block baking temperature according to BakeWithEase?
The ideal butter block baking temperature isn't a single number, but rather a range depending on the recipe. However, generally, cold but pliable is best. Think of it as a temperature where the butter is cold enough to hold its shape but soft enough to be worked with.
Why is butter block temperature so important in baking?
Butter block temperature significantly affects the texture of your baked goods. Cold butter creates flakier pastries and cookies, while softer butter results in a more tender crumb. The goal is to achieve the desired texture by controlling the butter's state.
How can I quickly chill a butter block that's too soft?
Wrap the butter block tightly in plastic wrap and place it in the freezer for 10-15 minutes. Check it frequently to prevent it from becoming too hard. You want it cold, not frozen solid.
What happens if my butter block is too cold when I start baking?
If the butter block is too cold, it will be difficult to incorporate into your dough or batter. This can lead to uneven mixing and a tough final product, with pockets of butter remaining unmixed.
What are some recipes where butter block temperature is particularly critical?
Recipes like croissants, puff pastry, and shortbread rely heavily on the correct butter block temperature. These recipes require layers of cold butter to create flaky textures. Therefore, meticulous attention to the butter's state is essential for success.
Final Reflection: The Perfect Melt: Mastering Butter's Role in Baking
The precise temperature of your butter block is not merely a detail; it's the cornerstone of successful baking. A seemingly small variance can dramatically impact the texture, flavor, and overall quality of your baked goods, from delicate pastries to robust loaves. Understanding this crucial element elevates baking from a simple process to a precise art.
The impact of butter temperature extends far beyond the immediate result of a single bake. It speaks to a deeper appreciation for the ingredients we use and the science behind culinary creation. The best bakers are scientists in disguise,
a wise pastry chef once told me, and this rings truer than ever when considering the transformative power of correctly tempered butter. From the creamy smoothness of a perfectly layered cake to the flaky perfection of a croissant, the journey of butter from solid to liquid is a testament to the delicate balance required in baking.
Now, consider your own baking journey. What have you learned about the nuances of butter temperature? Are you ready to experiment with different techniques, to meticulously control the melting process and observe the results? Take the time to truly understand this fundamental aspect of baking, and you will unlock a new level of mastery in the kitchen. Embrace the precision, appreciate the science, and savor the delicious rewards.
Unlock Butter's Baking Potential!
Thanks for taking the time to learn about the perfect temperature for your butter! You're now equipped with the knowledge to elevate your baking game. Ready to put this newfound expertise into action?
- Master the art of perfectly creamed butter: Practice the techniques outlined in the article with your next batch of cookies or cake. Pay close attention to the texture and consistency of your butter at different stages. This small change will make a huge difference!
- Share your baking triumphs (and challenges!): Let us know how you're incorporating this temperature trick into your baking routine. Share pictures or recipes on our social media channels!
- Explore other baking tips: Check out our other articles for more baking secrets to make your desserts even more delicious!
What's your favorite recipe that will truly benefit from perfectly tempered butter?