
Elevate Your Baking: Decorative Cuts for Puff Pastry

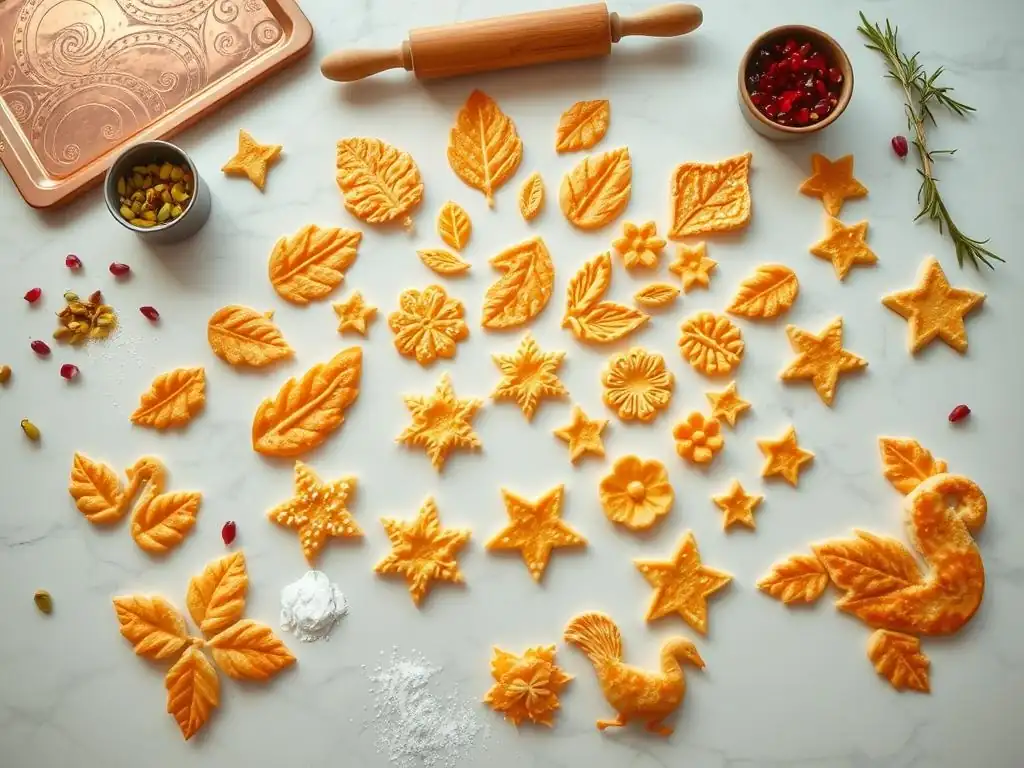
Welcome to BakeWithEase, where baking dreams become delicious realities! Ever wondered how to transform ordinary puff pastry into edible works of art? This week, we're diving deep into the world of puff pastry decorative cut shapes, revealing surprisingly simple techniques to elevate your creations. Prepare to impress your friends and family with stunning designs that are easier to achieve than you think. Ready to unlock the secret to beautiful baking? Let's get started!
- Introduction to Decorative Puff Pastry Techniques
- Essential Tools for Puff Pastry Decorative Cuts
- Mastering Basic Puff Pastry Decorative Cut Shapes
- Intermediate Puff Pastry Decorative Cut Designs
- Advanced Techniques: Sculpting with Puff Pastry
- Baking Tips for Perfectly Decorated Puff Pastry
- Puff Pastry Decorative Cut Ideas & Inspiration
- Troubleshooting Common Puff Pastry Cutting Issues
- Conclusion: Unleash Your Creativity with Puff Pastry
-
Frequently Asked Questions
- What are some simple decorative cuts I can use on puff pastry?
- Can I use any type of knife for decorative puff pastry cuts?
- How do decorative cuts affect the puff pastry's rise?
- What's the best way to prevent the puff pastry from sticking while cutting?
- Where can I find templates for more complex decorative puff pastry designs?
- Final Reflection: The Art and Joy of Puff Pastry Precision
- Unleash Your Inner Pastry Artist!
Introduction to Decorative Puff Pastry Techniques
Why Learn Decorative Cuts for Puff Pastry?
Learning various puff pastry decorative cut shapes is like adding an artist's touch to your baking. It transforms simple dough into visually stunning creations, elevating the perceived value and appeal of your baked goods. Whether you're making a savory appetizer or a sweet dessert, intricate cuts can make your pastry stand out, turning an everyday bake into a special occasion piece. This skill set allows you to express creativity and impress guests or customers with professional-looking results, even from a home kitchen.
Beyond aesthetics, decorative cuts often serve a functional purpose. Slits and vents, for instance, allow steam to escape during baking. This is crucial for ensuring the pastry puffs up evenly and achieves that desirable light, airy texture. Without proper venting, steam can build up and potentially burst through the weakest points, leading to misshapen or unevenly puffed pastries. Mastering these techniques ensures both beauty and baking success.
Brief Overview of Puff Pastry Basics for Decorative Applications
Successful decorative cutting begins with properly prepared puff pastry. The dough should be well-chilled, ideally between 35°F and 40°F (2°C and 4°C), which makes it firm and easy to handle without becoming sticky. Working with cold dough is paramount because the layers of butter need to remain solid until they hit the heat of the oven; this is what creates the characteristic puff. If the dough is too warm, the butter can melt prematurely, resulting in greasy, flat pastry.
When rolling out puff pastry for decorative cuts, aim for an even thickness across the entire sheet. Typically, a thickness of about 1/8 inch (3-4 mm) is suitable for most decorative applications, providing enough substance for cutting without being too thick to handle intricate designs. Always roll on a lightly floured surface, using minimal flour to prevent the dough from drying out. Rotate the dough frequently to ensure even rolling and prevent it from sticking.
Essential Tools for Puff Pastry Decorative Cuts
Recommended Knives for Precise Puff Pastry Cutting
A sharp knife is arguably the most important tool for creating clean, precise puff pastry decorative cut shapes. A dull blade can drag the dough, sealing the delicate layers together and hindering the puff. A small, sharp paring knife is excellent for intricate work, detailed cuts, and scoring lines. Its fine tip allows for maneuverability and precision in tight spaces and curves.
For straight cuts or larger designs, a sharp utility knife or even a razor blade (specifically for food use, like a lamé used in bread making) can provide exceptionally clean edges. The key is to make a single, decisive cut rather than sawing back and forth, which can compress the layers. Always press straight down to slice through the dough completely, ensuring the layers remain distinct right up to the cut edge.
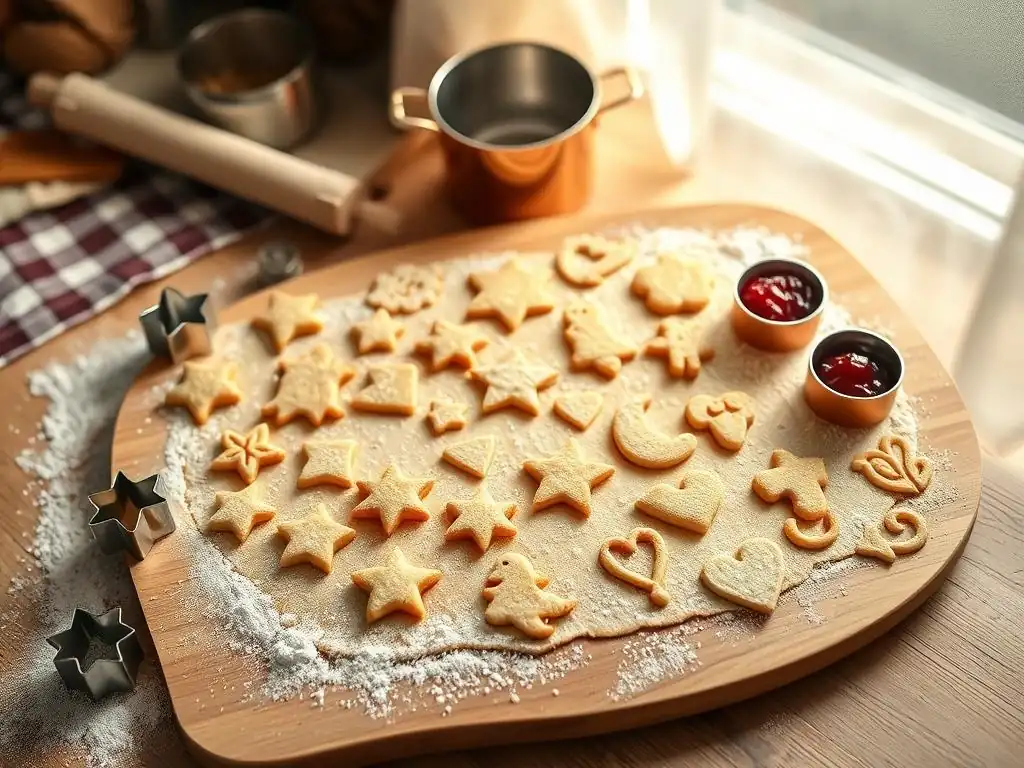
Cookie cutters offer a simple and effective way to create consistent puff pastry decorative cut shapes quickly. They are perfect for producing uniform shapes like stars, hearts, circles, or seasonal figures. To use a cookie cutter effectively with puff pastry, ensure the cutter is clean and sharp. Lightly flouring the cutter can also help prevent sticking, especially with intricate shapes.
Press the cookie cutter firmly and evenly straight down through the chilled dough. Avoid twisting the cutter, as this can distort the shape and seal the edges. Once cut, gently lift the excess dough away from the cut shapes. These cutouts can then be baked as individual pastries or used as decorative elements on larger pieces. Leftover dough scraps can be gently pressed together and re-rolled, though they may not puff as dramatically as the initial cuts due to the disturbance of the layers.
Other Helpful Tools: Pizza Wheel, Pastry Wheel, Ruler
Beyond knives and cookie cutters, several other tools can greatly assist in creating puff pastry decorative cut shapes. A pizza wheel or a fluted pastry wheel is excellent for making straight cuts or decorative wavy edges quickly and efficiently. These tools are particularly useful for cutting strips for lattices, braids, or simple rectangular pastries like cheese straws or palmiers. Their rolling action minimizes drag on the dough.
A ruler is indispensable for ensuring straight lines, precise measurements, and consistent spacing between cuts, which is crucial for geometric designs or uniform braids. Using a ruler alongside a sharp knife or pizza wheel guarantees symmetry and professional-looking results. Additionally, a small offset spatula can be helpful for transferring delicate cutouts to a baking sheet without distorting their shape.
Mastering Basic Puff Pastry Decorative Cut Shapes
The Simple Slit: Creating Venting and Visual Appeal
The simple slit is one of the most fundamental puff pastry decorative cut shapes, serving both a functional and aesthetic purpose. These small cuts, typically made with a sharp paring knife, allow steam to escape from the pastry as it bakes, preventing uneven puffing and potential bursting. Functionally, they are essential for achieving a well-risen, flaky pastry.
Visually, strategically placed slits can add subtle decoration. A few parallel slits on top of a tart or turnover, a radiating pattern from the center, or even simple crosshatching can transform a plain surface into something more appealing. Aim for cuts that go through the top layer of dough but not all the way through the bottom layer if the pastry has a base. For pastries meant to puff significantly, like vol-au-vents, a pattern of small holes (docking) can also be considered a form of venting/decorative cut.
Braided Puff Pastry: A Step-by-Step Guide
Creating a braided puff pastry is a popular way to encase fillings while adding beautiful puff pastry decorative cut shapes. Begin by rolling out a rectangular sheet of dough. Place your filling down the center third of the rectangle. On the outer two-thirds, use a sharp knife or pizza wheel to cut diagonal strips, about 1 inch wide, extending from the edge of the dough towards the filling, leaving the center section uncut.
To form the braid, fold the top and bottom edges of the dough over the filling to seal the ends. Then, starting from one end, alternately fold the cut strips from each side over the filling, creating a braided pattern. Each strip should slightly overlap the previous one. Once all strips are folded, you have a sealed, decorative braid ready for baking. Ensure the dough is cold throughout this process for the best results.
Lattice Top: Classic Decorative Puff Pastry
A classic lattice top is a timeless and elegant puff pastry decorative cut shape, perfect for fruit tarts or savory pies. Roll out a sheet of dough and cut it into even strips, typically 1/2 to 1 inch wide, using a ruler and a sharp knife or pizza wheel. Ensure you have enough strips to cover your filling. For a standard 9-inch round tart, you might need 10-12 strips.
Arrange half of the strips parallel across the top of your filled tart or pie. Fold back alternating strips halfway. Place one of the remaining strips perpendicularly across the unfolded strips at the fold line. Unfold the folded strips back over the perpendicular strip. Now, fold back the other alternating strips and lay another perpendicular strip down. Continue this weaving process until the surface is covered, then trim and seal the edges.
Intermediate Puff Pastry Decorative Cut Designs
Creating Leaves and Floral Patterns with Puff Pastry
Moving into intermediate puff pastry decorative cut shapes allows for more artistic expression, such as crafting leaves or floral patterns. To make leaves, roll out a thin sheet of dough. Use a small, sharp paring knife to freehand cut leaf shapes, or use a leaf-shaped cookie cutter. Once the shape is cut, use the back of the knife or a skewer to gently press veins onto the surface without cutting through.
Floral patterns can range from simple layered petals to more complex roses. For simple petals, cut out multiple circles of decreasing size. Layer them slightly overlapping to form a flower shape. For a rose, cut a long strip of dough, thin the top edge slightly, and place small dabs of filling (like jam or cinnamon sugar) along the thinned edge. Fold the strip lengthwise and roll it up from one end to create a rose shape.
Geometric Designs: Squares, Diamonds, and Triangles
Geometric puff pastry decorative cut shapes offer a modern and clean aesthetic. Simple squares, diamonds, or triangles can be cut using a ruler and a sharp knife or pastry wheel. These shapes can be baked individually as bases for appetizers or desserts. For instance, small diamond cutouts can be baked and then topped with smoked salmon and cream cheese.
More complex geometric patterns can be created by scoring the surface of a larger sheet of dough before baking. Using a ruler and a sharp knife, lightly score a grid of squares, diamonds, or triangles onto the dough surface. Be careful not to cut all the way through, just enough to create definition. These scored lines will separate slightly as the pastry bakes, creating a subtle, elegant pattern.
Incorporating Stencils for Intricate Puff Pastry Decorations
Stencils can be a fantastic tool for achieving intricate and repeatable puff pastry decorative cut shapes or patterns. You can use food-grade stencils or even create your own designs on parchment paper to use as a guide. Place the stencil over your chilled dough.
For cutting, use a sharp paring knife to carefully trace the interior edges of the stencil, cutting through the dough. For applying patterns onto the dough surface (before or after baking), stencils can be used with egg wash, sugar, or even edible dusts. For example, you could stencil a pattern onto unbaked dough using egg wash, which will brown more intensely in those areas, creating a subtle design contrast.
Advanced Techniques: Sculpting with Puff Pastry
Creating 3D Puff Pastry Elements: Roses and Twists
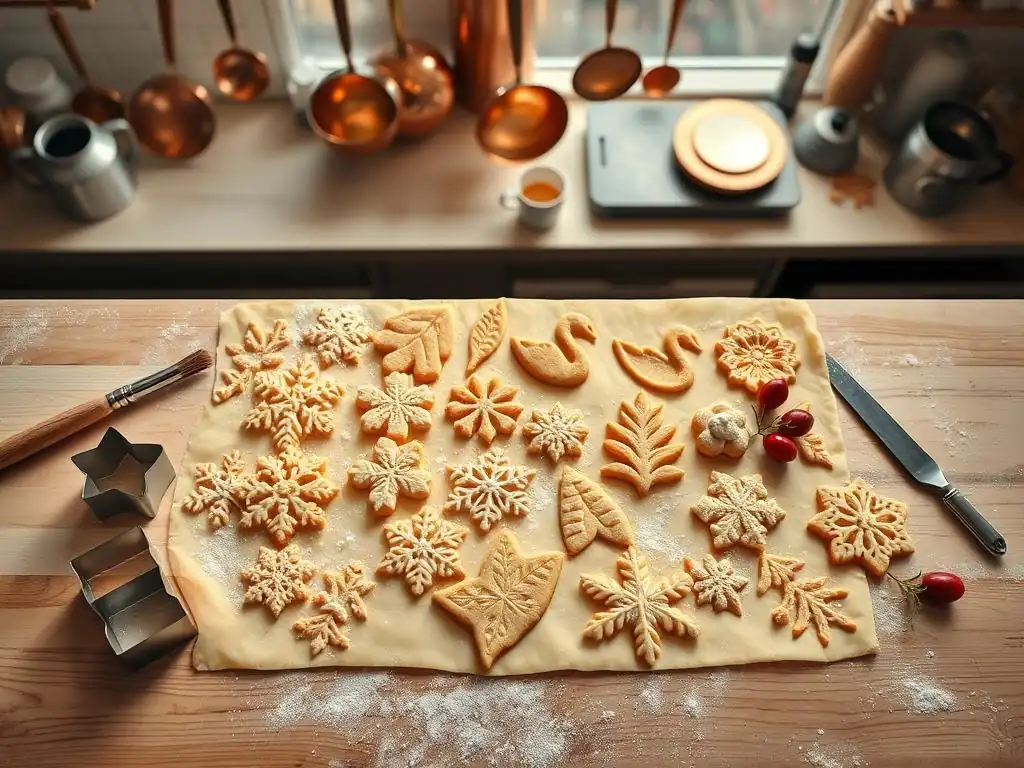
Advanced techniques involve manipulating the dough to create three-dimensional puff pastry decorative cut shapes. We touched on simple roses earlier, but more advanced versions involve careful layering and shaping. Twists are another great example: cut long strips of dough (perhaps 1/2 inch wide), brush with egg wash and sprinkle with sugar or spices, then twist the strips tightly before baking.
More complex 3D sculpting can involve cutting out multiple layers of dough and stacking them, or cutting shapes that are designed to curl or stand up as they bake. For instance, cutting a spiral into a round piece of dough and then pulling the center upwards can create a cone-like shape that puffs into a dramatic element. These techniques often require experimenting with dough thickness and baking temperatures.
Combining Different Cutting Techniques for Complex Designs
Truly impressive puff pastry decorative cut shapes often result from combining multiple techniques. Imagine a tart with a braided edge, a lattice top, and small decorative leaves baked and placed on top after cooling. Or a savory pastry where the base is cut into a specific shape, the top is scored with a geometric pattern, and small twisted elements are added around the border.
Combining scoring, cutting out shapes, twisting, and layering allows for virtually endless possibilities. Planning the design on paper first can be helpful. Consider how each element will puff and interact with the others during baking. Ensure all components are made from dough that is equally chilled and rolled to a consistent thickness for even baking.
Tips for Preventing Puff Pastry Distortion During Baking
Preventing distortion is crucial for maintaining the integrity of your puff pastry decorative cut shapes. The primary culprit for distortion is warm dough. Always chill your cut shapes thoroughly on the baking sheet before they go into the hot oven – 15-30 minutes in the refrigerator is often sufficient. This ensures the butter layers are solid and ready to create steam quickly.
Another tip is to handle the cut shapes minimally and gently when transferring them to the baking sheet. Use an offset spatula if necessary. Ensure your oven is fully preheated to the correct temperature before baking; a hot oven is essential for the initial rapid puff. Using a baking sheet lined with parchment paper or a silicone mat also helps prevent sticking and makes transfer easier after baking.
Baking Tips for Perfectly Decorated Puff Pastry
Temperature and Baking Time Considerations
Baking puff pastry requires a hot oven to achieve maximum puff and crispness. A common starting temperature is around 400°F to 425°F (200°C to 220°C). The high heat causes the water in the butter layers to turn to steam rapidly, forcing the layers apart. For smaller, thinner puff pastry decorative cut shapes, you might maintain this high temperature for the entire bake.
For larger pastries or those with intricate decorative elements that might burn, it's often recommended to start at a high temperature for the first 10-15 minutes to establish the puff, then reduce the temperature to around 375°F (190°C) to allow the pastry to cook through and brown evenly without burning the delicate parts. Total baking time varies greatly depending on the size and thickness, typically ranging from 12 to 25 minutes.
Achieving Golden-Brown Color and Crisp Texture
The hallmark of well-baked puff pastry is its beautiful golden-brown color and crisp, flaky texture. Achieving this requires sufficient baking time at the correct temperature. The pastry should look deeply golden, not just pale yellow. If it's too pale, it likely hasn't baked long enough and might be doughy inside.
An egg wash (a beaten egg mixed with a little water or milk) brushed lightly over the surface before baking contributes significantly to a rich, golden color and a slight sheen. Be careful not to let the egg wash drip down the sides, as it can seal the layers and impede the puff. Bake until the pastry is fully puffed, golden brown, and feels light and crisp when gently tapped.
Preventing Over-Browning of Decorative Elements
Delicate puff pastry decorative cut shapes, like thin leaves or intricate lattice strips, are prone to over-browning or burning before the rest of the pastry is done. If you notice these elements browning too quickly, you can loosely tent the pastry with aluminum foil.
Alternatively, you can shield specific areas with small pieces of foil placed directly over them. This reflects some of the heat away, allowing the rest of the pastry to catch up in color. Monitoring the pastry closely during the last few minutes of baking is key to preventing this issue.
Puff Pastry Decorative Cut Ideas & Inspiration
Savory Puff Pastry Applications: Asparagus Tart and Cheese Straws
Puff pastry decorative cut shapes lend themselves beautifully to savory applications. An asparagus and goat cheese tart can be elevated with a simple scored border around the edge or a braided crust. Cut strips of dough, twist them with grated cheese (like Parmesan or Gruyère), and bake them as cheese straws for an easy yet elegant appetizer. A single sheet of puff pastry can yield dozens of these delightful twists.
Consider using cookie cutters to make small savory shapes like stars or circles. Bake these as individual canapé bases and top them with smoked salmon, pâté, or roasted vegetables. Creating small boxes or cases by scoring and folding dough allows for individual savory fillings, presenting a professional touch. The versatility of puff pastry decorative cut shapes in savory dishes is immense.
Sweet Puff Pastry Applications: Palmiers and Fruit Tartlets
Sweet treats are perhaps the most common use for puff pastry decorative cut shapes. Palmiers, also known as elephant ears or palm leaves, are a classic example. Roll out dough, sprinkle with sugar (and cinnamon, if desired), fold the sides inward repeatedly to meet in the middle, then slice into cookies about 1/2 inch thick. The cut reveals the beautiful layered, heart-like shape.
Fruit tartlets are another excellent canvas. Cut out circles or squares of dough, score a border about 1/2 inch from the edge (without cutting through), and fill the center with fruit and perhaps a little jam or pastry cream. The scored border will puff up, creating a natural shell to hold the filling. Small decorative cutouts like stars or hearts can be placed on top of the fruit before baking for extra flair.
Seasonal Puff Pastry Decorating Ideas: Holiday Shapes and Autumn Leaves
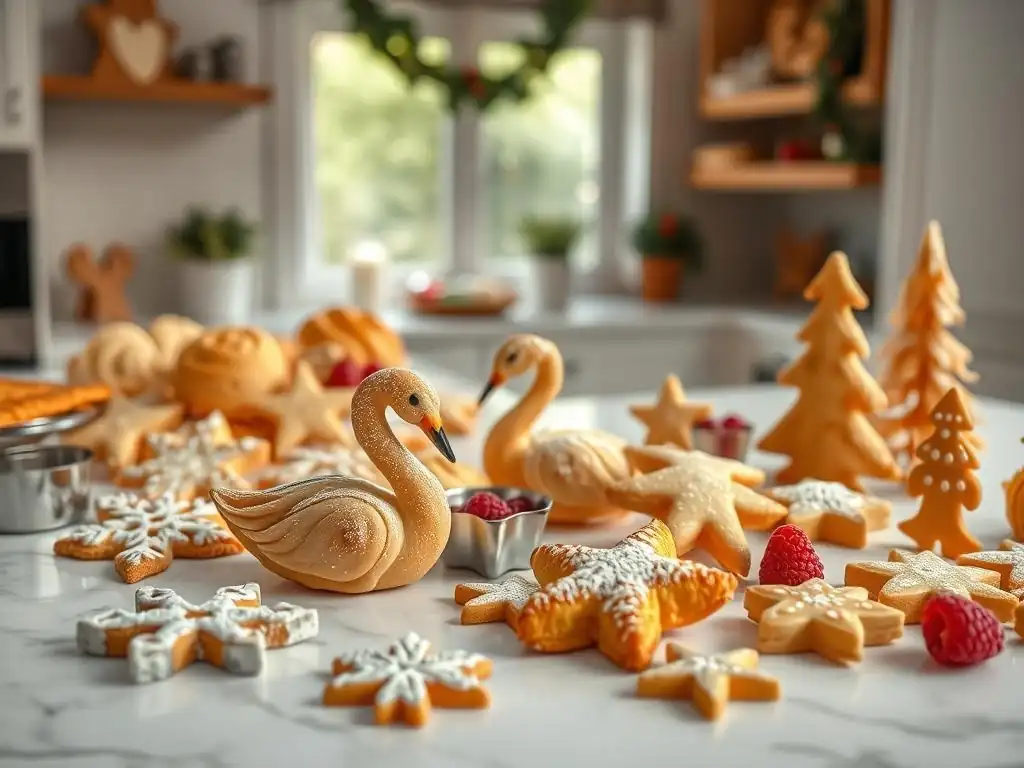
Embrace the seasons by incorporating themed puff pastry decorative cut shapes. For the holidays, use cookie cutters to create festive shapes like Christmas trees, stars, snowflakes, or pumpkins. These can be baked plain and dusted with powdered sugar, or filled and folded into turnovers.
In autumn, cut out leaf shapes using cookie cutters or a knife, and score veins onto them as described earlier. These can be baked and used to decorate pies or tarts, or simply dusted with cinnamon sugar for a simple snack. The possibilities for seasonal shapes are limited only by your collection of cookie cutters and your imagination.
Troubleshooting Common Puff Pastry Cutting Issues
Puff Pastry Dough Too Sticky or Too Dry
If your puff pastry dough is too sticky while you're trying to make decorative cuts, it's likely too warm. The best solution is to wrap it well and return it to the refrigerator for at least 30 minutes to firm up. Ensure your work surface and tools are lightly floured, but avoid excessive flour, which can dry out the dough. A scraper can help handle sticky dough.
If the dough feels too dry or cracks when you roll it, it may not have enough moisture or it might be too cold. Allow it to sit at room temperature for a few minutes to soften slightly before attempting to roll or cut. If it's excessively dry throughout, it might be an issue with the initial dough preparation (if homemade) or the storage. Sometimes, very gently misting with a tiny bit of water and letting it sit can help, but be cautious not to add too much liquid.
Preventing Shrinkage During Baking
Shrinkage is a common issue with puff pastry, especially after cutting. This often occurs if the dough is rolled out and cut while too warm, or if it is handled too much, causing the gluten to develop and contract. To minimize shrinkage, always work with well-chilled dough.
After cutting your puff pastry decorative cut shapes, place them on the baking sheet and chill them again in the refrigerator for at least 15-20 minutes before baking. This allows the gluten strands to relax and the butter to firm up, reducing the tendency to contract in the oven heat. Avoid stretching the dough when transferring cut pieces.
Fixing Uneven Baking and Puffing
Uneven baking and puffing can be frustrating after you've spent time on decorative cuts. This is often due to uneven oven temperature or hot spots. To mitigate this, ensure your oven is accurately calibrated and fully preheated. Using a baking stone or steel can help regulate the temperature and provide more even heat from below.
Rotating your baking sheet halfway through the baking time can also help ensure all parts of the pastry bake and brown evenly. If a specific area consistently browns too quickly, you can shield it with a small piece of aluminum foil. Ensure your dough was rolled to a consistent thickness, as thinner areas will cook and brown faster than thicker ones.
Conclusion: Unleash Your Creativity with Puff Pastry
Mastering puff pastry decorative cut shapes opens up a world of creative possibilities in your baking. From simple slits that aid puffing to intricate braided tarts and sculpted 3D elements, these techniques allow you to transform basic dough into edible works of art. We've explored essential tools, basic to advanced cuts, troubleshooting tips, and plenty of inspiration for both sweet and savory creations.
Remember that practice makes perfect. Don't be discouraged if your first attempts aren't flawless. Working with chilled dough, using sharp tools, and chilling your cut shapes before baking are fundamental steps for success. Experiment with different puff pastry decorative cut shapes, combine techniques, and let your imagination guide you. With a little effort, you can consistently bake beautiful, delicious puff pastry that delights the eyes as much as the palate.
Frequently Asked Questions
What are some simple decorative cuts I can use on puff pastry?
Simple cuts include strips for lattices, shapes cut with cookie cutters, and basic scoring patterns to create visual interest. These require minimal skill and add a professional touch.
Can I use any type of knife for decorative puff pastry cuts?
While any sharp knife can be used, a pizza cutter or a pastry wheel are often preferred for clean, consistent lines. A sharp paring knife works well for intricate details.
How do decorative cuts affect the puff pastry's rise?
Cuts can actually enhance the rise by creating pathways for steam to escape, resulting in more even and dramatic puffing. However, avoid cutting all the way through the pastry.
What's the best way to prevent the puff pastry from sticking while cutting?
Ensure your puff pastry is cold and slightly thawed, not frozen or too warm. Lightly flour your work surface and the knife or cutter to prevent sticking and ensure clean cuts.
Where can I find templates for more complex decorative puff pastry designs?
Many websites, including BakeWithEase.com, offer free printable templates. You can also find inspiration on social media platforms like Pinterest and Instagram by searching for "puff pastry art".
Final Reflection: The Art and Joy of Puff Pastry Precision
The intricate world of puff pastry decorative cuts isn't just about aesthetics; it's about elevating the everyday into something extraordinary. Mastering these techniques transforms a simple dessert into a culinary masterpiece, a testament to both skill and creativity. In a world increasingly focused on instant gratification, taking the time to meticulously craft these beautiful shapes offers a powerful antidote – a mindful process that yields stunning results.
The enduring appeal of puff pastry lies in its versatility and the sheer delight it brings. From classic palmiers to whimsical animal shapes, the possibilities are endless, mirroring the boundless creativity of the baker. Baking is at once child's play and adult joy. And love, of course.
– This quote, though not directly about puff pastry, perfectly encapsulates the feeling of satisfaction and joy that comes from creating something beautiful and delicious with your own hands. The impact of these decorative cuts extends beyond the plate; they add a touch of elegance and personality to any occasion, transforming a simple gathering into a memorable event.
Now, it's your turn. Don't be afraid to experiment! Try your hand at those intricate designs you've been admiring. Let the flour dust your hands, the butter melt on your fingertips, and the aroma of freshly baked pastry fill your kitchen. Embrace the process, celebrate the imperfections, and most importantly, savor the joy of creating something beautiful and delicious. The world awaits your uniquely shaped puff pastry creations.
Unleash Your Inner Pastry Artist!
Thanks for joining us on this delicious journey into the world of decorative puff pastry! We hope you've gained some inspiring ideas to elevate your baking game. Ready to put your newfound skills to the test?
- Master a new cut: Pick your favorite design from the article and try it out – even a simple change can make a huge difference! Don't be afraid to experiment!
- Share your creations: Show us your puff pastry masterpieces on social media! Use #BakeWithEasePuffPastry to inspire others.
- Challenge yourself: Try combining different techniques from the article to create a truly unique design. What innovative cut will you dream up?
What innovative puff pastry design will you create next? Let us know in the comments below!