
Equipment Essentials: Everything You Need to Start Your Sourdough Journey

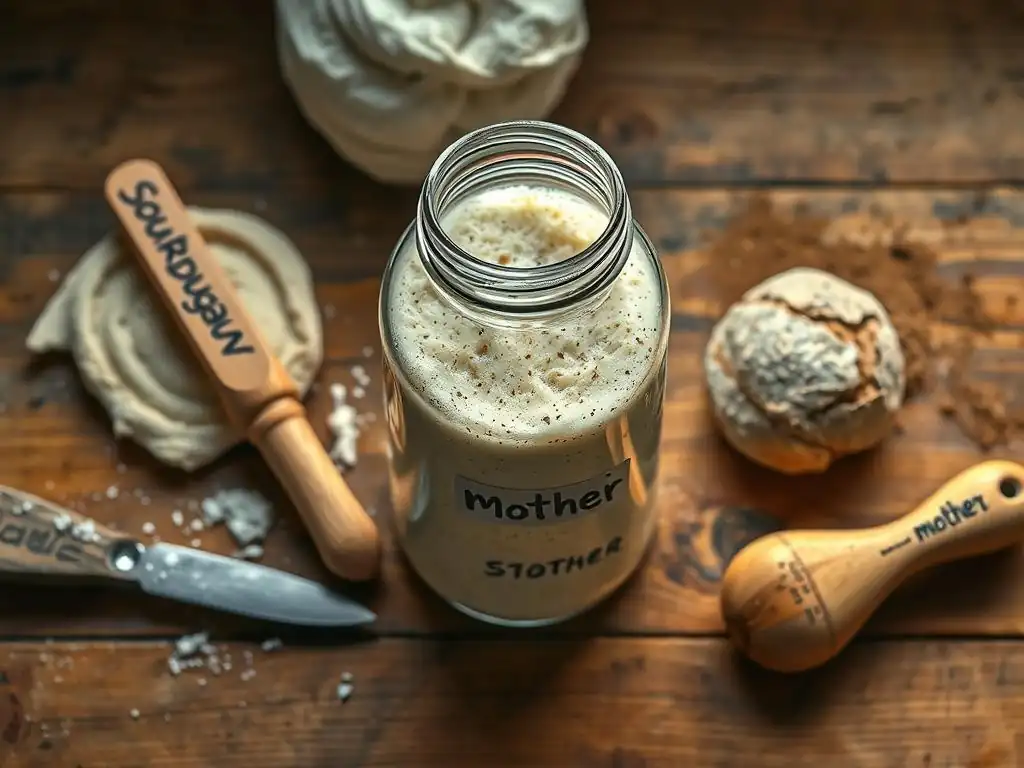
Welcome to BakeWithEase, your trusted guide to baking bliss! Are you ready to elevate your sourdough game? While having the right tools is key, mastering the art of sourdough goes beyond just equipment. This article focuses on the essentials you need to kickstart your sourdough journey. But what about keeping that precious starter alive and thriving? Keep reading, and you'll discover not only what equipment is essential, but also a hint of sourdough starter maintenance tips that will ensure your success. Curious to learn more? Let's get baking!
- Introduction to Sourdough Baking: Setting Up Your Kitchen for Success
- Essential Equipment for Sourdough Starter Creation
- Sourdough Starter Maintenance Tools: Keeping Your Starter Healthy
- Baking Equipment Essentials for Sourdough Bread
- Optional Equipment for Advanced Sourdough Baking
- Maintaining Your Sourdough Baking Equipment: Tips and Tricks
- Where to Buy Quality Sourdough Baking Equipment
- Conclusion: Ready to Bake Delicious Sourdough?
-
Frequently Asked Questions
- What's the most crucial piece of equipment for sourdough starter maintenance?
- How often should I feed my sourdough starter for optimal growth?
- What type of flour is best for maintaining a healthy sourdough starter?
- How do I know when my sourdough starter is ready to bake with?
- Can I store my sourdough starter in the refrigerator to slow down activity?
- Final Reflection: Nurturing Your Starter, Nurturing Your Passion
- Unleash Your Inner Baker: Start Your Sourdough Adventure Today!
Introduction to Sourdough Baking: Setting Up Your Kitchen for Success
Embarking on the sourdough journey is a rewarding experience that connects you with a time-honored baking tradition. At its heart is the sourdough starter, a living culture of wild yeast and bacteria that leavens your bread and imparts its signature tangy flavor. While it might seem complex, getting started requires just a few basic ingredients and a willingness to learn. Setting up your kitchen with the right tools from the beginning can make the process significantly smoother, especially when it comes to nurturing and maintaining your starter.
Understanding the role each piece of equipment plays is crucial, not just for the initial creation of your starter, but for its ongoing health and vitality. From the simplest jar to specialized baking tools, each item contributes to your success. This guide will walk you through the essential gear you'll need, focusing on how each piece supports your sourdough journey, from the first mix of flour and water to the moment you slice into a perfectly baked loaf.
Essential Equipment for Sourdough Starter Creation
Jars for Culturing Your Sourdough Starter
The vessel you choose for housing your sourdough starter is more important than you might think. Glass jars are highly recommended because they are non-reactive, meaning they won't interact chemically with the acidic starter. This prevents unwanted flavors or potential contamination. Furthermore, clear glass allows you to easily observe the starter's activity – its rise, fall, and the formation of bubbles – which are vital indicators of its health and readiness.
A jar with a wide mouth, such as a mason jar or a dedicated fermenting jar, is ideal. A quart-sized (approximately 950ml) jar is a good starting point, offering enough space for the starter to double or even triple in volume as it becomes active. While an airtight lid isn't necessary during the initial activation phase (a loosely fitting lid or cloth allows gases to escape), having a lid for storage once the starter is mature is convenient. Ensure the jar is clean and free from soap residue, which can inhibit microbial growth.
The Importance of a Kitchen Scale for Sourdough Baking
Precision is paramount in sourdough baking, and nowhere is this more evident than in measuring ingredients for your starter and dough. While volume measurements (cups and spoons) can vary depending on how you scoop and the density of the ingredient, weighing ingredients provides consistent and accurate ratios every single time. This consistency is absolutely critical for developing and maintaining a healthy, predictable sourdough starter.
Using a digital kitchen scale that measures in grams is highly recommended. Grams offer finer precision than ounces or pounds, allowing you to hit specific hydration levels (the ratio of water to flour) with accuracy. For example, maintaining a 1:1:1 ratio of starter, water, and flour (e.g., 50g starter, 50g water, 50g flour) for feeding is effortless with a scale. This precision greatly improves your ability to troubleshoot issues and refine your techniques, leading to more reliable results when practicing sourdough starter maintenance tips.
Thermometers: Monitoring Sourdough Starter Temperature
Temperature plays a significant role in the activity level of the microbes in your sourdough starter. Wild yeasts and bacteria thrive within specific temperature ranges. Too cold, and their activity slows down significantly; too warm, and they can become overly active or even die off. Monitoring the ambient temperature where your starter is stored, as well as potentially the temperature of the water you use for feeding, can provide valuable insights into its behavior.
A simple room thermometer is useful for keeping track of the general environment. Starters are typically happiest between 70°F and 80°F (21°C to 27°C). If your kitchen is cooler, finding a warmer spot, like near a warm appliance (but not directly on it), can help. An instant-read thermometer can also be helpful for checking water temperature, as using lukewarm water (around 80-85°F or 27-29°C) can sometimes give your starter a gentle boost during feeding, especially in cooler environments. Consistent temperature monitoring is key to successful sourdough starter maintenance tips.
Sourdough Starter Maintenance Tools: Keeping Your Starter Healthy
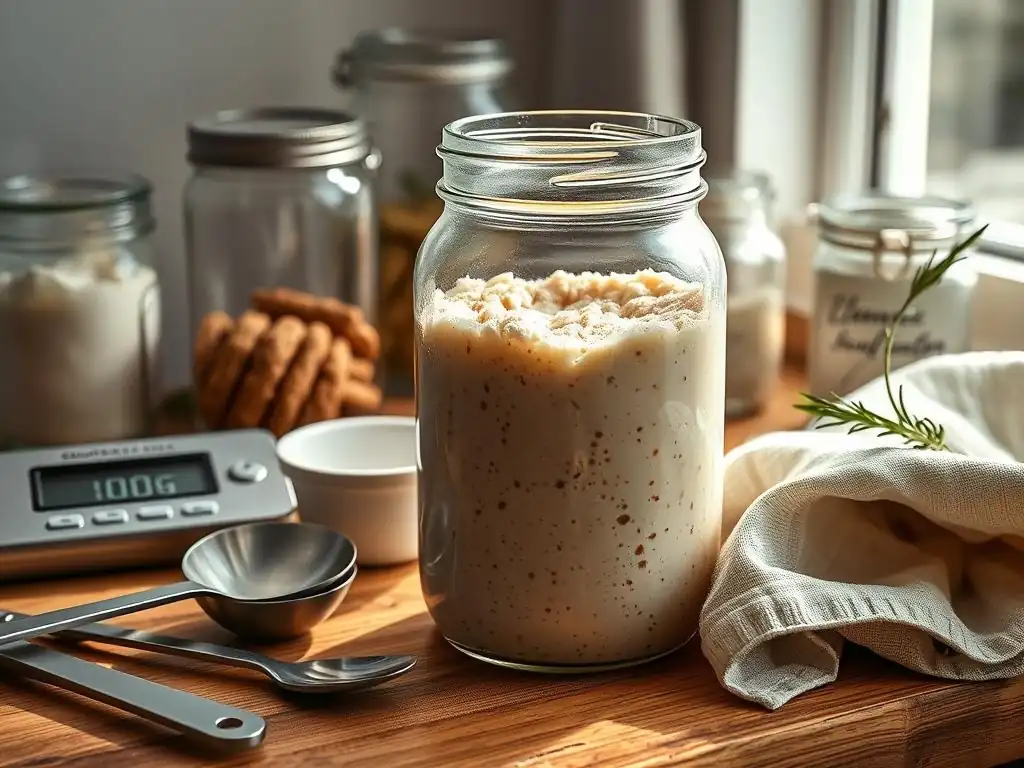
Spatulas and Scrapers: Essential for Sourdough Starter Management
Once your sourdough starter is active and thriving, you'll be interacting with it regularly through feeding and discarding. Flexible spatulas and jar scrapers are indispensable tools for this process. A sturdy rubber or silicone spatula is excellent for mixing the water and flour into the existing starter, ensuring all ingredients are thoroughly incorporated without leaving dry pockets.
Furthermore, a narrow, flexible scraper is perfect for scraping down the sides of your starter jar. This helps keep the jar clean, prevents crusty buildup, and ensures that you can easily track the starter's rise along the sides. Regularly scraping down the jar is a simple but effective practice that contributes to good sourdough starter maintenance tips, making it easier to see the activity and manage the amount of starter you have.
Measuring Cups and Spoons: Precise Measurements for Consistent Results
While a kitchen scale is the gold standard for accuracy, measuring cups and spoons still have their place in the sourdough kitchen, particularly for smaller additions or when following recipes that use volume measurements (though converting to weight is recommended for consistency). They can also be useful for measuring out the water component of your starter feeding if you're not using a scale for liquids, although weighing water is still the most accurate method.
For adding salt or other small ingredients to your dough later on, precise measuring spoons are necessary. Having a reliable set of both dry measuring cups and spoons, perhaps alongside a liquid measuring cup, ensures you can handle various recipe formats. However, for the core process of feeding and managing your starter, relying primarily on your scale for flour and water measurements will lead to more predictable outcomes, which is crucial for effective sourdough starter maintenance tips.
Sourdough Starter Feeding Schedule Tracker: Staying Organized
Maintaining a consistent feeding schedule is one of the most important sourdough starter maintenance tips. Especially in the beginning, or if you're managing multiple starters, keeping track of when you last fed your starter and the ratio you used can be challenging. A simple notebook, a dedicated app, or even a whiteboard can serve as an effective tracker.
Logging the date, time, feeding ratio (e.g., 1:1:1), temperature, and observations (like how much it rose or how it smelled) helps you understand your starter's behavior and identify patterns. This record becomes invaluable for troubleshooting if your starter seems sluggish or if you're trying to adjust your feeding strategy based on your baking frequency or kitchen temperature. Staying organized with a tracker is a proactive step towards successful sourdough starter maintenance tips.
Baking Equipment Essentials for Sourdough Bread
Dutch Oven: Achieving Oven Spring in Sourdough
A Dutch oven is widely considered one of the most effective tools for baking sourdough bread at home, primarily because it mimics the environment of a professional steam-injected oven. Baking the loaf inside a preheated Dutch oven, especially with the lid on for the initial part of the bake, traps the steam released by the dough. This high-humidity environment keeps the crust soft and pliable during the critical first 15-20 minutes of baking, allowing the loaf to expand significantly – this expansion is known as "oven spring."
Once the lid is removed, the moist surface of the dough dries out and begins to caramelize, forming the characteristic thick, crispy crust of sourdough. A cast iron Dutch oven is popular due to its ability to retain and distribute heat evenly. A 5-quart or 6-quart capacity is sufficient for baking a standard loaf. Using a Dutch oven dramatically improves the texture and appearance of your sourdough bread, making it a worthwhile investment after you've mastered sourdough starter maintenance tips.
Banneton Basket (Proofing Basket): Shaping Your Sourdough Loaf
A banneton basket, also known as a proofing basket, is used for the final rise (proofing) of your shaped sourdough loaf before baking. These baskets, typically made from rattan or wood pulp, are floured before placing the dough inside. As the dough proofs, it holds its shape within the basket, and the basket's material helps to wick away a small amount of moisture from the surface, which contributes to a better crust.
Bannetons come in various shapes – round (for boules) and oval (for batards) are the most common. Using a banneton helps the dough develop tension and structure during the final proof, resulting in a loaf that holds its form well when transferred to the baking vessel. While you can proof in other containers lined with floured cloth, a banneton provides the traditional spiral pattern on the crust (if left unfloured) or a smooth surface (if lined), adding to the aesthetic appeal of your baked sourdough.
Dough Scraper or Bench Knife: Handling Sourdough Dough with Ease
A dough scraper, also called a bench knife, is an incredibly versatile and inexpensive tool that you'll use frequently throughout the sourdough baking process. Made of metal or sturdy plastic, it has a flat edge and often a handle. It's perfect for dividing dough, scraping sticky dough from your work surface or proofing bowl, and transferring dough.
When working with high-hydration sourdough dough, which can be quite sticky, a bench knife is invaluable for gathering, shaping, and moving the dough without tearing it or getting it excessively stuck to your hands. It allows for clean cuts when dividing dough for multiple loaves or smaller items like rolls. This simple tool significantly streamlines the handling of dough from the initial mix through to the final shaping before it goes into the banneton.
Bread Lame: Scoring Your Sourdough for Optimal Baking
Scoring, or cutting the surface of your sourdough loaf just before baking, is a crucial step that serves multiple purposes. It allows the dough to expand in a controlled manner during oven spring, preventing blowouts in weaker spots. It also creates visually appealing patterns on the crust. A bread lame (pronounced "lahm") is a specialized tool designed for this task.
A lame typically holds a razor blade, providing an extremely sharp edge needed to make clean, precise cuts on the surface of the dough without dragging or tearing. A sharp score allows for maximum oven spring and a more attractive finished loaf. While you can technically use a very sharp knife, a dedicated lame with a fresh razor blade gives you the best control and results for achieving beautiful, functional scores on your sourdough bread.
Optional Equipment for Advanced Sourdough Baking
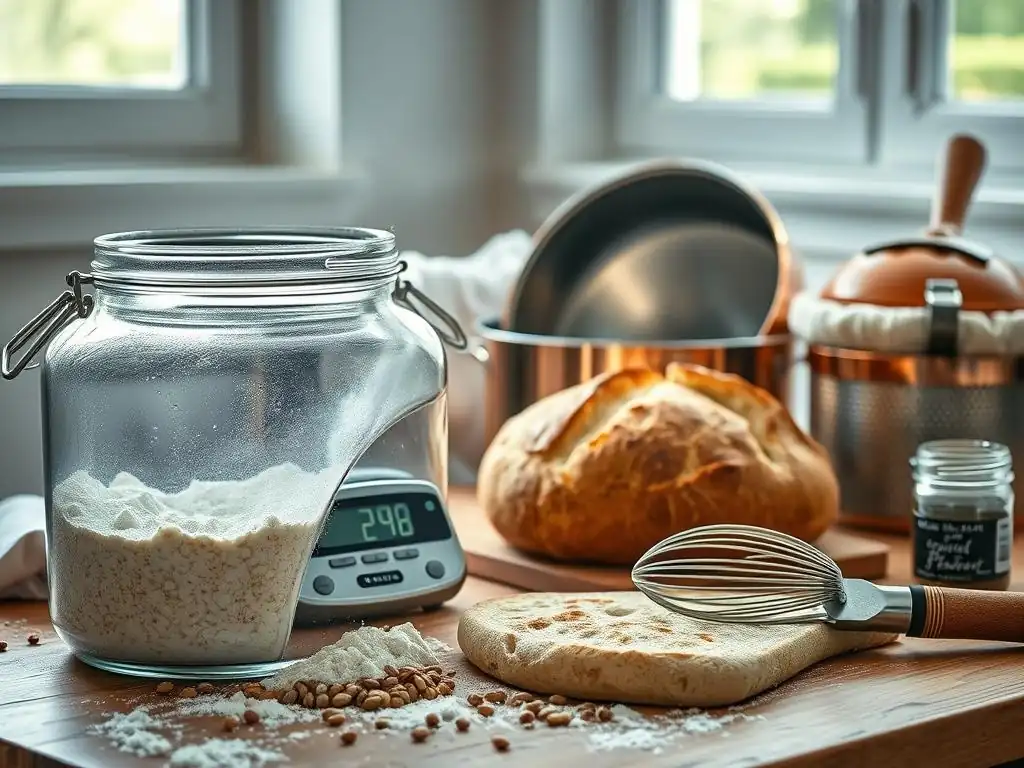
Stand Mixer: Automating the Sourdough Dough Mixing Process
While sourdough dough can absolutely be mixed by hand, a stand mixer with a dough hook attachment can significantly reduce the physical effort, especially when working with larger batches or high-hydration doughs. The mixer automates the kneading process, developing the gluten structure efficiently.
Using a stand mixer can save time and energy, allowing you to achieve proper dough development without extensive manual labor. However, it's important not to overmix sourdough dough in a stand mixer, as this can damage the gluten structure. Learning to read the dough's consistency and elasticity remains important, whether mixing by hand or machine. A stand mixer is a convenient upgrade once you're comfortable with basic sourdough processes and sourdough starter maintenance tips.
Baking Stone: Alternative to Dutch Oven for Sourdough Crust
A baking stone (or steel) provides an alternative method to the Dutch oven for baking sourdough bread, particularly if you prefer a flatter loaf or are baking multiple loaves at once. Placed in the oven and preheated, the stone acts as a thermal mass, providing intense heat from the bottom of the loaf. This helps create a crisp bottom crust and contributes to oven spring.
To achieve a good crust with a baking stone, you typically need to create steam in the oven. This can be done by placing a tray of hot water or ice cubes on a rack below the stone at the beginning of the bake. While a Dutch oven traps steam more efficiently around the loaf, a baking stone coupled with manual steam injection can also produce excellent results, offering flexibility in your baking approach.
Pizza Peel: Transferring Sourdough Bread to the Baking Stone
If you opt to use a baking stone, a pizza peel becomes an almost essential tool. A peel is a large, flat paddle, usually made of wood or metal, used to slide loaves of bread or pizzas onto a hot baking surface like a stone or steel.
To use a peel for sourdough, you typically flour it generously or cover it with parchment paper before placing the proofed dough on it. This allows you to smoothly transfer the delicate dough from your counter or proofing surface onto the preheated stone in the oven without deforming its shape. A good peel makes the transfer safe and easy, preventing burns and ensuring your carefully shaped loaf makes it into the oven intact.
Maintaining Your Sourdough Baking Equipment: Tips and Tricks
Cleaning Your Jars and Utensils
Proper cleaning of your sourdough jars and utensils is vital for hygiene and the health of your starter. After discarding or transferring starter, wash jars and spatulas promptly with hot, soapy water. Rinse thoroughly to remove all soap residue, as even small amounts can inhibit the growth of beneficial microbes in your starter.
For stubborn dried-on starter residue, soaking in hot water can help loosen it. Occasionally, if you notice mold (which is distinct from the hooch or dark crust that can form), it's best practice to discard the affected starter and thoroughly sanitize the jar and utensils with boiling water or a mild bleach solution followed by extensive rinsing. Clean equipment is fundamental to good sourdough starter maintenance tips.
Storing Your Banneton Basket Properly
Banneton baskets require specific care to prevent mold growth. After use, gently brush out any excess flour from the basket. Do not wash wooden pulp or traditional rattan bannetons with water unless absolutely necessary, as moisture can encourage mold. If they do need cleaning, wipe them gently with a damp cloth and a tiny amount of vinegar, or use a stiff brush.
Ensure the basket is completely dry before storing it. Allowing it to air dry thoroughly in a well-ventilated area for at least 24 hours is crucial. Store your dry banneton in a dry place, ideally not in a sealed plastic bag or container, which can trap moisture. Proper storage ensures your banneton is ready for your next loaf and prolongs its lifespan.
Caring for Your Dutch Oven to Extend its Lifespan
Caring for your Dutch oven, especially cast iron, is important for maintaining its non-stick properties and preventing rust. After use, allow it to cool slightly before washing. Wash with hot water and a stiff brush or scraper to remove baked-on residue. Avoid using harsh detergents on seasoned cast iron, as this can strip the seasoning.
For stuck-on bits, you can boil water in the Dutch oven to loosen them or use a plastic scraper. After washing, dry the Dutch oven immediately and thoroughly to prevent rust. For cast iron, apply a very thin layer of cooking oil to the interior surface before storing. Following these steps ensures your Dutch oven remains a reliable tool for achieving great oven spring in your sourdough loaves for years to come.
Where to Buy Quality Sourdough Baking Equipment
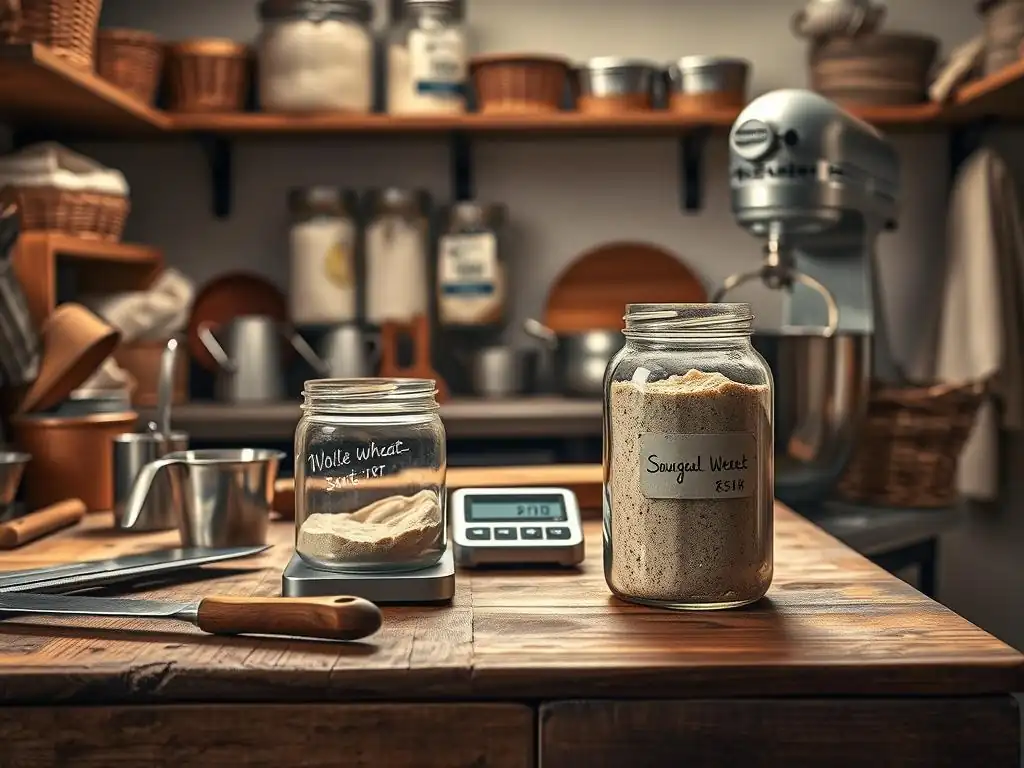
Recommended Online Retailers for Baking Supplies
Several reputable online retailers specialize in baking equipment and supplies. Websites like King Arthur Baking Company, Amazon, and specialty kitchen supply stores offer a wide range of products, from basic jars and scales to specialized bannetons and lames. These sites often provide detailed product descriptions and customer reviews, which can be helpful when making your selections.
Shopping online offers convenience and access to a broad selection, including items that might not be available locally. You can easily compare prices and features across different brands. When buying online, look for retailers with clear return policies and consider reading reviews specifically related to the item's performance in sourdough baking.
Local Baking Supply Stores: Supporting Your Community
Supporting local baking supply stores is a great way to find quality equipment and benefit from the expertise of experienced bakers. Many towns have kitchen stores or specialty shops that carry a selection of baking tools. You can see the equipment firsthand, ask questions about its use, and get personalized recommendations.
Local stores often stock items favored by community bakers and can be a valuable resource for learning and connecting with other enthusiasts. While their selection might be smaller than large online retailers, the quality is often high, and the ability to get immediate advice is a significant advantage. Checking out your local options can provide unexpected finds and build connections within your baking community.
Conclusion: Ready to Bake Delicious Sourdough?
Equipping yourself with the right tools is a fantastic first step on your sourdough journey. From the simple jar where your starter comes to life, supported by precise measurements from your scale and careful monitoring aided by a thermometer, to the baking essentials like a Dutch oven and banneton that help shape and bake your perfect loaf – each piece plays a vital role.
Mastering sourdough starter maintenance tips becomes easier and more enjoyable when you have the appropriate spatulas, scrapers, and perhaps even a tracker to keep you organized. As you grow more confident, optional tools can further refine your process. With your essential equipment gathered and a healthy starter bubbling away, you are well on your way to baking delicious, crusty sourdough bread right in your own kitchen. Happy baking!
Frequently Asked Questions
What's the most crucial piece of equipment for sourdough starter maintenance?
The most crucial piece is a clear glass jar for observing your starter's activity. A kitchen scale is also essential for accurate feeding ratios.
How often should I feed my sourdough starter for optimal growth?
Generally, feed your starter once or twice a day at room temperature for best results. Adjust frequency based on your starter's activity level.
What type of flour is best for maintaining a healthy sourdough starter?
A combination of unbleached all-purpose and whole wheat flour is often recommended. This provides a good balance of nutrients for the yeast and bacteria.
How do I know when my sourdough starter is ready to bake with?
Your starter is ready when it has doubled in size after feeding and shows plenty of bubbles. It should also have a slightly tangy, yeasty smell.
Can I store my sourdough starter in the refrigerator to slow down activity?
Yes, refrigerating your starter significantly slows down fermentation. Remember to feed it at least once a week even when stored cold.
Final Reflection: Nurturing Your Starter, Nurturing Your Passion
The humble sourdough starter, a bubbling testament to patience and precision, is more than just a collection of flour and water; it's a living embodiment of the mindful baking process. Its maintenance, often perceived as a chore, is in reality a daily meditation, a connection to a centuries-old tradition that continues to thrive in modern kitchens. The seemingly simple act of feeding your starter becomes a powerful symbol of nurturing both a living organism and a passion for artisanal bread.
The journey of sourdough baking, as detailed in this article, is a testament to the enduring power of simple ingredients and dedicated care. It's a journey that transcends mere recipe following; it's about understanding the nuances of fermentation, the subtle shifts in temperature and humidity, and the profound satisfaction of creating something beautiful and delicious from scratch. The best things in life are not things.
This quote, while seemingly unrelated, perfectly captures the essence of sourdough baking – the true reward lies not in the final loaf, but in the process itself, the connection to the earth, and the quiet satisfaction of nurturing life.
Now, consider your own journey. Will you embrace the challenge of maintaining a sourdough starter? Will you experience the joy of watching it bubble and grow, mirroring the growth of your own baking skills? The path ahead is yours to forge, filled with the potential for delicious rewards and a deeper connection to the art of bread making. Take the leap, nurture your starter, and discover the transformative power of this ancient craft.
Unleash Your Inner Baker: Start Your Sourdough Adventure Today!
Thanks for taking the time to explore the wonderful world of sourdough with us! We hope you now feel empowered and excited to begin your own baking journey. Ready to get your hands kneaded? Here’s how to take the next step:
- Begin your starter today! Follow the simple steps outlined in the article and watch your own sourdough starter come to life. This is the crucial first step to unlock amazing bread baking possibilities.
- Share your sourdough triumphs (and tribulations!) with our community. Join our online forum – we love hearing your stories and answering your questions!
- Explore advanced techniques: Once you've mastered the basics, delve into our other articles on shaping, scoring, and oven-spring to elevate your sourdough game.
So, what delicious sourdough creation will you bake first? Let us know in the comments below!