
Patience & Bubbles: The Keys to a Successful Sourdough Starter

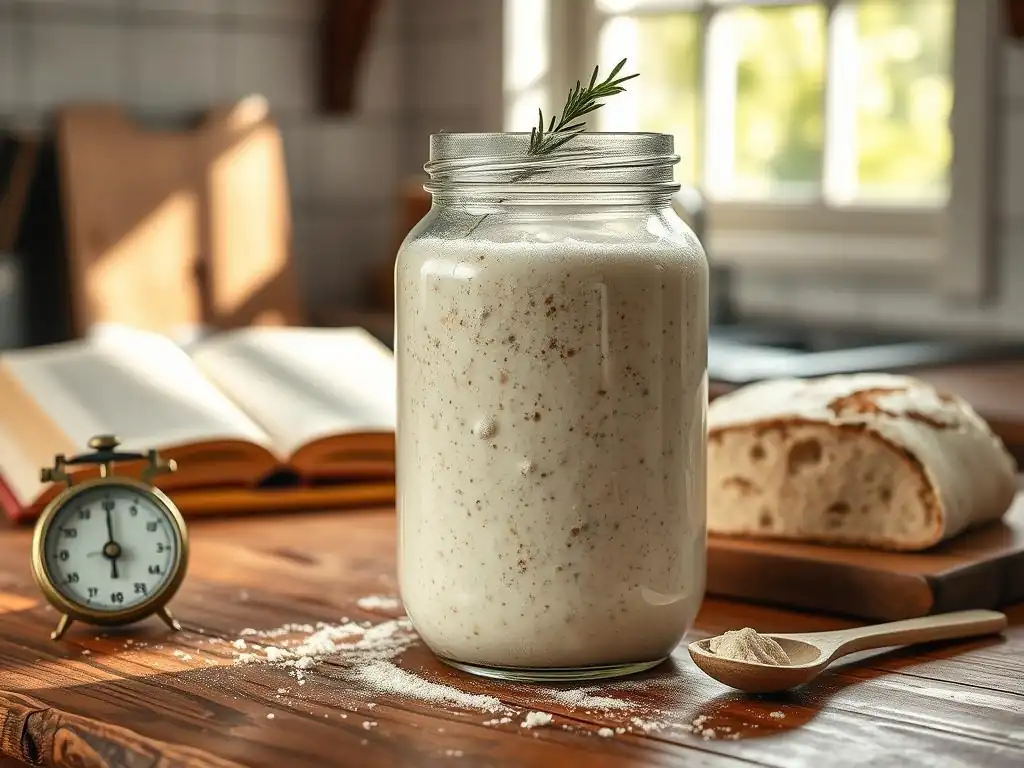
Welcome to BakeWithEase, your kitchen companion for all things baking! Ever wondered how to achieve that perfect tangy flavor and airy crumb in your homemade sourdough? You've come to the right place. Today, we're diving deep into the secrets of successful sourdough starter maintenance, unlocking the key to a bubbly, thriving culture that will transform your baking.
But what if maintaining your starter felt less like a chore and more like a rewarding ritual? Discover the essential sourdough starter maintenance tips that will elevate your baking game and guarantee delicious results. Ready to cultivate your own baking masterpiece? Let's get started!
- Successful Sourdough Starter Maintenance: Feeding, Observation, and Problem Solving
-
Frequently Asked Questions
- What is the most important factor in maintaining a successful sourdough starter, according to BakeWithEase.com?
- How often should I feed my sourdough starter, as recommended by BakeWithEase.com?
- What are the key ingredients needed to maintain a sourdough starter, according to BakeWithEase.com?
- What are some signs that my sourdough starter is not healthy and needs adjustment, according to BakeWithEase.com?
- Where can I find more detailed instructions and recipes for sourdough baking, as suggested by BakeWithEase.com?
- Final Reflection: The Enduring Magic of the Sourdough Starter
- Unleash Your Inner Baker: Start Your Sourdough Journey Today!
Successful Sourdough Starter Maintenance: Feeding, Observation, and Problem Solving
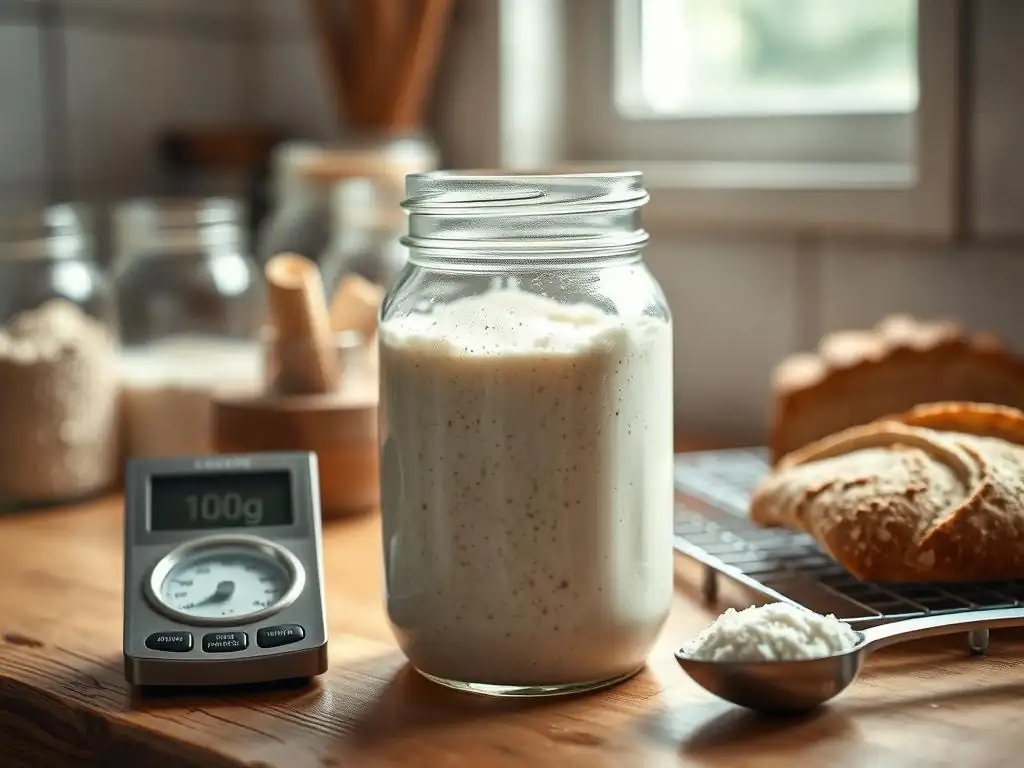
Maintaining a Healthy Sourdough Starter: Daily Feeding and Storage
Keeping your sourdough starter vibrant and ready for baking primarily revolves around consistent feeding when it's kept at room temperature. For an active starter used daily or every few days, a 1:1:1 ratio (1 part starter, 1 part flour, 1 part water by weight) is a common baseline, though many bakers find ratios like 1:2:2 or even 1:5:5 work better for managing discard or extending the time between feedings. A standard room temperature range of 70-78°F (21-26°C) is ideal for encouraging robust activity. The process involves discarding a portion of the old starter before adding fresh flour and water. For instance, if you keep 50g of starter, you'd add 50g flour and 50g water. This regular feeding cycle ensures the wild yeast and bacteria have a continuous food source, preventing the starter from becoming overly acidic and weak. Implementing these successful sourdough starter maintenance tips daily builds a strong foundation.
When you're not baking frequently, perhaps only once a week or less, storing your sourdough starter in the refrigerator is an excellent strategy to slow down fermentation and reduce the need for daily feeding. In the fridge, the starter's metabolism slows considerably, allowing you to feed it just once a week, or sometimes even less frequently depending on its resilience. A common approach is to feed the starter, let it sit at room temperature for an hour or two to kickstart activity, and then place it in the refrigerator.
When you're ready to bake, take it out, let it come to room temperature, and feed it one or two times over 12-24 hours until it shows peak activity, like doubling in size within 4-6 hours after a feeding. This method makes successful sourdough starter maintenance much more manageable for the home baker.
Recognizing a Healthy and Active Starter: Visual and Olfactory Cues
A thriving sourdough starter exhibits several clear visual signs. After feeding, you should observe consistent bubble formation throughout the jar, not just on the surface. As it ferments, the starter will rise significantly, ideally doubling or even tripling in volume at its peak activity. A healthy starter will often have a domed top when it's at its most active point, or a slightly concave top after it has peaked and begun to fall back down.
The texture should be light and airy, almost like a sponge. A popular test for readiness, particularly for baking, is the "float test": drop a small spoonful of starter into a glass of water; if it floats, it's generally considered active enough to leaven bread. These visual cues are essential for successful sourdough starter maintenance tips.
Beyond visuals, the smell of your sourdough starter provides vital clues about its health. A healthy, well-fed starter typically has a pleasant, tangy aroma, often described as slightly yogurty, creamy, or even fruity, reminiscent of green apples or pears. It should smell clean and inviting.
Avoid sharp, pungent odors like strong vinegar or acetone (nail polish remover), which usually indicate the starter is very hungry and has consumed all its available food, producing more acidic byproducts. While a little tang is desirable, an overpowering acidic smell suggests you might need to feed it more frequently or use a higher feeding ratio. Learning to interpret these smells is key to successful sourdough starter maintenance.
Troubleshooting Common Sourdough Starter Problems: Hooch, Mold, and Sluggishness
One common issue you might encounter is hooch, a layer of liquid that separates on top of the starter. This is a natural byproduct of fermentation (alcohol) and is a strong indicator that your starter is hungry and needs to be fed. While it looks unappealing, it doesn't necessarily mean your starter is ruined.
You can either stir the hooch back into the starter (which adds flavor but can make it more acidic) or pour it off before feeding. To prevent hooch, try feeding your starter more frequently or adjusting your feeding ratio to include more flour relative to water and starter (e.g., moving from 1:1:1 to 1:2:2). Addressing hooch promptly is part of mastering successful sourdough starter maintenance tips.
Mold is a more serious problem. If you see any fuzzy, colored spots – green, black, pink, or even vibrant orange or blue – on your starter, it indicates contamination. Unlike beneficial yeasts which can appear as white, powdery patches (often mistaken for mold), true mold is usually fuzzy and spreads.
Unfortunately, if mold is present, it's generally safest to discard the entire starter and begin anew, as mold spores can be pervasive and harmful. A sluggish starter, one that isn't rising or bubbling as expected, can be frustrating. This might be due to a cold environment, infrequent feeding, or poor-quality flour.
Try moving it to a warmer spot (ideally 75-80°F or 24-27°C), increasing feeding frequency to twice a day, or experimenting with different types of flour, like a mix of all-purpose and whole wheat, to give it a boost. Patience and consistent application of these successful sourdough starter maintenance tips are crucial for revival.
Frequently Asked Questions
What is the most important factor in maintaining a successful sourdough starter, according to BakeWithEase.com?
The most important factor is patience. Cultivating a healthy starter requires time and consistent care. You must also watch for bubbles indicating activity.
How often should I feed my sourdough starter, as recommended by BakeWithEase.com?
Feeding frequency depends on the environment and stage. Generally, feed your starter once or twice daily at room temperature, or weekly in the refrigerator.
What are the key ingredients needed to maintain a sourdough starter, according to BakeWithEase.com?
The essential ingredients are flour and water. BakeWithEase.com emphasizes using high-quality, unbleached flour for optimal results.
What are some signs that my sourdough starter is not healthy and needs adjustment, according to BakeWithEase.com?
Signs include a lack of bubbles, foul odor, or mold growth. These issues often require adjustments to feeding or environment.
Where can I find more detailed instructions and recipes for sourdough baking, as suggested by BakeWithEase.com?
Visit BakeWithEase.com for step-by-step guides, easy-to-find ingredients and a wide variety of recipes for bakers of all levels, from beginners to those perfecting their sourdough.
Final Reflection: The Enduring Magic of the Sourdough Starter
The meticulous care required to cultivate a thriving sourdough starter mirrors the patience needed to achieve any worthwhile goal. It's a testament to the power of consistent effort, a small act of daily dedication yielding extraordinary results – a living testament to the symbiotic relationship between human intention and natural processes. This isn't just about baking bread; it's about cultivating something beautiful and alive.
The journey of nurturing a sourdough starter is a deeply rewarding one, reflecting the cyclical nature of life itself. The highs and lows, the moments of doubt and the bursts of exuberant activity, all contribute to a deeper understanding of the process and, by extension, ourselves. Patience is a virtue, and it is also a skill that can be learned and improved upon.
This quote rings true not only for sourdough baking but for life's many challenges. The rhythmic feeding, the careful observation, the quiet anticipation – these are practices that foster mindfulness and a deeper appreciation for the simple things.
Now, consider your own "starter." What project, dream, or relationship requires the same nurturing attention? What seemingly small, daily acts of dedication could yield extraordinary results in your life? Embrace the process, celebrate the small victories, and remember that even the most challenging endeavors can blossom with consistent care and a touch of patience. The magic is within your reach.
Unleash Your Inner Baker: Start Your Sourdough Journey Today!
Thanks for taking the time to explore the wonderful world of sourdough starters! You've now learned the secrets to patience and bubbly success. Ready to put your new knowledge into action?
- Begin your sourdough adventure: Immediately start your own starter using the recipe and techniques outlined in the article. This is your first step to baking amazing, naturally leavened bread.
- Share your progress: Post a picture of your bubbly starter on social media using #BakeWithEaseSourdough – let’s inspire each other!
- Explore the BakeWithEase archives: Discover more advanced sourdough techniques and recipes to elevate your baking game.
What unique flavor will your first sourdough loaf have? Let us know in the comments!