
Store It Right: Keeping Your Sourdough Starter Happy (Fridge vs. Counter)

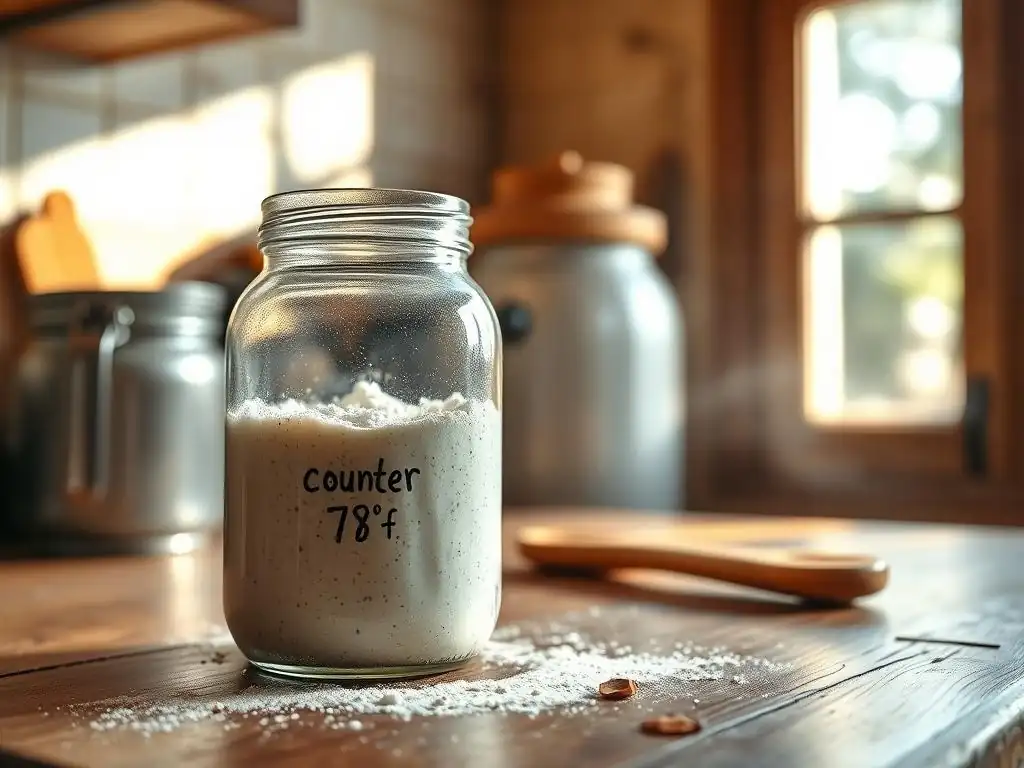
Welcome to BakeWithEase, where baking dreams become delicious realities! Ever wondered if your sourdough starter is truly thriving in your fridge? Unlock the secrets to sourdough starter fridge temperature and learn how to keep your bubbly friend happy and active, ensuring phenomenal loaves every time. Discover the ideal storage method that suits your baking schedule and skill level – because a happy starter means a happy baker (and even happier bread! ).
- Introduction: Understanding Sourdough Starter Storage
- Sourdough Starter Basics: A Quick Refresher
- Countertop Sourdough Starter Storage: The Active Approach
- Refrigerator Sourdough Starter Storage: The Inactive Approach
- Fridge vs. Counter: A Detailed Comparison of Sourdough Starter Storage Methods
- Reviving Your Sourdough Starter After Refrigeration
- Choosing the Right Storage Method for Your Sourdough Starter
- Sourdough Starter Troubleshooting: Common Storage Issues
- Advanced Sourdough Starter Storage Techniques
- Conclusion: Mastering Sourdough Starter Storage for Baking Success
-
Frequently Asked Questions
- How does the fridge temperature affect my sourdough starter?
- What is the ideal sourdough starter fridge temperature?
- How often should I feed my sourdough starter if it's stored in the fridge?
- What are the benefits of storing my sourdough starter in the fridge?
- How do I revive my sourdough starter after it's been stored in the fridge?
- Final Reflection: The Thriving Symbiosis of Baker and Starter
- Unleash Your Starter's Potential: Nurture Your Sourdough!
Introduction: Understanding Sourdough Starter Storage
So, you've embarked on the wonderful journey of sourdough baking! You've nurtured your starter, watched it bubble and grow, and perhaps even baked your first loaf. But now you face a common question: where do you keep this living, breathing colony of wild yeast and bacteria when you're not baking every day?
Proper storage is absolutely crucial for maintaining a healthy, active sourdough starter. The method you choose significantly impacts its feeding schedule, activity level, and even the flavor profile it develops over time. Understanding the differences between storing your starter on the counter and in the refrigerator is key to keeping it happy and ready to bake when you are.
Sourdough Starter Basics: A Quick Refresher
Before diving into storage methods, let's quickly revisit what your starter is and why caring for it is so important. Think of your starter as a small, thriving ecosystem. It's a dynamic mix of flour and water that hosts a community of wild yeasts and lactic acid bacteria. These microbes work together, consuming the sugars in the flour and producing carbon dioxide (which makes your bread rise) and organic acids (which give sourdough its characteristic tangy flavor).
What is a Sourdough Starter?
A sourdough starter, often affectionately called "levain" or "mother," is essentially a fermented dough or batter. It's created by combining flour and water and allowing naturally occurring wild yeasts and bacteria from the environment (and the flour itself) to colonize and multiply. Over several days of consistent feeding (discarding a portion and adding fresh flour and water), this mixture becomes a stable culture capable of leavening bread. It's a sustainable, natural alternative to commercial yeast, offering unique flavors and textures.
This living culture requires regular feeding to stay vibrant and active. The microorganisms within the starter consume the carbohydrates in the flour, producing gas and acids. The rate at which they do this is heavily influenced by external factors like temperature and the availability of food. Proper storage is all about managing these factors to keep the microbial community healthy and balanced, whether you're baking daily or just occasionally.
Why Proper Storage Matters for Your Sourdough Starter
The health and activity of your sourdough starter directly impact your baking results. A neglected or improperly stored starter can become sluggish, develop off-flavors, or even succumb to mold. Consistent storage practices ensure that your starter remains potent and predictable, giving you reliable leavening power and delicious sourdough bread. The goal of storage is essentially to control the metabolic rate of the microorganisms.
Poor storage can lead to issues like excessive hooch (a liquid byproduct), mold growth, or a complete loss of leavening power. By choosing the right storage method – counter or fridge – you are deciding how quickly your starter will consume its food and thus how often it needs to be fed. This decision should align with your baking frequency and lifestyle, making sourdough baking a joy rather than a chore.
Countertop Sourdough Starter Storage: The Active Approach
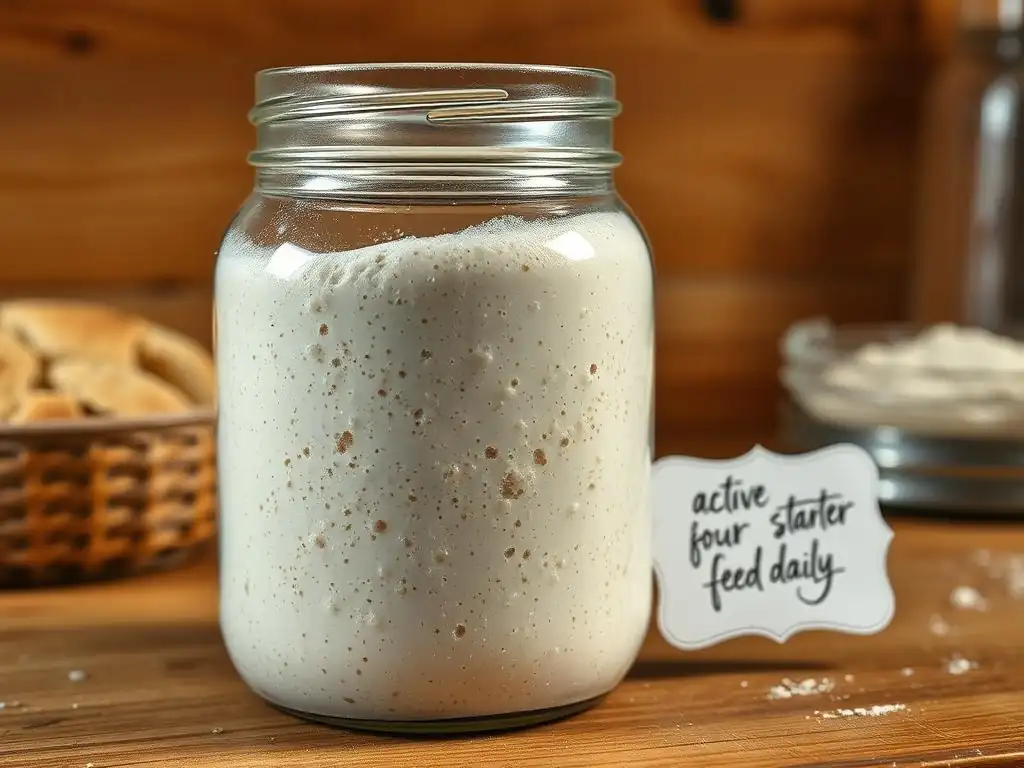
Storing your sourdough starter on the counter is the traditional and most active method. It keeps the starter readily available for daily or frequent baking and promotes rapid fermentation.
Maintaining an Active Starter at Room Temperature
Keeping your starter at room temperature (typically between 20°C and 24°C, or 68°F and 75°F) encourages robust activity. At these temperatures, the wild yeasts and bacteria are very busy, consuming the flour and water you feed them relatively quickly. This high level of activity means the starter will rise, peak, and fall within a matter of hours after feeding. An active starter kept on the counter is often preferred by bakers who bake daily or multiple times a week, as it requires no "waking up" period before use.
To maintain an active starter on the counter, you'll need to feed it regularly, usually once or twice a day. The frequency depends on the ambient temperature; warmer temperatures speed up activity, requiring more frequent feeding. A healthy, active starter at room temperature should show significant bubbly activity and roughly double in size within 4-8 hours after feeding, depending on the flour type and temperature. Observing this consistent doubling is a key indicator of a healthy, counter-stored starter.
Feeding Schedule for Countertop Starters
The typical feeding schedule for a sourdough starter kept at room temperature is once every 24 hours. However, in warmer environments (above 24°C or 75°F), you might find your starter peaks and falls much faster, necessitating two feedings per day to prevent it from becoming too acidic or running out of food. A common ratio is 1:1:1 (starter:water:flour) by weight, but some bakers use 1:2:2 or even higher ratios to extend the time between feedings slightly.
For example, if you feed your starter at 8 AM, it might double by 2 PM and start to fall by 6 PM. If you wait until the next morning at 8 AM to feed it again, it will have gone hungry for several hours, potentially developing more hooch and acidity. Feeding it again in the evening, say at 8 PM, ensures it has fresh food before a longer period of inactivity overnight. Experimenting with ratios and timing based on your specific environment and starter's behavior is crucial for finding the optimal countertop feeding schedule.
Pros and Cons of Countertop Storage
Storing your starter on the counter offers several advantages. It keeps the starter highly active and ready to use for baking at a moment's notice – no waiting for it to warm up or become active. This method also often results in a more complex flavor profile due to the continuous fermentation process.
However, the primary drawback is the high maintenance requirement. Daily, or even twice-daily, feeding is necessary, which generates a significant amount of discard. This can feel wasteful if you're not baking very often or using the discard in other recipes. Countertop storage also makes the starter more susceptible to temperature fluctuations in your home, which can affect its consistency and activity.
Refrigerator Sourdough Starter Storage: The Inactive Approach
For bakers who don't bake daily, storing the sourdough starter in the fridge is a popular and practical solution. It significantly slows down the starter's activity, reducing the need for frequent feeding.
Putting Your Sourdough Starter in the Fridge: A Step-by-Step Guide
Transitioning your starter to the fridge is simple. First, ensure your starter has been recently fed and is active (ideally within a few hours of peaking). This gives it a good supply of fresh food before its metabolic rate slows down. Use a clean jar or container, leaving plenty of headroom as it may still expand slightly before cooling down.
- Feed your starter as usual.
- Let it sit at room temperature for 1-2 hours after feeding to begin fermentation.
- Place the sealed container directly into the refrigerator.
When you're ready to bake, you'll need to take it out and feed it at room temperature one or more times to revive its activity before using it in a recipe. This process is often called "waking up" or "activating" the starter.
Sourdough Starter Fridge Temperature: Finding the Sweet Spot
The ideal sourdough starter fridge temperature is crucial for slowing down microbial activity without killing the culture. Temperatures typically found in the main compartment of a refrigerator, generally ranging from 4°C to 7°C (about 40°F to 45°F), are perfect for this purpose. At this temperature range, the yeast and bacteria become largely dormant, drastically reducing their consumption of flour and water.
Maintaining your sourdough starter fridge temperature within this range ensures that the starter stays viable for extended periods, often weeks, between feedings. While standard refrigerator temperatures are usually suitable, avoiding the coldest spots (like the very back or bottom drawers) can help prevent the starter from getting too cold, which might make it harder to revive. Consistent temperature is key; frequent door opening or placing the starter near vents can cause fluctuations that might affect its dormancy.
How Long Can a Sourdough Starter Stay in the Fridge?
A healthy, well-established sourdough starter can typically live happily in the refrigerator for 1 to 3 weeks without a feeding. Some experienced bakers even report successful revivals after a month or two of refrigeration, although this isn't recommended as a standard practice. The longer a starter stays in the fridge without food, the more acidic it becomes and the longer it will take to revive its full leavening power.
After a week or two, you might notice a layer of hooch (the liquid byproduct) forming on top, which is a sign the starter has run out of food. While hooch is usually harmless and can be stirred in or poured off, it indicates it's time for a feeding. Aiming for a feeding every 1-2 weeks is a good general practice to keep your refrigerated starter in optimal condition and ensure a quicker, more reliable revival.
Pros and Cons of Refrigerator Storage
The main advantage of storing your sourdough starter in the fridge is convenience. It dramatically reduces the feeding frequency, making it ideal for infrequent bakers. This also results in significantly less discard, as you only feed it when you plan to bake or perform a maintenance feeding every week or two.
The primary disadvantage is that the starter is not immediately ready for baking. It requires a "wake-up" period at room temperature with one or more feedings to regain its full activity. This requires planning ahead, typically 12-24 hours before you intend to mix your dough. Refrigeration can also sometimes lead to a slightly less complex flavor initially compared to a continuously active counter starter, although flavor often develops during the final proofing stages.
Fridge vs. Counter: A Detailed Comparison of Sourdough Starter Storage Methods
Choosing between storing your sourdough starter on the counter or in the fridge depends heavily on your baking habits and preferences. Let's break down the key differences.
Activity Level: Fridge vs. Counter
The activity level of your starter is fundamentally different between these two methods. A starter kept at room temperature (counter) is highly active, with the yeasts and bacteria fermenting vigorously around the clock. It will rise and fall predictably within hours of being fed.
In contrast, a starter stored at the ideal sourdough starter fridge temperature is largely dormant. The cold environment slows down the metabolic processes of the microbes to a crawl. It will show minimal to no rising or bubbling activity while refrigerated, essentially pressing the pause button on its fermentation cycle.
Feeding Frequency: Fridge vs. Counter
This is perhaps the most significant difference for many bakers. A counter-stored starter requires daily feeding, sometimes even twice a day, to remain healthy and active. This commitment is necessary because the microbes are rapidly consuming their food supply at room temperature.
A starter stored in the refrigerator at the correct sourdough starter fridge temperature needs feeding far less often. Typically, a feeding every 1 to 2 weeks is sufficient to keep it viable. This drastically reduces the time and flour commitment required for maintenance, making it much more manageable for casual bakers.
Maintenance Effort: Fridge vs. Counter
Related to feeding frequency, the overall maintenance effort is much higher for a counter-stored starter. Daily feeding involves discarding a portion, adding fresh flour and water, and cleaning the jar regularly.
Refrigerator storage requires significantly less maintenance. You only need to feed it weekly or bi-weekly, and cleaning the jar is less frequent as fermentation is slowed. The main maintenance task becomes remembering to feed it before it goes too long between refreshments.
Impact on Sourdough Flavor: Fridge vs. Counter
Storage method can influence the flavor profile of your sourdough. Counter-stored starters, with their continuous fermentation, tend to develop acidity more rapidly and can sometimes produce a more pronounced tangy flavor profile over time, especially if fed at lower ratios or left for longer periods between feeds.
Starters stored at the appropriate sourdough starter fridge temperature often develop acidity more slowly. While the cold slows down overall activity, lactic acid bacteria can sometimes remain slightly more active than yeast at cooler temperatures, potentially contributing to a pleasant tang. However, the primary flavor development for a refrigerated starter often happens during the bulk fermentation and proofing stages after it has been revived and used in a recipe.
Reviving Your Sourdough Starter After Refrigeration
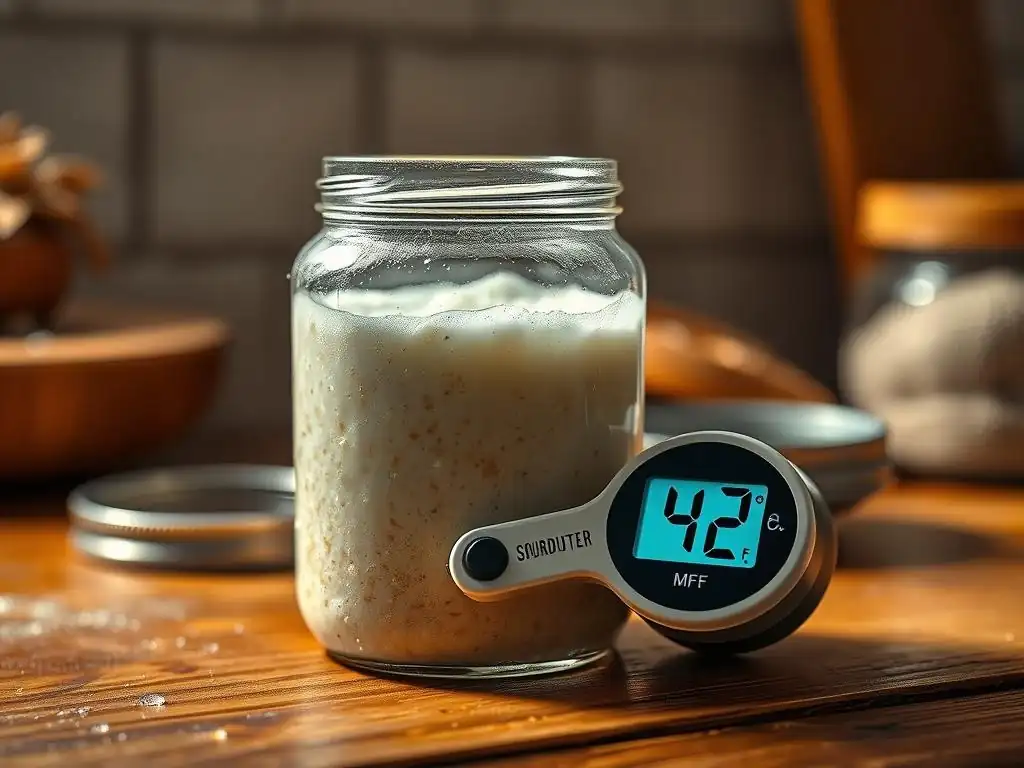
Taking your starter out of the fridge means it's time to wake it up! This process brings the dormant microbes back to life and prepares the starter for baking.
How to Wake Up a Cold Starter: A Step-by-Step Guide
Reviving a refrigerated starter requires patience and usually one or two feedings at room temperature. The goal is to get it back to its active, bubbly state where it reliably doubles in size.
- Remove your starter from the refrigerator.
- Let it sit at room temperature for 1-3 hours to begin warming up. If there's hooch, you can pour it off or stir it in (stirring it in adds tang).
- Discard a portion of the starter, leaving a smaller amount (e.g., 50-100 grams).
- Feed the remaining starter with fresh flour and water at your usual ratio (e.g., 1:1:1 or 1:2:2). Mix thoroughly.
- Leave the fed starter at room temperature. It should start showing signs of activity (bubbles) within a few hours and ideally double in size within 6-12 hours.
- If it doubles well after the first feeding, it's likely ready to use in a recipe or put back in the fridge after it peaks and starts to fall. If it's still sluggish, perform a second feeding after it has peaked or after 24 hours. It often takes 1-2 feedings to fully revive a cold starter.
Signs of a Healthy Revived Starter
A successfully revived starter will exhibit clear signs of activity. The most important indicator is significant volume increase – it should roughly double (or more) in size within a predictable timeframe after feeding at room temperature. You'll also see many bubbles throughout the starter, not just on the surface, and the texture will be light and airy.
When it's at its peak activity, ready to be used for baking, it should pass the float test (a small spoonful dropped into water floats) and smell pleasantly yeasty and tangy, not overwhelmingly acidic or like alcohol. These visual and olfactory cues, combined with reliable doubling, confirm your starter is healthy and ready to get to work in your dough.
Troubleshooting a Sluggish Starter
If your starter is slow to wake up after refrigeration, don't panic. Several factors could be at play. The most common reason is simply that it needs more time and consistent feeding to regain strength. Try feeding it again, perhaps using slightly warmer water (around 25-28°C or 78-82°F) to encourage activity, but avoid hot water which can kill the yeast.
Ensure your room temperature is warm enough (ideally 20-24°C). If your kitchen is cold, find a warmer spot or use a proofing box. Sometimes, increasing the feeding ratio (e.g., 1:2:2 or 1:3:3) can give a sluggish starter more food to work through. If after 2-3 consecutive daily feedings at room temperature it still isn't doubling, consider switching to a different type of flour temporarily or ensuring your water is chlorine-free.
Choosing the Right Storage Method for Your Sourdough Starter
Deciding whether to store your sourdough starter on the counter or in the fridge comes down to a few key considerations about your baking habits and lifestyle. There's no single "right" way; the best method is the one that fits you.
Considering Your Baking Frequency
Your baking schedule is the most important factor. If you bake sourdough bread or other sourdough goods (like pancakes or discard crackers) daily or every few days, keeping your starter on the counter makes the most sense. It's always active and ready to go, saving you the revival time.
If you bake sourdough less frequently – say, once a week, every couple of weeks, or even less often – then refrigerator storage is likely the better option. The reduced feeding schedule makes it much easier to manage and prevents excessive discard.
Assessing Your Time Commitment
Maintaining a counter-stored starter requires a daily time commitment for feeding. While it only takes a few minutes, it's something you need to do consistently.
Refrigerator storage significantly reduces this daily commitment. You only need to remember to feed it every week or two, and then factor in the revival time (typically 12-24 hours) before you plan to bake. Assess how much time you're willing to dedicate to starter maintenance.
Understanding Your Sourdough Goals
Are you focused on baking as much bread as possible? Or are you more interested in occasional bakes with minimal fuss? Do you want to experiment with starter hydration and temperature effects on flavor?
- For frequent, spontaneous baking and hands-on observation:Counter
- For infrequent, planned baking with less daily effort:Fridge
- For developing maximum tang through continuous fermentation:Counter (potentially)
- For ease of management and less discard:Fridge
Your goals will help guide your choice, ensuring your sourdough journey is enjoyable and sustainable.
Sourdough Starter Troubleshooting: Common Storage Issues
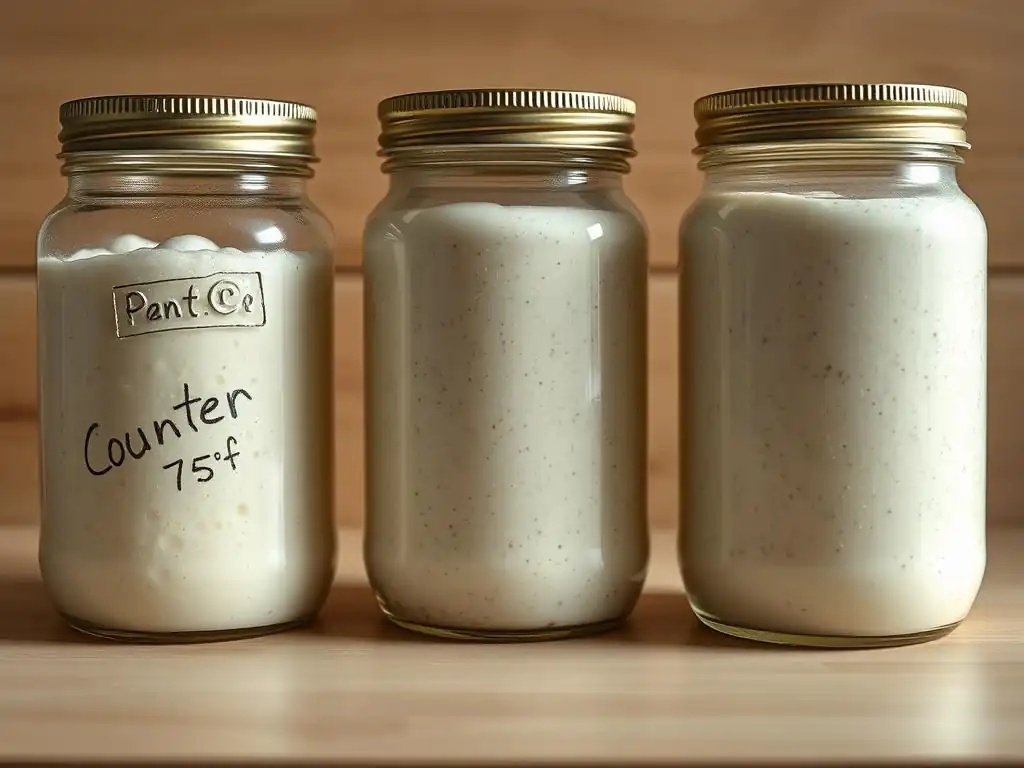
Even with proper storage, you might encounter some common issues. Knowing how to identify and address them is part of the sourdough journey.
Mold Growth: Identification and Prevention
Mold is the one issue you absolutely cannot ignore. It typically appears as fuzzy, colored patches (green, black, orange, pink) on the surface or sides of the starter. Unlike hooch or inactivity, mold means the starter is contaminated and should be discarded entirely to avoid consuming harmful microorganisms.
Prevention is key. Always use clean jars and utensils when feeding. Ensure your starter is healthy and active before storing it, especially before putting it in the fridge. Mold often takes hold when a starter is weak, inactive, or stored in a container that isn't clean. Maintaining a consistent feeding schedule (whether daily on the counter or weekly in the fridge) helps keep the beneficial microbes dominant, making it harder for mold to establish itself.
Hooch Formation: Is it Normal?
Hooch is a liquid layer that separates from the starter, usually appearing on the surface. It's typically dark brown or greyish and smells somewhat like alcohol. Hooch is a normal byproduct of fermentation and is a sign that your starter has run out of food and is hungry. The yeast, having consumed all the available carbohydrates, starts breaking down proteins and starches, producing alcohol.
Hooch is not mold and does not mean your starter is ruined. You can pour it off before feeding, which tends to result in a less tangy starter, or stir it back in, which increases the tang. Seeing hooch, especially on a refrigerated starter that hasn't been fed in a while, is simply an indicator that it's time for a refreshment. Regular feeding prevents excessive hooch formation.
Starter Not Rising: Possible Causes and Solutions
A starter that isn't rising is a common issue, particularly after being in the fridge or if left too long between feedings on the counter. This indicates that the yeast activity is low. Possible causes include:
- Too cold: The ambient temperature is too low for active fermentation.
- Not fed enough: The starter has run out of food and needs a refreshment.
- Fed too often: If fed before it peaks, the starter might not have had a chance to fully develop activity.
- Water quality: Chlorinated water can inhibit microbial activity.
- Flour type: Switching flour types can temporarily affect activity.
- Still waking up: If it's just come out of the fridge, it needs time and potentially multiple feedings to regain strength.
Solutions involve ensuring a warm enough environment (20-24°C), consistent feeding on a schedule that allows the starter to peak, using filtered water, and giving a refrigerated starter enough time and feedings to revive. Patience and consistent care are often the best solutions.
Advanced Sourdough Starter Storage Techniques
Beyond the basic counter and fridge methods, there are options for even longer-term storage or for creating a backup of your precious starter.
Freezing Sourdough Starter: A Long-Term Storage Option
Freezing is an excellent way to store your sourdough starter for extended periods, from several months up to a year or more. It puts the microbes into a deep state of dormancy. To freeze, feed your starter, let it become active (double in size), and then spoon portions into freezer-safe bags or containers. Flattening the bags makes them easier to store and thaw.
Reviving a frozen starter takes longer than reviving a refrigerated one. You'll need to thaw it completely in the refrigerator overnight or at room temperature for a few hours, and then feed it daily at room temperature for several days (often 3-7 days) until it consistently doubles again. While effective for long-term storage, it requires more revival effort than refrigeration.
Drying Sourdough Starter: For Travel and Backup
Drying your sourdough starter is the ultimate backup method and perfect for traveling. It involves spreading a thin layer of active starter onto parchment paper or a silicone mat and letting it air dry completely until brittle. Once dry, you can break it into flakes or powder and store it in an airtight container at room temperature indefinitely.
To revive dried starter, simply rehydrate a small amount with an equal weight of warm water and let it sit for a few hours until it becomes a paste. Then, begin feeding it daily with small amounts of flour and water, gradually increasing the quantity as it becomes more active over several days (similar to starting a new starter, but much faster). It's a robust way to preserve your starter's unique culture.
Conclusion: Mastering Sourdough Starter Storage for Baking Success
Mastering sourdough starter storage is a fundamental step in becoming a confident sourdough baker. Whether you choose the active life on the counter for frequent baking or the low-maintenance hibernation in the refrigerator, understanding the needs of your starter is key. Remember that the ideal sourdough starter fridge temperature is around 4°C to 7°C (40°F to 45°F), providing the perfect balance for slowing activity without harm.
By paying attention to your starter's signs of health – its rise and fall, smell, and texture – and adjusting your feeding and storage methods accordingly, you'll ensure it remains a strong, reliable leavening agent. Don't be afraid to experiment and find the routine that best suits your baking rhythm. With proper care and storage, your sourdough starter will continue to thrive, providing you with the foundation for countless delicious loaves for years to come.
Frequently Asked Questions
How does the fridge temperature affect my sourdough starter?
Storing your sourdough starter in the fridge slows down the fermentation process. This is because the cold temperature significantly reduces the activity of the yeast and bacteria.
What is the ideal sourdough starter fridge temperature?
The ideal fridge temperature for your sourdough starter is between 35°F (2°C) and 40°F (4°C). This range effectively puts the starter on pause, preventing it from over-fermenting and requiring frequent feedings.
How often should I feed my sourdough starter if it's stored in the fridge?
When stored in the fridge, your sourdough starter only needs to be fed every one to two weeks. This infrequent feeding is due to the slowed metabolic activity at refrigerator temperatures.
What are the benefits of storing my sourdough starter in the fridge?
Storing your starter in the fridge offers several advantages, including reduced feeding frequency, slower fermentation, and prevention of over-fermentation. It's a great way to manage your starter's activity.
How do I revive my sourdough starter after it's been stored in the fridge?
To revive a refrigerated starter, take it out and let it come to room temperature. Then, feed it as you normally would, and it should be ready to use in one to two feedings, showing signs of activity and bubbling.
Final Reflection: The Thriving Symbiosis of Baker and Starter
The seemingly simple act of maintaining a sourdough starter reveals a profound connection between human intention and the vibrant, living world of fermentation. Our choices – fridge or counter – directly impact not only the starter's health but also the quality of the bread we ultimately create. The temperature, a seemingly minor detail, becomes a crucial element in nurturing this delicate ecosystem.
This exploration into optimal sourdough starter storage has highlighted the patience and dedication required in the baking process. It's a journey of observation, adaptation, and a deep respect for the microbial life that forms the heart of our craft. The best bread is made with love, and a little bit of science.
This quote, while not directly about sourdough, encapsulates the essence of the relationship between baker and starter – a blend of intuition and understanding. The subtle shifts in the starter's activity, the variations in its texture and aroma, all become indicators of its well-being, mirroring our own connection to the natural world.
Consider your own relationship with your sourdough starter. Is it a vibrant, bubbly friend, or a neglected, sluggish companion? Take a moment to reflect on your approach to its care.
Perhaps this article has inspired you to adjust your storage method, to pay closer attention to its needs, or even to begin your own sourdough journey. Embrace the learning process, experiment with different techniques, and discover the joy of nurturing this living organism that rewards you with the delicious aroma and satisfying texture of homemade sourdough bread. The journey, like the starter itself, is a process of growth and discovery.
Unleash Your Starter's Potential: Nurture Your Sourdough!
Thanks for taking the time to learn about keeping your sourdough starter thriving! We hope you now feel confident in choosing the best storage method for your bubbly friend. Ready to put your new knowledge into action?
- Master the art of fridge storage: Experiment with different fridge temperatures and feeding schedules to find the perfect balance for your starter. Note your findings!
- Share your sourdough success: Post a picture of your perfectly bubbly starter on social media and tag us – we'd love to see it!
- Try a new recipe: Use your now-thriving starter to bake something delicious! What will you create?
So, what exciting sourdough adventure awaits you today?