
Unlock Sourdough Magic: Your Easy Guide to Starting a Starter

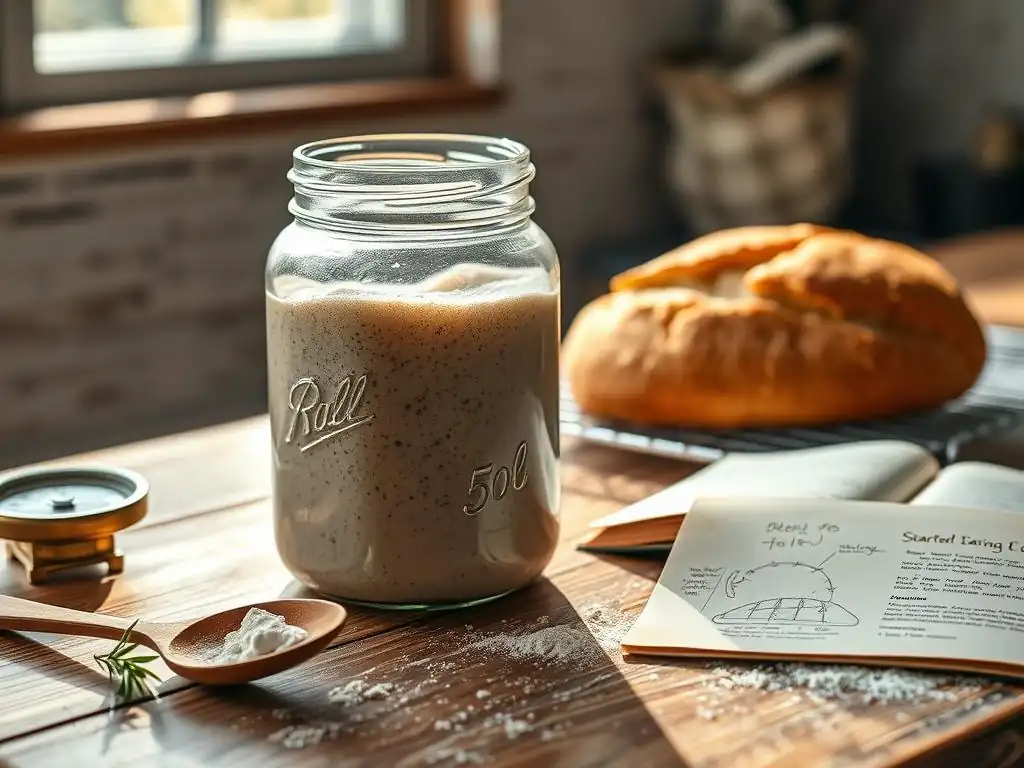
Welcome to BakeWithEase, your partner in crafting delectable treats! Are you ready to unlock the secrets of naturally leavened bread? Our easy sourdough starter guide demystifies the process, transforming simple ingredients into the foundation of truly exceptional bread. Curious about the magic behind that tangy flavor and airy crumb? Let's begin your sourdough journey – your kitchen will never be the same!
- Introduction to Sourdough Starter: The Heart of Artisan Bread
- Your Step-by-Step Easy Sourdough Starter Guide for Beginners
- Understanding Sourdough Starter: Advanced Tips and Techniques
- Using Your Active Sourdough Starter: Baking Your First Loaf
- Conclusion: Embrace the Journey of Sourdough Baking
-
Frequently Asked Questions
- How long does it typically take to create a sourdough starter using your easy guide?
- What are the best types of flour to use when following your easy sourdough starter guide?
- My sourdough starter doesn't seem to be rising; what could be the problem, and how can I fix it?
- Can I use tap water for my sourdough starter, or should I use filtered water?
- How do I know when my sourdough starter is ready to be used for baking?
- Final Reflection: The Enduring Allure of Sourdough
- Unleash Your Inner Baker: Start Your Sourdough Journey Today!
Introduction to Sourdough Starter: The Heart of Artisan Bread
Why Bake with Sourdough? Exploring the Flavor and Benefits
Baking with sourdough unlocks a world of complex flavors and textures that are simply unattainable with commercial yeast alone. The natural fermentation process, driven by wild yeasts and bacteria present in the flour and air, produces organic acids like lactic and acetic acid.
These acids contribute a signature tang and depth to the bread that evolves during baking, resulting in a crust that is often crispier and a crumb that is more open and airy. Beyond the taste, sourdough can also improve the digestibility of grains, as the fermentation breaks down complex carbohydrates and phytic acid, making nutrients more available.
Furthermore, sourdough bread often has a longer shelf life compared to loaves made with commercial yeast. The acidic environment created by the starter acts as a natural preservative, inhibiting the growth of mold. For many bakers, there's also immense satisfaction in creating bread from scratch, using a living culture they've nurtured themselves. It's a rewarding process that connects you to traditional baking methods and allows for endless experimentation with different flours and techniques. Mastering this fundamental step with an easy sourdough starter guide is the first step towards truly artisan loaves.
What is Sourdough Starter? Understanding Fermentation
A sourdough starter, sometimes called a 'mother culture' or 'levain', is essentially a living ecosystem of wild yeasts and lactic acid bacteria cultivated in a mixture of flour and water. These microorganisms are naturally present on grains and in the environment. When flour and water are combined, these microbes begin to feed on the sugars in the flour, fermenting them. The wild yeasts produce carbon dioxide gas, which is what makes bread rise, and also ethanol. The lactic acid bacteria produce lactic and acetic acids, which contribute to the characteristic sour flavor and help strengthen the gluten structure.
Over time, with regular feeding (adding more flour and water) and discarding, the microbial population in the starter stabilizes and strengthens. A healthy, active starter will show visible signs of fermentation, such as bubbles forming throughout the mixture and the volume increasing significantly after feeding, often doubling or even tripling within a few hours when mature. This dynamic, living culture is the leavening agent and flavor powerhouse for all sourdough baking, making an easy sourdough starter guide essential for anyone beginning this journey.
Your Step-by-Step Easy Sourdough Starter Guide for Beginners
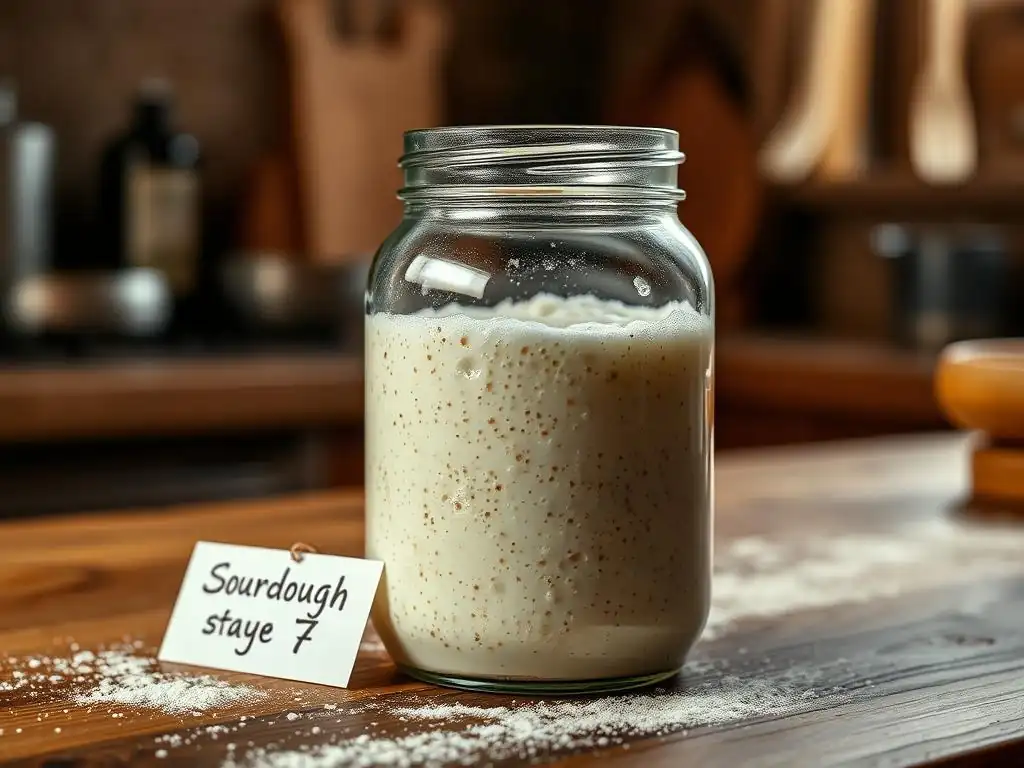
Step 1: Gathering Your Supplies for Sourdough Starter Success
Essential Ingredients: Flour and Water for Sourdough
The foundation of any sourdough starter is simple: just flour and water. However, the type of flour can influence the speed and robustness of your starter development. Many beginners find success starting with unbleached all-purpose flour or whole rye flour. Whole grain flours, especially rye, often contain a higher concentration of wild yeasts and bacteria, which can help kickstart fermentation more quickly. Filtered water or bottled water is recommended, as tap water containing chlorine can inhibit microbial growth. Aim for water around room temperature, roughly 70-75°F (21-24°C).
While you can eventually experiment with many flour types, starting with one consistent type for the first week or two is best. For example, using entirely unbleached all-purpose flour or a 50/50 blend of unbleached all-purpose and whole rye flour works well. Avoid bleached flours, as the bleaching process can damage the natural microbial populations needed for fermentation. Using quality ingredients is a simple but crucial part of an easy sourdough starter guide.
Required Equipment: Jars, Scales, and Utensils
To successfully create and maintain your easy sourdough starter, you'll need a few basic kitchen tools. The most important is a container for your starter. A glass jar, such as a wide-mouth Mason jar (pint or quart size), is ideal because it allows you to easily observe the activity within the starter. Glass is also non-reactive and easy to clean.
Avoid metal containers, especially reactive metals like aluminum. You'll need a lid, but don't seal it tightly; the starter produces gas and needs to breathe. A loose lid, a piece of cheesecloth secured with a rubber band, or even just resting the lid on top works perfectly.
Precision is key in sourdough, especially in the early stages. A digital kitchen scale is highly recommended for measuring ingredients by weight (grams) rather than volume (cups). This ensures consistency regardless of how you scoop the flour. You'll also need a non-reactive spoon or spatula (wood, plastic, or silicone) for mixing, and a rubber band or marker to indicate the starter's initial level in the jar, helping you track its rise. These simple tools are all you need to get started on this easy sourdough starter guide.
Step 2: Mixing Your Initial Sourdough Starter Batch
Precise Measurements: The Key to a Healthy Starter
Using precise measurements by weight is fundamental to creating a healthy, active sourdough starter. While volume measurements (cups) can vary significantly depending on how densely the flour is packed, weight provides a consistent ratio of flour to water. A common starting ratio is 1 part flour to 1 part water by weight (1:1). This is often expressed as 50g flour and 50g water. This hydration level provides a good environment for the wild yeasts and bacteria to thrive.
Consistency in measurements helps ensure that your starter develops predictably. If you consistently use slightly too much water, the starter might become too liquid and less robust. If you use too much flour, it might be too stiff, hindering the movement of bubbles. Following a specific weight ratio each time you feed establishes a stable environment for your microbial culture, which is a cornerstone of any easy sourdough starter guide.
Combining Flour and Water: Achieving the Right Consistency
Once you have your measured flour and water, combine them in your clean glass jar. For example, if you're using the 1:1 ratio, add 50g of your chosen flour (like unbleached all-purpose or rye) and 50g of room-temperature filtered water to the jar. Use your non-reactive spoon or spatula to mix the ingredients thoroughly. Scrape down the sides of the jar to incorporate all the dry bits of flour.
The mixture should have the consistency of a thick batter or a sticky dough. It shouldn't be completely liquid like milk, nor should it be a firm ball like bread dough. If it seems too dry, add a tiny amount of water (maybe 5-10g) and mix again. If it seems too wet, add a tiny amount of flour. The goal is a smooth, lump-free paste. Once mixed, cover the jar loosely and place it in a warm spot, ideally between 70-80°F (21-27°C). This initial mix is the simple beginning of your easy sourdough starter guide journey.
Step 3: The Daily Feeding Schedule: Nurturing Your Sourdough Starter
Observing Signs of Activity: Bubbles and Volume Increase
Monitoring your sourdough starter daily is crucial for understanding its development. In the first day or two, you might see little to no activity – this is normal! By day 3 or 4, you should start noticing small bubbles forming within the mixture, especially near the surface and sides of the jar. You might also observe a slight increase in volume. As the days progress, the activity should become more vigorous.
A healthy, active starter will show significant signs of fermentation, such as numerous bubbles throughout the mixture, a spongy or foamy texture, and a noticeable rise in volume after feeding. Use a rubber band or marker on the outside of the jar to mark the level immediately after feeding. Check back after a few hours; a strong starter will often double or even triple in height. These visual cues are your primary indicators that the wild yeasts are active and multiplying, a key part of this easy sourdough starter guide.
Discarding and Feeding: Maintaining a Balanced Culture
Starting on day 2 or 3 (or when you see the first signs of bubbles), you'll begin the daily discard and feeding routine. This step might seem wasteful, but it's essential for maintaining a healthy, balanced culture and preventing the starter from becoming too acidic or running out of food. Each day, you will discard a portion of the starter before feeding the remainder with fresh flour and water. A common method is to keep a small amount, say 50g, and feed it with 50g flour and 50g water (a 1:1:1 ratio of starter:flour:water).
To do this, weigh your jar with the starter. Subtract the weight of the empty jar to find the starter's weight. Discard all but the desired amount (e.g., discard down to 50g). Then, add the fresh flour (50g) and water (50g) to the remaining starter in the jar. Mix thoroughly until smooth, mark the new level, cover loosely, and return it to its warm spot. Repeat this process daily around the same time. This consistent feeding is vital for building a strong, reliable starter, making this an easy sourdough starter guide step to follow.
Step 4: Troubleshooting Common Sourdough Starter Problems
Dealing with Mold or Unpleasant Odors
During the initial stages of creating an easy sourdough starter, you might encounter issues like mold or off-putting smells. If you see any fuzzy, colored spots (green, black, orange, or pink mold) on the surface, discard the entire starter and start over. Mold indicates that unwanted bacteria or fungi have taken hold. While hooch (a layer of liquid on top, often dark) is normal and indicates the starter is hungry, foul or rotten smells (like gym socks, vomit, or strong cheese) can mean undesirable bacteria are dominant.
A healthy, young starter might smell slightly acidic or like yeasty beer in the first week. As it matures, it should develop a pleasant, tangy, slightly sweet, or yogurty aroma. If you have a bad smell without visible mold, try discarding more starter before feeding (e.g., keep only 25g and feed with 50g flour and 50g water) and feeding more frequently (twice a day) for a couple of days. Ensure your jars and utensils are clean. Persistence and careful observation are key to overcoming these early challenges in your easy sourdough starter guide journey.
Adjusting the Feeding Schedule for Optimal Growth
Sometimes, your starter might seem sluggish or consistently produce a lot of hooch even with daily feeding. This often means it's running out of food between feedings, especially if your kitchen is warm. If your starter is doubling and falling significantly within 12 hours, consider switching to feeding twice a day. This provides the microbes with a more consistent food supply, helping them build strength and consistency.
To feed twice a day, simply perform the discard and feed routine every 12 hours instead of every 24 hours. For example, feed at 8 am and 8 pm. Maintain the same ratio (e.g., keep 50g, feed 50g flour, 50g water). Conversely, if your kitchen is cooler and your starter is rising very slowly, ensure it's in the warmest available spot. Avoid feeding too much at once; smaller, more frequent feedings are generally better for young starters. Learning to read your starter's signals and adjust the feeding schedule is part of mastering this easy sourdough starter guide.
Understanding Sourdough Starter: Advanced Tips and Techniques
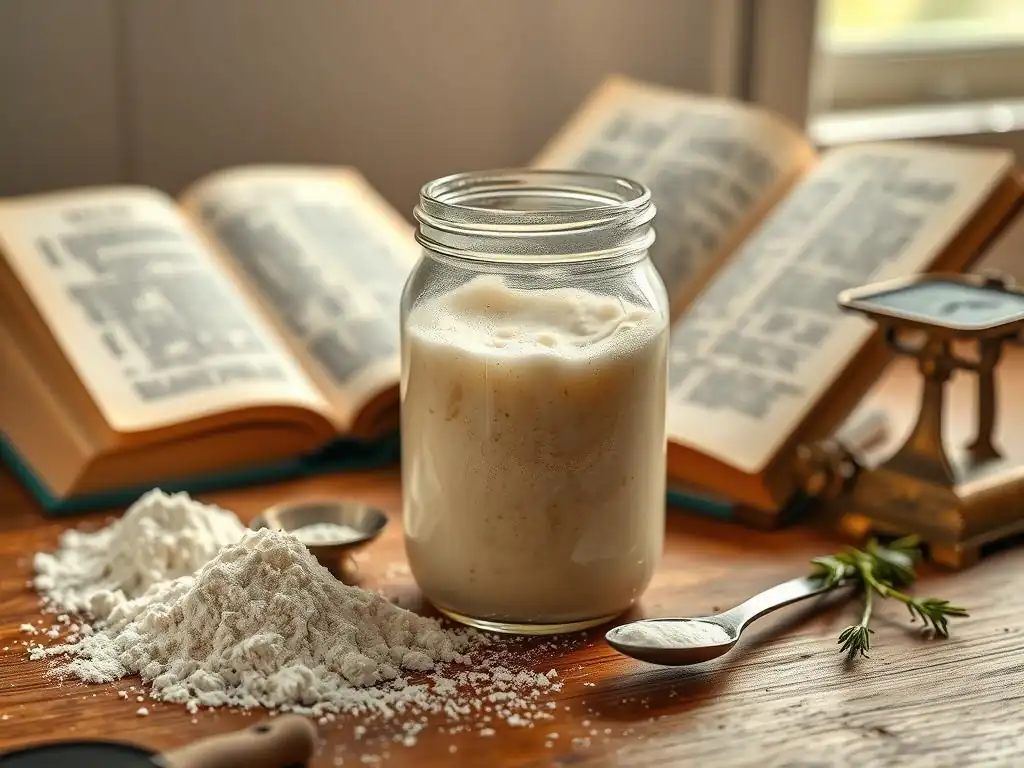
Different Types of Flour for Sourdough Starter: Experimenting with Flavor
While unbleached all-purpose or rye flour is a great starting point for an easy sourdough starter guide, experimenting with different flours can significantly impact your starter's activity, flavor, and the final bread's characteristics. Whole grain flours like rye, whole wheat, or spelt tend to be very active initially due to higher nutrient content and more naturally occurring microbes. Using these can help establish a starter more quickly. A starter fed solely on rye, for example, will develop a distinct, robust tang.
Once your starter is established and active (consistently doubling within a few hours after feeding), you can transition to feeding it with the flour you plan to use for baking. Many bakers maintain their starter on a mix of all-purpose and whole wheat flour (like 80% AP, 20% WW) or even just all-purpose if that's their primary baking flour. Using bread flour can also build a very strong starter. Feel free to feed a portion of your active starter with a new flour type to see how it responds and what flavors develop. Just remember to make changes gradually.
Maintaining Your Sourdough Starter: Long-Term Care and Storage
Once your sourdough starter is mature and reliably active (typically after 1-2 weeks of daily feeding), you don't necessarily need to keep it on the counter and feed it daily if you're not baking frequently. For less frequent baking, the refrigerator is your best friend. Storing your starter in the fridge significantly slows down microbial activity, meaning it requires less frequent feeding.
Refrigeration: Slowing Down Fermentation
To store your active starter in the refrigerator, feed it as usual, let it sit at room temperature for 1-2 hours after feeding (just to kickstart activity), and then place it in a clean jar with a loose lid in the fridge. While refrigerated, you only need to feed it about once a week. To feed, take it out, let it warm up for an hour or two, discard most of it (leaving 25-50g), and feed it with its usual ratio of flour and water.
Mix, let it sit at room temperature for another hour, then return it to the fridge. This method is crucial for managing a starter long-term as detailed in any comprehensive easy sourdough starter guide.
Reviving a Dormant Starter: Bringing It Back to Life
When you're ready to bake after refrigerating your starter, you'll need to revive it and get it active again. Take the starter out of the fridge. Discard all but a small amount (say, 25g). Feed it with your regular ratio (e.g., 50g flour, 50g water). Mix well, mark the level, and leave it at room temperature. You'll likely need to feed it daily (or even twice daily if your kitchen is warm) for 1-3 days until it is consistently doubling or tripling in volume within 4-6 hours after feeding.
Signs of a fully revived and ready-to-bake starter include predictable rising and falling, a bubbly texture throughout, and a pleasant, tangy aroma. It should also pass the float test: drop a small spoonful into a glass of water; if it floats, it's typically ready. Don't rush this process; an under-active starter won't provide sufficient lift for your bread. Patience in reviving is as important as patience in starting, as emphasized in this easy sourdough starter guide.
Using Your Active Sourdough Starter: Baking Your First Loaf
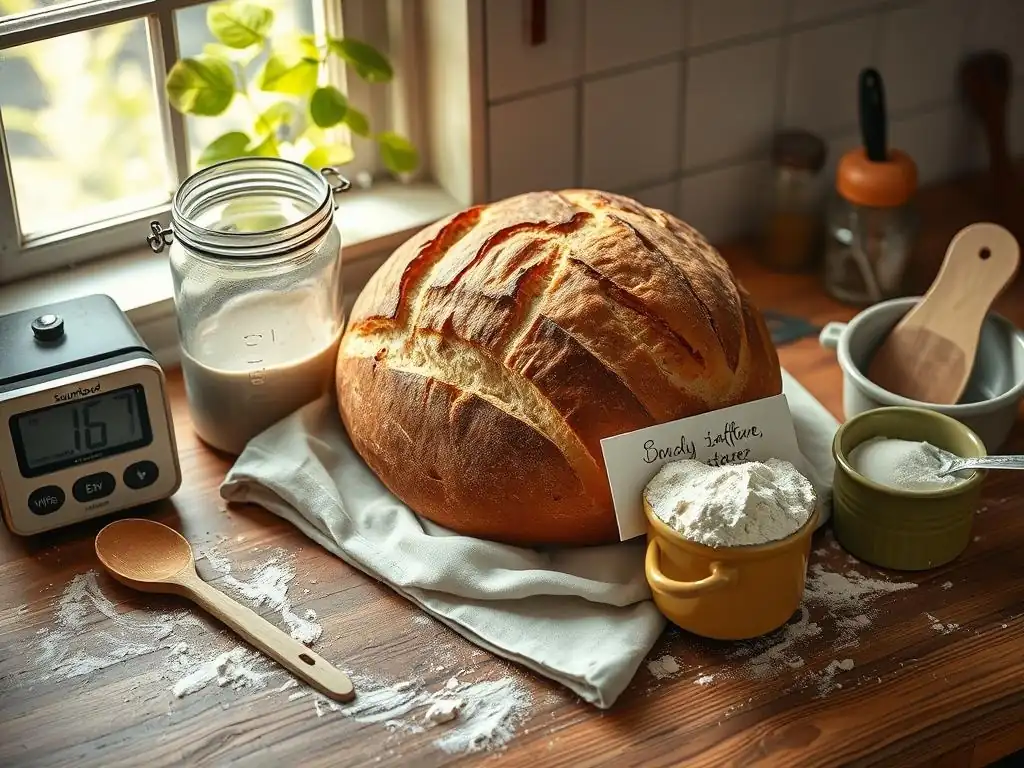
Signs Your Starter is Ready for Baking
Knowing when your sourdough starter is peak activity is key to successful baking. An easy way to tell is by its behavior after feeding. A mature, active starter should reliably double or triple in volume within 4-6 hours after being fed at room temperature (around 75°F/24°C). The surface should be dome-shaped and bubbly, and the texture inside should be light and airy. It should also have a pleasant, tangy smell, not strongly alcoholic or acetone-like (which indicates it's past its peak and needs feeding).
Another popular test is the float test. Take a small spoonful of your starter at its peak (when it has significantly risen after feeding) and gently drop it into a glass of room-temperature water. If the starter floats, it's full of carbon dioxide produced by the yeasts and is generally considered ready to be used in your bread dough. If it sinks, it may not be active enough yet and might need another feeding cycle. Using a starter at its peak ensures optimal rise and flavor in your sourdough bread.
Sourdough Bread Recipe: A Simple Beginner's Loaf
Here is a basic recipe to get you started with your first loaf using your active sourdough starter. This recipe uses a relatively high hydration, common for artisan loaves.
Ingredients:
- 100g Active Sourdough Starter (at its peak)
- 350g Warm Water (approx. 80-85°F or 27-29°C)
- 500g Strong Bread Flour
- 10g Fine Sea Salt

Equipment:
- Large mixing bowl
- Dough scraper or spatula
- Proofing basket (banneton) or bowl lined with floured cloth
- Dutch oven or baking stone with steam setup

Instructions:
1. Autolyse (Optional but recommended): In your large bowl, mix the flour and warm water until just combined. Cover and let rest for 30-60 minutes. This helps the flour hydrate.
2. Mixing: Add the active starter and salt to the dough. Mix by hand, spoon, or stand mixer until all ingredients are incorporated and the dough is shaggy.
3. Kneading/Developing Gluten: Knead the dough for 5-10 minutes until it starts to become smooth and elastic. Alternatively, perform a series of stretch and folds over the next 2-3 hours (every 30 minutes).
4. Bulk Fermentation: Place the dough in a lightly oiled bowl, cover, and let rise at room temperature (around 75-80°F) for 4-6 hours, or until it has increased significantly in volume (not necessarily doubled).
5. Shaping: Gently turn the dough onto a lightly floured surface. Shape it into a round or oval.
6. Proofing: Place the shaped dough seam-side up into your floured proofing basket or bowl. Cover and refrigerate for 12-18 hours (cold proofing develops more flavor and makes the dough easier to handle).
7. Baking: Preheat your oven with a Dutch oven inside to 475°F (245°C) for at least 30 minutes. Carefully transfer the cold dough from the proofing basket into the hot Dutch oven. Score the top of the dough with a sharp blade.
8. Bake covered for 20 minutes.
9. Remove the lid and reduce oven temperature to 450°F (230°C). Bake uncovered for another 20-25 minutes, or until the crust is deep golden brown and the internal temperature reaches 200-210°F (93-99°C).
10. Let cool completely on a wire rack before slicing.
This simple recipe provides a clear path from starter to loaf, embodying the spirit of an easy sourdough starter guide extended to baking.
Conclusion: Embrace the Journey of Sourdough Baking
Enjoy the Unique Flavor of Homemade Sourdough
Congratulations! You've successfully created and used your easy sourdough starter to bake your first loaf. There's nothing quite like the aroma and taste of bread made with your own hands and your own living culture. The tangy, complex flavor profile of homemade sourdough is a testament to the natural fermentation process you've nurtured. Each loaf will have its own subtle variations depending on the flour used, the fermentation time, and even the temperature of your kitchen. Embrace these nuances; they are part of the beauty of artisan baking.
As you continue to bake, you'll refine your techniques, learn how your starter behaves in different conditions, and gain confidence in handling the dough. This easy sourdough starter guide is just the beginning. The journey of sourdough baking is one of continuous learning and delicious rewards. Enjoy eating your creations, sharing them with others, and experimenting with new recipes and techniques.
One of the wonderful traditions in the sourdough community is sharing your active starter with others. Once your starter is robust and consistently active, you have a perpetual source of leavening. You can easily give a portion of your fed starter to friends, family, or fellow aspiring bakers. This not only helps others begin their own sourdough journey without going through the initial week or two of starting from scratch but also ensures the longevity of your starter culture, which can theoretically live indefinitely with proper care.
Sharing your starter is a simple act of spreading the joy of baking and building community. It's a tangible way to pass on the magic of sourdough. By following this easy sourdough starter guide and successfully cultivating your own, you are now part of a long tradition of bakers who harness the power of natural fermentation to create incredible bread. Happy baking!
Frequently Asked Questions
How long does it typically take to create a sourdough starter using your easy guide?
It usually takes between 7-14 days to create a viable sourdough starter. Patience is key, and consistent feeding is crucial for success.
What are the best types of flour to use when following your easy sourdough starter guide?
Our guide recommends using unbleached all-purpose flour or whole wheat flour. These flours provide the necessary nutrients for yeast and bacteria growth.
My sourdough starter doesn't seem to be rising; what could be the problem, and how can I fix it?
Possible reasons include incorrect ratios of flour and water, temperature fluctuations, or insufficient feeding. Try adjusting the feeding schedule and ensuring a warm, consistent environment.
Can I use tap water for my sourdough starter, or should I use filtered water?
Unfiltered tap water can contain chlorine, which can inhibit the growth of yeast and bacteria. It's recommended to use filtered or bottled water for the best results.
How do I know when my sourdough starter is ready to be used for baking?
A mature starter will be doubled in size within a few hours after feeding and have a pleasantly sour aroma. It should also pass the "float test", indicating it's active enough to leaven bread.
Final Reflection: The Enduring Allure of Sourdough
The humble sourdough starter, once a relic of culinary history, is experiencing a vibrant resurgence, proving that timeless techniques can still captivate modern kitchens. Its enduring appeal isn't just about the delicious, tangy bread; it's about the connection to a slower, more mindful approach to food production. This simple act of nurturing a living organism, watching it bubble and grow, offers a tangible link to generations of bakers past.
The journey of cultivating a sourdough starter is more than just a recipe; it's a process of patience, observation, and a deep appreciation for the natural world. It's a reminder that the most rewarding things often require time and care. The best things in life are not things.
This simple quote resonates deeply with the sourdough experience, highlighting the value of the process itself, rather than solely focusing on the final product. The satisfaction derived from nurturing your starter and ultimately baking your own loaf is profoundly rewarding, enriching our relationship with food and fostering a deeper connection to the craft of baking.
Now, I invite you to embark on your own sourdough adventure. Don't be intimidated by the seemingly complex process; embrace the journey. Start small, observe closely, and allow yourself to be surprised by the magic that unfolds. The rewards – a delicious, uniquely flavored loaf and a newfound appreciation for the simple things – are well worth the effort. Remember, the most important ingredient isn't flour or water, but your patience and dedication. So, grab your jar, your flour, and your water, and let the sourdough magic begin!
Unleash Your Inner Baker: Start Your Sourdough Journey Today!
Thanks for taking the time to explore the wonderful world of sourdough! We hope you gained valuable insights into creating your own starter. Now it's time to put that knowledge into practice. Ready to bake amazing bread?
- Begin your sourdough starter today! Follow the simple steps outlined in the article, and don't be afraid to experiment. It's more rewarding than you think!
- Share your sourdough adventures! Post a picture of your starter’s progress or your first sourdough loaf on social media using #BakeWithEaseSourdough. We'd love to see it!
- Explore our other baking guides: Discover more amazing recipes and tips on our website for even more baking inspiration.
What unique flavour will your first sourdough creation have? Let's hear about it in the comments!