
OverProofing vs. UnderProofing: Spot the Signs in Your Bread

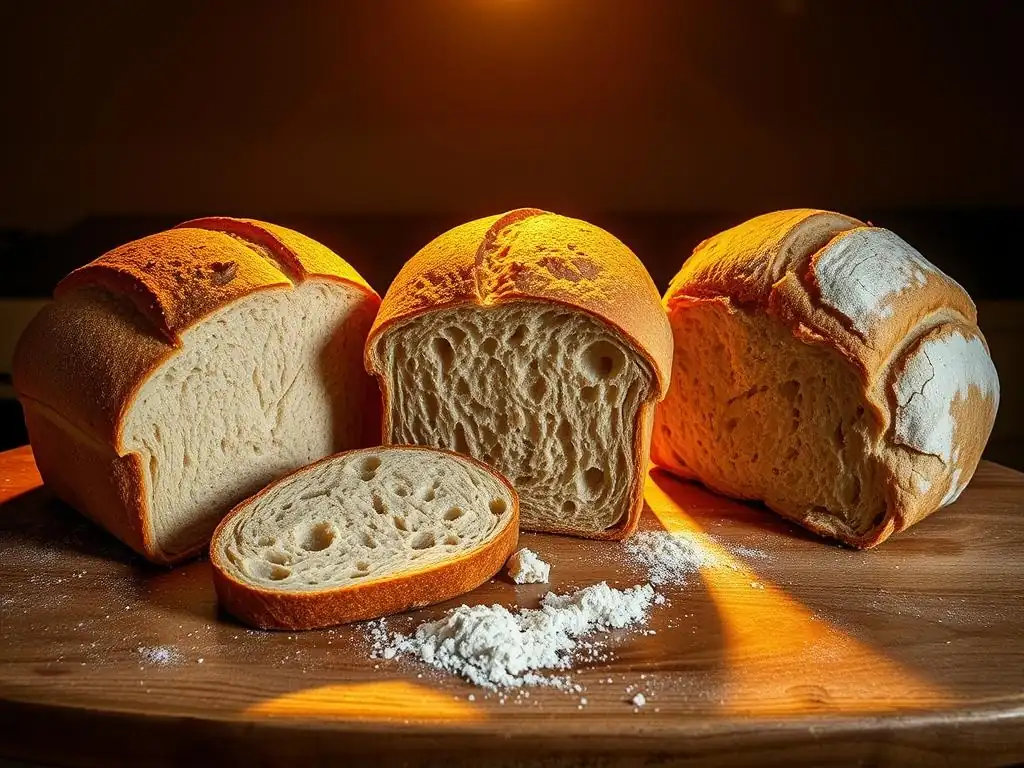
Welcome to BakeWithEase, your kitchen companion for conquering the delicious world of baking! Ever wondered if your bread dough really understands the assignment? This article dives deep into one of the most common baking blunders: underproofing bread dough issues. We'll equip you with the knowledge to spot the telltale signs of both under- and over-proofed dough, ensuring your next loaf rises to its full, glorious potential. Curious to know if your bread is ready for its close-up? Let's unlock the secrets together!
- Recognizing Optimal vs. Suboptimal Proofing for Bread
- Why Proper Proofing Matters for Bread Quality
- Identifying Underproofed Bread Dough: Signs and Solutions
- Diagnosing Your Dough: A Side-by-Side Comparison
- Fixing Proofing Problems: Techniques and Adjustments
- Achieving Optimal Proofing: Best Practices
- Mastering Bread Baking: Proofing Considerations
- Frequently Asked Questions
- Final Reflection: The Silent Struggle of Yeast and Flour
- Unleash Your Inner Baker: Perfect Proofing Every Time!
Recognizing Optimal vs. Suboptimal Proofing for Bread
Understanding Bread Proofing: Essential for Baking Success
Proofing, often referred to as fermentation, is a critical stage in bread making. It's the period where yeast consumes sugars in the dough, producing carbon dioxide gas and alcohol. This gas gets trapped within the gluten network, causing the dough to rise and develop its airy structure. Without adequate proofing, the final bread will be dense and heavy, lacking the desired texture and volume.
Moreover, proofing isn't just about volume; it's also about flavor development. The metabolic activities of yeast and bacteria during this phase contribute significantly to the complex aromas and tastes of well-made bread. Insufficient proofing limits this flavor maturation, resulting in a bland loaf. Understanding the nuances of proofing is fundamental to resolving common underproofing bread dough issues and achieving consistent baking results.
Why Proper Proofing Matters for Bread Quality
Proofing Defined: The Process of Dough Development
Proofing is the final rise of the dough before baking. It's a biological process driven primarily by yeast activity. After the initial bulk fermentation (the first rise, often after kneading), the dough is shaped and then proofed. During this time, the gluten structure relaxes and expands, accommodating the increasing volume of gas. This expansion is what gives bread its open crumb structure.
The duration and conditions of proofing are crucial. Factors like ambient temperature, dough temperature, hydration level, yeast activity, and the type of flour used all influence how quickly and effectively dough proofs. Getting this stage right is key to avoiding major pitfalls like underproofing bread dough issues or the opposite problem, overproofing.
Identifying Underproofed Bread Dough: Signs and Solutions
Characteristics of Underproofed Dough
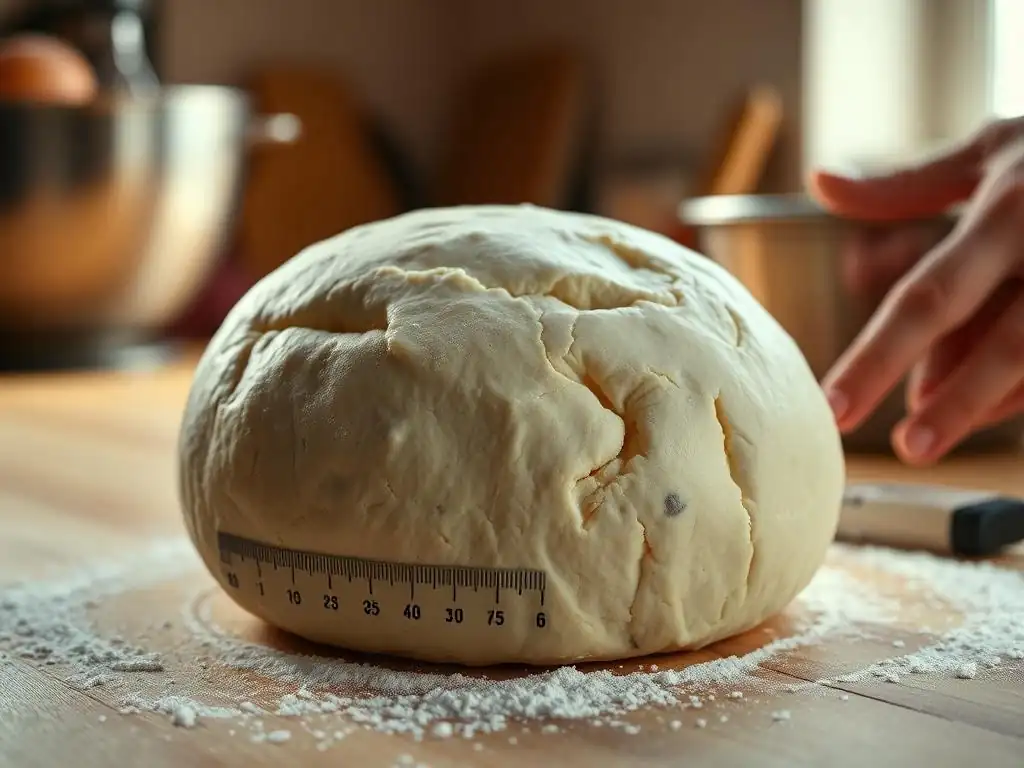
Underproofed dough typically feels dense and heavy for its size. When you gently poke it, it springs back almost immediately, leaving little to no indentation. It hasn't expanded significantly, perhaps only increasing by 20-50% of its original volume, depending on the recipe and desired outcome. The surface might appear tight and somewhat firm.
Examining the dough closely, you might notice a lack of visible air bubbles near the surface compared to a properly proofed dough. This indicates that the gas production hasn't been sufficient or the gluten hasn't relaxed enough to capture the gas effectively. Recognizing these initial signs is the first step in addressing underproofing bread dough issues before the loaf goes into the oven.
Common Causes of Underproofing
Several factors can lead to underproofing. One of the most frequent causes is insufficient time allowed for the dough to rise. Proofing times provided in recipes are often estimates, and environmental conditions can significantly alter the required duration. Cold ambient temperatures, for instance, drastically slow down yeast activity, meaning dough will take much longer to proof than at warmer temperatures.
Another common issue is inactive or insufficient yeast. If your yeast is old, improperly stored, or you haven't used enough, it won't produce enough gas to adequately leaven the dough. Similarly, cold ingredients (like water or milk directly from the refrigerator) can lower the dough temperature, inhibiting yeast activity and contributing to underproofing bread dough issues. Doughs with high fat or sugar content also proof more slowly than lean doughs.
Signs of Underproofed Bread After Baking
Dense Texture and Tight Crumb
A hallmark sign of underproofing after baking is a dense, heavy texture. The bread will feel solid and lack the characteristic lightness of well-proofed bread. When sliced, the crumb (the interior structure) will appear tight and uniform, with small, irregularly shaped holes, rather than the open, airy structure often desired, especially in artisan loaves.
This dense crumb is a direct result of insufficient gas production and trapping during proofing. The gluten network didn't expand enough to create larger air pockets, and the limited gas couldn't inflate the existing ones sufficiently. This is one of the most visible underproofing bread dough issues you'll encounter post-bake.
Limited Oven Spring
Oven spring is the rapid expansion of bread dough during the first few minutes in a hot oven. It's caused by the sudden increase in yeast activity and the expansion of trapped gases before the crust sets. Underproofed dough typically exhibits poor oven spring. It might rise slightly, but it won't achieve the dramatic lift seen in properly proofed loaves.
The tight structure of underproofed dough restricts its ability to expand rapidly in the oven. The gluten network is too stiff, resisting the internal pressure from expanding gases. This limited rise contributes to the overall small volume and dense nature of the final loaf, clearly indicating underproofing bread dough issues during the proofing stage.
Doughy or Gummy Interior
Another common sign of underproofing is a doughy or gummy texture in the center of the baked loaf. Even if the crust is nicely browned, the interior might feel wet and heavy. This isn't necessarily due to underbaking, though it can resemble it; rather, it's a consequence of the dense structure preventing heat from penetrating and cooking the interior thoroughly and evenly.
The tightly packed crumb of underproofed bread retains moisture more readily than an open crumb. The limited air pockets mean less surface area for moisture to evaporate from during baking. This results in a persistent dampness or gumminess in the center, a frustrating outcome stemming from underproofing bread dough issues.
Characteristics of Overproofed Dough
Overproofed dough, in contrast to underproofed, appears excessively large and puffy. It might have risen significantly, potentially doubling or even tripling in volume beyond what the recipe intended or the dough can structurally support. When gently poked, overproofed dough will deflate easily and leave a deep, lasting indentation that doesn't spring back at all.
The surface of overproofed dough often looks slack and loose, sometimes with visible, large bubbles just beneath or breaking through the surface. The gluten structure, stretched beyond its limit, becomes weak and unable to hold its form. This fragile state is a clear indicator that the dough has gone too far in its final rise.
Causes of Overproofing: Common Mistakes
Overproofing is typically caused by allowing the dough to proof for too long or in too warm an environment. Just as cold slows yeast, excessive heat dramatically accelerates it. Proofing dough in a proofer set too high (say, above 85°F or 30°C for many doughs) or simply leaving it on a warm counter for an extended period can lead to overproofing surprisingly quickly.
Using too much yeast in a recipe can also speed up proofing to the point where it's difficult to control, increasing the risk of overproofing before the dough has developed sufficient flavor. Doughs with lower hydration or less sugar (lean doughs) can sometimes overproof faster than richer doughs because there's less "food" for the yeast, leading them to exhaust their resources and collapse the structure sooner.
Visual Clues of Overproofed Bread Dough
Collapsed Dough
A definitive visual clue of severe overproofing is when the dough has actually started to collapse on itself. It might have risen beautifully initially but then begins to sink in the center or around the edges. This happens because the yeast has consumed most of the available sugars, and the excessive gas production has stretched the gluten network so thin that it can no longer support the dough's weight and volume.
This collapse signifies that the dough's structure is compromised. The gluten has broken down, and the ability of the dough to hold shape and achieve good oven spring is severely diminished. Seeing your dough deflate is a clear sign that it has moved well past its optimal proofing point.
Sour or Alcoholic Smell
As yeast ferments sugars, it produces alcohol and other byproducts, including organic acids. In a properly proofed dough, these contribute pleasant, complex aromas. However, in overproofed dough, where fermentation has gone on too long, these byproducts can become dominant, resulting in a distinctly sour or strong alcoholic smell.
This pungent aroma is a chemical indicator that the yeast has been highly active for an extended period, consuming a significant amount of sugars and producing an excess of fermentation byproducts. While some sourness is desired in certain breads like sourdough, a strong, vinegary or boozy smell in a standard yeasted dough is a strong indicator of overproofing.
Weak Gluten Structure
The gluten network provides the structural integrity of bread dough, allowing it to trap gas and hold its shape. In overproofed dough, this network is stretched beyond its elastic limit and begins to break down. You can often feel this when handling the dough; it will feel slack, sticky, and lack the springiness of well-developed dough.
Attempting to shape or move overproofed dough can be challenging because it tears easily and doesn't hold tension. This weakened structure means the dough will have poor oven spring and may spread out rather than rise upwards during baking. The resulting bread will likely have a coarse, uneven crumb and a lack of volume, all consequences of the compromised gluten from overproofing.
Diagnosing Your Dough: A Side-by-Side Comparison
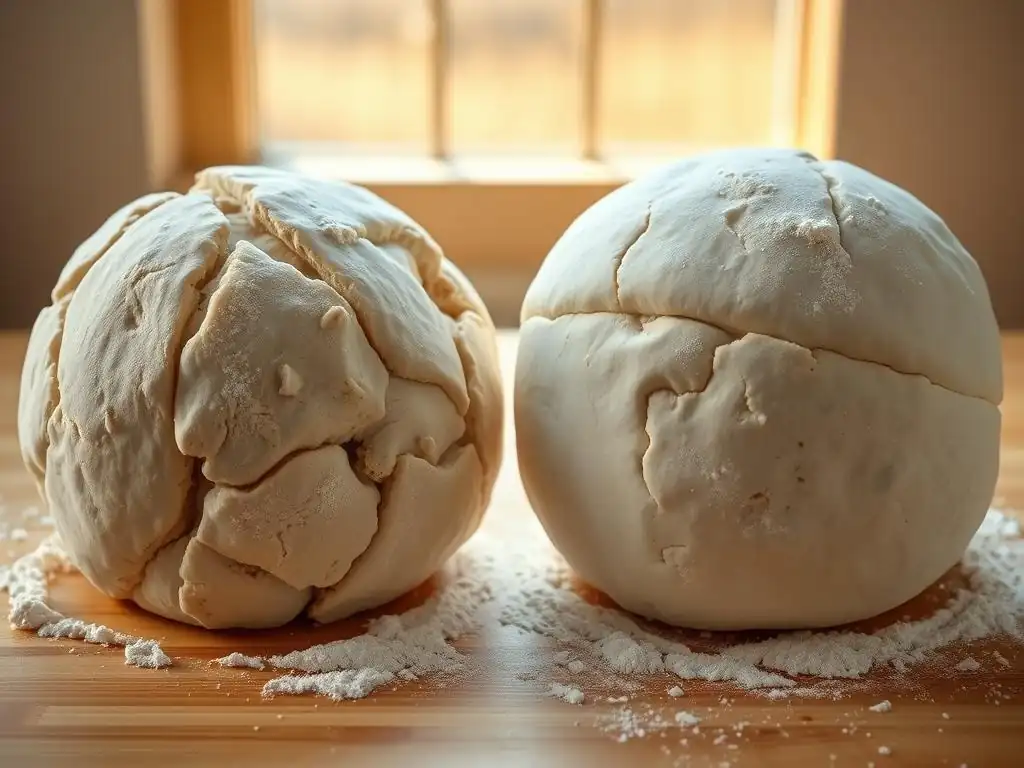
Underproofed vs. Overproofed: Key Differences
| Characteristic | Underproofed Dough | Overproofed Dough |
|---|---|---|
| Volume | Slightly increased (e.g., 20-50%) | Significantly increased (e.g., 100-200%+) or collapsed |
| Poke Test | Springs back quickly, leaves slight indentation | Deflates easily, leaves deep, lasting indentation |
| Feel | Dense, firm, tight surface | Slack, loose, potentially sticky |
| Appearance | Small, few visible bubbles | Large bubbles visible or bursting, potentially collapsed |
| Smell | Mildly yeasty | Strong, sour, or alcoholic |
| After Baking | Dense, tight crumb, poor oven spring, potentially gummy | Coarse, uneven crumb, poor oven spring, potentially flat |
Understanding these distinctions is crucial for effective troubleshooting. Recognizing the signs of underproofing bread dough issues or overproofing before baking gives you a chance to intervene or at least understand the outcome.
Visual Differences: Underproofed vs. Overproofed Dough
Visually, the contrast is stark. Underproofed dough remains relatively small and compact, maintaining a firm structure. Imagine a balloon that hasn't been fully inflated – it's tight and doesn't yield much when pressed.
Overproofed dough, however, resembles a balloon that has been overinflated and is about to burst or has started to deflate. It's large, possibly dome-shaped initially but then flattening or sinking. Its surface may look stretched thin, sometimes translucent over large air pockets. These visual cues are your first line of defense in diagnosing proofing problems.
Fixing Proofing Problems: Techniques and Adjustments
Correcting Underproofed Dough: Rescue Strategies
If you realize your dough is underproofed before baking, the most straightforward solution is to simply give it more time. Assess the dough's volume and feel using the poke test. If it springs back too quickly and hasn't increased significantly, it needs more proofing.
Place the dough back in its proofing environment. Check on it periodically, perhaps every 15-30 minutes, depending on the warmth of the location. Continue the poke test until the indentation springs back slowly, leaving a slight mark. Patience is key here; rushing the final proof will only lead to persistent underproofing bread dough issues in the final loaf.
Extending Proofing Time
As mentioned, the primary way to fix underproofing is to allow the dough to proof for a longer duration. If the recipe suggested 60 minutes and your dough still looks dense and springs back immediately, it might need 90, 120 minutes, or even longer, especially if your kitchen is cool.
Consider the recommended proofing conditions. If the recipe assumes a temperature of around 75-80°F (24-27°C) and your kitchen is cooler, say 68°F (20°C), the proofing time could easily double. Trust the dough's indicators (volume increase, poke test) over the clock alone when correcting underproofing bread dough issues.
Adjusting Temperature for Proofing
If simply waiting longer isn't practical or effective in a cool environment, you can gently increase the dough's temperature to speed up yeast activity. Options include placing the dough in a slightly warm, turned-off oven (ensure it's not too hot – under 100°F / 38°C is generally safe), using a proofing box, or placing the proofing container in a warm spot free from drafts.
Be cautious not to overheat the dough, as this can kill the yeast or lead to overproofing very quickly. A temperature range of 75-85°F (24-30°C) is typically ideal for accelerating proofing. Using a thermometer to check your proofing environment can prevent further underproofing bread dough issues caused by temperature fluctuations.
Addressing Overproofed Dough: Salvage Options
Overproofed dough is more challenging to rescue than underproofed, especially if it has already collapsed. Once the gluten structure is significantly degraded, it's difficult to rebuild. However, there are still ways to salvage the dough and create something delicious, even if it's not the loaf you originally intended.
If the dough hasn't completely collapsed but is very puffy and fragile, you might be able to gently reshape it and bake it immediately. Avoid excessive handling, which will cause it to deflate completely. Some bakers attempt a very short second proof (maybe 10-20 minutes) after reshaping, but this is risky and often leads to collapse in the oven.
Reducing Proofing Time in Future Batches
The best way to address overproofing is preventative: adjust your proofing time and temperature in future baking sessions. If your dough consistently overproofs within the recipe's suggested timeframe, your proofing environment is likely too warm, or the suggested time is too long for your conditions.
Note the temperature of your kitchen and the dough. For subsequent batches, try reducing the proofing time significantly or finding a cooler spot for the dough to rise. Using less yeast (even slightly) can also slow down fermentation, providing a larger window for optimal proofing and reducing the chance of overproofing.
Using Overproofed Dough for Focaccia or Flatbread
Even severely overproofed dough that has collapsed can often be repurposed. While it may not have the strength for a lofty loaf, it still has flavor from the fermentation. Gently transfer the deflated dough to a well-oiled baking sheet or pan.
Carefully spread it out into a flat shape, like for focaccia or flatbread. Dimple the surface, add toppings like herbs, salt, or olives, and bake. The reduced need for vertical structure in flatbreads makes overproofed dough a viable option, turning a potential baking failure into a rustic success.
Achieving Optimal Proofing: Best Practices
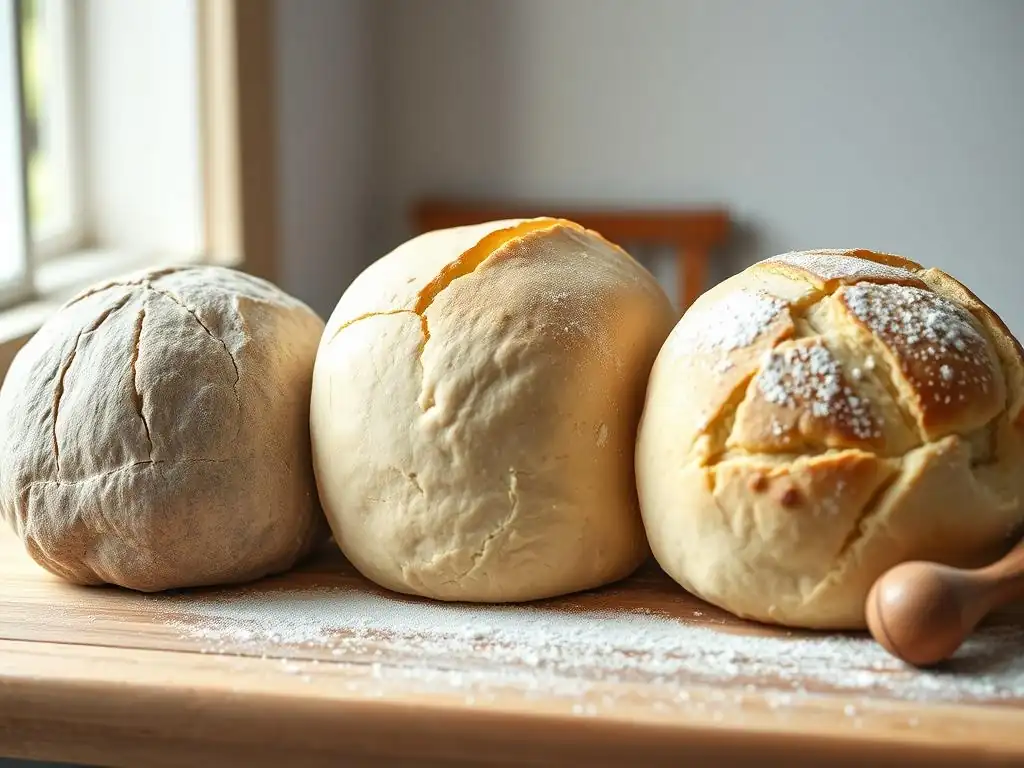
Essential Proofing Tips for Consistent Results
Consistency in proofing comes from controlling the variables. Pay attention to your kitchen's temperature and humidity. A drafty, cool spot will yield different results than a warm, humid corner. Use a consistent proofing vessel and cover it properly to prevent the dough from drying out, which can inhibit proper rising.
Keep track of your dough's behavior. Note how long it takes to double (or reach the desired volume increase) under your specific conditions. This personal experience is more valuable than relying solely on recipe timings, which are often generalized. Learning to read the dough's physical cues is paramount to avoiding underproofing bread dough issues and overproofing alike.
Controlling Temperature and Humidity
Temperature is arguably the most significant factor influencing proofing speed. Yeast is most active between 75°F and 85°F (24°C and 30°C). Proofing at lower temperatures ( 60-70°F / 15-21°C) slows yeast activity, resulting in longer proofing times but often more complex flavor development. Higher temperatures ( >85°F / 30°C) accelerate proofing but can compromise flavor and risk overproofing quickly.
Humidity is also important. A dry environment can cause the dough surface to form a skin, restricting expansion. Covering your dough with plastic wrap, a damp towel, or placing it in a proofing box or a turned-off oven with a pan of hot water helps maintain a humid environment conducive to even rising.
The Poke Test: A Simple Proofing Indicator
The poke test is a simple yet effective way to determine if your dough is properly proofed. Gently flour your finger and press it about half an inch ( ~1-1.5 cm) into the side of the dough. Observe how the indentation springs back.
- If it springs back immediately and completely: The dough is underproofed. (This is key for identifying underproofing bread dough issues).
- If it springs back slowly, leaving a small indentation: The dough is optimally proofed and ready to bake.
- If it doesn't spring back at all and the indentation remains: The dough is overproofed.
Practice this test on different doughs to become familiar with the feel of each stage.
Utilizing a Warm Environment
While temperature control is important, you don't necessarily need fancy equipment. A warm spot in your kitchen, like near a sunny window (but not direct sun which can overheat it), on top of a warm appliance, or in a turned-off oven with the light on, can provide a suitable environment.
For a more controlled warm environment, you can use a proofing box or create a makeshift one by placing the dough in a cooler with a container of warm water. Aim for a consistent temperature within the ideal range for the desired proofing time.
Mastering Bread Baking: Proofing Considerations
Proofing for Different Types of Dough (Lean vs. Enriched)
Not all doughs proof the same way. Lean doughs, made primarily of flour, water, yeast, and salt (like baguettes or ciabatta), tend to proof faster than enriched doughs, which contain added fats (butter, oil), sugar, and eggs (like brioche or challah). The added ingredients in enriched doughs slow down gluten development and yeast activity, requiring longer proofing times.
Additionally, the desired proofing level can vary. Some rustic loaves benefit from a slightly less aggressive proof to maximize oven spring and crust development, while soft rolls or sandwich bread are often proofed closer to the edge of overproofing for maximum softness. Understanding these differences helps tailor your approach and avoid specific underproofing bread dough issues based on the recipe type.
Common Proofing Mistakes to Avoid
Beyond simply misjudging time or temperature, other mistakes can lead to proofing problems. Using water that is too hot can kill the yeast, leading to no rise at all (extreme underproofing). Not kneading the dough sufficiently means the gluten network isn't strong enough to trap gas, resulting in a dense loaf even if yeast is active.
Over-handling the dough after the initial rise can knock out too much gas, requiring extra proofing time. Conversely, not degassing (gently punching down or shaping) at the appropriate stage can result in uneven crumb. Being mindful of these steps helps prevent a range of underproofing bread dough issues and other structural problems.
Refining Proofing Skills Through Practice
Mastering proofing, like any baking skill, takes practice. Don't be discouraged by a few dense or collapsed loaves. Each bake is a learning opportunity. Pay close attention to how your dough looks and feels at different stages. Keep notes on temperatures, times, and the resulting bread's texture and volume.
Experiment with different proofing environments and techniques. Try proofing in a cooler spot for a longer, slower rise versus a warmer spot for a quicker rise. By actively observing and adjusting, you'll develop an intuitive sense for when your dough is perfectly proofed, minimizing underproofing bread dough issues and consistently baking beautiful bread.
Frequently Asked Questions
What are the key signs of underproofed bread dough?
Underproofed dough often results in a dense, gummy texture and a tight crumb. You might also notice an uneven rise during baking.
How does underproofing affect the final taste of bread?
Underproofed bread can taste dense and doughy, lacking the characteristic airy flavor developed during proper fermentation. It may also have a slightly sour or acidic taste.
What are the common causes of underproofing bread dough?
Common causes include insufficient time for fermentation, using too little yeast, or baking in an environment that's too cold.
Can you fix underproofed bread dough after it's already been baked?
Unfortunately, you can't really "fix" underproofed bread after baking. The best solution is to learn from the mistake and adjust your next batch by allowing more proofing time.
How can I prevent underproofing my bread dough in the future?
Ensure your yeast is active, proof in a warm environment, and follow the recipe's proofing time guidelines. Observe the dough's volume rather than relying solely on time.
Final Reflection: The Silent Struggle of Yeast and Flour
The subtle dance between overproofing and underproofing bread dough remains a critical challenge for even experienced bakers, impacting not just the texture and taste but also the very essence of the baking experience. A perfectly proofed loaf is a testament to patience and precision, while a misstep can lead to disappointment and a less-than-ideal result. Understanding these subtle signs is key to unlocking the secrets of consistently delicious bread.
The impact of proper proofing extends far beyond the individual loaf; it speaks to a deeper connection with the craft of baking itself. It's a reminder that even the simplest recipes require attention to detail and a respect for the natural processes involved. Bread making is a journey, not a destination.
This quote, though often applied to the overall baking process, perfectly encapsulates the importance of mastering the proofing stage. The subtle shifts in dough texture and behavior are a constant lesson in observation and adaptation, mirroring the ever-changing dynamics of life itself.
Now, consider your own baking journey. Have you experienced the frustration of a collapsed loaf or the joy of a perfectly risen masterpiece? Take this knowledge and apply it to your next bake. Pay close attention to the subtle cues your dough provides – the gentle rise, the slight give, the delicate aroma. Embrace the learning process, for each loaf, whether a triumph or a learning experience, contributes to your growing understanding of this ancient and rewarding craft. The next time you knead, let the knowledge of overproofing and underproofing guide you towards baking perfection.
Unleash Your Inner Baker: Perfect Proofing Every Time!
Thanks for taking the time to learn about the crucial role of proofing in baking! You've now got the skills to identify over- and under-proofed dough and avoid those baking disasters. Ready to put your new knowledge into practice?
- Bake a loaf (or two!) using your newfound proofing expertise. Challenge yourself to achieve that perfect rise!
- Share your baking journey on social media – tag us @BakeWithEase and show us your perfectly proofed creations. We'd love to see them!
- Explore our other baking guides on BakeWithEase.com for even more tips and tricks to master your baking skills.
So, what delicious bread will you create with your newfound proofing skills?