
Pastry Cutter & Blender Essentials for Flaky, Tender Crusts

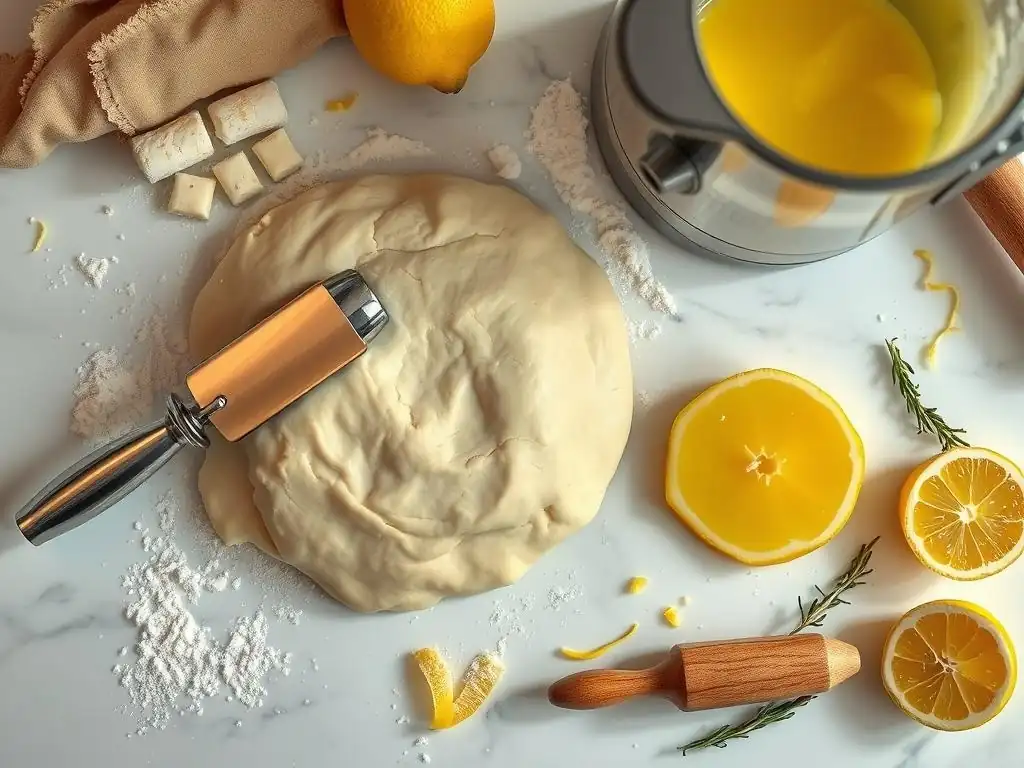
Welcome to BakeWithEase! Are you ready to unlock the secret to effortlessly perfect pastries? Discover how mastering the pastry cutter blender can revolutionize your baking, creating flaky, tender crusts with ease. We'll guide you through essential techniques and delicious recipes, transforming you into a pastry pro. Ready to bake with confidence? Let's get started!
- Understanding the Key to Perfect Pastry: Pastry Cutters and Blenders
- Choosing the Right Pastry Cutter for Your Needs
- Mastering the Pastry Blender: A Baker's Secret Weapon
- Pastry Cutter Blender Recipes: Flaky Crusts Made Easy
- Beyond the Basics: Advanced Techniques and Tips
- Cleaning and Maintaining Your Pastry Cutters and Blenders
- BakeWithEase Recommended Pastry Cutters and Blenders: Top Picks
- Elevate Your Baking: Mastering Pastry Cutter Blender Recipes
-
Frequently Asked Questions
- What is the primary benefit of using a pastry cutter or blender when making pie crusts?
- Can I use a food processor as a substitute for a pastry cutter or blender?
- What type of fat is best for achieving a flaky crust?
- Are there any specific techniques to ensure the fat stays cold while making pastry?
- Where can I find simple pastry cutter blender recipes for beginners?
- Final Reflection: Embracing the Art of Pastry for Flaky, Tender Crusts
- Unleash Your Inner Pastry Chef!
Understanding the Key to Perfect Pastry: Pastry Cutters and Blenders
Mastering the art of baking flaky, tender pastry is a cornerstone for countless delightful recipes, from sweet pies to savory tarts, fluffy biscuits, and tender scones. While simple ingredients like flour, fat, and liquid form the base, the technique used to combine them is paramount. This is where specialized tools like pastry cutters and pastry blenders become indispensable allies in your kitchen. They are designed specifically to help you achieve that coveted texture that makes homemade baked goods truly exceptional.
These tools ensure that cold fat – typically butter, shortening, or lard – is properly incorporated into the dry ingredients without melting it with the heat from your hands. The goal is to break the fat into small, distinct pieces, ranging from the size of peas down to coarse crumbs, depending on the desired outcome of your pastry cutter blender recipes. This seemingly simple step is the secret handshake between ingredients that leads to layers of flakiness when the pastry bakes. Without these tools, achieving consistent results and that perfect texture becomes significantly more challenging.
Why Pastry Cutters and Blenders are Crucial for Baking Success
Pastry cutters and blenders are essential because they allow bakers to efficiently cut cold, solid fat into dry ingredients while minimizing direct contact and warmth from hands. The warmth of your hands is the enemy of flaky pastry; it can quickly melt the fat, leading to a greasy, dense dough instead of one with distinct fat pockets. A quality pastry cutter or blender helps maintain the cold temperature of the fat, ensuring it remains solid and separate within the flour mixture.
Consider a standard pie crust recipe using 2 cups of all-purpose flour and 1 cup (two sticks) of cold unsalted butter. The goal is to cut this butter into pieces roughly the size of small peas. Attempting this solely with your fingertips will inevitably transfer heat, softening the butter and potentially overworking the dough.
A pastry cutter, however, can work through the butter and flour in just a minute or two, keeping the ingredients cold and the fat in well-defined pieces. This precise and rapid incorporation is critical for developing the structure needed for flaky layers, making them a vital tool for successful pastry cutter blender recipes.
Achieving Flaky Perfection: The Science Behind Cold Fat and Minimal Gluten Development
The magic of flaky pastry lies in the interaction between cold fat, flour, and heat during baking. When cold pieces of fat are distributed throughout the dough, they create pockets. As the pastry bakes in a hot oven, the water content within the fat turns to steam. This steam expands, pushing the layers of dough apart and creating those characteristic flaky layers. If the fat melts before baking (due to warm hands or overmixing), these pockets don't form properly, resulting in a tougher, less layered crust.
Furthermore, minimizing gluten development is key to tender pastry. Gluten is a protein network that forms when flour and liquid are combined and then worked. While essential for bread structure, too much gluten in pastry results in a tough, chewy texture.
Pastry cutters and blenders help by quickly incorporating the fat and requiring minimal handling of the dough. This reduces the time flour is exposed to liquid and the amount of kneading or mixing needed, thereby limiting gluten development. Aiming for a rough, shaggy dough that just comes together, rather than a smooth, elastic one, is facilitated by these tools and is a hallmark of successful pastry cutter blender recipes.
Choosing the Right Pastry Cutter for Your Needs
Selecting the appropriate pastry cutter can significantly impact your baking experience and the quality of your results. While the basic function – cutting fat into flour – is the same across different types, variations in design, material, and ergonomics cater to different preferences, skill levels, and specific baking tasks. Understanding these differences will help you choose the best tool for your kitchen and enhance your success with various pastry cutter blender recipes.
Consider the volume and frequency of your baking. If you bake pastry often or in large batches, investing in a durable and comfortable tool is wise. For occasional bakers, a more basic but effective option might suffice. The type of pastry you make most often can also influence your choice; some cutters are better suited for creating very fine crumbs for certain biscuit recipes, while others excel at leaving larger pea-sized pieces perfect for a traditional flaky pie crust.
Types of Pastry Cutters: A Comparison Guide
Pastry cutters come in several common designs, each with its own advantages.
Wire Cutters: Ideal for Beginners and Versatile Use
Wire pastry cutters, often featuring several sturdy wires in a curved shape attached to a handle, are a popular and user-friendly option. Their open design makes them relatively easy to clean, and the wire construction effectively cuts through cold butter or shortening. They are forgiving and work well for incorporating fat into flour for a variety of pastry cutter blender recipes, from pie crusts to scones and biscuits.
These cutters are particularly good for beginners because the wire design naturally helps to create pieces of varying sizes, contributing to a rustic flakiness. A typical wire cutter might have 4-6 wires spaced about 1/2 inch apart. While perhaps slightly slower than bladed versions for very large quantities, their simplicity and effectiveness make them a reliable tool for everyday baking needs and a great starting point for anyone learning pastry techniques.
Blade-Style Cutters: Precise and Efficient for Uniform Results
Blade-style pastry cutters feature several flat, often sharp, metal blades arranged in a curved shape. These cutters are known for their efficiency and ability to create more uniform pieces of fat compared to wire cutters. The blades slice through the fat cleanly, which some bakers prefer for certain textures, like very flaky biscuits where distinct layers are desired.
Typically, a blade-style cutter will have 4-5 sturdy stainless steel blades. They require a firm pressing and twisting motion to work the fat into the flour. While they can be slightly harder to clean than wire cutters due to the solid blades, their precision and speed make them favored by experienced bakers looking for consistent results in their pastry cutter blender recipes. They excel at quickly cutting large amounts of fat into dry ingredients.
Bench Scrapers as Cutters: A Multi-Purpose Kitchen Tool
While not exclusively designed as a pastry cutter, a bench scraper can be effectively used to cut cold fat into flour, especially for smaller batches or when you need a multi-purpose tool. A sturdy bench scraper with a sharp edge can be used in a chopping motion to break down cold butter within the flour mixture.
Using a bench scraper requires a slightly different technique than traditional cutters, involving repeatedly chopping and scraping the mixture together. While it might take a little longer and requires more manual effort to achieve consistent fat sizes, a good stainless steel bench scraper is incredibly versatile – perfect for dividing dough, cleaning surfaces, and yes, even cutting fat for your pastry cutter blender recipes. It's a great option if kitchen space is limited or you prefer tools with multiple uses.
Materials Matter: Stainless Steel vs. Plastic Pastry Cutters
The material of your pastry cutter significantly impacts its durability, ease of cleaning, and performance. Most quality pastry cutters are made from stainless steel, which offers excellent durability, is resistant to rust and corrosion (especially high-grade stainless steel), and is easy to clean. Stainless steel blades or wires cut through cold fat effectively and maintain their shape over time, even with frequent use.
Plastic pastry cutters are generally less expensive and lighter. However, they can be less effective at cutting through very cold or hard fat, and the plastic blades or wires may flex or break over time. Plastic can also retain odors and stains. For reliable performance and longevity, particularly when tackling stiff, cold butter required for the flakiest pastry cutter blender recipes, stainless steel is the preferred material for most serious bakers. A good stainless steel cutter can last for decades with proper care.
Ergonomics and Comfort: Finding a Pastry Cutter that Fits Your Hand
Baking pastry often involves repetitive motions, so the comfort and ergonomics of your pastry cutter's handle are important, especially if you bake frequently or in large quantities. Handles come in various materials and shapes, including smooth plastic, rubberized grips, and sometimes wood.
A comfortable handle should provide a secure grip, even when your hands might be slightly dusty with flour. Rubberized or textured handles offer better traction and can reduce hand fatigue. The shape of the handle should feel natural in your hand and allow for a comfortable downward pressing or chopping motion. Before purchasing, if possible, hold the pastry cutter to see how it feels. A well-designed handle on your pastry cutter blender recipe tool can make the difference between a frustrating task and an enjoyable part of the baking process.
Mastering the Pastry Blender: A Baker's Secret Weapon
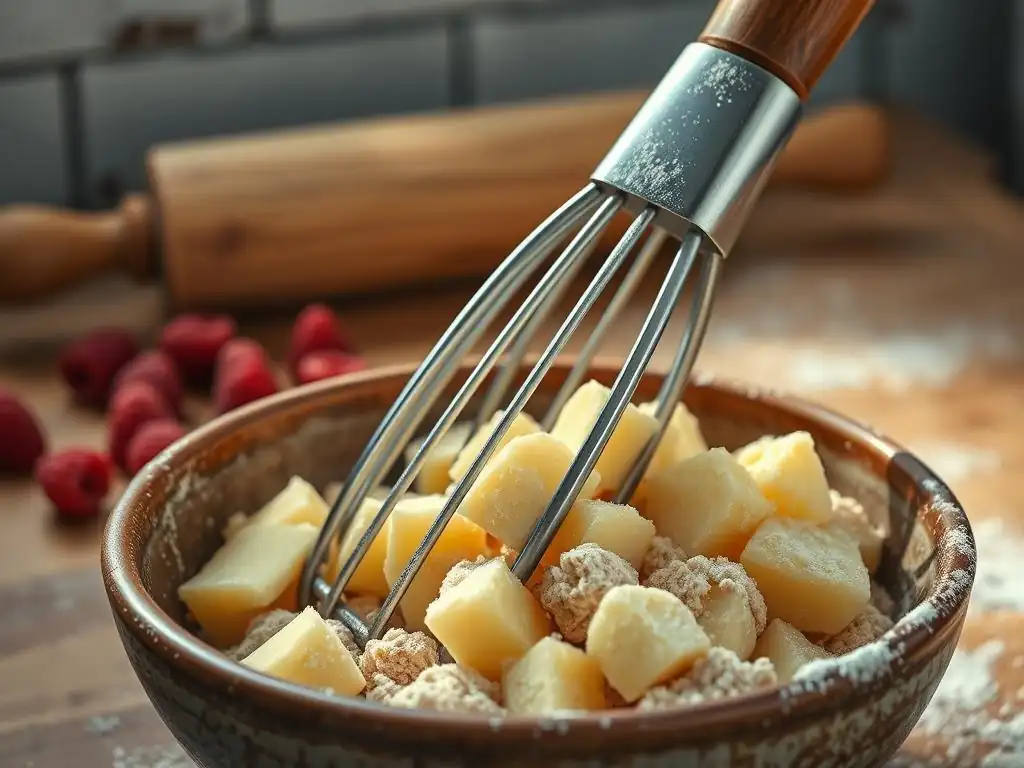
Often used interchangeably with "pastry cutter," the term "pastry blender" typically refers to the tool with multiple wires or blades in a half-moon shape. Regardless of the exact terminology, mastering its use is a key skill for achieving tender, flaky results in a wide range of pastry cutter blender recipes. It's a tool specifically engineered to perform the crucial task of incorporating fat into dry ingredients without melting or overworking the mixture.
Think of the pastry blender as your specialized ally in the fight against warm hands and tough dough. Its design allows you to quickly and effectively cut through solid fats, ensuring they are distributed evenly throughout the flour. This even distribution is vital for creating the pockets of fat that will later expand into flaky layers during baking. Understanding how to use this tool effectively is a fundamental step towards elevating your baking game.
What is a Pastry Blender and How Does it Work?
A pastry blender is a kitchen tool designed with several parallel wires or blades attached to a handle. Its primary function is to cut solid fat (like cold butter or shortening) into dry ingredients (like flour, sugar, and salt). The curved shape allows you to rock or press the blades/wires down into the mixture, effectively cutting the fat into smaller and smaller pieces.
The process works by repeatedly pressing the blender down into the bowl, then lifting and repeating, often scraping the mixture off the wires/blades as needed. This action breaks down the larger chunks of cold fat, coating them in flour as they are cut. The goal is to achieve a mixture that resembles coarse crumbs or small peas, depending on the recipe's requirements. This technique, facilitated by the pastry blender, is far more efficient and effective than using forks or fingers for many pastry cutter blender recipes.
Pastry Blender Techniques for Even Fat Distribution
Achieving even fat distribution is critical for consistent texture throughout your pastry. The basic technique involves adding your cold, cubed or sliced fat to the bowl of dry ingredients and then using the pastry blender in a pressing or rocking motion. Start by pressing down on the larger pieces of fat, breaking them up.
- Press and Twist: For larger pieces, press the blender down firmly and give a slight twist.
- Rocking Motion: Once the fat is partially broken down, use a rocking motion across the bowl to cut through the mixture.
- Scrape and Repeat: Periodically lift the blender and scrape any accumulated dough or fat off the wires/blades back into the bowl. Gently toss the mixture with a fork or your hands occasionally to ensure the fat isn't clumping at the bottom. Continue until the desired consistency (e.g., pea-sized crumbs for pie crusts, finer crumbs for biscuits) is reached. This systematic approach ensures the fat is evenly incorporated, leading to uniform flakiness in your pastry cutter blender recipes.
Different Types of Pastry Blenders: Handles, Blade Design, and More
Pastry blenders, like cutters, vary in design, primarily in their handles and the configuration of their wires or blades. Handle types range from simple plastic or metal to more ergonomic designs with rubberized grips for comfort during extended use. The shape and material of the handle can significantly affect how comfortable the tool is to use, especially when working with firm, cold butter.
The working end of the blender can feature sturdy wires or flat, sometimes slightly sharpened, blades. Blenders with fewer, thicker wires might be better for breaking down very large chunks of fat, while those with more numerous, thinner blades can achieve a finer crumb more quickly. Some blenders have an open handle design, while others have a closed loop. The best type often comes down to personal preference and what feels most comfortable and effective in your hand for your favorite pastry cutter blender recipes.
Pastry Cutter Blender Recipes: Flaky Crusts Made Easy
Now that you understand the importance of pastry cutters and blenders and how they work, let's explore some classic pastry cutter blender recipes where these tools truly shine. Using the right tool makes the process smoother and significantly increases your chances of achieving that perfect, flaky, tender result that homemade baked goods are known for.
These recipes are foundational in baking and demonstrate the versatility of pastry cutters and blenders. By focusing on the technique of cutting in cold fat, you'll unlock the secrets to delicious pies, light scones, and fluffy biscuits. Let's dive into how these essential tools are used in practice.
Classic Pie Crust Recipe Using a Pastry Cutter or Blender
A flaky pie crust is the base for countless sweet and savory pies. Using a pastry cutter or blender is arguably the most effective way to incorporate the cold fat needed for those desirable layers. This method ensures the butter stays cold and in distinct pieces, which is paramount for flakiness.
This recipe typically yields enough dough for one double-crust pie or two single crusts. The key is starting with very cold ingredients and handling the dough as little as possible after the liquid is added. Mastering this basic pastry cutter blender recipe opens the door to a world of pie-making possibilities.
Ingredients for a Perfect Pie Crust
Here are the essential ingredients for a classic flaky pie crust:
- 2 1/2 cups (315g) all-purpose flour
- 1 teaspoon salt
- 1 cup (227g) unsalted butter, very cold, cut into 1/2-inch cubes
- 1/2 cup (120ml) ice water, plus a tablespoon or two more if needed
Ensuring your butter is genuinely cold is non-negotiable. Cut it into cubes and return it to the refrigerator or even the freezer for 10-15 minutes before you begin. Using ice water is also crucial; the colder the water, the less likely the butter is to melt prematurely during mixing. These simple steps are vital for success with this core pastry cutter blender recipe.
Step-by-Step Instructions for Using a Pastry Cutter/Blender
- Combine the flour and salt in a large bowl. Stir to combine.
- Add the very cold butter cubes to the flour mixture.
- Using your pastry cutter or blender, press or cut the butter into the flour. Work the mixture until the butter is broken down into pieces roughly the size of small peas. Some pieces may be slightly larger, which is fine, but avoid overworking until the mixture resembles fine meal. This step should take only a few minutes.
- Sprinkle the ice water over the flour-butter mixture, one tablespoon at a time. Using a fork, gently mix the water into the dry ingredients until the dough just begins to come together. You might not need all the water, or you might need a tiny bit more; the goal is for the dough to be shaggy but hold together when squeezed.
- Turn the dough out onto a lightly floured surface. Gently gather it into a ball, then divide in half (if making a double crust) and flatten each half into a disk. Do not knead!
- Wrap each disk tightly in plastic wrap and refrigerate for at least 30 minutes (preferably an hour or more) before rolling and baking. Chilling allows the gluten to relax and the fat to firm up, making the dough easier to roll and resulting in a flakier crust.
Scone Recipe Utilizing a Pastry Blender for a Light and Tender Texture
Scones are another excellent application for your pastry blender. The goal with scones is a light, tender crumb, and properly cutting in cold fat is essential to prevent them from becoming tough or dry. Unlike pie crust where pea-sized pieces are desired, for scones, you often want the fat cut in until the mixture resembles coarse crumbs.
Using a pastry blender helps achieve this texture quickly and efficiently. This method ensures the fat is evenly distributed, creating pockets of tenderness throughout the scone as it bakes. It's a simple yet effective technique that makes a significant difference in the final result of your pastry cutter blender recipes for scones.
Achieving the Ideal Scone Texture: Tips and Tricks
The secret to light and tender scones lies in a few key areas:
- Cold Ingredients: Just like pie crust, cold butter (or other fat like shortening) and cold liquid (milk, cream, or buttermilk) are crucial. This ensures the fat stays solid until baking, contributing to tenderness.
- Proper Fat Incorporation: Use your pastry blender to cut the cold fat into the dry ingredients until the mixture resembles coarse meal or small crumbs. Avoid leaving large chunks of butter.
- Minimal Mixing: Once the liquid is added, mix the dough just until it comes together. Overmixing develops gluten, leading to tough scones. The dough should be slightly shaggy.
- Gentle Handling: When shaping scones, handle the dough as little as possible. Pat it out gently rather than rolling vigorously.
Following these tips and using your pastry blender effectively will help you achieve the desired light, tender texture in your pastry cutter blender recipes for scones.
Biscuit Recipe: Mastering the Art of Biscuit Making with a Pastry Cutter
Flaky, layered biscuits are a Southern classic, and a pastry cutter is an indispensable tool for achieving their signature texture. The technique is very similar to pie crust, focusing on cutting cold fat into flour to create layers. Biscuits often use buttermilk, which reacts with baking soda (a common leavener in biscuits) to produce lift, but the flaky layers come from the fat.
The key to flaky biscuits is cutting the cold butter or shortening into distinct pieces within the flour. As the biscuit bakes, the fat melts and creates steam, pushing the layers apart. A pastry cutter makes this process efficient, ensuring the fat pieces are the right size and evenly distributed, which is vital for successful pastry cutter blender recipes for biscuits.
Beyond the Basics: Advanced Techniques and Tips
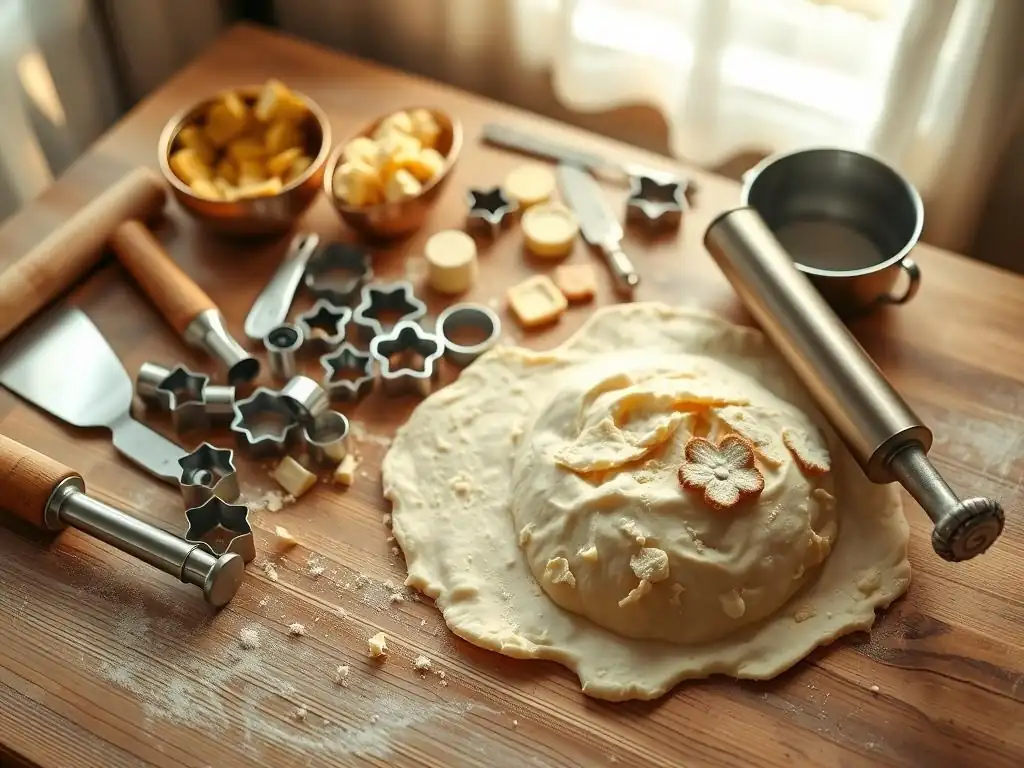
Once you're comfortable using your pastry cutter or blender for basic pastry cutter blender recipes, you can refine your technique further to achieve even better results. Small adjustments and attention to detail can make a significant difference in the flakiness and tenderness of your baked goods. These advanced tips build upon the foundational principles of working with cold fat and minimizing gluten development.
Mastering these nuances requires practice and paying close attention to the feel of the dough. Experimenting with slight variations in technique or ingredient temperature can help you discover what works best for your specific tools and recipes.
Keeping Ingredients Cold: Essential for Flaky Results
Reiterating this point is crucial because it is the single most important factor for achieving flaky pastry. Ensure your fat (butter, shortening, lard) is ice cold, ideally straight from the refrigerator or even briefly from the freezer. Some experienced bakers even chill their flour before starting, particularly in warm environments.
- Cut butter into cubes and chill for 10-15 minutes.
- Use ice water for the liquid component of the dough.
- Work quickly once ingredients are combined.
- Chill the finished dough before rolling and baking.
Maintaining cold temperatures throughout the process ensures the fat remains solid until it hits the hot oven, allowing it to create steam pockets and separate the dough layers for maximum flakiness in your pastry cutter blender recipes.
Avoiding Overmixing: The Enemy of Tender Pastry
Overmixing is a common pitfall that leads to tough, dense pastry. The goal is to mix the dough only until it just comes together. Once liquid is added to the flour, gluten development begins. The more you mix or knead, the stronger and more elastic the gluten network becomes.
Recognize the signs of properly mixed dough for pastry: it should look shaggy, slightly crumbly, and just hold together when gently squeezed. Avoid mixing until the dough is smooth and elastic, as this indicates excessive gluten development. Using a pastry cutter or blender helps minimize the need for hand mixing after the fat is incorporated, reducing the risk of overworking the dough and ensuring tenderness in your pastry cutter blender recipes.
Troubleshooting Common Pastry Problems: Dry Crust, Tough Crust, Shrinkage
Even with the right tools, you might encounter issues. Here's how to address common problems:
- Dry, Crumbly Crust: This usually means not enough liquid was added. Next time, add water one tablespoon at a time until the dough just holds together. Be careful not to add too much!
- Tough Crust: The most common cause is overmixing, leading to too much gluten development, or using ingredients that weren't cold enough, which allows the fat to melt and integrate too much. Ensure ingredients are cold and handle the dough minimally.
- Shrinkage: Pastry dough shrinks when the gluten is too developed and hasn't had enough time to relax. Overworking the dough and not chilling it sufficiently before rolling and baking are typical culprits. Always chill dough disks for at least 30 minutes (preferably longer) before rolling.
Understanding these issues helps you refine your technique and improve your results with various pastry cutter blender recipes.
Cleaning and Maintaining Your Pastry Cutters and Blenders
Proper cleaning and maintenance will extend the life of your pastry cutters and blenders and ensure they perform well every time you use them for your pastry cutter blender recipes. Dough and fat can easily get stuck between the wires or blades, so cleaning them promptly after use is important.
Taking a few moments to clean and store your tools correctly will keep them in good condition, preventing rust and ensuring they are ready for your next baking adventure.
Best Practices for Washing and Storing Your Tools
Immediately after use, scrape off as much excess dough and fat as possible using a spatula or brush. Then, wash the pastry cutter or blender in warm, soapy water. Use a brush or sponge to get between the wires or blades.
Rinse thoroughly under running water. The most critical step, especially for metal tools, is to dry them completely. Use a clean towel to pat them dry, or let them air dry completely on a drying rack before storing. Store your pastry cutters and blenders in a dry place to prevent moisture buildup.
Preventing Rust and Corrosion: Extending the Lifespan of Your Equipment
Most quality stainless steel pastry cutters and blenders are designed to resist rust. However, leaving them wet for extended periods, especially in humid environments, can still lead to corrosion over time. Thorough drying is your best defense against rust.
If your tool has a wooden handle, avoid soaking it in water, as this can cause the wood to crack or warp. Hand washing is generally recommended for tools with wooden parts. For stainless steel tools, while many are dishwasher safe, hand washing and immediate drying is often the best way to ensure longevity and prevent any potential spotting or corrosion from dishwasher detergents. Proper care ensures your tools remain effective for countless pastry cutter blender recipes.
BakeWithEase Recommended Pastry Cutters and Blenders: Top Picks
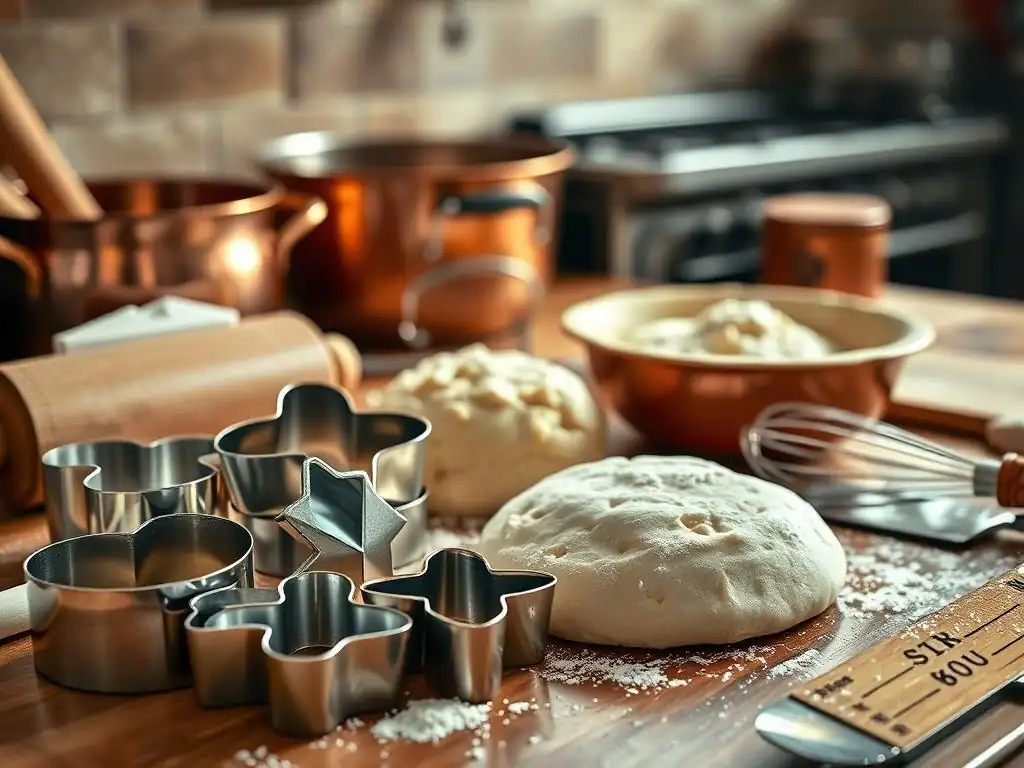
Choosing a reliable pastry cutter or blender can make a significant difference in your baking experience. Based on common design types known for effectiveness and durability, here are examples of what to look for when selecting your tools. These examples represent well-regarded styles that perform well in typical pastry cutter blender recipes.
While specific product performance can vary, focusing on sturdy construction, comfortable handles, and effective blade/wire design is key.
OXO Good Grips Stainless Steel Bladed Dough Blender Review (Example Type)
The OXO Good Grips Stainless Steel Bladed Dough Blender represents the blade-style pastry cutter category. It typically features sturdy stainless steel blades designed for efficient cutting. A key feature often highlighted with the OXO brand is the comfortable, non-slip handle, which provides a secure grip even with floury hands.
This type of blender is known for its ability to quickly cut cold butter into flour, producing uniform pieces suitable for various pastry cutter blender recipes, including pie crusts and biscuits. The stainless steel construction ensures durability and ease of cleaning, making it a reliable tool for frequent baking.
Mrs. Anderson's Baking Pastry Cutter Review (Example Type)
Mrs. Anderson's Baking Pastry Cutter often exemplifies the classic wire-style pastry cutter. This design typically features several sturdy wires forming a curved shape, attached to a traditional handle (sometimes wooden or plastic).
This type of pastry cutter is valued for its simplicity and effectiveness in cutting fat into flour, creating the necessary texture for flaky pastries like scones and tarts. The open wire design makes it relatively easy to clean. It's a straightforward, reliable tool that performs the essential task well and is a staple in many kitchens for traditional pastry cutter blender recipes.
Elevate Your Baking: Mastering Pastry Cutter Blender Recipes
Incorporating a pastry cutter or blender into your baking routine is a simple step that yields significant results. These tools are not merely conveniences; they are essential instruments for achieving the specific texture required for truly outstanding flaky and tender baked goods. From classic pie crusts and rustic scones to fluffy biscuits, the ability to properly cut cold fat into dry ingredients is the foundation of success.
By understanding the science behind why these tools are effective – maintaining cold temperatures and minimizing gluten development – and practicing the techniques outlined, you can consistently produce pastries that are light, airy, and delicious. Invest in a quality tool, keep your ingredients cold, handle your dough gently, and you'll be well on your way to mastering a wide array of pastry cutter blender recipes, delighting yourself and others with your baking prowess. Happy baking!
Frequently Asked Questions
What is the primary benefit of using a pastry cutter or blender when making pie crusts?
Using a pastry cutter or blender helps you incorporate cold butter or shortening into the flour without overworking the gluten. This results in a flaky and tender crust.
Can I use a food processor as a substitute for a pastry cutter or blender?
Yes, a food processor can be used, but it's crucial to pulse the ingredients carefully. Over-processing can lead to a tough crust due to gluten development.
What type of fat is best for achieving a flaky crust?
Cold butter and shortening are both excellent choices, but butter contributes flavor. Some bakers prefer a combination of both for optimal flavor and flakiness.
Are there any specific techniques to ensure the fat stays cold while making pastry?
Yes, keep your butter and flour chilled before starting. You can even chill your pastry cutter or blender bowl for best results.
Where can I find simple pastry cutter blender recipes for beginners?
BakeWithEase.com offers a variety of easy-to-follow recipes designed for all skill levels. Check out our "Pastry Cutter & Blender Essentials" section for inspiration.
Final Reflection: Embracing the Art of Pastry for Flaky, Tender Crusts
In today's fast-paced culinary world, the art of creating flaky, tender crusts remains a timeless skill that connects us to our roots. The tools we use, such as pastry cutters and blenders, are not just instruments; they are gateways to a world of flavor and texture that can elevate our home cooking. As we navigate through modern recipes and techniques, the essence of traditional pastry-making continues to resonate, reminding us that the simplest ingredients can yield the most delightful results.
The influence of mastering pastry techniques extends beyond the kitchen; it shapes our cultural and social experiences, bringing people together over shared meals and memories. The act of baking is often a communal one, fostering connections and creating bonds that last a lifetime. As Julia Child once said, > “No one is born a great cook, one learns by doing.” This sentiment rings true as we embrace the learning process, experimenting with pastry cutters and blenders to perfect our craft, and in turn, enriching our culinary heritage.
As you reflect on the insights shared in this article, I invite you to take action in your own kitchen. Experiment with pastry cutter blender recipes and allow yourself to explore the joy of baking. Whether you're a novice or an experienced baker, remember that each attempt is a step toward mastery. So, gather your ingredients, dust off your tools, and let the magic of flaky, tender crusts inspire you to create delicious memories that will be cherished for years to come.
Unleash Your Inner Pastry Chef!
Thanks for joining us on this delicious journey into the world of flaky, tender crusts! You've now got the knowledge to elevate your baking game. Ready to put your newfound skills to the test?
- Master the art of the perfect crust: Practice your technique with your favorite pie recipe—you'll be amazed at the difference the right tools make!
- Share your baking triumphs (and even your flops!): Tag us on social media and show off your creations. Let's inspire each other!
- Explore our other resources on BakeWithEase.com for more amazing baking tips and tricks. (This is optional, and you could include another action here depending on the type of resource on the site).
So, what incredible pastry masterpiece will you create first?