
Reheating Leftovers: Oven Temperature and Time Tricks for Freshly Revived Bakery Goods


Welcome to BakeWithEase, your trusted companion in the delightful world of baking! Ever wondered how to recapture that "fresh-from-the-oven" magic with your leftover bakery goods? Discover the secrets to perfectly reviving your treats, starting with our guide on oven reheating bakery goods. Unlock the best temperatures and times to transform yesterday's pastries into today's delightful indulgence. Keep reading to learn how to keep your baked goods tasting their best!
- Reheating Leftovers: Oven Temperature and Time Tricks for Freshly Revived Baked Goods
- Introduction: Reviving Your Baked Goods with Oven Reheating
- Why Oven Reheating is Best for Bakery Items
- Optimal Oven Temperatures for Reheating Different Bakery Items
- Step-by-Step Guide: Oven Reheating Bakery Goods Like a Pro
- Specific Oven Reheating Time and Temperature Charts
- Tips and Tricks for Perfect Oven Reheating Results
- Common Mistakes to Avoid When Reheating Bakery Goods in the Oven
- Conclusion: Enjoying Freshly Revived Bakery Goods with Oven Reheating Techniques
-
Frequently Asked Questions
- How does oven reheating compare to other methods for bakery goods?
- What's the ideal oven temperature for reheating most bakery items?
- How long should I reheat bakery goods in the oven?
- Do I need to cover bakery goods while reheating in the oven?
- What types of bakery goods benefit most from oven reheating?
- Final Reflection: The Enduring Delight of Perfectly Reheated Bakery Goods
- Rediscover Your Leftovers: Bring Back the Bakery Magic!
Reheating Leftovers: Oven Temperature and Time Tricks for Freshly Revived Baked Goods
Introduction: Reviving Your Baked Goods with Oven Reheating
There's nothing quite like the taste and texture of freshly baked goods straight from the oven. But what about those delicious leftovers? Stale bread, slightly dry muffins, or pastries that have lost their crispness can often be brought back to life. Instead of letting those treats go to waste, you can give them a second chance to shine. Reheating bakery goods properly can restore much of their original appeal, making them enjoyable again. This guide will walk you through the best methods for using your oven to reheat bakery goods effectively, ensuring minimal loss of quality.
Using your oven to reheat bakery goods is often the superior method compared to alternatives like the microwave. It allows for more even heating and can help restore desirable textures, such as a crispy crust on bread or flakiness in pastries. Whether you're dealing with a leftover croissant from breakfast or a slice of cake from a celebration, understanding the right temperature and time settings for your oven reheat bakery goods mission is key to success. Let's dive into how you can master this simple yet effective technique.
Why Oven Reheating is Best for Bakery Items
Preserving Texture and Flavor: The Advantages of Oven Reheating
Oven reheating excels at bringing back the original characteristics of baked goods. Unlike microwave reheating, which primarily heats water molecules and can make items rubbery or soggy, an oven uses dry heat. This dry heat is crucial for maintaining or reviving textures. For example, reheating bread in the oven helps evaporate excess moisture that might have migrated to the crust, allowing it to crisp up again, while the interior remains soft. Similarly, the layers in pastries can re-crisp, preventing that dreaded soggy texture often resulting from microwave use.
Furthermore, oven reheating tends to preserve the delicate flavors of bakery items much better than other methods. The gentle, radiant heat warms the product through evenly without the rapid, intense molecular agitation caused by microwaves. This means the subtle buttery notes in a croissant or the complex flavors in a sourdough loaf are less likely to be altered or diminished. When you oven reheat bakery goods, you're aiming for a gentle warm-up that respects the original baking process, leading to a more satisfying eating experience that's closer to "fresh."
When to Choose the Oven Over Other Reheating Methods
The oven is generally the preferred method for most types of bakery goods where texture is important. This includes breads of all kinds (loaves, rolls, baguettes), pastries (croissants, danishes, turnovers), and even some cookies. If you're reheating something where a crispy exterior or flaky texture is desired, the oven is your best bet. It's also excellent for larger items that need even heating throughout, like a whole loaf of bread or a large cake slice.
Conversely, there are times when the oven might not be the absolute fastest option, but the quality improvement is often worth the slight extra time. Microwaves can be used for things like muffins or certain cakes if you prioritize speed and don't mind a potentially slightly chewier texture.
However, for anything with a crust or layers, or for achieving that "just baked" feel, choosing to oven reheat bakery goods is the clear winner. Air fryers can also be used for smaller items, offering speed and crisping, but an oven provides more capacity and often more even heating for larger batches or items.
Optimal Oven Temperatures for Reheating Different Bakery Items
Reheating Bread: Achieving a Crispy Crust and Soft Interior
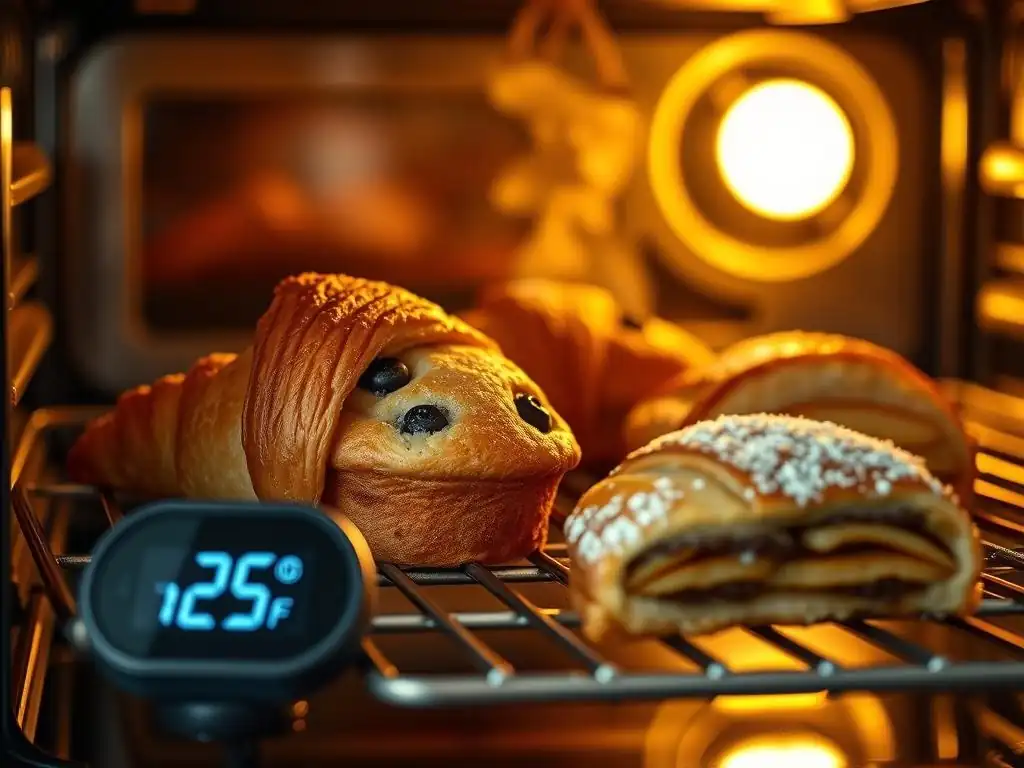
Reheating bread in the oven to restore its glory usually requires a moderate temperature. A common range is between 300°F to 350°F (150°C to 175°C). Using this temperature range allows the interior to warm up without drying out excessively, while the residual moisture in the crust can evaporate, making it crisp again. For a whole loaf, temperatures on the lower end of this range for a longer time (say, 300°F for 15-25 minutes) work well, especially if wrapped loosely in foil initially.
For slices or smaller rolls, a slightly higher temperature like 350°F for a shorter duration (5-10 minutes) is often sufficient. The key is to warm it through just enough. Overheating bread can make it tough and overly dry. If your bread is particularly stale or hard, a trick is to lightly dampen the crust before reheating; the moisture turns to steam in the oven, helping to soften the interior while the crust still crisps. Mastering the right temperature and time is crucial when you oven reheat bakery goods like bread.
Reheating Pastries: Maintaining Flakiness and Preventing Soggy Bottoms
Pastries like croissants, danishes, or turnovers thrive when reheated at a moderate temperature, typically around 325°F to 350°F (160°C to 175°C). The goal here is to warm the buttery layers gently so they re-crisp without the butter melting out excessively or the pastry becoming tough. Placing pastries directly on an oven rack or a baking sheet lined with parchment paper allows for air circulation, which is essential for achieving flakiness and preventing soggy bottoms.
The reheating time for pastries is usually quite short, often between 5 to 10 minutes, depending on their size and density. You'll want to watch them carefully; they can go from perfectly warm and flaky to burnt quickly due to their delicate structure and high butter content. The slightly lower temperature compared to some bread reheating helps prevent the sugars in fillings or glazes from burning. Proper oven reheat bakery goods techniques for pastries focus on gentle, even heat.
Reheating Cakes and Muffins: Keeping Them Moist and Delicious
Cakes and muffins require a lower temperature when reheating to prevent them from drying out. A temperature of 250°F to 300°F (120°C to 150°C) is generally recommended. The goal is simply to warm them through gently. Higher temperatures will evaporate the moisture from the crumb, leaving you with a dry, unappealing result. For slices of cake, placing them on a baking sheet is fine. Muffins can also go directly on a sheet or in their muffin tin.
Reheating time will vary based on size, but typically ranges from 10 to 20 minutes for muffins and slices of cake. Covering them loosely with foil can help retain moisture, especially if they seem a bit dry to begin with. The lower temperature ensures the interior warms through evenly without overcooking the edges. This gentle approach is key when you oven reheat bakery goods like delicate cakes and muffins to keep them moist.
Reheating cookies depends on the desired outcome: chewy or crispy. For most cookies, a low oven temperature around 250°F to 300°F (120°C to 150°C) is sufficient to warm them up gently. This low heat helps soft-baked cookies retain their chewiness or makes crispy cookies slightly warm and tender. Place cookies on a baking sheet lined with parchment paper.
Reheating time is very short, usually only 3 to 7 minutes. Watch them closely as they can burn quickly due to their small size and sugar content. If you want to try to revive a stale crispy cookie to be more crispy, a slightly higher temperature like 325°F (160°C) for a very short time (3-5 minutes) might help evaporate a little more moisture, but be very careful not to burn them. Generally, a low temperature is safest when you oven reheat bakery goods like cookies.
Step-by-Step Guide: Oven Reheating Bakery Goods Like a Pro
Step 1: Preparing Your Oven for Reheating
The first step to successfully oven reheat bakery goods is to preheat your oven to the appropriate temperature for the specific item you're reheating. As discussed, this temperature will vary significantly depending on whether you're reheating bread, pastries, cakes, or cookies. For instance, you might set it to 350°F for a croissant but only 275°F for a slice of cake. Using an oven thermometer can help ensure your oven is accurately reaching and maintaining the set temperature, as oven thermostats can sometimes be inaccurate by 25-50°F.
While the oven preheats, make sure the oven rack is positioned correctly. For most reheating tasks, the middle rack is ideal as it provides the most even heat distribution, preventing the bottom from burning before the top is warmed through. Ensure the oven is clean; any burnt crumbs on the bottom could smoke and impart unpleasant flavors to your reheated items. This preparation phase is simple but crucial for achieving the best results when you oven reheat bakery goods.
Step 2: Preparing Your Bakery Items for Reheating
Before placing your baked goods in the oven, a little preparation can make a big difference. For bread, especially if it's a bit hard, you might lightly sprinkle the crust with water or wrap the whole loaf loosely in aluminum foil. This helps create a steamy environment around the bread, which can soften the interior while still allowing the crust to crisp up (if foil is removed towards the end). Avoid soaking the bread, just a light mist or sprinkle will do.
For pastries, cakes, or muffins, no special preparation is usually needed unless they seem particularly dry. In that case, covering them loosely with foil can help retain moisture. Place items like pastries and cookies on a baking sheet lined with parchment paper to prevent sticking and aid in cleanup; this also provides a stable surface. Ensure items are not overcrowded on the sheet, allowing heat to circulate around them. Proper preparation sets the stage for successful oven reheat bakery goods outcomes.
Step 3: Setting the Right Oven Temperature and Time
Based on the type of bakery item, select the optimal temperature discussed earlier. For bread, aim for 300-350°F; for pastries, 325-350°F; for cakes and muffins, 250-300°F; and for cookies, 250-300°F. Set your oven accordingly. The initial time setting should be a guideline, as actual time can vary based on the item's size, density, and your specific oven.
Start with the lower end of the typical time range for that item type. For example, for a croissant, start with 5-7 minutes at 350°F. For a slice of cake, start with 10-12 minutes at 275°F. It's always better to start with less time and add more if needed, rather than overshooting and drying out or burning your item. Keeping a close eye on the item is essential during the reheating process. This iterative approach to time is key when you oven reheat bakery goods.
Step 4: Monitoring and Adjusting Reheating Time
Once your baked goods are in the preheated oven, it's crucial to monitor them closely. Check on them after the initial recommended time has passed. Look for visual cues: Is the bread crust starting to crisp? Are the pastry layers separating and looking flaky? Is the cake or muffin warm to the touch? You can gently touch the item (be careful, it's hot!) or use a small skewer inserted into the center to feel if it's warm.
If the item isn't heated through, return it to the oven and check again in 2-3 minute increments for smaller items like cookies or pastries, or 5-minute increments for larger items like bread loaves or cake slices. Be patient and adjust the time as needed. This monitoring step is vital because oven reheat bakery goods times are not always exact and can vary based on many factors.
Step 5: Serving and Enjoying Your Revived Bakery Treats
Once your baked goods are perfectly reheated, carefully remove them from the oven using oven mitts. Allow bread and pastries to cool on a wire rack for a minute or two; this brief cooling period helps the crusts and layers set and become optimally crisp. Cakes and muffins can be served immediately.
Enjoy your freshly revived bakery treats! The texture and flavor should be significantly improved compared to eating them cold or using less suitable reheating methods. This satisfying final step is the reward for using the proper techniques to oven reheat bakery goods.
Specific Oven Reheating Time and Temperature Charts
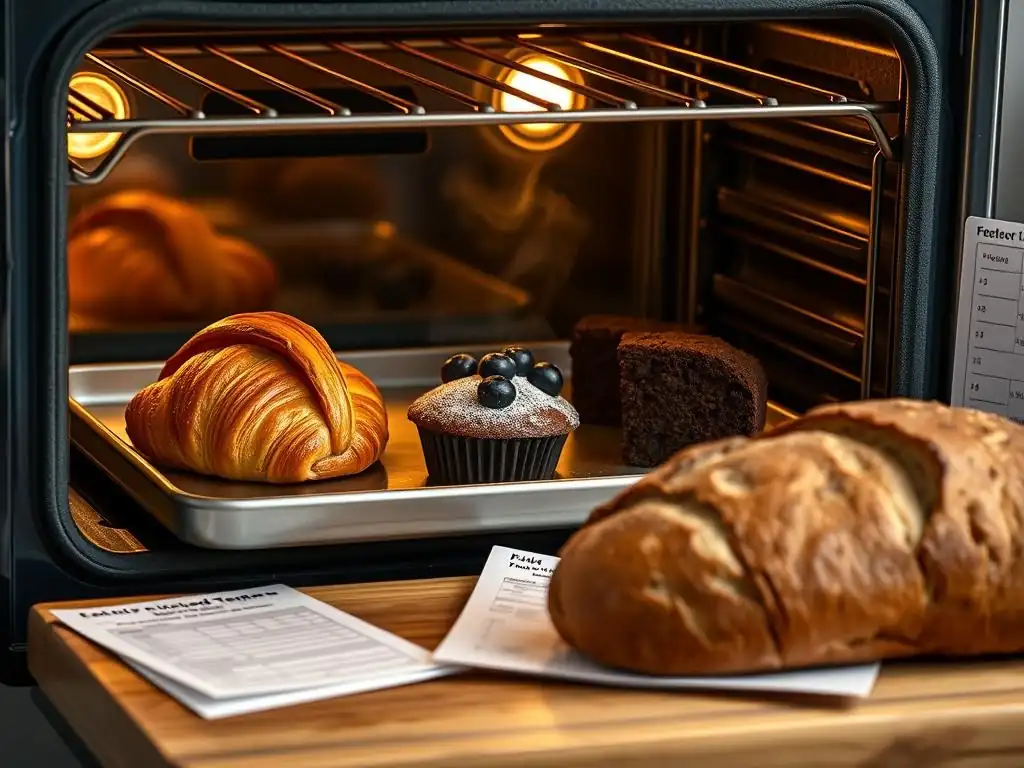
Bread Reheating Chart: Temperature and Time Guidelines
| Item Type | Recommended Temp (°F / °C) | Typical Time Range (Minutes) | Notes |
|---|---|---|---|
| Whole Loaf | 300-325 / 150-160 | 15-25 | Loosely wrap in foil initially. |
| Slices / Rolls | 325-350 / 160-175 | 5-10 | Place directly on rack or baking sheet. |
| Baguette (whole) | 325-350 / 160-175 | 8-12 | Can lightly dampen crust. |
| Baguette (pieces) | 350 / 175 | 4-7 | Watch closely. |
Note: Times are approximate. Always monitor closely and adjust as needed when you oven reheat bakery goods.
| Item Type | Recommended Temp (°F / °C) | Typical Time Range (Minutes) | Notes |
|---|---|---|---|
| Croissants | 325-350 / 160-175 | 5-8 | Place on baking sheet, watch for burning. |
| Danishes | 325-350 / 160-175 | 6-10 | Be mindful of fillings/glazes. |
| Turnovers | 325-350 / 160-175 | 8-12 | Ensure filling is warmed through. |
| Puff Pastry Items | 325-350 / 160-175 | 5-9 | Delicate, monitor closely for flakiness. |
Note: Times are approximate. Always monitor closely and adjust as needed when you oven reheat bakery goods.
Cake & Muffin Reheating Chart: Temperature and Time Guidelines
| Item Type | Recommended Temp (°F / °C) | Typical Time Range (Minutes) | Notes |
|---|---|---|---|
| Cake Slice | 250-300 / 120-150 | 10-15 | Can cover loosely with foil. |
| Whole Muffin | 250-300 / 120-150 | 12-18 | Place on baking sheet or in tin. |
| Cupcake | 250-275 / 120-135 | 8-12 | Be careful with frosting, may melt. |
| Bundt/Loaf | 250-300 / 120-150 | 15-20+ | Longer time for larger pieces, use foil. |
Note: Times are approximate. Always monitor closely and adjust as needed when you oven reheat bakery goods.
| Item Type | Recommended Temp (°F / °C) | Typical Time Range (Minutes) | Notes |
|---|---|---|---|
| Chewy Cookies | 250-275 / 120-135 | 3-6 | Place on baking sheet, watch closely. |
| Crispy Cookies | 275-300 / 135-150 | 4-7 | Can try slightly higher temp cautiously. |
| Brownies | 275-300 / 135-150 | 6-10 | Ensure center is warm but not dried out. |
Note: Times are approximate. Always monitor closely and adjust as needed when you oven reheat bakery goods.
Tips and Tricks for Perfect Oven Reheating Results
Preventing Dryness: Moisture-Boosting Techniques
One common challenge when you oven reheat bakery goods is preventing them from drying out, especially cakes, muffins, and some types of bread. For bread, as mentioned, lightly misting the crust with water before placing it in the oven can help. For larger loaves, wrapping them loosely in aluminum foil for the initial part of the reheating time creates steam, keeping the interior moist. Remove the foil for the last few minutes if you want to re-crisp the crust.
For cakes and muffins, covering them loosely with foil during the reheating process is an effective way to trap moisture. Another technique is to place a small, oven-safe dish filled with water on the oven rack next to the baked goods. As the water heats, it creates a humid environment in the oven, which helps keep the items moist. This is particularly useful for items that were already a bit dry. These small steps can make a big difference in the final texture when you oven reheat bakery goods.
Achieving Crispy Crusts: Reheating Techniques for Bread
The primary goal when reheating many types of bread, like baguettes or rustic loaves, is to revive that satisfying crispy crust. The dry heat of the oven is perfect for this. If you wrapped your loaf in foil to retain interior moisture, remove the foil for the last 5-10 minutes of reheating. This allows the direct heat to interact with the crust, making it crisp again.
For bread slices or rolls, placing them directly on the oven rack (with a baking sheet underneath to catch crumbs) allows heat to circulate fully around them, promoting even crisping of the exterior. A higher temperature, like 350°F, for a shorter time is often best for smaller bread items where you're primarily focusing on the crust. Avoid overcrowding the baking sheet or rack, as this can impede air circulation and result in a less crispy crust. These methods are specifically designed to help you oven reheat bakery goods like bread to their crispy potential.
Avoiding Soggy Bottoms: Reheating Techniques for Pastries
Soggy bottoms are the bane of reheating pastries, often caused by moisture from the filling or the pastry itself concentrating at the base, especially if heated unevenly or too slowly. To avoid this when you oven reheat bakery goods like croissants or danishes, ensure your oven is fully preheated to the recommended temperature (325-350°F) before putting the pastries in.
Placing pastries on a baking sheet lined with parchment paper is generally recommended. For maximum crispness, some bakers prefer placing pastries directly on the oven rack with a baking sheet on the rack below to catch drips. This allows for maximum air circulation around the base. Avoid covering pastries with foil unless they are browning too quickly; covering can trap steam and contribute to sogginess. The key is quick, even heat transfer to re-crisp the layers.
Reheating Frozen Baked Goods: Special Considerations
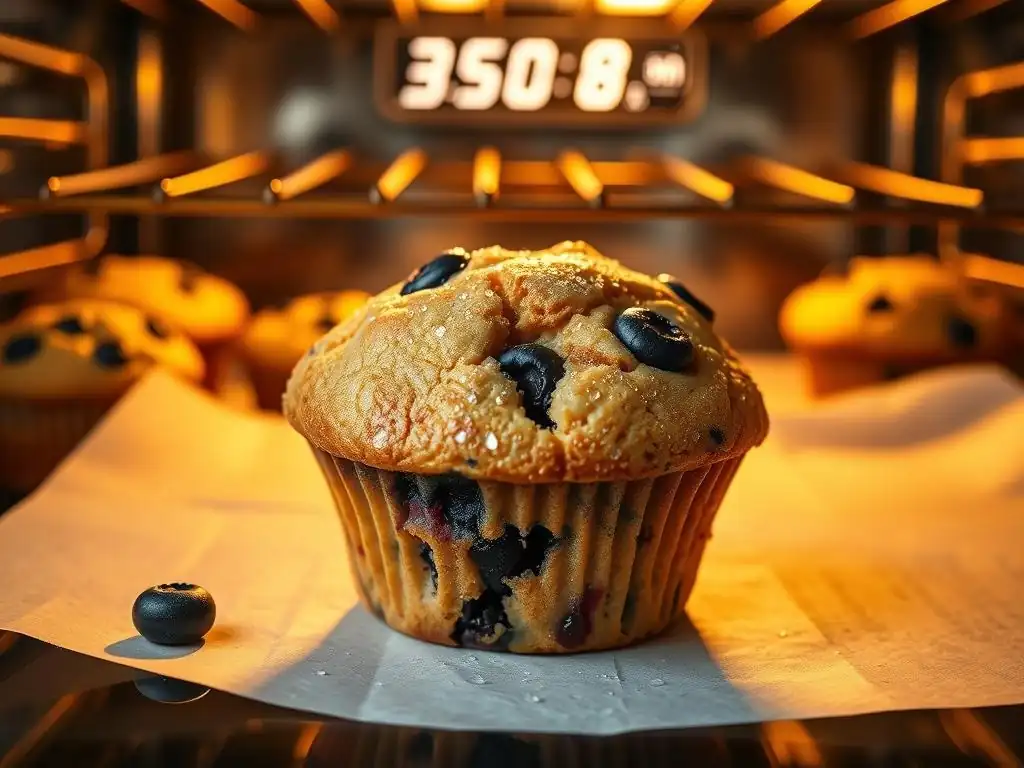
Reheating frozen bakery goods requires a slightly different approach. First, it's often best to let smaller items like cookies or muffins thaw slightly at room temperature for 10-20 minutes before reheating. Larger items like bread loaves or whole cakes should be thawed completely in the refrigerator or at room temperature before attempting to reheat them in the oven. Reheating from frozen can lead to uneven heating, with the outside burning before the inside is warm.
Once thawed, follow the standard reheating instructions for that type of bakery item, but typically add a few extra minutes to the reheating time. For instance, a muffin reheated from thawed might take 15-20 minutes at 275°F, whereas a room-temperature one might take 12-15 minutes. Always check the internal warmth before considering them done. Reheating frozen oven reheat bakery goods requires patience and slightly adjusted timing.
Using Water to Rehydrate
As mentioned earlier, incorporating moisture can be a game-changer when you oven reheat bakery goods that are prone to drying out or are already a bit stale. For bread, a light spritz of water on the crust or wrapping loosely in damp (not wet) paper towels before wrapping in foil can help rehydrate the interior.
For cakes and muffins, placing a small pan of water in the oven during reheating adds humidity to the oven environment. This steam helps prevent the baked goods from losing moisture during the warming process, resulting in a more tender and moist texture. This is a simple yet effective trick to improve the outcome when you oven reheat bakery goods like cakes and muffins.
Common Mistakes to Avoid When Reheating Bakery Goods in the Oven
Overheating: Recognizing and Preventing Overcooked Items
One of the most common pitfalls when you oven reheat bakery goods is overheating them. This leads to dry, tough, or even burnt results. Overheating happens when the temperature is too high, the time is too long, or both. For example, reheating a delicate croissant at 400°F will likely result in a burnt exterior and dry interior in minutes.
To prevent overheating, always start with the lower end of the recommended temperature and time range for the specific item. Use the monitoring step (Step 4 in the guide) diligently, checking frequently as the reheating time progresses. Learn to recognize the signs of doneness – warmth throughout, revived texture – and take the item out promptly when ready. It's much easier to add a few more minutes than to fix an overcooked item.
Underheating: Ensuring Thorough Warm-Up
While overheating is a risk, underheating is also undesirable. An underheated bakery item will be cold or only lukewarm in the center, which doesn't provide the desired texture or flavor revival. For instance, a large slice of cake might feel warm on the outside but remain cold and dense in the middle if not heated long enough.
To ensure thorough warm-up when you oven reheat bakery goods, make sure you're using an appropriate temperature that allows heat to penetrate to the center (though lower temps are used for delicate items, they require more time). Always check the internal temperature by gently touching the item or using a small skewer. If it doesn't feel warm in the center, continue heating in short intervals. Don't rely solely on the appearance of the exterior.
Using the Wrong Temperature: Matching Temperature to Bakery Type
Using the wrong oven temperature for the specific type of bakery item is a critical mistake. Reheating bread at a cake temperature (e.g., 275°F) might take excessively long to crisp the crust, while reheating cake at a bread temperature (e.g., 350°F) will almost certainly dry it out. Each type of baked good has different moisture levels, fat content, and structural integrity that dictate the ideal reheating temperature.
Always refer back to the recommended temperature charts provided or general guidelines for the specific item you are reheating. A moderate to high temperature (325-350°F) is usually best for items needing crispness (bread, pastries), while a lower temperature (250-300°F) is essential for maintaining moisture in softer items (cakes, muffins, cookies). Matching the temperature to the item is fundamental for successful oven reheat bakery goods.
Conclusion: Enjoying Freshly Revived Bakery Goods with Oven Reheating Techniques
Reviving leftover bakery goods is a simple yet rewarding skill that prevents waste and allows you to enjoy delicious treats beyond their initial freshness. By understanding the principles of using your oven to reheat bakery goods – primarily the importance of selecting the correct temperature and monitoring the time – you can restore much of their original texture and flavor. Whether it's achieving a perfectly crispy bread crust, maintaining the delicate flakiness of a croissant, or keeping a cake slice wonderfully moist, the oven is your best tool.
Remember to prepare your items properly, preheat your oven accurately, and always start with the lower end of the time estimate, checking frequently until the desired warmth and texture are achieved. Avoiding common mistakes like overheating or using the wrong temperature will set you up for success. With these oven reheat bakery goods tips and tricks, you can confidently transform leftovers into delightful treats that taste surprisingly close to fresh from the oven. Happy reheating!
Frequently Asked Questions
How does oven reheating compare to other methods for bakery goods?
Oven reheating helps retain the texture and crispness of baked goods better than microwaves. It avoids the soggy result often associated with microwaving.
What's the ideal oven temperature for reheating most bakery items?
Generally, a low oven temperature, around 300-350°F (150-175°C), is best for reheating. This prevents burning and allows for gentle moisture retention.
How long should I reheat bakery goods in the oven?
Reheating time varies, but typically 5-15 minutes is sufficient. Check for warmth and desired texture, avoiding overheating and drying.
Do I need to cover bakery goods while reheating in the oven?
Covering with foil can help prevent excessive browning and maintain moisture, especially for items like bread. Remove foil for the last few minutes for a crispier crust.
What types of bakery goods benefit most from oven reheating?
Items like bread, pastries, and pizza regain their original texture best with oven reheating. It's ideal for restoring crispiness and flakiness lost during storage.
Final Reflection: The Enduring Delight of Perfectly Reheated Bakery Goods
The art of reheating bakery goods isn't just about reviving stale treats; it's about reclaiming the joy of freshly baked flavor. In a world obsessed with instant gratification, taking the time to master the nuances of oven temperature and timing offers a surprisingly satisfying counterpoint. It's a small act of culinary care that yields disproportionately large rewards.
The simple act of reheating a croissant or muffin to its former glory speaks volumes about our relationship with food. It's a testament to our appreciation for the craft and care that goes into baking, and a refusal to let perfectly good food go to waste. Waste not, want not,
an old adage rings true, especially when it comes to the deliciousness of yesterday's bread. This isn't merely about practicality; it's about honoring the baker's skill and extending the pleasure of their creation. The subtle shift in texture, the renewed aroma, the return of that satisfying crisp – these are the details that elevate a simple reheating into a mindful experience.
Consider the possibilities. Imagine the warm, buttery embrace of a perfectly reheated croissant, the fluffy delight of a muffin still slightly warm from the oven, or the satisfying crunch of a cookie that tastes just as good as the day it was baked. You hold the power to recapture that magic. Take the time to experiment with different temperatures and times, to find the perfect balance for your favorite baked goods. Don't just reheat your leftovers; rediscover the joy they hold.
Rediscover Your Leftovers: Bring Back the Bakery Magic!
Thanks for taking the time to explore our tips on reheating your leftover baked goods! We hope you now feel confident in reviving those delicious treats. Ready to put your new skills to the test?
- Prioritize reheating your favorite item: Which leftover is calling your name the loudest? Pop it in the oven and use the suggested temperature and time from the article to bring it back to its former glory!
- Experiment with different methods: Try reheating your baked goods using a different technique next time—maybe the microwave, or even a skillet on the stovetop! Note the results and share your findings!
- Share your reheating successes (or even your fails!): We'd love to hear how your reheating experiment goes in the comments below. What did you revive, and how did it turn out?
Ready to transform your leftover baked goods into delightful snacks? What's the first item you're planning to resurrect?