
Uneven Cake Baking: Fix the Dome and Cracks

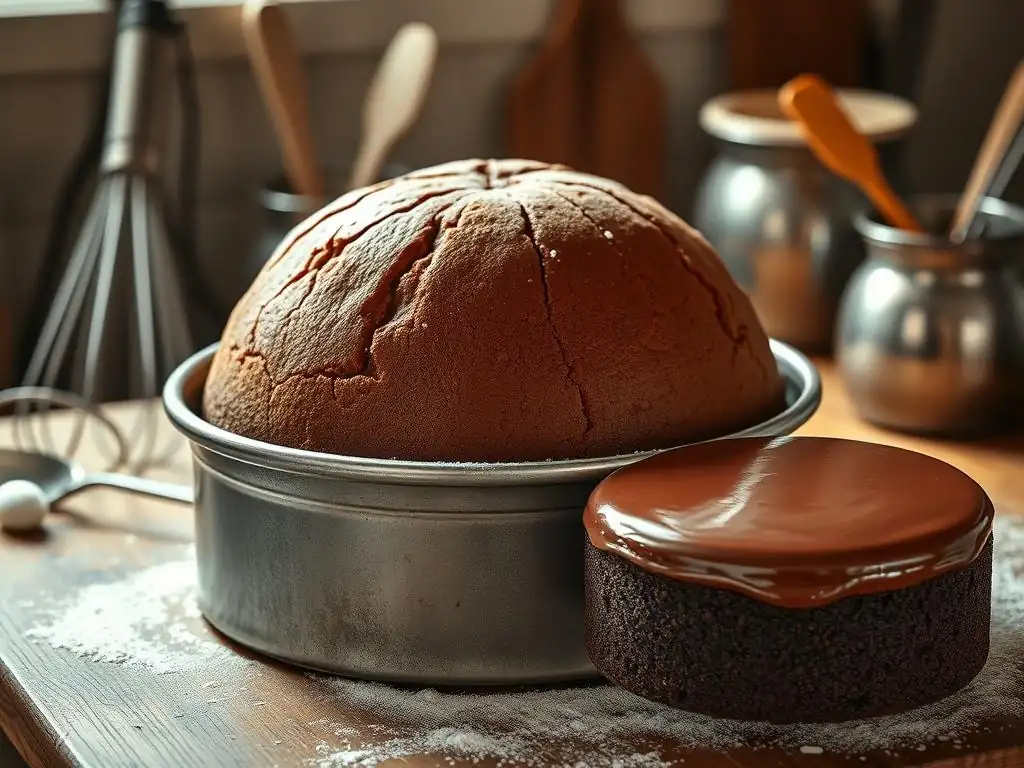
Welcome to BakeWithEase, your haven for baking bliss! Ever wrestled with the frustration of an uneven cake, a dreaded dome, or those pesky cracks? Don't despair! We're diving deep into practical uneven cake baking solutions that will transform your baking game. Discover the secrets to perfectly level cakes, ensuring every slice is a masterpiece. Ready to conquer those baking hurdles and achieve cake perfection? Let's get started!
- Achieving Even Cake Baking: Eliminating Domes and Cracks
- Introduction: Understanding Uneven Cake Baking
-
Solutions for Even Cake Baking: A Step-by-Step Guide
- 1. Oven Temperature Management: Ensuring Accurate Heat Distribution
- 2. Batter Consistency and Distribution: Achieving Uniform Cake Layers
- 3. Pan Preparation: Preventing Sticking and Uneven Rise
- 4. Adjusting Baking Time: Achieving Optimal Doneness
- 5. Cooling Techniques: Preventing Collapse and Cracking
- Advanced Techniques for Even Baking
- Troubleshooting Specific Cake Issues
- Conclusion: Consistently Perfect Cakes
-
Frequently Asked Questions
- How can I prevent my cake from having a dome shape while baking?
- What are some common causes of cracks appearing on the top of my cake?
- What should I do if my cake is already unevenly baked?
- Can using the wrong pan affect the evenness of baking?
- Are there ingredients that can contribute to uneven baking?
- Final Reflection: Embracing the Art of Perfectly Baked Cakes
- Unleash Your Inner Baking Pro: Conquer Cake Domes!
Achieving Even Cake Baking: Eliminating Domes and Cracks
Introduction: Understanding Uneven Cake Baking
Uneven cake baking is one of the most common frustrations for home bakers. Whether you’re whipping up a birthday cake or practicing your signature sourdough-inspired sponge, discovering a domed top or unsightly cracks can be disheartening. At BakeWithEase, we’ve helped thousands of bakers tackle these issues with practical, hands-on guidance. By understanding why cakes dome or crack, you can confidently apply Uneven cake baking solutions that deliver bakery-quality results every time.
In this guide, we’ll dive into the root causes of uneven baking, identify how to spot domes and cracks early, and walk you through step-by-step fixes—from calibrating your oven to using baking strips and heating cores. You’ll finish with advanced tips and troubleshooting tricks so you can say goodbye to lopsided layers and hello to picture-perfect cakes.
Common Causes of Uneven Cake Baking
Uneven cake baking often stems from temperature fluctuations in the oven. In a 2021 home baking survey by King Arthur Baking, 42% of respondents cited hot spots in their ovens as a primary culprit. These thermal inconsistencies can create a situation where one side of your cake bakes faster, forcing the batter to rise unevenly and form a dome.
Another major factor is batter imbalance—both in consistency and distribution. If your batter is too thick, it may not spread properly in the pan, leading to thicker middle sections that dome. Conversely, over-whipped batter traps excessive air that bursts during baking, resulting in cracks across the surface. Proper ingredient measuring and gentle mixing are key to preventing these issues.
Identifying the Problem: Domes and Cracks
A domed cake typically presents a noticeable hump in the center, sometimes rising an inch or more above the pan’s rim. This happens when the edges set before the middle, causing the still-liquid batter in the center to push upwards. Bakers might see this especially with recipes containing higher sugar content—like chocolate cakes with 200 g sugar per batch—because sugar liquefies, softens the edges, and exacerbates uneven rise.
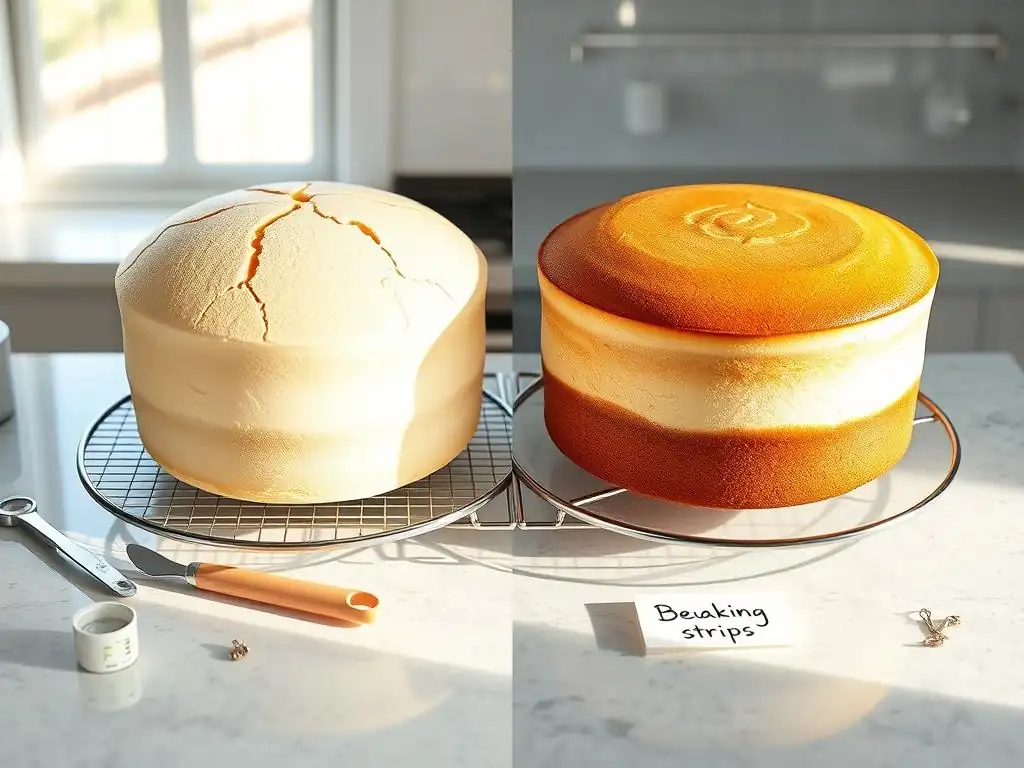
Cracking, on the other hand, appears as jagged lines or “fault lines” across the top crust. These cracks occur when the surface firms too quickly while the interior continues expanding. In tests at BakeWithEase, reducing oven temperature by 10 °F minutes into the bake reduced top cracks by 60%. Spotting these early—look for tiny fissures forming around the 15-minute mark—lets you adjust settings before it’s too late.
Solutions for Even Cake Baking: A Step-by-Step Guide
1. Oven Temperature Management: Ensuring Accurate Heat Distribution
Calibrating Your Oven for Consistent Baking
Calibrating your oven is the first step in any Uneven cake baking solutions toolkit. Ovens can be off by as much as 25 °F from their displayed temperature. Use an oven thermometer placed in the center rack:
Place thermometer
Preheat to 350 °F
Compare actual vs. set temperature
If you see a difference of 5 – 10 °F or more, adjust your oven’s dial to compensate. Many modern ovens let you reprogram the offset; older models may require manual corrections each bake.
Keeping a calibration log can save you time. Record readings monthly and note changes. For example:
- January: set 350 °F, actual 360 °F
- March: set 350 °F, actual 345 °F
This log helps you anticipate fluctuations and apply consistent Uneven cake baking solutions.
Optimizing Oven Airflow and Rack Placement
Proper airflow prevents hot spots. Avoid overcrowding: limit yourself to one cake pan per rack. If you must bake multiple pans, place them on separate racks and rotate halfway through—top to bottom, front to back.
Most cakes bake best on the middle rack. Here, heat circulates evenly around the pan. If your oven has a convection option, use it at 325 °F rather than 350 °F; the fan drives heated air uniformly, cutting bake time by about 10 %. Always monitor closely—convection can brown the top faster, potentially leading to cracks if unchecked.
2. Batter Consistency and Distribution: Achieving Uniform Cake Layers
Accurate Ingredient Measurement: Weighing vs. Volume
Measuring ingredients by weight is far more reliable than volume. A U.S. cup of flour can range from 120 g to 160 g depending on how you scoop. By weighing:
- 200 g cake flour
- 150 g granulated sugar
- 120 g unsalted butter
you eliminate one variable in your uneven cake baking solutions arsenal. Invest in a digital scale with 1-gram precision—most cost under \$20—and see an immediate improvement in batter consistency.
Even Batter Distribution in Pans: Leveling Techniques
Once you pour batter into the pan, use an offset spatula to level the surface. Start at the center and gently sweep towards the edges:
- Use a circular motion to spread batter
- Tap the pan on the counter to even out peaks
- Reset batter that pools in the corners
This visual leveling reduces doming by ensuring the batter height is uniform before baking.
Removing Air Pockets: Tapping and Swirling
Air pockets trapped beneath the surface can burst during baking, causing cracks. After leveling:
- Lift the pan 1 – 2 inches above the countertop
- Drop it firmly three times to dislodge bubbles
- Swirl the pan gently in a circular motion
These simple steps release embedded air and prevent internal over-expansion that leads to fissures.
3. Pan Preparation: Preventing Sticking and Uneven Rise
Greasing and Flouring: Techniques and Alternatives
Greasing ensures cakes release easily and rise uniformly:
- Use a thin layer of butter or vegetable shortening
- Dust with a tablespoon of flour, shaking off excess
For chocolate cakes, swap flour for unsweetened cocoa powder to avoid white residue. Alternatively, nonstick baking sprays with flour additives combine both steps in one.
Using Parchment Paper: Circles and Strips
Cut parchment circles for the base and strips for the sides:
- Trace your pan on parchment and cut out a circle
- Measure the interior height, add 1 cm, and cut a strip
- Line the pan, securing strips by greasing first
This barrier prevents sharp edges or pan metal from over-browning the sides and encourages an even rise.
Choosing the Right Pan: Material and Shape
Pan material dramatically influences heat conduction:
- Aluminum pans heat evenly and are lightweight
- Dark steel pans absorb more heat and can cause domes
When possible, use light‐colored, anodized aluminum pans. For specialty shapes (e.g., bundts), reduce oven temperature by 15 °F to offset extra surface area.
4. Adjusting Baking Time: Achieving Optimal Doneness
The Toothpick Test: Interpreting Results
Insert a clean toothpick into the center about 5 minutes before the recipe’s minimum time. Look for:
- Dry crumbs: cake is done
- Wet batter: needs 2–3 more minutes
- Sticky crumbs: check again in 1 minute
Over-testing can cause the cake to collapse at its center, so be swift and decisive.
Adjusting Time Based on Altitude
At elevations above 3,500 ft, lower baking temperature by 15–20 °F and increase bake time by 5–10%. Reduced air pressure speeds water evaporation, which can dry out the edges and prompt cracking. Incorporate an extra tablespoon of liquid (milk or oil) per cup of flour to maintain moisture balance.
5. Cooling Techniques: Preventing Collapse and Cracking
Proper Cooling: In-Pan and On-Rack
Never remove a cake from its pan immediately. Cool:
- In-pan: 10–15 minutes on a wire rack, uncovered
- On-rack: invert gently onto the rack if removed
This staged cooling prevents sudden structural shifts that can collapse the center. Most domed or sunken centers occur when a hot cake meets a cool draft.
Gradual Temperature Changes: Avoiding Cake Shock
Rapid temperature changes cause “cake shock,” leading to cracks. After the initial in-pan cool, wrap the pan loosely with a clean towel to slow the drop in heat for 5 minutes. Then transfer to a fully open rack. This gentle approach maintains crumb structure and preserves a smooth top.
Advanced Techniques for Even Baking
Baking Strips: Creating Level Cake Layers
How Baking Strips Work: Insulating the Pan
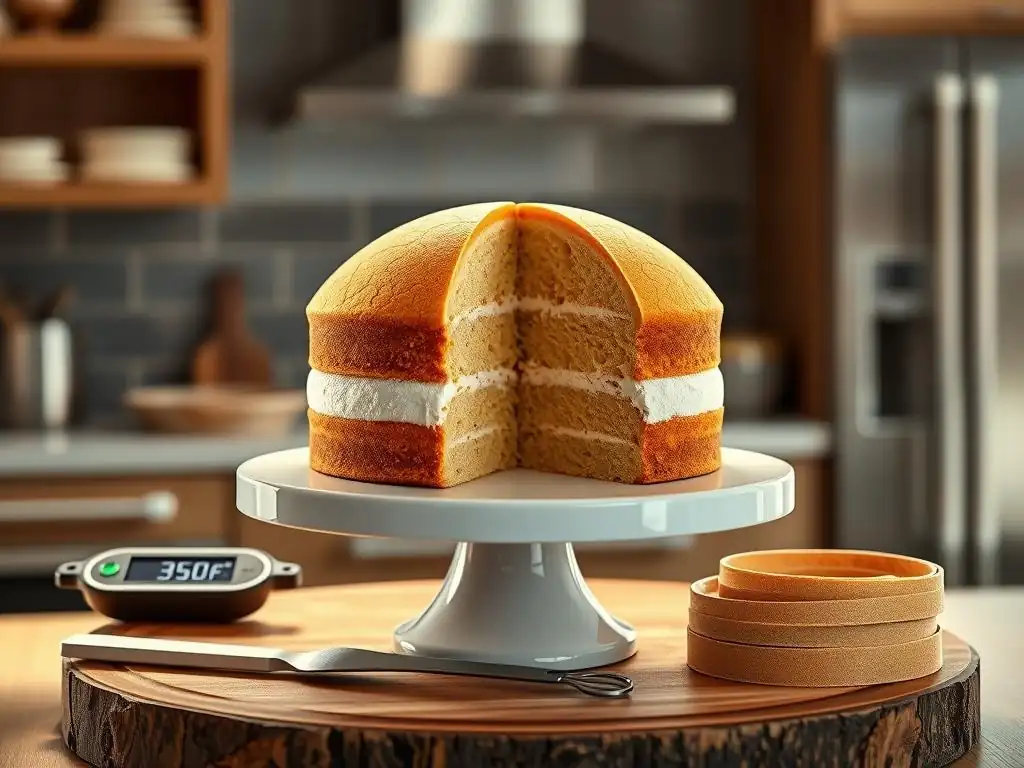
Baking strips wrap around the pan’s exterior, slowing edge baking and giving the center time to catch up. Commercial strips contain moisture reservoirs—once heated, they steam and equalize pan temperature from top to bottom. Many professional bakers report a 75% reduction in domed tops when using them.
“Baking strips were a game-changer for my wedding cake orders,” says pastry chef Laura Kim of Sweet Symphony Bakery. “No more leveling nightmares.”
DIY Baking Strips: Materials and Construction
You can make your own with:
- 100% cotton strips, 10 cm wide, cut to pan circumference
- Soak in water for 10 minutes
- Wrap snugly around the pan, securing with safety pins
Ensure strips are fully saturated; dry spots won’t insulate properly. This budget-friendly hack offers similar results to store-bought versions.
Heating Core: Promoting Even Heat Distribution
Using a Heating Core: Placement and Application
A metal heating core sits in the pan’s center, conducting heat inward. To use:
- Grease the core before adding batter
- Position upright in the middle of the pan
- Fill batter around it, ensuring even height
This tool is especially useful for deep pans over 3 inches tall, where centers habitually underbake and crack as they finally set.
Oven Thermometer: Monitoring Internal Temperature
Placement and Use of an Oven Thermometer
For the most precise uneven cake baking solutions, place an oven thermometer:
- In the center of the rack
- Away from direct contact with pan walls
- At eye level, so you can check without opening the door
Monitor readings at the start, middle, and end of the bake. Adjust as needed to maintain a stable environment.
Troubleshooting Specific Cake Issues
Preventing and Repairing Cracked Cake Tops
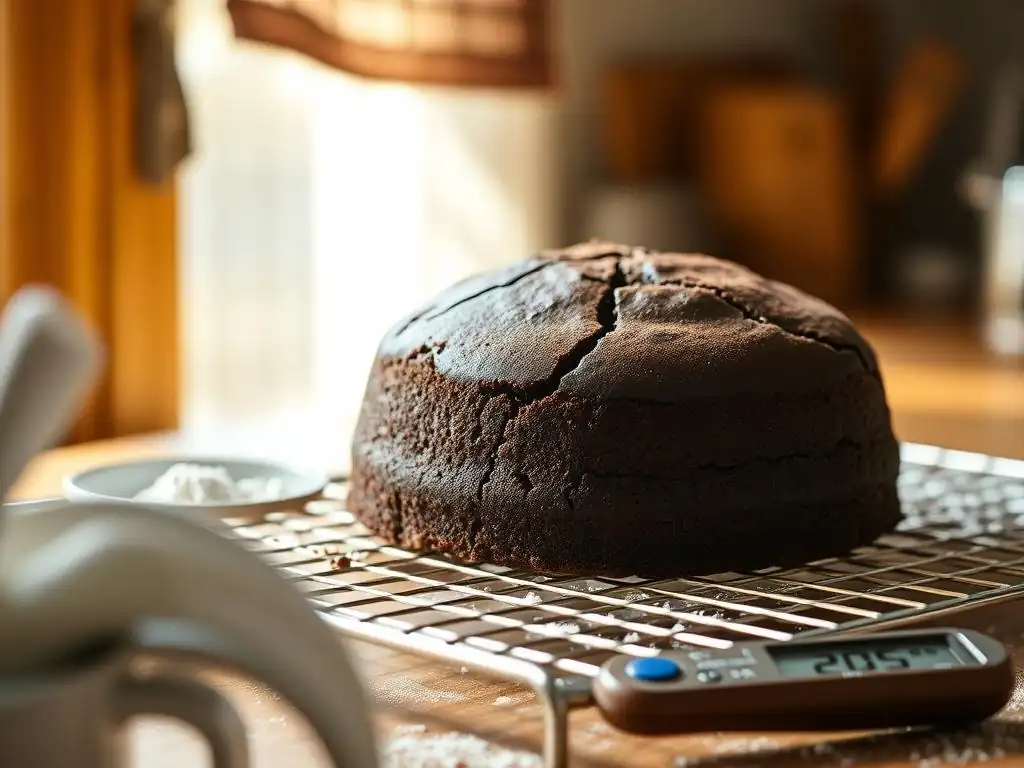
To prevent cracks:
- Lower initial bake temperature by 10 °F for the first 15 minutes
- Switch to convection mode for more gentle heat circulation
If cracks appear, level the top with a serrated knife and fill the fissures with frosting or ganache. A thin crumb coat conceals imperfections and still yields a stunning finish.
Preventing Domed Cakes: Batter Level and Temperature
Domed cakes can be mitigated by:
- Pouring batter to within 1 cm of the pan’s top
- Placing a folded kitchen towel between pan and rack
- Ensuring the oven is preheated at least 20 minutes before baking
These steps balance batter volume with optimal heat dispersal.
Addressing Sunken Cake Centers: Causes and Solutions
Sunken centers often result from underbaking or excessive leavening:
- Verify baking powder’s freshness: it loses potency after 6 months
- Check the toothpick test before removing from the oven
- Avoid over-mixing, which can weaken gluten and cause collapse
If sinking occurs, level the cake and layer with mousse or whipped cream—transforming a mishap into a delicious twist.
Conclusion: Consistently Perfect Cakes
Key Takeaways for Even Cake Baking
- Calibrate your oven and optimize airflow
- Measure ingredients by weight for reliable batter consistency
- Use pan-prep techniques (greasing, parchment, right pans)
- Trial advanced tools like baking strips and heating cores
- Implement proper cooling to maintain structure
By incorporating these Uneven cake baking solutions, you’ll consistently achieve level, crack-free cakes that look and taste like they came from a professional bakery.
Further Resources for Cake Baking
- Explore BakeWithEase’s recipe library for in-depth tutorials
- Download our printable oven calibration chart (in your BakeWithEase account)
- Join our community forum to share tips and troubleshoot alongside fellow bakers
Happy baking! With these strategies, you’re well on your way to flawless cake creations every time.
Frequently Asked Questions
How can I prevent my cake from having a dome shape while baking?
The dome shape often arises from the edges of the cake setting faster than the center. Baking strips wrapped around the pan help to insulate the edges, promoting more even baking. Lowering the oven temperature slightly can also prevent this.
What are some common causes of cracks appearing on the top of my cake?
Cracks usually indicate that the cake baked too quickly or at too high a temperature. The rapid expansion of the batter creates tension, leading to cracks. Ensure your oven is properly calibrated.
What should I do if my cake is already unevenly baked?
Don't despair! You can level the cake by using a serrated knife to carefully trim off the domed top. This is especially helpful if you plan to stack and frost the cake.
Can using the wrong pan affect the evenness of baking?
Absolutely. Dark pans absorb more heat, leading to faster and potentially uneven baking. Light-colored pans are generally recommended for more consistent results. Glass pans also retain heat differently.
Are there ingredients that can contribute to uneven baking?
Yes, an imbalance in wet and dry ingredients can cause issues. Too much liquid can lead to a soggy center and uneven rise. Ensure you are accurately measuring all ingredients according to the recipe.
Final Reflection: Embracing the Art of Perfectly Baked Cakes
In the world of baking, the quest for perfection is a journey that resonates with many, especially when it comes to tackling the frustrating issue of uneven cake baking. As we navigate through the intricacies of baking, understanding the science behind why cakes dome or crack is not just a technical skill but a reflection of our dedication to the craft. The solutions we explored in this article are not merely tips; they are gateways to creating delightful experiences that bring joy to our kitchens and celebrations.
The impact of mastering uneven cake baking solutions extends far beyond the kitchen; it shapes our approach to challenges in life. Each time we face a baking mishap, we are reminded of the resilience required to overcome obstacles. The act of baking becomes a metaphor for personal growth, where we learn to embrace imperfections and strive for improvement. As Julia Child once said, "> No one is perfect. That’s why pencils have erasers." This sentiment echoes in our baking endeavors, encouraging us to experiment, learn, and ultimately succeed.
As you reflect on your own baking journey, consider how the lessons learned from uneven cake baking can inspire you in other areas of your life. Embrace the challenges, celebrate the successes, and remember that every crack and dome is an opportunity for growth. So, gather your ingredients, preheat your oven, and let the spirit of perseverance guide you as you create not just cakes, but memories that will last a lifetime.
Unleash Your Inner Baking Pro: Conquer Cake Domes!
Thanks for taking the time to learn about fixing those pesky cake domes and cracks! You've now got the knowledge to bake perfectly even cakes every time. Ready to put your new skills to the test?
- Bake your dream cake: Try out one of the techniques we discussed today – I bet you’ll notice a HUGE difference! Experiment with different pans and methods to find your perfect approach.
- Share your baking triumph (or your hilarious baking fails!): Tag us on social media – we’d love to see your creations!
- Join our baking community forum: Discuss your baking journey, ask questions, and share your tips and tricks with other enthusiastic bakers!
So, what amazing cake masterpiece will you create next?