
Flattened Peanut Butter Cookies? Keep the Classic Crisscross Marks

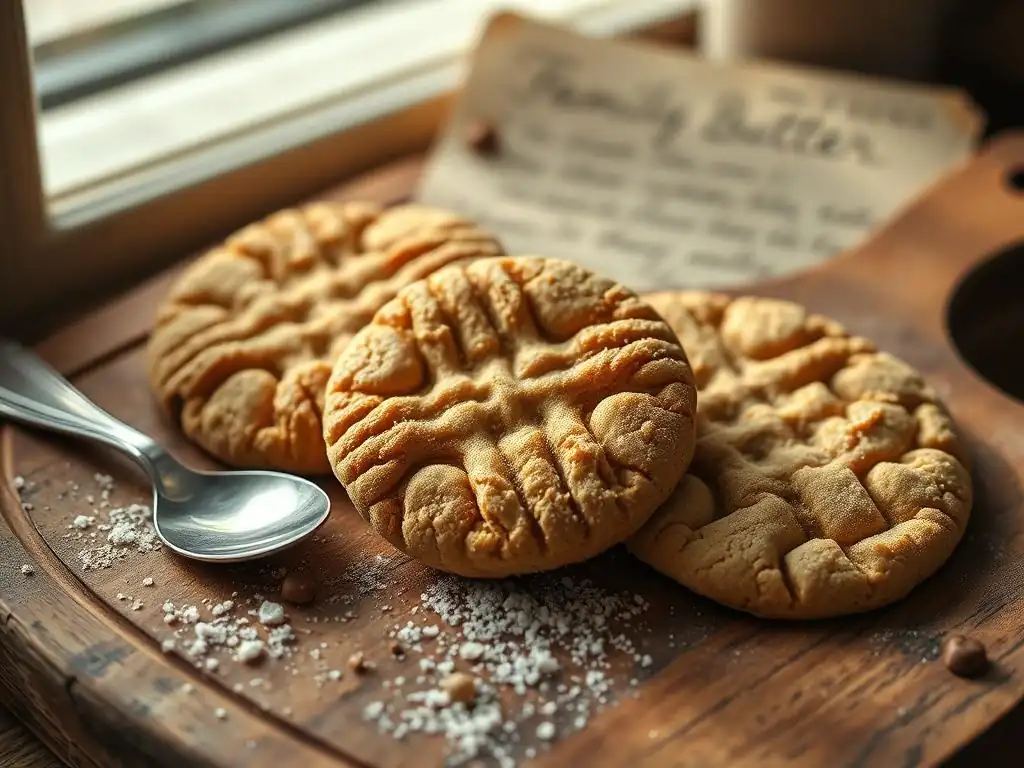
Welcome to BakeWithEase, your compass for navigating the delicious world of baking! Ever wonder how to achieve those perfectly flattened peanut butter cookies with those iconic crisscross marks? We're diving into the secrets behind this classic treat, offering insights and techniques that will elevate your baking game. Ready to unlock the perfect bake? Let's get started!
- Achieving Perfect Peanut Butter Cookies: Maintaining Shape and Crisscross Marks
- Understanding Peanut Butter Cookie Spread
- Key Ingredients and Their Impact on Cookie Shape
- Troubleshooting Common Issues: Solutions and Tips
- Mastering the Crisscross Pattern
- Recipe Optimization for Shape and Texture
- Storage and Preservation
-
Frequently Asked Questions
- Why are my peanut butter cookies spreading too thin and losing their crisscross marks?
- How do I ensure my peanut butter cookies have distinct crisscross marks?
- What type of peanut butter works best for these cookies?
- What temperature should I bake my peanut butter cookies at to maintain their shape?
- Can I freeze peanut butter cookie dough for later use?
- Final Reflection: The Enduring Charm of a Crisscross
- Rediscover the Perfect Crisscross: Elevate Your Peanut Butter Cookies!
Factors Contributing to Excessive Spreading
Excessive spreading is a common frustration when baking peanut butter cookies. Several factors contribute to this, often working in combination. A primary culprit is the ratio of fat to flour in the dough. Too much fat, or fat that is too soft or melted, will cause the cookies to flatten out significantly as they bake. Over creaming butter and sugar, incorporating too much air, can also lead to excessive spread as the air pockets collapse in the oven.
Another significant factor is the oven temperature and baking time. If the oven is too cool, the cookies will spread for a longer period before the structure sets. Conversely, if baked on an ungreased or overly greased baking sheet, the dough can slide and spread more readily. The temperature of the dough itself before baking is also critical; warm dough spreads much faster than chilled dough because the fat is already softer.
The Significance of the Crisscross Pattern
The iconic crisscross pattern isn't just for looks; it serves a practical purpose when making peanut butter cookies. Peanut butter dough tends to be quite dense and rich due to the high fat content from both the peanut butter and added butter or shortening. Pressing the dough balls with a fork flattens them slightly and helps them bake more evenly throughout.
Without this flattening step, the cookies would remain too thick, potentially resulting in burnt edges and an undercooked center. The crisscross pattern also helps to break the surface tension of the dough, allowing for uniform heat distribution. This simple technique is essential for achieving that signature texture – slightly crisp edges with a soft, chewy interior – and is a hallmark of traditional peanut butter cookies crisscross marks.
Dough Consistency: Achieving the Ideal Texture
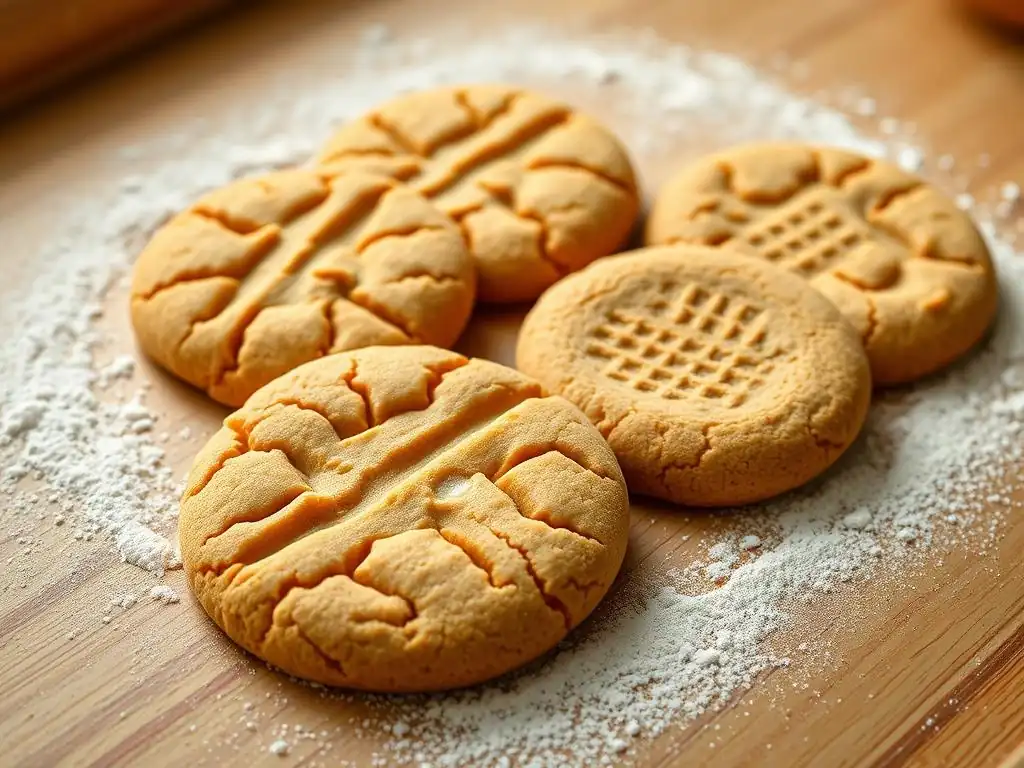
The consistency of your peanut butter cookie dough is paramount for controlling spread and ensuring those beautiful peanut butter cookies crisscross marks hold their shape. The dough should be firm enough to roll into balls that hold their shape, but not so dry that it crumbles. A dough that is too wet or sticky will spread rapidly in the oven, leading to thin, flat cookies.
Achieving the ideal texture involves careful measurement of ingredients, particularly flour and fat. If the dough seems too soft after mixing, adding a tablespoon or two more flour can help. Conversely, if it's too dry, a tiny splash of milk or another liquid might be needed, though this is less common with standard recipes. The dough should feel pliable and slightly firm, like playdough, when it's ready to be shaped.
Fat Content: Balancing Richness and Structure
Fat plays a dual role in peanut butter cookies: it provides richness, flavor, and tenderness, but also significantly influences spread. The total amount of fat from both the peanut butter and added butter or shortening must be balanced with the dry ingredients to prevent excessive flattening. A recipe with a very high fat-to-flour ratio will inevitably produce flatter cookies.
Understanding the fat content of your specific peanut butter is also helpful. Natural peanut butters, which often separate, tend to have more liquid oil than hydrogenated versions, which can affect dough consistency and spread. Using a no-stir or hydrogenated peanut butter often results in a more consistent dough and less spread compared to natural varieties where the oil hasn't been fully incorporated.
Butter vs. Shortening: Effects on Texture and Spread
The type of fat used has a distinct impact on the final cookie. Butter, with its lower melting point and water content (around 15-18%), contributes to spread and creates a crispier edge. As butter melts, the water turns to steam, which helps leaven the cookie slightly and encourages spread.
Shortening, on the other hand, is 100% fat and has a higher melting point than butter. This higher melting point means shortening melts slower in the oven, resulting in less spread and thicker, softer cookies. Many classic peanut butter cookie recipes use a combination of butter and shortening to achieve a balance of flavor (from butter) and controlled spread/soft texture (from shortening).
Sugar's Role: Controlling Sweetness and Flattening
Sugar is not just for sweetness; it also affects cookie texture and spread. As sugar melts during baking, it contributes to spread. Granulated sugar tends to cause more spread and results in a crispier cookie because its larger crystals take longer to dissolve and melt.
Brown sugar, which contains molasses, adds moisture and acidity to the dough. This moisture helps keep the cookies softer and chewier. The molasses also slightly inhibits spread compared to using only granulated sugar, contributing to a thicker cookie. Many recipes for peanut butter cookies crisscross marks utilize a mix of both sugars for balanced flavor, texture, and shape control.
Granulated vs. Brown Sugar: Impact on Cookie Spread
Using primarily granulated sugar will generally lead to cookies that spread more and have a crisper texture once cooled. The sharp edges of the granulated sugar crystals also interact differently with the fat during creaming.
Conversely, a higher proportion of brown sugar will result in less spread, a softer, chewier texture, and a slightly richer flavor due to the molasses. For thicker peanut butter cookies, a recipe favoring brown sugar or using an equal mix of brown and granulated sugar is often preferred over one that uses mostly granulated sugar.
Flour: Providing Structure and Preventing Excessive Spread
Flour is the structural backbone of cookies. It provides the necessary gluten network (though minimal development is desired in cookies) and bulk to hold the ingredients together and prevent excessive spread. Using the correct amount and type of flour is crucial for maintaining cookie shape.
All-purpose flour is standard for most peanut butter cookie recipes. Measuring flour correctly is vital; too little flour means insufficient structure, leading to excessive spread and flattened peanut butter cookies. Too much flour results in a dry, crumbly cookie. Sifting flour before measuring can sometimes lead to less flour by weight, so it's often recommended to spoon and level for consistency.
Troubleshooting Common Issues: Solutions and Tips
Dough Chilling: Preventing Excessive Spread
One of the most effective ways to prevent excessive spread is chilling the dough before baking. When dough is chilled, the fat (butter, shortening, peanut butter oil) solidifies. This solid fat melts slower in the hot oven, giving the cookie's structure time to set before it spreads too much.
- Aim for at least 30 minutes of chilling time in the refrigerator.
- For best results, chill the dough for 1-2 hours.
- Dough can often be chilled for up to 2-3 days, improving flavor and texture.
Chilling also makes the dough firmer and easier to handle when rolling balls and pressing the peanut butter cookies crisscross marks. This simple step can dramatically improve cookie thickness and shape retention.
If your standard recipe yields flattened peanut butter cookies, adjusting the ingredient ratios can help. This often involves slightly increasing the dry ingredients (flour) or decreasing the wet/fat ingredients (butter, shortening, or even adjusting the amount of peanut butter if it's very oily).
- Reducing Fat: Minimize the amount of added butter or shortening by a tablespoon or two.
- Increasing Flour: Add an extra 2-4 tablespoons of all-purpose flour per standard batch (e.g., a recipe using 2 cups of flour).
These small adjustments can significantly impact the final cookie thickness and help maintain the classic peanut butter cookies crisscross marks.
Reducing Fat: Minimizing Spread
As discussed, fat encourages spread. If your cookies are consistently too flat, examine the recipe's fat content. A recipe might call for 1 cup (2 sticks) of butter for only 1.5 cups of flour, which is a relatively high-fat ratio.
Consider reducing the butter to ¾ cup (1.5 sticks) or substituting some of the butter with shortening, which has a higher melting point. For example, replacing half the butter with an equal weight or slightly less volume of shortening can help create thicker cookies with less spread while still retaining some buttery flavor.
Increasing Flour: Strengthening the Cookie Structure
Adding more flour provides more structure to the dough, which helps resist the urge to spread excessively when heated. If your dough feels very soft or slightly sticky even after chilling, it likely needs more flour.
Start by adding 2 tablespoons of flour and mixing it in. Check the dough consistency – it should be firm enough to roll easily without sticking to your hands excessively. You might need up to 4 tablespoons (¼ cup) more flour depending on the original recipe and humidity, but add it gradually to avoid a dry, crumbly result. This extra flour helps support the peanut butter cookies crisscross marks during baking.
Baking Sheet Preparation: Ensuring Even Baking
The surface you bake on affects spread. A greased baking sheet, while sometimes used, can cause cookies to spread more because the dough can slide easily as it melts. Parchment paper or silicone baking mats are preferred for even baking and controlled spread.
Using parchment paper provides a consistent, non-stick surface that prevents the cookie from sticking and allows it to spread just enough without sliding uncontrollably. Silicone mats offer similar benefits and can sometimes result in slightly thicker cookies due to their grip on the dough. Always ensure your baking sheet is cool before placing dough balls on it; placing dough on a warm sheet will cause immediate spreading.
Mixing Techniques: Achieving the Right Consistency
The way you mix your cookie dough impacts its texture and structure. Over-creaming butter and sugar incorporates too much air, which can lead to cookies spreading excessively as the air pockets collapse in the oven. Creaming should only take 2-3 minutes until the mixture is light and fluffy, not significantly longer.
Once flour is added, mix just until combined. Overmixing develops gluten, which can make cookies tough, but more importantly for spread, it can alter the dough's structure in ways that encourage flattening. Gentle mixing after adding dry ingredients helps maintain the desired consistency for well-shaped peanut butter cookies crisscross marks.
Mastering the Crisscross Pattern
The Classic Fork Method: Achieving Consistent Marks
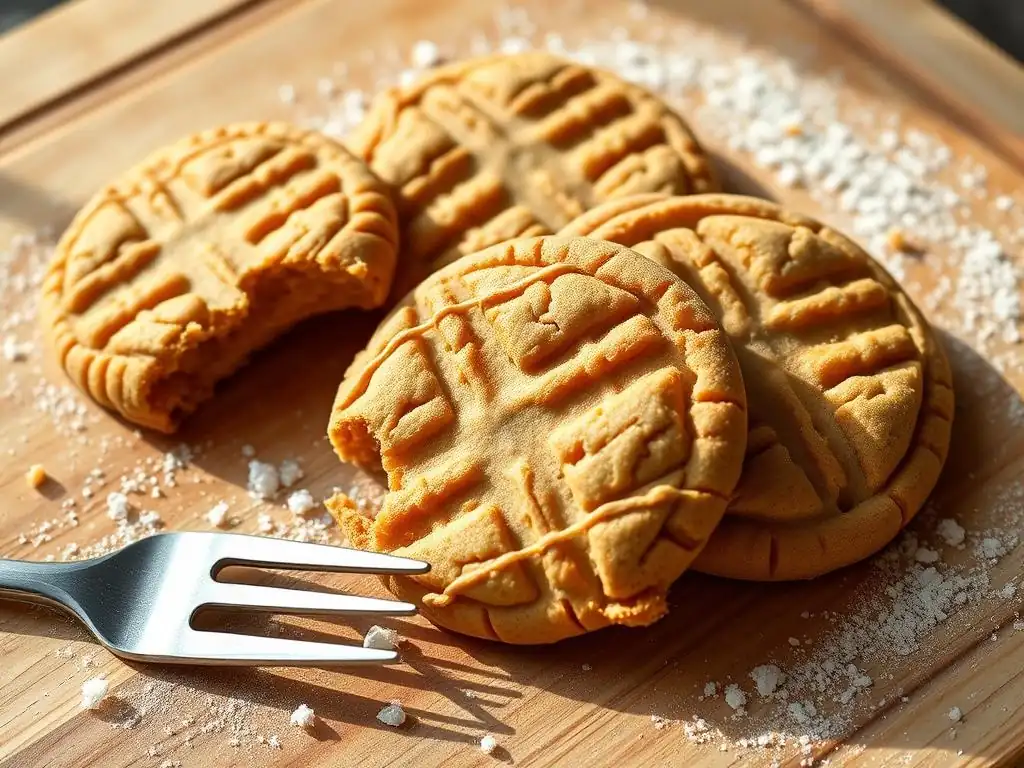
The classic way to create the iconic peanut butter cookies crisscross marks is with a fork. After rolling the dough into balls (typically about 1 inch or 2.5 cm in diameter), place them on the prepared baking sheet, spaced about 2-3 inches apart.
Dip the tines of a fork in sugar or flour to prevent sticking, then press down on the center of each dough ball, flattening it to about ½ inch thick. Lift the fork, rotate it 90 degrees, and press down again to create the crisscross. Apply even pressure so the marks are clear but don't press so hard that you mash the cookie too thin, which would encourage excessive spread.
Preventing Crisscross Marks from Fading
Sometimes, the beautiful peanut butter cookies crisscross marks seem to disappear during baking. This is often due to excessive spread or the dough being too soft. If the dough spreads too much, the pattern gets stretched out and becomes indistinct.
Ensuring the dough is properly chilled is key to preventing fading. The firm, chilled dough holds its shape better as it begins to bake, allowing the pattern to set before significant spread occurs. Using ingredients and techniques that promote a slightly thicker cookie (like some shortening or more brown sugar) also helps the pattern remain prominent.
Alternative Decorative Techniques
While the fork crisscross is classic for peanut butter cookies, you can use other techniques if you prefer. A flat-bottomed glass or the palm of your hand can be used to simply flatten the dough balls into disks before baking.
For a different decorative touch, you could use a cookie stamp with a patterned design, or even just leave the dough balls as is for a puffier, rounder cookie (though they will still spread somewhat). However, for traditional peanut butter cookies crisscross marks are the signature, and the fork method remains the most popular and effective.
Recipe Optimization for Shape and Texture
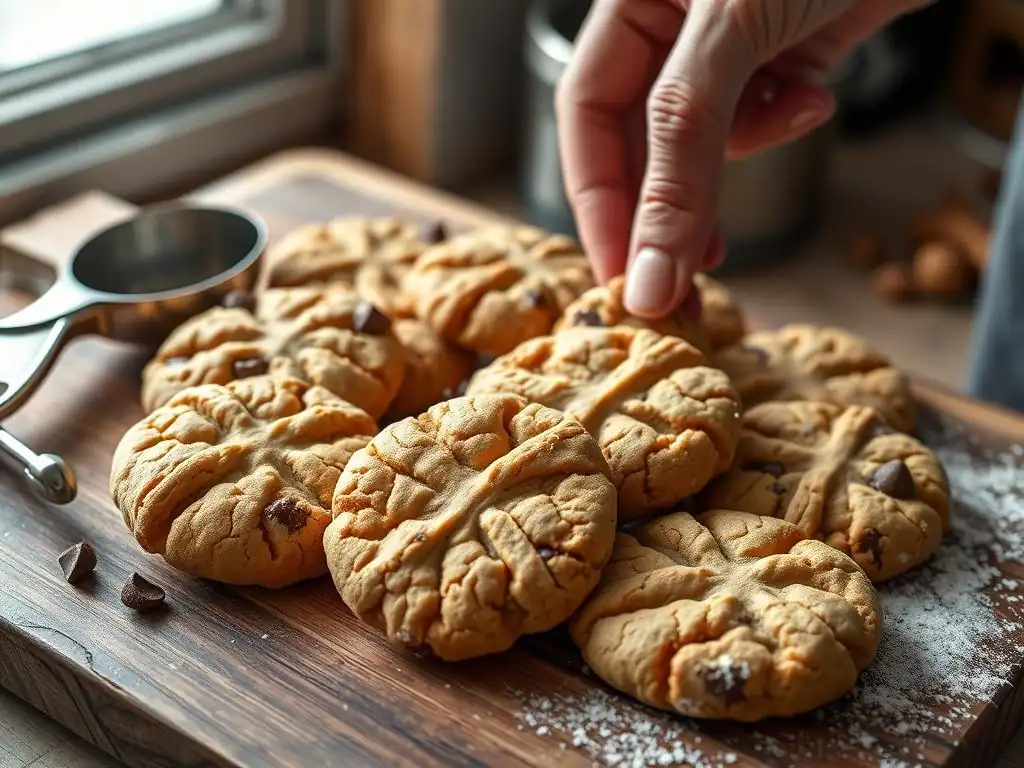
Here is a guideline for a recipe designed to minimize spread and enhance chewiness:
- ½ cup (1 stick) unsalted butter, softened
- ½ cup shortening
- ½ cup granulated sugar
- ¾ cup packed light brown sugar
- 1 large egg
- 1 teaspoon vanilla extract
- 1 ½ cups creamy peanut butter (hydrogenated, non-separating)
- 1 ¾ cups all-purpose flour
- 1 teaspoon baking soda
- ½ teaspoon salt
This recipe balances butter for flavor with shortening for reduced spread, uses more brown sugar for chewiness, and includes a slightly higher flour ratio for structure, helping achieve great peanut butter cookies crisscross marks.
Follow these steps to bake cookies with excellent shape and defined peanut butter cookies crisscross marks:
- In a large bowl, cream together the softened butter, shortening, granulated sugar, and brown sugar using an electric mixer on medium speed until light and fluffy, about 2-3 minutes. Do not over-cream.
- Beat in the egg and vanilla extract until just combined.
- Add the creamy peanut butter and mix on low speed until fully incorporated. Scrape down the sides of the bowl as needed.
- In a separate medium bowl, whisk together the all-purpose flour, baking soda, and salt.
- Gradually add the dry ingredients to the wet ingredients, mixing on low speed just until the flour streaks disappear. Do not overmix.
- Cover the dough and chill in the refrigerator for at least 1 hour (or up to 2 days).
- Preheat your oven to 350°F (175°C). Line baking sheets with parchment paper.
- Roll dough into 1-inch balls and place 2-3 inches apart on the prepared baking sheets.
- Dip a fork in sugar and press down on each ball to create the crisscross pattern, flattening to about ½ inch thick.
- Bake for 10-12 minutes, or until the edges are lightly golden and the centers look set but still slightly soft. Baking time will vary based on size and oven.
- Let cookies cool on the baking sheet for 5 minutes before transferring to a wire rack to cool completely.
Task List for Perfect Crisscross Cookies:
[ ] Use softened (not melted) butter/shortening.
[ ] Measure ingredients accurately (especially flour).
[ ] Don't over-cream butter and sugar.
[ ] Mix in dry ingredients just until combined.
[ ] Chill the dough for at least 1 hour.
[ ] Use parchment paper on baking sheets.
[ ] Dip fork in sugar before making crisscross marks.
[ ] Don't press too hard when making marks.
[ ] Bake at 350°F (175°C) for the correct time.
[ ] Let cool on baking sheet before transferring.
Storage and Preservation
Maintaining Freshness and Preventing Crumbling
Proper storage is key to keeping your peanut butter cookies fresh and preventing them from becoming dry and crumbly. Once completely cooled, store cookies in an airtight container at room temperature.
- Layer cookies with parchment paper to prevent sticking.
- Keep the container sealed tightly.
Stored this way, peanut butter cookies typically stay fresh for 3-5 days. For longer storage, they can be frozen.
Storing cookies correctly also helps maintain their shape and that perfect texture. Avoid storing them with other types of cookies that have different moisture levels, as this can alter their texture.
If freezing, place completely cooled cookies in a single layer on a baking sheet to freeze until solid, then transfer to a freezer-safe airtight container or bag. This "flash freezing" prevents them from sticking together and helps preserve their shape and the definition of their peanut butter cookies crisscross marks. Thaw frozen cookies at room temperature in their container to prevent condensation.
Frequently Asked Questions
Excessive spreading is often due to too much butter or sugar in the dough, or the dough being too warm. Try chilling the dough before baking for better shape retention.
After rolling the dough into balls, use a fork dipped in sugar to create the crisscross pattern. Press down firmly but not too hard to avoid excessive flattening. Make sure the dough is cold before baking.
Creamy peanut butter is generally recommended for a smooth and consistent texture. Avoid natural peanut butter, as the oil separation can affect the dough's consistency and cause spreading.
Bake at a moderate temperature, typically around 350°F (175°C). Higher temperatures can cause the cookies to spread too quickly, while lower temperatures may result in dry and crumbly cookies.
Yes, you can freeze the dough! Roll the dough into balls, flatten with a fork, and then freeze on a baking sheet. Once frozen, transfer to a freezer bag for longer storage and bake from frozen, adding a few extra minutes to the baking time.
Final Reflection: The Enduring Charm of a Crisscross
The seemingly simple act of crisscrossing a peanut butter cookie transcends mere aesthetics; it's a powerful symbol of tradition, connection, and the enduring appeal of a classic recipe. The meticulous placement of those marks, a seemingly insignificant detail, speaks volumes about the care and intentionality poured into baking, a craft that connects generations. This seemingly small detail is a powerful reminder of the importance of preserving culinary heritage.
The crisscross, more than just a visual element, represents a shared cultural memory. It's a silent conversation between bakers, a nod to the countless kitchens where these cookies have been lovingly created. A recipe is a story that unfolds in the kitchen, and the crisscross is a chapter written in every batch.
This simple act connects us to our past, reminding us of the comfort and joy found in familiar flavors and time-honored techniques. It's a testament to the power of simple gestures to evoke profound emotions.
Consider, for a moment, the next time you bake peanut butter cookies. Will you meticulously create those crisscross marks, honoring the tradition and the connection it represents? Embrace the ritual, the intentionality, and the joy of creating something beautiful and delicious. Let the crisscross be your personal mark, a testament to your own culinary journey and a link to the rich history of this beloved treat. Let the simple act of a crisscross remind you of the power of tradition and the enduring magic of a perfectly baked cookie.
Thanks for taking the time to explore the art of the perfect peanut butter cookie with us! We hope you gained some valuable tips and tricks to achieve that iconic crisscross. Now it's time to put your newfound knowledge into action.
- Master the Crisscross: Practice your technique on a batch of cookies today – focus on achieving those perfectly even lines! Experiment with different pressing methods to find your favorite.
- Share Your Success: Post a picture of your perfectly crisscrossed cookies on social media and tag us – we'd love to see your creations!
- Explore Variations: Try experimenting with different flavors or add-ins to your peanut butter cookie recipe. What delicious combination will you create?
Ready to bake your best peanut butter cookies yet? What unique crisscross design will you try?