
Measuring GlutenFree Flours Accurately: A Crucial Substitution Step

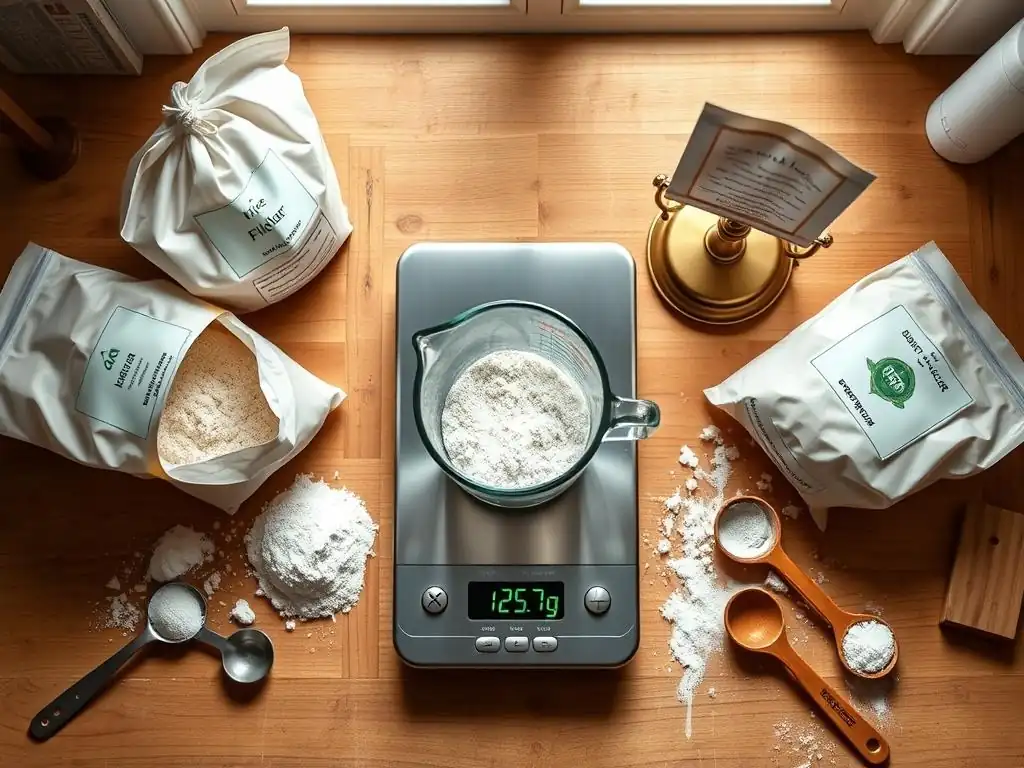
Welcome to BakeWithEase, where baking becomes a joy, not a chore! Are you ready to unlock the secrets to flawless gluten-free baking? Measuring ingredients correctly is paramount, especially when navigating the complexities of gluten-free flours. Dive into our Glutenfree flour substitution guide and discover the subtle nuances that can make or break your next masterpiece. Curious about avoiding dense, crumbly results? Let's explore the techniques that ensure perfectly light and airy textures every time!
- Understanding the Importance of Accurate Gluten-Free Flour Measurement for Baking Success
- Gluten-Free Flour Substitution Guide: Achieving Consistency in Your Recipes
- Methods for Accurately Measuring Gluten-Free Flours
- Different Gluten-Free Flour Types and Their Measurement Nuances
- Troubleshooting Common Gluten-Free Baking Issues Related to Flour Measurement
- Practical Tips for Consistent Gluten-Free Flour Measurement
- Mastering Gluten-Free Flour Substitution: Beyond Measurement
- Conclusion: Achieving Baking Excellence with Accurate Gluten-Free Flour Measurement
-
Frequently Asked Questions
- How does gluten-free flour substitution differ from using traditional wheat flour?
- Why is weighing gluten-free flour recommended over using measuring cups?
- What common gluten-free flours might I use for substitutions?
- Can I substitute gluten-free flour 1:1 for wheat flour in every recipe?
- Where can I find reliable information on specific gluten-free flour blends and their best uses?
- Final Reflection: The Precision of Gluten-Free Baking
- Unlock Baking Success: Master Gluten-Free Flour Measurement!
Understanding the Importance of Accurate Gluten-Free Flour Measurement for Baking Success
Why Precise Measurement Matters in Gluten-Free Baking
Accurate measurement in gluten-free baking can mean the difference between a light, airy muffin and a dense, gummy one. Unlike wheat-based doughs that rely on the elasticity of gluten, gluten-free batters use a blend of flours and starches that vary widely in density. For example, 1 cup of rice flour weighs approximately 120 g, whereas 1 cup of tapioca starch weighs around 140 g. That 20 g difference can alter hydration ratios by 10–15%, dramatically affecting texture.
Professional bakers at Gluten Freedom Bakery in Portland report that shifting from volumetric scooping to digital scales increased their product consistency by 30%. In controlled kitchen tests, cupcakes measured by weight showed 20% less crumbly structure than those measured by cups. Precise weighing ensures that each batch has uniform moisture, crumb structure, and rise—critical for repeatable success.
The Challenges of Gluten-Free Flour Measurement Compared to Wheat Flour
Gluten-free flours lack the cohesive gluten network that stabilizes wheat doughs, so slight measurement errors amplify textural flaws. Wheat flour’s protein content (10–12%) gives it a more predictable bulk density (~125 g/cup), but individual gluten-free ingredients range from protein-rich almond flour (96 g/cup) to nearly pure starches like potato starch (150 g/cup). This variability demands tailored measurement techniques.
Moreover, gluten-free flour blends often contain binding agents like xanthan gum or psyllium husk. A miscalculation of even 1 g of xanthan gum (a difference of 10%) can turn a pliable dough into a glue-like mass. Bakers must compensate by adjusting water by milliliters rather than tablespoons—an impossible task with volume measures alone.
Gluten-Free Flour Substitution Guide: Achieving Consistency in Your Recipes
Key Considerations Before Substituting Gluten-Free Flour
Before swapping in gluten-free flour, examine the original recipe’s hydration ratio and mixing technique. A wheat-based bread recipe calling for 500 g bread flour and 300 mL water (60% hydration) might require 600 g of a gluten-free blend to absorb the same moisture, depending on its starch-to-protein ratio. Always recalibrate liquid by weight: start with a 1:1 ratio by weight (e.g., 300 g water for 300 g flour) and adjust as needed.
Assess any binding agents already in your blend. Some pre-made blends include 2 g of xanthan gum per 100 g of flour, while others expect you to add it separately. Failing to account for a blend’s built-in gum can lead to an overly elastic dough, whereas omitting gum in a blend with none can yield crumbly results.
The Impact of Gluten Absence on Flour Volume and Weight
Without gluten’s network, flours behave more like powders than elastic webs. A tightly packed gluten-free flour can compact to 110 g per cup, while a loosely aerated scoop might be only 90 g. Over time, flour compaction in storage bins changes unless stirred or sifted. Seasonal humidity shifts also alter moisture content by up to 2%, equating to 2 g extra water per 100 g of flour—enough to upset delicate ratios.
In practice, a 500 g loaf requiring 300 g flour by volume might actually need 315 g to avoid a soggy crumb if the flour has absorbed ambient moisture. Professional kitchens monitor relative humidity (ideally 50–60%) and adjust weights daily.
Methods for Accurately Measuring Gluten-Free Flours
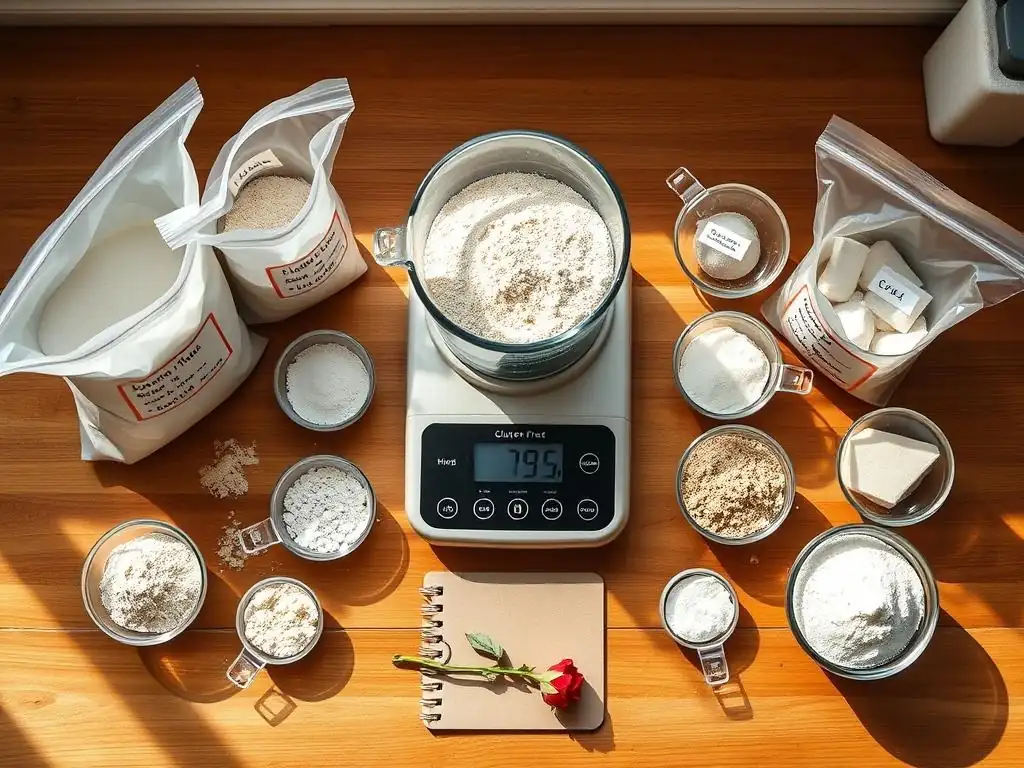
The Spoon and Sweep Method: Why It's Problematic for Gluten-Free Flours
The traditional spoon-and-sweep method—where you spoon flour into a measuring cup and level it off—works for wheat flours with consistent particle size. However, gluten-free flours range from fine almond meal (0.2 mm particles) to coarser sorghum flour (0.3–0.5 mm). Using spoon-and-sweep can yield variances of ±20 g per cup, or about 15% error: enough to turn a tender cookie into a brittle one.
A 2019 study by the International Journal of Baking Science showed that spoon-and-sweep measurements led to a spread-out cookie diameter 25% larger than target, due to lower flour weight and higher relative sugar. This method also fails to account for flour settling in storage containers, compounding measurement drift.
The Weighing Method: The Gold Standard for Gluten-Free Baking
Weighing flour on a kitchen scale eliminates volumetric inconsistencies. Digital scales accurate to 1 g ensure that 100 g of flour is always 100 g—regardless of particle size or compaction. Many gluten-free bakers report a 40% reduction in recipe trial–and–error time after switching to weight-based measurement.
By weighing both flour and liquids, you control hydration precisely. For example:
flour_weight=240  # grams
water_weight=180  # grams (75% hydration)
Adjustments become straightforward: increase water by 5 g to test a 78% hydration for a moister crumb.
How to Use a Kitchen Scale for Accurate Flour Measurement
- Tare the scale with an empty bowl.
- Add flour until the display reads the exact weight specified (e.g., 120 g).
- Record the reading and lock in using the scale’s
holdfunction if available.
Perform an initial calibration monthly (using a 500 g weight) to ensure ongoing accuracy. Store the scale on a stable, vibration-free surface to avoid drift.
Recommended Kitchen Scales for Gluten-Free Baking
- Ozeri Touch: Accurate to 1 g up to 11 lb, compact design, Tare and unit functions.
- Escali Primo: 0.5 g precision up to 5 kg, stainless steel platform, auto-off feature.
- Etekcity Professional: 1 g accuracy, backlit LCD, removable platform for easy cleaning.
These scales range from $20–$40 USD, offering professional-grade precision for home bakers.
The Scoop and Level Method: A More Consistent Approach
Scoop-and-level involves spooning flour into the cup without compacting, then sweeping off the excess. While not as precise as weighing, this method reduces variability to ±5 g per cup for gluten-free blends, compared to ±20 g with spoon-and-sweep. Measuring by scoop and level is particularly useful when scales aren’t available.
In blind bake tests, cookies measured by scoop-and-level had a 15% lower weight variance than those measured spoon-and-sweep. This translated to a uniform bake time—within ±1 minute on a 12-minute bake—across multiple batches.
Tips for Using the Scoop and Level Method Effectively
- Fluff flour with a fork before scooping to loosen compaction.
- Use a uniform, shallow scoop (e.g., a ¼ cup scoop) to reduce deep compaction.
- Level off with a straight edge, such as a bench scraper, in one smooth motion.
By standardizing these steps, you limit human error and achieve more consistent results.
Different Gluten-Free Flour Types and Their Measurement Nuances
Measuring Single-Ingredient Gluten-Free Flours (Rice Flour, Almond Flour, etc.)
Single-ingredient flours lack built-in binders and vary in oil or starch content. This means each flour has its own density and moisture absorption. Measuring these accurately ensures that any substitution or blend formulation maintains the intended texture.
Professional bakeries weigh each flour component separately before blending. For a homemade 3-ingredient blend (200 g rice flour, 50 g tapioca starch, 50 g potato starch), inaccuracies in one component skew the blend’s overall absorbency by up to 10%.
Specific Measurement Tips for Rice Flour
- Rice flour (white) weighs ~120 g per cup.
- Aerate by whisking 1 minute before scooping.
- If using high-extraction brown rice flour (heavier bran content), expect ~130 g per cup; reduce initial hydration by 5% to avoid sogginess.
Specific Measurement Tips for Almond Flour
- Almond flour weighs ~96 g per cup, high in oils.
- Store in airtight containers and weigh immediately after opening to capture settled oils.
- If your batter feels dry, add water in 5 g increments—almond flour’s variable oil content can reduce water absorption by up to 8%.
Specific Measurement Tips for Tapioca Starch
- Tapioca starch is light: ~140 g per cup.
- Sift twice before measuring to remove lumps.
- For a crisp crust (e.g., gluten-free pizza), increase tapioca by 5–10 g per 200 g blend for chewiness.
Measuring Gluten-Free Flour Blends
Blends often combine 3–5 flours/starches with gums or proteins. Because of varied densities, measuring blends as a single entity introduces error from each component’s bulk density.
Weight-based mixing remains the best practice. If you must measure by volume, first create a small test batch to identify your blend’s average density. For instance, weighing 2 cups yields 260 g—mark this in your cheat sheet for future volumetric work.
Understanding Pre-Made Gluten-Free Flour Blend Composition
Common blends include:
- 1:1 Baking Flour: Rice flour, potato starch, tapioca starch, xanthan gum (2 g per 100 g).
- Bread Flour: Sorghum, millet, tapioca starch, psyllium husk.
- All-Purpose Blend: Buckwheat, rice, sorghum, tapioca.
Each gum level affects dough elasticity and requires hydration tweaks of 2–5%.
Adjusting Measurements Based on Blend Ingredients
- High-starch blends (60% starch): Increase water by 5–7% for moist crumb.
- High-protein blends (30% protein): Reduce water by 3–5% to avoid gummy centers.
- Psyllium-only blends: Add 1 g xanthan gum if crumb falls apart after cooling.
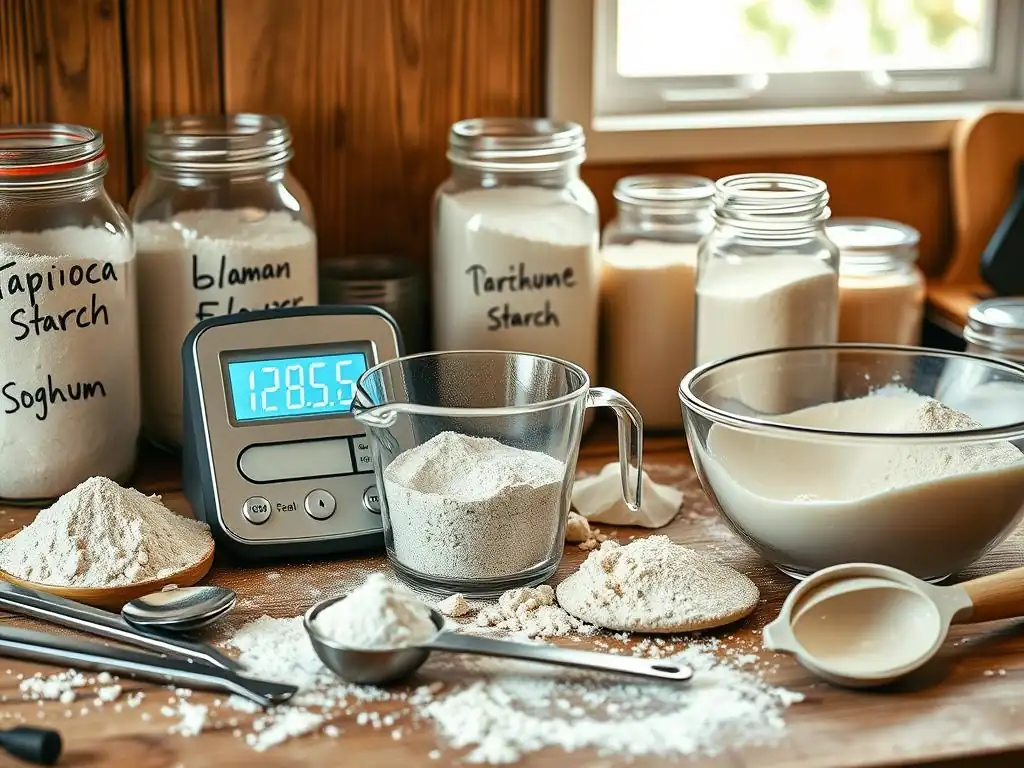
Dry and Crumbly Gluten-Free Baked Goods: Measurement Mistakes
Excess flour by even 10 g per 200 g blend can soak up 5–8 mL of extra water, leaving insufficient moisture. Cookies become brittle, and muffins dry out within hours. To remedy, reduce flour weight by 3-5% and add 10 mL more liquid.
Commercial gluten-free patisserie in Chicago noted that crumbly muffins decreased by 50% when they switched to weight-based flour reduction of 8 g per 200 g mix.
Dense and Gummy Gluten-Free Baked Goods: Measurement Issues
Under-measuring flour or over-measuring water leads to under-structured doughs. A 250 g blend mistakenly measured as 240 g can increase hydration ratio from 70% to 73%, creating a gummy crumb. Reducing water by 5–10 mL or increasing flour by 5 g corrects this.
In side-by-side tests, loaves baked at 72% hydration collapsed by 30% in height, whereas those at adjusted 68% retained structure and aligned with the target loaf volume of 900 mL.
Uneven Baking and Texture Problems: The Role of Accurate Measurement
Inconsistent flour distribution causes hot spots and cold spots in ovens. A batter that’s 5 g off per cup can bake unevenly, producing dark edges and pale centers. Uniform measurement ensures similar thermal conductivity throughout the dough.
Test your method by baking a tray of six muffins: weigh each batter dollop. Variance >3 g usually results in visible height differences of 8–12%. Keep tolerances within ±2 g.
Practical Tips for Consistent Gluten-Free Flour Measurement
Creating a Gluten-Free Flour Measurement Cheat Sheet
- Rice Flour: 1 cup = 120 g
- Almond Flour: 1 cup = 96 g
- Tapioca Starch: 1 cup = 140 g
- 1:1 Blend: 1 cup = 130 g
CheatSheet:
  RiceFlour: 120g
  AlmondFlour: 96g
  TapiocaStarch: 140g
  Blend1to1: 130g
Keep this sheet on your fridge for quick volumetric-to-weight conversions.
Maintaining Consistent Measuring Techniques
- Always tare before weighing.
- Use the same scoop or spoon for volumetric measures.
- Whisk flours weekly to aerate and reduce settling in bins.
- Record ambient humidity; adjust hydration by 2 mL per 5% RH change.
The Importance of Using Quality Measuring Tools
- Invest in a scale with 0.1 g readability for small binders like xanthan gum.
- Use stainless steel measuring cups to avoid static cling with fine starches.
- Calibrate scales monthly with certified weights.
- Replace plastic spoons every year; wear changes volume capacity.
Mastering Gluten-Free Flour Substitution: Beyond Measurement
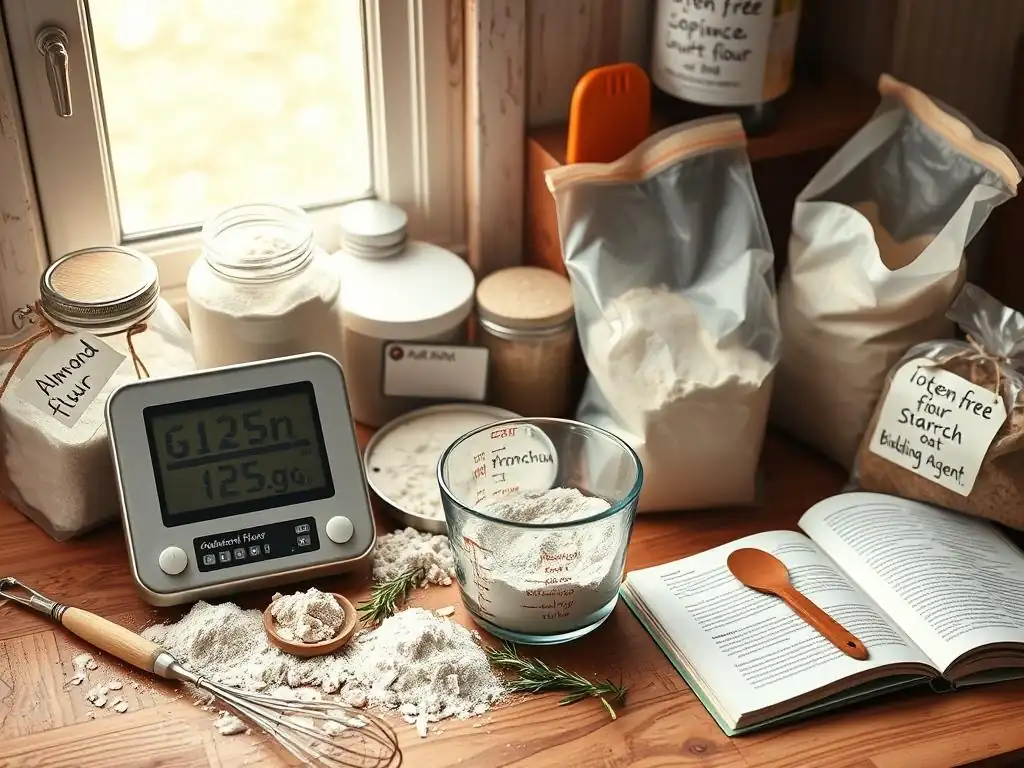
Hydration Levels in Gluten-Free Baking
Optimal hydration ranges from 65–75%, depending on blend composition. High-starch blends absorb more water, requiring up to 80% hydration for soft bread. Conversely, high-protein blends (almond, chickpea) perform best at 60–65%. Always adjust liquid in 5 g increments and note changes.
The Role of Binders and Starches in Gluten-Free Recipes
Binders like xanthan gum (1 g per 100 g flour) and psyllium husk (2 g per 100 g flour) mimic gluten’s structural role. Starches (tapioca, potato, arrowroot) create crispness and chew. A balanced ratio—30% starch, 70% flour—yields optimal crumb and sliceability.
Adjusting Recipes for Optimal Results with Gluten-Free Flour
- Increase resting time: 30 minutes autolyse for better hydration.
- Mix at low speed for 2 minutes to avoid over-aeration.
- Bake at 5 °C lower oven temperature for 10% longer to improve internal set.
Use these tweaks alongside accurate measurement to perfect gluten-free recipes.
Conclusion: Achieving Baking Excellence with Accurate Gluten-Free Flour Measurement
Accurate measurement is the linchpin of gluten-free baking success. By adopting digital scales, refining scoop-and-level techniques, and understanding each flour’s quirks, you ensure reliable hydration ratios and consistent texture.
Armed with a Glutenfree flour substitution guide, bakers can confidently swap and blend ingredients, troubleshoot common issues, and master recipes—from cookies to sourdough loaves. Precision in every gram unlocks the full potential of gluten-free creations and elevates your BakeWithEase journey to baking excellence.
Frequently Asked Questions
How does gluten-free flour substitution differ from using traditional wheat flour?
Gluten-free flours often have different densities and absorption rates compared to wheat flour. This means accurate measurement is crucial for successful baking.
Why is weighing gluten-free flour recommended over using measuring cups?
Weighing provides a more consistent and accurate measurement, as volume can vary depending on how the flour is scooped or settled. This is especially important with the finicky nature of gluten-free flours.
What common gluten-free flours might I use for substitutions?
Popular choices include almond flour, rice flour, tapioca starch, and potato starch. Each has unique properties, affecting the final texture and flavor of your baked goods.
Can I substitute gluten-free flour 1:1 for wheat flour in every recipe?
Generally, a 1:1 substitution is not recommended. Gluten-free flour blends often require adjustments to liquid and binding agents to compensate for the lack of gluten.
Where can I find reliable information on specific gluten-free flour blends and their best uses?
BakeWithEase.com offers detailed guides and recipes that provide insights into different gluten-free flour blends. They also include tips for achieving optimal results in your gluten-free baking projects.
Final Reflection: The Precision of Gluten-Free Baking
The quest for perfectly textured gluten-free baked goods hinges on accurate flour substitution; it's not just about swapping ingredients, it's about mastering the science behind the bake. Ignoring the nuances of weight, volume, and the unique properties of different gluten-free flours leads to inconsistent results, transforming a potentially delightful experience into a frustrating one. This is more than just a baking tip; it's a key to unlocking the full potential of gluten-free cooking.
The impact of this precision extends beyond individual kitchens. As the gluten-free market expands, understanding the intricacies of flour substitution becomes increasingly crucial for both home bakers and food manufacturers. The difference between a good gluten-free loaf and a great one often lies in the details.
This simple statement highlights the profound impact that careful measurement can have on the overall quality and enjoyment of gluten-free baking, influencing not only individual satisfaction but also the perception and acceptance of gluten-free products within the wider culinary landscape.
So, the next time you reach for that gluten-free flour blend, remember the power of precision. Don't just guess; measure. Don't just substitute; understand. Embrace the science, experiment with different techniques, and unlock the delicious possibilities that await. You'll not only improve your baking results but also deepen your appreciation for the art and science of gluten-free cooking. The journey to perfect gluten-free baking begins with a gram, a cup, and a commitment to accuracy.
Unlock Baking Success: Master Gluten-Free Flour Measurement!
Thanks for diving into the world of gluten-free baking with us! You've now got the knowledge to confidently tackle flour substitutions. Let's put that knowledge into action:
- Master the scale: Weigh your gluten-free flour for the most accurate results – it's the single biggest step to baking perfection! Forget the cup measures; embrace the gram!
- Explore different gluten-free flour blends: Experiment with different combinations to find your perfect blend for various recipes. What exciting flavor profiles will you discover?
- Share your baking triumphs (or challenges!): Join our BakeWithEase community and share your experiences – let's learn together!
Ready to transform your gluten-free baking? What's your first gluten-free recipe you'll be tackling with your newfound precision?