
Oil Sprays vs. Brushing with Melted Butter: Best Practices for Nonstick Results

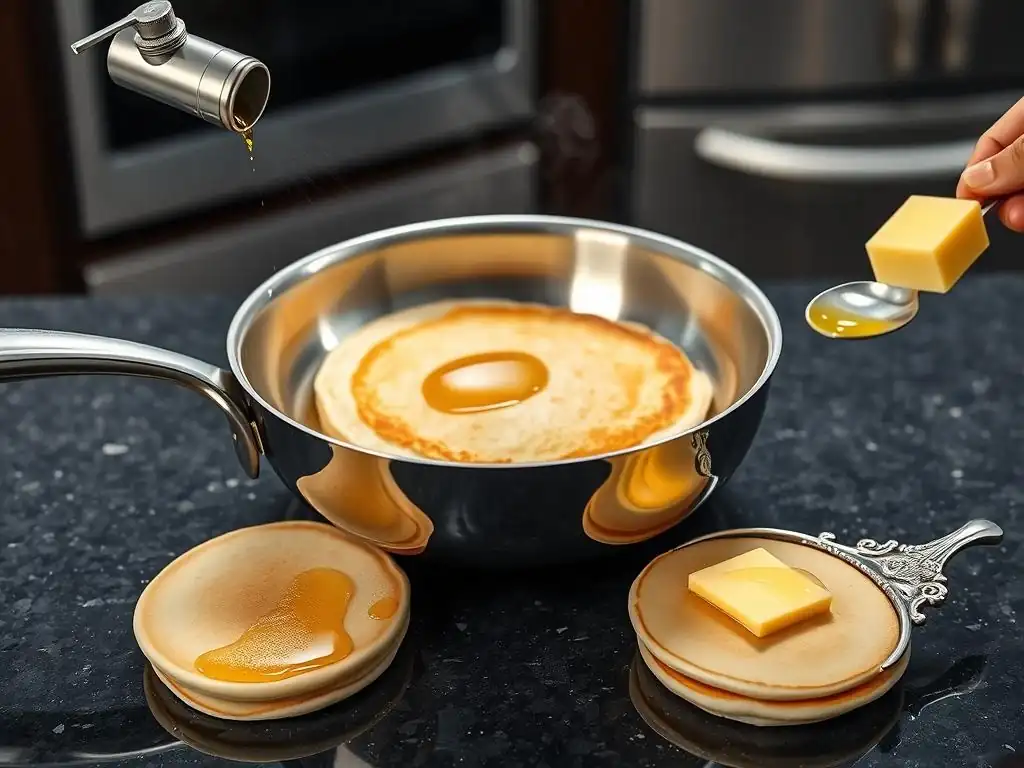
Welcome to BakeWithEase, your baking sanctuary! Ever wondered whether a quick oil spray truly rivals the golden touch of brushed, melted butter when prepping your pans? Dive in as we unravel the secrets behind achieving perfectly nonstick results, comparing oil spray vs butter in this insightful guide. Prepare to elevate your baking game with these essential tips and hacks!
- Oil Sprays vs. Brushing with Melted Butter: Best Practices for Nonstick Results | BakeWithEase
- Achieving Non-Stick Perfection: Oil Sprays and Melted Butter Compared
- Understanding the Importance of Non-Stick in Baking
- Oil Spray for Baking: Advantages and Disadvantages
- Brushing with Melted Butter: Advantages and Disadvantages
- Oil Spray vs. Butter: A Detailed Comparison for Non-Stick Performance
- Best Practices for Using Oil Spray in Baking
- Best Practices for Using Melted Butter in Baking
- Specific Baking Scenarios: Oil Spray or Butter?
- Beyond Oil Spray and Butter: Alternative Non-Stick Solutions
- Conclusion: Mastering Non-Stick Baking for Perfect Results
-
Frequently Asked Questions
- What are the primary differences between using oil spray and melted butter when baking?
- When is it better to use oil spray instead of melted butter?
- When is brushing with melted butter preferable over using oil spray?
- Does one method provide better nonstick results than the other?
- Are there any health considerations when choosing between oil spray and melted butter?
- Final Reflection: Navigating the Grease Debate in Cooking
- Unlock Your Baking Potential: Achieve Effortless Nonstick Perfection!
Oil Sprays vs. Brushing with Melted Butter: Best Practices for Nonstick Results | BakeWithEase
Achieving Non-Stick Perfection: Oil Sprays and Melted Butter Compared
Ensuring your baked goods release cleanly from their pans is a fundamental step towards baking success. Nobody wants to lose half a beautiful cake or a batch of perfect muffins to the bottom of a pan! Bakers have long relied on various fats to create a non-stick barrier, with oil spray and melted butter being two of the most popular choices.
While both serve the primary purpose of preventing sticking, they each bring unique properties to the table that can affect the final outcome of your bake, from crust texture to flavor. Understanding the nuances of oil spray vs butter application is key to achieving consistently excellent results without the frustration of stubborn baked-on messes.
This article will delve into the pros and cons of using oil spray for baking versus brushing with melted butter, exploring how each method works, when to use which, and best practices to ensure your baked creations slide out of the pan effortlessly every time. We'll compare their effectiveness, impact on flavor and texture, ease of use, and cost, helping you make informed decisions for your next baking project.
By the end, you'll have a clearer picture of whether oil spray or butter is the right choice for various baking scenarios, ensuring your non-stick needs are met with confidence and skill.
Understanding the Importance of Non-Stick in Baking
Why Preventing Sticking Matters for Baking Success
Preventing baked goods from sticking to pans is crucial for both aesthetic appeal and structural integrity. When a cake, muffin, or loaf of bread adheres to the pan, it often results in tears, crumbled edges, or even complete structural collapse upon removal. This not only ruins the visual presentation but can also compromise the texture and overall enjoyment of the finished product. A clean release ensures your baked goods maintain their shape, allowing for easy handling, decorating, and serving.
Beyond just getting the item out of the pan, effective non-stick preparation also contributes to even browning and crust development. A proper barrier of fat allows heat to transfer efficiently and uniformly to the batter or dough's surface that's in contact with the pan. For instance, a well-greased cake pan can help develop a lovely, golden-brown crust on the sides of the cake, whereas sticking can lead to pale, uneven patches where the batter was pulled away during removal. This attention to detail in pan preparation is a hallmark of experienced bakers aiming for professional-looking and tasting results.
Common Baking Challenges Due to Sticking
Sticking can manifest in several frustrating ways in the kitchen. Perhaps the most common is when the bottom or sides of a cake stubbornly cling to the pan, leading to significant tearing when you try to invert it. This is particularly problematic with delicate sponge cakes or intricate Bundt pan designs, where clean lines are essential. Muffins and cupcakes can also suffer, leaving behind frustrating remnants in the paper liners or muffin tin cups if not prepared correctly.
Another frequent issue is with cookies on baking sheets. While less catastrophic than a collapsed cake, cookies that stick require scraping, often resulting in broken pieces and a messy cleanup. Even bread loaves can stick to loaf pans, tearing the bottom crust and making slicing difficult. These sticking incidents not only waste ingredients and effort but can also be incredibly disheartening for bakers of all levels. Mastering non-stick techniques is therefore a foundational skill that saves time, reduces waste, and boosts baking confidence.
Oil Spray for Baking: Advantages and Disadvantages

The Convenience of Baking Oil Sprays
One of the most significant advantages of using oil spray for baking is its sheer convenience. A quick press of the nozzle delivers a fine, even mist of fat directly onto the baking surface. This is particularly useful for greasing intricate molds, such as Bundt pans with their many nooks and crannies, or detailed shaped cake pans where reaching every surface with a brush can be challenging. The aerosol format allows for rapid application, saving precious time, especially when preparing multiple pans.
Furthermore, oil sprays often contain lecithin, an emulsifier that enhances their non-stick properties beyond just the fat itself. This makes them highly effective at creating a reliable barrier. For bakers looking for a neutral flavor that won't interfere with the taste of delicate pastries or cakes, many oil sprays use oils like canola or vegetable oil, which have very little inherent flavor. This neutrality, combined with ease of application, makes oil spray a go-to option for many busy bakers.
Types of Oil Sprays: Canola, Olive, Coconut
Baking oil sprays are available in various formulations, typically based on different types of oils. Canola and vegetable oil sprays are perhaps the most common due to their neutral flavor and relatively high smoke points, generally around 400°F (204°C) or higher for refined versions, making them suitable for most standard baking temperatures. They are versatile and won't impart unwanted tastes to your delicate cakes or cookies.
Olive oil sprays are also available, though they are less commonly used in baking, especially for sweet items, due to their distinct flavor. Extra virgin olive oil has a lower smoke point, often around 375°F (190°C), while refined olive oil has a higher one. Coconut oil spray, on the other hand, has gained popularity, particularly for recipes where a subtle coconut flavor is welcome or for those preferring plant-based options.
Coconut oil has a moderate smoke point, typically around 350°F (175°C) to 400°F (204°C) depending on whether it's virgin or refined. Choosing the right oil spray depends on the recipe's temperature requirements and desired flavor profile.
Potential Drawbacks of Using Oil Sprays in Baking
Despite their convenience, oil sprays do have potential downsides. One common issue is overspraying, which can lead to an excessive amount of fat pooling in the bottom of the pan. This excess fat can fry the edges of your baked goods, resulting in a tough or greasy crust rather than a tender one. It can also leave a sticky residue on the pan over time, which can be difficult to clean and may even become gummy or lacquered with repeated use and high heat exposure.
Another consideration is the propellant used in aerosol cans. While generally considered safe, some bakers prefer to avoid them. Furthermore, the fine mist from oil spray can settle on kitchen surfaces, creating a greasy film over time if not used carefully in a well-ventilated area. While effective for preventing sticking, the cumulative effect of oil spray residue on pans and kitchen surfaces is a factor many bakers weigh when choosing between oil spray vs butter or other methods.
Brushing with Melted Butter: Advantages and Disadvantages
The Flavor Factor: Why Butter is a Baker's Favorite
Butter is often hailed as the king of baking fats, and for good reason. When used to grease pans, melted butter imparts a rich, desirable flavor that complements a wide range of baked goods, from simple pound cakes to elaborate brioche. This subtle buttery note is something that neutral oil sprays cannot replicate. For recipes where butter is a primary ingredient anyway, using it to grease the pan feels like a natural extension, enhancing the overall flavor profile of the finished product.
Beyond flavor, butter also contributes to a beautiful crust development. As the butter melts and browns slightly in the heat of the oven, it can create a wonderfully golden and slightly crisp exterior on cakes and breads. This is particularly noticeable on the sides of cakes baked in metal pans. For many bakers, the sensory experience – the aroma of melting butter, the visual appeal of a perfectly browned crust, and the subtle flavor – makes brushing with melted butter a preferred non-stick method.
How Melted Butter Creates a Non-Stick Barrier
Melted butter creates a physical barrier between the batter or dough and the surface of the pan. When brushed onto the pan, the liquid fat coats the metal (or other pan material) filling in microscopic pores and creating a smooth surface. As the pan heats up in the oven, the butter solidifies slightly before eventually melting and frying the surface of the batter/dough in contact with the pan, facilitating release.
For cakes, the classic method often involves not just buttering but also flouring the pan after buttering. The flour particles adhere to the butter, creating an even more robust non-stick layer and also contributing to a lightly floured crust on the cake's exterior, which is traditional for many recipes.
The effectiveness of melted butter as a non-stick agent relies on achieving a thorough and even coating. Using a pastry brush allows bakers to work the butter into corners and up the sides of pans, ensuring full coverage. For delicate items or intricate shapes, ensuring every surface is coated is paramount to prevent sticking. While perhaps more labor-intensive than a quick spray, the control offered by brushing allows for precise application, which can be essential for certain baking tasks.
Potential Downsides of Using Melted Butter for Non-Stick
While beloved for its flavor, using melted butter to grease pans does have some potential drawbacks. Butter contains milk solids and water in addition to fat. When exposed to high heat for extended periods, these milk solids can brown or even burn, leading to dark spots on the crust of your baked goods and potentially imparting a slightly bitter, burnt flavor. This is more likely to occur with recipes that have long baking times or require high oven temperatures, often above 375°F (190°C).
Applying melted butter also requires an extra step of melting the butter, either on the stovetop or in the microwave, and then using a brush, which adds to the cleanup. It can also be slightly less effective than oil spray in truly intricate molds if not applied meticulously into every detail.
Furthermore, butter is generally more expensive per ounce of usable fat compared to common baking oils found in sprays. These factors mean that while butter offers great flavor, it might not always be the most practical or reliable option for every single baking situation, especially concerning potential burning and ease of application in complex pans.
Oil Spray vs. Butter: A Detailed Comparison for Non-Stick Performance
Non-Stick Effectiveness: Oil Spray vs. Butter Application
When comparing the raw non-stick effectiveness, oil spray often has a slight edge, particularly in complex or detailed pans like Bundt molds. The aerosol format allows the fine mist to reach into tiny crevices and intricate patterns that can be difficult to access with a pastry brush and melted butter. Many oil sprays also contain lecithin, which boosts their non-stick properties beyond just the fat itself. A simple canola oil spray, for instance, can provide a reliable non-stick layer with minimal effort across a variety of pan types.
Melted butter, while effective, requires careful application to ensure full coverage. If any spot is missed, sticking is likely to occur. For standard round or square cake pans, or simple loaf pans, both methods can be equally effective if applied correctly. However, for something like a decorative holiday mold with deep indentations, the ability of oil spray to coat everything quickly and evenly often makes it the more reliable choice for preventing sticking without extensive effort. The debate of oil spray vs butter effectiveness often comes down to the complexity of the pan and the precision of the application.
Impact on Baking Flavor and Texture
The choice between oil spray and butter significantly impacts the final flavor and texture of your baked goods, particularly the crust. Using melted butter imparts a distinct, rich, and slightly sweet flavor that oil sprays simply cannot match. This is highly desirable in recipes like butter cakes, shortbread, or brioche, where butter flavor is a key component. The fat from the butter also contributes to a tender crust texture and can promote beautiful golden browning.
Oil sprays, especially those made from neutral oils like canola or vegetable oil, are designed to be flavorless. This makes them ideal for delicate recipes where you don't want any added flavor, such as angel food cake or some types of meringue-based desserts. However, using too much oil spray can sometimes lead to a slightly greasy or oily exterior texture. The decision of oil spray vs butter here really depends on whether you want to enhance the flavor with butter or keep the flavor profile clean and neutral with an oil spray.
Cost-Effectiveness: Which Option is More Budget-Friendly?
From a purely cost perspective per application, oil spray is generally more budget-friendly than using melted butter. A large can of generic canola or vegetable oil spray might cost around $4-6 and can grease dozens of pans, depending on size and frequency of use. While the exact yield varies, a single 10 or 12-ounce can provides a significant number of applications.
Melted butter, on the other hand, requires using a stick of butter, which typically costs $4-6 per pound (four sticks). Greasing a single standard 9-inch cake pan might use roughly 1-2 tablespoons of butter (around 1/8 of a stick or less, depending on how much is used and if flour is added), costing approximately $0.50 to $1.00 per pan based on a $5/lb price.
While not exorbitant, the cost per pan is noticeably higher than a quick spray. For frequent bakers or those preparing large quantities, the cost difference between oil spray vs butter can add up over time, making oil spray the more economical choice for basic greasing needs.
Ease of Use and Cleanup: Oil Spray vs. Butter Application
In terms of ease of use, oil spray is undeniably faster and simpler for greasing pans. A few seconds of spraying is all it takes to coat a pan, eliminating the need to melt fat or use a brush. This speed and simplicity make it ideal for busy kitchens or quick baking tasks. Cleanup, however, can be a different story. As mentioned, repeated use of oil spray can lead to a sticky residue buildup on pans, especially around the edges, which can be quite challenging to scrub off over time.
Using melted butter requires melting the butter and then using a pastry brush, adding steps and items to wash. The brush needs to be cleaned, and any leftover melted butter needs to be stored or discarded. However, butter residue on pans tends to be less sticky and easier to wash off than the polymerized residue from oil spray. So, while applying oil spray is easier, the cleanup debate of oil spray vs butter is less clear-cut and can depend on how frequently you bake and how meticulous you are about immediate pan cleaning.
Best Practices for Using Oil Spray in Baking
Choosing the Right Oil Spray for Your Recipe
Selecting the appropriate oil spray is the first step to successful non-stick results. For most general baking applications, especially cakes, muffins, and cookies where you don't want to introduce extra flavor, a neutral-flavored oil spray like canola, vegetable, or corn oil spray is the best choice. These oils have relatively high smoke points and won't interfere with the taste of your baked goods.
If you are baking something where a hint of coconut flavor is welcome, such as certain tropical-themed cakes or muffins, a coconut oil spray can be a good option. Avoid using olive oil spray for sweet baking unless the recipe specifically calls for it, as its distinct flavor can be overpowering. Always check the label for the type of oil and any added ingredients like flour or lecithin, which can enhance non-stick performance for specific purposes (like "baking spray" which often contains flour).
Proper Application Techniques for Oil Spray
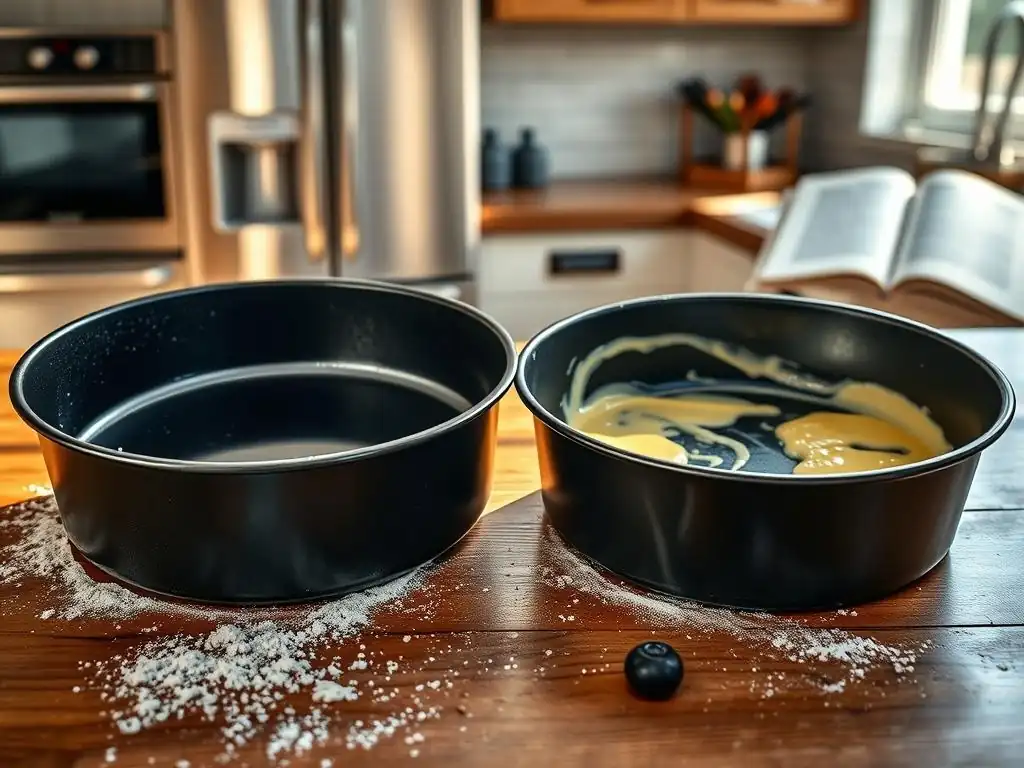
Proper application is key to getting the best results from oil spray and avoiding common pitfalls like pooling or uneven coverage. Hold the can upright and about 6-8 inches away from the pan surface. Use short, even bursts of spray, covering the entire interior surface of the pan, including the sides and any central tubes or intricate details. Don't hold the nozzle down continuously, as this is a common cause of overspraying and pooling.
For cake pans, especially those without a non-stick coating, it's often beneficial to lightly flour the pan after spraying with oil spray. Pour about 1-2 tablespoons of flour into the greased pan, then tilt and rotate the pan to coat the entire greased surface with a thin layer of flour. Tap out any excess flour. This classic butter-and-flour method is adapted here using oil spray and flour, creating a highly effective non-stick surface, particularly for cakes.
Avoiding Common Mistakes with Oil Spray
Several common mistakes can lead to disappointing results when using oil spray. The most frequent error is overspraying, which results in excess oil that can make the crust greasy or even cause the edges to fry rather than bake properly. Use just enough to create a thin, even sheen on the pan surface. Another mistake is not shaking the can well before use, especially for sprays containing lecithin or flour, as the components can separate.
Not coating the entire surface is another pitfall. Even a small missed spot can cause a significant portion of your baked good to stick. For intricate pans, take extra care to aim the spray into all the grooves and details. Finally, using cooking sprays intended for stovetop use (which might contain anti-foaming agents) instead of those formulated specifically for baking can sometimes yield different results or contribute more to residue buildup. Opt for sprays labeled for baking when possible.
Best Practices for Using Melted Butter in Baking
Clarified Butter vs. Regular Melted Butter: Which is Better?
When greasing pans with butter, you might wonder whether to use regular melted butter or clarified butter (also known as ghee). Regular melted butter contains milk solids and water. While these components contribute to flavor and browning, the milk solids can scorch at high temperatures, potentially leading to sticking or burnt spots on your baked goods, especially those with longer baking times.
Clarified butter, on the other hand, has had the water and milk solids removed, leaving behind pure butterfat. This process gives clarified butter a significantly higher smoke point, often around 450°F (232°C), compared to regular butter's 300-350°F (150-175°C). Using clarified butter to grease pans drastically reduces the risk of the fat burning during baking, making it a potentially better option for recipes baked at higher temperatures or for extended durations, though it lacks the flavor contribution of the milk solids. For most standard baking (e.g., cakes at 325-350°F), regular melted butter is usually sufficient and provides better flavor.
Even Application Techniques for Melted Butter
Achieving an even coat of melted butter is crucial for preventing sticking. After melting the butter (ensure it's fully liquid but not so hot it will cook the pan on contact), use a good quality pastry brush to apply it generously to the inside surfaces of the pan. Work the butter into corners, up the sides, and into any decorative patterns if using a shaped pan. Ensure there are no dry spots.
For cakes, the classic method involves not just buttering but also flouring the pan. After brushing with melted butter, add about 1-2 tablespoons of all-purpose flour to the pan. Tilt and rotate the pan over a sink or trash can, tapping the sides gently, to distribute the flour and coat the entire buttered surface. The flour adheres to the butter, creating a dry, non-stick layer that is particularly effective for cakes. Tap out all excess flour before adding your batter. This butter-and-flour technique is a time-tested method for reliable cake release.
Preventing Butter from Burning
To prevent melted butter from burning on your pan surfaces during baking, especially at higher temperatures, consider a few strategies. As mentioned, using clarified butter is one effective way due to its higher smoke point. If using regular melted butter, ensure your oven temperature isn't excessively high for the recipe; baking at 325-350°F generally poses less risk of burning than 400°F+.
Another tip is to ensure the butter layer isn't excessively thick, as pooling butter is more likely to burn. Brush a sufficient but not excessive amount. For recipes with very long bake times (like a fruitcake baked for hours), you might consider alternative methods like parchment paper instead of relying solely on butter. If you are using the butter-and-flour method, the flour particles help insulate the butter slightly, also reducing the risk of burning compared to just butter alone. Paying attention to oven temperature and bake time relative to the fat used is key.
Specific Baking Scenarios: Oil Spray or Butter?
Cakes and Muffins: Optimal Non-Stick Method
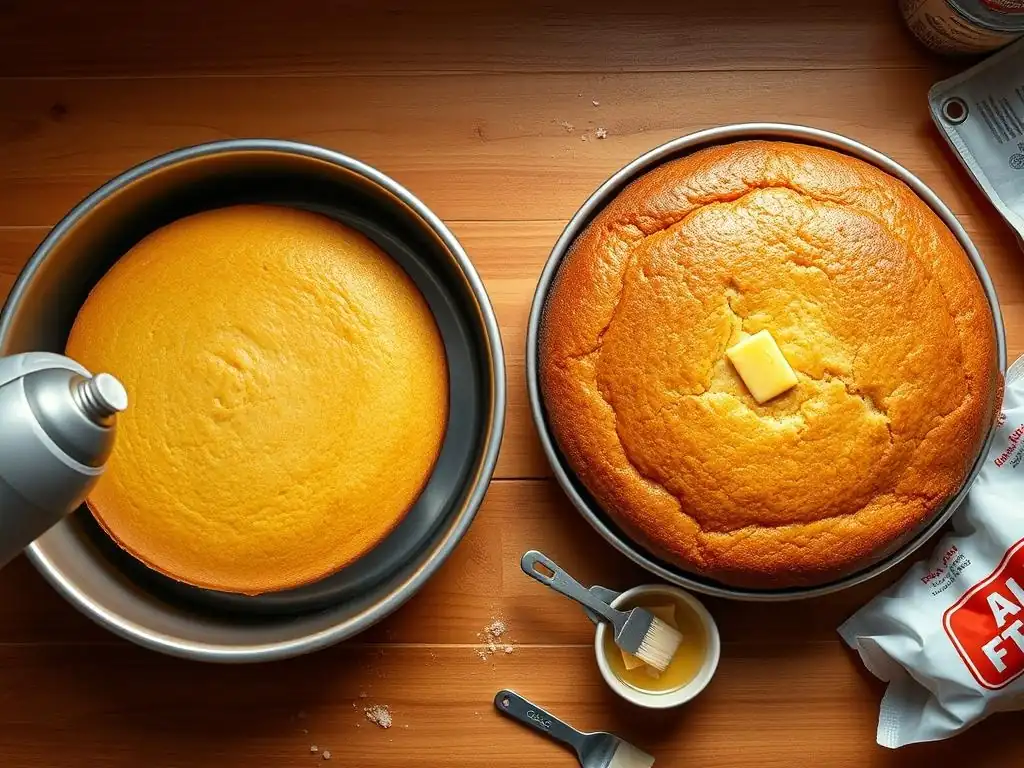
For most standard cakes and muffins, both oil spray and melted butter (often with flour) are highly effective non-stick solutions. For simple round or square cake pans, or standard muffin tins, either method works well. The choice between oil spray vs butter often comes down to preference for flavor and ease of use. If you want that classic buttery flavor and golden crust on your cake sides, melted butter and flour are excellent. For speed and convenience, especially when baking many batches of muffins, oil spray is a quick and reliable option.
For intricate cake pans, like detailed Bundt pans, oil spray often has an advantage due to its ability to easily coat every nook and cranny. A baking spray that contains flour is particularly effective for these types of pans.
If using melted butter for a Bundt pan, be extremely meticulous with your brushing, ensuring every surface is covered, and then flouring thoroughly, tapping out all excess. For delicate cakes like angel food or chiffon, which are often baked in ungreased pans to allow the batter to cling and rise, neither oil spray nor butter is typically used on the pan itself, though the central tube might be greased in some variations.
When baking cookies and bars on baking sheets, parchment paper or silicone baking mats are often the preferred non-stick methods. However, if you are greasing a baking sheet directly, the choice between oil spray vs butter depends on the desired outcome. For many cookies, a light coating of oil spray provides sufficient non-stick properties without spreading too much. Butter can cause cookies to spread more and the milk solids might burn on the hot sheet pan edges.
For bar cookies, like brownies or blondies, lining the pan with parchment paper is usually the easiest way to ensure clean removal and easy cutting. If greasing the pan directly for bars, a neutral oil spray is often sufficient. A light application of melted butter would also work, but again, watch out for potential burning at the edges. For both cookies and bars baked directly on a greased pan, a thin, even layer of fat is paramount to prevent sticking without making the edges greasy or burnt.
Bread and Rolls: Choosing the Right Non-Stick Approach
For baking bread and rolls in loaf pans or on baking sheets, preventing sticking is important for achieving a good crust and easy removal. Loaf pans are commonly greased with either oil spray or melted butter. Oil spray provides a quick, even coat that works well for most bread doughs. It helps the loaf release cleanly and contributes to a nice, even bottom crust.
Melted butter can also be used for loaf pans and imparts a richer flavor to the crust. However, similar to cakes, there's a slight risk of the milk solids burning, especially with longer baking times. For rolls baked on a sheet pan, parchment paper is often the easiest non-stick solution.
If greasing the pan directly, a light coating of oil spray is usually sufficient and less likely to cause excessive spread or burning compared to butter. The choice between oil spray vs butter for bread pans often comes down to baker preference and whether the subtle butter flavor is desired.
Delicate Pastries: When to Use Oil Spray or Butter
Delicate pastries, such as puff pastry, croissants, or phyllo dough items, require careful handling and precise non-stick solutions to maintain their flaky texture and shape. For lining baking sheets for these items, silicone baking mats or parchment paper are almost always preferred over direct greasing with either oil spray or melted butter. Direct application of fat can sometimes interfere with the delicate layers or make the bottom crust greasy.
However, for greasing muffin tins or other small molds for pastry-based items like mini quiches or fruit tarts made with puff pastry, a light application of oil spray or melted butter can be used. A neutral oil spray might be preferred to avoid adding butter flavor where it's not desired or might compete with the pastry's inherent richness. If using butter, apply it sparingly and ensure it doesn't pool. For these delicate applications, the focus is on minimal interference with the pastry's structure while ensuring it doesn't stick.
Beyond Oil Spray and Butter: Alternative Non-Stick Solutions
Parchment Paper: A Versatile Non-Stick Option
Parchment paper is an incredibly versatile and widely used non-stick solution in baking, often preferred over direct greasing with oil spray vs butter for many applications. It's a heat-resistant paper treated with silicone, providing a surface that baked goods simply do not stick to. It's ideal for lining baking sheets when baking cookies, scones, or pastries, ensuring easy transfer and cleanup. It can also be used to line cake pans, creating a perfect non-stick barrier for both the bottom and sides if cut and fitted properly.
One of the major benefits of parchment paper is that it prevents the bottom crust from getting too dark or greasy, as there's no direct contact with pooled fat. It also makes cleanup incredibly easy – simply lift the paper out of the pan and discard it. While it adds a slight recurring cost, the reliability and ease of use make it a staple for many bakers, offering a fuss-free alternative to traditional greasing methods.
Baking Liners and Silicone Molds
Silicone baking liners, such as Silpats, are another excellent reusable non-stick option for baking sheets. Made from food-grade silicone, they provide a completely non-stick surface for cookies, pastries, and other items, eliminating the need for oil spray, butter, or parchment paper. They are durable, easy to clean, and can be used repeatedly, making them cost-effective over time. They also provide even heat distribution, contributing to consistent baking results.
Silicone molds for muffins, cupcakes, or shaped treats are inherently non-stick and usually require no greasing at all, or at most a very light spray for extra insurance with sticky batters. Their flexibility makes removing baked goods incredibly easy. While the initial investment is higher than a can of oil spray or a stick of butter, silicone products offer a convenient, reliable, and environmentally friendlier non-stick solution for specific baking tasks.
Flour and Shortening Mixture
A classic, old-school non-stick method, particularly for cakes, is using a mixture of shortening and flour. This involves softening solid vegetable shortening (like Crisco) and using your fingers or a paper towel to grease the pan thoroughly, getting into all corners and up the sides. Then, flour the pan generously, tapping out the excess, similar to the butter-and-flour method.
The reason this method is so effective is that shortening is pure fat (unlike butter which contains water and milk solids) and has a high melting point, making it very stable at baking temperatures. The flour creates a dry barrier on top of the fat.
This shortening-and-flour combination creates a robust non-stick layer that is less likely to burn than butter and often more reliable for heavy batters than just oil spray, though it requires more effort and cleanup than a quick spray or parchment paper. It's a tried-and-true alternative that many bakers still rely on for consistent cake release.
Conclusion: Mastering Non-Stick Baking for Perfect Results
Choosing the Right Method for Your Baking Needs
The choice between oil spray vs butter (or other alternatives) for achieving non-stick results in baking isn't a matter of one being universally superior, but rather selecting the best tool for the specific job. For speed, convenience, and reaching intricate pan details, oil spray is often the winner. It's also generally the most cost-effective option for routine greasing. However, for recipes where a rich, buttery flavor and golden crust are desired, brushing with melted butter is unparalleled.
For simple pan shapes and delicate items, alternatives like parchment paper and silicone mats offer reliable non-stick performance with minimal cleanup and no risk of burning fat. For heavy cake batters and guaranteed release, the classic butter-and-flour or shortening-and-flour methods remain highly effective. Consider the type of baked good, the pan shape, desired flavor, baking temperature, and your personal preference for ease of use and cleanup when deciding which non-stick method to employ.
Tips for Consistent Non-Stick Performance
Regardless of whether you choose oil spray vs butter or an alternative, consistency is key to mastering non-stick baking. Always ensure the entire surface that will be in contact with the batter or dough is covered with your chosen non-stick agent. For greasing methods, pay close attention to corners and edges. If using the flour method after greasing, tap out all excess flour to prevent a gummy layer on your baked goods.
Check your pan's condition; heavily scratched or damaged non-stick pans may require more rigorous preparation or might be beyond saving. Allow cakes and muffins to cool in the pan for the recommended time before attempting to invert or remove them, as this allows their structure to set. For cookies, let them cool slightly on the baking sheet before transferring to a wire rack. By paying attention to detail in pan preparation and cooling, you can significantly reduce the likelihood of sticking and enjoy perfectly released baked goods every time.
Frequently Asked Questions
What are the primary differences between using oil spray and melted butter when baking?
Oil sprays are generally lower in fat and calories and provide a thin, even coating. Melted butter contributes flavor and richness but can be harder to apply uniformly.
When is it better to use oil spray instead of melted butter?
Oil spray is ideal for quick and easy nonstick application in pans, especially when concerned about calorie intake or a neutral flavor profile.
When is brushing with melted butter preferable over using oil spray?
Melted butter is preferred when you want to impart a buttery flavor to your baked goods, such as for browning crusts or adding richness to cakes and pastries.
Does one method provide better nonstick results than the other?
Both can provide good nonstick results, but oil sprays are often more consistent and reliable for full coverage. Butter can sometimes pool or cause uneven browning.
Are there any health considerations when choosing between oil spray and melted butter?
Yes, oil sprays are typically lower in saturated fat and calories. Melted butter contains saturated fat and contributes more calories, so consider your dietary needs.
In the world of culinary practices, the choice between oil sprays and melted butter is more than just a matter of flavor; it reflects our evolving relationship with health, convenience, and tradition. As we continue to seek nonstick solutions that align with our dietary preferences and cooking styles, understanding the nuances of these two methods becomes increasingly relevant. The debate over oil spray vs. butter is not just about cooking techniques; it’s about making informed choices that resonate with our lifestyles and values.
The impact of our cooking choices extends beyond the kitchen, influencing cultural norms and social gatherings. As we embrace healthier cooking methods, we also celebrate the diversity of flavors that butter and oil sprays bring to our dishes. The ongoing dialogue around these practices encourages us to explore new culinary horizons while honoring traditional methods. Cooking is like love; it should be entered into with abandon or not at all.
This quote reminds us that our cooking choices are deeply personal and should reflect our passions and preferences.
As you ponder the insights shared in this article, consider how your own cooking practices can evolve. Will you embrace the convenience of oil sprays, or will you stick with the rich flavor of melted butter? Reflect on what resonates with you and your cooking philosophy. The next time you step into the kitchen, let this exploration guide you towards creating meals that not only taste great but also align with your values and lifestyle. Your culinary journey is uniquely yours—make it delicious!
Unlock Your Baking Potential: Achieve Effortless Nonstick Perfection!
Thanks for taking the time to explore the world of nonstick baking with us! We hope you've gained valuable insights into the oil spray vs. melted butter debate. Now it's time to put your newfound knowledge into action.
- Try the preferred method today: Experiment with either oil spray or melted butter in your next baking project, paying close attention to the results. Note which method yields better nonstick performance for your specific recipe and pan.
- Share your results: We'd love to hear which method worked best for you! Share your baking triumphs (and any delicious failures!) on our social media channels.
- Discover more baking secrets: Dive deeper into our collection of baking tips and techniques to unlock even more amazing results.
Ready to elevate your baking game? What's your favorite nonstick method—and why?