
How to Store Homemade Caramel Candies for LongLasting Freshness

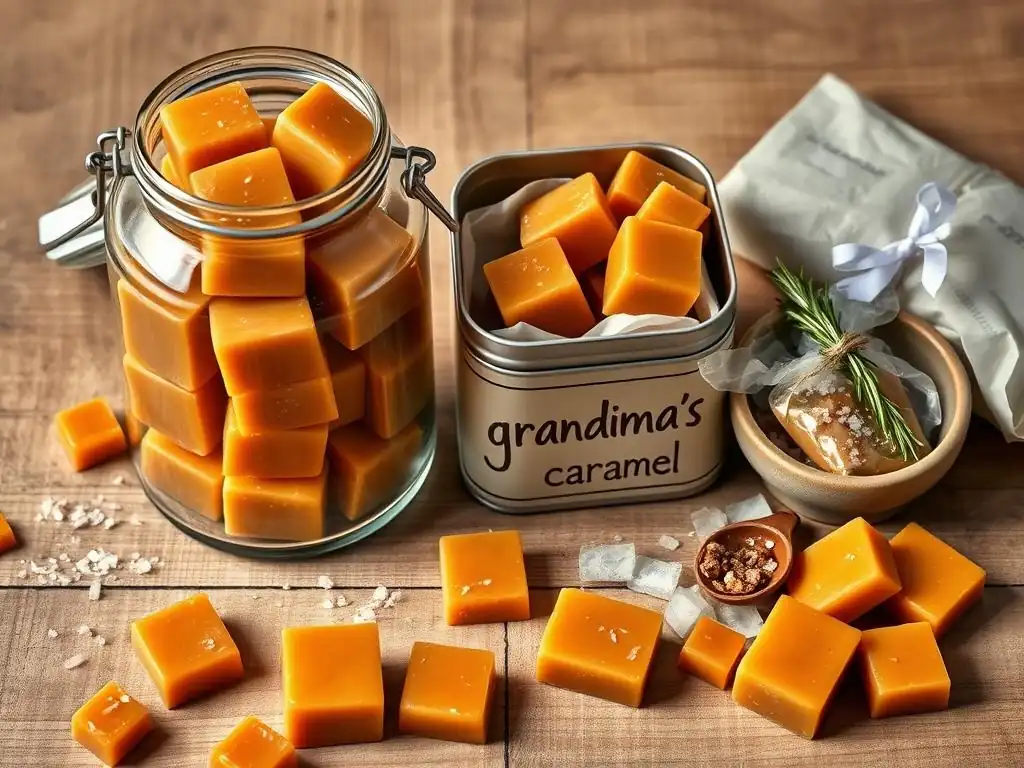
Welcome to BakeWithEase, where baking becomes a joy, not a chore! Ever wondered how to keep your delicious homemade creations tasting their best? Dive in and discover essential baking tips & hacks, starting with a topic near and dear to our sweet tooths: Homemade caramel storage tips. Unlock the secrets to preserving that perfect chewy texture and rich flavor, ensuring your caramel candies remain irresistible for longer. Ready to keep your caramel fresh?
- Introduction: Keeping Your Homemade Caramels Fresh
- Understanding Caramel Candy: Factors Affecting Freshness and Shelf Life
- Step-by-Step Guide to Storing Homemade Caramel Candies Properly
- Maximizing Shelf Life: Advanced Caramel Storage Techniques
- Troubleshooting Common Caramel Storage Problems
- Expert Tips for Long-Term Caramel Candy Storage
- Delicious Ways to Use Stored Homemade Caramels
- Conclusion: Enjoying Fresh, Homemade Caramels Anytime
-
Frequently Asked Questions
- How long does homemade caramel typically last if stored properly?
- What is the best way to prevent homemade caramel from becoming sticky or melting?
- Can I freeze homemade caramel candies?
- What type of container is recommended for storing homemade caramel?
- What are some signs that my homemade caramel has gone bad?
- Final Reflection: The Sweet Science of Caramel Preservation
- Unlock Your Caramel's Full Potential!
Introduction: Keeping Your Homemade Caramels Fresh
There's nothing quite like the rich, buttery flavor and chewy texture of homemade caramel candies. Making them from scratch is a rewarding process, filling your kitchen with an irresistible aroma. However, the joy can quickly fade if your beautiful caramels turn into a sticky, grainy, or hard mess shortly after they're made. Proper storage is absolutely key to preserving that perfect texture and delicious taste.
Understanding how to store homemade caramel candies correctly ensures that your hard work pays off and you can enjoy your sweet treats for as long as possible. This guide will walk you through the essential homemade caramel storage tips, from cooling and wrapping to choosing the right containers and environments, helping you keep your caramels fresh and delightful.
Understanding Caramel Candy: Factors Affecting Freshness and Shelf Life
Caramel is a relatively stable candy due to its high sugar content, but it's not immune to environmental factors that can degrade its quality over time. The specific ingredients used and the conditions under which the candy is kept play significant roles in how long it retains its desirable texture and flavor. Knowing these factors is the first step in effective homemade caramel storage.
The primary enemies of caramel freshness are moisture, air, and temperature fluctuations. Moisture can cause the sugar to recrystallize, leading to graininess or excessive stickiness. Air exposure, particularly oxygen, can lead to oxidation of the fats in the butter and cream, resulting in off-flavors or rancidity. Temperature affects the physical state of the caramel and can accelerate chemical changes.
The Role of Ingredients in Caramel Candy Preservation
The composition of your caramel significantly influences its storage life. The high concentration of sugar acts as a natural preservative by lowering water activity, making it difficult for microbes to grow. Typical recipes call for sugar, corn syrup, butter, and cream or milk. Each component contributes differently to the candy's stability and texture, impacting homemade caramel storage tips.
Corn syrup is often included because it helps inhibit sugar crystallization, contributing to a smoother, chewier texture that resists becoming grainy during storage. Butter and cream, while essential for flavor and richness, contain fats and moisture that can limit shelf life compared to candies made purely from sugar and water. The fat can oxidize over time, and the moisture content, while controlled during cooking, makes the candy susceptible to external humidity. A well-cooked caramel typically has a moisture content around 8-12%, a crucial factor for stability.
Impact of Humidity and Temperature on Caramel Quality
Humidity is perhaps the biggest challenge when it comes to storing homemade caramel candy. Caramel is hygroscopic, meaning it readily absorbs moisture from the air. When exposed to humid conditions, the surface of the caramels can become excessively sticky or even start to dissolve slightly, leading to candies that are difficult to unwrap and clump together. This moisture absorption can also trigger sugar crystallization, resulting in a grainy texture that detracts from the smooth chewiness.
Temperature also plays a critical role. High temperatures can cause caramels to become overly soft or even melt, losing their shape and potentially sticking to wrappers and containers. Conversely, very low temperatures, such as those in a refrigerator, can make caramels excessively hard. Fluctuating temperatures can cause condensation inside storage containers, introducing unwanted moisture. The ideal storage temperature for maintaining optimal texture at room temperature is typically between 60-70°F (15-21°C).
Step-by-Step Guide to Storing Homemade Caramel Candies Properly
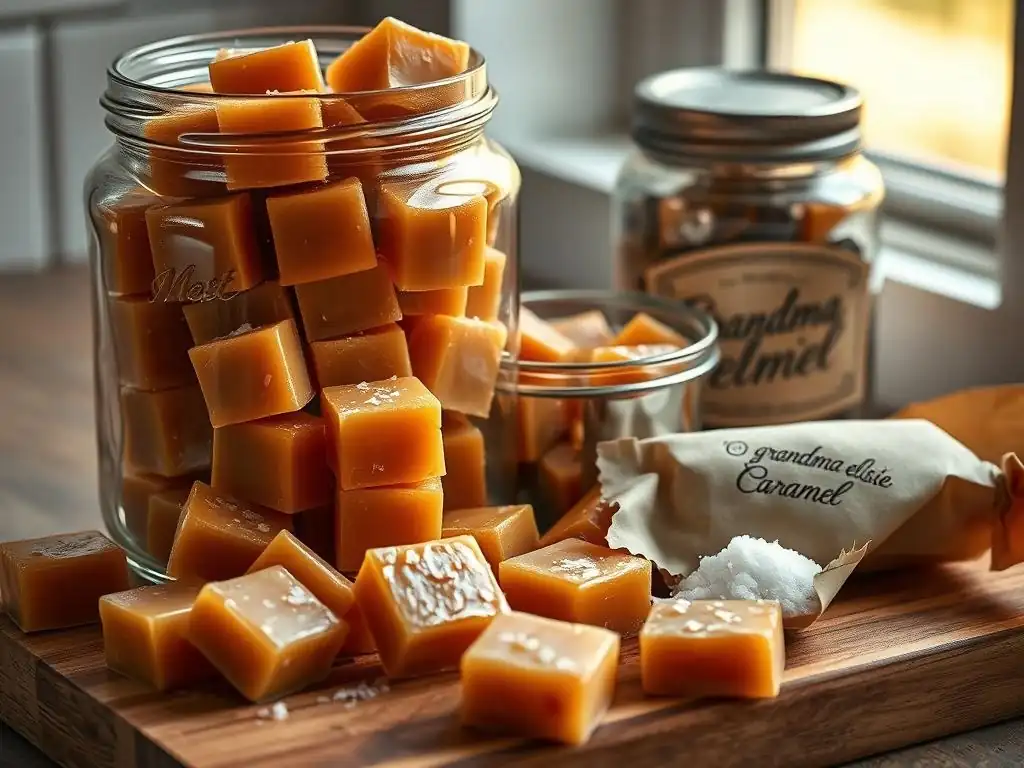
Achieving long-lasting freshness for your homemade caramels involves a few key steps, executed carefully. Skipping any of these can compromise the texture and shelf life of your delicious treats. Following this guide provides a solid foundation for effective homemade caramel storage tips.
From ensuring the caramels are ready for storage to selecting the right barriers against environmental factors, each stage is important. This process focuses on minimizing exposure to moisture and air while maintaining a stable temperature, the cornerstones of preserving candy quality.
Step 1: Cooling Your Caramels Completely
Before you even think about wrapping or boxing up your homemade caramels, they must be cooled completely. This isn't just about making them easy to handle; it's a critical step for preventing moisture issues down the line. Warm caramels will sweat as they cool, releasing moisture that can get trapped when they are wrapped or placed in a container.
Place the freshly cut caramels in a single layer on a sheet of parchment paper or a silicone mat set on a cooling rack. Allow them to cool at room temperature for several hours, typically 2 to 4 hours, depending on the size of the batch and the ambient temperature of your kitchen. They should feel firm and cool to the touch before proceeding. Cooling too quickly in the refrigerator is not recommended as it can also encourage condensation.
Step 2: Selecting the Right Storage Container for Caramel Candies
Choosing the correct container is paramount for protecting your caramels from external elements. The goal is to create a barrier that prevents moisture from getting in and keeps the caramels from sticking to everything around them. This decision is a key component of successful homemade caramel storage tips.
The best containers are those that offer a tight seal against the environment. The material can vary, but the effectiveness of the seal is what truly matters for preserving freshness and texture over time.
Airtight Containers: A Must for Caramel Longevity
Airtight containers are the gold standard for storing homemade caramel candies. They prevent the exchange of air and moisture between the inside and the outside, which is essential for preventing stickiness caused by humidity and slowing down the oxidation of fats. Glass jars with rubber-sealed lids or high-quality plastic containers with locking mechanisms are excellent choices.
When using an airtight container, ensure it is completely clean and dry before adding the caramels. Pack the individually wrapped caramels snugly but not too tightly, leaving as little air space as possible at the top before sealing the lid firmly. This barrier significantly extends the period your caramels remain chewy and delicious compared to storing them in an open bowl or a container with a loose lid.
Alternatives to Airtight Containers: Vacuum-Sealed Bags
For maximizing shelf life, especially for long-term storage, vacuum-sealed bags offer superior protection. A vacuum sealer removes most of the air from the bag before sealing it, creating an environment with very low oxygen and minimal air circulation. This dramatically slows down oxidation and prevents moisture absorption.
Vacuum sealing is particularly effective for preventing freezer burn if you plan to freeze your caramels. While soft caramels might compress slightly under vacuum, the preservation benefits for homemade caramel storage are significant. This method is ideal if you make large batches or want to store caramels for many months. Ensure the bags are specifically designed for vacuum sealing and are food-grade safe.
Step 3: Wrapping Individual Caramels for Optimal Freshness
Individual wrapping is a crucial step in protecting each caramel candy. It serves multiple purposes: preventing the candies from sticking to each other, providing an initial barrier against moisture and air, and making them easy to handle and share. This small step makes a big difference in the overall success of your homemade caramel storage.
While it might seem tedious, wrapping each piece is a non-negotiable part of the process if you want your caramels to maintain their shape and texture and not become a single, sticky blob. The type of paper used is also important for preventing sticking.
Using Wax Paper or Parchment Paper for Caramel Wrapping
The best materials for individual caramel wrapping are wax paper or parchment paper. Both are non-stick and provide a good barrier. Wax paper is coated with food-grade wax, which makes it particularly effective at preventing sticking and offers decent moisture resistance. Cut wax paper into squares large enough to fully enclose each caramel, typically around 4x4 inches for standard-sized pieces.
Parchment paper, coated with silicone, is also non-stick and heat-resistant (though heat isn't a factor here). Some bakers prefer parchment as it doesn't have the waxy feel of wax paper. Both are far superior to plastic wrap, which can stick excessively to caramel surfaces and trap moisture. The choice between wax and parchment paper often comes down to personal preference, but either provides the necessary non-stick surface for effective homemade caramel storage.
Sealing the Wrapped Caramels Effectively
Once the caramel is placed in the center of the paper square, the most common and effective way to seal it is by twisting the ends. Bring two opposite corners of the paper up and over the caramel, then twist the remaining two ends tightly in opposite directions, much like the wrapper on a store-bought candy.
This twisting creates a secure, self-contained package for each caramel. It prevents them from fusing together during storage, especially if temperatures fluctuate slightly. More importantly, this layer of wrapping provides an extra line of defense against moisture and air, complementing the protection offered by the outer airtight container. Properly sealed individual wrappers are a hallmark of good homemade caramel storage tips.
Step 4: Choosing the Ideal Storage Location
Where you store your wrapped and contained caramels is just as important as how they are wrapped. The storage location's temperature and humidity levels directly impact the candy's quality and shelf life. Selecting the right spot is a key part of successful homemade caramel storage.
Different locations offer varying levels of preservation, suitable for different lengths of storage time. Consider how quickly you plan to consume the caramels when deciding on the best place to keep them.
Room Temperature vs. Refrigeration for Caramel Candy Storage
For relatively short-term storage (up to 3-4 weeks), a cool, dark pantry or cupboard is ideal, provided the caramels are properly wrapped and sealed in an airtight container. Aim for a location where the temperature remains stable, ideally between 60-70°F (15-21°C), away from direct sunlight or heat sources like ovens or radiators. This method usually maintains the best texture for eating immediately.
Refrigeration (around 40°F or 4°C) can extend the shelf life to about 1-2 months. However, the cold makes caramels quite hard, and refrigerators are humid environments. If refrigerating, ensure caramels are exceptionally well-sealed (e.g., wrapped and in an airtight container or vacuum-sealed) to prevent moisture absorption. Allow refrigerated caramels to come back to room temperature before serving to regain their chewiness.
Freezing Caramel Candies: Impact on Texture and Flavor
Freezing is the best method for long-term homemade caramel storage, preserving quality for 6-12 months or even longer. Individually wrap caramels, then place them in an airtight, freezer-safe container or a vacuum-sealed bag. Remove as much air as possible before sealing to prevent freezer burn.
To thaw frozen caramels, transfer the sealed container or bag to the refrigerator overnight, then move it to the counter for a few hours until they reach room temperature. Thawing while sealed prevents condensation from forming on the surface of the candies. While freezing can sometimes make the texture slightly firmer, it generally preserves the flavor very well, making it an excellent option for enjoying your homemade treats far into the future.
Maximizing Shelf Life: Advanced Caramel Storage Techniques
For those serious about preserving their homemade caramels for extended periods, beyond the typical few weeks or months, there are advanced techniques that can further protect against degradation. These methods focus on creating an even more controlled environment within the storage container. These are sophisticated homemade caramel storage tips for the dedicated preserver.
These techniques go beyond basic airtight sealing to actively remove elements that cause spoilage and quality loss over time. They are particularly useful when storing caramels that contain higher levels of fat or are destined for very long-term preservation.
Using Oxygen Absorbers for Extended Caramel Freshness
Oxygen absorbers are small packets containing a substance, usually iron powder, that reacts with oxygen in a sealed environment, effectively removing it. By reducing the oxygen level inside a container to less than 0.1%, they drastically slow down oxidative processes that can lead to flavor deterioration, color changes, and rancidity in the fats present in butter and cream.
To use oxygen absorbers, place an appropriate-sized packet (sized based on the container's volume) inside your airtight container or vacuum-seal bag along with the individually wrapped caramels. Seal the container or bag immediately and tightly. Oxygen absorbers are most effective when used in truly airtight packaging and are an excellent tool for significantly extending the shelf life of homemade caramel storage, potentially beyond a year in optimal conditions.
Desiccants: Helping Control Moisture in Caramel Storage
Desiccants, such as food-grade silica gel packets, are substances that absorb moisture from the surrounding air. While caramels have a low water activity due to their high sugar content, fluctuations in temperature or humidity can still introduce unwanted moisture inside a container, leading to stickiness or graininess.
Placing a food-grade desiccant packet inside an airtight container with your wrapped caramels helps to maintain a very dry environment. This further protects against humidity absorption and inhibits the growth of mold or yeast, although these are less common issues with high-sugar candies. Ensure the desiccant packet does not touch the caramels directly. Desiccants are a useful addition to airtight storage, particularly in humid climates, providing extra assurance for homemade caramel storage by managing internal moisture levels.
Troubleshooting Common Caramel Storage Problems
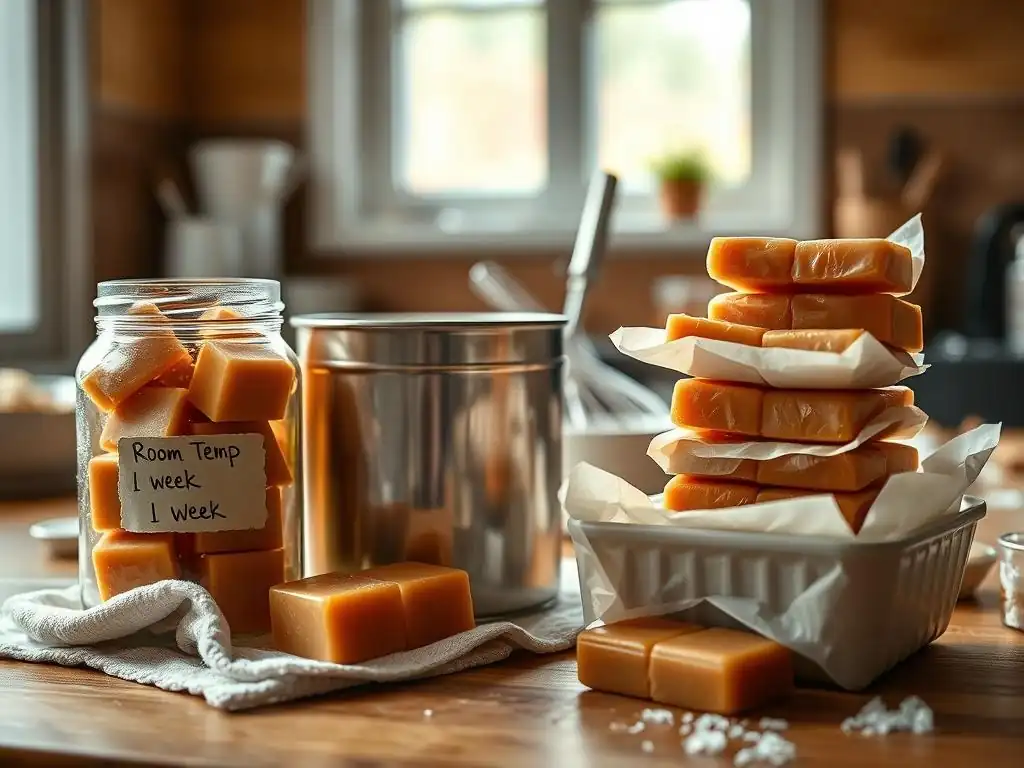
Despite best efforts in homemade caramel storage, you might occasionally encounter issues. Understanding why these problems occur and how to potentially mitigate them can save a batch of your delicious candy.
Common issues include caramels becoming too sticky, turning hard, or changing color. Often, these problems are related to the environment they were stored in or slight variations in the cooking process.
Sticky Caramels: Preventing and Addressing Moisture Issues
Sticky caramels are usually a sign that they have absorbed too much moisture from the environment. This is most often caused by insufficient wrapping, a non-airtight container, or storage in a humid location. It can also happen if the caramel wasn't cooked to a high enough temperature initially, leaving too much residual moisture. Preventing stickiness relies on proper cooking (reaching the correct temperature, typically 245-250°F for soft caramels), complete cooling before wrapping, individual wrapping, and using airtight containers.
If your caramels have become sticky, you can try to dry their surface slightly. Spread them in a single layer on parchment paper in a very cool, dry room. In some cases, placing them briefly in a slightly warm (but turned off) oven might help, but this is risky and can melt them. Unfortunately, once caramels absorb significant moisture and become very sticky or grainy, it's difficult to fully restore their original texture. Prevention through diligent homemade caramel storage tips is the best approach.
Hard Caramels: Rehydrating with Steam
Caramels turn hard if they lose too much moisture, either from being cooked to too high a temperature initially or from being stored in an overly dry environment without adequate sealing. This is less common than stickiness but can happen, resulting in a candy that's difficult to chew.
To attempt to soften hard caramels, you can try a gentle rehydration method using steam. Place the caramels on a heatproof plate set over a pot of simmering water (like a makeshift double boiler, ensuring the plate doesn't touch the water). Cover the setup loosely and let the steam gently warm the caramels for 5-10 minutes. The steam can help introduce a small amount of moisture back into the candy. Be cautious not to overheat, or they will melt. This technique can sometimes improve the texture of hard homemade caramel candy.
Caramel Discoloration: Understanding and Preventing Oxidation
Discoloration in caramels, often appearing as darker spots or a general deepening of color over time, can be caused by oxidation and continued Maillard reactions. Oxidation occurs when fats in the caramel are exposed to air, leading to potential off-flavors. Maillard reactions, which create the caramel color during cooking, can continue slowly during storage, especially if exposed to warmth. Light and heat accelerate these processes.
Preventing discoloration is primarily about minimizing exposure to air, light, and heat. Storing caramels in opaque, airtight containers in a cool, dark location is essential. Using oxygen absorbers in long-term storage containers can further reduce the oxygen available for oxidative reactions. While slight color change over many months might be unavoidable, proper homemade caramel storage techniques significantly slow this process, preserving the intended appearance and flavor.
Expert Tips for Long-Term Caramel Candy Storage
Storing homemade caramels for many months requires a bit more attention to detail. Beyond the basic steps of wrapping and airtight containers, a few expert practices can ensure your caramels remain in peak condition for as long as possible. These additional homemade caramel storage tips are especially useful for those planning to keep their candy frozen or for extended periods in the pantry.
These tips focus on organization, monitoring, and maintaining the integrity of your storage system over time. They help you keep track of your inventory and catch potential issues before they ruin a batch.
Properly Labeling and Dating Your Stored Caramels
When storing multiple batches of caramels or other homemade goods, labeling is crucial. Use freezer tape or labels that stick well in cool or freezing conditions. Clearly write the contents (e.g., "Vanilla Bean Caramels") and the date they were made (e.g., "Made Oct 2023"). This simple step is invaluable for managing your stored candy.
Proper labeling allows you to implement a "first-in, first-out" system, ensuring you consume older batches before they exceed their recommended storage life. Without dates, you might unknowingly keep caramels past their prime, leading to disappointment or unnecessary waste. This organization is a fundamental, though often overlooked, part of effective homemade caramel storage.
Regularly Inspecting Your Caramels for Signs of Spoilage
Even when following all the best homemade caramel storage tips, it's a good practice to periodically check on your stored caramels, particularly those kept for extended periods. While mold is rare in high-sugar candies, inspect for any unusual visual changes, such as significant discoloration, excessive stickiness that wasn't present before, or extreme hardening.
Also, perform a sniff test. Any off odors, such as a stale or slightly rancid smell (due to fat oxidation), indicate that the quality has degraded, and it's best to discard the batch. For frozen caramels, check for signs of freezer burn (dehydrated, discolored spots). Regular inspection ensures you are enjoying your homemade caramels at their best quality and provides peace of mind.
Delicious Ways to Use Stored Homemade Caramels
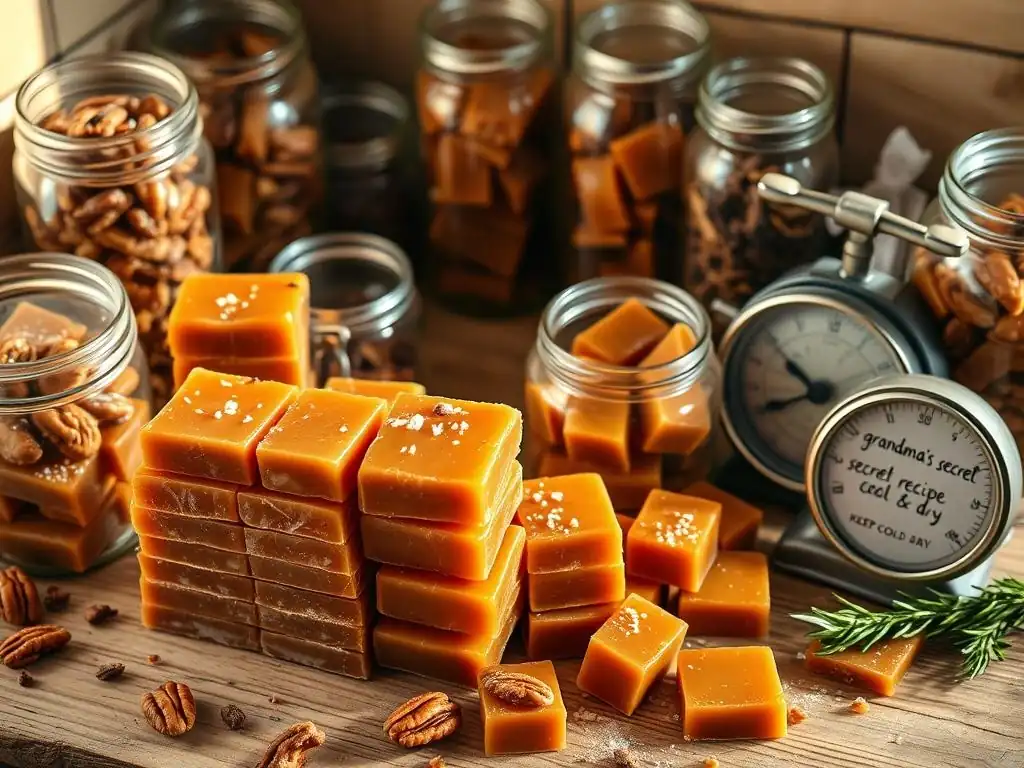
Even perfectly stored homemade caramels might eventually reach a point where you want to use them in a different way, or perhaps a batch didn't store quite as perfectly as you'd hoped. Stored caramels, whether pristine or slightly less so, can be wonderfully versatile ingredients in other culinary creations. These ideas offer tasty ways to incorporate your homemade caramel candy stash.
From transforming them into a liquid gold sauce to adding chewy pockets of sweetness to baked goods, there are many delightful ways to give your stored caramels a new purpose and enjoy their rich flavor.
Salted Caramel Sauce Recipe
One of the easiest and most popular ways to use stored homemade caramels, especially if they've become a bit hard or sticky for eating plain, is to turn them into a luscious salted caramel sauce. Simply place the caramels in a saucepan with a small amount of liquid, like cream or milk (start with a few tablespoons per cup of caramels).
Gently heat the mixture over low heat, stirring constantly, until the caramels are completely melted and smooth. Add a pinch of flaky sea salt to taste – the salt enhances the caramel's sweetness and complexity. This sauce can be stored in the refrigerator for several weeks and is perfect for drizzling over ice cream, brownies, or fruit, offering a fantastic second life for your homemade caramel storage bounty.
Caramel Apple Dip Recipe
Another simple and crowd-pleasing use is creating a warm caramel apple dip. Similar to making caramel sauce, gently melt your stored caramels in a pot or a small slow cooker with a little butter or cream until smooth and dippable. Keep it warm for serving.
Serve the warm caramel dip alongside slices of crisp apples (such as Granny Smith or Honeycrisp), pear slices, pretzels, or graham crackers. You can sprinkle the top of the dip with chopped nuts, mini chocolate chips, or crushed toffee bits for added texture and flavor. It's a fun, interactive dessert that makes excellent use of a batch of homemade caramel candy.
Adding Caramels to Brownies
Incorporating chunks of stored homemade caramels into baked goods like brownies adds a delightful chewy texture and bursts of rich caramel flavor. Prepare your favorite brownie batter according to your recipe. Pour about half of the batter into your prepared baking pan.
Scatter a generous amount of chopped or whole caramels (depending on size) over the layer of batter in the pan. Then, carefully pour the remaining brownie batter over the caramels, spreading it evenly to cover them. As the brownies bake, the caramels will soften and create gooey pockets of sweetness within the fudgy brownie, providing a wonderful contrast and an excellent way to utilize your homemade caramel storage.
Conclusion: Enjoying Fresh, Homemade Caramels Anytime
Making homemade caramel candies is a labor of love, and ensuring they stay fresh allows you to fully appreciate your efforts. By understanding the factors that affect caramel quality – primarily moisture, air, and temperature – and implementing proper storage techniques, you can significantly extend their shelf life.
From the crucial first step of complete cooling to individual wrapping, using airtight containers, and choosing the right storage location (pantry, fridge, or freezer), each tip contributes to preserving that perfect chewy texture and rich flavor. Utilizing advanced methods like oxygen absorbers or desiccants can provide even greater protection for long-term homemade caramel storage. With these homemade caramel storage tips in your baking arsenal, you can confidently make batches of delicious caramels and enjoy their delightful freshness anytime you desire.
Frequently Asked Questions
How long does homemade caramel typically last if stored properly?
Homemade caramel candies, when stored correctly, can typically last for 2-3 weeks at room temperature or up to 2 months in the refrigerator. Proper storage is key to maintaining their freshness and texture.
What is the best way to prevent homemade caramel from becoming sticky or melting?
The best way to prevent stickiness or melting is to store your caramel in an airtight container at a cool, dry place. Consider wrapping individual caramels in wax paper to further protect them.
Can I freeze homemade caramel candies?
Yes, you can freeze homemade caramel candies, but the texture might change slightly. Wrap them tightly in plastic wrap and then place them in a freezer-safe bag for up to 2-3 months.
What type of container is recommended for storing homemade caramel?
An airtight container is highly recommended to prevent moisture from affecting the caramel's texture. Glass or plastic containers with a tight-fitting lid work well.
What are some signs that my homemade caramel has gone bad?
Signs of spoilage include a sour smell, visible mold growth, or a significant change in texture, such as becoming overly sticky or crystallized. Discard the caramel if you observe any of these signs.
Final Reflection: The Sweet Science of Caramel Preservation
The art of crafting homemade caramels is only half the battle; preserving their exquisite texture and flavor is the true test of a confectionery connoisseur. Knowing how to properly store your lovingly made sweets ensures that each bite remains a moment of pure indulgence, long after the initial creation. This isn't just about extending shelf life; it's about respecting the time and effort invested in creating something truly special.
The journey of making and storing homemade caramels is a testament to the enduring power of simple pleasures. It's a connection to a time when food was made with care, and its preservation was a sign of respect for both the ingredients and the craft. The best things in life are simple, but not always easy.
This quote perfectly encapsulates the process, from the meticulous crafting of the caramel itself to the careful consideration of its long-term storage. The impact of this knowledge extends beyond individual kitchens; it fosters a deeper appreciation for the culinary arts and the importance of mindful consumption.
Now, consider your own caramel creations. What will you do to ensure their lasting deliciousness? Will you meticulously follow the storage tips outlined in this article, or will you experiment with different methods? I encourage you to embrace the challenge, to treat your homemade caramels with the care they deserve, and to savor the sweet reward of perfectly preserved confectionery for weeks to come. The journey of preserving your caramels is a journey of appreciating the small, sweet victories in life.
Unlock Your Caramel's Full Potential!
Thanks for taking the time to learn how to keep your homemade caramel candies tasting their absolute best! You've now got the knowledge to prevent that dreaded sugar crystallization and ensure every bite is a moment of pure deliciousness. Ready to put your newfound expertise into action?
- Master the Art of Caramel Storage: Dive deeper into the techniques discussed in the article by experimenting with different storage methods – airtight containers, freezer bags, or even specialized candy storage solutions. See what works best for you!
- Share the Caramel Love: Impress your friends and family with your perfectly preserved treats! Share your caramel-making successes and storage tips with them – they'll thank you for it.
- Become a Caramel Connoisseur: Explore more delicious caramel recipes on BakeWithEase.com and join our community to share your own caramel creations and tips!
What's your favorite method for keeping homemade caramel candies fresh and flavorful? Let's discuss!