
Ask a Baker: Solving Your Toughest Cake Issues

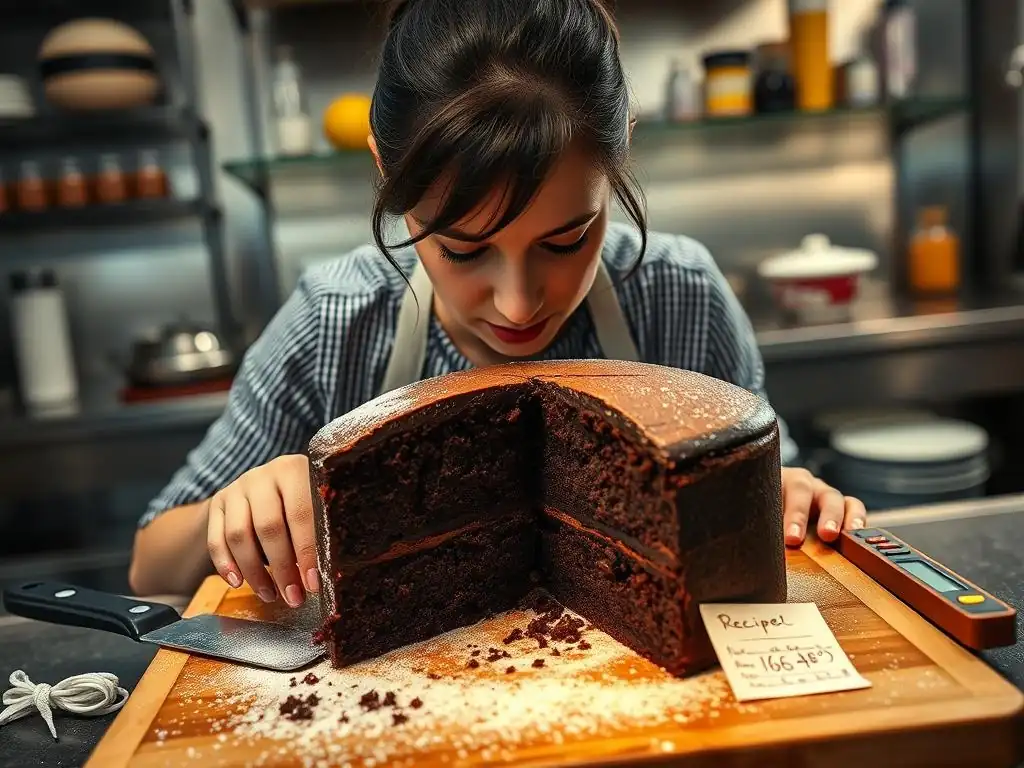
Welcome to BakeWithEase, your trusted companion on your baking journey! Ever faced a cake that stubbornly refused to rise, or tasted more like rubber than a sweet treat? You're not alone! We understand the frustrations that can arise in the kitchen. Dive into " Ask a Baker: Solving Your Toughest Cake Issues" below, where we demystify the process and offer practical solutions for troubleshooting common cake problems. Read on to discover the secrets to baking perfection and unlock a world of delicious possibilities – your best cake is just a few clicks away!
- Troubleshooting Common Cake Problems
- Common Cake Fails and Expert Solutions
- My Cake Sank in the Middle! Cake Deflation Solutions
- Cake Domed on Top? Achieving a Flat Cake Surface
- Dense and Heavy Cake: Lightening Up Your Bake
- Cake Sticking to the Pan? Preventing Cake Sticking
- My Cake is Crumbly! Fixing a Crumbly Cake Texture
- Mastering Cake Troubleshooting: Final Thoughts.
-
Frequently Asked Questions
- What are some common reasons why a cake might come out dry?
- My cake sank in the middle. What could have caused this?
- The top of my cake is cracked and hard. How can I prevent this?
- My cake is sticking to the pan even though I greased it. What can I do?
- Why did my cake turn out dense and heavy instead of light and fluffy?
- Final Reflection: The Sweet Science of Cake Troubleshooting
- Unlock Your Inner Cake Boss!
Troubleshooting Common Cake Problems
Baking a cake is a delightful experience, but sometimes things don't go exactly as planned. From dry textures to sunken centers, common cake problems can frustrate even experienced bakers. Don't worry, you're not alone! This guide delves into the most frequent cake fails and provides expert solutions to help you master cake troubleshooting. We'll cover the science behind these issues and offer practical tips to ensure your next bake is a success, effectively troubleshooting common cake problems that arise in the kitchen.
Understanding the root causes of baking mishaps is key to preventing them. Whether it's an issue with ingredient ratios, mixing techniques, or oven temperatures, pinpointing the problem is the first step toward finding a solution. By exploring these common challenges, we aim to equip you with the knowledge needed to tackle any cake issue head-on, making troubleshooting common cake problems a straightforward process.
Common Cake Fails and Expert Solutions
Why is My Cake Dry? Addressing Dry Cake Issues
A dry cake is perhaps one of the most disappointing outcomes in baking. Instead of a moist, tender crumb, you end up with something closer to sawdust. This common cake problem can be traced back to several factors, often related to the balance of ingredients or the baking process itself. Addressing dry cake issues requires a careful look at your recipe and technique.
Successfully troubleshooting common cake problems like dryness involves understanding the delicate interplay between wet and dry ingredients and the impact of heat. Even a slight deviation from the recipe or an extra minute in the oven can significantly affect the final texture, leading to a dry and unappetizing cake.
Understanding the Causes of a Dry Cake
Too Much Flour: The Dry Cake Culprit
Adding too much flour is a primary cause of dry cakes. Flour absorbs liquid, and an excess amount will soak up all the moisture intended to create a tender crumb. Even a seemingly small error, like scooping flour directly from the bag with a measuring cup (which compacts it) instead of spooning it in and leveling, can add 20-30% more flour than the recipe intends. This excess flour binds with the liquid, leaving little free moisture for tenderness.
Overbaking: Preventing a Dry Cake Finish
Leaving a cake in the oven for too long is another major contributor to dryness. As a cake bakes, the moisture within it evaporates. Overbaking allows too much moisture to escape, resulting in a dry texture. Even checking for doneness with a toothpick can be misleading; a toothpick that comes out clean might mean the cake is just done, but leaving it in for another minute or two can push it into the overbaked zone. For instance, a cake recipe designed to bake in 30-35 minutes might become noticeably dry if baked for 40 minutes.
Insufficient Liquid: Balancing Moisture in Cakes
A recipe might simply call for too little liquid relative to the dry ingredients, or you might have accidentally used less than specified. Liquids like milk, buttermilk, oil, or melted butter are crucial for creating a moist crumb. If the ratio is off, the dry ingredients won't be adequately hydrated, leading to a dense, dry result. For example, if a recipe calls for 1 cup of milk but only 3/4 cup is added, the cake will likely turn out dry because there isn't enough liquid to properly hydrate the flour and sugar.
Baker's Tips for Moist Cakes
Using Cake Flour for a Tender Crumb
Using cake flour instead of all-purpose flour can significantly improve moisture and tenderness. Cake flour has a lower protein content (around 7-8%) compared to all-purpose flour (around 10-12%). Less protein means less gluten development, which results in a softer, more tender crumb that feels moister. While you can often substitute cake flour for all-purpose (typically using 1 cup + 2 tablespoons of cake flour for every cup of all-purpose), ensure the recipe is balanced for this change or use a recipe specifically developed for cake flour.
Adding Moisture-Rich Ingredients: Sour Cream and Applesauce
Incorporating ingredients known for adding moisture can counteract dryness. Sour cream, yogurt, buttermilk, applesauce, mashed banana, or even a touch of vegetable oil can greatly enhance a cake's moisture content. For instance, substituting some of the liquid (like milk) with buttermilk or adding 1/4 cup of sour cream to a standard butter cake batter can result in a noticeably moister cake due to the fat and acidity (in the case of dairy) or pectin (in the case of fruit purees).
Perfecting Baking Time: Checking for Doneness
Accurately checking for doneness is critical to prevent overbaking. Relying solely on time isn't enough; ovens vary. Use a toothpick or cake tester inserted into the center. It should come out with a few moist crumbs attached, not completely clean. If it comes out with wet batter, it needs more time. Pay attention to visual cues too: the edges should pull slightly away from the pan, and the top should spring back gently when lightly pressed. Starting to check the cake 5-10 minutes before the minimum baking time listed in the recipe is a good practice.
My Cake Sank in the Middle! Cake Deflation Solutions
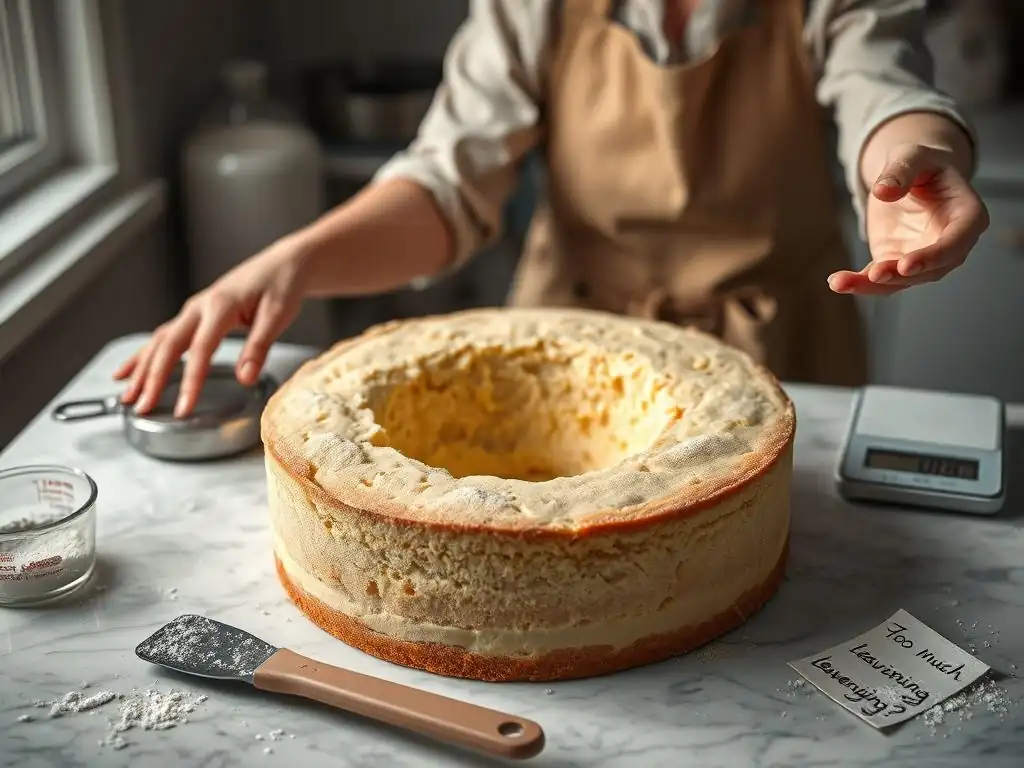
A sunken cake is a heartbreaking sight after anticipating a beautiful rise. This issue occurs when the cake structure isn't strong enough to support itself during or after baking, leading to the center collapsing. Troubleshooting common cake problems like a sunken middle involves understanding the delicate balance of heat, leavening, and structural integrity.
Preventing a cake from sinking requires attention to detail throughout the entire process, from preparing the batter to cooling the finished cake. Even small errors can disrupt the chemical reactions and physical processes that allow a cake to rise and set properly.
The Science Behind Sunken Cakes
Oven Temperature Imbalances: Ensuring Even Baking
An oven that is too hot or fluctuates significantly in temperature is a common culprit. If the oven is too hot, the outside of the cake sets too quickly while the inside is still liquid and rising. As the inside continues to cook and expand, it pushes up the already-set crust, often resulting in a dome. When you take it out, the undercooked center lacks structure and collapses.
Conversely, if the oven isn't hot enough, the cake might not rise properly or set before being removed, leading to a gradual sink. Using an oven thermometer can reveal discrepancies; many home ovens are off by 25-50°F (approx. 15-30°C).
Overmixing the Batter: Avoiding Gluten Overdevelopment
Overmixing cake batter develops too much gluten, especially when using all-purpose flour. Gluten provides structure, but too much makes the cake tough and dense. More critically, overmixing can incorporate too much air initially, which then collapses during baking as the gluten network tightens excessively and cannot hold the volume. Gentle mixing is essential after adding flour; mix just until the dry ingredients are incorporated, often requiring only 30-60 seconds on a low speed.
Incorrect Ratios: Maintaining Ingredient Balance
The balance of ingredients is crucial for structure. Too much leavening (baking soda or powder), too much sugar, or too much liquid can weaken the cake's structure. Leavening agents produce gas, causing the cake to rise, but an excess produces too much gas for the structure to support, leading to collapse.
Sugar tenderizes and adds moisture, but too much can prevent the protein structure from setting properly. For example, if a recipe calls for 1 teaspoon of baking powder but 2 teaspoons are used, the initial rise might be impressive, but the resulting structure will be too weak to hold its shape.
Preventing Cake Collapses: Baker's Advice
Accurate Measurements: The Key to Stability
Precision in measuring ingredients is paramount. Use standard measuring cups and spoons, and level dry ingredients with a straight edge. Weighing ingredients, especially flour (1 cup all-purpose flour is typically around 120-130 grams), is the most accurate method and significantly reduces the risk of incorrect ratios contributing to sinking. This is a foundational step in troubleshooting common cake problems related to structure.
Proper Mixing Techniques: Folding vs. Beating
Understand when to beat ingredients vigorously (like creaming butter and sugar) to incorporate air for leavening and structure, and when to fold gently (like adding dry ingredients or delicate additions). Once flour is added, mix only until combined to minimize gluten development. Over-beating at this stage is a major cause of dense, sunken cakes.
Cooling Techniques: Avoiding Sudden Temperature Changes
Sudden temperature changes can cause a cake to sink, especially if it's removed from the hot oven too soon or placed directly into a cold environment. Allow the cake to cool in the pan on a wire rack for the time specified in the recipe (usually 10-20 minutes). This allows the internal structure to set gradually as the temperature decreases. Removing it too early, before the structure is fully stable, can lead to collapse.
Cake Domed on Top? Achieving a Flat Cake Surface
While a slight dome is normal for some cakes, a pronounced dome with cracked edges indicates uneven rising, often caused by heat distribution issues. This makes stacking and decorating challenging. Troubleshooting common cake problems like excessive doming helps you achieve professional-looking layers.
Achieving a flat cake surface is often about managing how heat penetrates and cooks the batter. When the outside edges cook and set faster than the center, the still-rising center pushes up, creating that characteristic dome.
Understanding Cake Doming
Heat Distribution Problems: Addressing Hotspots
Oven hotspots or the cake pan's material affecting heat conduction can cause uneven baking. Metal pans, especially dark ones, conduct heat quickly, causing the edges to set rapidly. If the oven temperature is too high, this effect is amplified. The outside perimeter cooks and sets while the center continues to rise, resulting in a dome. Using an oven thermometer helps confirm your oven's temperature, and rotating the cake halfway through baking can help mitigate hotspots.
Too Much Leavening: Balancing Rising Agents
Just like with sunken cakes, too much leavening can contribute to doming. An excess of baking powder or baking soda creates a rapid production of gas. This vigorous rise, combined with the edges setting faster, forces the center upwards into a dome. Ensure you are using the correct amount of leavening specified in the recipe; even an extra half teaspoon can make a difference.
Solutions for a Flat Cake Top
Baking Strips: Ensuring Even Baking
Baking strips are fabric bands soaked in water and wrapped around the outside of the cake pan. They insulate the sides of the pan, causing them to heat up more slowly. This allows the cake's center and edges to cook at a more even rate, resulting in a flatter top. You can purchase reusable baking strips or make your own from old towels or fabric secured with safety pins.
Adjusting Oven Temperature: Fine-Tuning Heat
Lowering the oven temperature slightly (e.g., from 350°F to 325°F or 175°C to 160°C) and increasing the baking time can promote more even baking and reduce doming. A lower temperature allows the cake to rise more gradually and cook through before the edges set too firmly. This simple adjustment is effective for troubleshooting common cake problems related to structure and appearance.
Leveling After Baking: A Quick Fix
If you still end up with a dome, you can level the cake after it has cooled completely. Use a serrated knife or a cake leveler to carefully slice off the domed top, creating a flat surface for stacking. This is a common technique used by professional bakers to achieve perfectly flat layers, although addressing the cause of the dome is ideal for future bakes.
Dense and Heavy Cake: Lightening Up Your Bake
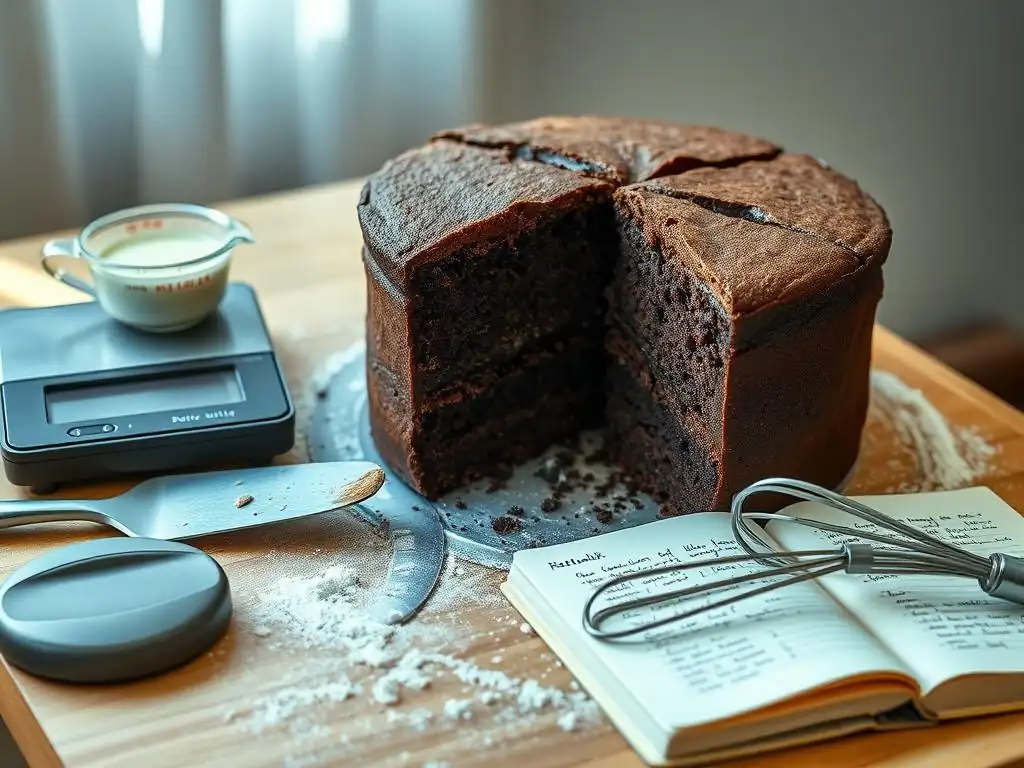
A dense cake lacks the desired light and airy texture. Instead of a delicate crumb, you get something heavy and sometimes gummy. This common cake problem often stems from issues with aeration or ingredient ratios that weigh down the batter. Learning how to lighten up your bake is key to troubleshooting common cake problems related to texture.
Achieving a light texture is about incorporating and preserving air in the batter and ensuring the structure is delicate. Factors like mixing method, ingredient temperature, and the type of flour used all play a role in the final density.
Identifying the Reasons for a Dense Cake
Overmixing: Gluten Development Issues
As mentioned earlier, overmixing develops gluten. While some gluten is necessary for structure, too much creates a tough, dense texture. This is particularly true after flour is added. The gluten strands tighten, preventing the cake from expanding fully and resulting in a heavy crumb. This is a frequent issue when using electric mixers on high speed for too long after adding dry ingredients.
Incorrect Ingredient Ratios: Too Much Fat or Sugar
While fat and sugar add moisture and tenderness, too much can weigh down the batter and interfere with the cake's ability to hold air. Excess fat coats the flour particles, inhibiting gluten development needed for structure. Excess sugar can make the cake too tender and heavy, preventing it from rising properly. Recipes are carefully balanced; adding extra butter or sugar might seem like a good idea for flavor, but it often results in a dense cake.
Using the Wrong Flour: Cake vs. All-Purpose
Using a high-protein flour like bread flour or even sometimes all-purpose flour in a recipe designed for cake flour can lead to a denser cake. Higher protein content means more gluten development, resulting in a chewier, heavier texture compared to the tender crumb desired in most cakes. For instance, using bread flour (12-14% protein) instead of cake flour (7-8% protein) will almost certainly result in a significantly denser cake.
Baker's Secrets for a Light and Airy Cake
Creaming Butter and Sugar Properly: Achieving Aeration
The creaming method is crucial for incorporating air into butter-based cakes. Softened butter and sugar are beaten together until light and fluffy. This process creates tiny air pockets within the fat. These air pockets expand during baking, contributing significantly to the cake's rise and light texture. Creaming typically takes 3-5 minutes with an electric mixer on medium-high speed; the mixture should become pale yellow and significantly increased in volume.
Sifting Dry Ingredients: Incorporating Air
Sifting flour, baking powder, baking soda, and other dry ingredients together serves two purposes: it removes lumps and, more importantly, it aerates the mixture. Sifting incorporates tiny air pockets throughout the dry ingredients, which helps them disperse more evenly in the batter and contributes to a lighter texture. While some recipes skip sifting, it's a simple step that can make a noticeable difference in reducing density.
Gentle Folding Techniques: Preserving Air Bubbles
Once the wet and dry ingredients are combined, gentle mixing is key. Use a spatula or a whisk on low speed to fold the ingredients together just until no dry streaks remain. Overmixing at this stage deflates the air bubbles created during creaming and sifting, leading to a dense cake. Think of it as carefully folding air into the batter, not beating it out.
Cake Sticking to the Pan? Preventing Cake Sticking
It's incredibly frustrating when you've baked a beautiful cake, only for half of it to stay stuck in the pan. Cake sticking is a common problem that can ruin the presentation and texture of your bake. Luckily, it's one of the easiest issues to prevent with proper pan preparation. Troubleshooting common cake problems like sticking is straightforward once you know the right techniques.
Preventing cake sticking is primarily about creating a barrier between the cake batter and the pan surface. This barrier allows the cake to release cleanly once cooled slightly, preserving its shape and crumb.
Why Cakes Stick: The Science of Adhesion
Insufficient Greasing: Coating the Pan Effectively
If the pan isn't thoroughly coated with a release agent (like butter, shortening, or spray), the cake batter can adhere directly to the metal surface. As the cake bakes and expands, it forms a bond with the pan. When you try to invert it, this bond is stronger than the cake's internal structure, causing it to tear or stick. Skipping corners or not coating the sides adequately are common mistakes.
Pan Type: Choosing the Right Baking Pan
The material and finish of the pan can affect sticking. Dark metal pans absorb and conduct heat quickly, which can sometimes lead to sticking if not properly prepared. Non-stick pans are helpful but still require some form of greasing for best results, especially for delicate cakes. Pans with intricate designs are also more prone to sticking if not meticulously prepared.
Strategies for Non-Stick Cakes
Greasing and Flouring: The Classic Method
The traditional method involves coating the pan liberally with softened butter or shortening, ensuring every nook and cranny is covered. Then, add a tablespoon or two of flour to the greased pan, tilt and tap the pan to distribute the flour evenly, coating the grease. Tap out any excess flour. The fat provides a barrier, and the flour creates a non-stick surface. This method works well for most cakes.
Parchment Paper: A Reliable Barrier
Lining the bottom of the pan with parchment paper is one of the most reliable ways to prevent sticking, especially for the cake's base. Cut a circle or rectangle of parchment paper to fit the bottom of the pan. Grease the pan first, then place the parchment paper on the bottom, and then grease and flour the sides as usual (or use baking spray). This guarantees the bottom won't stick.
Baking Sprays: A Convenient Option
Commercial non-stick baking sprays containing flour are a convenient option. They combine grease and flour in an easy-to-apply aerosol form. Shake the can well and spray a generous, even coating over the bottom and sides of the pan. Be sure to get into any corners or crevices. While convenient, some sprays can leave a residue on pans over time.
My Cake is Crumbly! Fixing a Crumbly Cake Texture
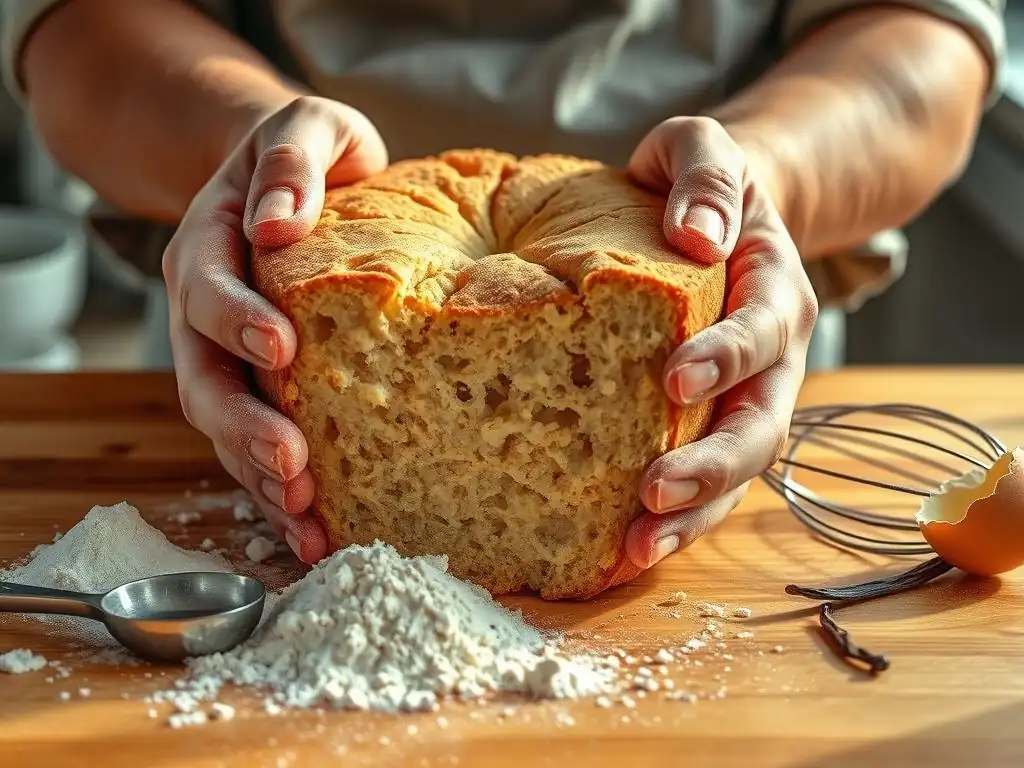
A crumbly cake falls apart easily when sliced, lacking cohesion and structure. Instead of neat slices, you get a pile of crumbs. This issue is often related to the balance of fat and liquid or overbaking. Troubleshooting common cake problems like crumbliness means ensuring the ingredients bind together effectively and the cake retains adequate moisture.
Preventing a crumbly texture involves ensuring sufficient moisture and proper structure development. The right balance of ingredients helps create a cohesive crumb that holds together when cut.
Causes of a Crumbly Cake
Too Much Fat: Understanding the Impact on Structure
While fat adds tenderness and moisture, an excessive amount can interfere with the formation of a proper gluten structure, which helps hold the cake together. Fat coats the flour particles, preventing them from absorbing liquid and forming a cohesive network. This is particularly true if using too much oil, which is 100% fat, compared to butter, which is about 80% fat and 18% water.
Not Enough Liquid: Binding Ingredients Together
Insufficient liquid prevents the dry ingredients, particularly the flour, from being adequately hydrated. Flour needs liquid to form gluten and for starch granules to swell and gelatinize during baking, processes that bind the cake together. If there's not enough liquid, the baked cake will be dry and fall apart easily, much like dry sand.
Overbaking: Drying Out the Cake
As with dryness, overbaking is a major cause of crumbliness. Prolonged exposure to heat evaporates too much moisture from the cake. This lack of moisture means the binding elements within the cake (like gluten and gelatinized starch) become brittle, causing the cake to crumble when handled or sliced. Baking just a few minutes too long can turn a moist cake into a crumbly one.
Tips for a Less Crumbly Cake
Using the Right Type of Fat: Oil vs. Butter
Consider the type of fat the recipe calls for. Butter provides structure and flavor through the creaming process and its water content. Oil, being pure fat, contributes moisture but less structure. Using oil in a recipe designed for butter, or vice versa, without proper adjustments can affect the crumb. For a less crumbly cake, ensure you are using the specified type and amount of fat. If a recipe is consistently crumbly, slightly reducing the fat or increasing the liquid (e.g., by 1-2 tablespoons per cup of liquid) might help, but be cautious with substitutions.
Adding Liquid Gradually: Ensuring Proper Hydration
When adding liquid to the batter (especially in recipes using the creaming method), incorporate it gradually, alternating with the dry ingredients. This allows the batter to emulsify properly and ensures the dry ingredients are evenly hydrated without overmixing. For example, adding half the dry ingredients, then all the liquid, then the remaining dry ingredients, mixing only until just combined after each addition, helps create a stable emulsion and prevents the flour from clumping or being inadequately hydrated.
Monitoring Baking Time: Preventing Overbaking
Use the doneness tests discussed earlier (toothpick test, visual cues) to avoid overbaking. Remove the cake from the oven as soon as it is done. A cake that is just done will retain maximum moisture, resulting in a tender, cohesive crumb that is less likely to crumble. Remember, even a few extra minutes can dry it out significantly.
Mastering Cake Troubleshooting: Final Thoughts.
Troubleshooting common cake problems is a skill that develops with practice and understanding the fundamentals of baking science. From dry textures and sunken centers to domed tops, dense crumbs, sticking, and crumbliness, each issue has specific causes and solutions. By paying close attention to your ingredients, measurements, mixing techniques, and oven behavior, you can significantly improve your baking results.
Don't be discouraged by baking failures; they are valuable learning opportunities. Each time a cake doesn't turn out perfectly, try to identify the likely cause based on the symptoms and adjust your approach for the next bake. With patience and these expert tips for troubleshooting common cake problems, you'll be well on your way to baking consistently perfect cakes that are moist, tender, and beautifully structured. Happy baking!
Frequently Asked Questions
What are some common reasons why a cake might come out dry?
A dry cake often results from over-baking, using too much flour, or insufficient fat in the recipe. Double-check your oven temperature and measurements.
My cake sank in the middle. What could have caused this?
A sunken cake is often due to under-baking, too much leavening agent (like baking soda or powder), or opening the oven door too early during baking.
The top of my cake is cracked and hard. How can I prevent this?
This is usually caused by baking at too high a temperature or over-mixing the batter. Reduce the oven temperature slightly and mix until just combined.
My cake is sticking to the pan even though I greased it. What can I do?
Ensure you are greasing and flouring the pan thoroughly. Alternatively, use parchment paper to line the bottom for easy release.
Why did my cake turn out dense and heavy instead of light and fluffy?
A dense cake can be caused by over-mixing the batter, not creaming the butter and sugar properly, or using ingredients that are too cold.
Final Reflection: The Sweet Science of Cake Troubleshooting
The seemingly simple act of baking a cake is, in reality, a delicate dance of science and artistry. A perfectly risen, moist, and flavorful cake is a testament to careful attention to detail, but even the most experienced bakers encounter challenges. This article has explored some of the most common cake problems, offering practical solutions and a deeper understanding of the baking process. Understanding these issues isn't just about fixing a flawed cake; it's about unlocking the potential for consistent baking success.
The journey of mastering cake baking is a continuous one, filled with both triumphs and setbacks. Each failed attempt, each slightly off texture, offers a valuable lesson. It's in these moments of imperfection that we truly learn and grow as bakers. As the renowned pastry chef, Julia Child, once said: Don't be afraid to experiment. To err is human; to forgive, divine. But to learn from your mistakes... that's baking.
This sentiment perfectly encapsulates the spirit of troubleshooting – embracing challenges as opportunities for improvement and deeper understanding.
So, the next time you face a stubbornly flat cake, a dense crumb, or an unevenly browned surface, remember the lessons learned here. Don't be discouraged! Instead, approach the problem with curiosity and a willingness to learn. Consult your notes, revisit the recipes, and adjust your technique. Each cake you bake, regardless of the outcome, is a step closer to mastering the art of baking and creating those perfectly delightful moments of sweet satisfaction. Embrace the process, celebrate the successes, and learn from the challenges – your perfect cake awaits.
Unlock Your Inner Cake Boss!
Thanks for joining us on this delicious journey into the world of cake baking! We hope you've picked up some invaluable tips and tricks to conquer those tricky baking challenges. Now it's time to put your newfound knowledge into action!
- Take on that challenging recipe: You've learned so much – now's the perfect time to tackle that cake you've been putting off. Try it out and see the amazing results!
- Share your baking triumphs (and struggles!): We'd love to see your creations – and hear about your experiences – so share your photos and stories on our social media!
- Explore our other resources: Dive deeper into the world of cake baking with our comprehensive guides and recipe collections – you might discover your next favorite treat!
Ready to transform your baking game? What's the first cake you're going to conquer?