
Flour for Pies and Tarts: Achieving Flaky Perfection Every Time

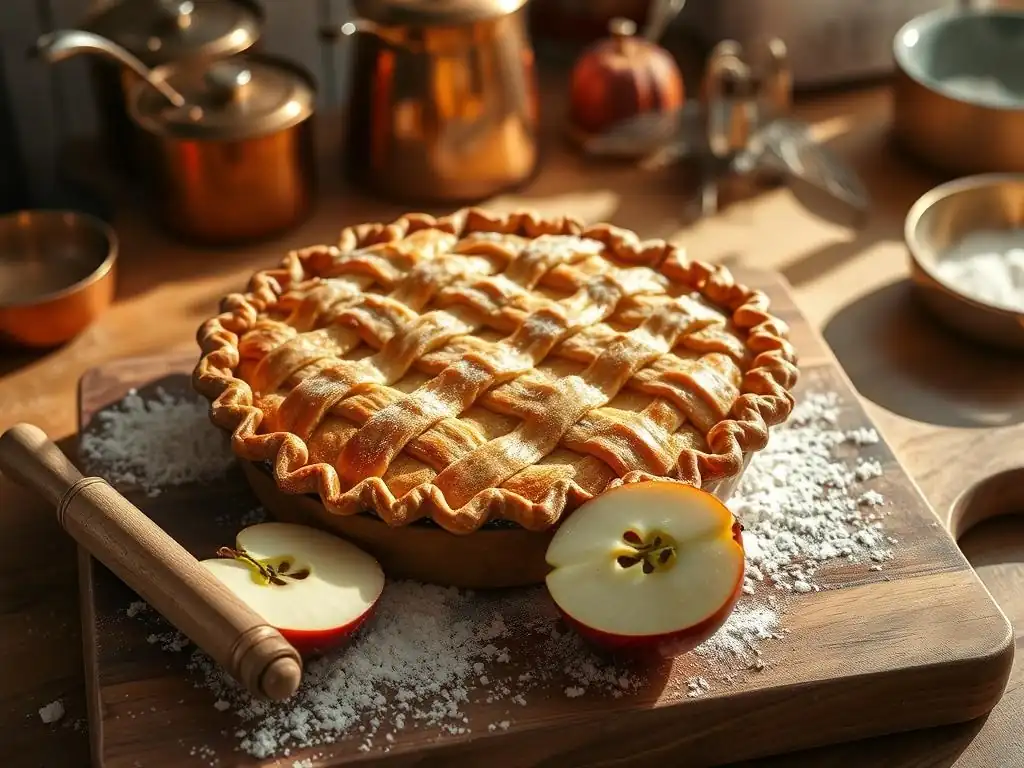
Welcome to BakeWithEase, your haven for baking bliss! Ever dreamt of achieving that perfectly flaky pie crust that shatters with each bite? You're in the right place. This article dives deep into the secrets of flour selection for pies and tarts, unlocking the path to pastry perfection. Curious to learn which flour reigns supreme and how to avoid a tough, chewy crust? Let's get baking!
- Understanding Flour's Role in Flaky Pie Crusts
- Decoding Different Flour Types for Pie Baking
- Mastering the Art of Flour Hydration for Pie Dough
- Creating the Perfect Flaky Pie Crust Recipe: A Step-by-Step Guide
- Troubleshooting Common Pie Crust Problems
- Exploring Variations on Flaky Pie Crust Recipes
- Storing Pie Dough and Baked Pies
-
Frequently Asked Questions
- What type of flour is best for achieving a flaky pie crust?
- How does the temperature of ingredients impact the flakiness of a pie crust?
- What is the purpose of using shortening or lard in addition to butter in a flaky pie crust recipe?
- How important is the amount of water when making a flaky pie crust recipe?
- What are some common mistakes that bakers make when trying to achieve a flaky pie crust and how can they be avoided?
- Final Reflection: The Enduring Allure of a Perfectly Flaky Crust
- Unlock Your Inner Pastry Chef: Master Flaky Crusts Today!
Understanding Flour's Role in Flaky Pie Crusts
Why Flour Choice Matters for Perfect Pie Dough
The type of flour you choose is arguably the most critical decision when aiming for that coveted flaky pie crust recipe. Flour provides the structure for your dough, primarily through its protein content, which forms gluten when hydrated and mixed. If you use a flour with too much protein and develop too much gluten, you end up with a tough, bread-like crust that lacks that desirable delicate flakiness. Conversely, using a flour with lower protein minimizes gluten development, resulting in a tender crust that readily separates into flaky layers during baking.
Think of gluten development like building a tiny, elastic net within your dough. For bread, you want a strong net to trap gases and create chewiness. For a flaky pie crust, you want a very loose, minimal net. The protein percentage in flour directly impacts how strong that net can become. For example, a typical bread flour might have 12-14% protein, while a pastry flour often falls between 8-9%. This difference of just a few percentage points makes a world of difference in the final texture of your flaky pie crust recipe.
A Guide to Selecting the Right Flour for Pies and Tarts
Choosing the best flour for your flaky pie crust recipe depends on the desired outcome and your personal baking style. For the most tender and flaky results, a lower-protein flour is generally preferred. This allows you to achieve a delicate structure that easily separates into layers without becoming tough.
When selecting your flour, consider its protein content as a primary indicator. Look for flours specifically labeled "pastry flour" for the lowest protein option, or opt for a good quality "all-purpose flour" if pastry flour isn't readily available. While all-purpose flour is versatile, its protein content varies by brand (often 10-12%), so results can differ slightly.
Some bakers even blend flours, perhaps mixing a small amount of cake flour (even lower protein, around 6-8%) with all-purpose to mimic the protein level of pastry flour for a specific flaky pie crust recipe. Always check the nutrition label if protein content isn't explicitly stated on the front of the bag.
Decoding Different Flour Types for Pie Baking
All-Purpose Flour: A Versatile Option for Pie Crusts?
All-purpose flour is the most common flour found in home kitchens and is a perfectly acceptable choice for many flaky pie crust recipes. Its moderate protein level (typically 10-12%) provides enough structure to create a dough that is relatively easy to handle and roll out, while still allowing for decent flakiness if handled correctly. This makes it a reliable go-to for beginner bakers tackling their first flaky pie crust recipe.
However, the variability in protein content between brands can lead to slightly different results. A brand with protein closer to 12% might yield a slightly tougher crust than one closer to 10%, especially if the dough is overworked. Achieving optimal flakiness with all-purpose flour requires careful attention to technique, such as minimizing mixing and ensuring ingredients are very cold, to inhibit excess gluten development. It's a good starting point for a flaky pie crust recipe, but perhaps not the ultimate choice for maximum tenderness.
Pros and Cons of Using All-Purpose Flour in Pie Recipes
- Pros:
- Widely available and affordable.
- Consistent performance across many different baking applications.
- Provides enough structure for dough handling and rolling.
- Can produce a satisfyingly flaky pie crust recipe with proper technique.
- Cons:
- Protein content varies by brand, potentially leading to inconsistent results.
- Higher protein than pastry flour, making it easier to develop too much gluten and a tougher crust.
- Requires strict adherence to cold ingredients and minimal mixing to achieve maximum flakiness.
Using all-purpose flour successfully in a flaky pie crust recipe means being diligent. For example, one popular brand's all-purpose flour lists its protein at 4g per 30g serving, which calculates to roughly 13.3% protein. Another brand might list 3g per 30g serving, closer to 10%. This difference can impact how much water the flour absorbs and how elastic the dough becomes. Always measure flour by weight (e.g., 120-125 grams per cup) for the most consistent results, especially when using all-purpose for a flaky pie crust recipe.
Pastry Flour: The Key to Tender and Flaky Pie Crusts
Pastry flour is specifically milled from soft wheat and has a significantly lower protein content than all-purpose or bread flour, typically ranging from 8% to 9.5%. This lower protein level is ideal for baked goods where tenderness and a delicate crumb are desired, such as cakes, biscuits, and, crucially, flaky pie crusts and tarts. It allows for minimal gluten development, resulting in a very tender dough that bakes up into beautiful, distinct layers.
When you use pastry flour for a flaky pie crust recipe, the reduced potential for gluten formation means you have a bit more leeway in handling the dough without risking toughness. This doesn't mean you should overwork it, but the margin for error is larger compared to using higher-protein flours. The resulting crust is often described as 'short' – tender and crumbly, melting in your mouth, with pronounced layers of flakiness.
Why Pastry Flour is Ideal for Delicate Tart Dough
Delicate tart doughs, especially those used for fruit tarts or quiches with lighter fillings, benefit immensely from pastry flour. These tarts often require a crust that is tender enough to complement the filling without being dense or chewy. The lower protein content of pastry flour is perfectly suited for this, ensuring the crust remains light and crisp.
Consider a classic French fruit tart where the crust is baked blind (without filling) and then filled with pastry cream and fresh fruit. A tough, elastic crust made with high-protein flour would detract from the delicate nature of the filling. Pastry flour provides the necessary structure to hold the filling while delivering a tender, crumbly texture that enhances the overall dessert. For achieving the ultimate flaky pie crust recipe or tender tart shell, pastry flour is often the baker's secret weapon.
Bread Flour: When to Avoid it in Pie Dough Recipes
Bread flour is milled from hard wheat and boasts a high protein content, typically 12% to 14% or even higher. This high protein level is fantastic for creating strong, elastic doughs needed for yeasted breads, allowing them to rise significantly and develop a chewy texture. However, these very qualities are detrimental when trying to achieve a tender, flaky pie crust.
Using bread flour in a flaky pie crust recipe will inevitably lead to a tough, rubbery, and elastic dough. No matter how carefully you handle it, the high potential for gluten development means your crust will fight back when you try to roll it and will bake into a hard, chewy layer rather than a flaky one. Save your bread flour for loaves and rolls, and steer clear of it for your flaky pie crust recipe aspirations.
The Impact of High Gluten Content on Pie Crust Texture
The high gluten content in bread flour creates a strong, interconnected network throughout the dough. When you mix water with bread flour and add mechanical action (like cutting in fat or mixing), the glutenin and gliadin proteins link up rapidly and extensively. This forms a very elastic structure.
Imagine trying to stretch a piece of chewing gum versus pulling apart layers of phyllo dough. Bread flour creates the chewing gum effect – it resists stretching and springs back. This elasticity makes rolling out pie dough difficult (it shrinks back) and results in a dense, tough texture after baking. A truly flaky pie crust recipe relies on minimizing this gluten development to allow fat pockets to create separation and layers, something high-gluten bread flour actively prevents.
Gluten-Free Flour Options for Baking Pies and Tarts
Creating a flaky pie crust recipe without gluten presents a unique challenge because gluten is what typically provides structure and elasticity. Gluten-free (GF) flours are made from a variety of sources like rice, almonds, oats, tapioca, potato, or corn. Each has different properties, and a single GF flour rarely behaves like wheat flour. Successful GF pie crusts usually rely on blends of these flours to mimic the structure and texture of traditional dough.
Achieving flakiness in GF pie crusts often involves different techniques than traditional methods. Since there's no gluten network to create layers, flakiness might be achieved through higher fat content, specific GF flour blend properties (like starches that gelatinize differently), or the addition of binders like xanthan gum or psyllium husk, which help hold the dough together but don't create the same elastic structure as gluten.
A common GF blend for pie crust might include a mix of rice flour, sorghum flour, and tapioca starch, perhaps with a small amount of xanthan gum (e.g., 1/2 teaspoon per cup of flour blend).
Achieving Flakiness with Gluten-Free Pie Crust Recipes
Achieving a truly flaky texture with gluten-free flours requires experimentation and understanding the properties of the specific blend you are using. Many commercial GF all-purpose blends are designed to be used cup-for-cup in traditional recipes, but their performance in a flaky pie crust recipe can vary. Look for blends specifically marketed for pastry or crusts.
One technique often used in GF flaky pie crust recipes is to use very cold, solid fats cut into the flour blend, similar to traditional methods. The goal is still to create pockets of fat that will steam and separate layers during baking. Some GF recipes also rely on techniques like using cream cheese or sour cream in the dough, which can contribute to tenderness and a slightly different kind of flakiness. While the layers might not be identical to a wheat-based crust, delicious and flaky results are absolutely possible with the right GF flour blend and technique.
Mastering the Art of Flour Hydration for Pie Dough
Understanding the Gluten Development Process
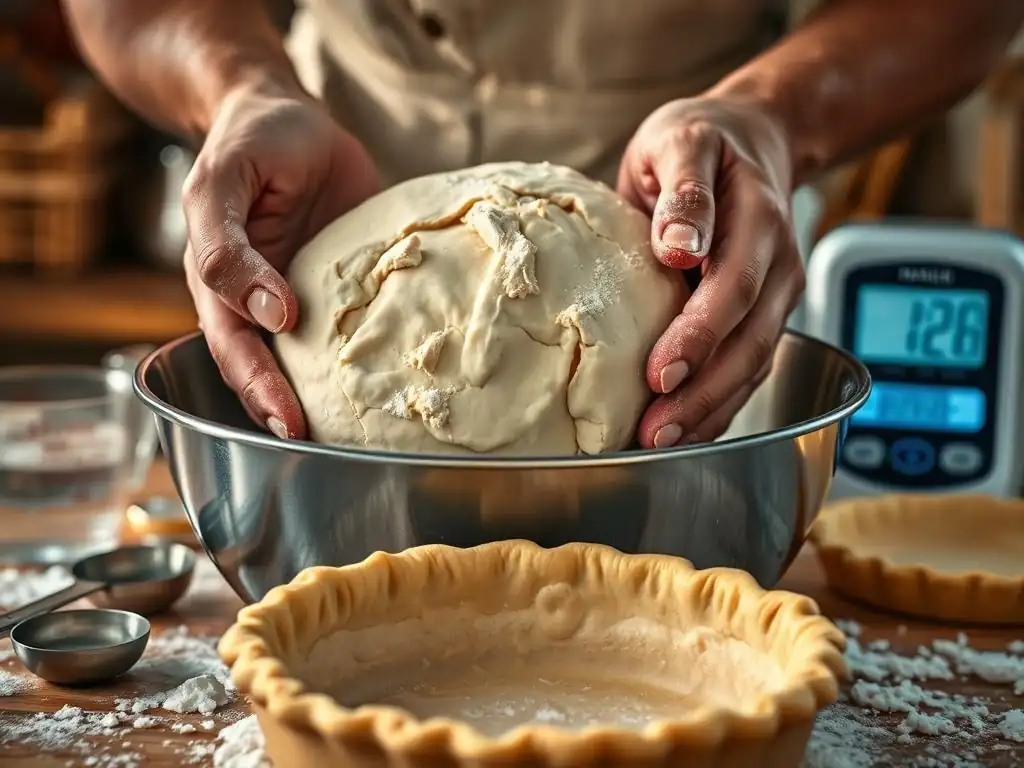
Gluten development is the key process we are trying to control when making a flaky pie crust recipe. It begins the moment wheat flour (containing glutenin and gliadin proteins) comes into contact with water. As the proteins absorb water, they become mobile. When the dough is then mixed or handled, these proteins link together, forming the elastic, stretchy network we call gluten.
The more water you add and the more you mix the dough, the stronger and more extensive the gluten network becomes. For a chewy loaf of bread, this is desirable. For a tender, flaky pie crust, it's the enemy of flakiness. Our goal is to hydrate the flour just enough for the dough to come together, while minimizing the mixing action to prevent those protein chains from linking up excessively.
The Importance of Cold Ingredients for a Flaky Crust
Using cold ingredients – particularly cold fat and ice water – is fundamental to a successful flaky pie crust recipe. Cold fat (like butter or shortening cut into cubes) remains solid within the dough. As the pie bakes, the water within these solid fat pieces turns to steam. This steam expands rapidly, forcing apart the layers of dough that surround the fat pockets, creating those distinct, flaky layers. If the fat is too soft or melts into the flour before baking, it coats the flour particles too evenly, inhibiting gluten development but preventing the steam pockets necessary for flakiness.
Cold water also plays a crucial role. Cold temperatures slow down the rate at which gluten develops. Warm water would cause the proteins to hydrate and link up much faster, even with minimal mixing. By using ice water, you give yourself more time to bring the dough together without overdeveloping the gluten, contributing significantly to achieving a tender, flaky pie crust recipe.
Tips for Controlling Gluten Development
Controlling gluten development is paramount for a flaky pie crust recipe. Here are some key strategies:
Using Ice Water for Perfect Pie Dough
Always use ice water when making pie dough. Measure out slightly more water than you think you'll need, add a few ice cubes, and let it sit for a few minutes. The water should be truly ice-cold. Add the water to your flour and fat mixture just a tablespoon or two at a time.
Use a fork or your hands to gently bring the dough together. Stop adding water the moment the dough just clumps together when squeezed; you might not need all the water. Adding too much water hydrates too much flour, leading to more gluten and a tougher crust. An example: for a 9-inch double crust using 2.5 cups of flour, you might start with 1/2 cup of ice water, but only incorporate perhaps 6-8 tablespoons.
Incorporating Fat Properly to Inhibit Gluten Formation
The method of incorporating fat is critical for a flaky pie crust recipe. The goal is to cut cold, solid fat into the flour until it resembles coarse meal with some larger pieces, roughly the size of small peas or even flattened lima beans. These larger pieces are what create the steam pockets during baking.
The fat also coats some of the flour particles, preventing them from fully hydrating and developing gluten. Use a pastry blender, forks, or your fingertips (working quickly to keep the fat cold) to cut in the fat. Avoid using a food processor for too long, as it can over-process the fat and flour, leading to a less flaky result.
Creating the Perfect Flaky Pie Crust Recipe: A Step-by-Step Guide
Making a truly flaky pie crust recipe is a foundational skill in baking. By following these steps, focusing on cold ingredients and minimal handling, you'll be well on your way to pie perfection.
Ingredients for a Flaky Pie Crust
Here are the basic ingredients for a standard 9-inch double-crust flaky pie crust recipe:
- 2 ½ cups (about 315 grams) all-purpose flour (or pastry flour for best results)
- 1 teaspoon salt
- 1 cup (2 sticks or 227 grams) very cold unsalted butter, cut into ½-inch cubes, or a mix of butter and shortening
- ½ cup (120 ml) ice water, plus a little more if needed
Step 1: Combining the Flour and Fat
In a large bowl, whisk together the flour and salt. Add the cold, cubed butter (and/or shortening). Using a pastry blender, two forks, or your fingertips, quickly cut the fat into the flour mixture.
Achieving Pea-Sized Crumbs for Maximum Flakiness
Continue cutting the fat into the flour until the mixture resembles coarse meal with some larger, pea-sized pieces of fat remaining. Some pieces can even be a bit larger, like small beans, as these will create larger steam pockets. This step is crucial for developing those distinct flaky layers. The mixture should feel crumbly, not uniform like sand.
Step 2: Adding the Cold Liquid
Sprinkle the ice water, one or two tablespoons at a time, over the flour-fat mixture. Use a fork or your hands to gently toss and mix until the dough just begins to come together. Add only enough water for the dough to hold together when you squeeze a small handful.
Hydrating the Flour Just Enough
Avoid adding too much water. Over-hydrating the flour leads to excess gluten development. The dough should look shaggy and perhaps a little dry in places; it doesn't need to be smooth or uniform at this stage. It's better to err on the side of too little water than too much for a flaky pie crust recipe.
Step 3: Gently Forming the Dough
Turn the shaggy dough out onto a clean, lightly floured surface. Gently gather the dough together and divide it into two equal portions (or one larger and one smaller for a single crust). Gently press each portion into a disk about 1 inch thick. Do not knead the dough.
Avoiding Overworking the Dough
Overworking the dough at this stage activates gluten and melts the fat, both of which lead to a tough, non-flaky crust. Handle the dough as little as possible, just enough to bring it together into a cohesive disk. The less you touch it, the more tender and flaky your pie crust recipe will be.
Step 4: Chilling the Dough
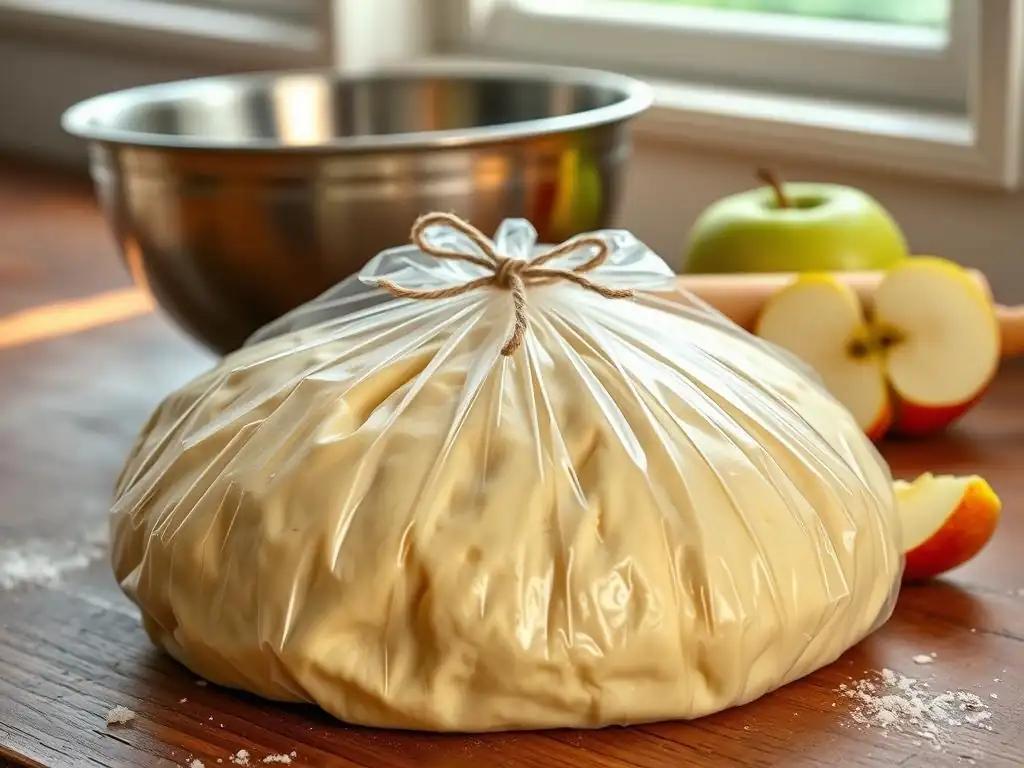
Wrap each dough disk tightly in plastic wrap. Refrigerate for at least 30 minutes, but preferably 1-2 hours, or up to 2-3 days.
Relaxing the Gluten for Easy Rolling
Chilling the dough is essential. It allows the flour to fully hydrate, the fat to firm up again, and, most importantly, the gluten developed during mixing to relax. Relaxed gluten makes the dough much easier to roll out without it springing back excessively. This chilling step is non-negotiable for a successful flaky pie crust recipe.
Step 5: Rolling Out the Pie Dough
On a lightly floured surface, roll out one disk of chilled dough using a rolling pin. Start from the center and roll outwards, rotating the dough frequently and adding just a touch more flour underneath if needed to prevent sticking.
Achieving an Even Thickness
Roll the dough into a circle (or square, depending on your pie plate) about 12-13 inches in diameter for a 9-inch pie plate. Aim for a consistent thickness of about 1/8 inch (around 3mm). Uneven thickness can lead to uneven baking, with some parts potentially burning while others remain pale. Gently transfer the rolled dough to your pie plate.
Step 6: Baking the Pie
Once the dough is in the pie plate and filled (or blind-baked), bake according to your specific pie recipe's instructions. Baking temperature and time vary greatly depending on the filling.
Ensuring a Golden Brown Crust
For a flaky pie crust recipe, look for a beautiful golden brown color on the edges and surface of the crust. This color indicates that the crust is fully baked and crisp. Pale crusts are often underbaked and can be soggy. If the edges are browning too quickly, you can shield them with foil or a pie crust protector. A typical starting temperature might be 400-425°F (200-220°C) for the first 15-20 minutes to help set the crust and create steam, then the temperature is often lowered to finish baking the filling.
Troubleshooting Common Pie Crust Problems
Even with a great flaky pie crust recipe, sometimes things don't go exactly as planned. Here's how to tackle some common issues.
Tough Pie Crust: Causes and Solutions
A tough, chewy pie crust is usually the result of too much gluten development. This can happen for several reasons: using a high-protein flour like bread flour, adding too much water, overmixing or kneading the dough, or not chilling the dough sufficiently before rolling.
To fix or prevent a tough crust: Ensure you are using an appropriate flour (all-purpose or pastry). Measure flour accurately, preferably by weight (e.g., 125g per cup). Use only enough ice water for the dough to just come together – it should look shaggy. Handle the dough minimally; avoid kneading. Always chill the dough for at least 30-60 minutes to relax the gluten before rolling. For example, if your dough feels very elastic and springs back when you try to roll it, it likely needs more time chilling to relax that gluten tension.
Soggy Bottom Crust: Prevention Tips
A soggy bottom crust is a common frustration. It occurs when moisture from the filling seeps into the bottom dough before it has a chance to crisp up, or if the crust isn't fully baked through.
To prevent a soggy bottom: Blind bake the bottom crust partially or fully before adding a wet filling. Brush the bottom crust with a thin layer of egg wash or melted butter before adding the filling; this creates a barrier. Ensure your oven is preheated adequately and consider baking the pie on a preheated baking stone or metal baking sheet placed on the lowest rack; this direct heat helps crisp the bottom crust. For very wet fillings like quiche, blind baking is almost always necessary.
Shrinking Pie Crust: How to Avoid It
If your pie crust shrinks significantly from the edges of the pie plate during baking, it's often due to gluten tension. This tension builds up if the dough is overworked or not sufficiently chilled, and then it contracts in the heat of the oven.
To avoid shrinkage: Do not overwork the dough when mixing or forming the disks. Ensure the dough is thoroughly chilled (at least one hour is best) before rolling. When placing the rolled dough into the pie plate, gently ease it in without stretching it. Trim the edges generously, leaving a slight overhang, as some minor shrinkage is natural. Some bakers even recommend letting the shaped crust rest in the pie plate in the fridge for another 15-30 minutes before filling and baking.
Exploring Variations on Flaky Pie Crust Recipes
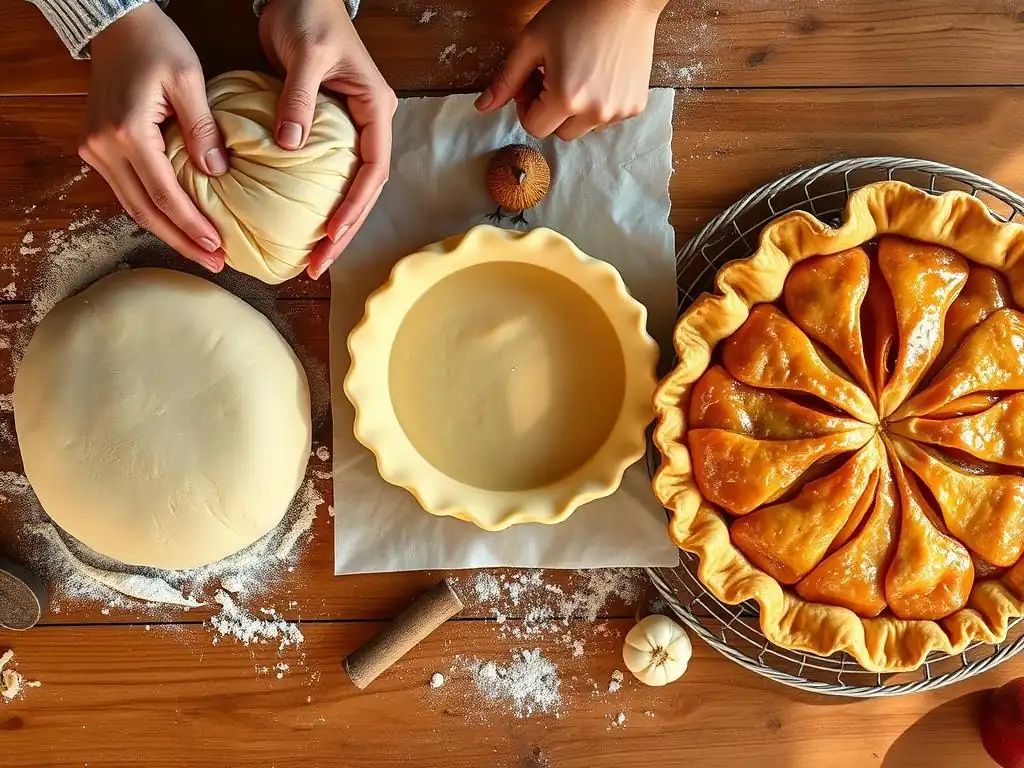
Once you've mastered the basic flaky pie crust recipe, you can start experimenting with variations to complement different fillings.
Sweet vs. Savory Pie Dough
The primary difference between sweet and savory pie dough is the addition of sugar to sweet crusts. Sugar adds a touch of sweetness, obviously, but it also affects the texture slightly by interfering with gluten development and promoting browning. A standard flaky pie crust recipe for sweet pies might include 1-2 tablespoons of sugar per 2.5 cups of flour.
For savory pies and tarts, omit the sugar entirely. You can also add savory elements directly into the dough. Consider adding a pinch of black pepper, a teaspoon of dried herbs (like thyme or rosemary), or even a few tablespoons of grated hard cheese (like Parmesan) to the dry ingredients for a flavorful savory crust that pairs wonderfully with fillings like quiche, pot pie, or tomato tart.
Adding Flavor to Your Pie Crust
Beyond sweet and savory variations, you can infuse your flaky pie crust recipe with other flavors. Citrus zest (lemon, orange, or lime) adds a bright note, especially for fruit pies. Ground spices like cinnamon, nutmeg, or cardamom can be added to the flour mixture for warm, aromatic crusts.
For a unique twist, try incorporating finely chopped fresh herbs into a savory crust (e.g., chives or parsley). You can also experiment with different fats; while butter provides classic flavor and flakiness, using lard or shortening results in slightly different textures, and rendered bacon fat can add a smoky depth to savory applications. Add these flavorings along with the dry ingredients before cutting in the fat.
Favorite Pie and Tart Recipes Using Different Flours
The type of pie or tart filling can help guide your flour choice for the crust. For delicate fillings like fresh fruit tarts or custard pies, a tender crust made with pastry flour (or a low-protein all-purpose) is ideal. Think of a classic strawberry tart with a delicate, crumbly crust.
For heartier or more robust fillings like apple pie, pecan pie, or savory quiches, a crust made with all-purpose flour often provides sufficient tenderness and structure. A robust apple pie recipe benefits from a crust that can hold up to the juicy filling while still being wonderfully flaky. Experimenting with different flours in your favorite flaky pie crust recipe is a great way to see how they impact the final result.
Storing Pie Dough and Baked Pies
Proper storage is key to preserving the quality of your flaky pie crust recipe, whether it's unbaked dough or a finished pie.
How to Properly Store Unbaked Pie Dough
Once you've made your pie dough disks, wrap them tightly in plastic wrap. This prevents them from drying out and developing a skin, which can make them difficult to roll. Store the wrapped disks in the refrigerator for up to 2-3 days. This is a great way to prep ahead for holiday baking.
For longer storage, unbaked pie dough freezes beautifully. Wrap the plastic-wrapped disks in a layer of aluminum foil or place them in a freezer-safe bag. Label with the date. Frozen dough will keep well for 3 to 6 months. Thaw frozen dough in the refrigerator overnight before you plan to roll it out. Avoid thawing at room temperature, which can cause the fat to soften too much.
Maintaining the Crispness of Baked Pies
Allow baked pies to cool completely on a wire rack before storing. This is crucial for preventing a soggy bottom crust, as residual steam needs to escape. Fruit pies can typically be stored loosely covered at room temperature for 1-2 days. The sugar and acidity help preserve them.
Pies with dairy or egg-based fillings, such as custard pies, cream pies, or quiches, must be refrigerated. Cover them loosely with plastic wrap or foil once cooled. Refrigerated pies are best consumed within 3-4 days. If the bottom crust softens in the fridge, you can often crisp up individual slices by warming them briefly in a toaster oven or conventional oven at around 350°F (175°C) for 5-10 minutes.
Frequently Asked Questions
What type of flour is best for achieving a flaky pie crust?
All-purpose flour is often used, but pastry flour, with its lower protein content, can result in a more tender and flaky crust. Using a combination of the two can provide the desired balance.
How does the temperature of ingredients impact the flakiness of a pie crust?
Keeping your butter and water ice-cold is crucial. Cold ingredients prevent the butter from melting prematurely, creating layers of fat that result in a flaky texture during baking.
What is the purpose of using shortening or lard in addition to butter in a flaky pie crust recipe?
Shortening and lard have a higher fat content and melt at a higher temperature than butter. This contributes to increased flakiness and a more tender texture, as they create larger fat pockets.
How important is the amount of water when making a flaky pie crust recipe?
The amount of water used is critical. Too much water can develop the gluten in the flour, leading to a tough crust. Use just enough ice water to bring the dough together.
What are some common mistakes that bakers make when trying to achieve a flaky pie crust and how can they be avoided?
Overworking the dough develops gluten, resulting in a tough crust. Avoid this by mixing the dough as little as possible and chilling it thoroughly before rolling. Also, ensure cold ingredients are used.
Final Reflection: The Enduring Allure of a Perfectly Flaky Crust
The pursuit of the perfect flaky pie crust transcends mere culinary skill; it's a testament to our enduring desire for simple pleasures perfected. From humble beginnings in kitchens across the globe, the art of creating a flawlessly flaky crust remains a source of both frustration and immense satisfaction for bakers of all levels. This article has explored various techniques and tips, aiming to demystify the process and empower you to achieve that coveted, melt-in-your-mouth texture every time.
The quest for the ideal flaky crust reflects a deeper human need for mastery and connection. It's a tangible representation of our ability to transform simple ingredients into something beautiful and delicious, a process that resonates deeply with our creative spirit. As Julia Child once wisely said, Find something you're passionate about and keep tremendously interested in it.
For many, that passion lies in the satisfying crackle of a perfectly baked pie crust, a symbol of home, comfort, and shared joy. The enduring popularity of pie, and the continued search for the perfect crust, speaks volumes about our desire for these simple yet profound connections.
Now, consider your own journey with pie crust. Have you experienced the frustration of a tough, gummy bottom? The elation of achieving that perfect, golden-brown flake? Remember the feeling of sharing that delicious creation with loved ones?
Let this article serve as a springboard for your own culinary explorations. Don't be afraid to experiment, to tweak techniques, and to embrace the occasional imperfection. The journey towards flaky perfection is as rewarding as the destination itself. So, gather your ingredients, embrace the process, and create a pie crust that will bring joy to your heart and delight to your taste buds.
Unlock Your Inner Pastry Chef: Master Flaky Crusts Today!
Thanks for taking the time to explore the world of flaky pie and tart crusts! We hope you now feel empowered to create delicious, perfectly golden pastries. Ready to put your new skills to the test?
- Bake your dream pie: Choose your favorite filling and immediately start creating that perfect pastry. This is your time to shine!
- Share your baking journey: Snap a picture of your masterpiece and share it on social media – tag us @BakeWithEase so we can see your success!
- Experiment with new flavors: What unique combination of filling and crust will you create next? Let your creativity soar!
What unexpected flavor combination will you try for your next flaky pie creation? Let us know in the comments below!