
Stuck Cookies on Your Baking Sheet? NonStick Hacks That Work

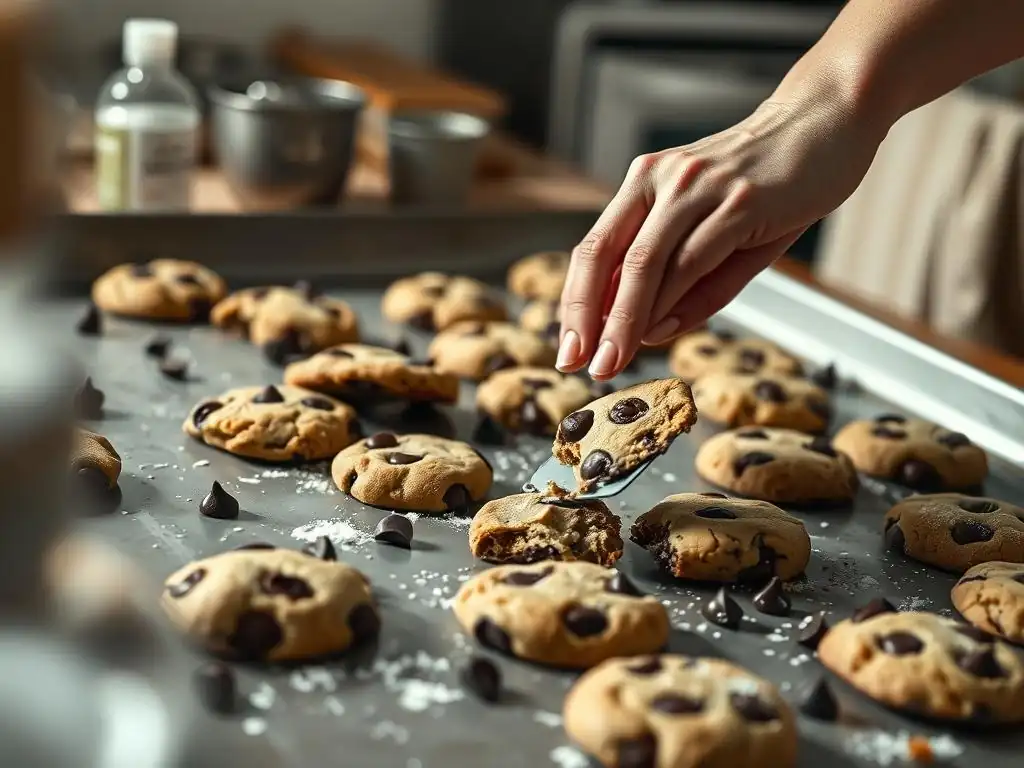
Welcome to BakeWithEase, your haven for unlocking baking brilliance! Are you tired of wrestling with stubbornly stuck cookies? This week, we're diving deep into nonstick baking sheet hacks that actually work. Discover the secrets to perfectly released treats every time, and say goodbye to frustrating baking fails. Intrigued? Keep reading to uncover the foolproof methods that will transform your baking game!
- Introduction: The Sticky Situation - Why Cookies Get Stuck
-
Nonstick Baking Sheet Hacks: Your Cookie-Saving Solutions
- Hack #1: The Power of Parchment Paper for Easy Cookie Release
- Hack #2: Silicone Baking Mats: Reusable Nonstick Magic
- Hack #3: Greasing and Flouring: The Traditional Approach (With a Twist)
- Hack #4: The Oven Temperature Tweak: Preventing Cookie Sticking
- Hack #5: Cooling Rack Essentials: The Importance of Quick Cooling
- Deep Dive: Troubleshooting Persistent Cookie Sticking Issues
- Cleaning and Maintaining Your Baking Sheets for Nonstick Performance
- Conclusion: Enjoy Perfectly Baked, Non-Stuck Cookies with Ease
-
Frequently Asked Questions
- How can I prevent cookies from sticking to my nonstick baking sheet?
- What are some alternative linings if I don't have parchment paper?
- Does the type of cookie dough affect how likely it is to stick?
- How do I clean a nonstick baking sheet with stuck-on residue?
- Are all nonstick baking sheets created equal in terms of their nonstick properties?
- Final Reflection: The Sweetness of Success (and Clean Baking Sheets)
- Unleash Your Baking Brilliance!
There's little more disheartening in the baking world than pulling a tray of beautifully golden-brown cookies from the oven, only to find they've become stubbornly glued to the baking sheet. What starts as anticipation quickly turns into a careful, often damaging, extraction process. You might lose edges, break cookies in half, or leave behind a sugary, baked-on residue that's a pain to clean. This common problem affects bakers of all skill levels, transforming a potentially perfect batch into a frustrating mess. It's a scenario that makes exploring effective nonstick baking sheet hacks absolutely essential for a smoother baking experience.
Beyond the immediate loss of perfectly shaped cookies, persistent sticking can lead to wasted ingredients and extra time spent on tedious cleaning. Imagine spending an hour creaming butter and sugar, chilling dough for 30 minutes, and carefully portioning cookies, only for half of them to break upon removal. It’s enough to make anyone question their baking prowess. Fortunately, achieving non-stuck cookies isn't just about luck; it's about understanding the science behind why sticking happens and employing reliable nonstick baking sheet hacks to prevent it.
Several factors contribute to cookies bonding firmly to your baking surface. One primary culprit is sugar caramelization. As cookies bake, the sugars in the dough melt and spread. If the baking surface isn't adequately nonstick, these molten sugars can essentially glue the cookie to the sheet as they cool and harden. This is particularly true for recipes high in sugar content or those baked at higher temperatures.
Another significant factor is the baking sheet itself. Older, scratched, or warped baking sheets can lose their nonstick properties over time. Uneven heating can also cause hot spots where cookies brown and stick more readily. Furthermore, insufficient or improper greasing (or lack thereof when needed) leaves the porous surface of the baking sheet exposed, allowing the cookie dough to seep into tiny imperfections and bond during baking. Understanding these underlying causes is the first step toward implementing effective nonstick baking sheet hacks.
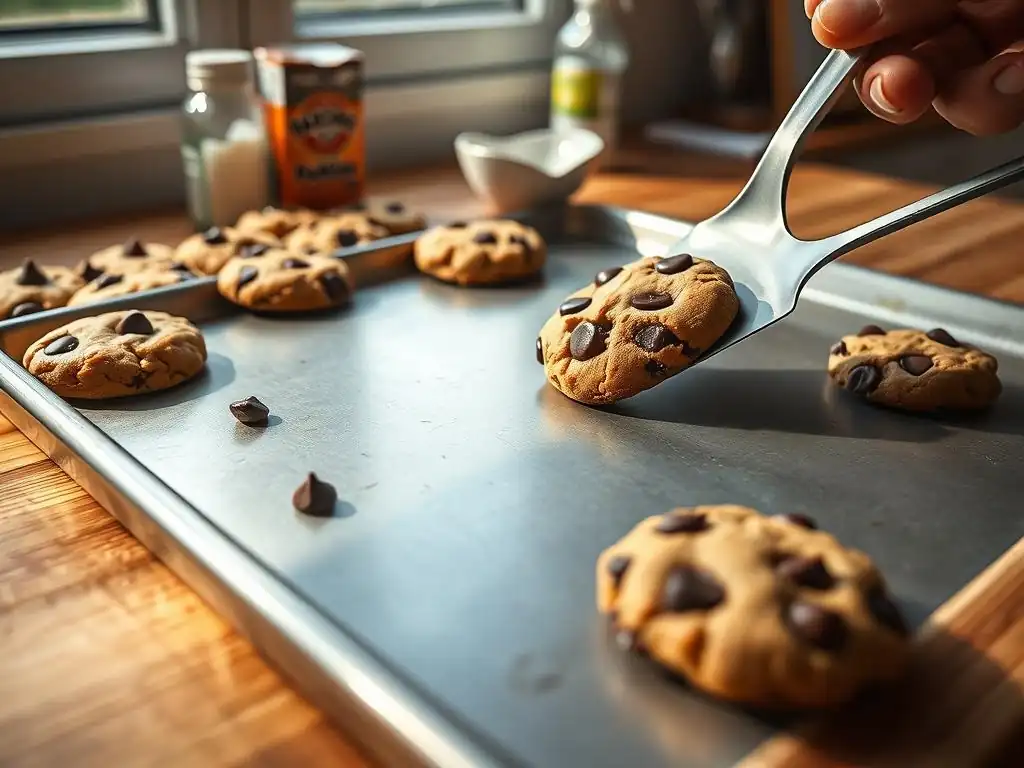
Why Parchment Paper is a Baker's Best Friend
Parchment paper is a simple yet incredibly effective tool in the quest for nonstick baking. It provides a smooth, heat-resistant barrier between your cookie dough and the baking sheet. Unlike wax paper, which can melt or even catch fire at high temperatures (typically above 350°F or 175°C), parchment paper is treated with silicone, making it safe for standard baking temperatures, often up to 400-425°F (200-220°C). This silicone coating is what gives it its excellent nonstick properties, ensuring that even the stickiest caramel or molasses cookies lift off cleanly.
Using parchment paper not only prevents sticking but also promotes even baking and browning. It helps insulate the bottom of the cookie slightly, preventing the edges from burning before the center is cooked through. Additionally, it makes cleanup a breeze. Instead of scrubbing baked-on residue, you simply lift the used parchment paper off the sheet and discard it. This saves time and helps preserve the life of your baking sheets, making it a top-tier nonstick baking sheet hack.
How to Properly Use Parchment Paper on Baking Sheets
Using parchment paper effectively is straightforward. First, select a sheet of parchment paper that is slightly larger than your baking sheet. You can buy pre-cut sheets that fit standard half-sheet pans (approximately 13x18 inches or 33x46 cm) or rolls that you can cut to size. Place the parchment paper directly onto your clean, ungreased baking sheet. The weight of the cookie dough will typically keep it in place, but for extra security, you can put a tiny dab of cookie dough or butter in each corner under the paper before placing it down.
Once the parchment is securely on the sheet, arrange your cookie dough according to the recipe's spacing instructions, usually leaving about 2 inches (5 cm) between cookies to allow for spread. Bake as directed. After baking, you can often slide the entire sheet of parchment paper with the cookies still on it onto a cooling rack, or simply lift the cookies off the paper with a spatula. Parchment paper can sometimes be reused for a second batch of cookies if it's not overly browned or greasy, though this depends on the cookie type and temperature.
Hack #2: Silicone Baking Mats: Reusable Nonstick Magic
Benefits of Using Silicone Mats for Baking Cookies
Silicone baking mats, often sold under brand names like Silpat, are another fantastic nonstick solution and a popular nonstick baking sheet hack. Made from food-grade silicone reinforced with fiberglass mesh, these mats provide an exceptionally nonstick surface that is durable and reusable. They offer similar benefits to parchment paper, creating a reliable barrier between your cookies and the baking sheet, ensuring effortless release every time.
One of the key advantages of silicone mats is their reusability. Unlike parchment paper, which is often single-use, a quality silicone mat can last for hundreds or even thousands of baking cycles with proper care. This makes them an environmentally friendly and cost-effective option over time. They also conduct heat evenly, contributing to consistent cookie baking and browning. Cleanup is usually as simple as a quick wash with warm soapy water.
Choosing the Right Silicone Baking Mat for Your Needs
When selecting a silicone baking mat, consider the size of your baking sheets. Standard half-sheet pan mats (approx. 11.5x16.5 inches or 29x42 cm) are the most common size and fit perfectly inside a standard 13x18 inch half-sheet pan. Ensure the mat is made from high-quality, food-grade silicone, often indicated by FDA or European food safety certifications. Cheaper mats may not be as durable or nonstick.
Thickness can also vary slightly; thicker mats tend to be more durable and offer better heat distribution. While the initial cost of a silicone mat is higher than a roll of parchment paper, the long-term savings and consistent nonstick performance make them a worthwhile investment for frequent bakers seeking reliable nonstick baking sheet hacks. Always check the manufacturer's recommended maximum temperature, which is typically around 450-480°F (230-250°C), well within the range for most cookie recipes.
Hack #3: Greasing and Flouring: The Traditional Approach (With a Twist)
When Greasing and Flouring is Still a Good Option
Before the widespread availability of parchment paper and silicone mats, greasing and often flouring baking sheets was the standard method to prevent sticking. This approach can still be effective, particularly for certain types of cookies like classic sugar cookies or shortbread, which have a lower tendency to spread and stick compared to chewier, higher-sugar varieties. It's also a useful technique if you find yourself without parchment or silicone mats.
A properly greased and floured surface creates a physical barrier. The fat (like butter, shortening, or cooking spray) lubricates the surface, while a fine dusting of flour provides tiny particles that prevent the dough from making direct contact with the metal. While perhaps not as foolproof as parchment or silicone for very sticky doughs, it's a foundational nonstick baking sheet hack that every baker should know.
Tips for Effective Greasing and Flouring for Cookie Baking
To effectively grease a baking sheet, ensure it is clean and dry. Apply a thin, even layer of your chosen fat. Solid fats like softened butter or shortening can be applied with a pastry brush or paper towel. If using cooking spray, hold the can upright about 6-8 inches (15-20 cm) away from the pan and spray in a smooth, even motion, avoiding puddles. Ensure you get into the corners and up the slight lip of the pan.
For extra nonstick insurance, especially for doughs prone to sticking, you can then lightly flour the greased surface. Add a tablespoon or two of all-purpose flour to the greased pan, then tilt and tap the pan to distribute a thin, even layer over the entire surface. Tap the pan upside down over a trash can to remove any excess flour. Too much flour can leave a powdery residue on your cookies. This combination of grease and a light flour dusting provides a traditional, reliable nonstick surface for many cookie types.
How Oven Temperature Affects Cookie Spread and Sticking
Oven temperature plays a critical, often overlooked, role in whether cookies stick. If the oven is too cool, cookies spread slowly, and the sugars have more time to melt and potentially bond with the baking surface before the cookie structure sets. This can lead to increased sticking, especially around the edges where the dough is thinnest. An inaccurate oven thermostat (which can be off by as much as 25-50°F or 15-30°C) is a common culprit.
Conversely, an oven that is too hot can cause cookies to spread too quickly and brown excessively on the bottom before the top is cooked. This rapid spread can also push molten sugar into direct contact with the pan, exacerbating sticking issues. Maintaining the correct, consistent oven temperature is therefore a vital, albeit indirect, nonstick baking sheet hack. Using an oven thermometer is highly recommended to verify your oven's actual temperature.
Adjusting Oven Temperature for Optimal Cookie Baking
For most standard cookie recipes, the recommended temperature is between 350°F and 375°F (175°C and 190°C). Baking at the lower end of this range (like 350°F) often results in thicker, softer cookies with less spread, which can inherently reduce sticking risk. If you find cookies are consistently sticking and browning too quickly on the bottom, try lowering your oven temperature by 10-15°F (5-8°C) and extending the baking time slightly.
If your oven runs cool (as indicated by an oven thermometer), your cookies might not be spreading properly, leading to dense centers and potential sticking due to prolonged contact with the pan at lower temperatures. In this case, you might need to slightly increase the temperature or preheat for longer. Always ensure your oven is fully preheated before putting cookies in; placing dough in a cold or warming oven guarantees uneven results and potential sticking issues.
Hack #5: Cooling Rack Essentials: The Importance of Quick Cooling
Why Immediate Cooling Prevents Cookies from Sticking
The process of cooling is just as critical as baking for preventing cookies from sticking to the sheet. Cookies are soft and fragile when they first come out of the oven. Their structure hasn't fully set, and the melted sugars are still in a semi-liquid state. If you leave them on the hot baking sheet for too long, the residual heat from the pan will continue to cook the cookies, particularly the bottoms, and the cooling sugars will have ample time to solidify and bond firmly to the surface.
Moving cookies to a cooling rack allows air to circulate freely around them, promoting rapid and even cooling. This quick temperature drop helps the cookie structure set properly and prevents the sugars from creating a strong adhesive bond with the baking sheet. Attempting to move cookies before they've cooled slightly on the rack can also cause them to break. Therefore, transferring cookies promptly is a simple yet effective nonstick baking sheet hack.
Choosing the Right Cooling Rack for Your Baked Cookies
A good cooling rack is essential for this step. Look for a wire rack with a grid pattern that is dense enough to support your cookies without them falling through, but open enough to allow for good airflow. Racks with feet that lift them several inches off the counter are ideal for maximum circulation. Materials vary, including chrome-plated steel, stainless steel, or nonstick coated racks. Stainless steel is often preferred for its durability and rust resistance.
Most cookies should be transferred from the baking sheet to a cooling rack after just 1-5 minutes of resting on the pan. Delicate cookies might need slightly longer on the sheet (say, 5-10 minutes) to firm up before moving, but avoid leaving them until they are completely cool on the hot pan. Use a thin, flexible spatula to carefully lift each cookie and place it on the cooling rack to finish cooling completely. This crucial step solidifies their structure and prevents them from becoming permanently attached to the baking sheet.
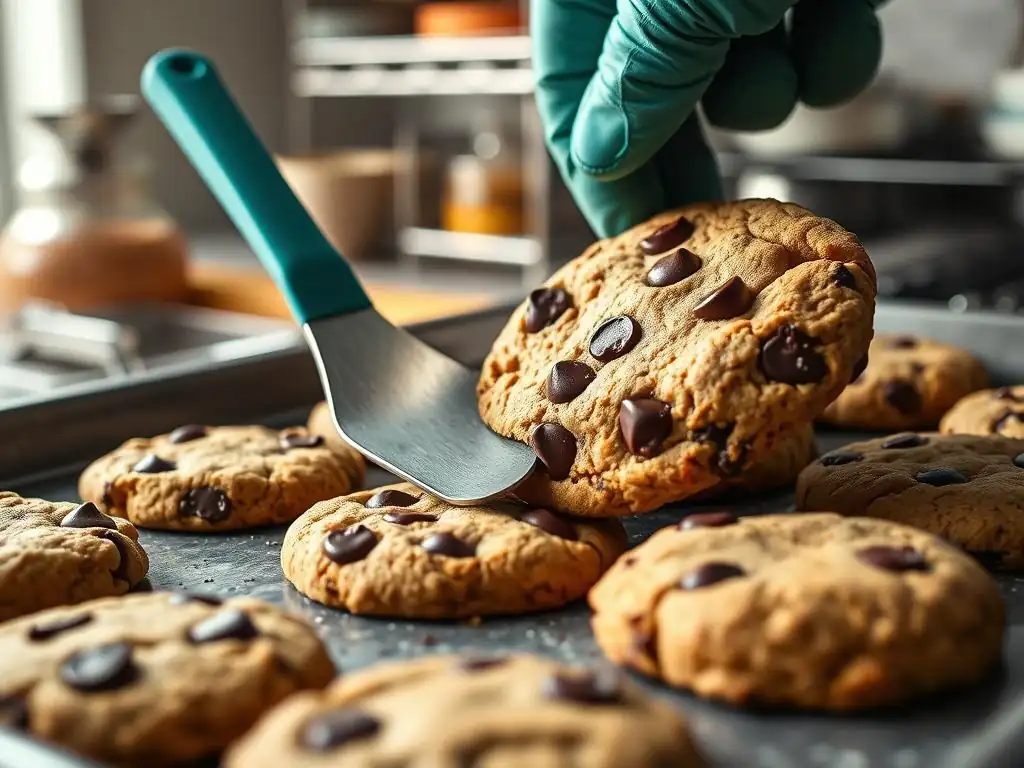
Baking Sheet Quality Matters: Choosing the Right Baking Sheet
Identifying High-Quality Nonstick Baking Sheets
Not all baking sheets are created equal, and the quality of your pan significantly impacts nonstick performance. High-quality baking sheets are typically made from heavy-gauge aluminum or aluminized steel, which provides excellent heat conduction and prevents warping at high temperatures. While these materials aren't inherently nonstick, they form the base for durable nonstick coatings. Look for sheets with a PFOA-free nonstick finish applied in multiple layers. A good nonstick coating feels smooth and slightly slick.
Avoid thin, flimsy pans which tend to warp and create uneven heating, leading to hot spots where cookies are more likely to stick and burn. Darker colored pans absorb more heat and can cause faster browning on the bottom, potentially increasing sticking risk compared to lighter, shiny aluminum pans. Investing in one or two high-quality baking sheets designed for even heating and featuring a durable nonstick finish is a fundamental step in implementing effective nonstick baking sheet hacks. Expect to pay between $20-$40 for a good quality half-sheet pan.
When to Replace Your Baking Sheets
Even the best nonstick baking sheets don't last forever. Over time, the nonstick coating can become scratched, chipped, or worn, particularly if abrasive cleaners or metal utensils have been used. Once the coating is compromised, the underlying metal is exposed, and cookies will begin to stick reliably in those damaged areas. Warping, where the pan bends or twists permanently, also indicates a pan that needs replacing, as warped pans heat unevenly.
A good indicator that it's time for replacement is when even using parchment paper or a silicone mat doesn't fully prevent sticking in specific spots, or when cleaning requires excessive scrubbing. While a high-quality nonstick sheet might last 5-10 years with proper care (avoiding dishwashers, metal utensils, and harsh cleaners), signs of significant wear mean it's time to retire the pan and invest in new ones to ensure your nonstick baking sheet hacks are effective.
How Dough Hydration Impacts Cookie Sticking
The amount of moisture, or hydration, in your cookie dough directly affects its consistency and how it interacts with the baking surface. Doughs that are too wet or have a high ratio of liquid ingredients (like melted butter or extra eggs) tend to spread more during baking. This increased spread means more of the dough's surface, including its sugary components, comes into direct contact with the hot baking sheet, increasing the likelihood of sticking as the sugars caramelize and cool.
Overmixing can also contribute to a stickier dough. When flour is mixed with liquid, gluten develops. Overdeveloping gluten can result in a tougher, sometimes stickier dough that spreads differently. Recipes that call for chilling the dough are often designed to firm up fats and reduce spread, indirectly helping with sticking. A dough with the correct hydration and consistency for the recipe will spread appropriately and release more easily from a nonstick surface.
Adjusting Dough Consistency for Easy Cookie Release
If you find a specific recipe consistently results in cookies that stick, even with nonstick aids, the dough consistency might be the issue. Ensure you are measuring ingredients accurately, particularly flour, which should typically be spooned into a measuring cup and leveled, not scooped directly from the bag (which can add up to 25% more flour). If your dough seems excessively wet or sticky, try adding a tablespoon or two of extra flour cautiously until it reaches the desired texture specified in the recipe (e.g., "forms a cohesive ball," "slightly sticky").
Conversely, if the dough is too dry, it might not spread enough, leading to dense cookies, though this is less common as a cause of sticking. Chilling the dough as recommended by the recipe is a simple yet effective step; chilling solidifies the fats, reduces spread, and makes the dough easier to handle and less likely to immediately fuse to the hot pan. For certain doughs, like those with lots of mix-ins, ensuring the mix-ins are evenly distributed prevents "bald spots" on the bottom that might stick.
Sugar Content: A Sticky Situation
The Role of Sugar in Cookie Sticking
Sugar is a primary culprit when it comes to cookies sticking. As cookies bake, sugar melts and caramelizes at temperatures typically above 320°F (160°C). This molten, sticky liquid is what forms the delicious crisp edges and contributes to the overall texture. However, if this caramelized sugar comes into direct contact with a non-nonstick surface, it acts like a powerful adhesive upon cooling, bonding the cookie firmly to the pan. Recipes particularly high in sugar, or those containing ingredients like molasses or corn syrup which are essentially liquid sugars, are more prone to sticking.
Different types of sugar also behave differently. Granulated sugar melts and caramelizes readily. Brown sugar, containing molasses, is even stickier when melted. Powdered sugar, often used in glazes or shortbread, contains cornstarch which can help reduce spread and sticking slightly, but the high fat content in those recipes is the main nonstick factor. Understanding the stickiness potential of sugar highlights why reliable nonstick baking sheet hacks like parchment or silicone are so valuable.
Managing Sugar Content for Nonstick Results
While you shouldn't drastically alter the sugar content of a recipe (as it affects texture, spread, and flavor), being aware of its role can help. For recipes notoriously prone to sticking due to high sugar content, doubling down on your nonstick method is key. Always use parchment paper or a silicone mat for these recipes. Ensure your oven temperature is accurate to prevent excessive caramelization on the bottom before the top is done.
If adapting a recipe, be mindful that reducing sugar significantly can change the cookie's texture (less spread, less crispness) and appearance (less browning), but it might also reduce sticking. Conversely, adding extra sugar will almost certainly increase the sticking risk. For recipes where sticking is a known issue due to high sugar (like toffee cookies or lace cookies), using a reliable nonstick surface is non-negotiable.
Cleaning and Maintaining Your Baking Sheets for Nonstick Performance
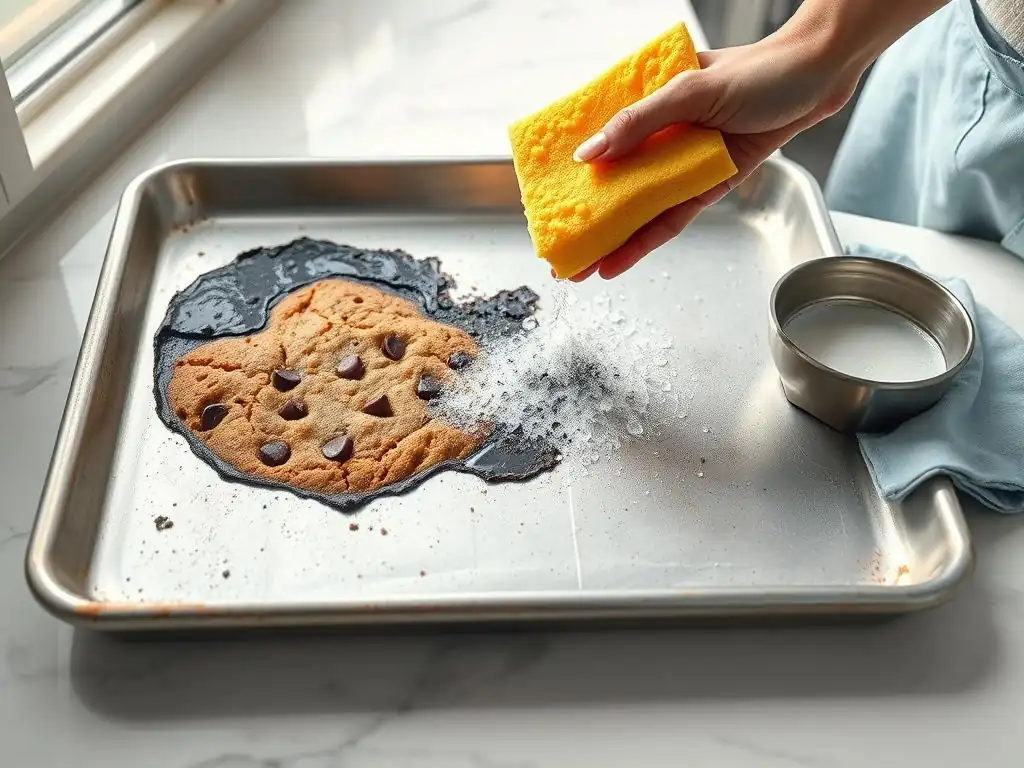
Proper Cleaning Techniques for Nonstick Baking Sheets
Maintaining the nonstick coating on your baking sheets is crucial for their long-term performance and ensures your nonstick baking sheet hacks remain effective. After use, allow the pan to cool completely before cleaning. For pans used with parchment or silicone, cleaning might be as simple as wiping them down with a damp cloth. For pans used with greasing/flouring, wash them by hand using warm water, a soft sponge or cloth, and mild dish soap.
Avoid using abrasive scouring pads, steel wool, or harsh chemical cleaners, as these can scratch and degrade the nonstick surface. If there is stuck-on residue (which should be minimal if using proper nonstick methods), try soaking the pan in warm, soapy water for 10-15 minutes to loosen the debris before gently wiping it away. Dry the pan thoroughly with a towel immediately after washing to prevent water spots or rust, especially on the edges or underside.
Avoiding Damage to Your Nonstick Coating
Preventing damage is key to extending the life of your nonstick baking sheets. Never use metal utensils like spatulas, knives, or scrapers directly on the nonstick surface; opt for wood, silicone, or plastic utensils instead. While some nonstick pans claim to be dishwasher safe, the harsh detergents and high heat in dishwashers can degrade the nonstick coating over time. Hand washing is always the gentler option.
Avoid stacking nonstick pans directly on top of each other without protection, as this can cause scratches. Placing a paper towel, dishcloth, or pan protector between stacked pans helps prevent scratching. Also, avoid extreme temperature changes, such as plunging a hot pan into cold water, which can cause warping and stress the nonstick coating. By following these simple maintenance tips, you can keep your nonstick baking sheets performing optimally for years, making your nonstick baking sheet hacks more successful.
Say goodbye to the frustration of stuck cookies! By understanding the reasons behind sticking – from sugary culprits and dough consistency to oven temperature and baking surface quality – you can proactively prevent this common baking woe. Implementing effective nonstick baking sheet hacks like using parchment paper or silicone mats provides a reliable barrier for effortless cookie release every time.
Remember the importance of proper pan preparation, whether it's using a dedicated nonstick aid or mastering the traditional grease-and-flour method. Paying attention to your oven's temperature and transferring cookies promptly to a cooling rack are also simple steps that make a big difference. Combine these techniques with quality baking sheets and diligent pan maintenance, and you'll consistently achieve perfectly baked cookies that lift off the pan cleanly. Embrace these nonstick baking sheet hacks and enjoy the sweet satisfaction of intact, delicious cookies with BakeWithEase!
Frequently Asked Questions
Even with a nonstick baking sheet, greasing or lining it with parchment paper is recommended. This provides an extra layer of protection and ensures easy cookie removal.
What are some alternative linings if I don't have parchment paper?
You can use baking mats (like Silpat) or grease the baking sheet thoroughly with butter or cooking spray before baking. Just be sure to apply the grease evenly.
Yes, high-fat cookie doughs are less likely to stick due to the fat content acting as a natural release agent. However, even these benefit from lining or greasing.
How do I clean a nonstick baking sheet with stuck-on residue?
Avoid abrasive scrubbers. Soak the sheet in warm, soapy water, then gently scrub with a soft sponge. For stubborn residue, try a paste of baking soda and water.
Are all nonstick baking sheets created equal in terms of their nonstick properties?
No, the quality of the nonstick coating varies. Higher-quality sheets generally offer better and longer-lasting nonstick performance. Consider investing in a reputable brand.
Final Reflection: The Sweetness of Success (and Clean Baking Sheets)
The struggle with stuck-on cookies is a universal baking experience, but it doesn't have to be. This article has explored a range of practical, effective, and readily available solutions to ensure your baking sheets remain pristine and your cookies emerge perfectly golden brown and easily removable. From parchment paper's reliable protection to the surprising effectiveness of silicone baking mats, we've uncovered a treasure trove of nonstick baking sheet hacks.
The impact of effortlessly releasing baked goods extends beyond mere convenience; it's about preserving the joy of baking itself. The frustration of scraping stubbornly stuck cookies can quickly dampen the creative spirit. As the saying goes, Baking is a labor of love, and the reward is a delicious treat.
Maintaining clean baking sheets allows us to focus on the artistry and satisfaction of the process, rather than the tedious cleanup. This simple act of prevention contributes to a more positive and enjoyable baking experience, fostering a deeper appreciation for the craft.
Now, it's your turn. Consider the baking challenges you've faced, and how implementing even one of these nonstick hacks can transform your baking routine. Imagine the time saved, the frustration avoided, and the increased enjoyment of creating delicious treats. Embrace the simplicity of these solutions, and let the sweetness of success—and perfectly released cookies—be your reward.
Unleash Your Baking Brilliance!
Thanks for diving into our tips on conquering those stubborn stuck cookies! We hope you're now equipped to bake with even more confidence and ease. Ready to put your newfound knowledge to the test?
- Master the art of effortless cookie release: Try our recommended non-stick methods on your next baking adventure – you'll be amazed by the difference!
- Share your baking triumphs (or challenges!): Let's build a community of bakers – tell us about your experiences in the comments below!
- Discover more baking secrets: Explore our other articles for even more tips and techniques to elevate your baking game.
So, what delicious treat are you baking next, and which non-stick hack will you try first?