
Master Ganache: The Secret to Rich Chocolate Frosting & Filling

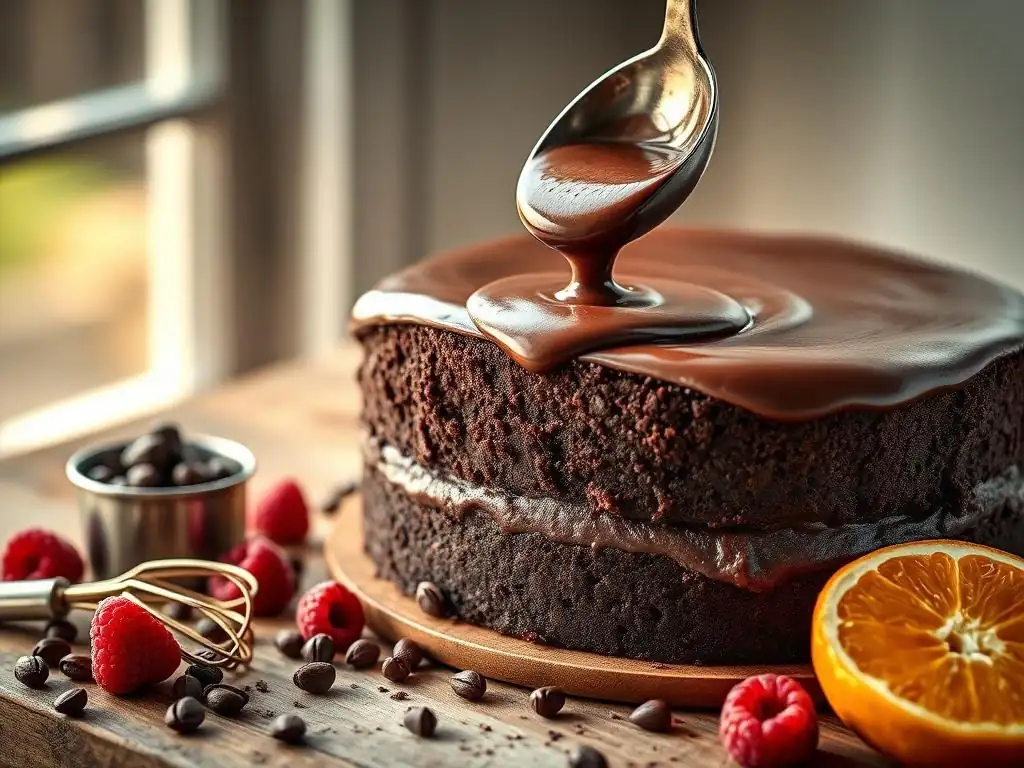
Welcome to BakeWithEase, your guide to unlocking baking brilliance! Ever wondered how to achieve that perfect, glossy finish on your desserts? Or create a filling so decadent it melts in your mouth? Today, we're diving deep into a baker's best-kept secret: the rich chocolate ganache. Get ready to discover the secrets behind creating a flawlessly smooth and irresistibly delicious ganache, and learn how this versatile ingredient can elevate your creations from ordinary to extraordinary. Intrigued? Let's get baking!
- Mastering Chocolate Ganache: From Silky Frosting to Decadent Filling
- Understanding Ganache: Versatility and Applications
- Classic Chocolate Ganache Recipe: The Base
- Step-by-Step Guide to Perfecting Ganache
- Addressing Common Ganache Issues
- Applications of Ganache: Frosting, Filling, Glaze, and More
- Flavor Infusions: Enhancing Your Ganache
- Recipes Featuring Chocolate Ganache
- Storing Ganache: Maintaining Freshness and Quality
- Conclusion: Unleashing the Potential of Chocolate Ganache
-
Frequently Asked Questions
- What exactly is a rich chocolate ganache?
- How do I achieve that perfectly smooth, glossy finish for my ganache?
- Can I use different types of chocolate for this rich chocolate ganache recipe?
- What's the best way to store leftover chocolate ganache?
- What are some creative ways I can use a rich chocolate ganache in my baking?
- Final Reflection: The Enduring Allure of Perfect Ganache
- Unlock Your Inner Chocolatier: Mastering Ganache Made Easy
Mastering Chocolate Ganache: From Silky Frosting to Decadent Filling
Understanding Ganache: Versatility and Applications
Chocolate ganache is a fundamental building block in the world of baking, a simple yet incredibly versatile mixture of chocolate and cream. Its consistency can range from a pourable glaze to a firm truffle base, making it indispensable for countless desserts. A well-executed rich chocolate ganache recipe can transform a simple cake into a showstopper or elevate humble brownies to gourmet status. Its applications span from elegant glazes and smooth frostings to rich fillings and the core of luxurious truffles.
The beauty of ganache lies in its simplicity and the dramatic effect it achieves. By merely altering the ratio of chocolate to cream and the temperature at which it's used, you unlock a spectrum of textures and uses. Whether you need a glossy mirror glaze for a French pastry or a sturdy, pipeable frosting for cupcakes, understanding the basics of ganache allows you to adapt one simple recipe to fit your needs perfectly.
Exploring the Different Types of Chocolate Ganache
The primary way to differentiate types of ganache is by the ratio of chocolate to heavy cream. A common starting point for a pourable glaze or a delicate drip is a 1:1 ratio (equal parts chocolate and cream by weight). This yields a relatively fluid ganache that sets up soft. For a richer, thicker consistency ideal for fillings or piping, a 2:1 ratio (two parts chocolate to one part cream) is standard. This results in a ganache that becomes quite firm when chilled, perfect for layering inside cakes or rolling into truffles.
Conversely, a whipped ganache, often used as a lighter frosting, typically starts with a ratio of 1:2 or 1:3 (one part chocolate to two or three parts cream). This mixture is made, chilled until firm, and then whipped until light and airy, similar to whipped cream but with a deep chocolate flavor. Each ratio results in a distinct texture and application, allowing bakers to tailor their rich chocolate ganache recipe precisely to the desired outcome for their dessert.
The Significance of High-Quality Ingredients
The quality of your chocolate is paramount when making ganache. Since ganache is essentially just chocolate and cream, the flavor of the chocolate takes center stage. Using a high-quality chocolate with good flavor notes will directly result in a more delicious and complex ganache. Look for chocolate with a high percentage of cocoa butter, as this contributes to a smooth melt and luxurious texture. Couverture chocolate, known for its high cocoa butter content (typically 32-39%) and smooth melting properties, is often preferred by professionals, but many high-quality baking bars also work beautifully.
Similarly, using heavy cream (with a milkfat content of at least 30%, preferably 36% or higher) is crucial. The fat in the cream is what emulsifies with the chocolate, creating that signature smooth, stable texture. Lower-fat creams will not create a proper emulsion and can result in a greasy or separated ganache. The freshness of the cream also matters; using fresh, cold cream ensures optimal results when heated and combined with the chocolate.
Classic Chocolate Ganache Recipe: The Base
A fundamental rich chocolate ganache recipe serves as the foundation for countless variations and applications. This classic approach uses just two ingredients: chocolate and heavy cream. The ratio you choose will dictate the final consistency, but the method remains largely the same. Mastering this basic technique opens the door to creating everything from a glossy glaze to a rich, fudgy filling.
Understanding the interaction between the hot cream and the solid chocolate is key. The heat from the cream melts the chocolate, and the fat in both ingredients helps create a stable emulsion when whisked together. This emulsion is what gives ganache its characteristic smooth and homogeneous texture. Getting this step right is crucial for preventing issues like graininess or separation.
Ingredients for a Flawless Ganache
To make a standard rich chocolate ganache recipe, you will need:
- High-quality chocolate (chopped into small pieces or in chip form). The type (bittersweet, semisweet, milk, or even white) depends on your desired flavor and sweetness. Using chopped bar chocolate often yields a smoother result than chips, which contain stabilizers.
- Heavy whipping cream (with at least 36% milkfat).
The ratio depends on the intended use:
- Pourable Glaze/Drip: 1 part chocolate to 1 part cream (by weight)
- Frosting/Filling/Truffles: 2 parts chocolate to 1 part cream (by weight)
- Whipped Ganache Base: 1 part chocolate to 2 or 3 parts cream (by weight)
For example, for a thick filling, you might use 12 ounces of chopped chocolate and 6 ounces of heavy cream. For a pourable glaze, 8 ounces of chocolate and 8 ounces of cream would be a good starting point.
Recommended Equipment
While ganache is simple, having the right tools makes the process smoother and helps ensure a perfect result. Essential equipment includes:
- A heatproof bowl: A glass or stainless steel bowl is ideal. Ensure it's completely dry, as even a drop of water can cause chocolate to seize.
- A small saucepan: For heating the heavy cream.
- A whisk or rubber spatula: For stirring and emulsifying the mixture. A whisk helps ensure a smooth, lump-free result.
- A kitchen scale:Crucial for accurately measuring ingredients by weight, especially when working with ratios. Volume measurements (cups) are less reliable for ganache ratios.
- An instant-read thermometer: Helpful for ensuring the cream is heated to the correct temperature range (just simmering, typically 180-190°F or 82-88°C) and for monitoring the cooling process if needed for specific applications.
Optional but helpful tools include a double boiler setup if you prefer a gentler way to melt the chocolate (though heating the cream and pouring it over is the standard method) and fine-mesh sieve if you need an exceptionally smooth finish for a glaze.
Step-by-Step Guide to Perfecting Ganache
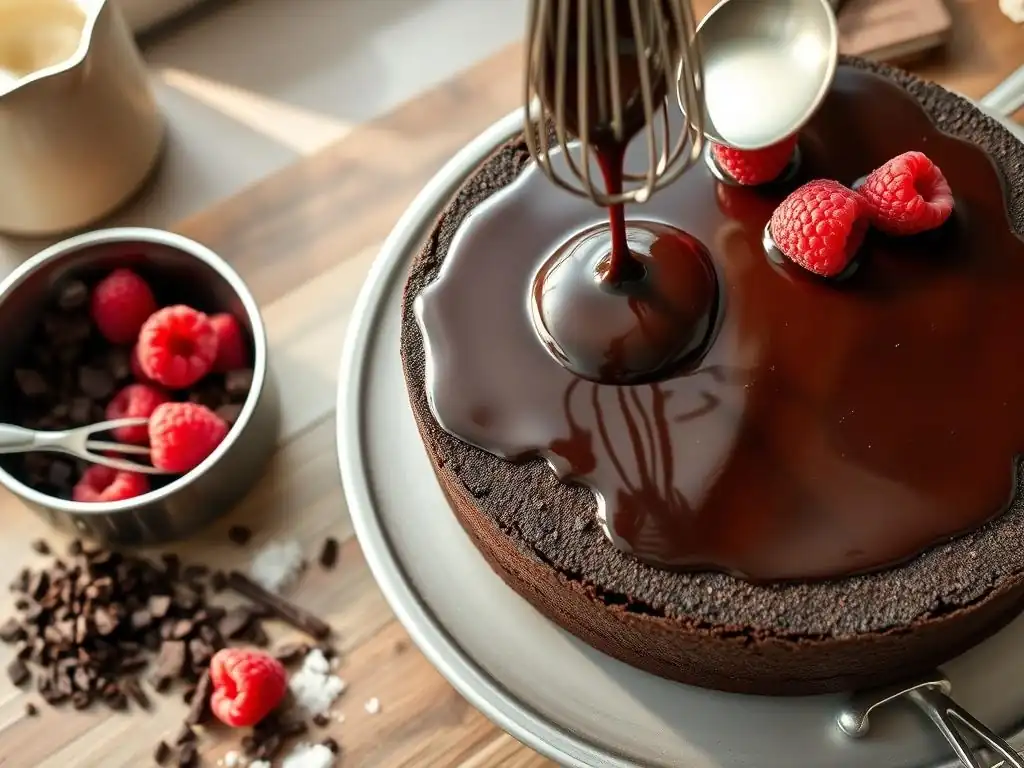
Creating a perfect rich chocolate ganache is a straightforward process once you understand the basic steps and principles. It involves careful preparation, precise temperature control, and proper emulsification. Following these steps will help you achieve a smooth, glossy, and stable ganache every time, regardless of the ratio you choose for your specific rich chocolate ganache recipe.
Patience is also key, especially during the cooling phase. Ganache needs time to set up to the desired consistency for its intended application. Rushing this step can lead to disappointing results, such as a runny frosting or a filling that doesn't hold its shape.
Step 1: Selecting Your Chocolate (Bittersweet, Semisweet, Milk)
The type of chocolate you choose significantly impacts the flavor and sweetness of your ganache. Bittersweet chocolate (typically 60-80% cocoa) yields a deep, intense chocolate flavor with less sweetness, ideal for balancing very sweet desserts. Semisweet chocolate (around 40-60% cocoa) is a versatile middle ground, offering a balanced chocolate flavor that works well in many applications. Milk chocolate (containing milk solids and more sugar, typically 30-40% cocoa) produces a sweeter, creamier ganache with a milder chocolate taste.
For the best results, use high-quality bar chocolate and chop it finely and evenly. This ensures that the chocolate melts quickly and uniformly when the hot cream is added. Chocolate chips contain stabilizers that can sometimes prevent them from melting as smoothly as bar chocolate, potentially leading to a less silky ganache. However, many bakers successfully use high-quality chips.
Step 2: Heating the Cream: Temperature Control
Heat the heavy cream in a small saucepan over medium heat until it just begins to simmer. You'll see small bubbles forming around the edges of the pan, but you don't want a rolling boil. The ideal temperature range is typically between 180°F and 190°F (82°C to 88°C). This temperature is hot enough to melt the chocolate quickly and efficiently without scorching the cream.
Once the cream reaches the correct temperature, immediately remove it from the heat. Overheating the cream can cause it to scorch, imparting an unpleasant flavor to the ganache. It's also essential that the cream is hot enough to fully melt the chocolate upon contact; lukewarm cream will result in unmelted chocolate bits and a lumpy texture.
Step 3: Emulsifying Chocolate and Cream: Achieving a Smooth Texture
Place your finely chopped chocolate in a heatproof bowl. Pour the hot cream directly over the chocolate. Let the mixture stand undisturbed for 5-10 minutes. This resting period allows the heat from the cream to begin melting the chocolate without agitation, which helps prevent seizing. After resting, start gently stirring the mixture from the center outwards using a whisk or rubber spatula.
Continue stirring slowly and consistently until all the chocolate is melted and the mixture is completely smooth, glossy, and homogeneous. This process is called emulsification – the fat in the cream and chocolate combine to form a stable mixture. If the mixture looks slightly separated or greasy initially, keep stirring gently; it should come together. Avoid vigorous whisking initially, as this can incorporate air and potentially cause the ganache to split, though a gentle whisk is needed to bring it together.
Step 4: Determining the Ideal Ganache Consistency
The consistency of your rich chocolate ganache depends on its temperature and the chocolate-to-cream ratio. Immediately after making, a 1:1 or 2:1 ganache will be liquid and pourable, perfect for glazes or warm sauces. As it cools at room temperature (around 70-75°F or 21-24°C), it will thicken to a spreadable or pipeable consistency, suitable for frosting cakes or filling pastries. This usually takes several hours, depending on the batch size and room temperature.
For applications requiring a very firm texture, such as truffles or a sturdy cake filling, the ganache needs to be chilled in the refrigerator until solid enough to scoop or roll. This can take 2-4 hours or longer. For whipped ganache (made with a higher cream ratio), it must be chilled until very firm, then whipped with an electric mixer until light and fluffy. Understanding these stages of cooling and their corresponding textures is key to using your rich chocolate ganache recipe successfully.
Addressing Common Ganache Issues
Even experienced bakers occasionally encounter problems with ganache. The most common issues include graininess, splitting (where the fat separates), and achieving the wrong consistency (too thick or too thin). Fortunately, most ganache problems can be fixed with a little patience and the right technique. Don't despair if your first attempt isn't perfect; troubleshooting is part of the baking process.
Understanding the science behind why ganache fails can help you prevent problems in the future. Issues often stem from temperature fluctuations, improper emulsification, or the presence of water. By controlling these factors, you increase your chances of success with any rich chocolate ganache recipe.
Troubleshooting Grainy Ganache
Grainy ganache typically occurs when the chocolate either hasn't melted completely or when the mixture has been overheated or shocked by a sudden temperature change, causing the cocoa solids and fat to separate slightly. If your ganache looks grainy, gently warm it over a double boiler or in a microwave on very low power (stirring every 15-20 seconds). Be careful not to overheat it.
Once slightly warmed, try whisking it vigorously for a minute or two. If it still hasn't smoothed out, you can try adding a tablespoon or two of warm heavy cream (around 110-120°F or 43-49°C) and whisking it in gradually. The added liquid and gentle heat can help re-emulsify the mixture and restore its smooth texture. Patience and gentle heat are key here.
Correcting Overly Thick Ganache
If your ganache has cooled too much or was made with a slightly high chocolate-to-cream ratio for your intended use, it might be too thick to pour or spread smoothly. The easiest way to correct overly thick ganache is to gently warm it. Place the bowl over a double boiler with simmering water (ensure the bottom of the bowl doesn't touch the water) or microwave it in short bursts (10-15 seconds), stirring between each burst.
As it warms, the ganache will loosen. Stir gently until it reaches the desired consistency. If it's still too thick even after warming, you can carefully whisk in a very small amount (start with a teaspoon) of warm heavy cream until the desired pourable or spreadable consistency is achieved. Add the cream gradually to avoid making it too thin.
Thickening Runny Ganache
A runny ganache, often the result of too much cream or not enough chilling time, can be frustrating when you need it for frosting or filling. The simplest fix is to chill the ganache in the refrigerator. Stir it every 20-30 minutes to check its consistency and prevent the edges from setting faster than the center. Chilling allows the fat in the chocolate and cream to solidify, thickening the mixture.
If chilling alone isn't sufficient, or if the ganache is significantly too thin due to an incorrect ratio, you'll need to add more chocolate. Gently reheat the ganache over a double boiler or in the microwave until it's warm but not hot. Stir in a small amount of finely chopped chocolate (start with 1-2 ounces per cup of ganache) and let it sit for a few minutes to melt before stirring gently until smooth. Chill again until the desired consistency is reached.
Applications of Ganache: Frosting, Filling, Glaze, and More
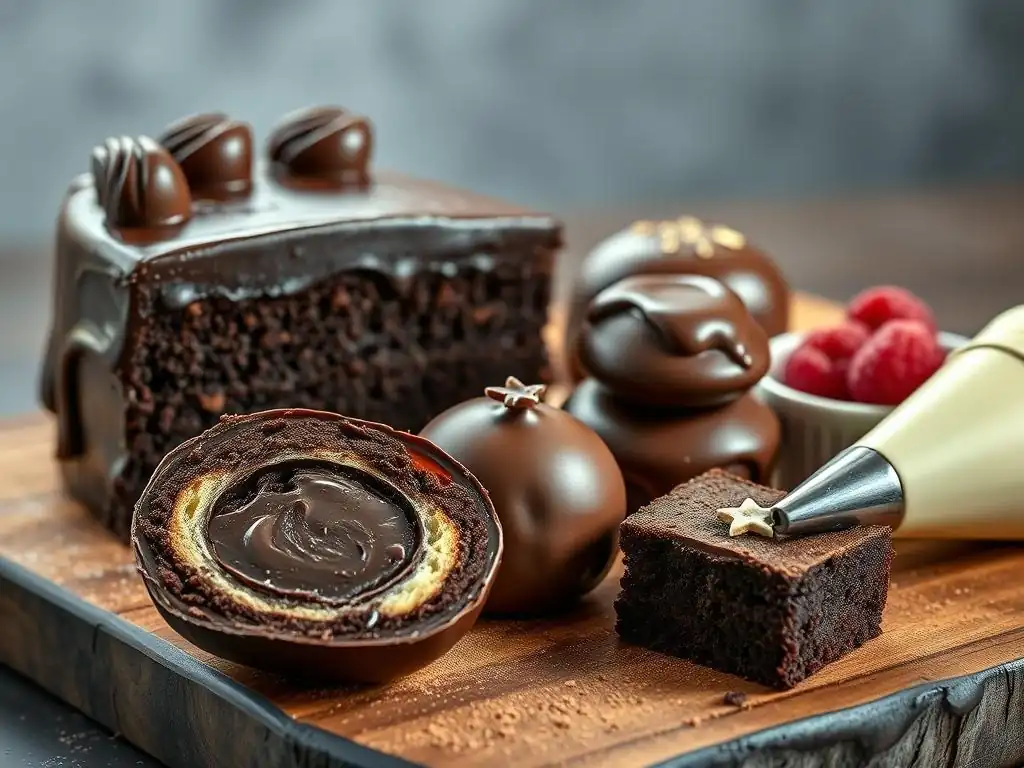
The versatility of a rich chocolate ganache recipe is truly remarkable. Depending on the ratio and temperature, it can serve multiple roles in dessert creation. From providing a glossy finish to cakes to serving as a rich, stable filling or being rolled into decadent truffles, ganache is a baker's best friend. Understanding how to manipulate its consistency is key to unlocking its full potential across various applications.
Each application requires the ganache to be at a specific temperature and consistency. A ganache suitable for drizzling will be too thin for piping, and one firm enough for truffles will be impossible to spread smoothly as a frosting. Patience during the cooling process is essential for achieving the right texture for your desired use.
Achieving a Smooth Ganache Frosting
For a smooth, spreadable ganache frosting, a 2:1 ratio of chocolate to cream (by weight) is often preferred for dark or semisweet chocolate, while a 1.5:1 ratio might be better for milk or white chocolate due to their higher fat and sugar content. Once made, the ganache needs to cool at room temperature until it reaches a thick, peanut butter-like consistency. This can take several hours (typically 2-4 hours) depending on the ambient temperature.
Once cooled to the right consistency, you can spread it onto cakes or cupcakes using an offset spatula. For a lighter, fluffier frosting, make a ganache with a higher cream ratio (like 1:2 or 1:3), chill it until very firm (4+ hours or overnight), then whip it with an electric mixer until it's light, airy, and pale in color. This whipped version is less dense but still offers a rich chocolate flavor.
Ganache as a Stable and Flavorful Cake Filling
Ganache makes an excellent cake filling because it sets up firmly, providing stability between cake layers and a rich, intense flavor. A 2:1 or even 2.5:1 ratio (chocolate to cream) is ideal for a firm filling that holds its shape when the cake is sliced. After making the ganache, let it cool at room temperature until it's thick enough to spread but still pliable, similar to the consistency for frosting.
Alternatively, for a very firm filling or a dam to contain softer fillings, you can chill the 2:1 ganache until it's quite firm, then beat it briefly with a mixer until it's spreadable but holds stiff peaks. This method creates a stable structure within the cake. Ensure your cake layers are completely cool before filling to prevent the ganache from melting.
Creating Perfect Ganache Drips
A trendy and visually appealing application is the ganache drip. For this, you need a ganache that is pourable but thick enough to create defined drips that don't run completely down the cake. A 1:1 ratio of chocolate to cream is the standard starting point. The key to perfect drips is the temperature of the ganache when applied and the temperature of the cake.
The ganache should be warm enough to pour smoothly but cool enough to start setting as it hits the cold cake. The cake itself should be chilled for at least 30 minutes, ideally frosted with a firm buttercream or chilled ganache base. Test the ganache consistency on the side of a glass before applying it to the cake. It should flow easily but not run uncontrollably. Drips are often applied using a squeeze bottle, spoon, or piping bag.
Crafting Exquisite Ganache Truffles
Rich chocolate ganache is the heart of most traditional chocolate truffles. A very firm ganache is required, typically made with a 2:1 or even 3:1 ratio of chocolate to cream for dark chocolate, or a 2.5:1 ratio for milk/white chocolate. Once the ganache is made, it must be chilled thoroughly in the refrigerator until it is firm enough to scoop or roll into balls. This usually takes at least 4 hours, often overnight.
Once firm, use a spoon or small scoop to portion the ganache, then quickly roll the portions between your palms to form spheres. The warmth of your hands will slightly soften the ganache, allowing it to be shaped. The rolled truffles are then typically coated in cocoa powder, chopped nuts, shredded coconut, or tempered chocolate.
Flavor Infusions: Enhancing Your Ganache
While a classic rich chocolate ganache recipe is delicious on its own, infusing it with other flavors can create exciting variations that complement or contrast the chocolate. Flavor can be added in various ways, from incorporating extracts and liqueurs after the ganache is made to steeping aromatics in the cream before adding the chocolate. These infusions can elevate the complexity and depth of flavor in your ganache.
Experimenting with different flavor combinations allows you to customize your ganache for specific desserts. A hint of coffee can intensify the chocolate flavor, while citrus zest can add a bright, fresh counterpoint. The possibilities for enhancing your rich chocolate ganache are vast and limited only by your imagination.
Incorporating Extracts and Liqueurs
One of the simplest ways to add flavor is by stirring in extracts or liqueurs after the ganache has been emulsified and is still warm. Vanilla extract is a common addition that enhances the chocolate flavor. Other extracts like almond, peppermint, or orange can create distinct flavor profiles. Start with a small amount (e.g., 1/2 teaspoon extract or 1 tablespoon liqueur per cup of ganache) and add more to taste, as extracts can be potent.
Liqueurs such as Grand Marnier (orange), Frangelico (hazelnut), Kahlúa (coffee), or various fruit liqueurs pair wonderfully with chocolate. The alcohol content helps distribute the flavor. Be mindful that adding too much liquid, especially alcohol, can slightly alter the ganache's texture, making it softer. Additions are typically made when the ganache is smooth and warm but not hot.
Infusing with Coffee, Tea, or Citrus Zest
For a deeper infusion, you can steep aromatics directly in the heavy cream before heating it. Coffee beans, tea leaves (like Earl Grey or chai), or strips of citrus zest (orange, lemon, lime) can be added to the cold cream. Heat the cream gently with the aromatics, bring it just to a simmer, then remove from heat and let it steep for 15-20 minutes.
After steeping, strain the cream through a fine-mesh sieve to remove the solids before reheating it to the proper temperature and pouring it over the chocolate. This method imparts a more subtle and integrated flavor compared to adding extracts afterwards. For coffee flavor, you can also dissolve instant espresso powder directly into the hot cream.
Adding Spices and Herbs
Certain spices and herbs can create unexpectedly delicious pairings with chocolate. Spices like cinnamon, chili powder (for a touch of heat), cardamom, or ginger can be warmed in the dry saucepan before adding the cream, or added directly to the cream to steep. Fresh herbs such as mint or rosemary can also be steeped in the hot cream.
For spices, start with a pinch or a 1/4 teaspoon per cup of cream and adjust to your preference. Whole spices or herbs should be strained out before adding the cream to the chocolate. Ground spices can be added directly to the chocolate before the hot cream is poured over. Cocoa powder itself can also be added to the chocolate for an extra intense chocolate flavor boost.
Recipes Featuring Chocolate Ganache
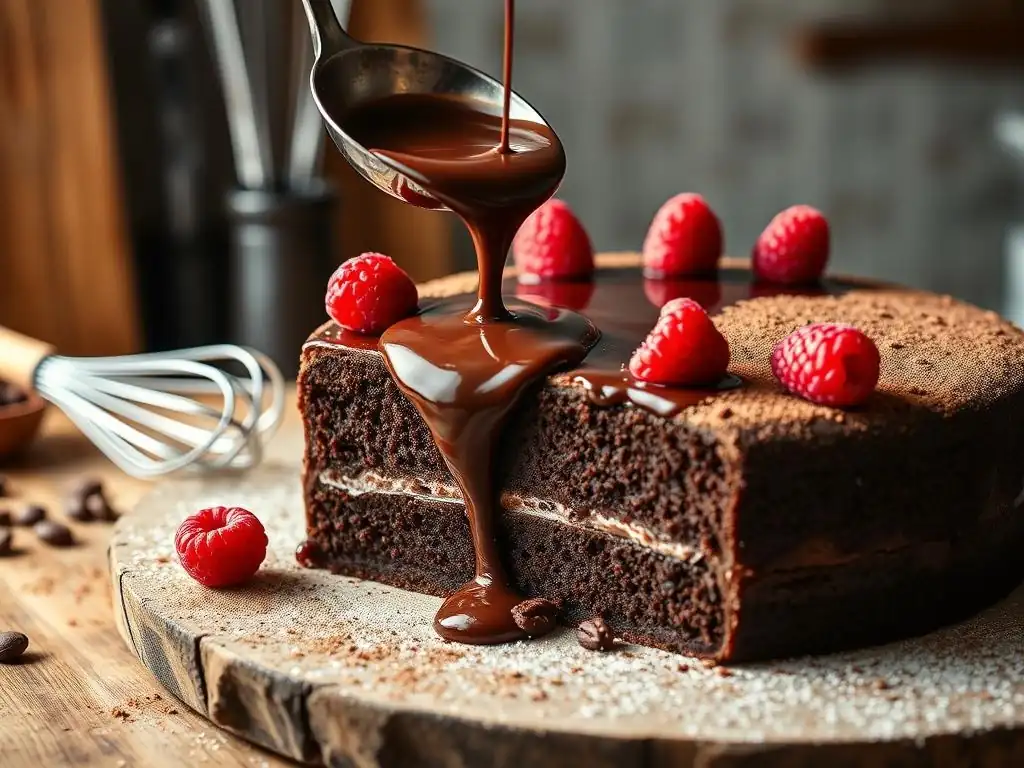
A versatile rich chocolate ganache recipe is the star ingredient in many classic and contemporary desserts. Its ability to function as a smooth frosting, a stable filling, or a decadent coating makes it incredibly adaptable. Here are a few popular examples of how ganache shines in different contexts, showcasing its transformative power in baking.
These recipes highlight how altering the ganache ratio and application method results in completely different dessert experiences, all stemming from the same basic chocolate and cream foundation. Mastering the rich chocolate ganache recipe allows you to tackle any of these delightful creations.
Double Chocolate Ganache Layer Cake
A classic application where a rich chocolate ganache recipe truly excels is in a double chocolate layer cake. Here, ganache can serve as both a luscious filling between layers and a smooth, decadent frosting coating the entire cake. Often, a slightly firmer ganache (2:1 ratio) is used for the filling to provide structure, while a slightly softer or whipped ganache might be used for the exterior frosting for easier spreading or piping.
The combination of moist chocolate cake layers and intense chocolate ganache creates a deeply satisfying dessert experience. Professional bakers often rely on a perfectly executed ganache to give their layer cakes a polished finish and rich flavor that distinguishes them.
Dark Chocolate Ganache Tart with Sea Salt
Ganache forms the primary filling for many tarts, providing a rich, smooth layer encased in a crisp pastry shell. A dark chocolate ganache tart typically uses a high chocolate-to-cream ratio (2:1 or 2.5:1) to ensure the filling sets up firmly enough to slice cleanly. Once the ganache is poured into a pre-baked tart shell and chilled, it creates a dense, fudgy texture.
A sprinkle of flaky sea salt over the finished tart is a popular addition, as the salt crystals provide a pleasant textural contrast and enhance the deep flavor of the dark chocolate ganache. This simple dessert highlights the pure, intense flavor of high-quality chocolate.
Fudgy Chocolate Ganache Brownies with Raspberry Swirl
Brownies are taken to the next level when topped or swirled with ganache. A fudgy brownie recipe can be enhanced by swirling a thick, cooled ganache (around a 2:1 ratio, cooled to a thick but still pourable consistency) into the batter before baking. This creates pockets of intense, molten chocolate within the brownie.
Alternatively, brownies can be baked and then topped with a layer of cooled, spreadable ganache (again, a 2:1 ratio cooled to frosting consistency) or even drizzled with a warm, pourable 1:1 ganache glaze. Adding a raspberry swirl (made from raspberry puree or jam) into the ganache layer adds a bright, fruity contrast that pairs beautifully with the rich chocolate ganache.
Storing Ganache: Maintaining Freshness and Quality
Properly storing your rich chocolate ganache is essential to maintain its quality, texture, and freshness. While ganache is relatively stable due to its high fat content, it is still a dairy product and requires care to prevent spoilage. Understanding the best storage methods and shelf life will help you plan ahead and minimize waste.
The ideal storage method depends on how long you plan to keep the ganache and its intended future use. Chilling is usually required for longer storage or for applications that require a firm consistency later on.
Optimal Storage Methods
For short-term storage (1-2 days) at room temperature, ganache can be left loosely covered if the ambient temperature is cool (below 75°F or 24°C). However, due to the dairy content, refrigeration is generally recommended for safety and quality, especially in warmer conditions.
To store ganache in the refrigerator (for up to 1-2 weeks), transfer it to an airtight container. Press a piece of plastic wrap directly onto the surface of the ganache to prevent a skin from forming and to minimize condensation, which can cause issues. When ready to use refrigerated ganache, let it sit at room temperature until softened, or gently warm it using a double boiler or microwave until it reaches the desired consistency.
Ganache Shelf Life and Considerations
The shelf life of ganache depends primarily on the freshness of the cream used and the storage conditions. When stored correctly in an airtight container in the refrigerator, ganache typically lasts for 1 to 2 weeks. Freezing is also an option for longer storage (up to 1-2 months). To freeze, wrap the ganache tightly in plastic wrap, then place it in a freezer-safe bag or container.
Thaw frozen ganache overnight in the refrigerator. Once thawed, it may need to be gently reheated and stirred to restore its smooth consistency. Be aware that freezing and thawing can sometimes slightly alter the texture. Always check for signs of spoilage (off smell, mold) before using stored ganache.
Conclusion: Unleashing the Potential of Chocolate Ganache
Mastering the rich chocolate ganache recipe is a fundamental skill for any baker. With just two simple ingredients, you gain access to a world of possibilities, from silky smooth glazes and stable cake fillings to luscious frostings and the base for exquisite truffles. Understanding the impact of chocolate-to-cream ratios, temperature control, and emulsification techniques allows you to tailor your ganache precisely for any dessert application.
Don't be intimidated by potential issues like graininess or splitting; these are common and usually fixable. With practice, you'll develop an intuitive feel for achieving the perfect consistency every time. Experiment with different types of chocolate and explore flavor infusions to create your signature ganache variations. A perfectly executed rich chocolate ganache recipe is a testament to the power of simple ingredients combined with careful technique, promising to elevate your baking to new heights.
Frequently Asked Questions
What exactly is a rich chocolate ganache?
A rich chocolate ganache is a simple, yet versatile, mixture of chocolate and cream. It's used as a frosting, filling, glaze, or even as a base for truffles. The ratio of chocolate to cream determines its final consistency.
How do I achieve that perfectly smooth, glossy finish for my ganache?
The key to a smooth ganache is patience and gentle stirring. Ensure the chocolate is finely chopped, and warm the cream before pouring it over the chocolate. Avoid over-stirring, which can cause it to become grainy.
Can I use different types of chocolate for this rich chocolate ganache recipe?
Yes, you can! The type of chocolate will impact the flavor and sweetness. Dark, milk, or white chocolate can all be used, but adjust the cream ratio accordingly. For example, use less cream with dark chocolate for a firmer ganache.
What's the best way to store leftover chocolate ganache?
Store leftover ganache in an airtight container in the refrigerator for up to a week. Before using, allow it to come to room temperature or gently warm it. Avoid high heat as it can alter the texture.
What are some creative ways I can use a rich chocolate ganache in my baking?
Beyond frosting cakes, ganache can be used to fill pastries, create a chocolate drip on cakes, or even as a dipping sauce for fruit. It's a highly adaptable ingredient for countless desserts.
Final Reflection: The Enduring Allure of Perfect Ganache
The pursuit of the perfect ganache is more than just a culinary quest; it's a testament to the enduring power of simple ingredients transformed into something truly extraordinary. This article explored the nuances of creating a rich, decadent ganache, highlighting the importance of precise ratios, temperature control, and the subtle art of achieving the ideal consistency. But beyond the technical aspects, we uncovered a deeper appreciation for the sensory experience – the velvety texture, the intense chocolate aroma, and the sheer pleasure of indulging in this classic confection.
The impact of ganache extends far beyond the individual experience of tasting it. It's a cornerstone of countless desserts, from elegant cakes and pastries to simple chocolate truffles, shaping our culinary landscape and influencing our celebrations for generations. A good chocolate ganache is a thing of beauty, a testament to the power of simplicity and precision.
- (This could be a quote you create or find a relevant one from a pastry chef). The enduring appeal of ganache lies in its versatility and its ability to elevate even the simplest dessert to something truly special. It's a skill that connects us to a rich culinary history, and one that continues to inspire creativity and innovation in the kitchen.
Now, I invite you to take what you've learned and embark on your own ganache journey. Don't be afraid to experiment, to adjust the ratios to your liking, and to discover the unique magic that unfolds when you master this elegant technique. The reward? Not just a delicious dessert, but a deeper connection to the art of baking and the joy of creating something beautiful and delicious with your own hands. Go forth, and create your masterpiece!
Unlock Your Inner Chocolatier: Mastering Ganache Made Easy
Thanks for joining us on this delicious journey into the world of ganache! We hope you've gained the confidence to create irresistibly rich and smooth chocolate masterpieces. Now it's time to put your newfound skills to the test!
- Whip up your first batch of ganache today! Use the recipe and tips from the article as your guide. Experiment with different chocolate percentages and flavor additions – get creative!
- Share your ganache creations with us on social media! Tag us with #BakeWithEaseGanache and let's see your stunning results.
- Dive deeper into chocolate artistry by exploring our other frosting and filling recipes on BakeWithEase.com (Note: this should be a hyperlink in the actual implementation, but is excluded per the prompt instructions).
Ready to impress friends and family with your decadent ganache skills? What's your dream ganache creation you'll tackle first?