
The Ultimate Guide to Baking Basic Sourdough at Home


Welcome to BakeWithEase, where baking becomes a joy, not a chore! Curious about the secrets to crafting that perfect sourdough loaf? You're in the right place. While you're here, discover easy sourdough starter maintenance tips and see how simple it can be to keep your starter happy and bubbly. Ready to embark on a delicious adventure? Let's get baking!
- Introduction to Sourdough Baking
- Creating Your Sourdough Starter
- Sourdough Starter Maintenance Tips
-
Baking Your First Sourdough Loaf: A Recipe
- Sourdough Bread Recipe: Ingredients and Measurements
- Mixing and Autolysing the Dough
- Bulk Fermentation: Developing Flavor and Strength
- Shaping Your Sourdough Loaf: Techniques
- Proofing Your Dough: Achieving the Perfect Rise
- Scoring Your Sourdough: Creating Designs
- Baking Your Sourdough Loaf: Temperature and Time
- Troubleshooting Your Sourdough Bread
- Advanced Sourdough Baking Techniques
- Storing Your Homemade Sourdough Bread
- Enjoying Your Sourdough
- Conclusion
-
Frequently Asked Questions
- What is a sourdough starter and why is it important for baking sourdough?
- How often should I feed my sourdough starter for optimal results?
- What are some signs that my sourdough starter is active and ready to use?
- Can I use different types of flour to feed my sourdough starter?
- What are some common mistakes to avoid when maintaining a sourdough starter?
- Final Reflection: The Enduring Magic of Sourdough
- Unleash Your Inner Baker: Start Your Sourdough Journey Today!
Introduction to Sourdough Baking
Why Bake Sourdough? Exploring the Benefits
Baking sourdough is a rewarding journey that connects you with an ancient tradition of bread making. Unlike commercial yeast breads, sourdough relies on a natural leavening agent – a fermented culture of flour and water teeming with wild yeasts and beneficial bacteria. This unique leavening process imparts a distinct, tangy flavor profile that is complex and deeply satisfying, far beyond the one-dimensional taste of standard yeasted loaves.
Beyond the incredible flavor, baking sourdough offers potential health benefits. The long fermentation process can break down complex carbohydrates and phytic acid, making the bread easier to digest and increasing the bioavailability of nutrients like iron and zinc. Many people who experience digestive issues with commercial bread find they can comfortably enjoy sourdough. Plus, the simple act of nurturing a starter and transforming basic ingredients into a beautiful loaf is a wonderfully meditative and fulfilling activity.
Essential Equipment for Sourdough Baking
Embarking on your sourdough adventure requires a few key pieces of equipment to set you up for success. While you can start simply, having the right tools makes the process smoother and improves your results. A digital kitchen scale is non-negotiable, as accurate measurements by weight (grams are standard) are crucial for consistent sourdough baking. Expect to spend around $20-$40 on a reliable scale.
Other essential items include a sturdy mixing bowl (glass, plastic, or metal work well), a dough scraper for handling sticky dough, and a banneton proofing basket. Bannetons, typically made of rattan or plastic, help the dough hold its shape during proofing and wick away excess moisture from the surface, contributing to a better crust. A 9-inch round banneton is a common size for a standard loaf.
Finally, a Dutch oven is highly recommended for baking, as it traps steam around the loaf, promoting maximum oven spring and a beautiful crust. Cast iron Dutch ovens are popular and can range from $50 to $150 or more depending on brand and size (a 5-7 quart size is versatile).
Creating Your Sourdough Starter
Step-by-Step Guide to Making a Sourdough Starter
Creating a sourdough starter is surprisingly simple, requiring just two ingredients: flour and water. Begin by combining equal parts, usually 50 grams of non-chlorinated water and 50 grams of unbleached all-purpose or whole wheat flour, in a clean glass jar. Mix until no dry bits remain, cover loosely (a lid or plastic wrap secured with a rubber band works), and leave it at room temperature, ideally between 70-78°F (21-26°C).
For the next 7 to 14 days, you'll "feed" your starter daily. Each day, discard about half of the mixture and feed the remainder with fresh flour and water in the same ratio (e.g., 50g discard, feed with 50g water and 50g flour). You should start seeing signs of activity like small bubbles appearing within a few days. By day 7-14, a healthy starter should consistently double in size within 4-8 hours after feeding, develop a pleasant, tangy aroma, and become bubbly and light.
Understanding Sourdough Starter Fermentation
Sourdough fermentation is a complex microbial dance involving wild yeasts and lactic acid bacteria (LABs) naturally present in flour and the environment. When you mix flour and water, these microbes begin to consume the sugars in the flour. The wild yeasts produce carbon dioxide gas, which is what creates bubbles and makes the starter rise, and alcohol.
Simultaneously, the LABs produce organic acids, primarily lactic acid and acetic acid. Lactic acid contributes a mild, yogurt-like tang, while acetic acid provides a sharper, vinegary note. The balance of these acids, influenced by factors like temperature and feeding ratios, determines the starter's flavor profile. A healthy, active starter indicates a thriving ecosystem of these beneficial microbes, ready to leaven your bread.
Troubleshooting Common Sourdough Starter Issues
It's common to encounter hiccups when creating a new starter. One frequent issue is a period of inactivity after the initial bubbling phase, often around day 3-5. This "hooch" (a dark liquid layer on top) and a lack of bubbles can be alarming, but it's usually just the LABs taking over while the yeast population is still building. Simply stir the hooch back in or pour it off, discard, and feed as usual. Consistency is key; keep feeding daily.
Another concern is mold. If you see any fuzzy, colored spots (white, green, black, etc. ), discard the entire starter and begin again, ensuring your jar is very clean and using non-chlorinated water. A starter that smells strongly of acetone (nail polish remover) is often hungry. Try increasing the feeding ratio (e.g., 1:2:2 or 1:3:3 starter:water:flour) or feeding more frequently to give the microbes more food. Patience and observation are your best tools when troubleshooting.
Sourdough Starter Maintenance Tips
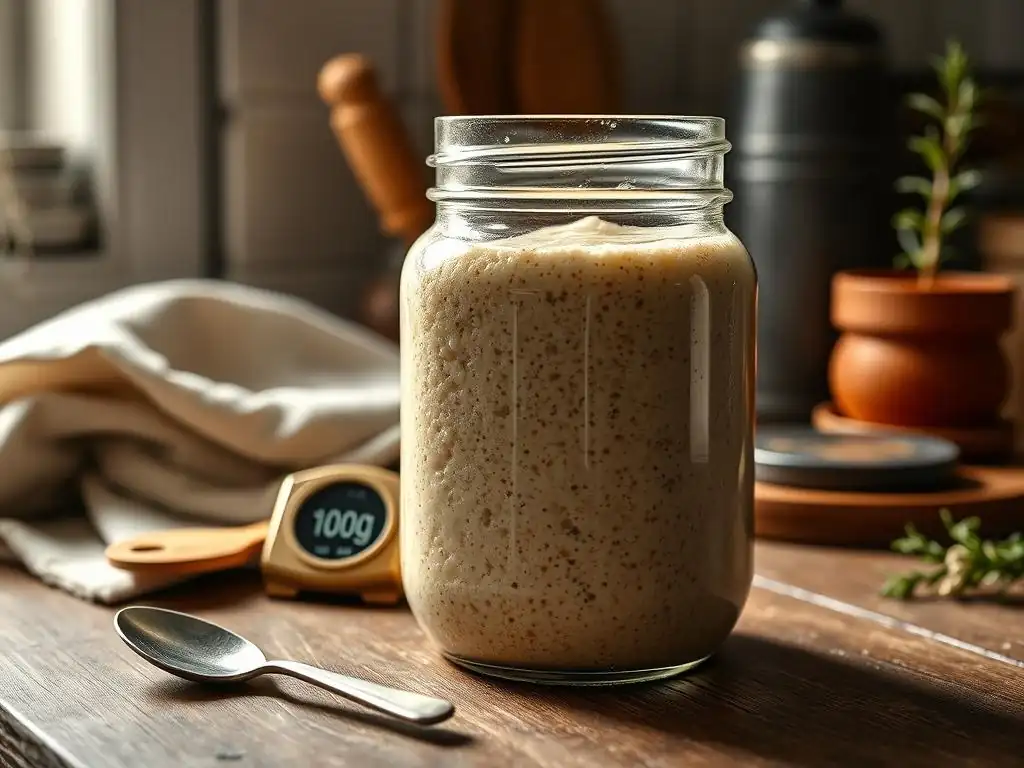
Feeding Your Sourdough Starter: A Maintenance Schedule
Effective sourdough starter maintenance is key to consistent baking results. The most common feeding schedule for a starter kept at room temperature is once every 24 hours. This involves discarding a portion of the starter and feeding the remainder with fresh flour and water, typically in a 1:1:1 ratio by weight (1 part starter, 1 part water, 1 part flour). For example, keeping 50g of starter and feeding it with 50g of water and 50g of flour results in 150g of freshly fed starter.
If you bake less frequently, easy sourdough starter maintenance tips often involve storing your starter in the refrigerator. A refrigerated starter needs feeding only once per week. Simply take it out, let it warm up slightly, discard a portion, and feed it using your preferred ratio (e.g., 1:1:1 or even a larger ratio like 1:2:2 if you want it extra vigorous for baking soon). After feeding, let it sit at room temperature for 1-2 hours before returning it to the fridge. This significantly reduces the frequency of feedings and makes sourdough starter maintenance quite easy.
Proper Storage for a Healthy Sourdough Starter
The best way to store your sourdough starter depends on how often you bake. If you bake multiple times a week, keeping your starter at room temperature is ideal. Store it in a clean glass jar with a lid that is not screwed on tightly – it needs to breathe as it ferments and produces gas. A loosely placed lid or even plastic wrap secured with a rubber band works well. Room temperature storage requires daily feeding as the microbes are highly active.
For less frequent bakers, the refrigerator is the perfect storage solution, offering easy sourdough starter maintenance. Cold temperatures drastically slow down microbial activity, meaning the starter requires feeding only once a week. Store it in a lidded jar in the fridge. When you're ready to bake, take the starter out, feed it, and let it become active at room temperature before using it in a recipe. This simple method saves on flour and makes maintaining your sourdough starter much less demanding.
Recognizing Signs of a Healthy and Active Starter
Knowing what a healthy and active sourdough starter looks and smells like is crucial for successful baking and provides helpful easy sourdough starter maintenance tips. After a feeding, a vigorous starter should show noticeable activity within a few hours at room temperature. Look for numerous bubbles throughout the mixture and on the surface.
The most reliable sign is growth: a healthy starter should at least double in volume, often tripling, within 4 to 8 hours after being fed, especially if fed with a 1:1:1 ratio at room temperature. It should have a domed or slightly flattened top when at its peak. The smell should be pleasantly tangy, slightly yeasty, perhaps a bit like yogurt or mild vinegar, not overwhelmingly sour or like acetone. A small spoonful dropped into water should float (the float test), indicating it's light and full of gas, though this isn't a foolproof test.
Reviving a Dormant or Weak Sourdough Starter
Sometimes a starter can seem sluggish, especially after a long stint in the fridge or if it hasn't been fed optimally. Reviving a dormant or weak sourdough starter is usually straightforward and falls under effective easy sourdough starter maintenance tips. If your starter has been in the fridge, take it out, discard most of it (leaving only a small amount, say 20-30g), and feed it with fresh flour and water, perhaps using a slightly higher ratio like 1:2:2 (starter:water:flour) to give the microbes ample food.
Feed the starter like this every 12 hours, keeping it at room temperature. You should see increased activity, such as more bubbles and better rise, within 2-3 days. If the starter still seems weak after a few feedings, try switching to a different type of flour (like a mix of all-purpose and whole wheat) or increasing the ambient temperature slightly. Consistent feeding and warmth are the best ways to bring a sleepy starter back to life, making this aspect of sourdough starter maintenance manageable.
Baking Your First Sourdough Loaf: A Recipe
Sourdough Bread Recipe: Ingredients and Measurements
For your first basic sourdough loaf, a simple recipe using common ingredients is best. You will need: 500 grams of strong bread flour (or a mix of bread flour and all-purpose flour), 350 grams of non-chlorinated water (this is 70% hydration relative to the flour), 10 grams of fine sea salt, and 100 grams of active, bubbly sourdough starter. Ensure your starter is at its peak of activity, having doubled or tripled in volume 4-8 hours after its last feeding.
Using a digital scale for these measurements is critical for accuracy and consistent results. Strong bread flour is preferred because its higher protein content (typically 12-14%) helps develop a strong gluten structure, essential for trapping the gas produced by the starter and achieving a good rise. The salt is not just for flavor; it also helps control the fermentation rate and strengthens the gluten network.
Mixing and Autolysing the Dough
The process begins with the autolyse phase. In a large mixing bowl, combine the 500g of flour and 350g of water. Mix them together with your hands or a spoon until no dry flour remains. The mixture will be shaggy and sticky. Cover the bowl and let it rest for 30 minutes to an hour. This resting period allows the flour to fully hydrate and enzymes to start breaking down proteins, beginning gluten development without any effort from you.
After the autolyse, add the 100g of active sourdough starter and the 10g of salt to the dough. Incorporate them thoroughly by gently mixing and squeezing the dough. Once evenly distributed, you can begin developing the gluten structure through a series of folds or kneading. Techniques like stretch and fold or slap and fold are effective for building strength in sourdough.
Bulk Fermentation: Developing Flavor and Strength
Bulk fermentation is the first rise of the dough and is crucial for developing both flavor and structure. After mixing in the starter and salt, the dough is left to ferment at room temperature. The duration varies significantly based on temperature; at a comfortable room temperature of 72-75°F (22-24°C), this might take 4 to 6 hours. In cooler temperatures, it could take much longer.
During bulk fermentation, perform a series of stretch and folds every 30 to 60 minutes for the first 2-3 hours. To do a stretch and fold, wet your hand slightly, grab one edge of the dough, stretch it up gently, and fold it over the center. Rotate the bowl and repeat for all four sides. This builds strength and structure in the dough. By the end of bulk fermentation, the dough should have increased significantly in volume (perhaps 30-50%), feel lighter and airey, and show visible bubbles.
Shaping Your Sourdough Loaf: Techniques
Once bulk fermentation is complete, gently turn the dough out onto a lightly floured surface. The goal now is to shape the dough into your desired form (usually a boule or batard) while creating tension on the surface. Avoid degassing the dough too much; you want to preserve the gas pockets developed during fermentation.
For a boule (round loaf), gently pull the edges of the dough into the center to form a rough ball. Let it rest for 15-20 minutes (this is called the bench rest) to allow the gluten to relax slightly. Then, perform the final shaping. For a boule, gently pull and tuck the dough under itself, using your hands to create surface tension and form a smooth, taut ball. For a batard (oval loaf), you'll typically fold the dough like an envelope and then roll it up tightly, sealing the seam.
Proofing Your Dough: Achieving the Perfect Rise
Proofing is the final rise before baking, allowing the shaped loaf to expand and become light and airy. The most common method for sourdough is cold proofing in the refrigerator. Place the shaped dough seam-side up in a floured banneton (rice flour works well to prevent sticking), cover it, and refrigerate for 12 to 24 hours. Cold proofing develops more complex flavors and makes the dough easier to score.
Alternatively, you can proof at room temperature, which is much faster, typically taking 1 to 4 hours depending on the ambient temperature and dough activity. The dough is ready when it has increased in volume and feels light and slightly jiggly, but not so much that it collapses easily when poked gently. Be careful not to over-proof at room temperature, as this can lead to a flat loaf.
Scoring Your Sourdough: Creating Designs
Scoring is the act of cutting the surface of the shaped dough just before it goes into the oven. It serves two main purposes: it allows the dough to expand in a controlled manner during baking (oven spring), preventing blowouts in unintended spots, and it allows you to create beautiful patterns on your loaf. Use a very sharp blade, such as a baker's lame or a razor blade, for clean cuts.
Common scoring patterns include a single long slash for a batard, or a cross or geometric pattern for a boule. The depth and angle of the cut influence how the crust opens up. A deep, angled cut on one side of a batard, for example, will encourage the loaf to open dramatically along that line. Practice makes perfect with scoring, and it's a fun way to personalize your bread.
Baking Your Sourdough Loaf: Temperature and Time
Baking sourdough in a preheated Dutch oven is widely considered the best method for home bakers. Preheat your oven with the empty Dutch oven inside to a high temperature, typically 450°F to 500°F (230°C to 260°C), for at least 30-60 minutes. This ensures the pot is screaming hot. Carefully transfer your proofed, scored dough into the hot Dutch oven using parchment paper.
Bake with the lid on for the first 20 minutes. The trapped steam creates a moist environment that allows the crust to remain pliable and the loaf to achieve maximum oven spring. After 20 minutes, carefully remove the lid and continue baking for another 20-25 minutes, or until the crust is a deep golden brown and the internal temperature reaches around 205-210°F (96-99°C). Baking without the lid allows the crust to dry out and brown beautifully.
Troubleshooting Your Sourdough Bread
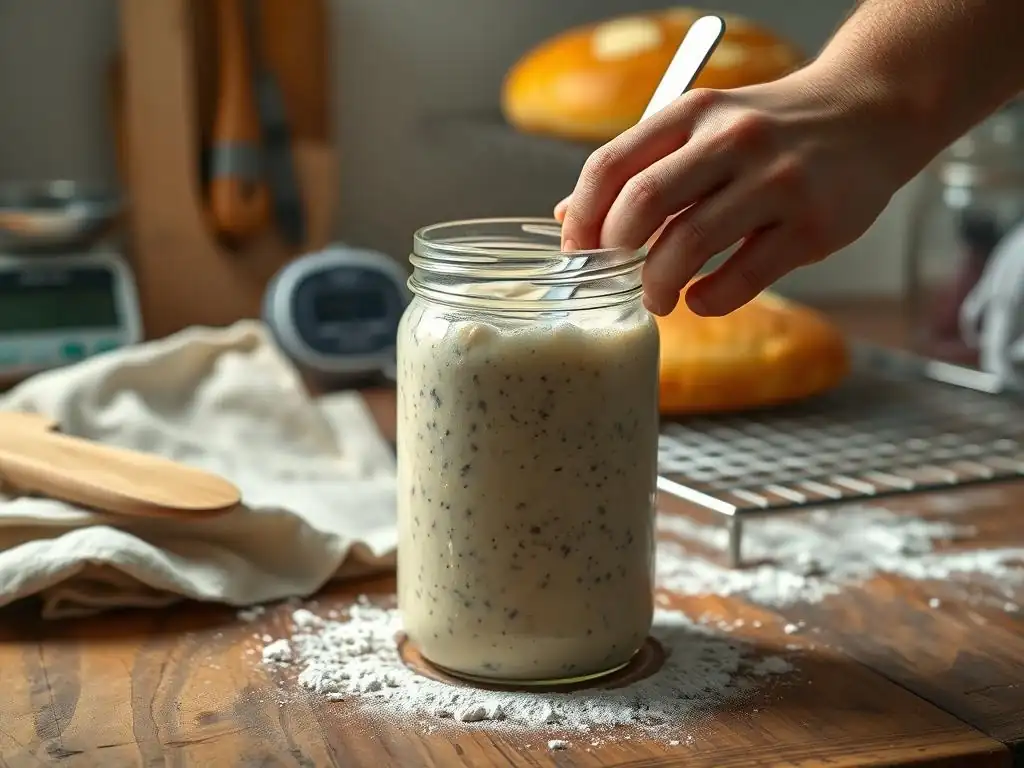
Common Sourdough Baking Problems and Solutions
Even with the best recipe and easy sourdough starter maintenance, you might encounter issues. A dense, gummy crumb is a common problem, often indicating an inactive starter, insufficient bulk fermentation, or under-proofing. Ensure your starter is consistently doubling after feeding, allow the dough sufficient time to ferment and rise, and check for lightness and bubbles before shaping and proofing.
A flat, wide loaf with little height can be caused by over-proofing, weak gluten development, or insufficient shaping tension. If the dough spreads rapidly after being turned out of the banneton, it might be over-proofed. Work on building stronger gluten through stretch and folds and practice creating a taut surface during shaping. Pale crust can result from insufficient baking time or temperature, or not using a Dutch oven or steam method; ensure your oven is fully preheated and bake until the crust is a deep color.
Understanding Oven Spring
Oven spring is the rapid expansion of the dough during the first 10-15 minutes of baking. It's fueled by the rapid production of carbon dioxide gas and steam within the dough as it heats up. Achieving good oven spring is a sign of a healthy, well-developed loaf and contributes significantly to the final shape and open crumb structure.
Several factors influence oven spring. A highly active and vigorous starter provides the initial lift. Proper gluten development creates a strong network capable of trapping the gas. Effective shaping builds tension on the dough surface, directing expansion upwards. Correct proofing ensures the dough is ready to expand without collapsing. Finally, baking in a steamy environment (like a Dutch oven) keeps the crust soft initially, allowing maximum expansion before the crust sets.
Adjusting Your Recipe for Different Flours
Once comfortable with a basic recipe, you might want to experiment with different flours. Be aware that different flours absorb water differently, requiring adjustments to your hydration level. Whole wheat and rye flours, for example, absorb significantly more water than white bread flour due to their bran and germ content.
If substituting a portion of your white flour with whole wheat (e.g., using 100g whole wheat and 400g white flour), you will likely need to increase the total amount of water slightly to achieve a similar dough consistency. Start by adding perhaps 10-20g more water and adjust based on how the dough feels. Conversely, using weaker flours might require slightly less water or a lower hydration percentage to manage the dough effectively. Pay attention to the dough's texture rather than strictly following a fixed hydration percentage from a recipe designed for different flour.
Advanced Sourdough Baking Techniques
Experimenting with Different Flours
Beyond basic white sourdough, incorporating other flours can dramatically change the flavor, texture, and nutritional profile of your bread. Flours like whole wheat, rye, spelt, or even einkorn add depth and complexity. Start by substituting small percentages, perhaps 10-20% of the total flour weight, to see how it affects the dough handling and the final loaf.
For instance, adding 100 grams of whole wheat flour to a 500-gram white flour recipe introduces a nuttier flavor and denser crumb. Rye flour, even in small amounts (5-10%), contributes a distinct tang and moisture. Remember that these flours absorb water differently, so you may need to adjust your hydration slightly. Working with higher percentages of these flours requires more experience as the gluten development is different from pure wheat flour.
Adding Inclusions to Your Sourdough Bread
Adding inclusions like seeds, nuts, dried fruit, or cheese is a fantastic way to customize your sourdough. Seeds such as sesame, poppy, sunflower, or pumpkin can be added directly to the dough during mixing or incorporated during the stretch and fold phase. A common ratio is to add 10-15% of the total flour weight in seeds. For example, in a loaf with 500g flour, you might add 50-75g of seeds.
Soaking seeds or dried fruit beforehand can prevent them from absorbing moisture from the dough, which can lead to a dry crumb. Mix seeds with hot water and let them sit until cooled before draining and adding to the dough. Cheese and herbs add savory notes and are typically folded in during the final stretch and fold or lamination phase.
Exploring Different Sourdough Shaping Styles
While boules and batards are standard, sourdough dough can be shaped in many ways. Focaccia is a simple, flatbread style where the dough is gently spread into a tray, dimpled, and topped with olive oil and seasonings. It requires less tension during shaping.
For more advanced bakers, shaping baguettes or ciabatta presents new challenges. Baguettes require careful rolling and tapering to achieve their characteristic shape, while ciabatta is a very high-hydration dough that is minimally handled and shaped into rustic slippers. Each shape requires slightly different dough handling techniques and proofing methods.
Storing Your Homemade Sourdough Bread
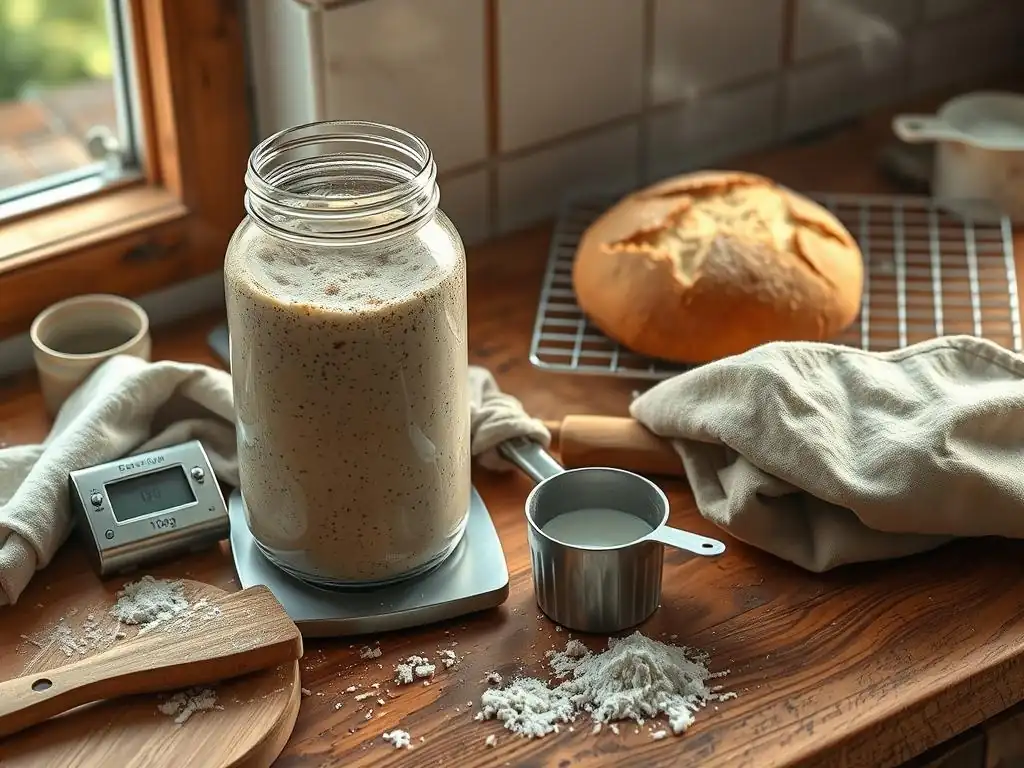
Best Practices for Keeping Sourdough Fresh
Proper storage is essential to enjoy your delicious homemade sourdough for as long as possible. Once baked, let the loaf cool completely on a wire rack for at least 2-3 hours before slicing. Slicing too early can result in a gummy interior. For storing at room temperature, avoid airtight plastic bags, which can trap moisture and soften the crust.
A linen or cotton bread bag is ideal, allowing the crust to breathe while keeping the interior relatively soft. Storing the loaf cut-side down on a clean surface also helps prevent the exposed crumb from drying out. Sourdough stored this way will typically stay fresh for 2-3 days, with the crust gradually softening over time.
Freezing Sourdough Bread
Freezing is an excellent way to preserve sourdough for longer periods without sacrificing quality. Once the loaf has completely cooled, you can freeze it whole or sliced. If freezing whole, wrap it tightly in plastic wrap, then again in aluminum foil or place it in a heavy-duty freezer bag to prevent freezer burn.
For convenience, slicing the loaf before freezing allows you to take out just the amount you need. Stack slices and wrap them well before placing in a freezer bag or container. Frozen sourdough can last for up to three months. To thaw a whole loaf, unwrap and let it sit at room temperature, or reheat in a low oven (300-350°F / 150-175°C) until warmed through. Slices can be toasted directly from frozen.
Enjoying Your Sourdough
Serving Suggestions
The beauty of homemade sourdough lies in its versatility. Its tangy flavor and chewy texture make it perfect for simple enjoyment. Slice it thick and toast it, then top with butter, jam, avocado, or a fried egg for a perfect breakfast or snack.
Sourdough makes incredible sandwiches, holding up well to various fillings. It's also a fantastic accompaniment to soups, stews, and salads, perfect for soaking up flavorful broths and dressings. Don't forget the classic pairing: a slice of fresh sourdough with good quality olive oil and a sprinkle of salt.
Sourdough Discard Recipes
Maintaining a sourdough starter, even with easy sourdough starter maintenance tips, often results in discard – the portion you remove before feeding. Instead of throwing it away, there are numerous delicious ways to use sourdough discard. Unlike baking bread, discard recipes typically don't rely on the starter's leavening power, so it doesn't need to be active.
Popular discard recipes include sourdough pancakes or waffles, which are incredibly light and flavorful. Sourdough discard crackers are another favorite, offering a crisp, tangy snack. You can also use discard in muffins, scones, quick breads, or even pasta dough, adding a subtle tang and improving texture. Using discard is a great way to minimize waste and expand your sourdough repertoire.
Conclusion
Recap of Sourdough Maintenance and Baking Tips
Mastering basic sourdough baking involves understanding a few key stages: creating and nurturing your starter, mixing and fermenting the dough, and finally shaping and baking your loaf. Remember that patience is a virtue in sourdough; fermentation takes time, and results can vary based on temperature and starter activity. Consistent feeding is vital for a healthy starter, whether you choose daily room temperature maintenance or weekly easy sourdough starter maintenance tips using refrigeration.
Paying attention to the signs of a healthy starter – consistent doubling, bubbles, and a pleasant aroma – will guide you. In baking, accurate measurements, proper gluten development through folds, sufficient bulk fermentation, and effective shaping and proofing are critical steps. Baking in a steamy environment like a Dutch oven helps achieve that desirable oven spring and crust. Don't be discouraged by early setbacks; each loaf is a learning experience.
One of the most rewarding aspects of baking sourdough at home is sharing your creations with others. There's immense satisfaction in presenting a beautiful, crusty loaf that you made yourself from scratch. Invite friends and family over to enjoy it warm from the oven, or gift a loaf to a neighbor.
Consider joining online sourdough communities or local baking groups. Sharing photos of your loaves, asking questions, and discussing challenges and successes with fellow bakers can be incredibly helpful and motivating. Embrace the journey of learning and perfecting your sourdough skills, and most importantly, enjoy the delicious results of your efforts!
Frequently Asked Questions
What is a sourdough starter and why is it important for baking sourdough?
A sourdough starter is a fermented mixture of flour and water that acts as a natural leavening agent. It's crucial for sourdough baking because it provides the unique tangy flavor and airy texture associated with sourdough.
How often should I feed my sourdough starter for optimal results?
For active starters used regularly, feeding once or twice a day at room temperature is ideal. If stored in the fridge, feed once a week to maintain its health and viability.
What are some signs that my sourdough starter is active and ready to use?
An active starter will have doubled in size after feeding, display bubbles throughout, and have a slightly tangy, pleasant smell. These indicate vigorous fermentation.
Can I use different types of flour to feed my sourdough starter?
Yes, you can! While unbleached all-purpose or bread flour are common, experimenting with whole wheat or rye flour can add unique flavors. Just be consistent with what you use.
What are some common mistakes to avoid when maintaining a sourdough starter?
Avoid using chlorinated water, which can kill the beneficial bacteria. Also, ensure you're using the correct ratio of flour and water when feeding, and don't over-feed or under-feed it.
Final Reflection: The Enduring Magic of Sourdough
The simplicity of sourdough baking belies its profound connection to history and the natural world. Mastering a sourdough starter isn't just about creating delicious bread; it's about cultivating a living organism, a testament to patience and the rewarding cycle of nurturing and creation. This seemingly simple act connects us to generations of bakers past, reminding us of the enduring power of traditional techniques in a rapidly changing world.
The journey of nurturing a sourdough starter is a microcosm of life itself – requiring consistent care, attention to detail, and a willingness to adapt to unexpected changes. It's a humbling experience, teaching patience and the importance of observing subtle shifts. The best bread is made with love and time.
This simple statement encapsulates the essence of sourdough baking, highlighting the emotional investment and the deep satisfaction derived from the process. The ongoing influence of sourdough extends beyond the kitchen; it represents a growing movement towards mindful consumption, appreciation for natural processes, and a connection to the earth.
Now, consider your own journey. Will you embark on the adventure of cultivating your own sourdough starter? Embrace the challenge, the learning, and the delicious rewards that await. Remember the simple yet profound lessons learned: patience, observation, and the enduring power of connection to nature and tradition. The world of sourdough awaits – take the first step, and discover the magic for yourself.
Unleash Your Inner Baker: Start Your Sourdough Journey Today!
Thanks for taking the time to explore the wonderful world of sourdough baking! We hope you now feel empowered to tackle this rewarding craft. Ready to get your hands dirty (literally)?
- Dive into your first sourdough starter: Follow our step-by-step guide (linked within the article) to cultivate your own vibrant starter. This is your foundational step to amazing sourdough!
- Share your baking triumphs (and tribulations!): Post a picture of your first sourdough loaf on social media using #BakeWithEaseSourdough – we'd love to see it!
- Experiment with different flour blends: Once your starter is thriving, try experimenting with different types of flour to find your perfect sourdough recipe.
So, what exciting flavor combinations will you create with your homemade sourdough? Let us know in the comments below!