
Avoiding Dry Chocolate Cakes: The Secret Ingredient

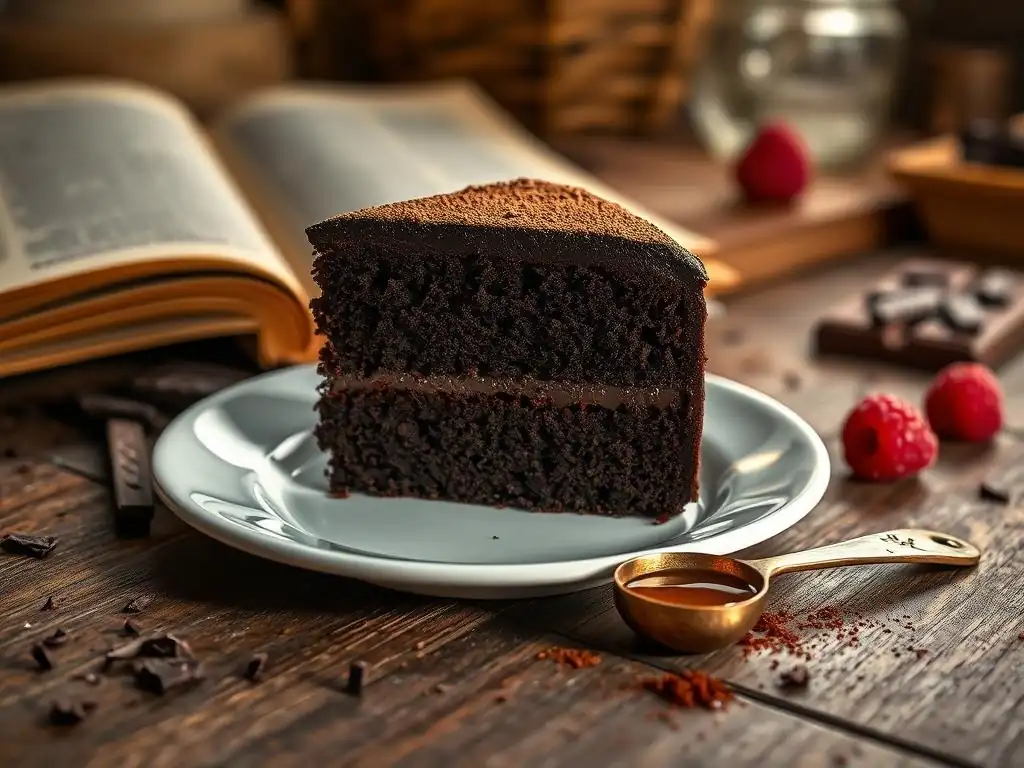
Welcome to BakeWithEase, where baking becomes a joy, not a chore! Are you tired of dry, crumbly chocolate cakes? Discover the secret ingredient to achieving moist, decadent perfection every time. In this guide, we'll unlock the secrets to avoiding the dreaded dry chocolate cake solution, transforming your baking experience and leaving you with irresistible results. Curious to know what it is? Let's get baking!
- BakeWithEase Presents: The Ultimate Dry Chocolate Cake Solution
- Understanding the Problem: Why is My Chocolate Cake Dry?
- The Secret Ingredient Revealed: Buttermilk
- How to Incorporate Buttermilk for a Moist Chocolate Cake
- Beyond the Secret Ingredient: Additional Tips for a Moist Chocolate Cake
- Other Ingredients That Help Keep Your Chocolate Cake Moist
- Troubleshooting: Common Mistakes and How to Fix Them
- BakeWithEase Recipe: The Perfect Moist Chocolate Cake Recipe (Featuring Buttermilk)
- Conclusion: Never Bake a Dry Chocolate Cake Again!
-
Frequently Asked Questions
- What is the most common reason chocolate cakes turn out dry?
- What "secret ingredient" is often suggested to combat dryness in chocolate cake?
- How does the type of chocolate used affect the moistness of a chocolate cake?
- Can the oven temperature affect the dryness of a chocolate cake?
- Are there specific mixing techniques that can help prevent dry chocolate cakes?
- Final Reflection: The Sweetness of Success, Beyond the Recipe
- Unlock Your Cake's Full Potential!
BakeWithEase Presents: The Ultimate Dry Chocolate Cake Solution
Welcome back to BakeWithEase! We've all been there – you spend time mixing, baking, and anticipating that first bite of rich, moist chocolate cake, only to find it disappointingly dry and crumbly. It's a common baking frustration! But don't worry, finding a reliable dry chocolate cake solution is simpler than you might think. In this article, we'll uncover the common culprits behind dry cakes and reveal a secret ingredient that can transform your chocolate baking from ordinary to extraordinary, ensuring every slice is perfectly moist and delicious. Get ready to say goodbye to dry chocolate cakes forever!
Understanding the Problem: Why is My Chocolate Cake Dry?
A dry chocolate cake can result from various factors, often involving a delicate balance of ingredients and baking techniques gone slightly awry. Understanding why your cake turned out dry is the first step toward finding the ultimate dry chocolate cake solution. It's not usually just one thing, but often a combination of issues that strip moisture from the batter or baked cake. Let's delve into the primary reasons this common problem occurs.
Common Causes of Dry Chocolate Cake
Several factors contribute to a lack of moisture in your beloved chocolate cake. One of the most frequent issues is simply using too much flour. Flour is a dry ingredient that absorbs liquid. If the ratio of flour to wet ingredients (like eggs, milk, or butter) is off, the flour will soak up all available moisture during baking, leaving the cake dense and dry.
Another common cause is using too little fat. Fat, whether from butter, oil, or egg yolks, contributes significantly to tenderness and moisture in cakes. A recipe that is lean on fat will often yield a drier crumb.
Beyond ingredient ratios, improper mixing can also play a role. Overmixing the batter, especially after adding the flour, develops gluten. While gluten is essential for structure, too much development in a cake results in a tough, dry texture rather than a tender, moist one. Think of it like kneading bread dough versus mixing cake batter – you want minimal gluten development for cake. Furthermore, using ingredients that are too cold can prevent them from emulsifying properly, leading to an uneven distribution of fat and moisture throughout the batter, which can result in dry spots in the final cake.
Overbaking and its Impact on Cake Moisture
Overbaking is arguably the most common reason for a dry chocolate cake. When a cake bakes, the liquid in the batter turns to steam, which helps the cake rise and creates a tender crumb. However, if the cake remains in the oven too long, this steam continues to escape, and the cake's internal temperature rises beyond the point needed for the proteins to set. Essentially, you are evaporating too much of the precious moisture that keeps the cake soft and tender.
Consider the structure of a cake as it bakes. Proteins (from eggs and flour) and starches set, forming the cake's framework. Fats and sugars contribute to tenderness and moisture retention. Overbaking causes these structural components to become rigid and expel moisture.
A cake baked just until done retains enough internal moisture to stay soft. An overbaked cake, on the other hand, will feel firm to the touch, may pull away significantly from the sides of the pan, and will likely have a crumb that is dense and dry because too much water has been cooked out. Checking for doneness with a toothpick is a classic method, but even a minute or two too long can make a difference, especially in thinner cakes or cupcakes.
The Role of Ingredients in Chocolate Cake Texture
The specific ingredients and their quality in your chocolate cake recipe play a monumental role in its final texture and moisture level. Flour type, for instance, matters; using cake flour, which has a lower protein content (around 6-8%) compared to all-purpose flour (around 10-12%), results in less gluten development and a more tender, potentially moister cake. The type of cocoa powder also makes a difference.
Natural cocoa powder is acidic and reacts with baking soda, while Dutch-processed cocoa is neutral and requires baking powder or a combination. Dutch-processed cocoa tends to be less drying than natural cocoa due to its processing, which slightly alters its starch content and pH.
Fats are critical moisture providers. Using oil instead of butter often results in a moister cake because oil is liquid at room temperature and coats flour particles more effectively, inhibiting gluten development and trapping moisture. Butter, while providing excellent flavor, is solid at room temperature and contributes differently to texture. Sugars also attract and hold moisture (they are hygroscopic). Using a mix of granulated sugar and brown sugar, for example, can enhance moisture, as brown sugar contains molasses, which is liquid and contributes additional moisture and tenderness compared to plain granulated sugar.
The Secret Ingredient Revealed: Buttermilk
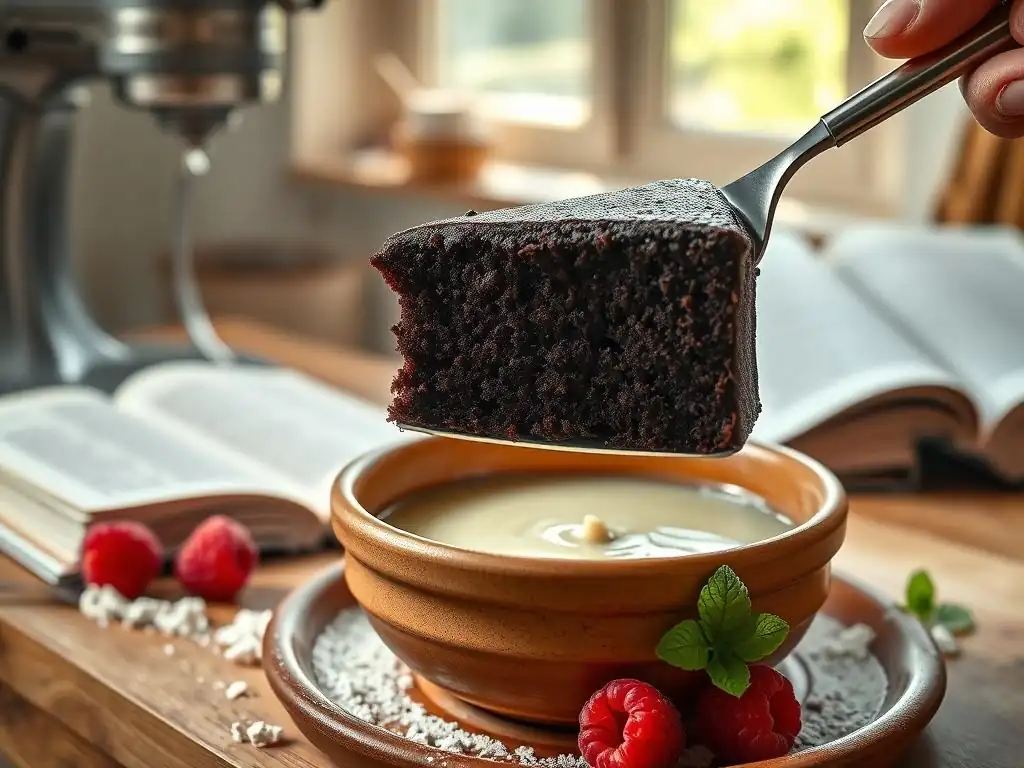
For many bakers seeking the ultimate dry chocolate cake solution, one ingredient stands out as a game-changer: buttermilk. Often overlooked or substituted with less effective alternatives, true buttermilk (or a good homemade substitute) possesses unique properties that directly combat the common causes of dryness, leading to a noticeably softer, more tender, and delightfully moist crumb in chocolate cakes. It's the secret weapon in the fight against cake dryness.
Why Buttermilk is the Key to Moist Chocolate Cake
Buttermilk is a fermented dairy product that is more acidic and thicker than regular milk. This acidity is primarily what makes it such a powerful ally against dry cakes. The acid in buttermilk reacts with baking soda (a common leavener in chocolate cakes, especially those using natural cocoa powder), producing carbon dioxide gas. This reaction starts immediately upon mixing, contributing to a lighter, more tender crumb structure. The acidity also helps to break down tough gluten strands that might form from mixing, further tenderizing the cake.
Beyond its leavening interaction and tenderizing effect, buttermilk's thickness and fat content (even low-fat buttermilk is thicker than skim milk) contribute to moisture. The slightly higher viscosity helps create a batter that holds onto air bubbles better, leading to a finer crumb. While traditional buttermilk, the liquid left after churning butter, was quite low in fat, commercial buttermilk is often cultured and contains around 1-2% fat, which adds richness without being heavy. This unique combination of acidity, viscosity, and slight fat content makes it superior to plain milk for achieving a moist dry chocolate cake solution.
The Science Behind Buttermilk's Moistening Properties
The magic of buttermilk in baking, particularly in providing a dry chocolate cake solution, lies in its chemistry. Buttermilk's acidity (typically with a pH between 4.4 and 4.8) interacts with alkaline baking soda (sodium bicarbonate). This acid-base reaction neutralizes the baking soda and produces carbon dioxide gas bubbles. These bubbles expand during baking, contributing to the cake's rise and creating air pockets that result in a lighter, more tender texture. Without sufficient acid to activate it, baking soda alone can leave a metallic taste and fail to provide adequate lift.
Furthermore, the acid in buttermilk helps to "invert" sucrose (table sugar) into glucose and fructose. These inverted sugars are more hygroscopic, meaning they attract and retain moisture more effectively than sucrose. This chemical process helps keep the cake moist over time.
The acid also has a tenderizing effect on proteins, including those in flour (gluten) and cocoa powder. By mildly breaking down these proteins, buttermilk helps prevent the cake from becoming tough or rubbery, contributing to a soft, delicate crumb that feels inherently moist. This combination of leavening power, sugar chemistry, and protein tenderization makes buttermilk an incredibly effective ingredient for solving dry chocolate cake woes.
How to Incorporate Buttermilk for a Moist Chocolate Cake
Adding buttermilk to your chocolate cake recipe isn't complicated, but it does require understanding how it interacts with other ingredients, particularly leaveners. Simply swapping milk for buttermilk cup-for-cup might work in some recipes, but for the best dry chocolate cake solution, consider the leavening agents already present. Recipes using baking soda often benefit most directly from buttermilk's acidity.
Step-by-Step Guide to Adding Buttermilk to Your Chocolate Cake Recipe
If your current chocolate cake recipe calls for milk and baking soda, a straight swap for buttermilk is often the most effective dry chocolate cake solution.
- Assess the Recipe: Check if your recipe uses baking soda, especially if it also uses natural (non-Dutch-processed) cocoa powder. If it uses only baking powder, you might need to adjust the baking powder slightly or add a small amount of baking soda.
- Measure Buttermilk: Measure the exact amount of milk called for in your recipe, but use buttermilk instead. Ensure the buttermilk is at room temperature for better emulsification with fats.
- Combine Wet Ingredients: Whisk the buttermilk with other wet ingredients like eggs, oil/melted butter, and vanilla extract.
- Combine Dry Ingredients: In a separate bowl, whisk together flour, sugar, cocoa powder, baking soda (if applicable), baking powder (if applicable), and salt.
- Combine Wet and Dry: Add the wet ingredients to the dry ingredients. Mix just until combined. Do not overmix. The buttermilk's acidity will immediately start reacting with the baking soda, if present.
- Bake as Directed: Pour batter into prepared pans and bake according to your recipe's instructions, but keep a close eye on doneness to avoid overbaking (another key part of the dry chocolate cake solution).
Adjusting Your Existing Chocolate Cake Recipe for Optimal Moisture
If your recipe uses only baking powder and milk, and you want to incorporate buttermilk for a better dry chocolate cake solution, you might need a slight adjustment. Buttermilk's acidity will react with the baking soda in the baking powder (most baking powders are double-acting, containing both a fast-acting acid and baking soda, plus a slow-acting acid).
- Option 1 (Simple Swap): Replace the milk with buttermilk. This often works reasonably well, relying on the baking powder's internal acid reacting with its baking soda, plus the buttermilk's acid reacting with the baking powder's baking soda. The texture will likely improve.
- Option 2 (Adding Baking Soda): For enhanced leavening and tenderizing from the buttermilk, consider replacing the milk with buttermilk and adding a small amount of baking soda (e.g., 1/4 to 1/2 teaspoon per cup of buttermilk used), while potentially slightly reducing the baking powder. This creates a more vigorous reaction with the buttermilk's acidity. Be cautious with this approach and perhaps test it on cupcakes first. A common ratio is 1 teaspoon of baking soda per cup of buttermilk when buttermilk is the primary acidic liquid reacting with soda.
Pro Tip: Buttermilk Variations and Substitutions
While cultured buttermilk is ideal for a reliable dry chocolate cake solution, sometimes you might not have it on hand. A common substitute is combining milk with an acid.
- Homemade Buttermilk Substitute: For every 1 cup of buttermilk needed, measure 1 tablespoon of white vinegar or lemon juice into a liquid measuring cup. Add enough milk (dairy or non-dairy like soy or almond) to reach the 1-cup line. Stir and let it sit for 5-10 minutes until it looks slightly thickened or curdled. While this substitute provides the necessary acidity to react with baking soda and tenderize, it lacks the specific proteins and thickness of cultured buttermilk, so the effect on texture isn't exactly the same, but it's a decent alternative for a basic dry chocolate cake solution.
- Yogurt or Sour Cream: Plain yogurt or sour cream thinned with a little milk or water can also serve as a substitute due to their acidity and fat content. Use about 1/2 cup of yogurt or sour cream mixed with 1/2 cup of milk/water for every cup of buttermilk. These tend to be thicker and add more richness, which can also help with moisture.
Beyond the Secret Ingredient: Additional Tips for a Moist Chocolate Cake
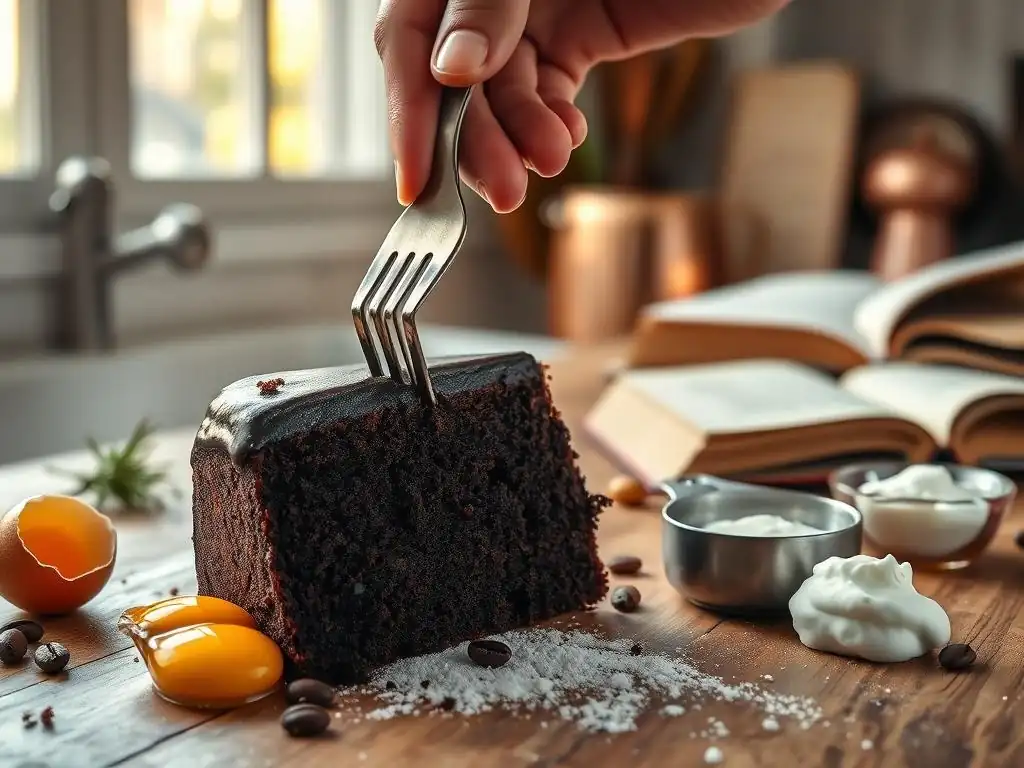
While buttermilk is a fantastic dry chocolate cake solution, it's not the only factor influencing moisture. Many other aspects of the baking process contribute to a perfect, tender crumb. Paying attention to these details will elevate your baking and ensure consistent, moist results every time. Mastering these techniques is just as crucial as choosing the right ingredients.
The Importance of Accurate Measuring in Baking
Baking is often described as a science, and accurate measurement is its foundation. Using too much of a dry ingredient, especially flour or cocoa powder, is a primary cause of dry cakes because these ingredients absorb moisture. For example, simply scooping flour directly from the bag with your measuring cup can add up to 20-25% more flour than spooning it lightly into the cup and leveling it off. That excess flour will soak up vital moisture intended for tenderness.
Measuring liquids accurately is also key. Too little liquid means there isn't enough moisture to begin with, and too much can throw off the structure. Using proper measuring tools – dry measuring cups for flour, sugar, and cocoa, and liquid measuring cups for milk, buttermilk, oil, and extracts – and using them correctly (leveling dry ingredients, reading liquid measures at eye level) is fundamental to achieving a moist dry chocolate cake solution. A kitchen scale offers the highest accuracy for dry ingredients if your recipe provides weights.
Oven Temperature and Baking Time: Achieving the Perfect Balance
Incorrect oven temperature and baking time are major culprits behind overbaked, dry chocolate cakes. Ovens can be notoriously inaccurate; a setting of 350°F (175°C) might actually be 325°F (160°C) or 375°F (190°C). Baking at too high a temperature causes the cake's exterior to set too quickly, potentially cracking, while the interior bakes unevenly and moisture evaporates rapidly. Baking at too low a temperature can result in a cake that takes too long to set, leading to a tough texture, or one that doesn't rise properly.
Using an oven thermometer is a simple and effective way to ensure your oven is heating accurately. Preheat your oven for at least 15-20 minutes to allow the temperature to stabilize. Regarding baking time, always treat the time given in a recipe as an estimate.
Start checking for doneness a few minutes before the minimum time listed. A cake is typically done when a toothpick inserted into the center comes out clean or with just a few moist crumbs attached, and the top springs back gently when lightly pressed. Pulling the cake out right at this point is essential for preserving moisture – even a couple of extra minutes can make a difference.
Cooling Techniques to Prevent Dryness
How you cool your cake after it comes out of the oven also impacts its final moisture. Leaving a cake in a hot pan for too long continues the cooking process (carryover cooking) and traps steam, which can lead to a soggy bottom initially, but ultimately contributes to dryness as the trapped heat dissipates and draws moisture out.
A common technique is to let the cake cool in the pan on a wire rack for 10-15 minutes. This allows it to firm up slightly before you attempt to remove it. After this initial cooling period, carefully invert the cake onto the wire rack to cool completely.
Cooling on a wire rack allows air circulation around the entire cake, preventing moisture from getting trapped underneath while allowing excess heat to escape evenly. Cooling a cake directly on a solid surface can trap steam, leading to a gummy layer, or cause the cake to dry out unevenly. Ensure the cake is completely cool before frosting or storing it, as frosting a warm cake can cause the frosting to melt and trap heat, potentially drying out the cake's interior.
Storing Your Chocolate Cake to Maintain Moistness
Proper storage is the final step in ensuring your dry chocolate cake solution efforts pay off. Exposure to air is the enemy of cake moisture. Once a cake is cut, the exposed surfaces begin to dry out almost immediately as moisture evaporates into the surrounding air.
To keep your chocolate cake moist:
- Cool Completely: Always cool the cake completely before storing.
- Airtight Container: Store cake in an airtight container. If the cake is frosted, use a container large enough that the lid doesn't touch the frosting.
- Plastic Wrap: For unfrosted cakes or cut cakes, wrap slices or the entire cake tightly in plastic wrap before placing it in an airtight container. This provides an extra barrier against air.
- Cut Sides: For a cut cake, you can press a piece of plastic wrap directly onto the cut surfaces before covering the cake.
- Room Temperature: Most cakes are best stored at cool room temperature for 2-3 days. Refrigeration can sometimes dry out sponge or butter-based cakes, although it's necessary for cakes with perishable fillings or frostings. If refrigerating, ensure it's in a well-sealed container.
- Freezing: For longer storage, wrap cake layers or slices tightly in plastic wrap, then in aluminum foil, and place in a freezer-safe bag or container. This protects against freezer burn, which is essentially dehydration. Properly wrapped cake can last in the freezer for 2-3 months.
Other Ingredients That Help Keep Your Chocolate Cake Moist
While buttermilk is a stellar dry chocolate cake solution, several other ingredients play a significant role in contributing to a moist crumb. Understanding how these work can help you choose recipes and make informed adjustments to prevent dryness. It's the synergy of ingredients that truly makes a cake tender and delightful.
The Power of Fat: Oils and Butter
Fat is a critical component for a moist cake. It tenderizes the crumb by coating flour particles, preventing excessive gluten development. It also traps air during creaming (with butter and sugar) and contributes to a rich mouthfeel.
- Oil: Vegetable oil, canola oil, or other neutral oils are particularly effective at producing moist cakes. Because oil is liquid at room temperature, it distributes easily through the batter and coats flour proteins more thoroughly than solid fats like butter. Oil-based cakes tend to stay moist longer than butter-based ones. A recipe using oil is often a good starting point for a dry chocolate cake solution.
- Butter: Butter provides unparalleled flavor and contributes to tenderness through the creaming method, where air is incorporated into the fat and sugar. However, butter's moisture contribution is slightly less direct than oil's because it's solid at room temperature. Cakes made with butter can sometimes feel less moist initially but often have a richer flavor and a more structured crumb. Using melted butter instead of softened butter can lean towards the moistness qualities of oil.
The Impact of Liquids: Milk, Coffee, and Water
The type and amount of liquid used in a chocolate cake recipe directly impacts its moisture.
- Milk: Provides moisture and helps dissolve sugar and activate leaveners. Whole milk adds a little extra fat compared to lower-fat versions, contributing slightly to richness.
- Coffee: Hot coffee is frequently used in chocolate cake recipes, and for good reason! It doesn't just add moisture; it also intensifies the chocolate flavor. The heat helps the cocoa powder bloom, releasing its full flavor potential. Using hot coffee in place of some or all of the liquid is an excellent dry chocolate cake solution technique that also boosts flavor.
- Water: While less flavorful than milk or coffee, water provides essential moisture for dissolving ingredients and creating steam for lift. Some recipes use boiling water added at the end; this technique "blooms" the cocoa powder intensely and creates a very thin batter that bakes up surprisingly moist.
Using Brown Sugar for a More Moist Chocolate Cake
Substituting some or all of the granulated sugar in a chocolate cake recipe with brown sugar is a simple yet effective way to boost moisture. Brown sugar contains molasses, which is a liquid. This molasses contributes both moisture and a slightly different flavor profile (often deeper and richer, complementing chocolate well).
Because molasses is hygroscopic, brown sugar also helps the cake retain moisture over time better than granulated sugar alone. If a recipe calls for only granulated sugar, try swapping out 1/4 to 1/2 of it for light or dark brown sugar (packed). This small change can make a noticeable difference in the moistness and tenderness of the final cake, adding another layer to your dry chocolate cake solution strategy.
Troubleshooting: Common Mistakes and How to Fix Them
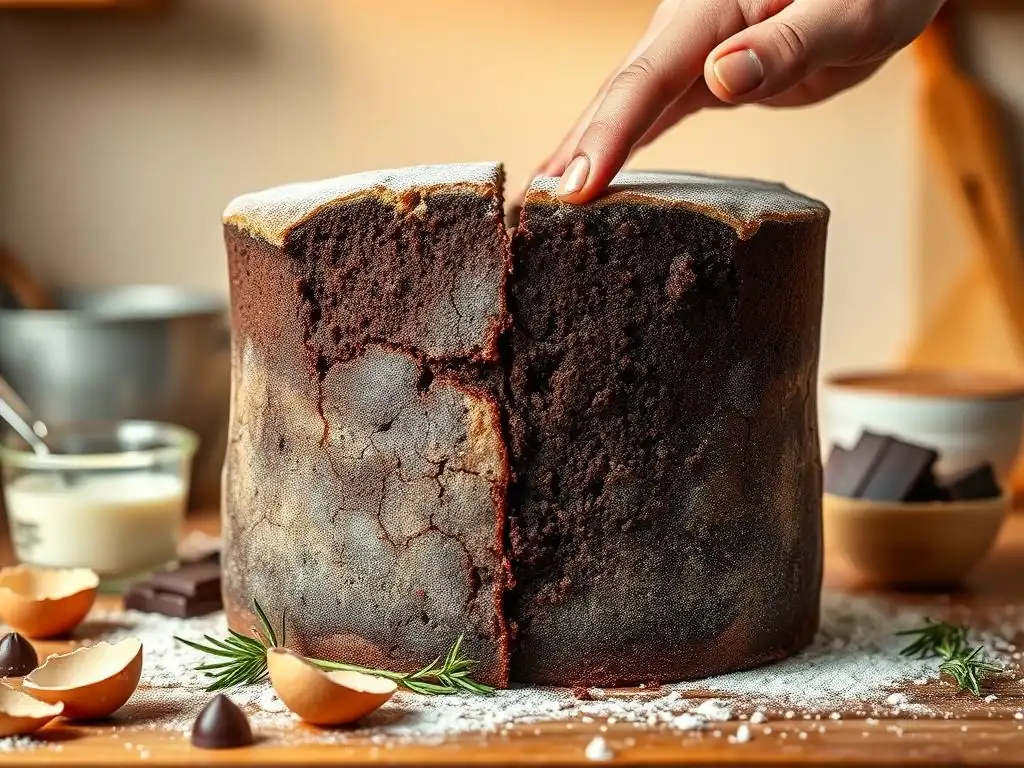
Even with the best intentions and ingredients like buttermilk, sometimes a chocolate cake still doesn't turn out as moist as you'd hoped. Don't despair! Baking involves many variables, and identifying what went wrong is key to improving for next time. Here are some common issues and how to address them, moving you closer to a perfect dry chocolate cake solution.
My Chocolate Cake is Still Dry! What Am I Doing Wrong?
If you've tried incorporating buttermilk and other tips but your cake is still dry, revisit the fundamental steps:
- Check Your Measurements: Are you measuring accurately? Re-weigh or carefully measure your dry ingredients, especially flour and cocoa powder. Too much dry, not enough wet is the number one culprit.
- Verify Oven Temperature: Use an oven thermometer. Your oven might be running hotter than you think, leading to overbaking even within the suggested time frame.
- Review Baking Time/Doneness Test: Are you relying solely on the timer? Start checking for doneness early (e.g., 5-10 minutes before the recipe says) with a toothpick. Pull the cake immediately when it passes the test.
- Ingredient Temperature: Were your cold ingredients (like eggs or buttermilk if you substituted) used straight from the fridge? Room temperature ingredients emulsify better, leading to a smoother batter and more even moisture distribution.
- Overmixing: Did you mix the batter too long after adding the flour? Overmixing develops gluten, leading to a tough, dry cake. Mix only until just combined.
Adjusting for Altitude and Humidity
Baking at different altitudes or in varying humidity levels significantly impacts results, especially moisture.
- High Altitude (above 3,000 feet): Air pressure is lower, causing cakes to rise faster and liquids to evaporate more quickly. This often leads to dryness and structural collapse. A dry chocolate cake solution at high altitude often involves:
- Reducing sugar slightly (sugar weakens structure).
- Reducing leavening agents slightly (to prevent over-rising and collapse).
- Increasing liquid slightly (to compensate for faster evaporation).
- Increasing flour slightly (to strengthen structure).
- Increasing baking temperature slightly (by 15-25°F or 8-15°C) and checking for doneness earlier (to set the structure before it collapses).
- High Humidity: Air already contains a lot of moisture, which can be absorbed by dry ingredients like flour and sugar even before mixing. This can sometimes result in cakes that are too moist or dense if the recipe isn't adjusted. Conversely, in very low humidity, ingredients are drier, potentially leading to a drier cake. For high humidity, you might slightly reduce liquid or increase flour minimally. For low humidity, slightly increasing liquid can help. Unfortunately, specific adjustments often require experimentation based on your local conditions.
Fixing a Dry Chocolate Cake After Baking
Okay, the cake is out of the oven, and it's dry. Can you save it? Yes, to some extent! While you can't add moisture back into the crumb structure perfectly, you can make it more palatable. This isn't a true dry chocolate cake solution for future baking, but it's a fix for the current cake.
- Brush with Syrup or Glaze: A simple syrup (equal parts sugar and water, heated until sugar dissolves) or a thin glaze can be brushed or drizzled over the cake layers while they are still slightly warm or completely cool. The liquid will soak in and add moisture. Flavored syrups (like coffee syrup, chocolate syrup, or a liqueur-based syrup for adults) can also enhance flavor.
- Poke Holes: For thicker or denser cakes, poke small holes across the top using a skewer or toothpick before applying the syrup or glaze to help it penetrate deeper.
- Serve with Moist Accompaniments: Serve the cake with moist elements like whipped cream, ice cream, a fruit sauce, or a rich ganache frosting. These additions provide moisture and contrast the dry texture.
- Transform it: If the cake is very dry, consider repurposing it into cake pops (mixed with frosting), a trifle (layered with custard, fruit, and cream), or bread pudding.
BakeWithEase Recipe: The Perfect Moist Chocolate Cake Recipe (Featuring Buttermilk)
Ready to put your dry chocolate cake solution knowledge to the test? This recipe is designed to be incredibly moist and tender, thanks in large part to our secret ingredient: buttermilk, combined with other moisture-boosting elements. This is our go-to for a consistently delicious chocolate cake.
Ingredients List for Our Moist Chocolate Cake
Here’s what you’ll need to bake a cake that’s anything but dry:
- 2 cups (about 240g) All-Purpose Flour
- 1 ¾ cups (about 350g) Granulated Sugar
- ¾ cup (about 65g) Unsweetened Cocoa Powder (Natural, not Dutch-processed, for best reaction with baking soda)
- 1 ½ teaspoons Baking Soda
- ½ teaspoon Baking Powder
- 1 teaspoon Salt
- 2 large Eggs, at room temperature
- 1 cup (240ml) Buttermilk, at room temperature
- 1 cup (240ml) Hot Coffee (or hot water)
- ½ cup (120ml) Vegetable Oil or Canola Oil
- 1 teaspoon Vanilla Extract
Step-by-Step Baking Instructions
Follow these steps carefully for a moist and perfect dry chocolate cake solution:
- Prep: Preheat oven to 350°F (175°C). Grease and flour two 8-inch or 9-inch round cake pans, or line a 9x13 inch rectangular pan with parchment paper and grease.
- Combine Dry: In a large bowl, whisk together the flour, granulated sugar, cocoa powder, baking soda, baking powder, and salt. Ensure there are no lumps of cocoa or baking soda.
- Combine Wet: In a separate medium bowl, whisk together the eggs, buttermilk, vegetable oil, and vanilla extract until well combined.
- Combine Wet and Dry: Pour the wet ingredients into the bowl with the dry ingredients. Mix on low speed with an electric mixer, or with a whisk/spatula, until just combined. Do not overmix.
- Add Hot Liquid: Carefully pour the hot coffee (or hot water) into the batter. The batter will be very thin. Mix on low speed or whisk gently until the liquid is incorporated and the batter is smooth. Be careful not to splash. The hot liquid helps bloom the cocoa and contributes to the moist texture.
- Pour and Bake: Pour the thin batter evenly into the prepared pans.
- Bake: Bake for 30-35 minutes for round pans, or 35-40 minutes for a 9x13 inch pan, or until a toothpick inserted into the center comes out clean or with a few moist crumbs. Start checking around 28 minutes for round pans.
- Cool: Let the cakes cool in the pans on a wire rack for 10-15 minutes.
- Invert: Carefully invert the cakes onto the wire rack to cool completely before frosting. This recipe yields a moist cake that is an excellent dry chocolate cake solution.
Conclusion: Never Bake a Dry Chocolate Cake Again!
Baking a dry chocolate cake can be disappointing, but it doesn't have to be your destiny! By understanding the common causes – from inaccurate measurements and overbaking to ingredient choices – you are already well on your way to consistently moist results. The addition of buttermilk, with its unique acidic and tenderizing properties, is a powerful dry chocolate cake solution that can truly transform your baking.
Mastering the Art of Moist Chocolate Cakes with BakeWithEase
Remember that achieving a moist chocolate cake is a combination of factors. It starts with a reliable recipe, like the one we shared, which incorporates moisture-rich ingredients like buttermilk, oil, and hot coffee. Beyond the ingredients, practicing accurate measuring, monitoring oven temperature, checking for doneness precisely, and cooling and storing your cake correctly are equally vital steps in the process.
With these tips and the secret ingredient in your baking arsenal, you now have the knowledge and tools to tackle that common baking challenge head-on. Experiment with our recipe, apply the techniques we've discussed, and say goodbye to dry chocolate cakes forever. Happy baking, and enjoy every perfectly moist slice!
Frequently Asked Questions
What is the most common reason chocolate cakes turn out dry?
The most common reason is overbaking. This removes too much moisture content from the cake, leading to a dry and crumbly texture.
What "secret ingredient" is often suggested to combat dryness in chocolate cake?
Many bakers recommend adding sour cream or yogurt as a "secret ingredient." These add extra moisture and a slight tang.
How does the type of chocolate used affect the moistness of a chocolate cake?
Using high-quality chocolate with a higher fat content can significantly improve the moistness of the cake. Dark chocolate often contributes to a richer, moister final product.
Can the oven temperature affect the dryness of a chocolate cake?
Yes, overly high oven temperatures can cause the cake to bake too quickly, leading to a dry exterior and potentially an underbaked interior. Accurate oven calibration is crucial.
Are there specific mixing techniques that can help prevent dry chocolate cakes?
Overmixing the batter can develop the gluten in the flour, resulting in a tough and dry cake. Mix only until the ingredients are just combined for a tender crumb.
Final Reflection: The Sweetness of Success, Beyond the Recipe
The persistent problem of dry chocolate cake is more than just a baking mishap; it's a metaphor for the challenges we face when striving for perfection. A perfectly moist, decadent chocolate cake requires precision, attention to detail, and sometimes, a secret ingredient – just like achieving our goals in life. This article has explored those secrets, offering solutions to a common baking frustration, but the lessons extend far beyond the kitchen.
The quest for the perfect chocolate cake, much like the pursuit of our dreams, often leaves us feeling frustrated when we fall short. The journey itself, however, is where the true learning lies. The greatest glory in living lies not in never falling, but in rising every time we fall.
This quote perfectly encapsulates the spirit of perseverance needed not only to bake a flawless cake but also to navigate life's complexities. The process of troubleshooting a dry cake mirrors the process of problem-solving in any area of life; it requires patience, experimentation, and a willingness to learn from our mistakes.
Now, consider your own "dry cake" moments – those times when your efforts felt insufficient, your results less than ideal. What secret ingredient, what adjustment in your approach, could transform those experiences into something truly satisfying? I invite you to reflect on this, to apply the principles of careful measurement, mindful technique, and a willingness to adapt, not just to your baking, but to every aspect of your life. The sweetness of success awaits, not just in a perfectly moist chocolate cake, but in the journey of achieving your goals.
Unlock Your Cake's Full Potential!
Thanks for joining us on this delicious journey into moist, decadent chocolate cakes! We hope you discovered the key to avoiding dry disasters. Now it’s time to put your newfound knowledge to the test.
- Bake your dream chocolate cake: Grab your ingredients and try our recommended recipe adjustments – you’ll be amazed by the difference! Don't forget to experiment with your favorite variations.
- Share your baking triumphs (or tales!): We’d love to see your creations and hear about your experience. Post a picture on social media using #BakeWithEaseMoistMagic.
- Explore more baking secrets: Discover even more tips and techniques on our website to elevate your baking game!
So, what incredible flavor combination will you try first to achieve ultimate chocolate cake moistness?