
Tool TLC: Cleaning and Maintenance Tips for Longevity of Baking Equipment

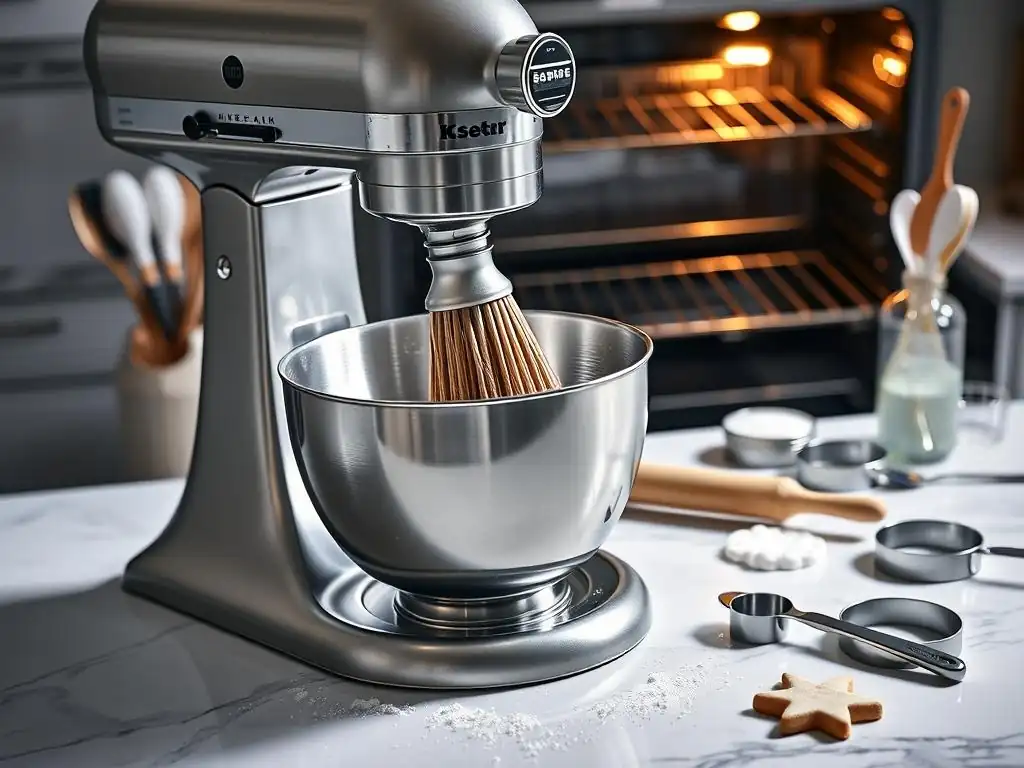
Welcome to BakeWithEase, your trusted guide to baking bliss! Are you ready to ensure your favorite baking tools stand the test of time? Discover our essential baking equipment cleaning maintenance tips and unlock the secrets to extending the life of your cherished kitchen companions. Don't let your equipment hold you back – learn how to keep them sparkling and ready for your next culinary creation!
- Baking Equipment Care: Cleaning and Maintenance for Longevity
- Introduction: Extending the Life of Your Baking Equipment
- Essential Cleaning: A Step-by-Step Guide
- Maintenance: Preventing Problems and Ensuring Performance
- Storage Tips for Longevity
- Choosing Cleaning Products
- Troubleshooting Common Problems
- Conclusion: Enjoy Years of Baking
- Frequently Asked Questions
- Final Reflection: The Lifelong Care of Baking Equipment
- Unlock Your Baking Potential: Keep Your Tools in Top Shape!
Baking Equipment Care: Cleaning and Maintenance for Longevity
Introduction: Extending the Life of Your Baking Equipment
Why Cleaning and Maintenance Matter
Investing in quality baking equipment is a significant step for any home baker, whether you're just starting or refining complex techniques. A good stand mixer can cost several hundred dollars, while a set of durable baking sheets might range from $30 to $100 or more. Neglecting regular cleaning and maintenance not only affects the performance of these tools but also drastically shortens their lifespan.
Proper baking equipment cleaning maintenance tips are not just about keeping things tidy; they are about protecting your investment, ensuring hygienic baking, and achieving consistent, delicious results every time you bake. Think of it as caring for your culinary partners!
Moreover, clean equipment is essential for food safety. Residual batter, grease, or sugar can harbor bacteria, potentially contaminating future bakes. For instance, leaving traces of egg or dairy on a whisk can lead to spoilage or cross-contamination. Regular cleaning prevents the buildup of stubborn grime that becomes harder to remove over time, saving you effort and the need for harsh chemicals or abrasive tools that can damage your equipment. Implementing effective baking equipment cleaning maintenance tips from the start is crucial for both hygiene and the longevity of your beloved baking tools.
Guide to Long-Lasting Baking Tools
This guide provides comprehensive baking equipment cleaning maintenance tips designed to help you care for your most frequently used tools. We'll cover everything from basic cleaning techniques for everyday items like spatulas and mixing bowls to more specific care for larger appliances like stand mixers. The goal is to equip you with the knowledge to keep your tools in pristine condition, ensuring accuracy in measurements, non-stick performance from your pans, and smooth operation from your mixers.
Following these detailed baking equipment cleaning maintenance tips will not only extend the life of your tools but also enhance your overall baking experience. Well-maintained equipment performs better, allowing you to focus on the creative process rather than struggling with sticky pans or a sluggish mixer. We'll delve into specific materials like stainless steel, glass, silicone, and non-stick coatings, offering tailored advice to prevent damage and maintain optimal function for years to come.
Essential Cleaning: A Step-by-Step Guide
Cleaning Baking Sheets and Pans: Preventing Sticking
Baking sheets and pans are workhorses in the kitchen, often enduring high heat and sticky messes. Proper cleaning is paramount to maintaining their non-stick properties and preventing rust or corrosion, which can lead to sticking and uneven baking. After each use, it's best to wash them as soon as they are cool enough to handle. Use warm, soapy water and a non-abrasive sponge or cloth. For non-stick pans, avoid steel wool or harsh scrubbing pads, as these can scratch and ruin the coating, defeating the purpose of the non-stick surface.
For standard aluminum or stainless steel pans, if immediate washing isn't possible, soak them in warm water for about 15-20 minutes to loosen any baked-on residue. Ensure you dry them thoroughly immediately after washing to prevent water spots and rust, especially on materials like aluminized steel. Storing them completely dry is a key baking equipment cleaning maintenance tip to avoid long-term damage.
Removing Burnt-On Food
Stubborn, burnt-on food can be a challenge on baking sheets and pans. A common and effective method is to create a paste using baking soda and water. Apply the paste to the affected areas and let it sit for 15-30 minutes, or even longer for very tough spots. The baking soda helps to lift and loosen the residue.
After letting the paste work, gently scrub with a non-abrasive sponge or nylon brush. For extremely tough spots, you can try boiling a small amount of water in the pan (if it's stovetop safe) with a few tablespoons of baking soda, letting it simmer for a few minutes before carefully pouring out the water and scrubbing. Avoid using metal scrapers on non-stick surfaces at all costs.
Preventing Warping
Rapid temperature changes are the primary cause of baking sheet warping. Placing a hot baking sheet directly into cold water can cause the metal to contract unevenly, leading to distortion. This is why it's crucial to let your baking sheets cool down gradually on a wire rack before washing them.
While most standard aluminum or steel sheets can warp, heavier gauge pans or those with rolled edges are less prone to this issue. Even if a pan warps slightly in a hot oven, it will often return to its original shape as it cools. However, repeatedly subjecting it to thermal shock by plunging it into cold water after removing it from a 400°F (200°C) oven can cause permanent deformation. Gentle cooling is a simple yet vital baking equipment cleaning maintenance tip.
Cleaning Mixing Bowls: Stainless Steel, Glass, and Plastic
Mixing bowls come in various materials, each requiring slightly different care to maintain their condition and prevent flavor transfer or damage. Regardless of material, washing them promptly after use is the best practice.
General cleaning involves warm, soapy water and a soft sponge. Rinse thoroughly to remove all soap residue, as even small amounts can affect the rise of meringue or the emulsification of certain recipes. Dry them completely before storing, especially stainless steel bowls, to prevent water spots.
Cleaning Stainless Steel
Stainless steel mixing bowls are durable and non-reactive, making them excellent for a wide range of tasks. They are generally easy to clean with warm, soapy water. For dried-on batter, a short soak can help. Avoid using steel wool or abrasive cleaners, which can scratch the surface and dull the finish over time.
If you notice water spots or a cloudy film, a solution of white vinegar and water (about 1 part vinegar to 3 parts water) can help restore their shine. Apply the solution with a soft cloth, then rinse and dry. This also helps remove mineral deposits from hard water, contributing to effective baking equipment cleaning maintenance tips for metalware.
Cleaning Glass
Glass mixing bowls, particularly those made from tempered glass like Pyrex, are non-porous and won't absorb odors or stains. They can typically be washed in a dishwasher or by hand with warm, soapy water. For stubborn, greasy residue, a degreasing dish soap works well.
Avoid exposing hot glass bowls to cold water suddenly, as this can cause thermal shock and potentially lead to breakage, although tempered glass is quite resistant. If you have baked-on residue, soaking in warm water is usually sufficient to loosen it.
Cleaning Plastic
Plastic mixing bowls are lightweight and often the most affordable option. However, they can absorb odors and stains over time, and grease can be harder to remove from their porous surface. Washing them immediately after use is crucial to prevent stains, especially from ingredients like tomato sauce or turmeric.
For lingering odors or stains, a paste of baking soda and water can be applied and left to sit for a while before washing. Sunlight can also help bleach out some stains. Avoid using very hot water, as this can sometimes cause plastic to warp or degrade over time.
Cleaning Measuring Cups and Spoons: Accuracy and Hygiene
Accurate measurements are fundamental to baking success, and clean measuring cups and spoons are essential for this. Sticky residues from honey, molasses, or syrups can throw off measurements significantly if not completely removed.
Wash measuring tools immediately after use, especially after measuring sticky ingredients. Warm, soapy water is usually sufficient. For sticky substances, filling the cup with hot water and letting it sit for a minute can help loosen the residue before washing.
Removing Sticky Residue
Sticky ingredients like honey, corn syrup, or peanut butter cling tenaciously to measuring tools. A quick rinse with hot water before the ingredient is added can sometimes help it slide out more easily. After use, fill the cup or spoon with hot, soapy water and let it soak briefly.
A small brush, like a bottle brush or even an old toothbrush dedicated to kitchen cleaning, can be helpful for scrubbing out stubborn residue, particularly in the corners of cups or the bowls of spoons. Ensuring no residue remains is a critical baking equipment cleaning maintenance tip for maintaining measurement accuracy.
Ensuring Accurate Measurements
Beyond cleanliness, ensuring your measuring tools remain accurate involves checking for damage. Plastic cups can crack or lose their shape if exposed to high heat (like a hot dishwasher cycle near the heating element) or rough handling. Metal cups and spoons can bend or dent, altering their volume.
Periodically check your measuring tools for any visible damage. If a plastic cup is cracked or significantly warped, it's best to replace it. For metal tools, try to gently reshape any dents if possible, but if they are severely bent, their accuracy may be compromised. Proper storage helps prevent this damage.
Cleaning Whisks and Spatulas
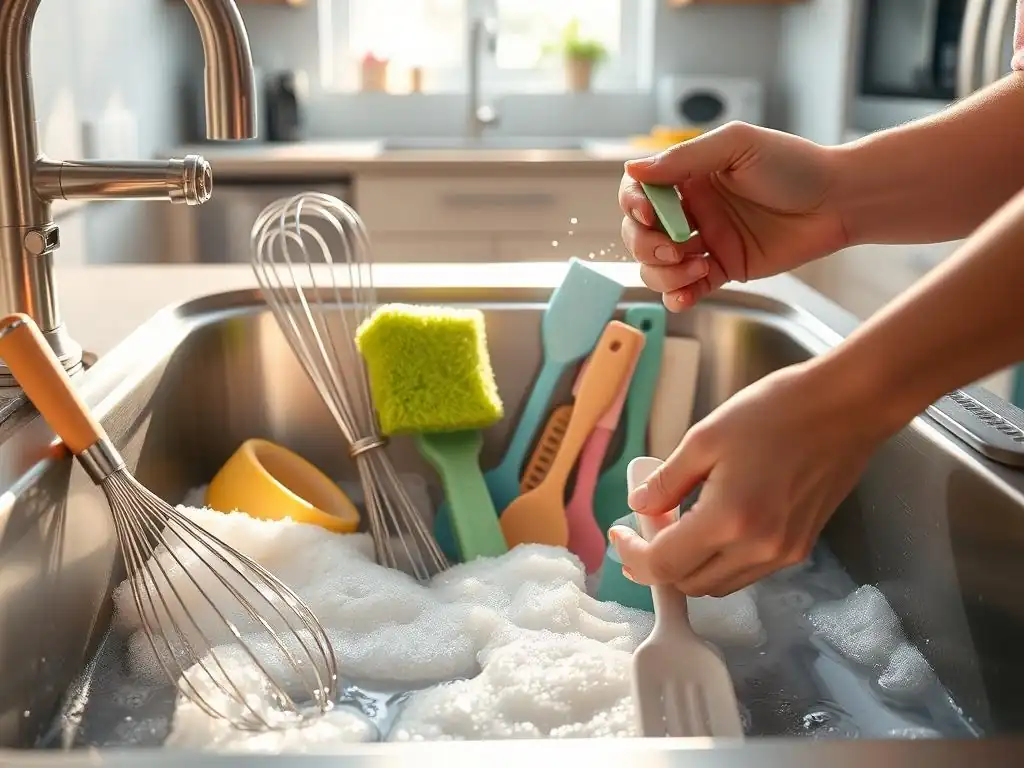
Whisks and spatulas are used in almost every baking task, from whipping cream to folding batter. They require careful cleaning to remove all traces of ingredients, especially from the wires of a whisk or the edges of a spatula blade.
Wash whisks and spatulas immediately after use. For whisks, getting batter or dough out from between the wires can be tricky. Spatulas, especially silicone ones, can sometimes feel greasy even after washing if not cleaned properly.
Removing Dough from Whisks
Dough or thick batter can get stuck between the wires of a whisk. A useful trick is to fill a tall glass or container with hot, soapy water and plunge the whisk into it, swishing it around vigorously. The force of the water helps dislodge the trapped bits.
Alternatively, you can use a fork or a small brush to carefully scrape out the dough from between the wires. Ensure you rinse the whisk thoroughly to remove all soap, then hang it or place it in a way that allows the wires to dry completely to prevent rust on metal parts.
Maintaining Silicone Spatulas
Silicone spatulas are heat-resistant and flexible, but they can sometimes retain a greasy feel or even absorb odors over time. Wash them in hot, soapy water, paying close attention to where the silicone meets the handle, as this is a common spot for residue buildup.
If your silicone spatulas feel greasy, try washing them with a degreasing dish soap or soaking them briefly in a solution of hot water and a few tablespoons of white vinegar. Ensure they are completely dry before storing.
Cleaning Stand Mixers and Hand Mixers
Stand mixers and hand mixers have electrical components, so they require a different approach to cleaning than manual tools. Never immerse the motor housing in water. Always unplug the mixer before cleaning.
Wipe down the exterior of the mixer body with a damp cloth. For sticky spots, a cloth dipped in warm, soapy water and wrung out well can be used. Avoid getting water near vents or control panels.
Cleaning the Mixer Body
The exterior of a stand mixer or hand mixer, often made of plastic or painted metal, can be cleaned with a soft, damp cloth. For stubborn smudges or dried-on drips, a small amount of mild dish soap on the cloth can help. Always wring out the cloth well so it's just damp, not wet.
Pay attention to crevices and seams where batter or flour can accumulate. A dry pastry brush or a soft-bristled cleaning brush can help dislodge dry debris before wiping. Never use abrasive cleaners or solvents, which can damage the finish.
Cleaning Mixer Attachments
Attachments like whisks, beaters, and dough hooks are usually dishwasher safe, but check the manufacturer's instructions to be sure. If washing by hand, use warm, soapy water and a brush to remove all traces of batter or dough.
For attachments with tight spaces, like whisks, soaking them in hot water can help loosen residue. Ensure all attachments are thoroughly dried before reattaching them or storing them to prevent rust or corrosion, especially at the connection points to the mixer head. This is a critical step in baking equipment cleaning maintenance tips for appliances.
Maintenance: Preventing Problems and Ensuring Performance
Maintaining Baking Sheets and Pans: Seasoning and Storage
Beyond cleaning, proper maintenance ensures your baking sheets and pans continue to perform optimally, especially preventing sticking and rusting. This often involves seasoning metal pans and storing them correctly.
Seasoning applies primarily to carbon steel or cast iron pans, though some recommend a light seasoning for aluminum. It involves applying a thin layer of oil and heating the pan to polymerize the oil, creating a natural non-stick surface.
Seasoning Baking Pans
For carbon steel or cast iron pans used in baking (like some tart tins or bread pans), seasoning is key to preventing rust and building a non-stick surface. After cleaning and drying, apply a very thin layer of high-smoke-point oil (like flaxseed oil, grapeseed oil, or vegetable oil) using a paper towel, wiping off any excess.
Place the pan upside down in an oven preheated to around 350-400°F (175-200°C) for about an hour. Let it cool completely in the oven. Repeat this process a few times to build up a durable seasoning layer. For aluminum or aluminized steel, a light wipe with oil before baking often suffices as maintenance.
Proper Storage
Proper storage is essential to prevent scratches, dents, and warping. Avoid stacking heavy items directly on top of delicate non-stick pans. Stacking pans directly inside each other can lead to scratches on the surface.
Using pan protectors (soft cloths, paper towels, or felt pads) between stacked pans is an effective way to prevent scratching the cooking surface or the exterior finish. Storing baking sheets vertically in a rack can save space and prevent them from getting bent or scratched by other items.
Maintaining Mixing Bowls: Avoiding Scratches and Cracks
Mixing bowls, regardless of material, benefit from careful handling and storage to prevent damage that can compromise their function or hygiene. Scratches in any material can harbor bacteria, and cracks in glass are a safety hazard.
Avoid using metal utensils or harsh scrubbing pads in any mixing bowl, especially on non-stick or coated surfaces if you have them. Use silicone, plastic, or wooden tools instead.
Protecting Glass Bowls
While tempered glass is durable, it can still break if dropped or subjected to sudden, sharp impacts. Avoid hitting the rim of a glass bowl against hard surfaces. Also, be mindful of extreme temperature changes, as mentioned in the cleaning section.
Store glass bowls carefully to prevent chips or cracks. If stacking, place a soft cloth or paper towel between them, especially around the rims. Avoid storing heavy items on top of stacked glass bowls.
Storing Stainless Steel Bowls
Stainless steel bowls are quite robust, but they can still get scratched or dented. Avoid storing heavy cast iron pots or sharp utensils directly inside them. Scratches on the interior surface, while not usually affecting performance dramatically, can make cleaning slightly more difficult.
Stacking stainless steel bowls is common, as they often nest neatly. Placing a cloth or paper towel between them can help prevent surface scratches from friction during storage.
Maintaining Measuring Cups and Spoons: Avoiding Damage and Loss
Maintaining the accuracy of your measuring tools involves preventing physical damage and keeping them organized to avoid losing individual pieces. A missing 1/4 cup can disrupt a recipe!
Avoid exposing plastic measuring tools to excessive heat, which can cause warping. Store metal tools in a way that prevents them from being bent or crushed.
Protecting Measuring Tools
Metal measuring cups and spoons can be bent if stored loosely in a drawer with heavy utensils. Plastic tools can melt or warp if left on a hot stovetop or too close to a heat source.
Keep measuring tools away from direct heat. If they are on rings or chains, check that the ring is secure to prevent pieces from detaching and getting lost. Consider hanging them on hooks or storing them in a dedicated container or drawer insert to prevent damage.
Organizing Storage
Keeping your measuring cups and spoons together is key to avoiding frustration mid-recipe. Many sets come on a ring, which helps keep them together.
If they are not on a ring, consider using a small container, a dedicated section in a drawer organizer, or even hanging them on a pegboard if you have space. Knowing exactly where your 1/2 teaspoon is saves time and ensures you don't substitute incorrectly because you can't find the right size.
Maintaining Whisks and Spatulas: Preventing Wear and Tear
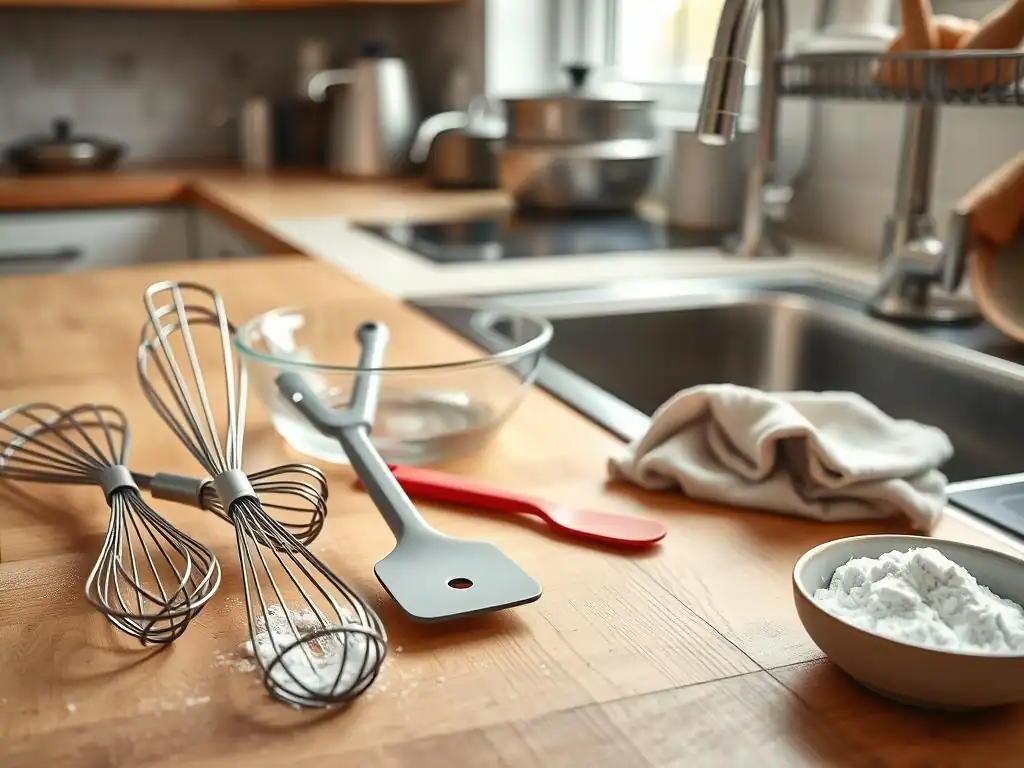
Regular use can lead to wear and tear on whisks and spatulas, affecting their performance. For whisks, wires can bend or detach from the handle. For spatulas, especially silicone, the blade can separate from the handle or the silicone can start to degrade over time.
Handle whisks carefully; avoid using them to scrape hard surfaces or pry things apart, which can bend the delicate wires. For spatulas, avoid cutting on them or exposing the silicone directly to open flames.
Storing Whisks
Proper storage prevents whisk wires from getting bent or tangled. Avoid cramming whisks into overcrowded drawers where the wires can get snagged or crushed by other utensils.
Storing whisks head-up in a utensil crock or hanging them on hooks are excellent ways to maintain the shape of the wires and prevent damage. This is a simple yet effective baking equipment cleaning maintenance tip for these delicate tools.
Protecting Wooden Utensils
If your spatulas or whisk handles are made of wood, they require specific care. Wood can dry out, crack, or warp if soaked for too long or exposed to extreme temperature changes.
Wash wooden utensils by hand rather than in a dishwasher. Dry them immediately after washing. Periodically, you can condition wooden handles or spatulas with food-grade mineral oil to prevent the wood from drying out and cracking. This helps maintain their integrity and extends their lifespan.
Maintaining Stand Mixers and Hand Mixers: Regular Checks
While you won't be disassembling your mixers for daily maintenance, periodic checks can help identify potential issues early and ensure smooth operation. Listen for unusual noises and check for any loose parts.
Refer to your mixer's user manual for specific maintenance recommendations, such as checking the motor brushes (for older models) or ensuring proper ventilation around the unit.
Checking and Tightening Screws
Over time, vibrations from mixing can cause external screws on the mixer housing to loosen slightly. Periodically, while the mixer is unplugged, visually inspect the exterior for any loose screws.
Gently tighten any screws that appear loose. Do not overtighten, as this can strip the threads. If you notice any loose screws related to internal components or attachments, consult the user manual or contact customer service rather than attempting repairs yourself.
Lubrication
Some older mixer models or specific attachments might require occasional lubrication according to the manufacturer's instructions. This is not a common requirement for most modern home mixers, but it's worth checking your manual.
If lubrication is recommended, use only food-grade lubricant specified by the manufacturer. Do not use standard oils or greases, as they are not safe for contact with food. Always follow the manual's instructions precisely regarding type and application of lubricant.
Storage Tips for Longevity
Effective storage is a cornerstone of baking equipment cleaning maintenance tips. How you store your tools directly impacts their condition and accessibility. Cluttered or improper storage can lead to scratches, dents, warping, and even rust.
Think about the materials and shapes of your equipment when deciding on storage solutions. Pans need protection from scratching, while delicate whisks need space for their wires.
Proper Storage of Baking Pans and Sheets
As mentioned earlier, preventing scratches and warping is key for pans and sheets. Stacking them directly can cause damage, especially to non-stick coatings.
Use pan protectors (felt pads, soft cloths, or paper towels) between stacked pans. Store baking sheets vertically in a rack designed for this purpose. This maximizes space and prevents them from getting bent or scratched. Ensure pans are completely dry before storing.
Organizing Baking Tools
Keeping smaller baking tools like measuring cups, spoons, spatulas, and whisks organized prevents damage and makes them easy to find. A chaotic utensil drawer is a common culprit for bent spoons or scratched spatulas.
Consider using drawer dividers, utensil crocks, or hanging hooks to keep tools separated and tidy. Group similar items together (e.g., all spatulas in one section, all whisks in a crock). This not only protects the tools but also streamlines your baking process.
Creating a Dedicated Storage Space
If possible, designate a specific cupboard, drawer, or shelf area solely for baking equipment. This helps prevent mixing baking tools with heavier or sharper general kitchen utensils that could cause damage.
A dedicated space also makes it easier to see what you have, preventing duplicate purchases and ensuring tools are put away correctly after cleaning. This organized approach is a simple yet effective baking equipment cleaning maintenance tip that pays off in the long run.
Choosing Cleaning Products
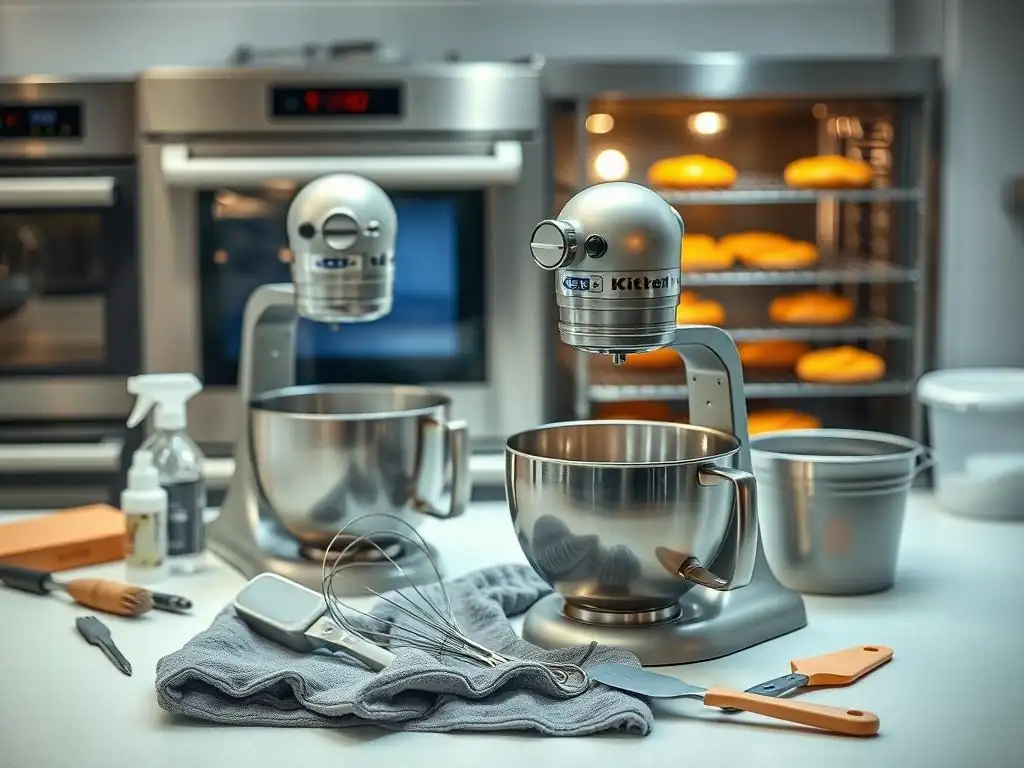
The cleaning products you use can significantly impact the lifespan of your baking equipment. Harsh chemicals or abrasive cleaners can damage surfaces, coatings, and finishes.
Opt for mild, non-abrasive cleaning agents whenever possible. Dish soap and warm water are often sufficient for routine cleaning.
Safe Cleaning Agents
For most baking equipment, warm water and a mild dish soap are the safest and most effective cleaning agents. Look for dish soaps that are designed to cut grease without being overly harsh.
Natural cleaners like baking soda and white vinegar are also excellent for tackling specific problems like baked-on grime, odors, or hard water spots, and they are generally safe for most materials when used correctly (e.g., baking soda as a paste, vinegar diluted).
Avoiding Harsh Chemicals
Avoid using harsh chemical cleaners, oven cleaners, bleach, or abrasive scouring powders on your baking equipment. These can damage non-stick coatings, discolor metal, pit surfaces, and leave behind residues that are unsafe for food contact.
Even if a cleaner is powerful, check if it's safe for the specific material of your equipment. For instance, some strong degreasers might be too harsh for delicate non-stick surfaces.
Eco-Friendly Cleaning Options
Many effective and safe cleaning solutions can be made using common household ingredients, offering an eco-friendly alternative. Baking soda, vinegar, lemon juice, and salt can be used in various combinations to clean and deodorize.
For example, a paste of baking soda and water for scrubbing, or vinegar diluted with water for sanitizing and removing mineral deposits. These options are not only better for the environment but also often gentler on your equipment and safer for your kitchen.
Troubleshooting Common Problems
Even with diligent cleaning and maintenance, you might encounter specific issues with your baking equipment. Knowing how to address these problems can save you from having to replace tools prematurely.
Common issues include rust on metal pans or attachments and operational problems with mixers.
Dealing with Rust
Rust is a common problem for metal baking equipment, especially if it's not dried properly after washing. Carbon steel and cast iron are particularly susceptible, but even stainless steel can rust if exposed to certain conditions or left wet for prolonged periods.
For mild rust spots, you can often remove them by scrubbing with a paste of baking soda and water or using a piece of steel wool (only on non-coated cast iron or carbon steel, never on non-stick or stainless steel). For more severe rust, a mixture of equal parts white vinegar and water can be used to soak the affected area, followed by scrubbing. After removing rust, it's crucial to wash, dry thoroughly, and re-season the item if applicable.
Fixing Mixer Issues
Stand mixers and hand mixers are generally reliable, but occasionally, you might encounter issues like the motor sounding strained, attachments not fitting correctly, or the mixer shaking excessively.
First, ensure you are not overloading the mixer beyond its capacity, especially when mixing heavy doughs. This is a common cause of motor strain. Check that attachments are properly inserted and locked into place according to the user manual. If the mixer is shaking, ensure it's placed on a stable, level surface. If problems persist, consult the troubleshooting section of your user manual or contact the manufacturer's customer support. Attempting complex repairs yourself can void warranties and cause further damage.
Conclusion: Enjoy Years of Baking
Investing in Quality and Caring for Equipment.
Taking the time to implement effective baking equipment cleaning maintenance tips is an investment that pays dividends in the long run. Quality baking tools are designed to last for years, even decades, but their longevity is directly tied to how well they are cared for. Regular cleaning prevents the buildup of grime and bacteria, ensuring hygienic practices, while proper maintenance prevents damage, rust, and wear and tear that can compromise performance and lifespan.
By following the simple steps outlined in this guide – from prompt cleaning after use and thorough drying to appropriate storage and periodic checks – you can keep your baking sheets releasing perfectly, your mixing bowls gleaming, your measuring tools accurate, and your mixers running smoothly. This diligent care not only protects your financial investment but also ensures that your tools are always ready to help you create delicious baked goods, allowing you to enjoy the art of baking for years to come.
Frequently Asked Questions
What are some essential steps for cleaning baking sheets?
Cleaning baking sheets involves scraping off stuck-on food, washing with soapy water, and sometimes using a baking soda paste for tougher stains.
How often should I deep clean my stand mixer?
A deep clean, including wiping down the exterior and cleaning attachments, should be done every few months or after heavy use to prevent grime buildup.
What's the best way to maintain my measuring cups and spoons?
Wash them with warm, soapy water after each use. Ensure they are completely dry before storing to prevent rust or corrosion.
Can I put my silicone baking mats in the dishwasher?
Generally, yes, most silicone baking mats are dishwasher safe. However, check the manufacturer's instructions for specific guidelines.
How do I prevent my baking pans from rusting?
Ensure your baking pans are thoroughly dried after washing. Applying a thin layer of oil before storing can also help prevent rust formation.
Final Reflection: The Lifelong Care of Baking Equipment
In today's fast-paced world, the importance of maintaining our baking equipment cannot be overstated. The tools we use in our kitchens are not just instruments; they are extensions of our creativity and passion for baking. By implementing proper cleaning and maintenance practices, we ensure that these tools remain reliable companions in our culinary adventures, ultimately enhancing our baking experience and results.
The influence of well-maintained baking equipment extends beyond the kitchen; it resonates within our communities and cultures. When we take the time to care for our tools, we foster a deeper connection to the art of baking, encouraging others to do the same. This shared commitment to quality and longevity can transform our baking practices into a celebration of craftsmanship and tradition. The secret of success in baking is not just in the ingredients, but in the care we give to our tools.
As you reflect on the insights shared in this article, I invite you to consider the role of your baking equipment in your life. Take a moment to assess how you can implement these cleaning and maintenance tips in your routine. By doing so, you are not only preserving your tools but also nurturing your passion for baking, ensuring that each creation is a testament to your dedication and love for this timeless craft.
Unlock Your Baking Potential: Keep Your Tools in Top Shape!
Thanks for taking the time to learn how to keep your baking equipment sparkling and in peak condition! You've gained valuable knowledge to extend the life of your favorite tools. Now it's time to put that knowledge into action!
- Prioritize your cleaning routine: Dedicate 15 minutes each week to a thorough cleaning of your most-used baking tools. This small investment will save you time and frustration down the line.
- Share your favorite cleaning hacks with the BakeWithEase community! We'd love to hear your tips and tricks.
- Experiment with a new baking project, now that your equipment is sparkling clean and ready to go!
Ready to transform your baking game with a little TLC for your equipment? What's the first tool you're going to give some extra attention to?